 Matt Bradshaw
Up until today, I've only made one successful, working DrumKid unit, which isn't much good for something I want to sell. While it's almost certain that there will be another PCB revision, I decided to make several identical DrumKid units using the current PCB version, for a few reasons:
- I want to do some user-testing with local musicians
- I want to see how long it takes to build each unit
- I want to check that the design is stable, and the first unit wasn't a fluke
- I had several of the most recent PCBs available anyway
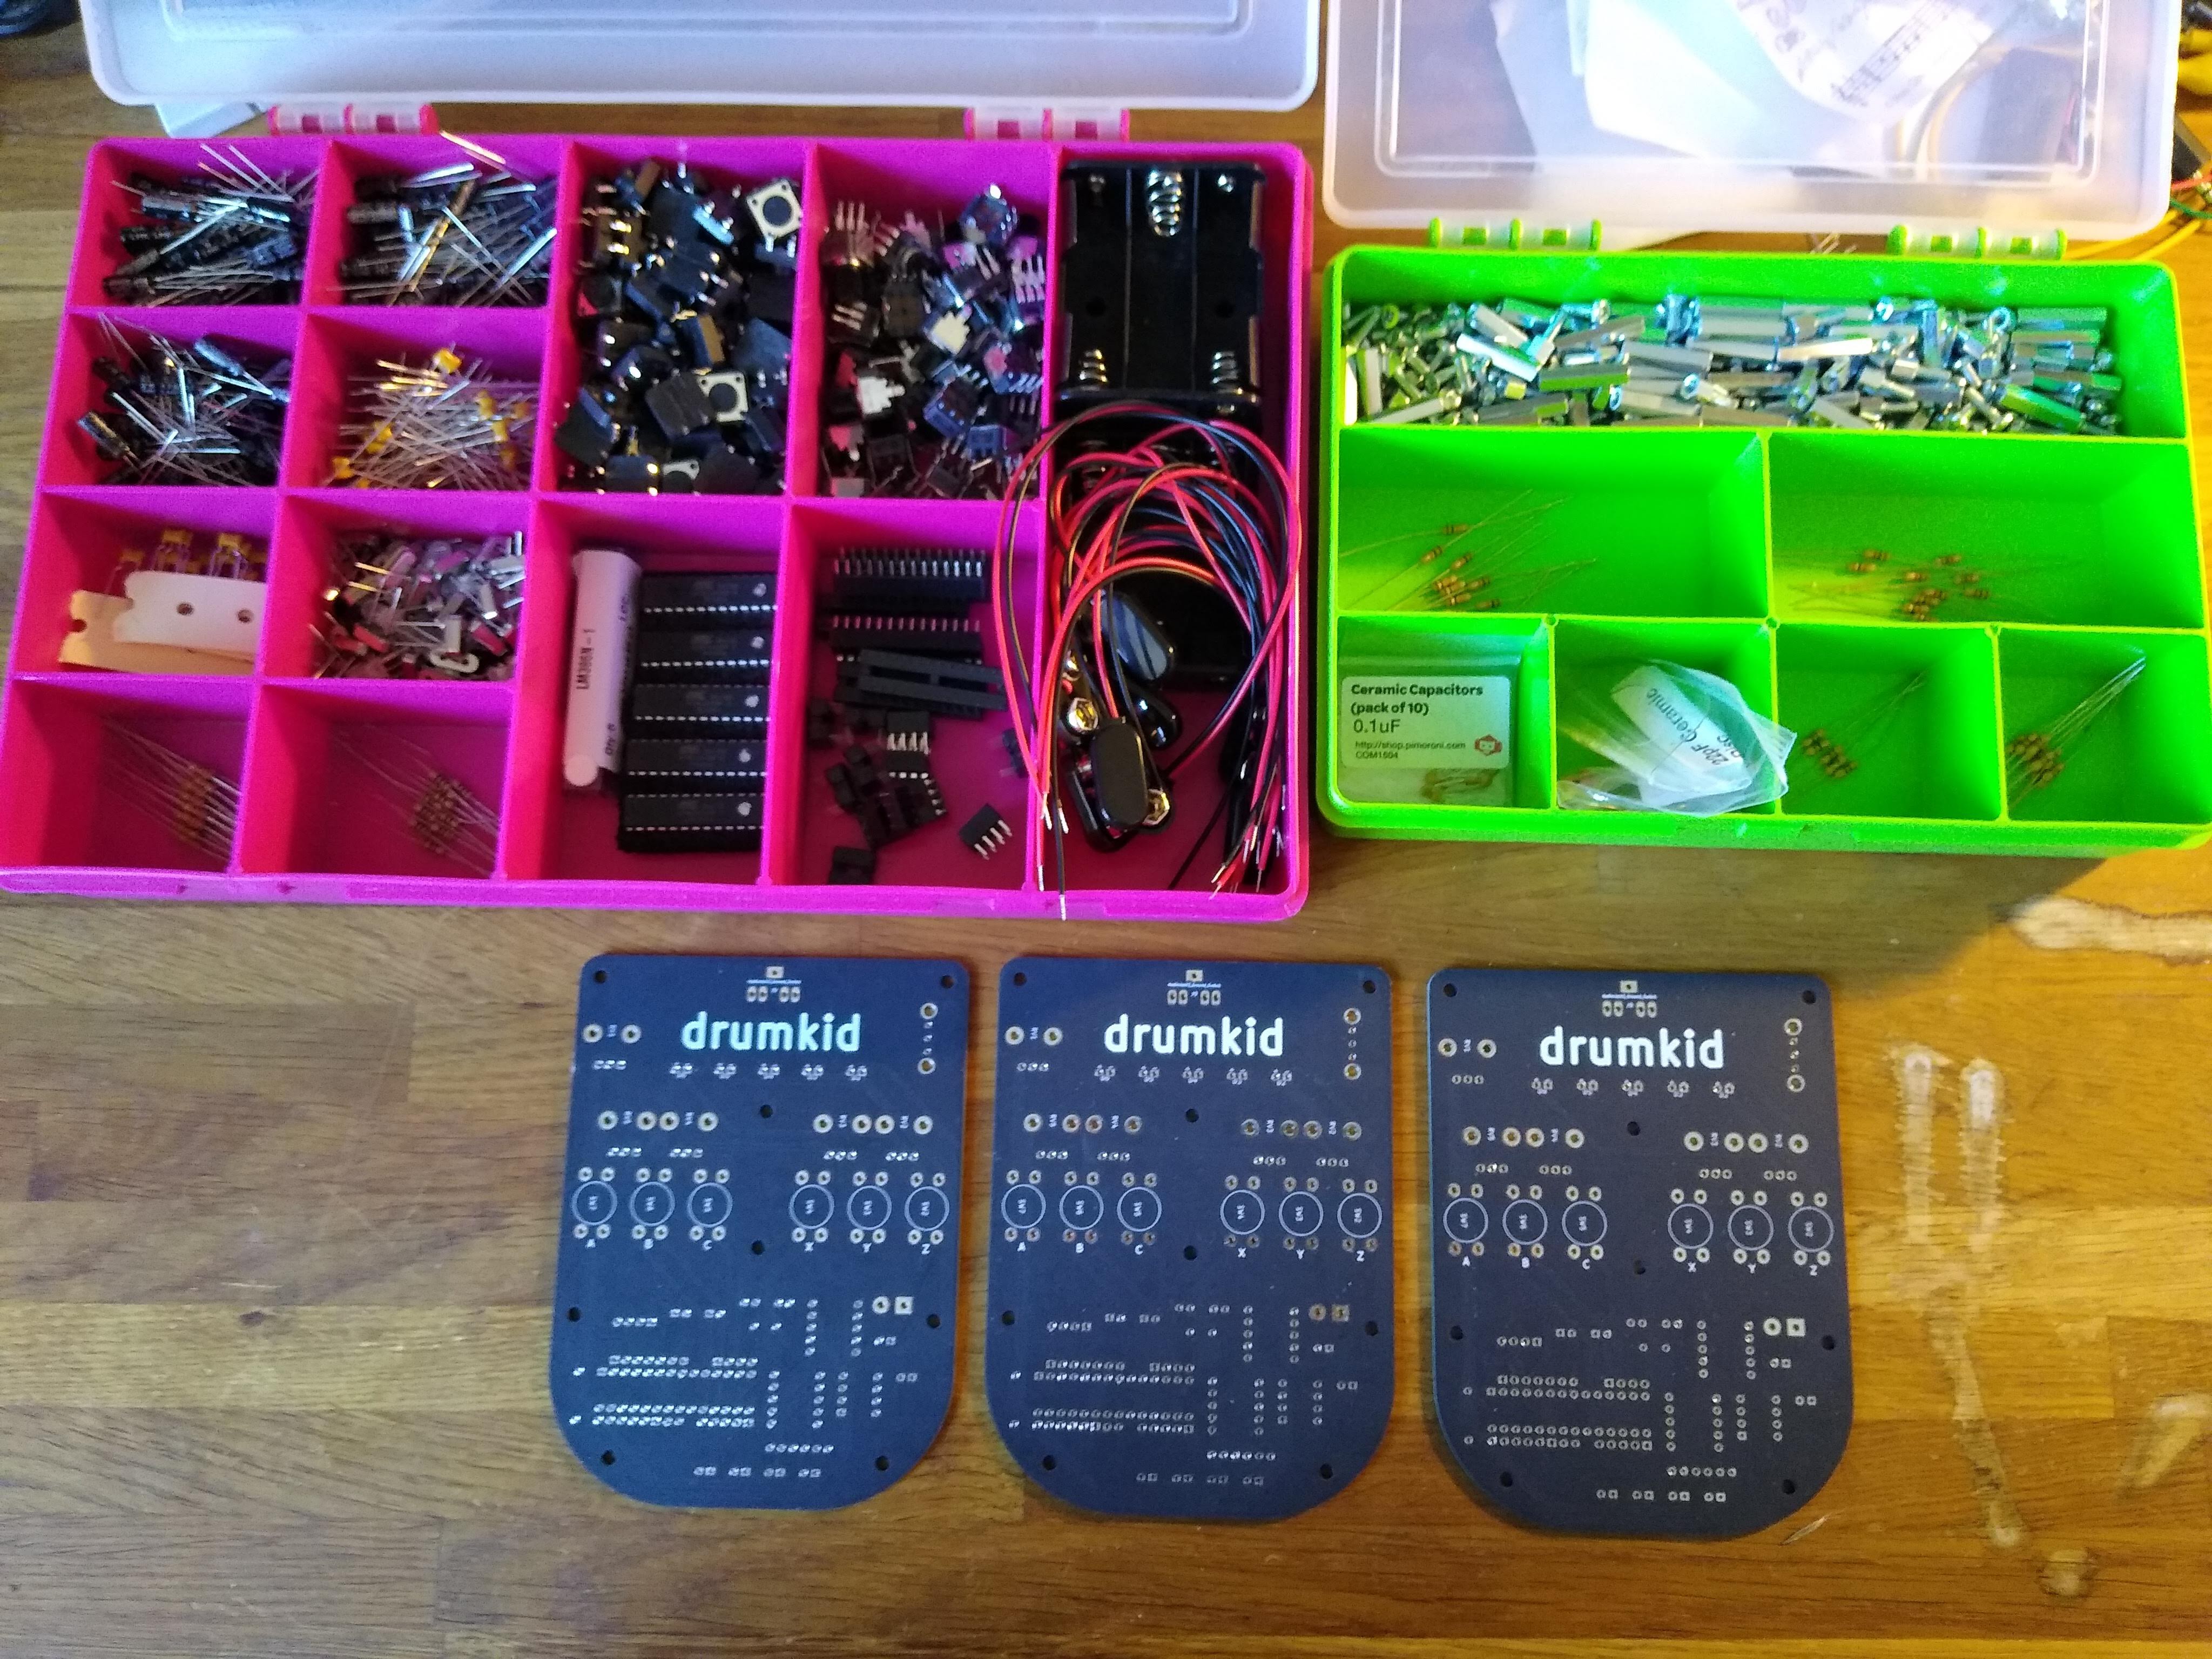
I checked my stock of components, and ordered the ones I was running out of. Having realised that finding each individual value of resistor and capacitor was a bottleneck when building the first unit, I organised all my components into DrumKid-specific project boxes with dividers, to speed up the build.
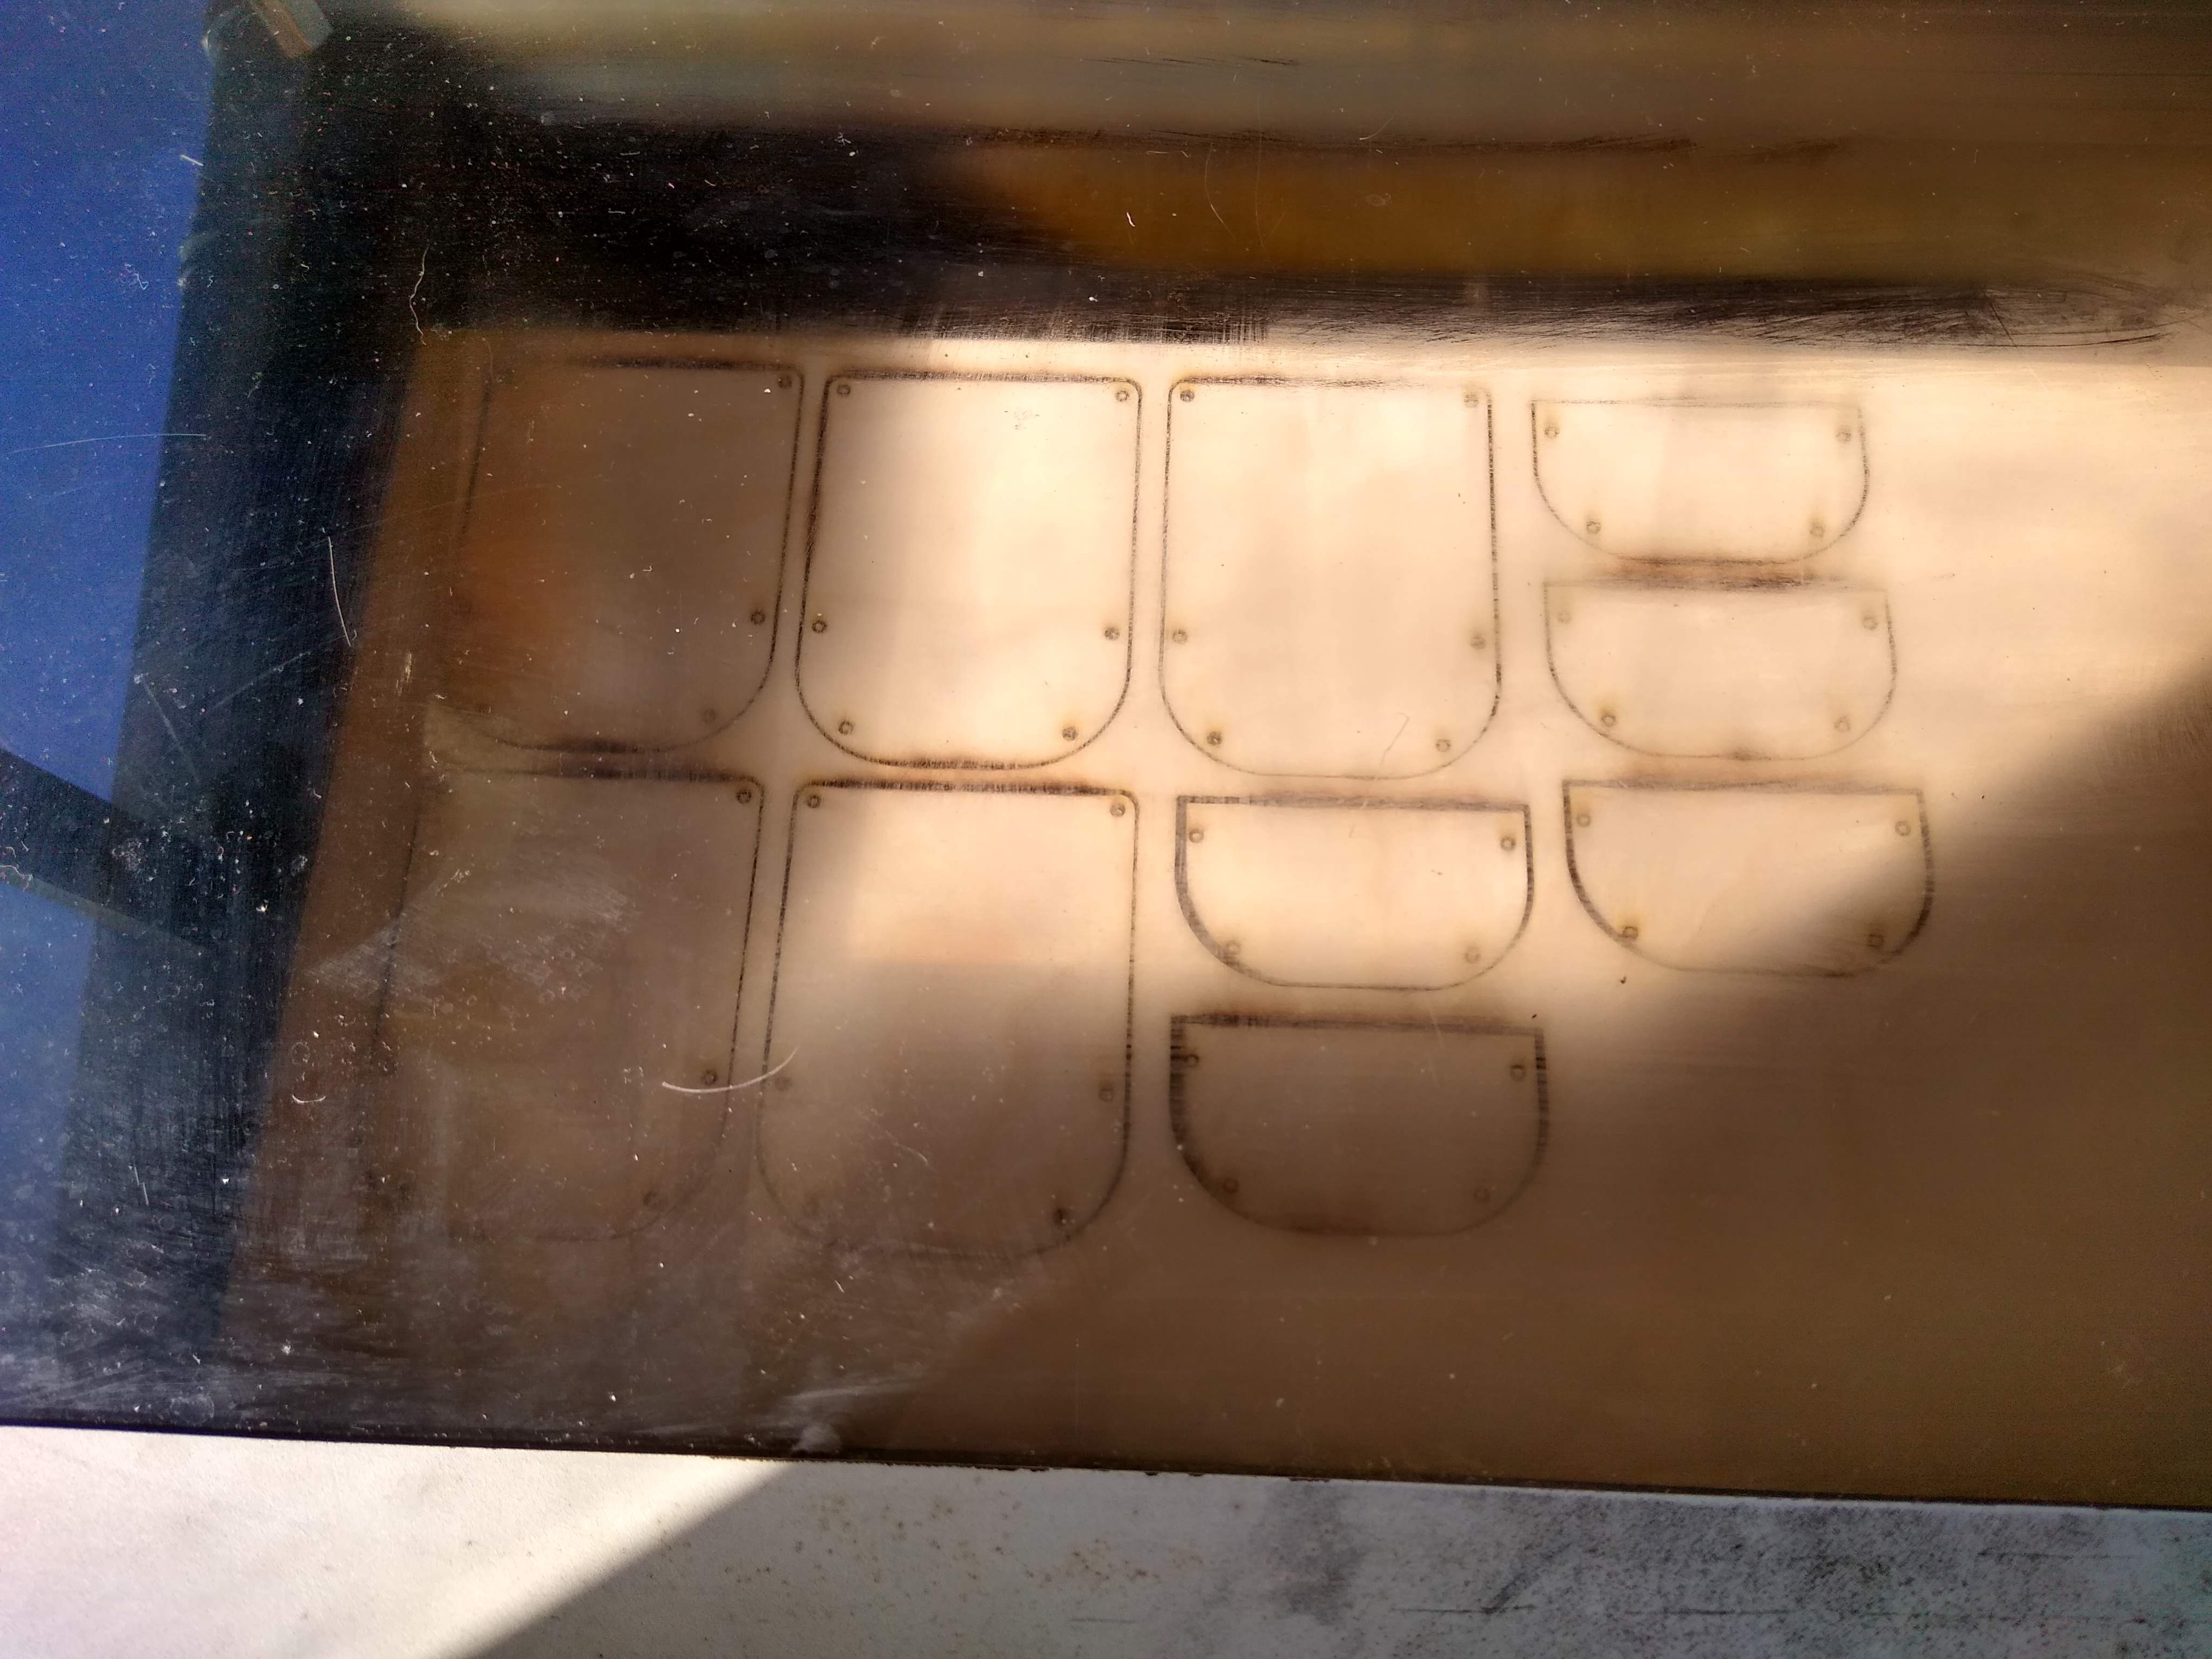
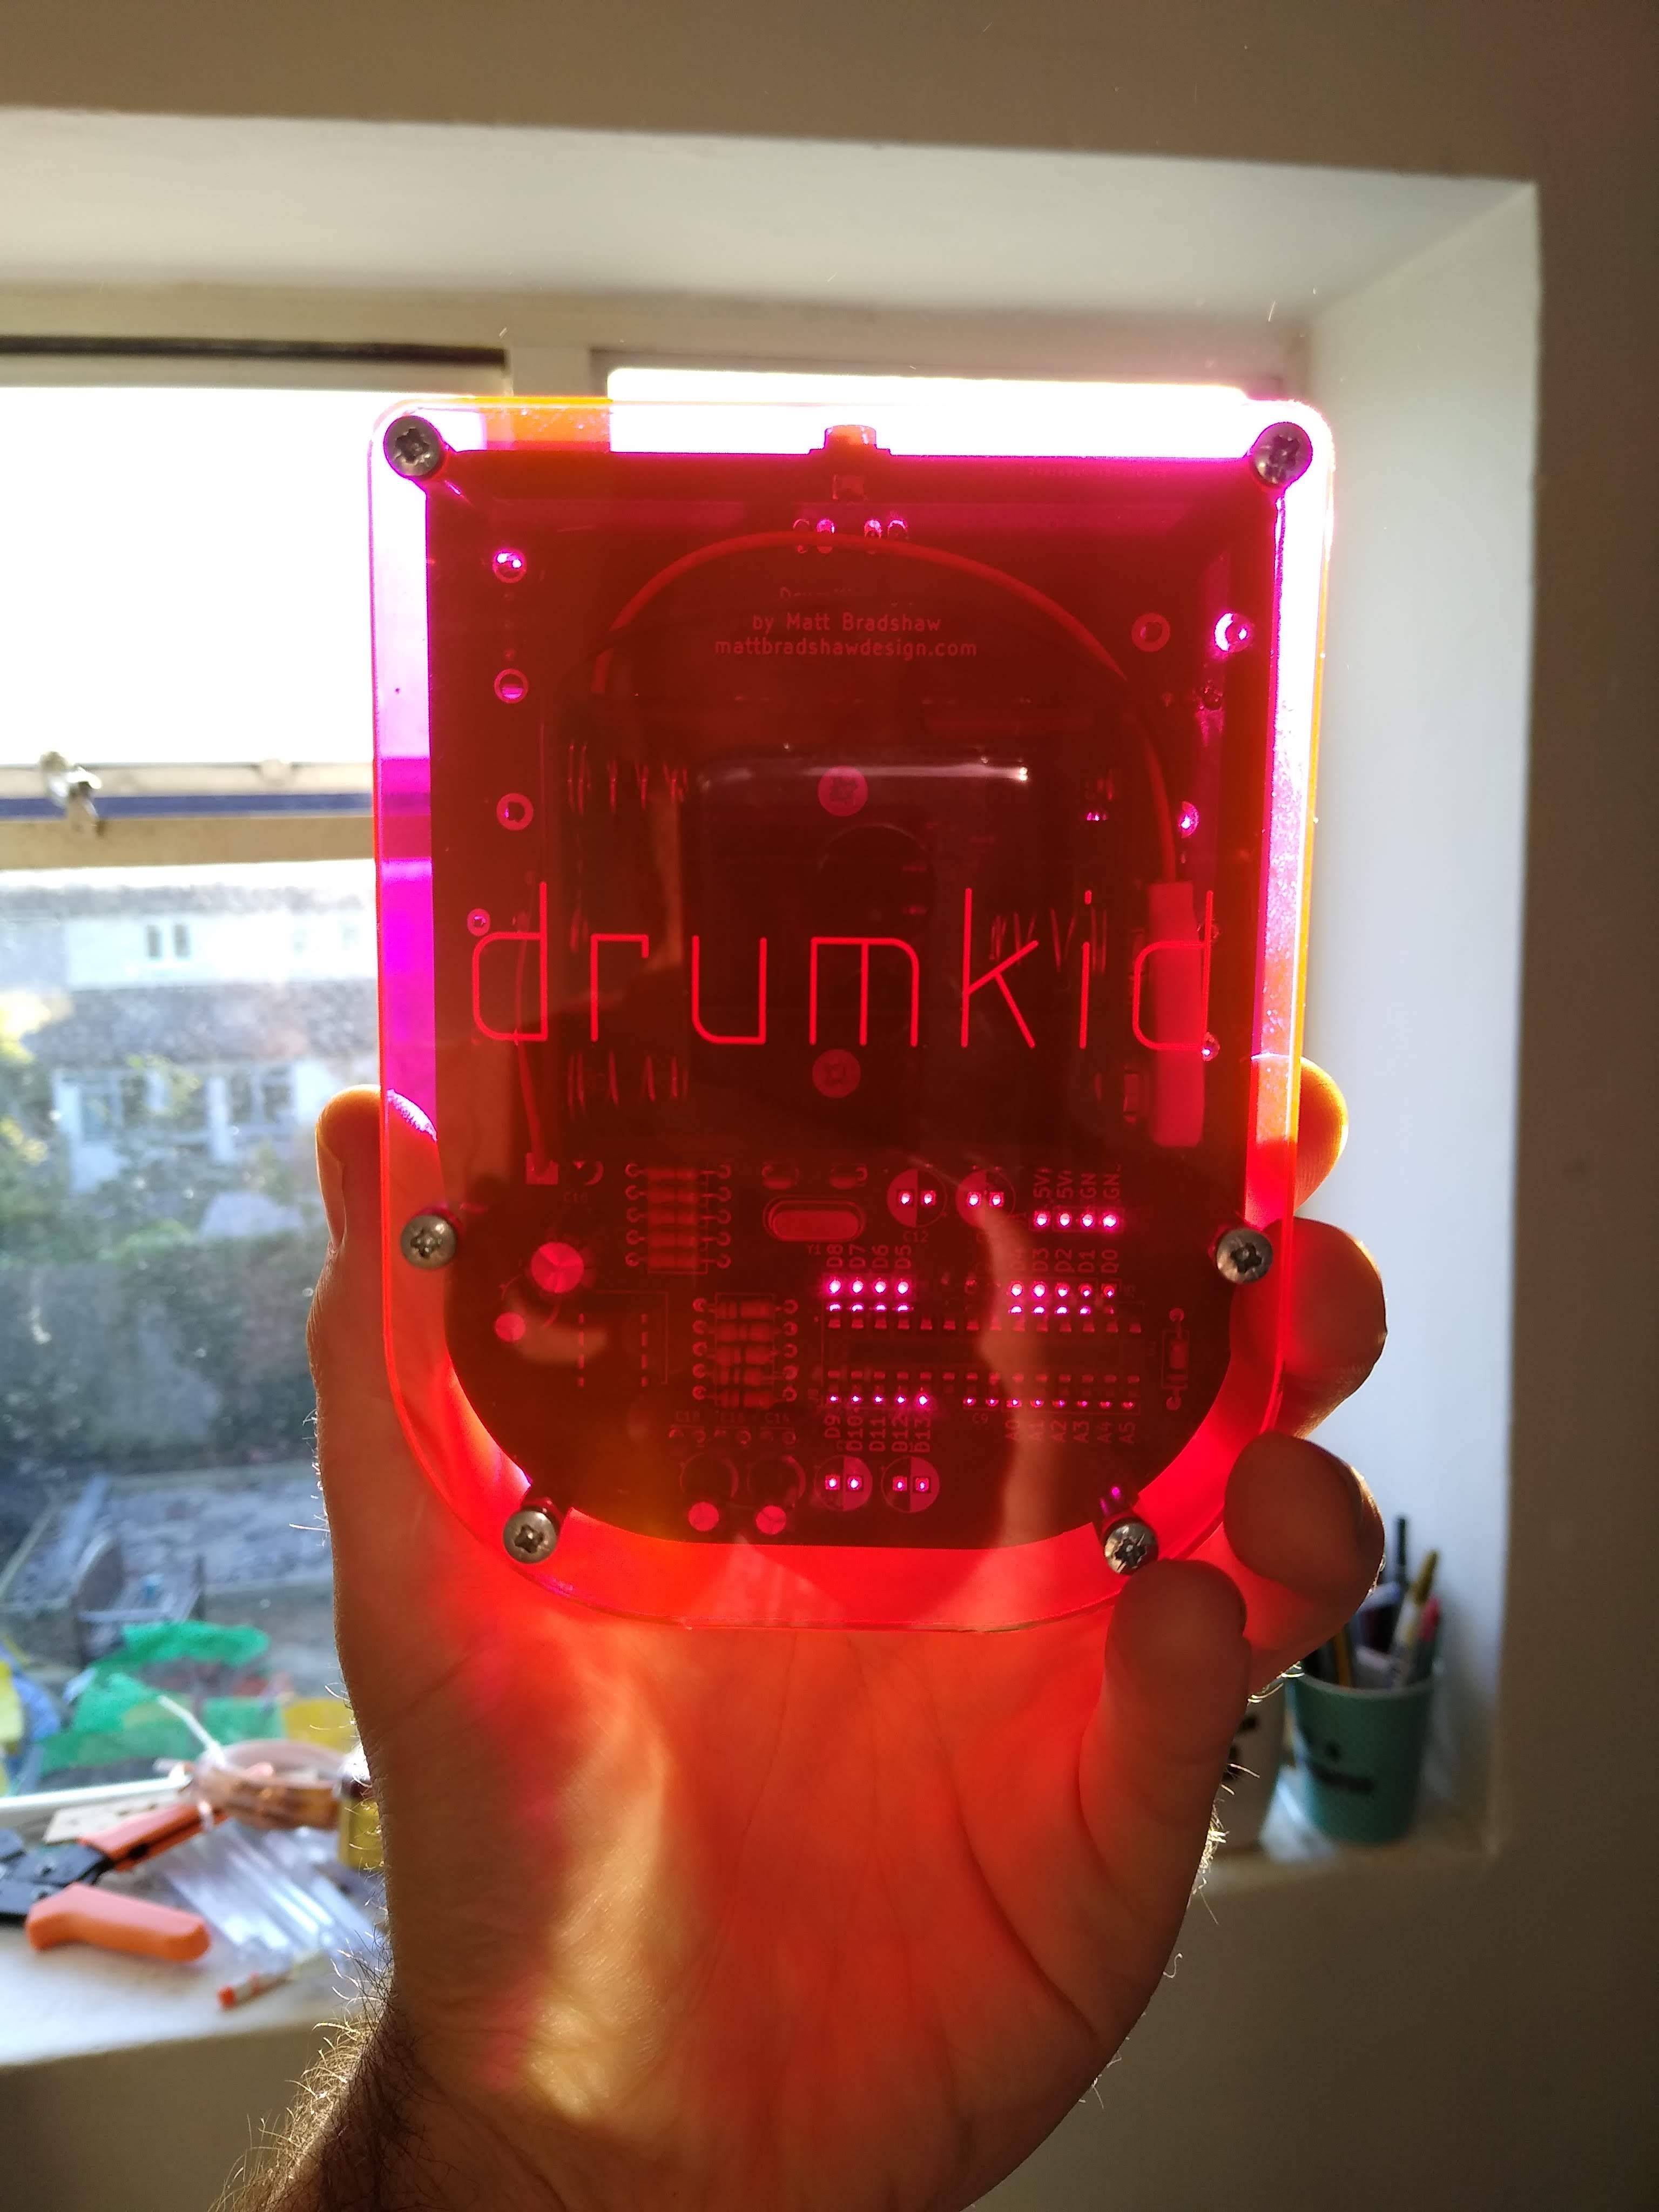
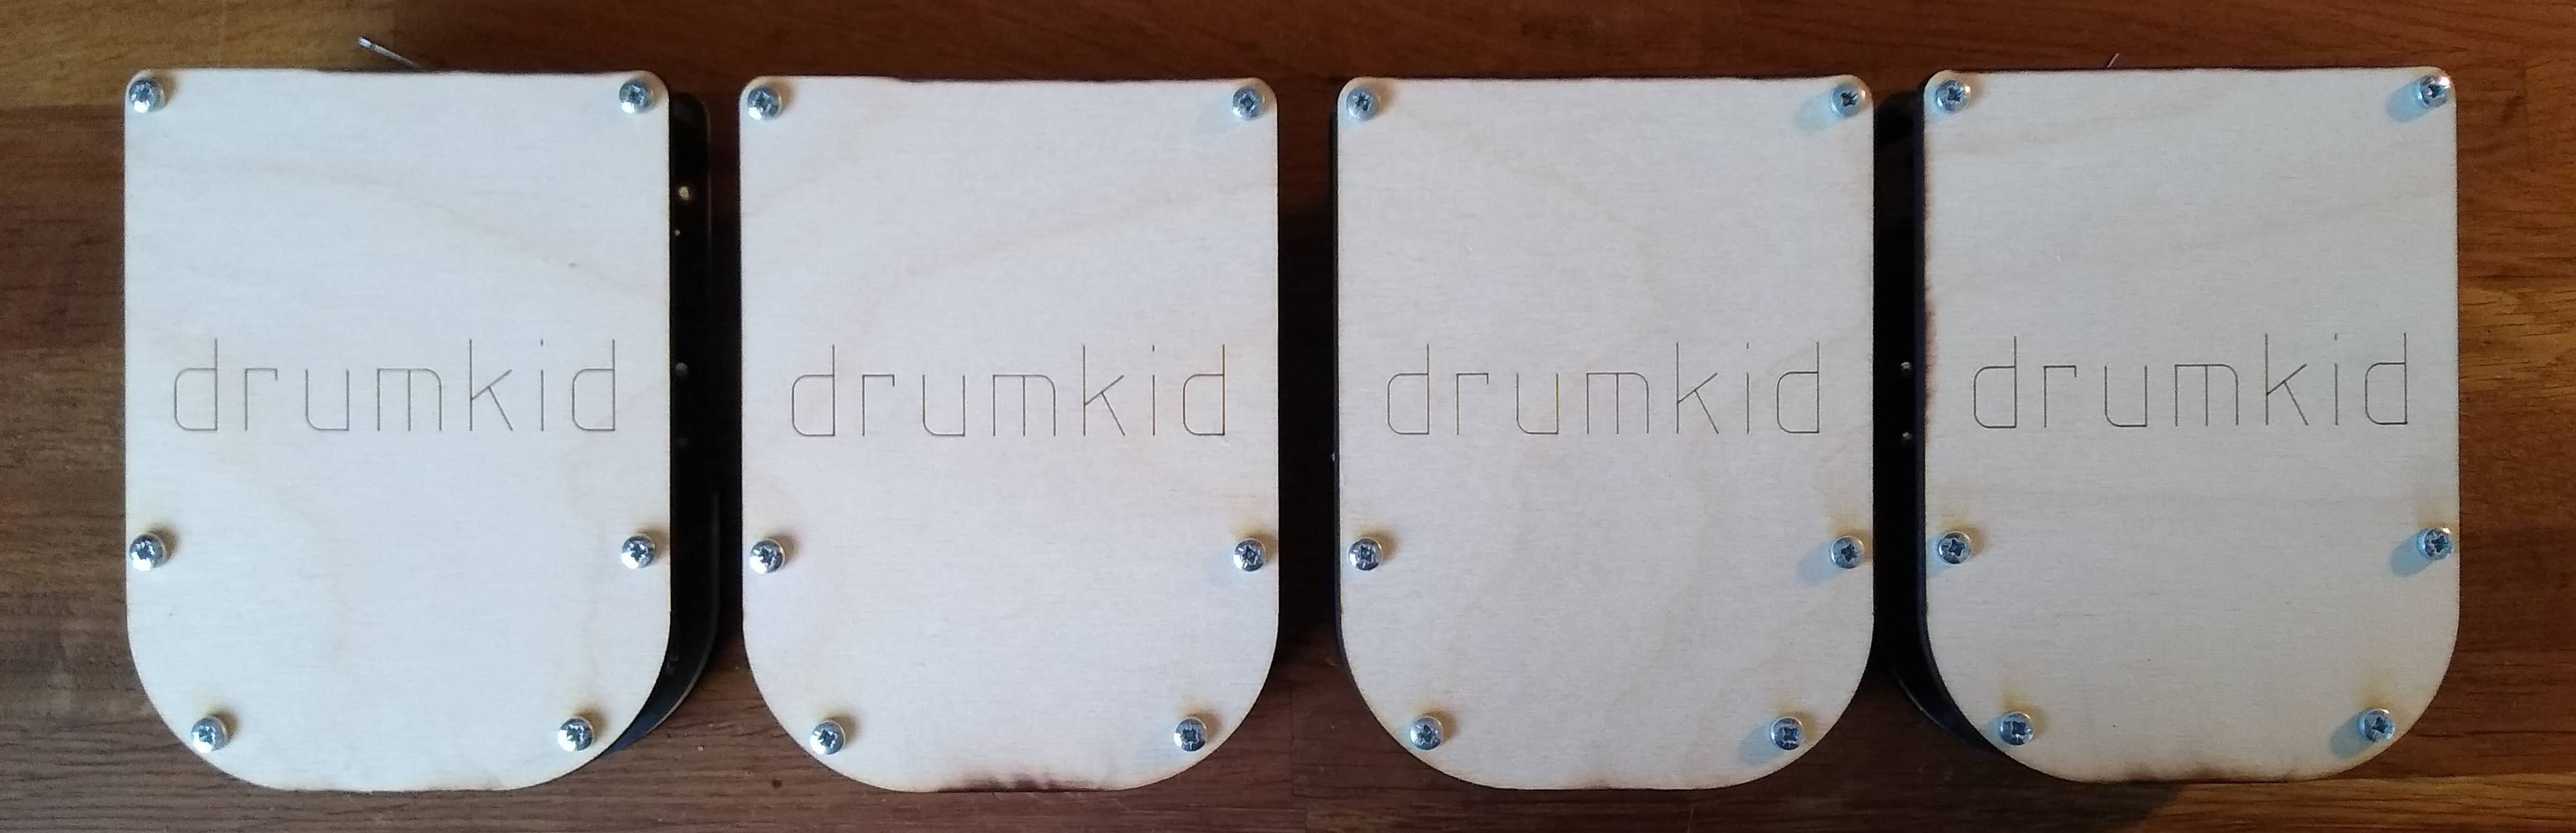
I also contacted a local business who have a laser cutter, and they were happy to help me with an initial small run, as well as bigger orders in the future. I decided to cut the laser parts from plywood, since my preference is to avoid using plastic where possible, although we also made one set using some scrap transparent orange acrylic, just to try a different look.
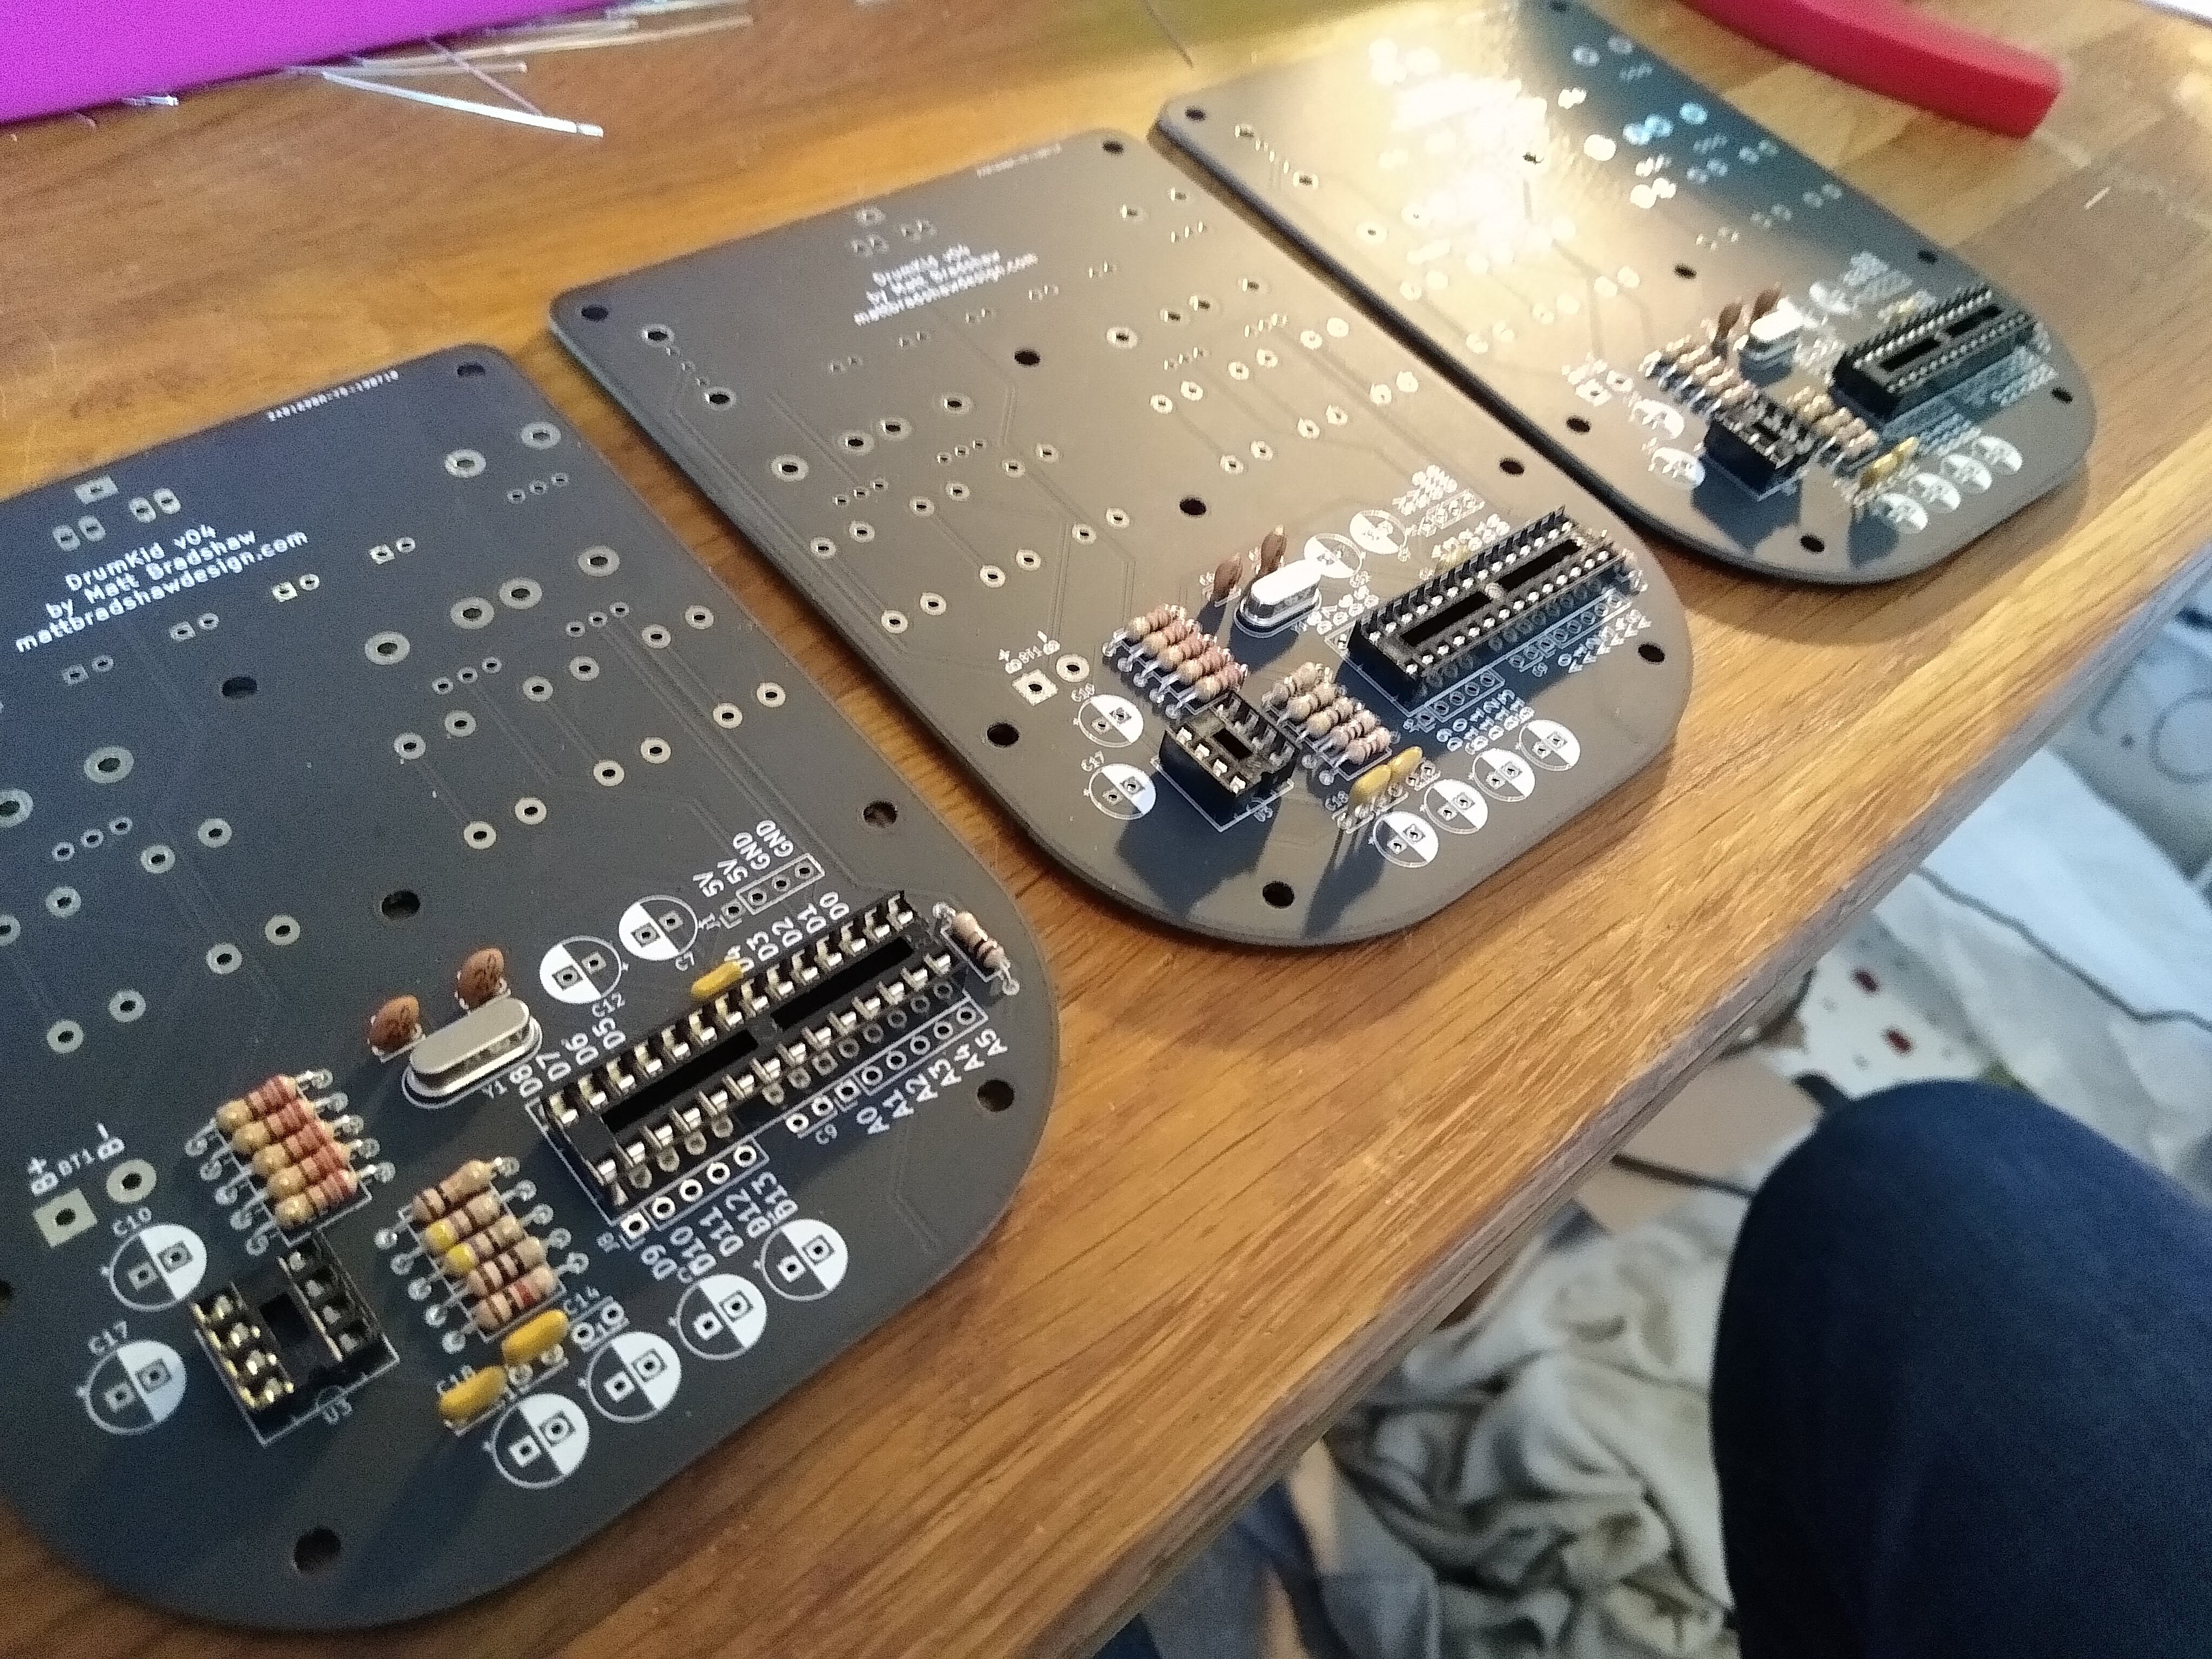
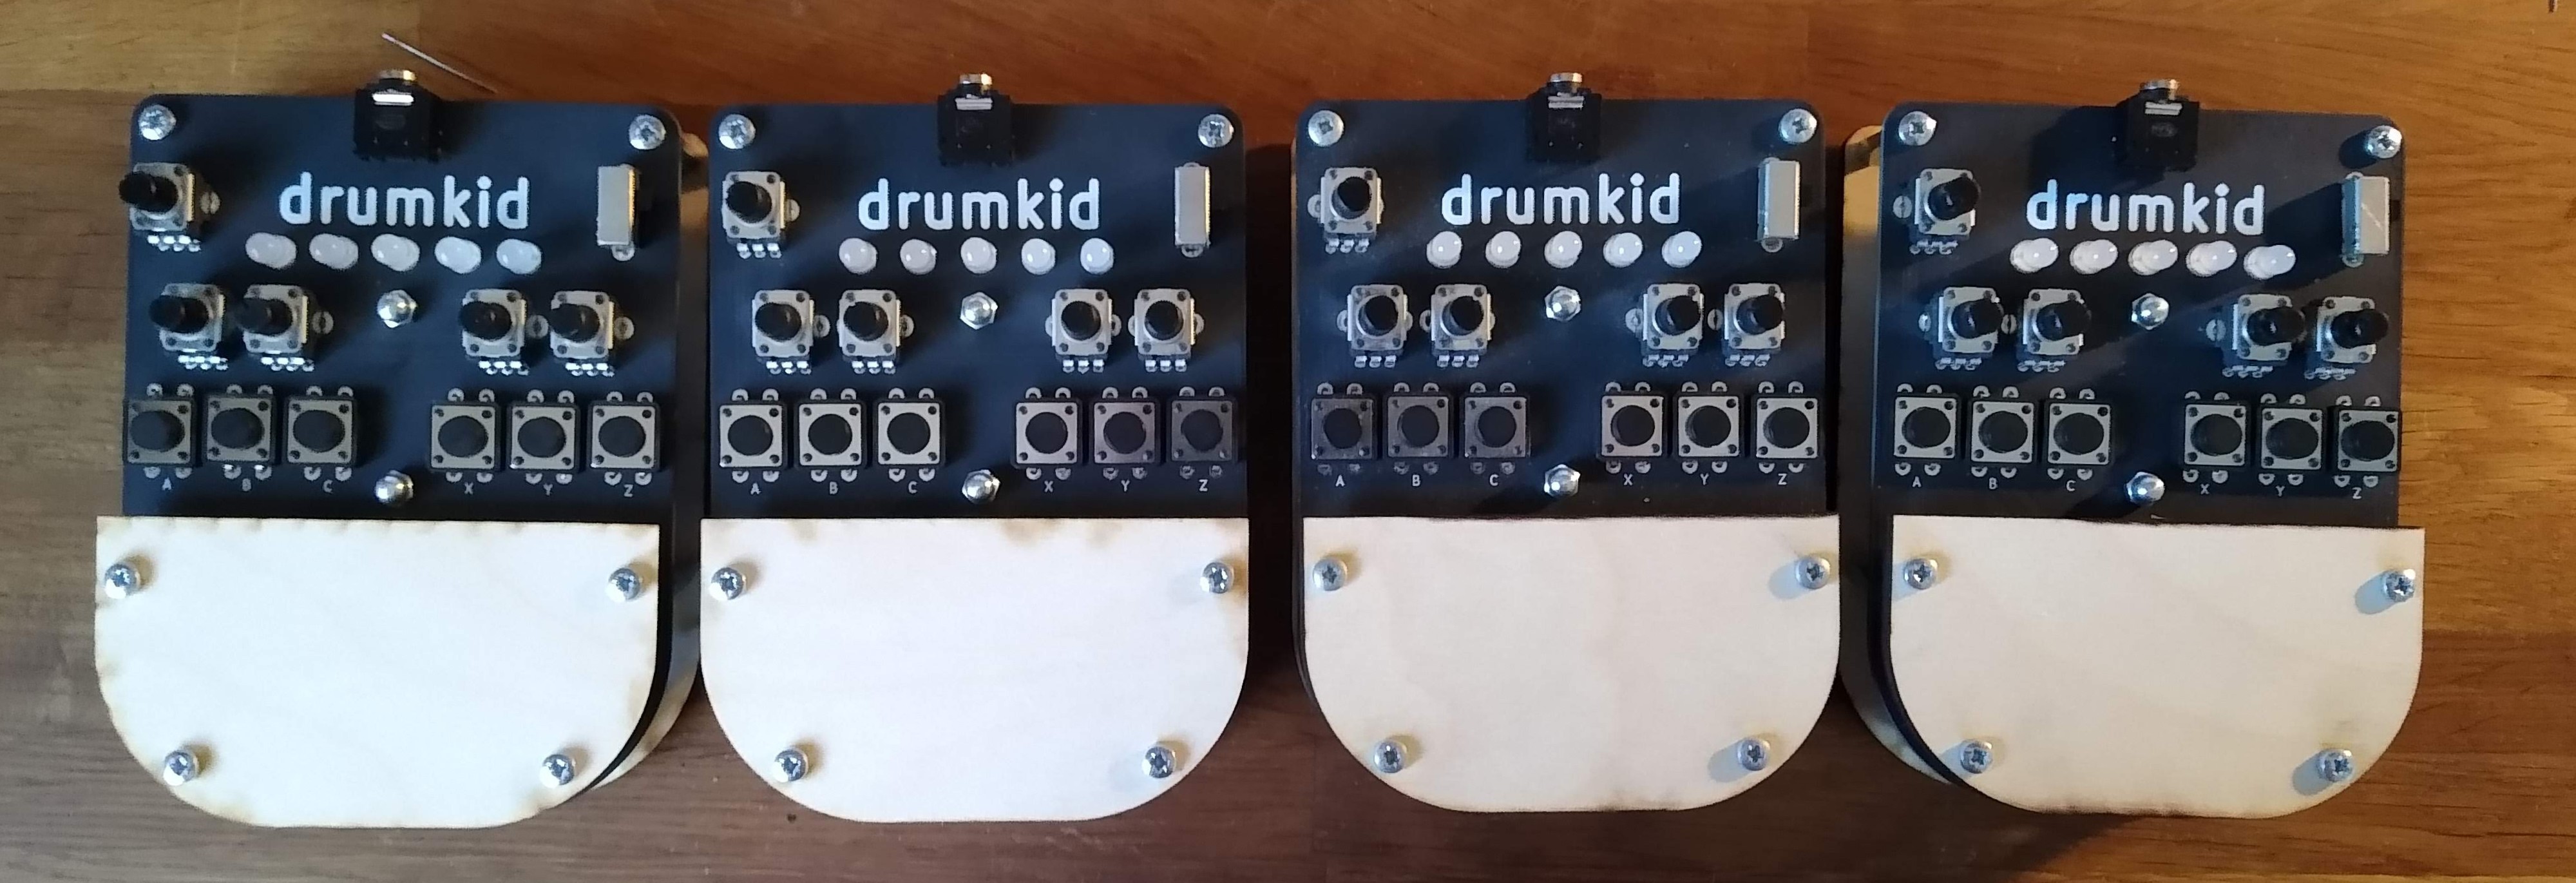
I timed the assembly process, during which I built three new DrumKid units from scratch. This involved positioning and soldering the components, mounting the battery box, uploading the firmware (Arduino sketch) to a blank chip, testing each function, and assembling the laser-cut outer enclosure.
In total, it took just under three hours to build three units, which obviously translates to about an hour per unit. This doesn't include things like time spent ordering and sorting components, or time spent packaging a finished unit, but I might also be able to speed up assembly with practice, and by assembling larger batches at once. Overall, an hour per unit feels like a reasonable ballpark figure to estimate for the next run of units. I also switched the previous unit to have the same laser parts as the new units, just for consistency.
I was really happy with how the units turned out. They all worked first time, and all look identical. I want to stain the wood a darker colour for aesthetic reasons - I don't think the light-coloured plywood looks very nice with the black front panel. This would slightly increase the cost and assembly time, but not by much, especially if I could stain a large number of laser parts at once.
Here are a few thoughts after successfully multiplying DrumKid:
- DrumKid is a viable product, even at a fairly low price point
- The mounting holes for the potentiometer are a fraction of a millimetre too small, which adds time (and mechanical stress!) to each unit while I try and wriggle them into place - I should fix this on the next PCB
- I'm still not 100% sure about the materials and colour scheme for the final version. I might play around in an image editor to try some different colour combinations
- It would be good to leave a solid patch of white silkscreen on the underside of the PCB to write the serial number of future DrumKids
And here are some of my immediate next steps in the project:
- Stain the wooden parts in these four units to see if that makes them look better
- Shoot footage for the Hackaday Prize final video
- Give three units to local musicians for feedback
- Decide on colour scheme and whether to have a fully enclosed design (vs current open-sided design)
- Design next iteration of the PCB
Discussions
Become a Hackaday.io Member
Create an account to leave a comment. Already have an account? Log In.