Close
0%
0%

Ultimate Alarm Clock

After many years I finally managed to build a clock that fits all my needs.

Similar projects worth following
I never found an alarm clock that had all the features I want. After trying a lot of devices and phone apps - both commerically available and self-build, I recognized that my special requirements can only be fulfilled by creating something by myself. I often was close to a solution, but then it turned out to be another fail.
Now finally it is there: The ultimate alarm clock.

My special requirements for the ultimate alarm clock:

  • Anti-fool feature: Restrict setting a new alarm directly after alarm was stopped
  • Limited snoozing: Only x times snooze for y minutes after an alarm is allowed or no snoozing is allowed
  • User defined sound: Wake with randomly changing sounds / music
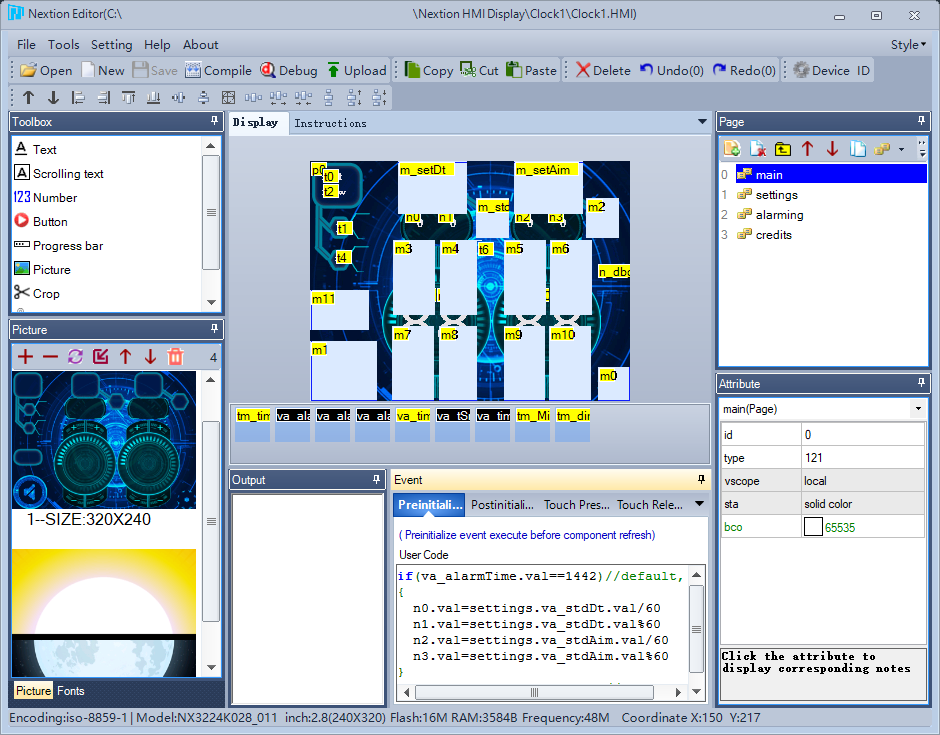
  • Delta-time: Display time until alarm when setting a target time for alarm
  • Aim-time: Display the alarm time when setting a duration time until alarm
  • Nap feature: Set a pre-defined delta time (e.g. for a quick sleep) with one tap
  • Easy firmware update: USB-connection to update SW
  • Touch-display: Not a lot of switches, nobs and buttons
  • Quick time-setting: Setting the time quickly (i.e. not 60 button presses to set the minute)
  • Redundant alarm: If the (MP3) audio-output fails, activate the buzzer
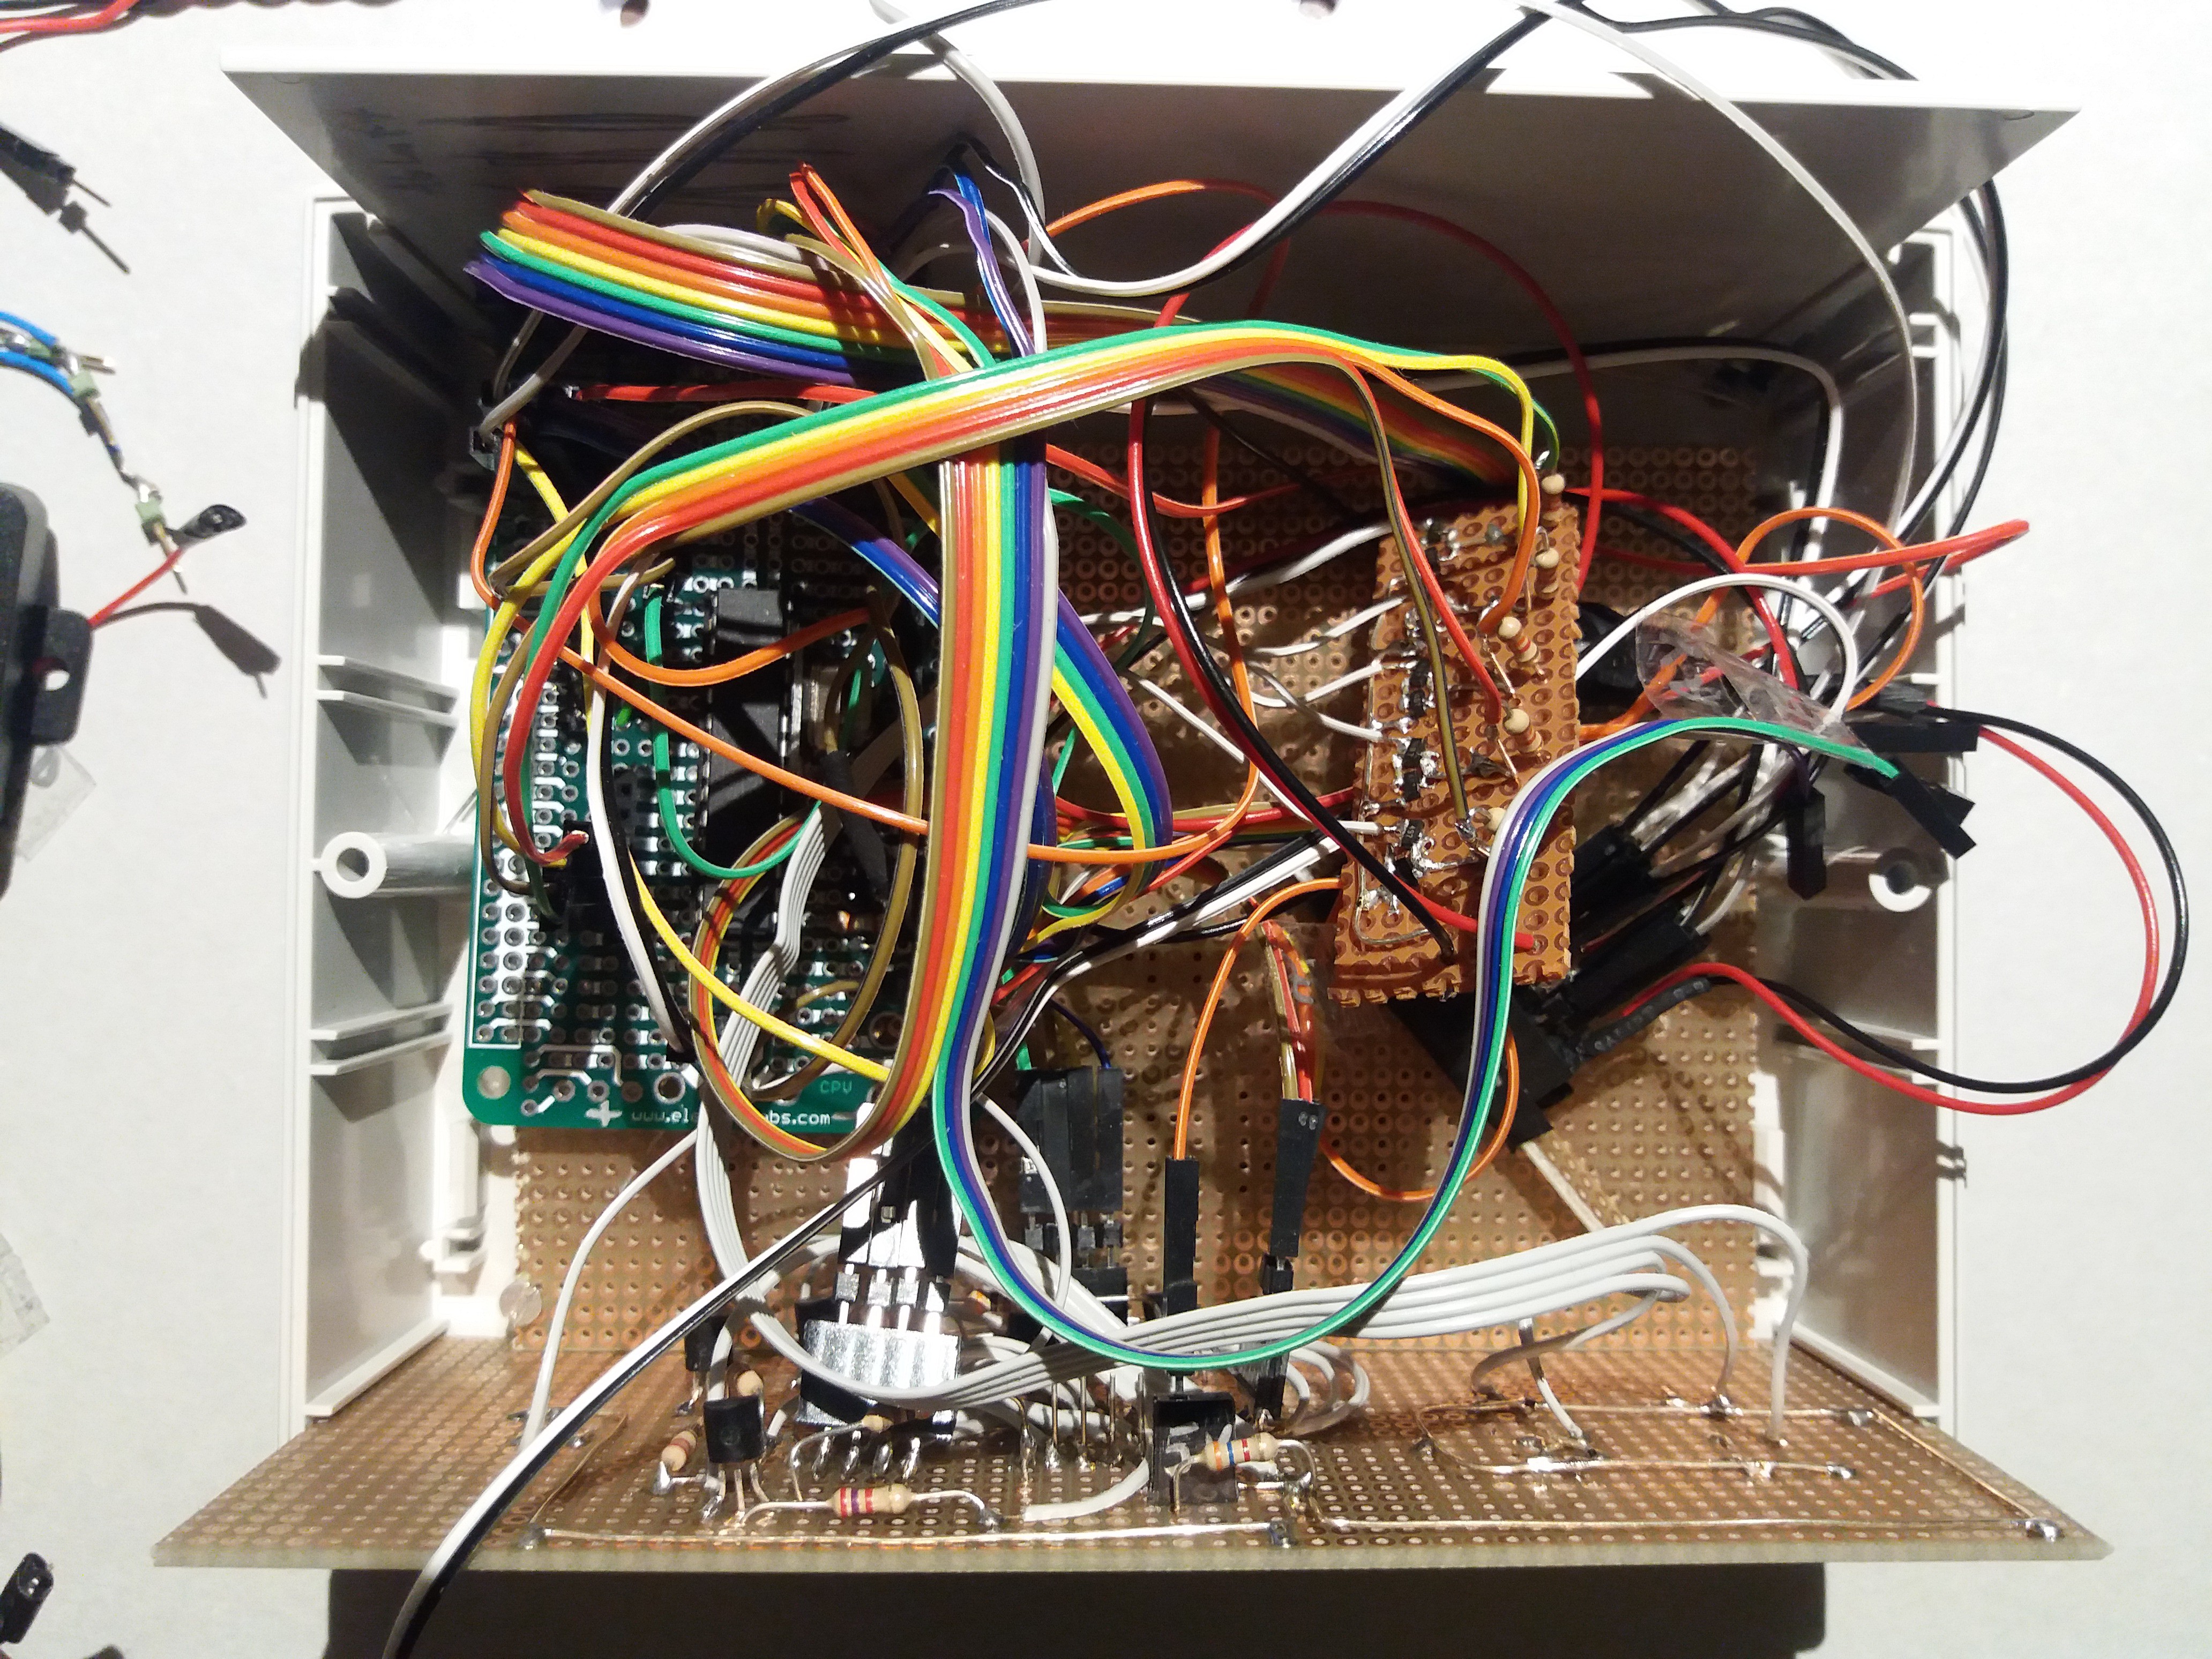
  • Form factor: Should be small and avoid lots of cables

  • 1 × Nextion Enhanced NX3224K028 resistive touch screen by itead.cc
  • 1 × Aduino Pro Micro 5V with ATMega 32u4 and micro USB
  • 1 × Grove - MP3 v2.0 sound playing module
  • 1 × Piezzo buzzer, USB connector plus wiring
  • 1 × USB supplied speaker with less power consumption than left for it

  • Evaluational use

    Chris B08/02/2019 at 17:52 0 comments

    As you might see in the pictures, the aim of this project really was to create a simple prototype quickly. I lasercut the "case", but only with rough dimensions - I of course did not create a CAD model ;) - so I had to manually adapt the holes. The HW is working quite well. There are some ideas about additional features that would be nice, like additonal relay to switch off the USB speakers to reduce current consumption and avoid a (very hardly hearable) humming. Also, activating the screen based on a motion sensor was nice - currently the screen is normally black and you have to touch once to enable it before you can make your settings. But at the moment I am satisfied enough to let the project stay in its current state and I am using it every day (or better night).

    As the main clock-related SW is part of the Nextion display SW, there are only few things done by the SW on Arduino: It is waiting to receive a message from the display and sends messages to the MP3 module like start / stop a sound, increase volume etc.
    During development I created some parameters that can be changed in the "settings" page:
    - standard delta time
    - standard aim time
    - standard starting volume
    - maximum volume
    - nap time
    - snooze time
    - TFT brightness
    - max number of snoozing
    - anti back to bed time

  • Add touchscreen to reduce complexity?

    Chris B07/06/2019 at 20:11 0 comments

    I got an usual consumer alarm clock for christmas. This device had so many switches and knobs - you really had to look some things up in the maual because it was so much non-intuitive. And of course this device did not fulfill all my requirements. Originally I thought that I could use the case and the big 7 segment displays and hack the device by adding some features in form of an integrated arduino as I did in other projects before. But the human-machine-interface (HMI) was too bad because of the complex switch/knob combination. 

    I needed to set the alarm clock quickly (i.e. with few presses - I don't want to press a "minute button" 59 times!) but also wanted to make some settings like standard sleep duration, standard nap-time, standard volume, ... so you cannot add a rotary button for each of this settings/features. So the idea to use a touch-sensitive display came up. I also want to avoid high frequency emissions in my bedroom, so I looked for resistive (not capacitive) sensors on the screen. I found the Nextion touchscreens which have a powerful controller on it and can simply be interfaced via RX/TX communication. 

    There is a Nextion IDE where you can create your different screen pages by loading pictures, placing touch-sensitive areas etc. and program it. It is a little bit like the Visual Studio VB IDE, but the language has some oddities (e.g. at some places "space" is not allowed - unlike in most programming languages). Though there are examples where people developed complete games for these devices.

    With help of this IDE you can place different feature "switches" on different pages which makes it really easy to integrate a lot of functionalities but keeping the overview. I am sending out different commands via RX/TX to the arduino, e.g. for "play alarm sound". You could also send data to the display if you want to do more of the SW logic inside the arduino (in a "good" programming language) and just send the results to be displayed to the screen. I started by scripting in the IDE and was amazed how easy it is and how fast you can make your steps. But with time the SW became more complex and some side-effects occurred, because the IDE and its script language is not made for complex SW. So if I started this project again I would put all the logic into the arduino.

    The arduino currently just listens for commands from the screen and communicates with the sound module to start and stop playing music. As the only HW RX/TX was already in use with the screen communication I used the SW serial for this.

  • Alarm clock projects evolution

    Chris B07/05/2019 at 22:01 0 comments

    Clocks were the first thing that I created when I started with electronics: There was a clock with 7 segment displays without SW / microcontroller, a handy egg-timer (also used to remember to remove the teabag or close windows etc) and so on.

    I started my first real alarm clock project in the time when arduino was not well known yet and so I used to program my Atmegas on register level. I even layouted my own stackable universal PCB for my microcontrollers (see left PCB in the picture below). I have some of them left in my electro corner as I thought I needed a lot of them - but then arduino crossed my way and they became quite obsolete. The PCB on the right side of this picture (usually stacked on the left PCB) is a breadboard-like PCB from elektor and contains some LEDs to show the sleep time, a piezzo buzzer and a button to set the time and stop the alarm.

    This was a quite basic approach that already included the important feature that you can't set the alarm again for the next x minutes after an alarm (anti-snooze-feature). I wanted to avoid that I stand up, stop the alarm (while the brain still resides in a sleep mode) and set it again (because the mental strength module inside the brain has not booted up completely yet).

    That project was quite effective but it lacked some other features that I needed a better display and human-machine-interface for. 

    In addition I used a cheap sound module (that is commonly not working reliably), amplifier module and speaker. So the whole thing became complex as you might see having a look at the wiring:

    But not only the HW side, of course also the SW became quite messy as I wrote all the basic bit-banging SW on myself and my original SW architecture was not designed to handle all the features that came in step for step. 

    So in the end the system worked not reliably and there were a lot of not easily removable heisenbugs etc. 

    I thought that my dream to build the ultimate alarm clock has passed away forever...

View all 3 project logs

Enjoy this project?

Share

Discussions

Starhawk wrote 11/26/2019 at 14:54 point

Alarmingly overcomplex if you ask me... but I just use my phone ;)

  Are you sure? yes | no

Dan Maloney wrote 04/04/2019 at 15:23 point

The struggle against consumer alarm clocks is real. Glad someone has tackled it. Looking forward to details.

  Are you sure? yes | no

Similar Projects

Does this project spark your interest?

Become a member to follow this project and never miss any updates