 Scott Clandinin
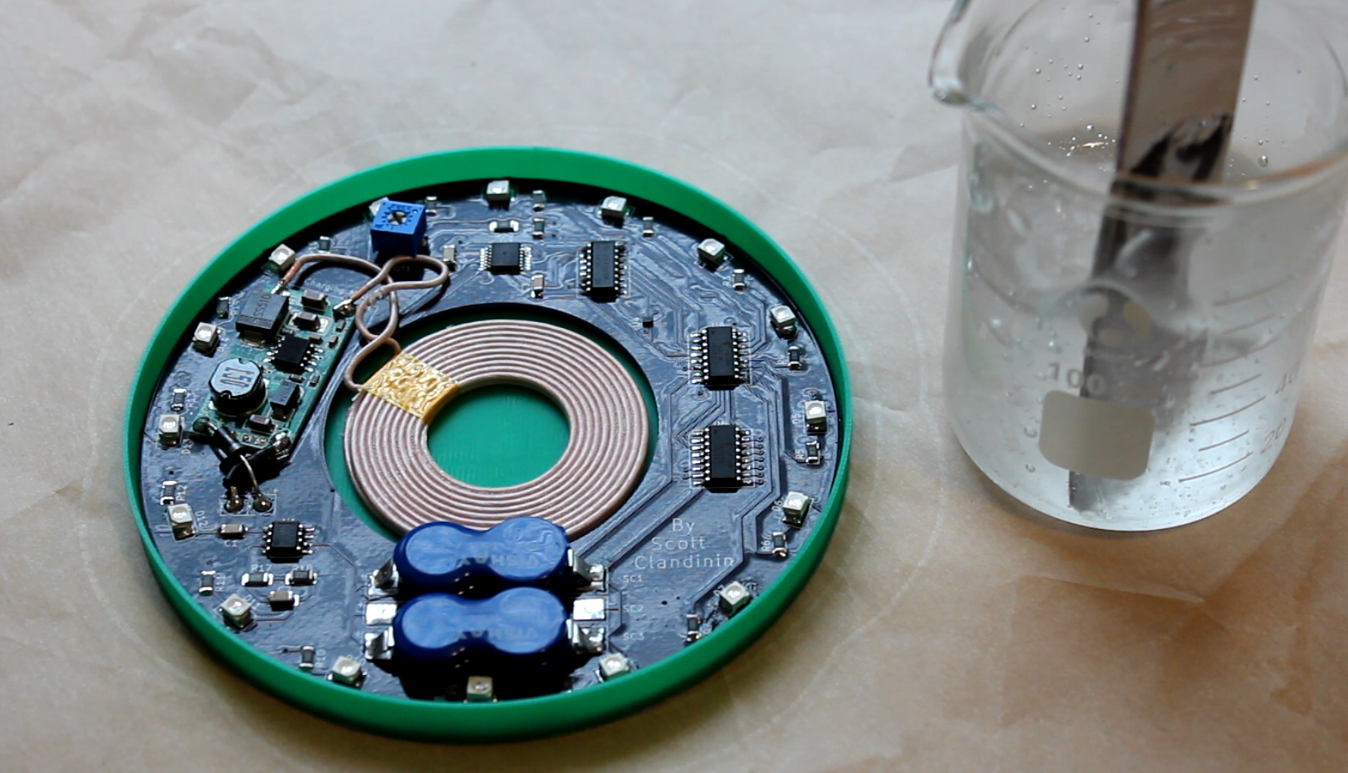
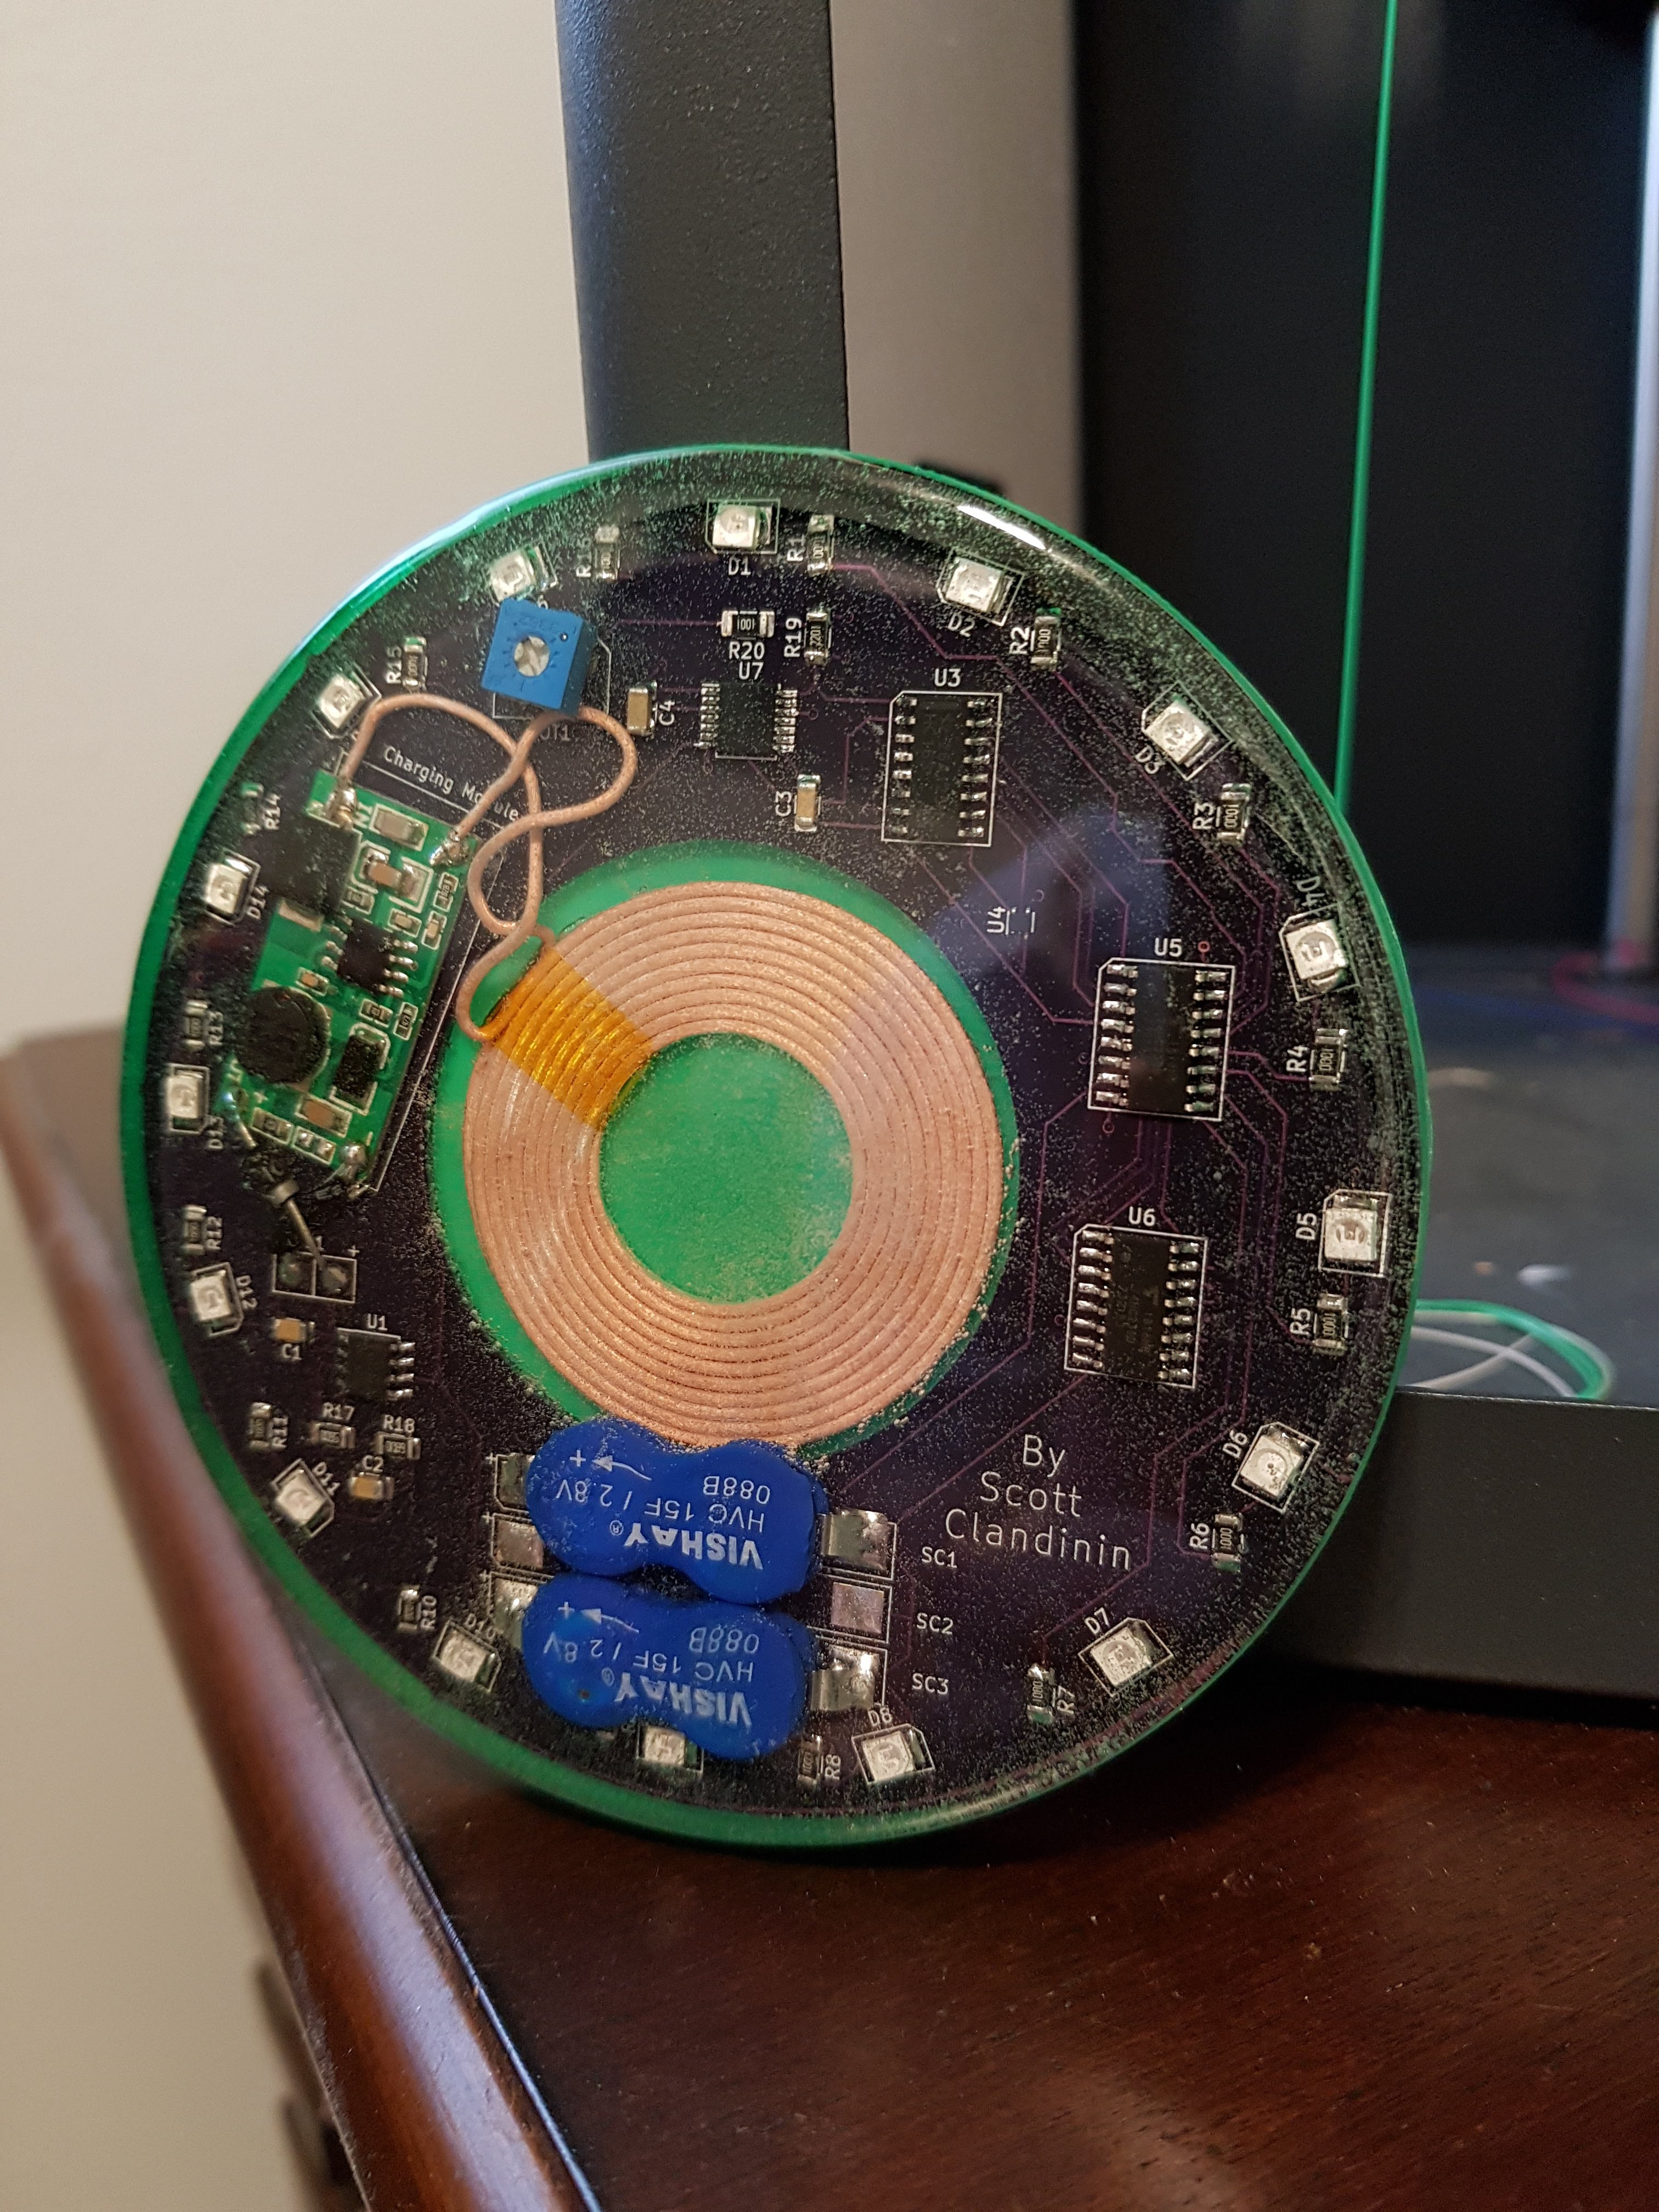
The board was complete and working, the next step was to actually turn it into a coaster. Rather than use a piece of glass or acrylic, I wanted to pour in a clear resin to give it a smooth and seamless finish.
I used art casting resin for this. The way this resin is used is by mixing a resin in with a hardener and pouring in. It was a self-leveling fluid, so all I needed to worry about was putting it on a level surface.
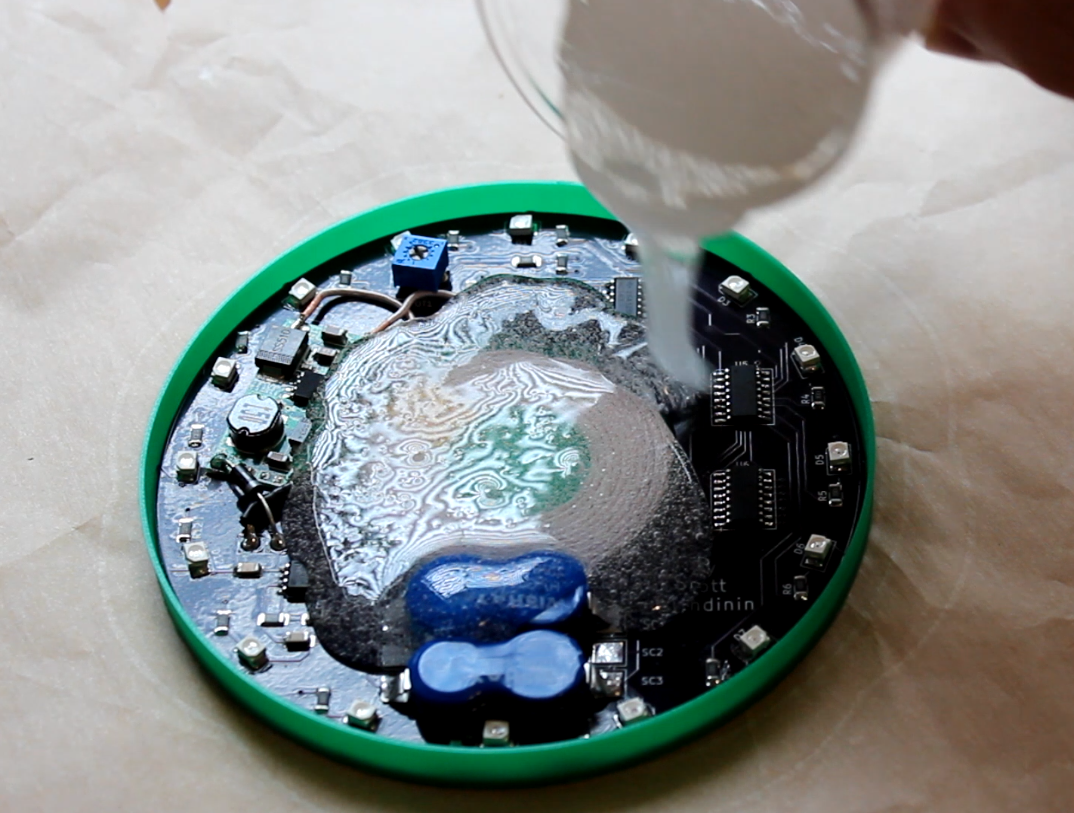
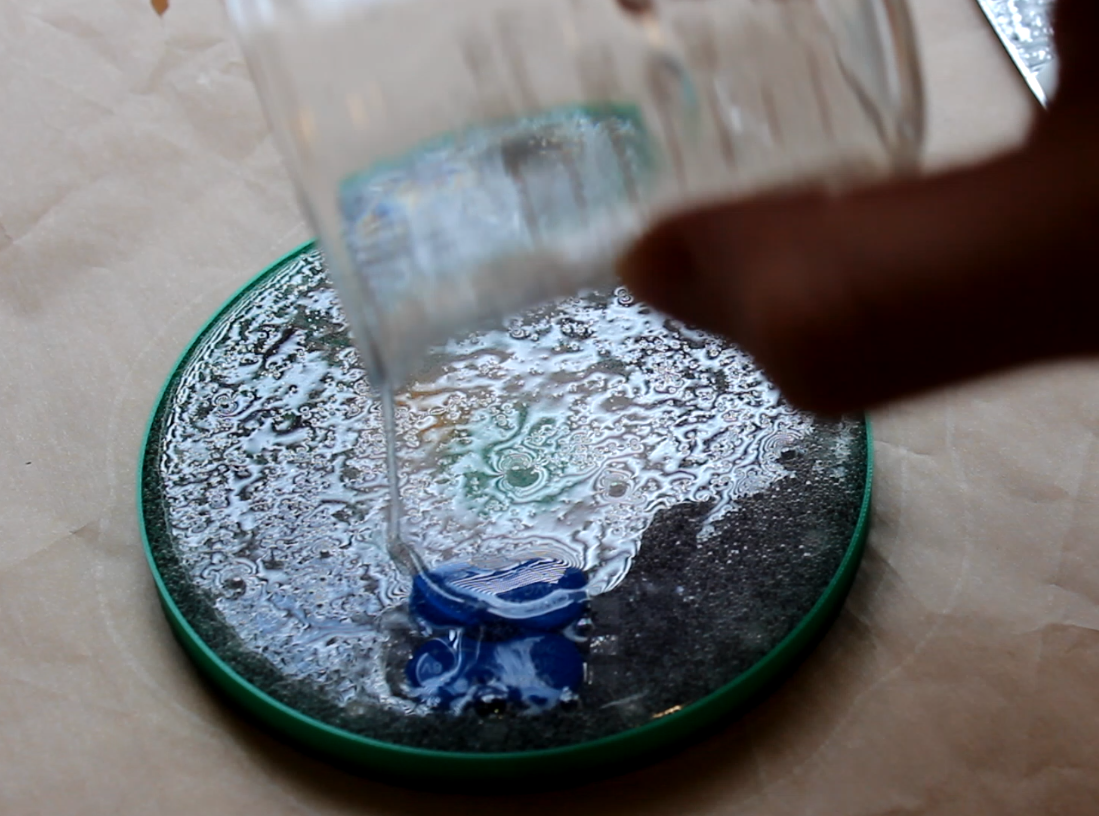
In order to have a clear finish, a lighter or torch must be used on the surface of the resin to bring the air bubbles to the top. A small torch would have done the best job, but I used a lighter as I had it on hand. Care needed to be taken with how long I applied heat to the resin solution, as too much heat could cause damage to the electronics (the insulation on one of the caps was slightly melted). It's key to stay on top of bubbles, as new bubbles will arise even up to 30-40 minutes after the pour.
I would have had a clearer finish with a torch, but the result was decent, albeit a bit cloudy. An error I made was not applying the lighter heat until several minutes after the pour. I waited longer than I should have for it to self-level and clear some bubbles on it's own. After pouring there is only a fairly small window of time before the solution begins to harden.
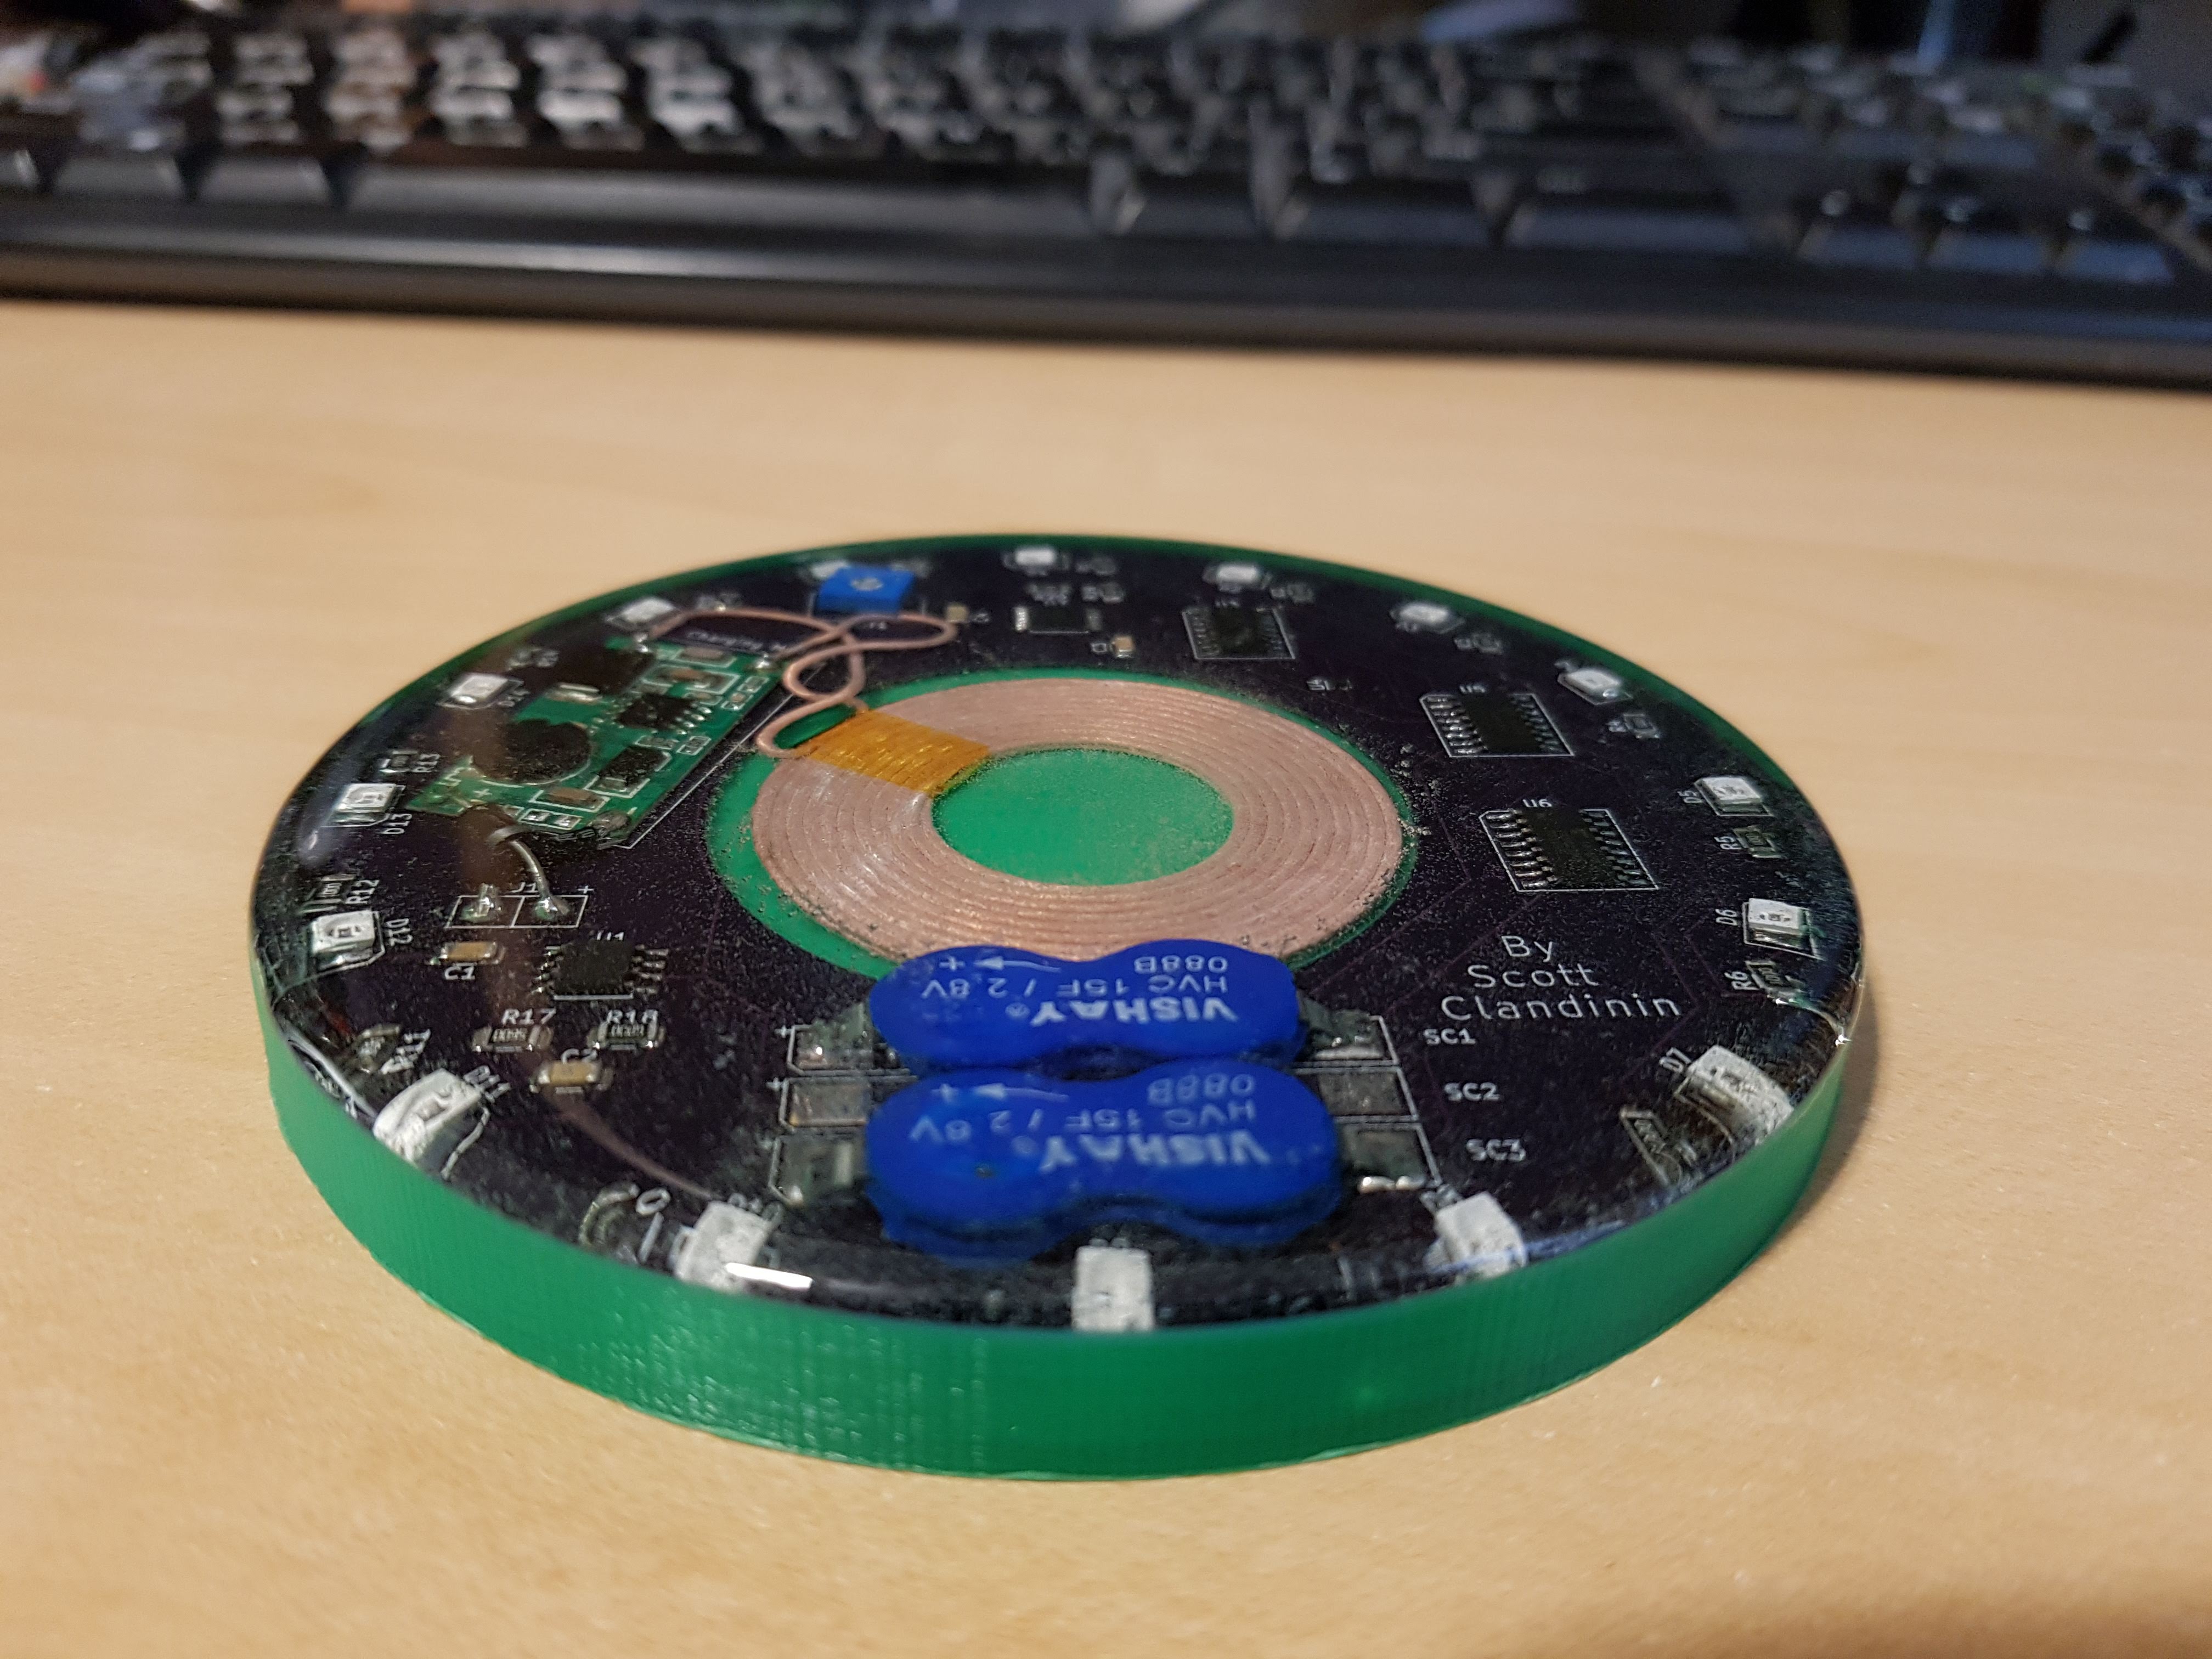
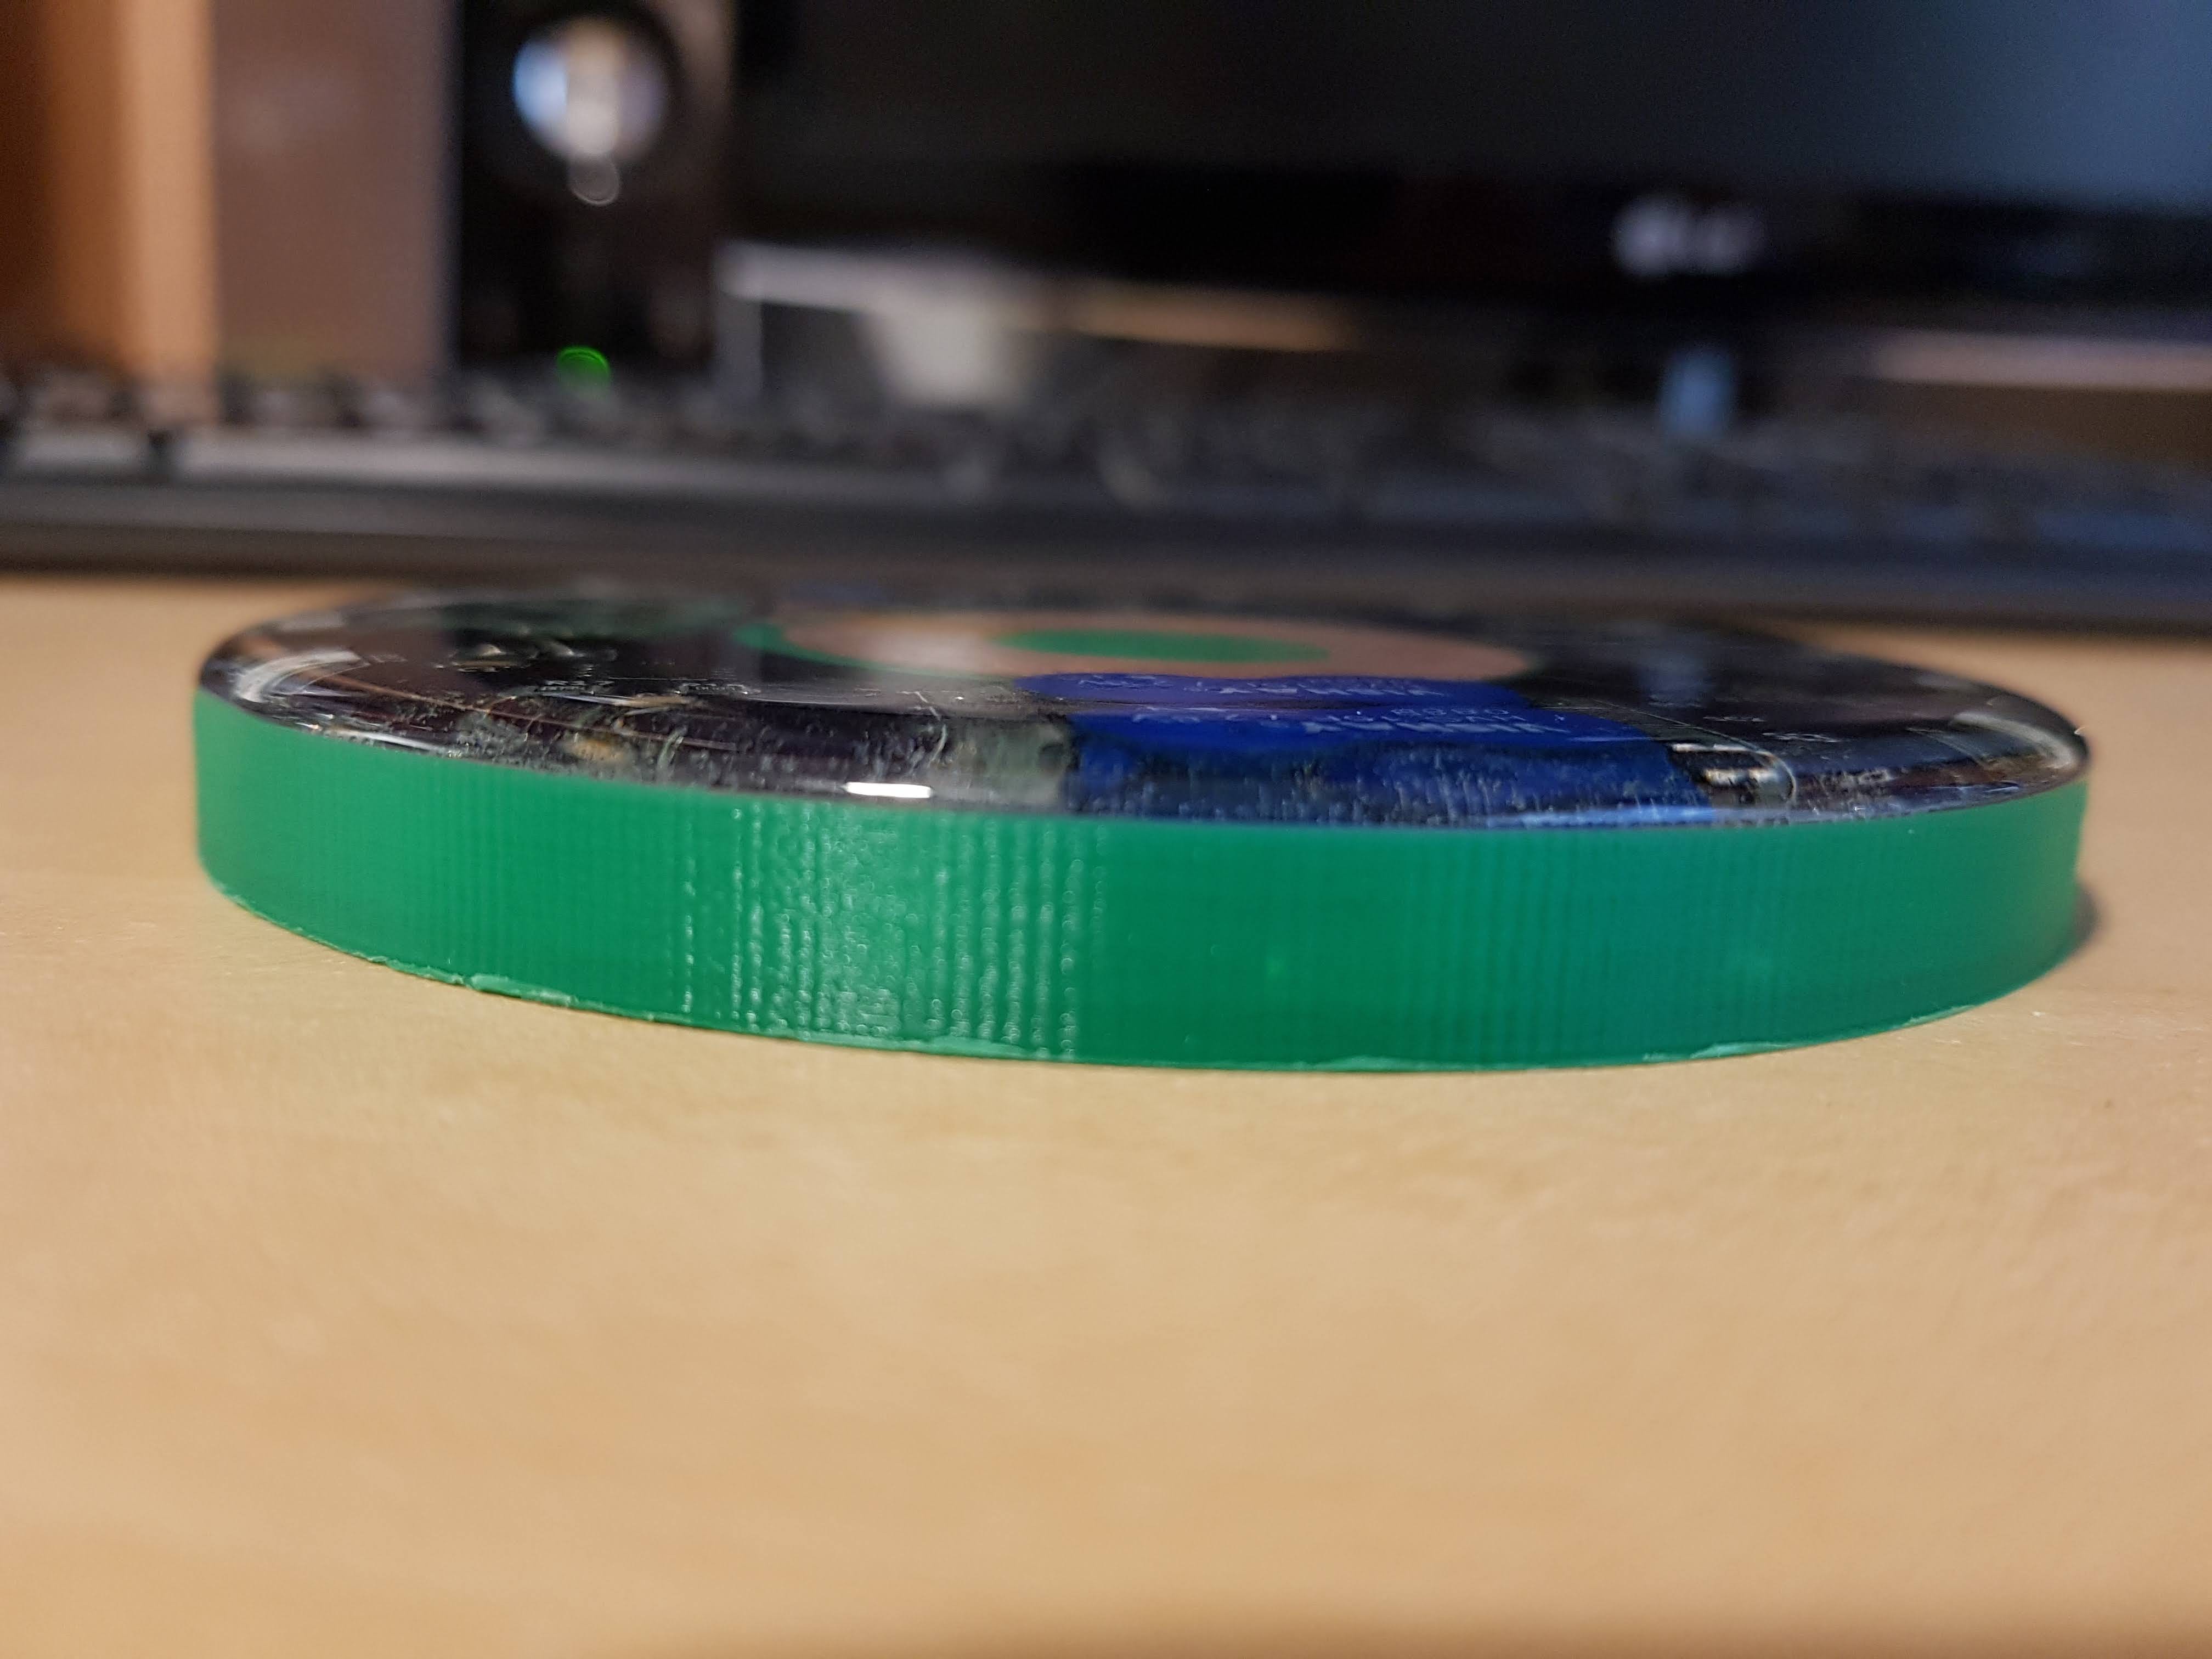
The imperfections are noticeable up close, but from a distance the coaster still looks great. I will took what I learned from this first pour into making the second coaster more clear.
Discussions
Become a Hackaday.io Member
Create an account to leave a comment. Already have an account? Log In.
Could you use a vacuum chamber to get the bubbles out without having to use heat?
Are you sure? yes | no