 AccidentalRebel
Had a good weekend full of progress.
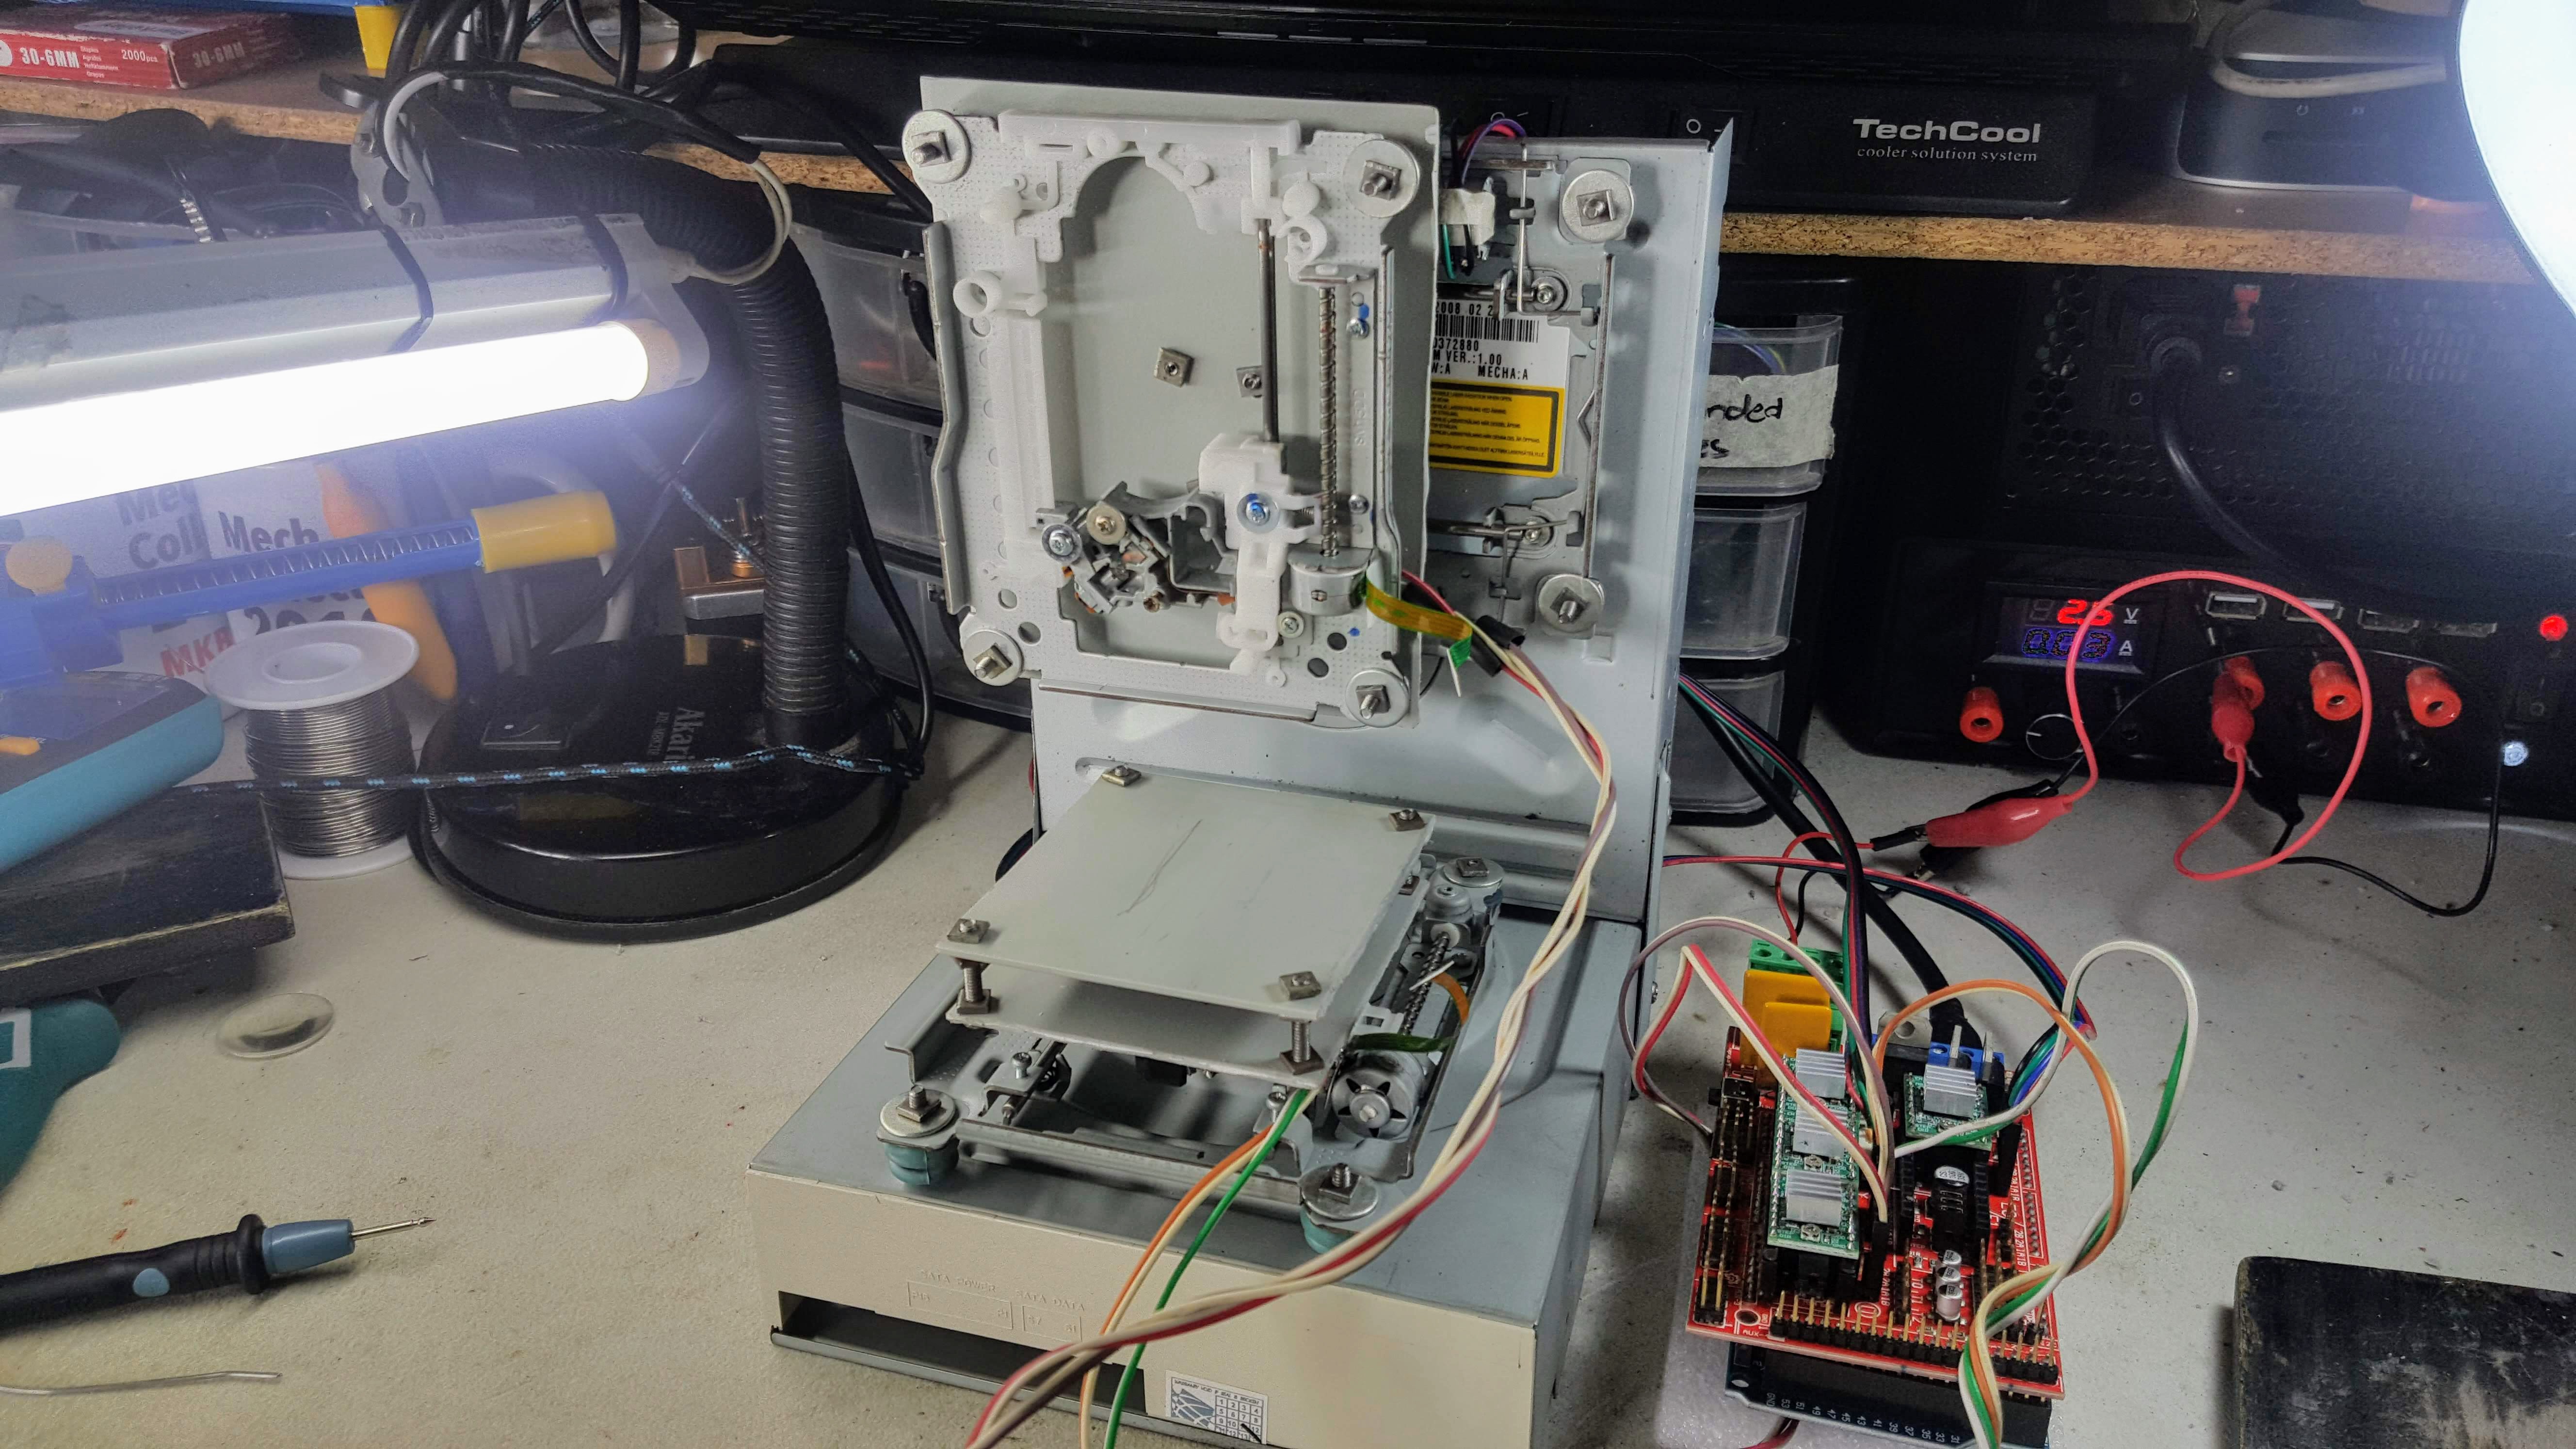
I was able to install all 3 axes. Which means the thing now looks like a proper home made 3d printer.
The printer can now also draw an image on paper. The resulting drawing is crude but the thing works.
Getting the axes to move actually took me awhile to figure out. Turns out the RAMPS 1.4 board won't run execute gcode if no extruder is present. I had to do some modifications to Pronterface and the firmware just so I could temporary disable it.
I also had to disable endstops in the firmware so I could make full use of the limited print bed space as much as possible. I also lowered the movement speeds which helped a lot in the resulting quality of the print.
It became apparent later on how important the spacing of the axes are. As you can see in the image below the X and Z mounts are protruding a lot from the back case effectively making the print area smaller.
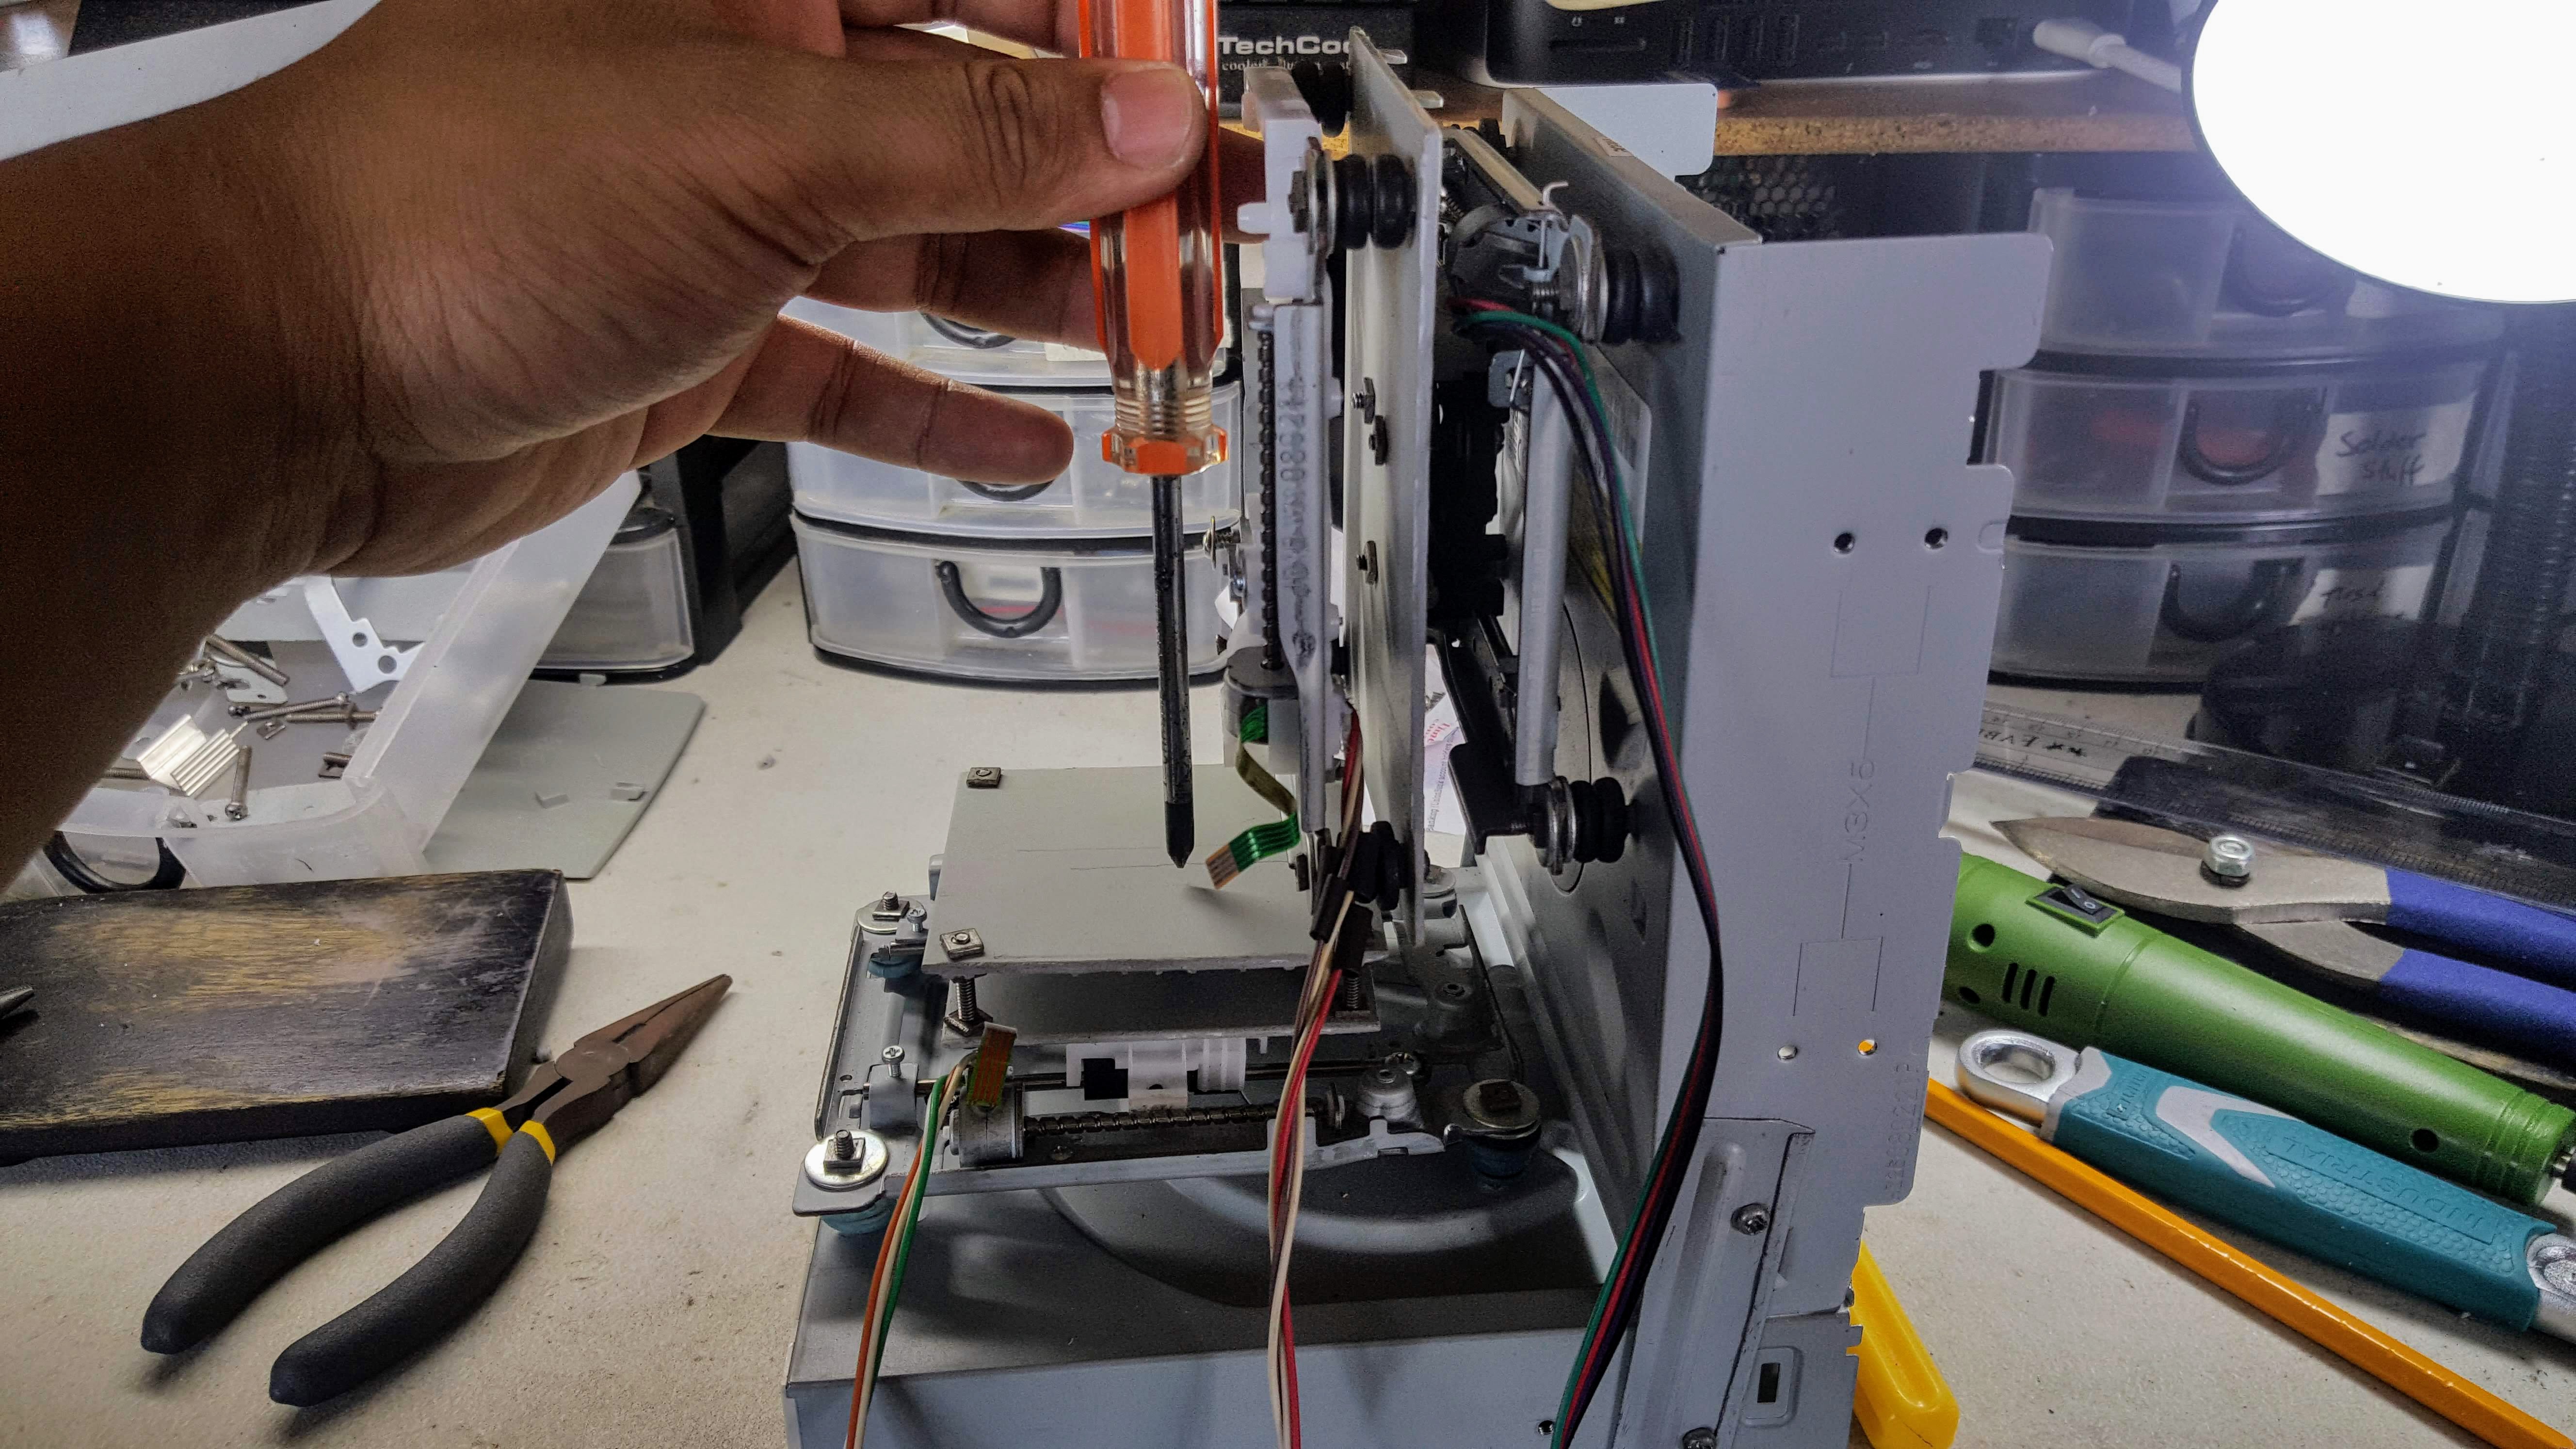
Thankfully, it was easy to adjust everything by altering the nuts an bolts. I had to do a lot of trial and error though but it all worked out in the end.
A big chunk of my time was spent calibrating the printer so it could draw properly. This meant making sure the bed is level, adjusting the print speed, changing values in the firmware configuration, fiddling with Slic3r settings, and lots and lots of testing. There were a lot that I just don't have the time to outline each in detail. I might in the future.
Up next: Mounting the hotend!
Discussions
Become a Hackaday.io Member
Create an account to leave a comment. Already have an account? Log In.