 Scott Swaaley
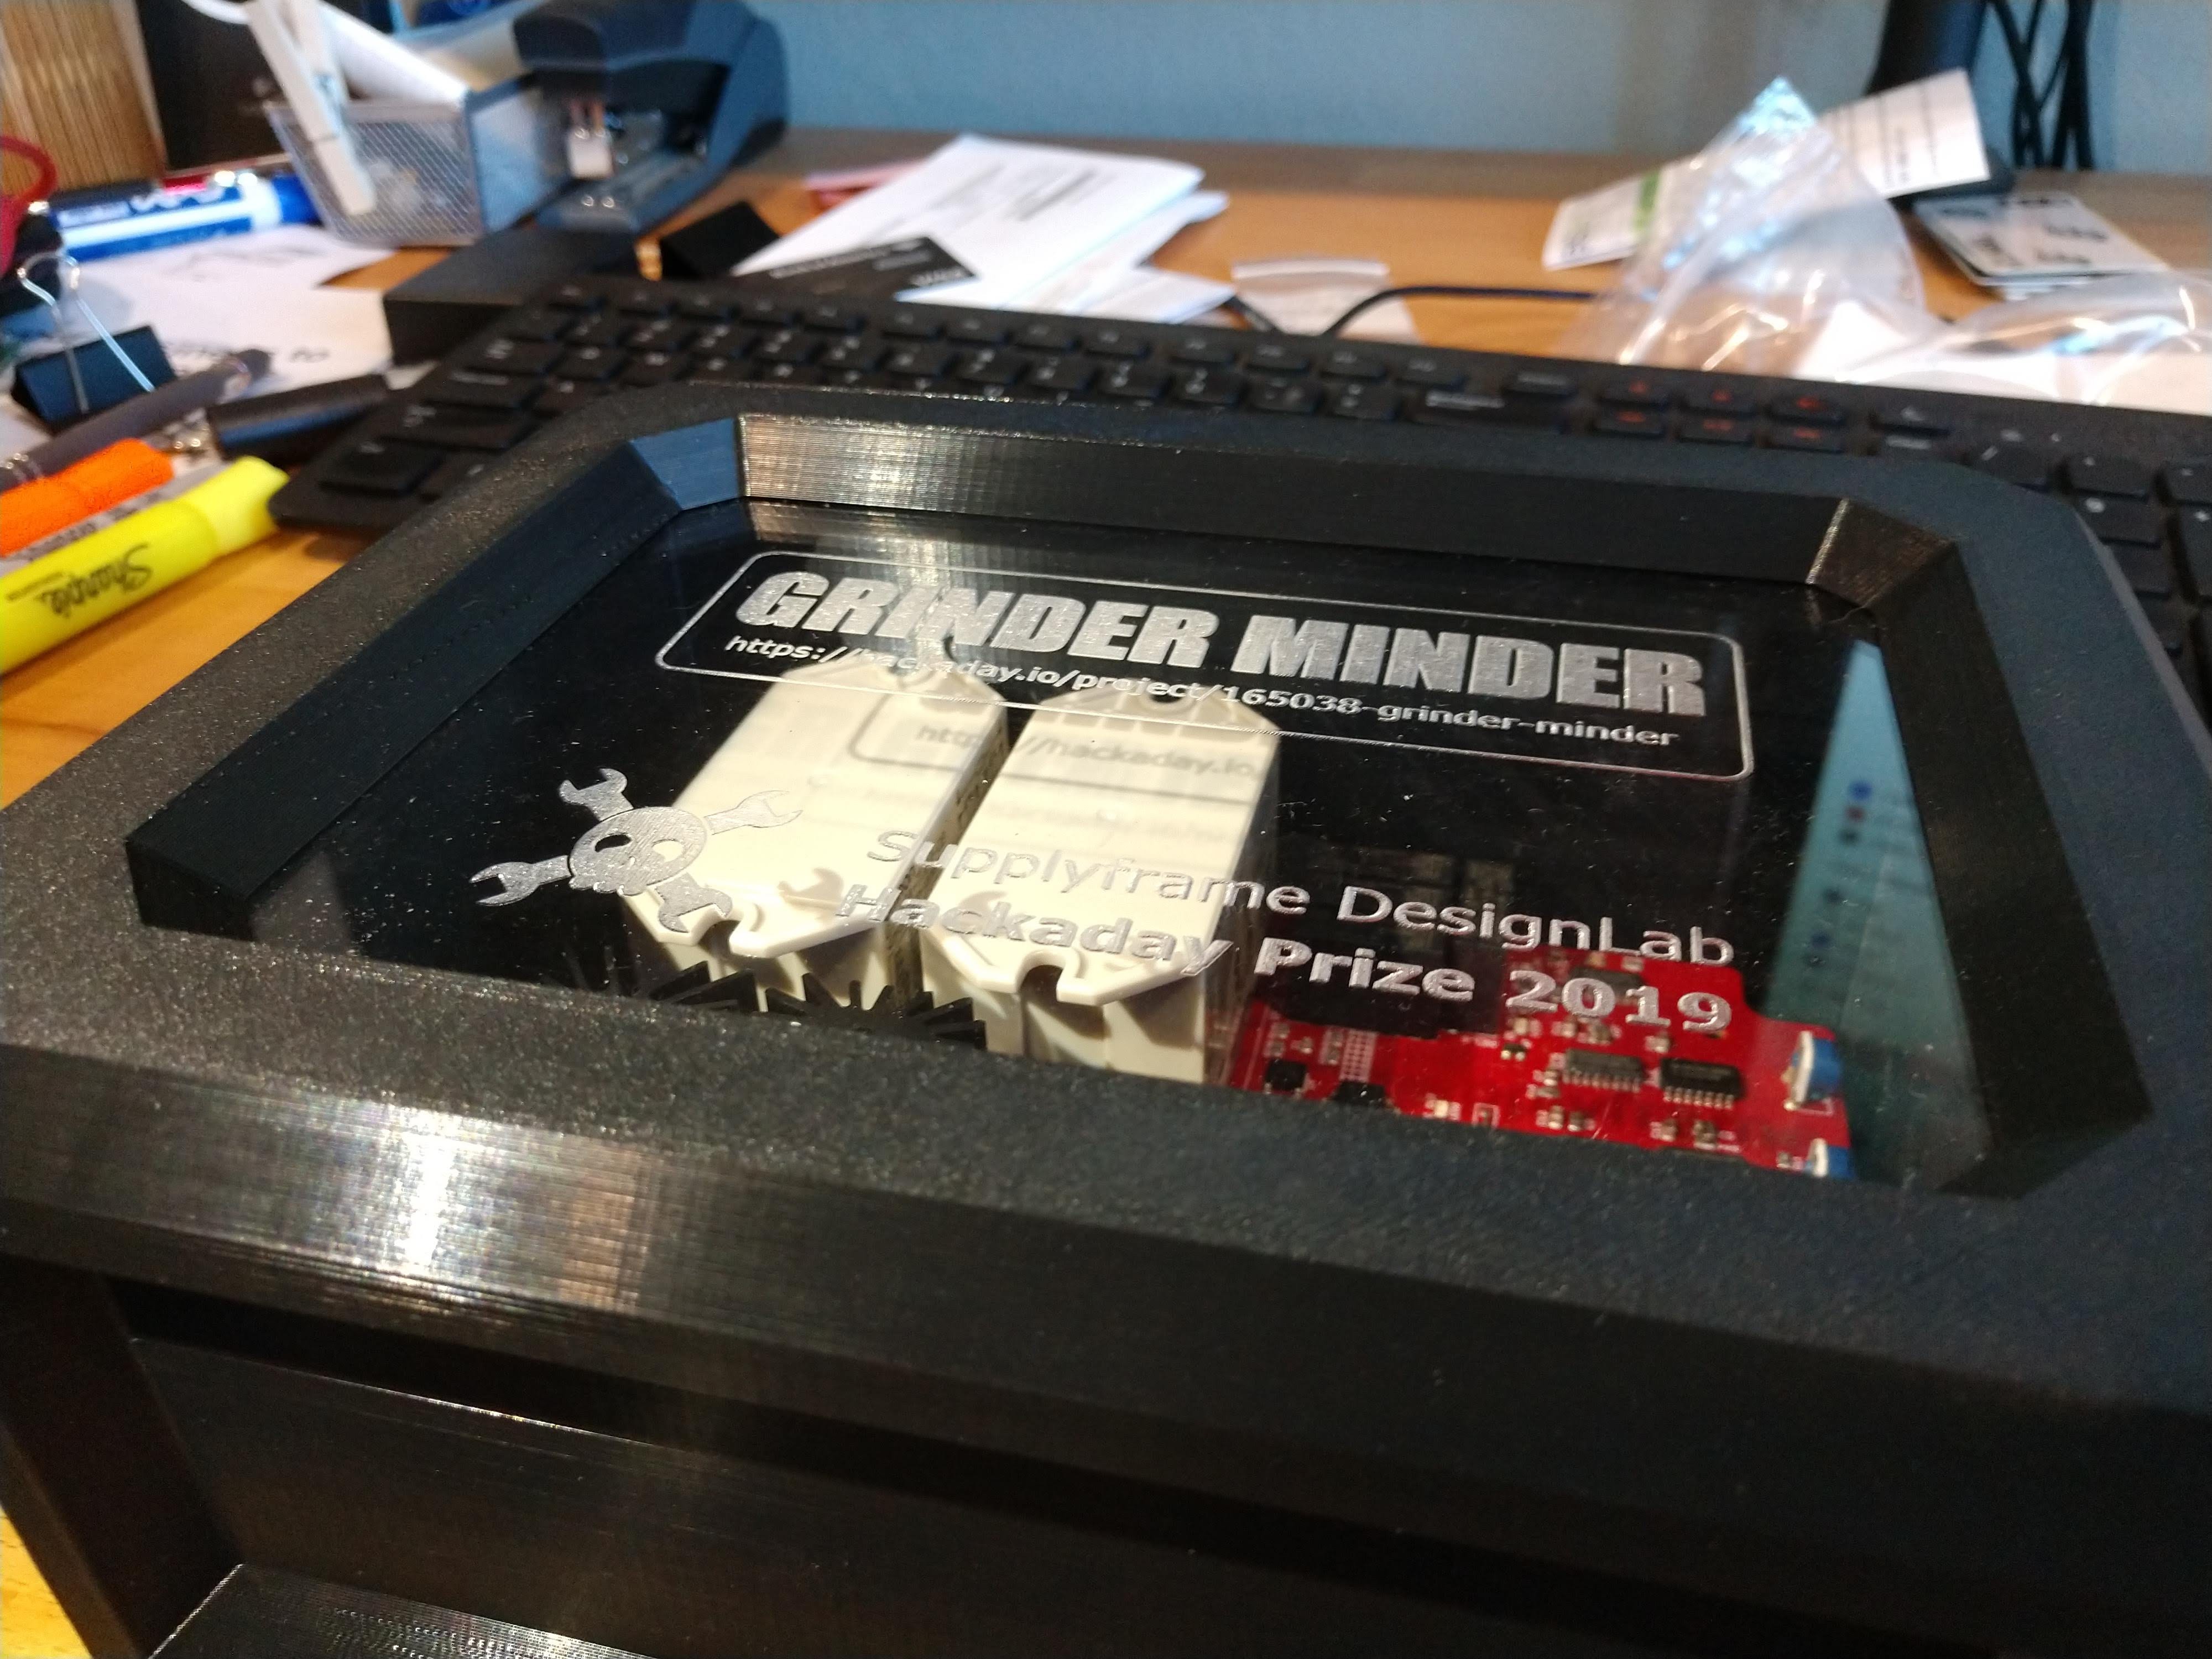
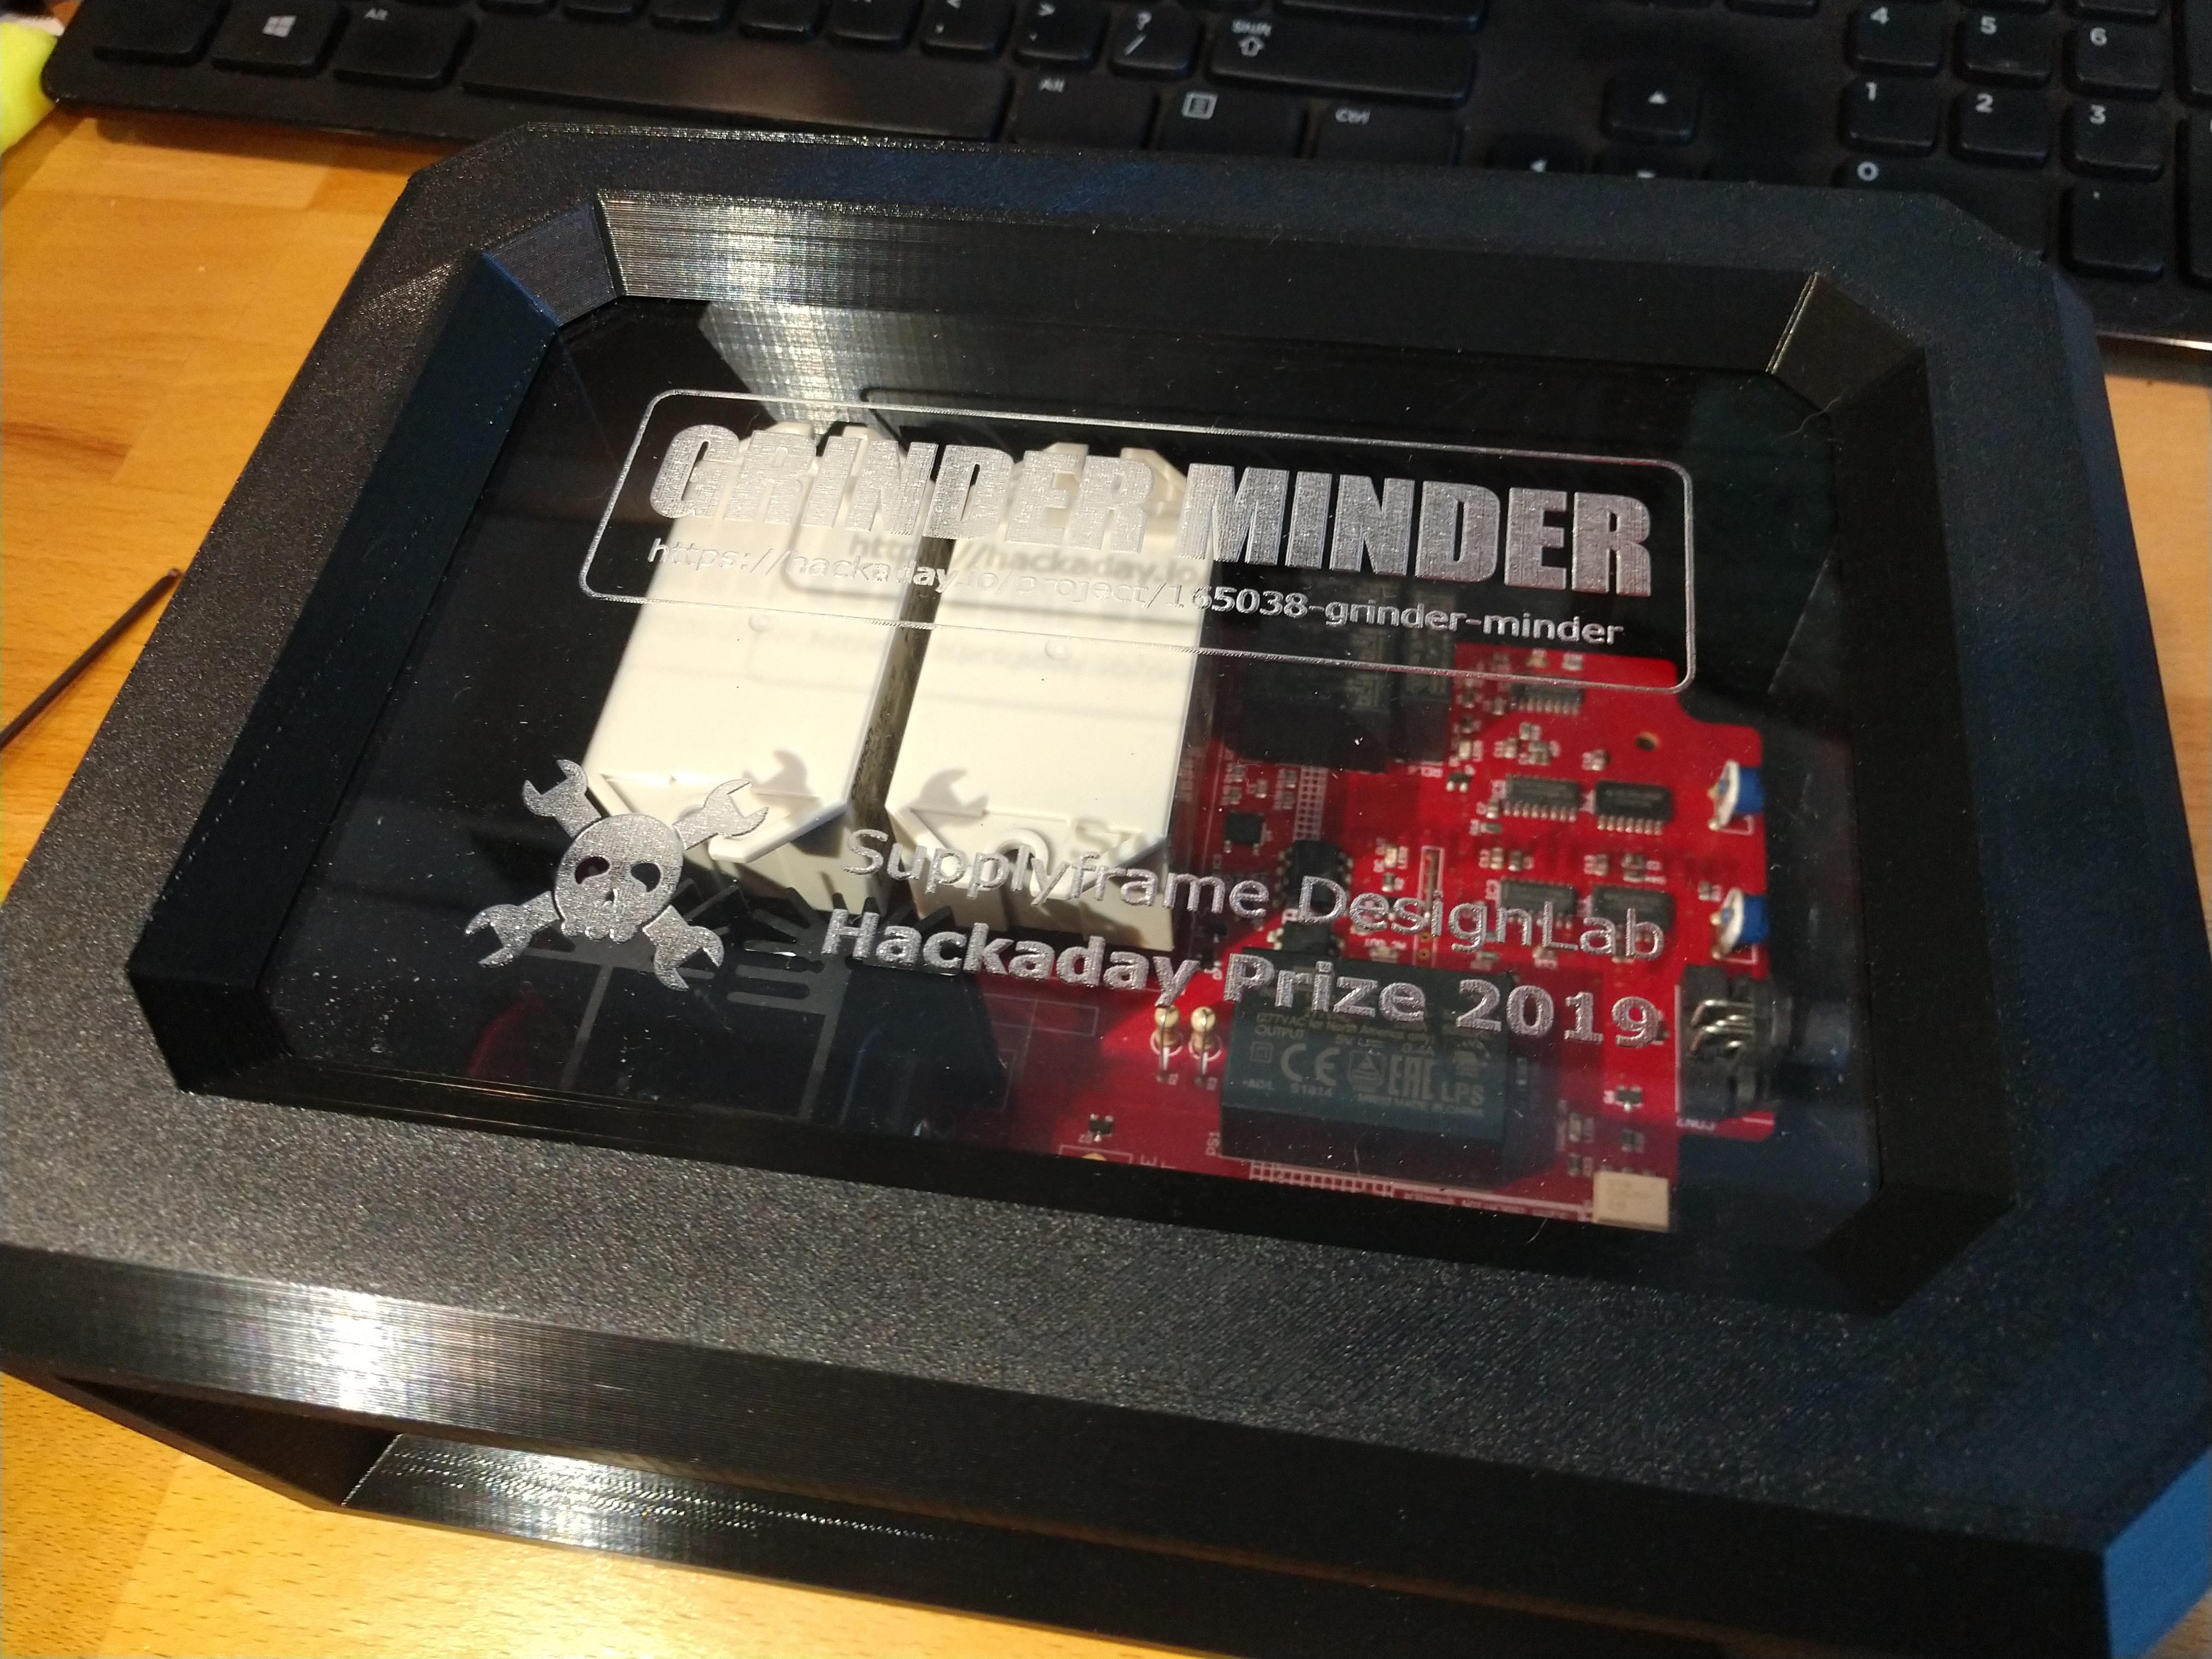
You probably saw in our last project log that the other Scott mocked up an awesome 3D printed enclosure for our newest prototype and there are some photos of the assembly below. As bad ass as it looks - 3D printing isn't practical for the volumes we hope to one day produce so we began to look at our options for enclosures. We aren't industrial designers yet we are keenly aware that our product needs to (a) hold up to abuse in a shop environment (getting stepped on, kicked around the floor, etc.), and (b) look professional, and (c) have some kind of distinct brand shape, color, or markings.
 |
 |
 |
A few months back I met a representative for an enclosure design firm (https://bcmechanicaldesign.com/) at a hackers meetup in Silicon Valley so I gave them a call and got an introductory consult. The basic summary of the call is that a custom enclosure is totally doable with injection molding but the enclosure as designed is a no-go because of the complexity of a mold. Not only have we not considered the draft angle of walls (so the part can release from a mold), but our inset wall profiles would require a mold that has actuated parts that move in and out to mold then release the part ($$). We didn't expect this to be our final enclosure design, but the breadth of design considerations for an injection moldable design was significant. We talked order-of-magnitude cost and there is a fixed tooling cost in the $10,000-$20,000 range, not to mention NREs and design costs. After that the parts themselves are almost negligible in cost but that means the economics don't make sense until we're in the thousands of units. We aspire to that volume - but it's also important for us to be able to bootstrap up and to minimize investment until the product is validated and successful in the market. Also, coming back to the NRTL Listing we'll eventually need to do, custom enclosures require an additional regulatory evaluation of materials and process ($$). The MacroFab Engineering Podcast discussed injection molding a while back and their narrative supported the same things. In other words, injection molding scared us off for now. We'll get there eventually, but it's not a priority at this stage.
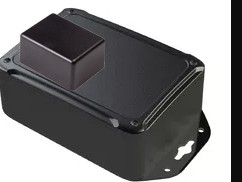
So .... I guess that leaves us fishing for an off-the-shelf enclosure? The enclosures will be much cheaper in low volume but we'll need to mark and machine them ourselves. Again, NRTL listing comes into the mix and we'll need "permanent markings" (a.k.a. super expensive stickers). It's still cheaper for starting off though. There are almost as many enclosures out there as there are connectors but I was able to filter by the NEMA and UL requirements we'll likely need. Namely, that the enclosure, if plastic, has a 94V-2 fire rating or better and can take some physical abuse. If you're curious, this basically means the thing doesn't like lighting on fire and extinguishes itself quickly (test description here). On the physical side, it needs to take a multi-pound steel ball to the face after sitting in an oven for a while, and not deform. With these search criteria we went on the hunt and found a great company (https://www.polycase.com/) that had a wide selection and, most importantly, really good dimensional search functionality on their site. They also offer digital printing and machining services that we could grow into over time. Ok - we like them - moving on.
Using our existing PCB prototype dimensions as a general guide for what size we need, and trying to stay relatively low profile, we started the search. Despite their great search functionality, we ended up parsing one of their pages and put 33 of the ones we likes into our own matrix (screenshot below, excel sheet in project files).

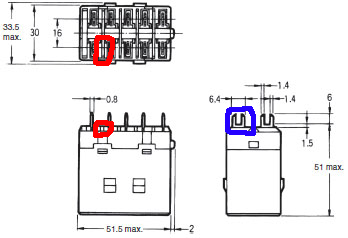
Turns out that our relays are too damn tall for most of them. Ugh. If we get an internal height that is tall enough, then the box is obtrusively large and mostly empty. Hrm. We were able to find a "PC PIN STYLE" (in blue) variation of the relay (though it's hard to source) and also could, theoretically, make a cutout on the PCB and pass the plastic isolator (in red) through but that only gets us a a few mm. Maybe it's time to LITERALLY think outside the box.
And finally, our next idea. Can we take one of the nice low-height off-the-shelf enclosures, cut a hole in the top, and put a small enclosure on top of it. Check out the sloppy Photoshop mock-up below to see what I mean.
Don't make fun of this idea yet ... I think it could work, look professional, be cheap to make, and give us a unique brand look. We'll let you know once we mock this up in real life.
Discussions
Become a Hackaday.io Member
Create an account to leave a comment. Already have an account? Log In.