0%
0%
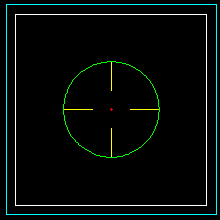
A Simple DXF Output Library
Here is a simple DXF output library that may or may not be supported by your CAD package.
 agp.cooper
Become a Hackaday.io member
Already have an account? Log in.
Just one more thing
To make the experience fit your profile, pick a username and tell us what interests you.
Pick an awesome username
hackaday.io/
Your profile's URL: hackaday.io/username. Max 25 alphanumeric characters.
Pick a few interests
Projects that share your interests
People that share your interests


 Capt. Flatus O'Flaherty ☠
 jeroen
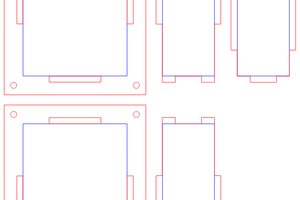
Good project. You can have great success in teaching technology in colleges. I work as a teacher and also a writer at https://supremestudy.com/ and for a long time, I help to write project texts for scientists. Yours is very beautiful. I hope you will be able to advance your experience to a high level.