 Leonardo Miliani
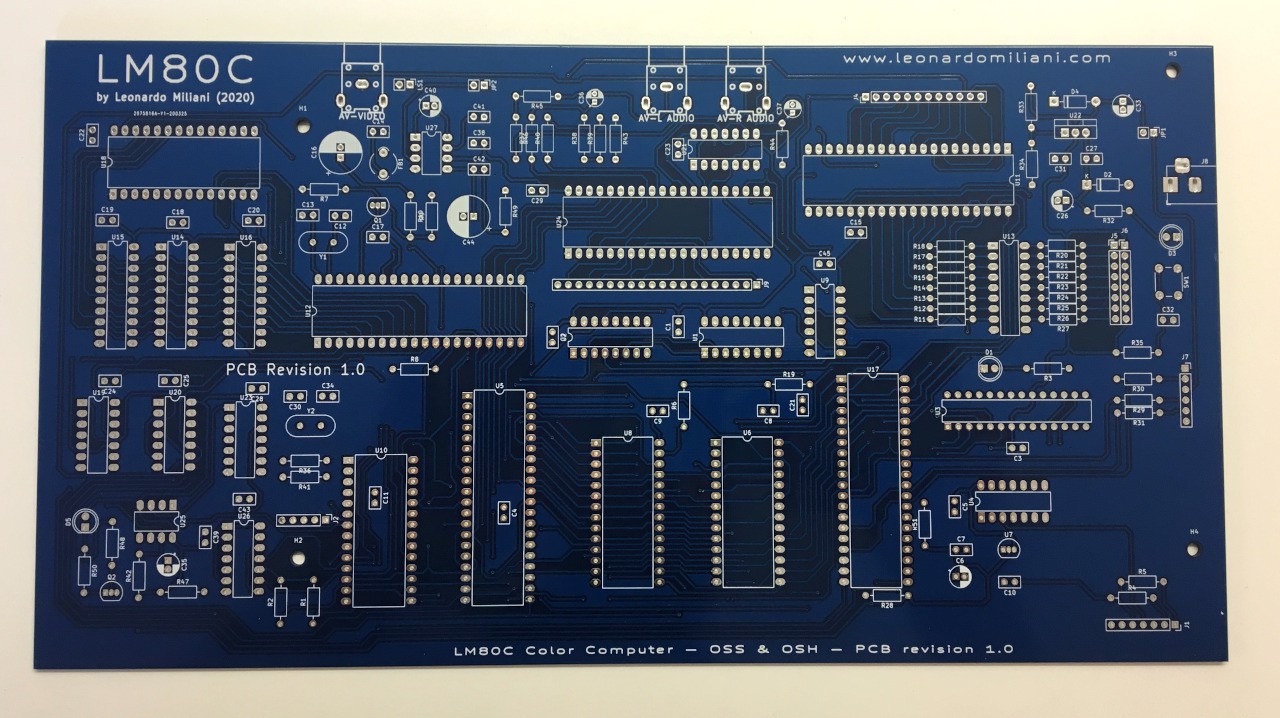
Finally… I did it! I made the PCB, working for several weeks designing lines and placing components with KiCAD, to get the final board that you can see in the picture below:
After I received I spent a couple of days by soldering the components, and another day by checking the connections… and eventually I found a couple of issues. Careful, not design errors, just my missings when I reported the prototype circuit into the schematic. I left a pull-up resistor (that I soldered on the back face of the PCB) and I inverted the connections of the I/O ports A & B of the PSG (this has been easy to fix: I just inverted the references of such ports into the code).
I also encountered a little problem with the capacitors’ capacitance of the VDP crystal that lead to a B/W image: I ordered a different component from a differend seller but I forgot to re-evaluate their value (changed them and fixed the issue). Lastly, I discovered that the AY-3-8910 I bought from Chine a couple of months ago was, most likely, a fake/faulty chip and got no sound nor keyboard scanning. Replaced it with the YM2149F I was using on my prototype and everything went fine.
Here is the assembled PCB:
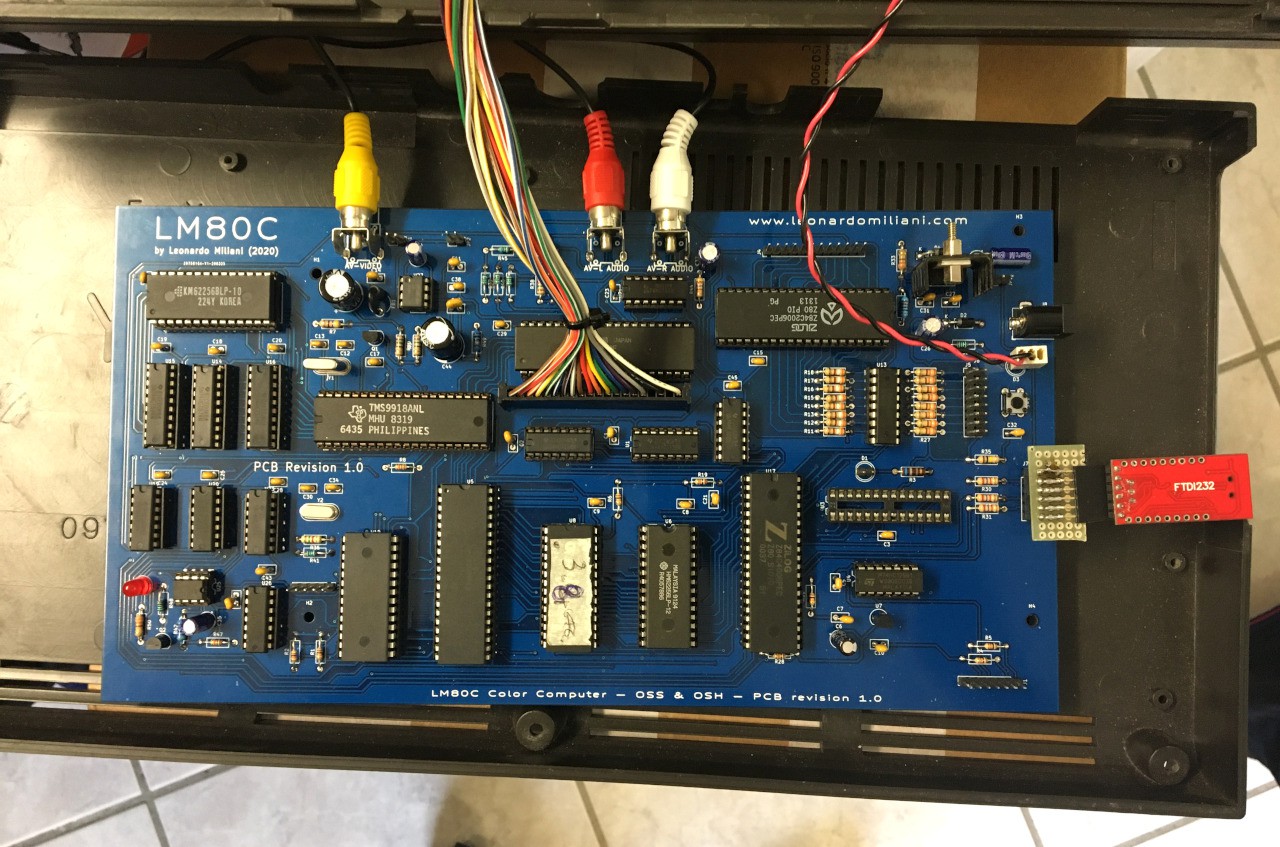
(The socket with no chip on the right, near the UART/USB converter, will be used in a future step to access to an SD card to be used as a mass storage).
I also encapsulated my computer into a case of the time, because I wanted that the feeling of using a real 8-bit computers of the ’80s was full. To get it, I used the C16 case that I got together with the keyboard. This is the final result:
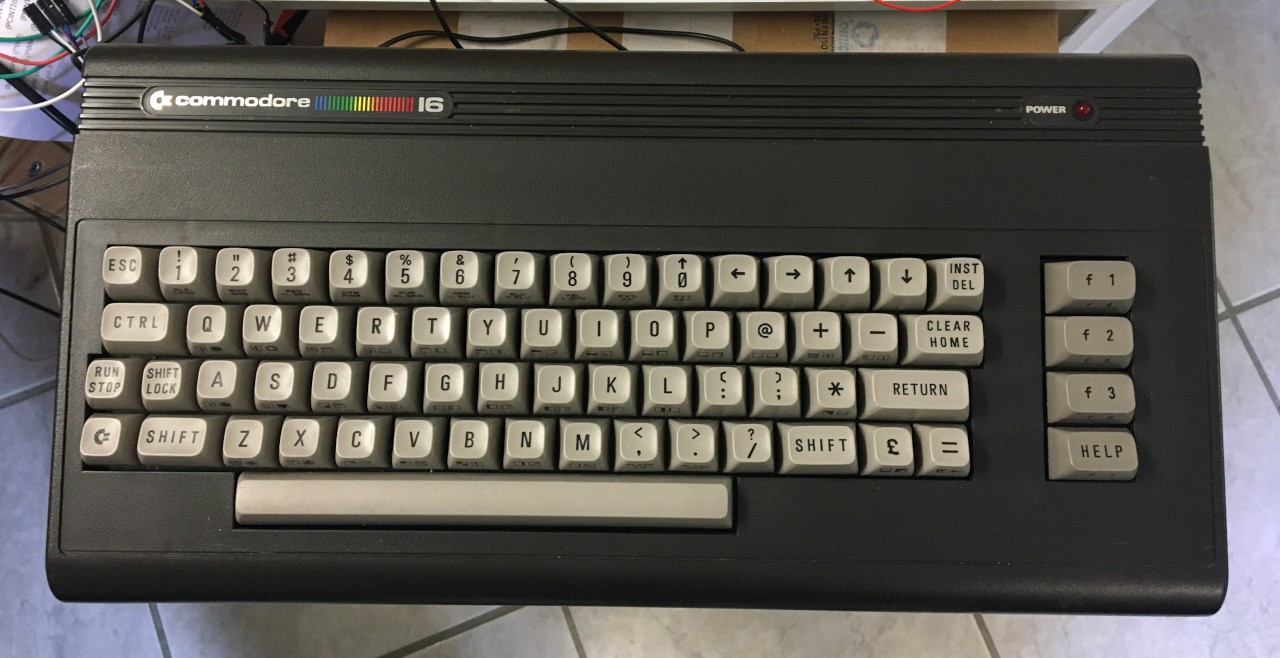
Looks impressive, isn’t it? It seems a real C16, even it’s my LM80C! The next step is to make some adaptations to let the internal connectors go out properly (I missed some holes for just a couple of cm…) and then I have to put the status LEDs onto the top part of the case. And, of course, change the name of the label on the left…
Discussions
Become a Hackaday.io Member
Create an account to leave a comment. Already have an account? Log In.