 Leonardo Miliani
Hello everybody. After a while I’m back with interesting news! I’m glad to introduce you the LM80C Color Computer 64K. This is the V2 release of my homebrew computer built around the Zilog Z80 CPU. A lot of things are changed since V1 hardware, most importantly the main RAM, increased to 64K.
LM80C 64K
Since the Z80 can address only 64K of memory, to be able to address the 32K ROM and the 64K RAM a trick has been used. Other computers of the past, like the C64 for example, had 64K of RAM but to let the computer be user-friendly the developers adopted bank switching mechanisms to disable the ROM or the RAM or to switch between them in particular conditions: on the C64, if the user tried to wrote in a memoery area used by the system, the operating system disabled the ROM, wrote on the underlying RAM, then re-enabled the ROM. I decided to solve the problem using a different approach: instead of jump between RAM and ROM according to the situation, I simply copied the whole ROM contents into the RAM.
When the user powers up the computer, the usual check to see if it’s a cold or warm start is performed. For a cold start, the bootloader copies the firmware from the first bank of 32K memory (occupied at startup by a ROM chip) into the second bank (from $8000). Then, jumps into the RAM continuing to execute the switching code, that disables the ROM bank and enables another 32K RAM bank. Now, it copies the whole firmware again on the first bank (from $0000) and then resume the original boot code. The bank switching is performed using a PIO line, so with just a simple OUT instruction. I also want to disappoint who thinks that the operation is too slow: by using the LDIR instrucion of the Z80, the double transfer (from ROM to RAM, and then from RAM to ROM) only takes 0.2 seconds!
In this way, the BASIC interpreter can access all the memory left free (about 44K). If the user need the whole amount of memory RAM (64K) for his/her needs, he/she just has to write a little loader in a portion of the RAM and simply overwrite the original firmware.
But that is not the only change. Now the VDP can benefit of 2x 16K VRAM banks to store 2 different video buffers and a serial switch to isolate the serial port in case the computer hasn’t opened the serial line yet. The trick is the same used for the ROM/RAM switching: a PIO line wired up to an address pin of the VRAM chip.
Lastly, I’ve added a 4066 Switch to isolate the SIO pins when the serial line is not used or is disabled for any special event (i.e. buffer overrun).
Here are the complet set of features of the new hardware:
- CPU: Zilog Z80@3.68 MHz
- Main memory:
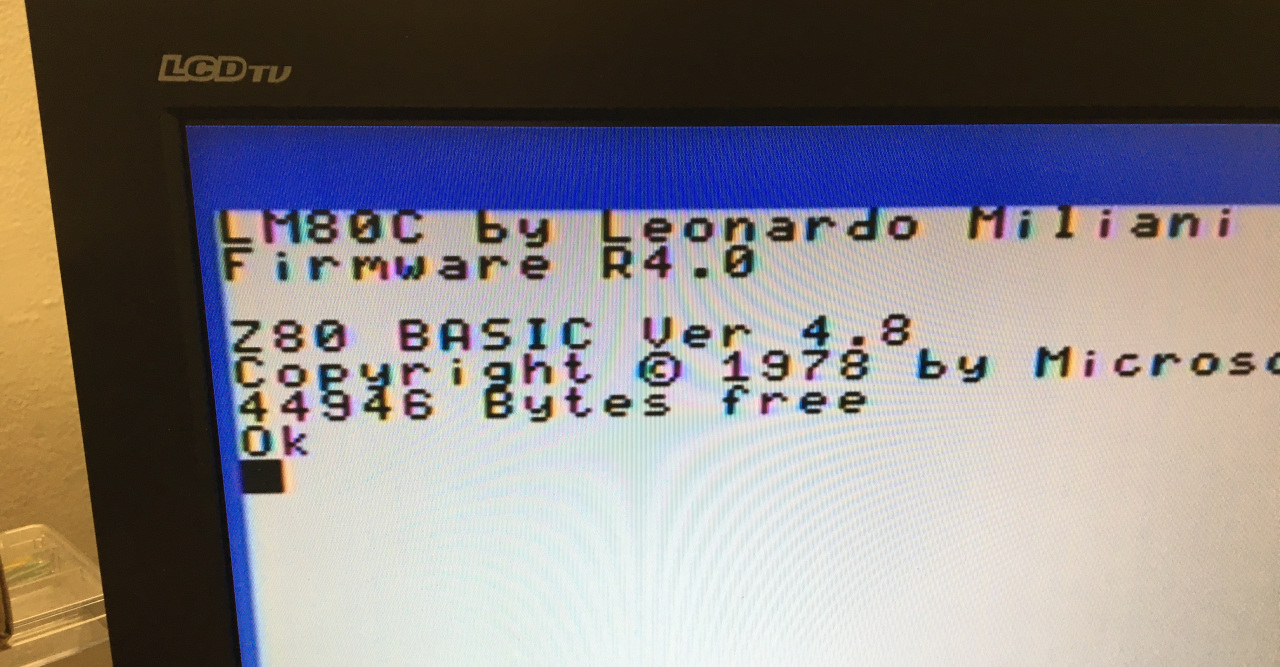
- 32K ROM with LM80C BASIC (an extended version of Microsoft BASIC 4.7) with special instructions to manage graphics and sound
- 64K SRAM, of which 44K available under BASIC
- Graphics:
- VDP TMS9918A
- 32K VRAM (2x 16K banks)
- 256×192@15 colors
- 32 sprites (monoc.)
- Sound:
- YM2149F (or AY-3-8910)
- 3 analog channels
- 8 octaves
- 2×8-bit ports (used to read an external keyboard)
- I/O:
- Z80 SIO (2x serial ports with software-programmable bps)
- Z80 PIO (2x 8-bit parallel ports – of which one is used to set up the system peripherals)
- Z80 CTC (timer/counter, used to provide serial clock and system tick mechanism)
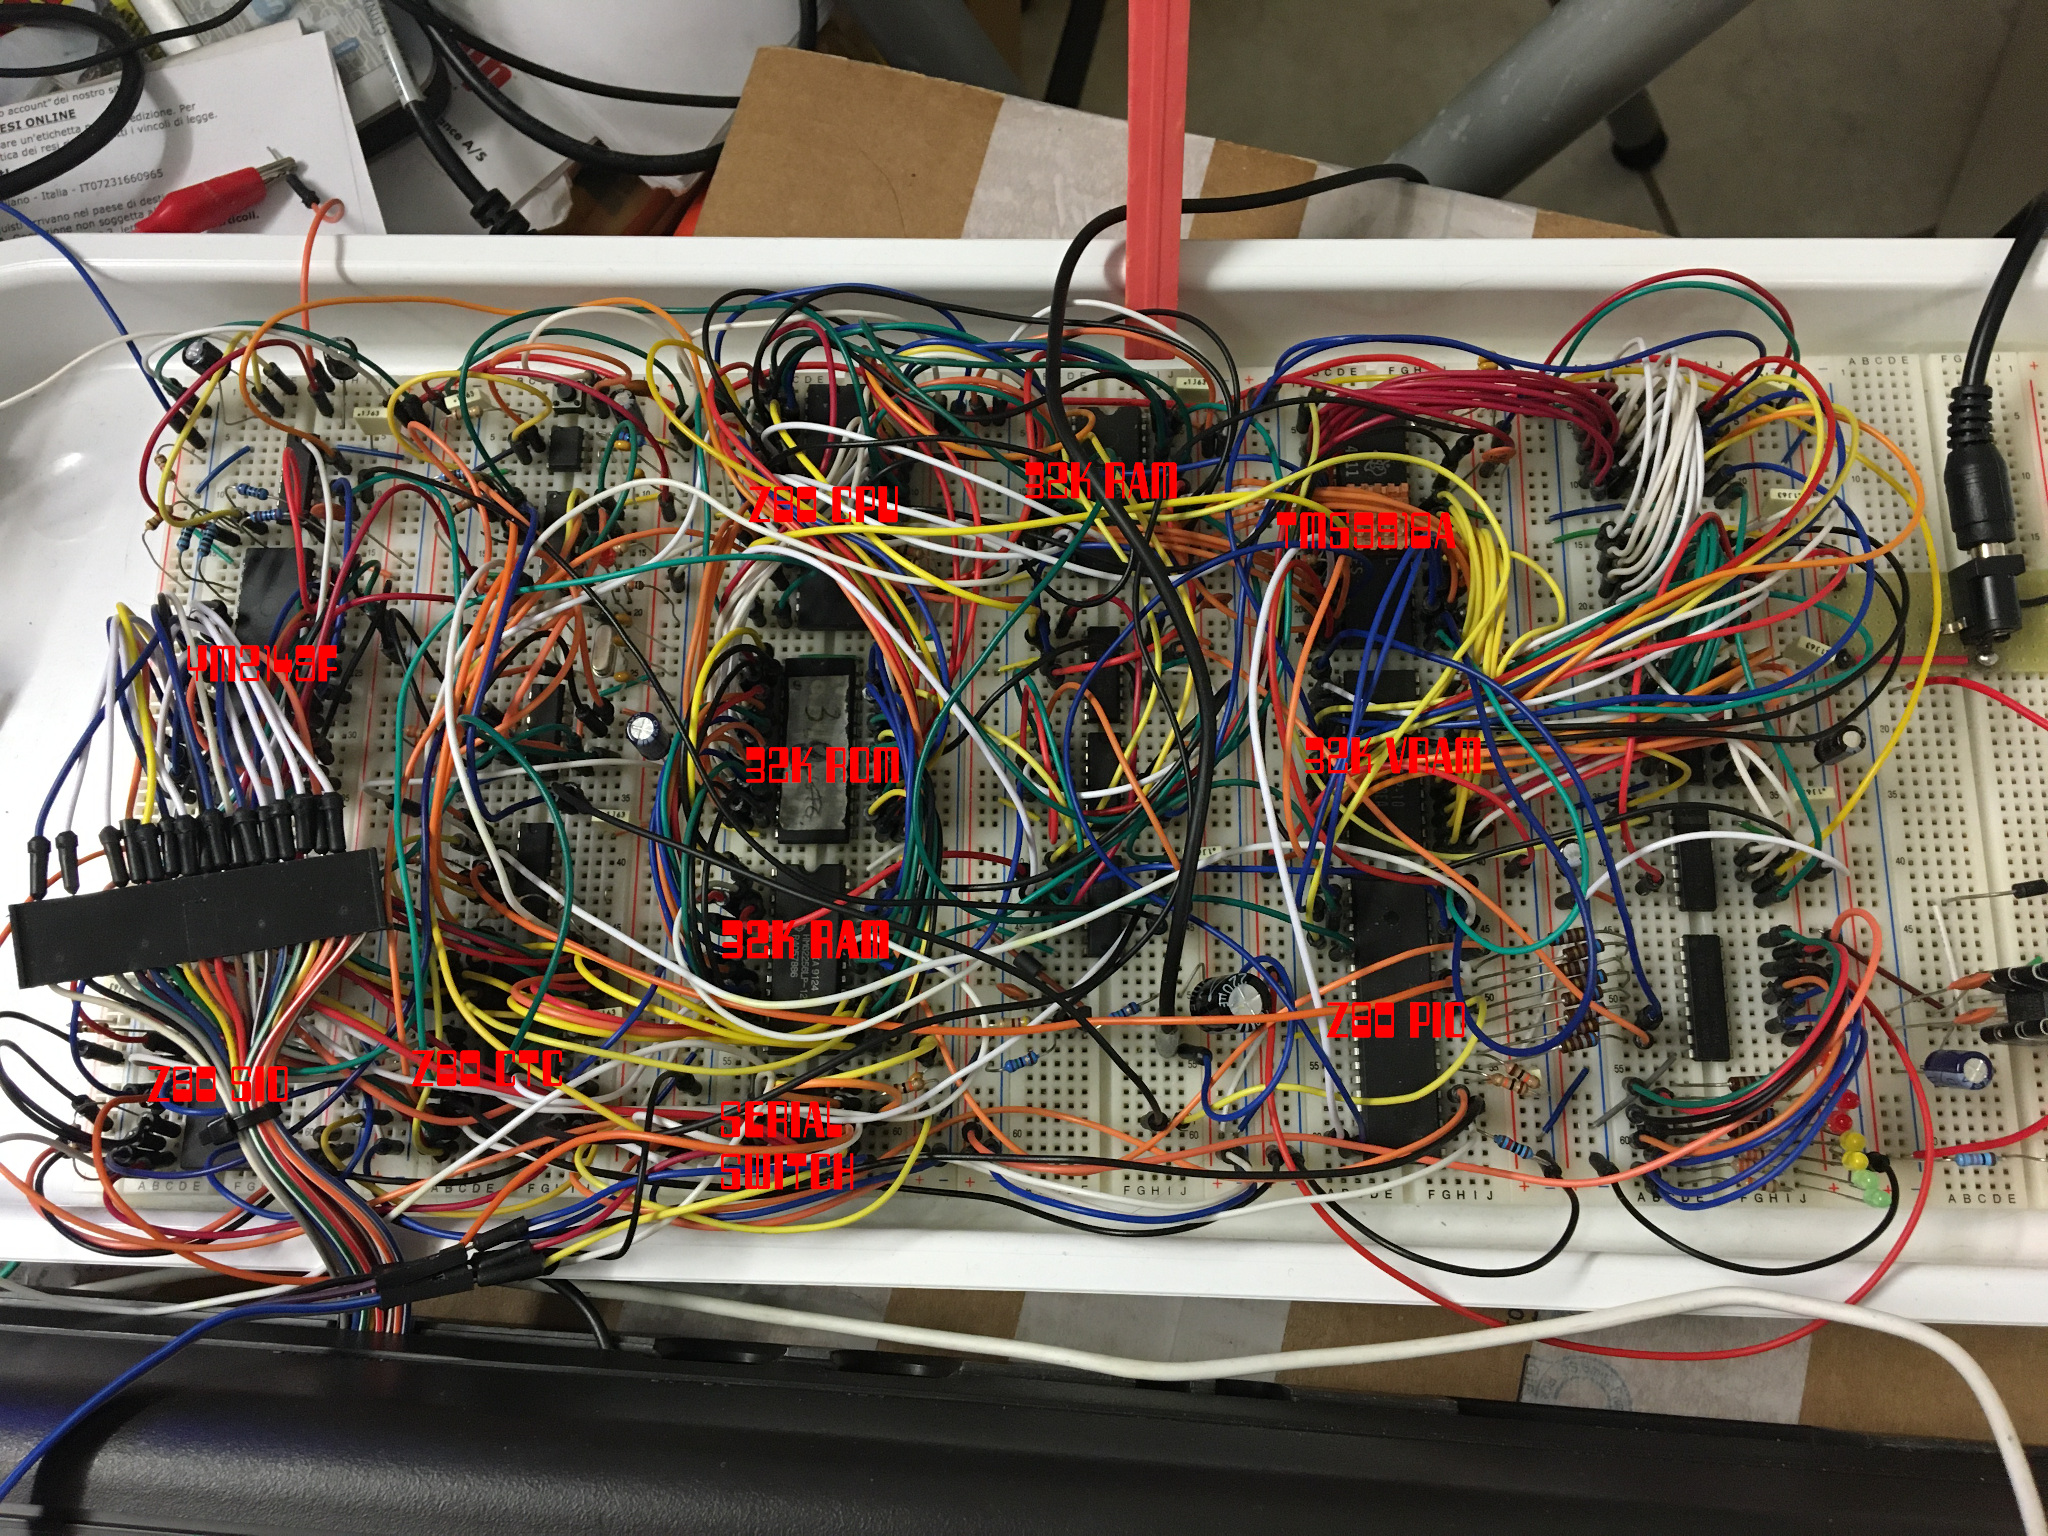
LM80C 64K protoboard
Here is a little video of the power up of the system:
Code and schematics will come soon on my Github repo.
Discussions
Become a Hackaday.io Member
Create an account to leave a comment. Already have an account? Log In.