 XenonJohn
I am assembling six DG's for some brave early adopters out there.
A few design changes:
i) On startup the software measures the voltage on the analog pin from the buzz-sensitivity potentiometer 200 times and calculates the standard deviation. If low, a crank module is present and if large it is not. This means I can use same software for both variants of the design. I have added a gaming button to the crank module now instead of a small switch, so you can play it by tuning the crank, or by pressing this button with right hand. If you want to remove the crank module at some point in the future, you can unbolt it, remove the glowing glass dome and remount the switch from the crank module into the hole where the glass dome was (it will fit exactly). Screw on an end blanking plate, which will be supplied and the machine will then work again just fine in crankless mode with no software changes required.
ii) In demonstration mode there are now 22 songs.
iii) Some changes to the code have been made allowing the crank buzz to operate a little more like the real thing.
iv) Acetone polishing of the 3D printed keys: I want the stems to remain unchanged as they fit the slots in the wooden laser cut panels perfectly, but I do want the key ends to be smooth and shiny, i.e. I want to acetone vapour polish the ends of the keys only. The solution is to wrap the stems in aluminium foil before placing them into my vapour chanber.
Despite using laser cut panels to reduce the amount of 3D printing, as you can see I have been on a 3D printing-fest for the past 3 weeks to produce all the parts required.
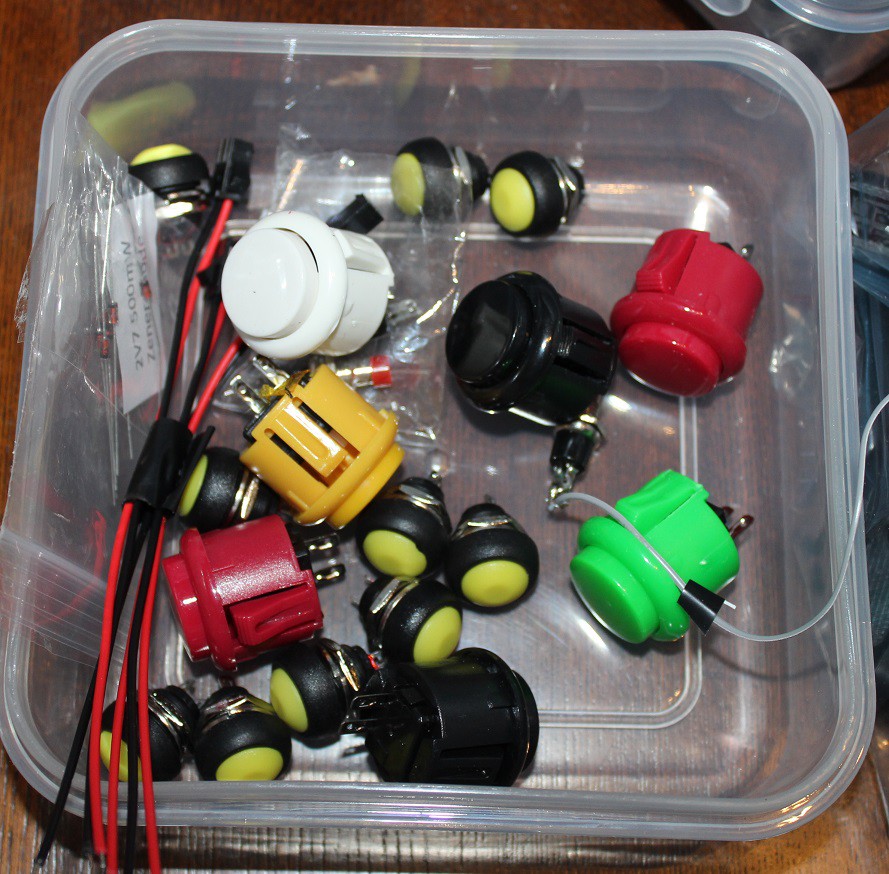
Have experimented with various pushbuttons, the gaming ones work best.
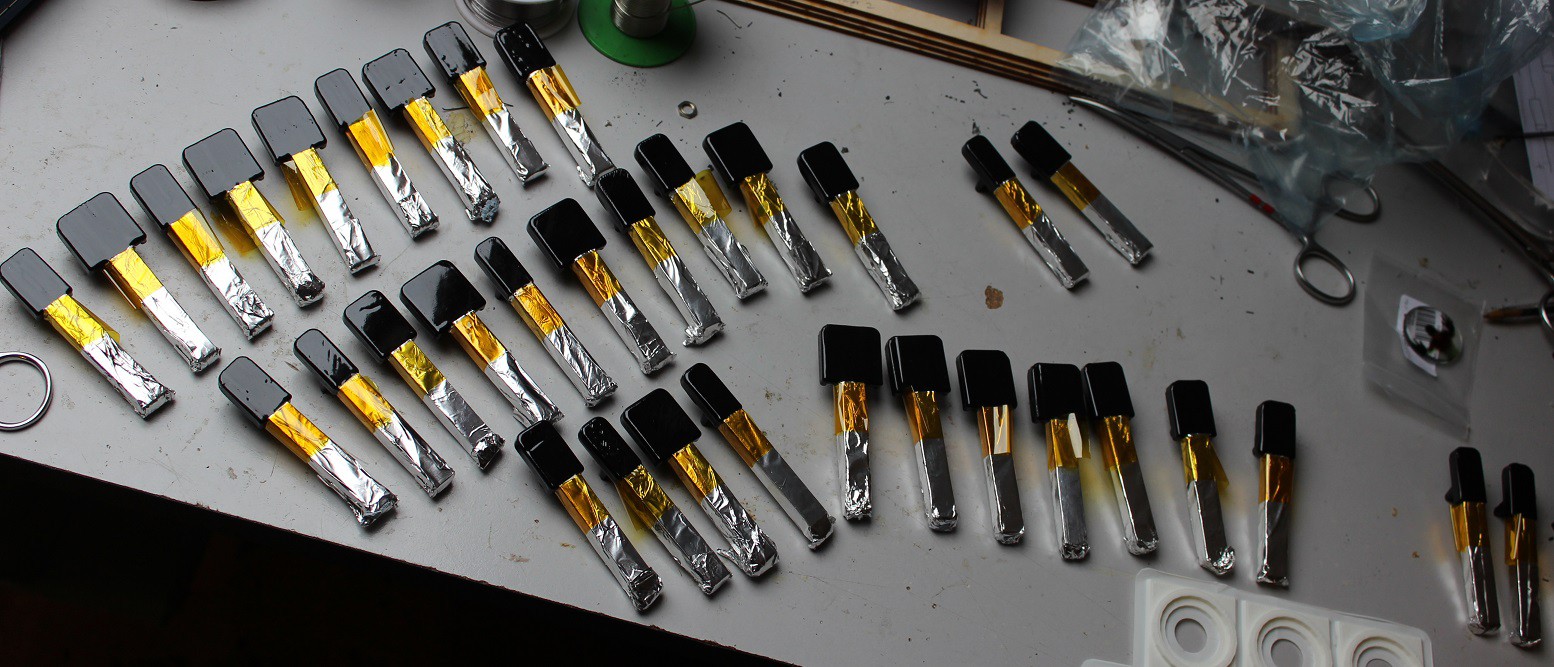
Just some of the acetone polished keys.
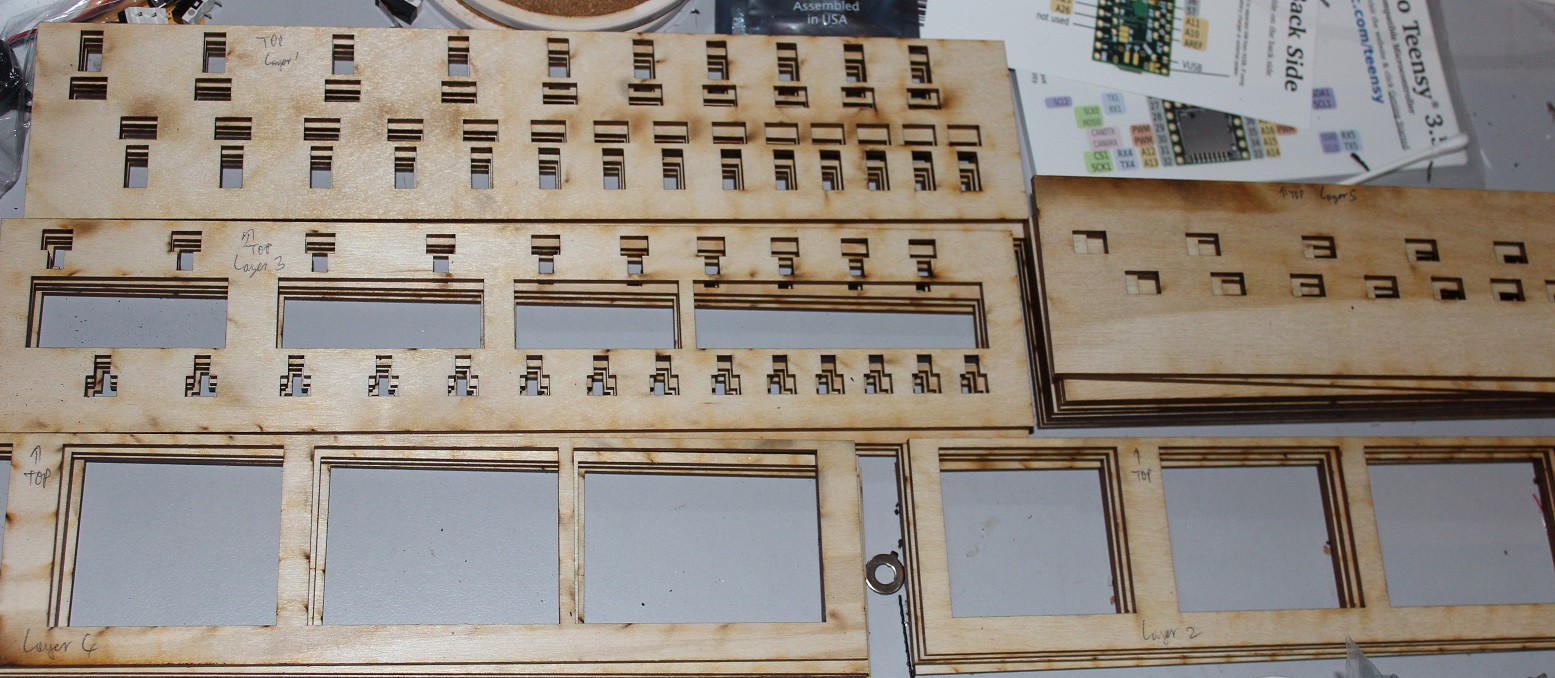
Some of the laser cut panels.
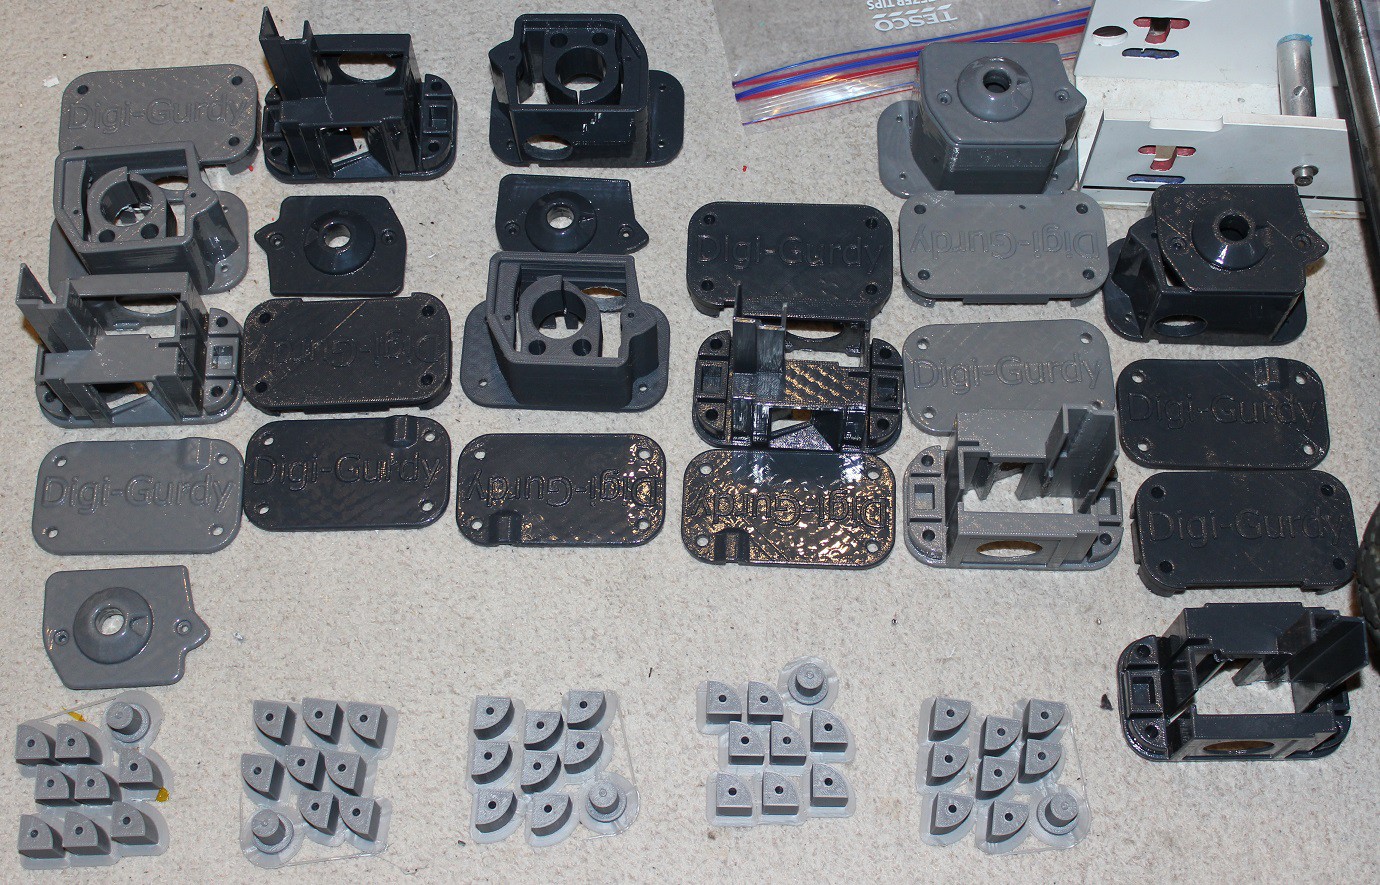
End structures and crank housings, printed and acetone polished.
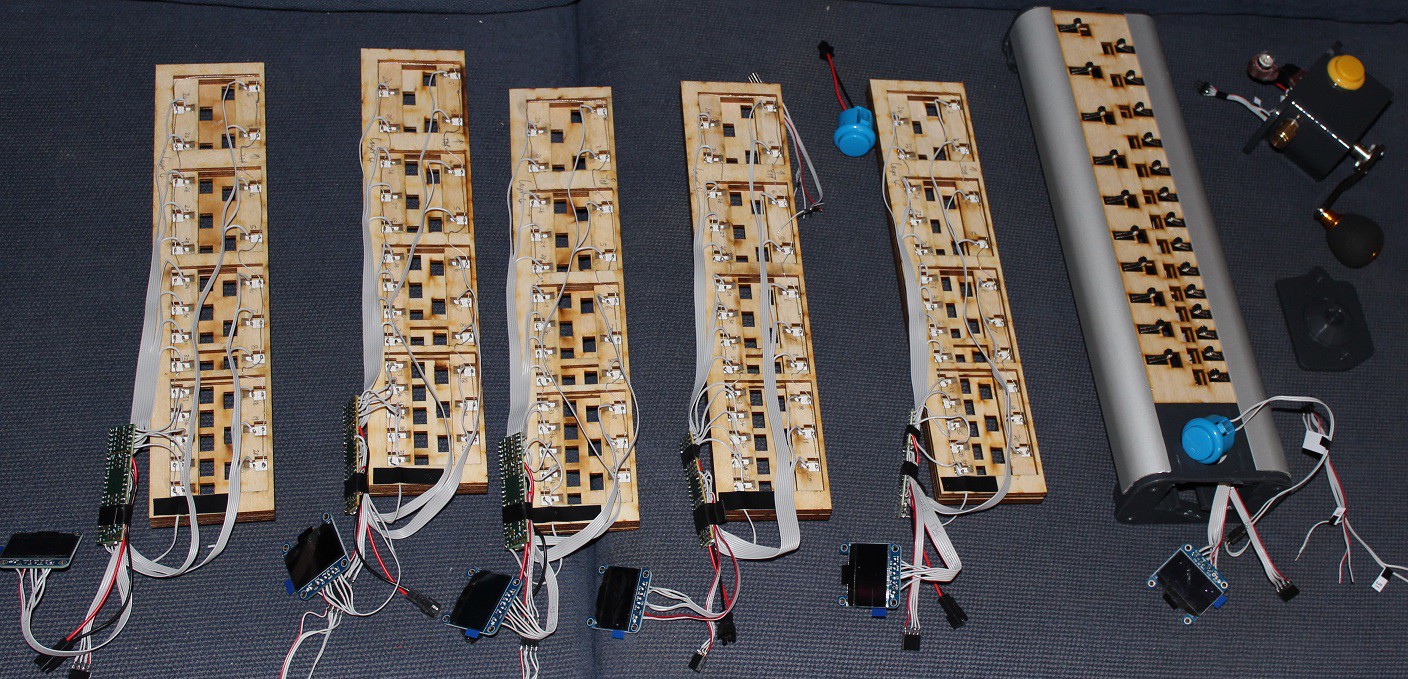
Six sets of microswitches mounted and wired up to Teensy boards along with the OLED screens.
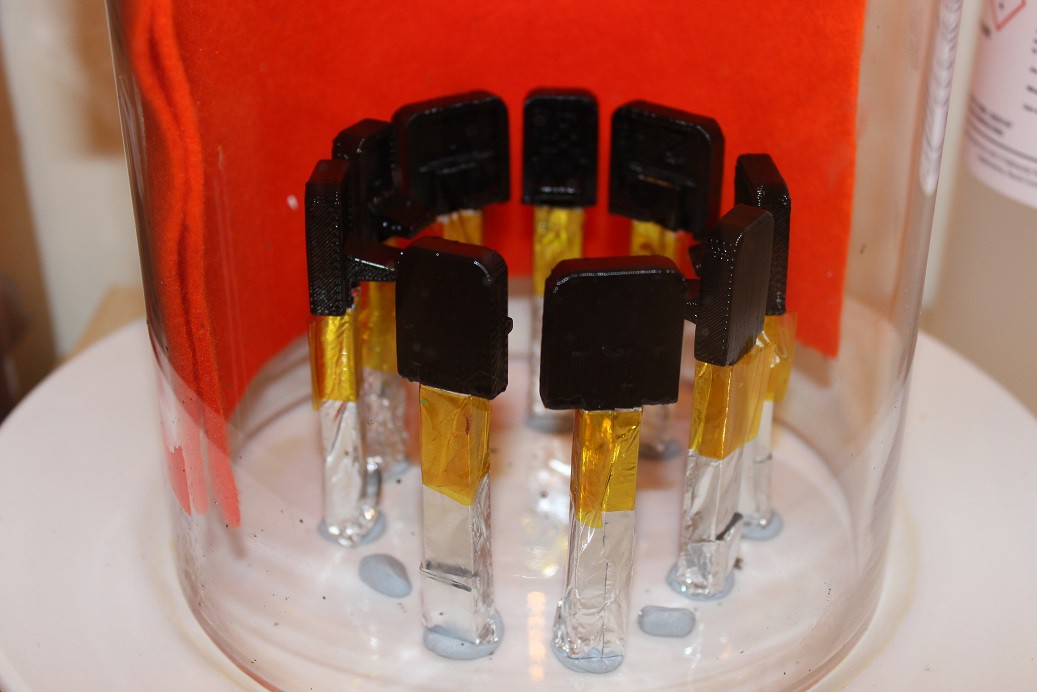
Key-Henge. My acetone polishing rig. The felt is soaked with acetone and held to inside of glass bell with magnets.
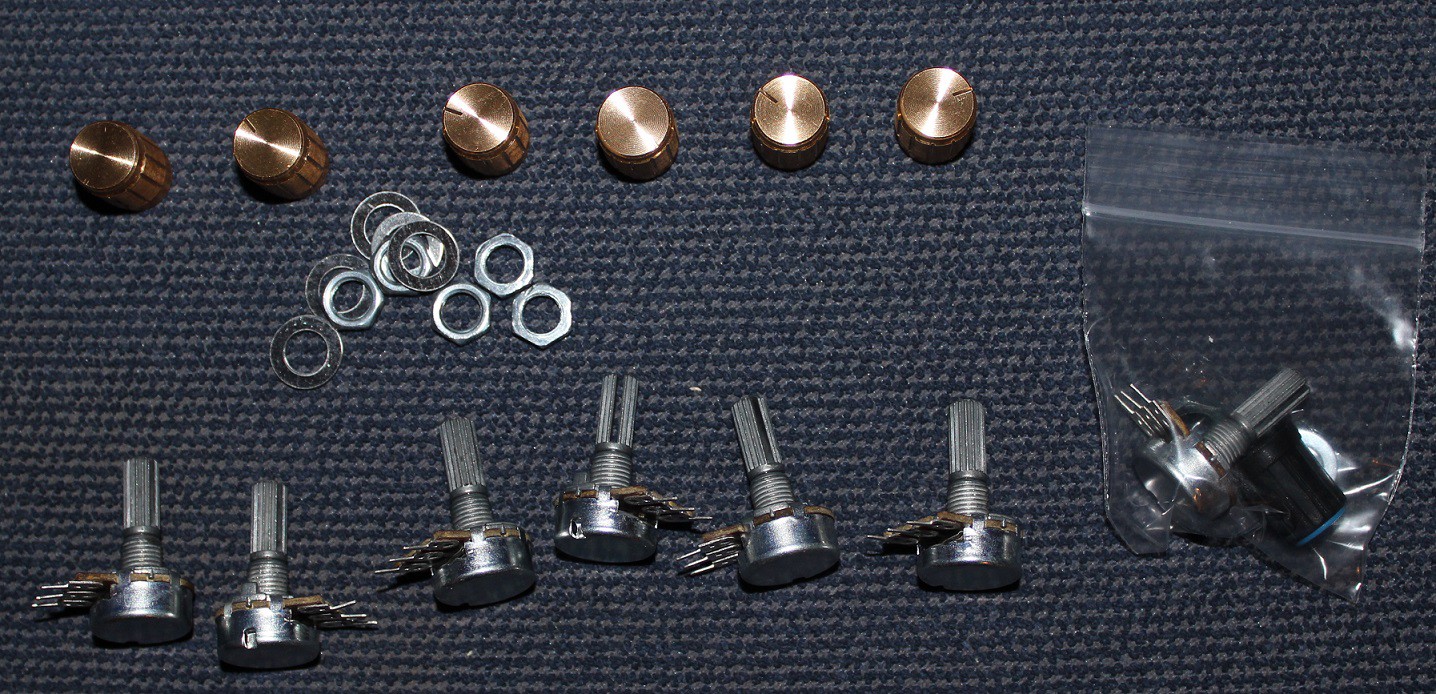
Some nice potentiometers with gold anodized knobs.

Alloy extrusions all cut to length.
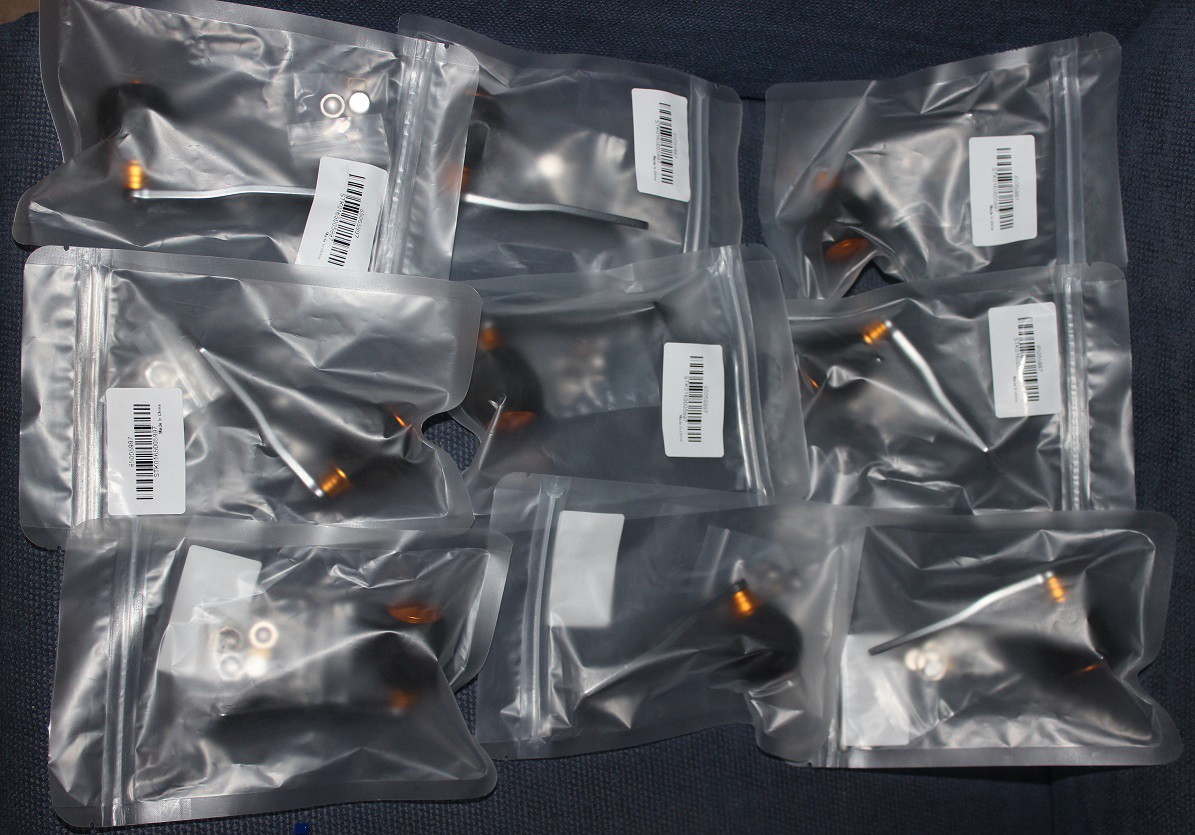
Fishing reel handles from China.
Better photo of the acetone polishing rig.
Self contained crank module wiring now has multi-pin plug to connect it to main body of the DG.
Bags and bags of 3D printed upper and lower keys, all of which are in the acetone polishing queue!
Discussions
Become a Hackaday.io Member
Create an account to leave a comment. Already have an account? Log In.