0%
0%
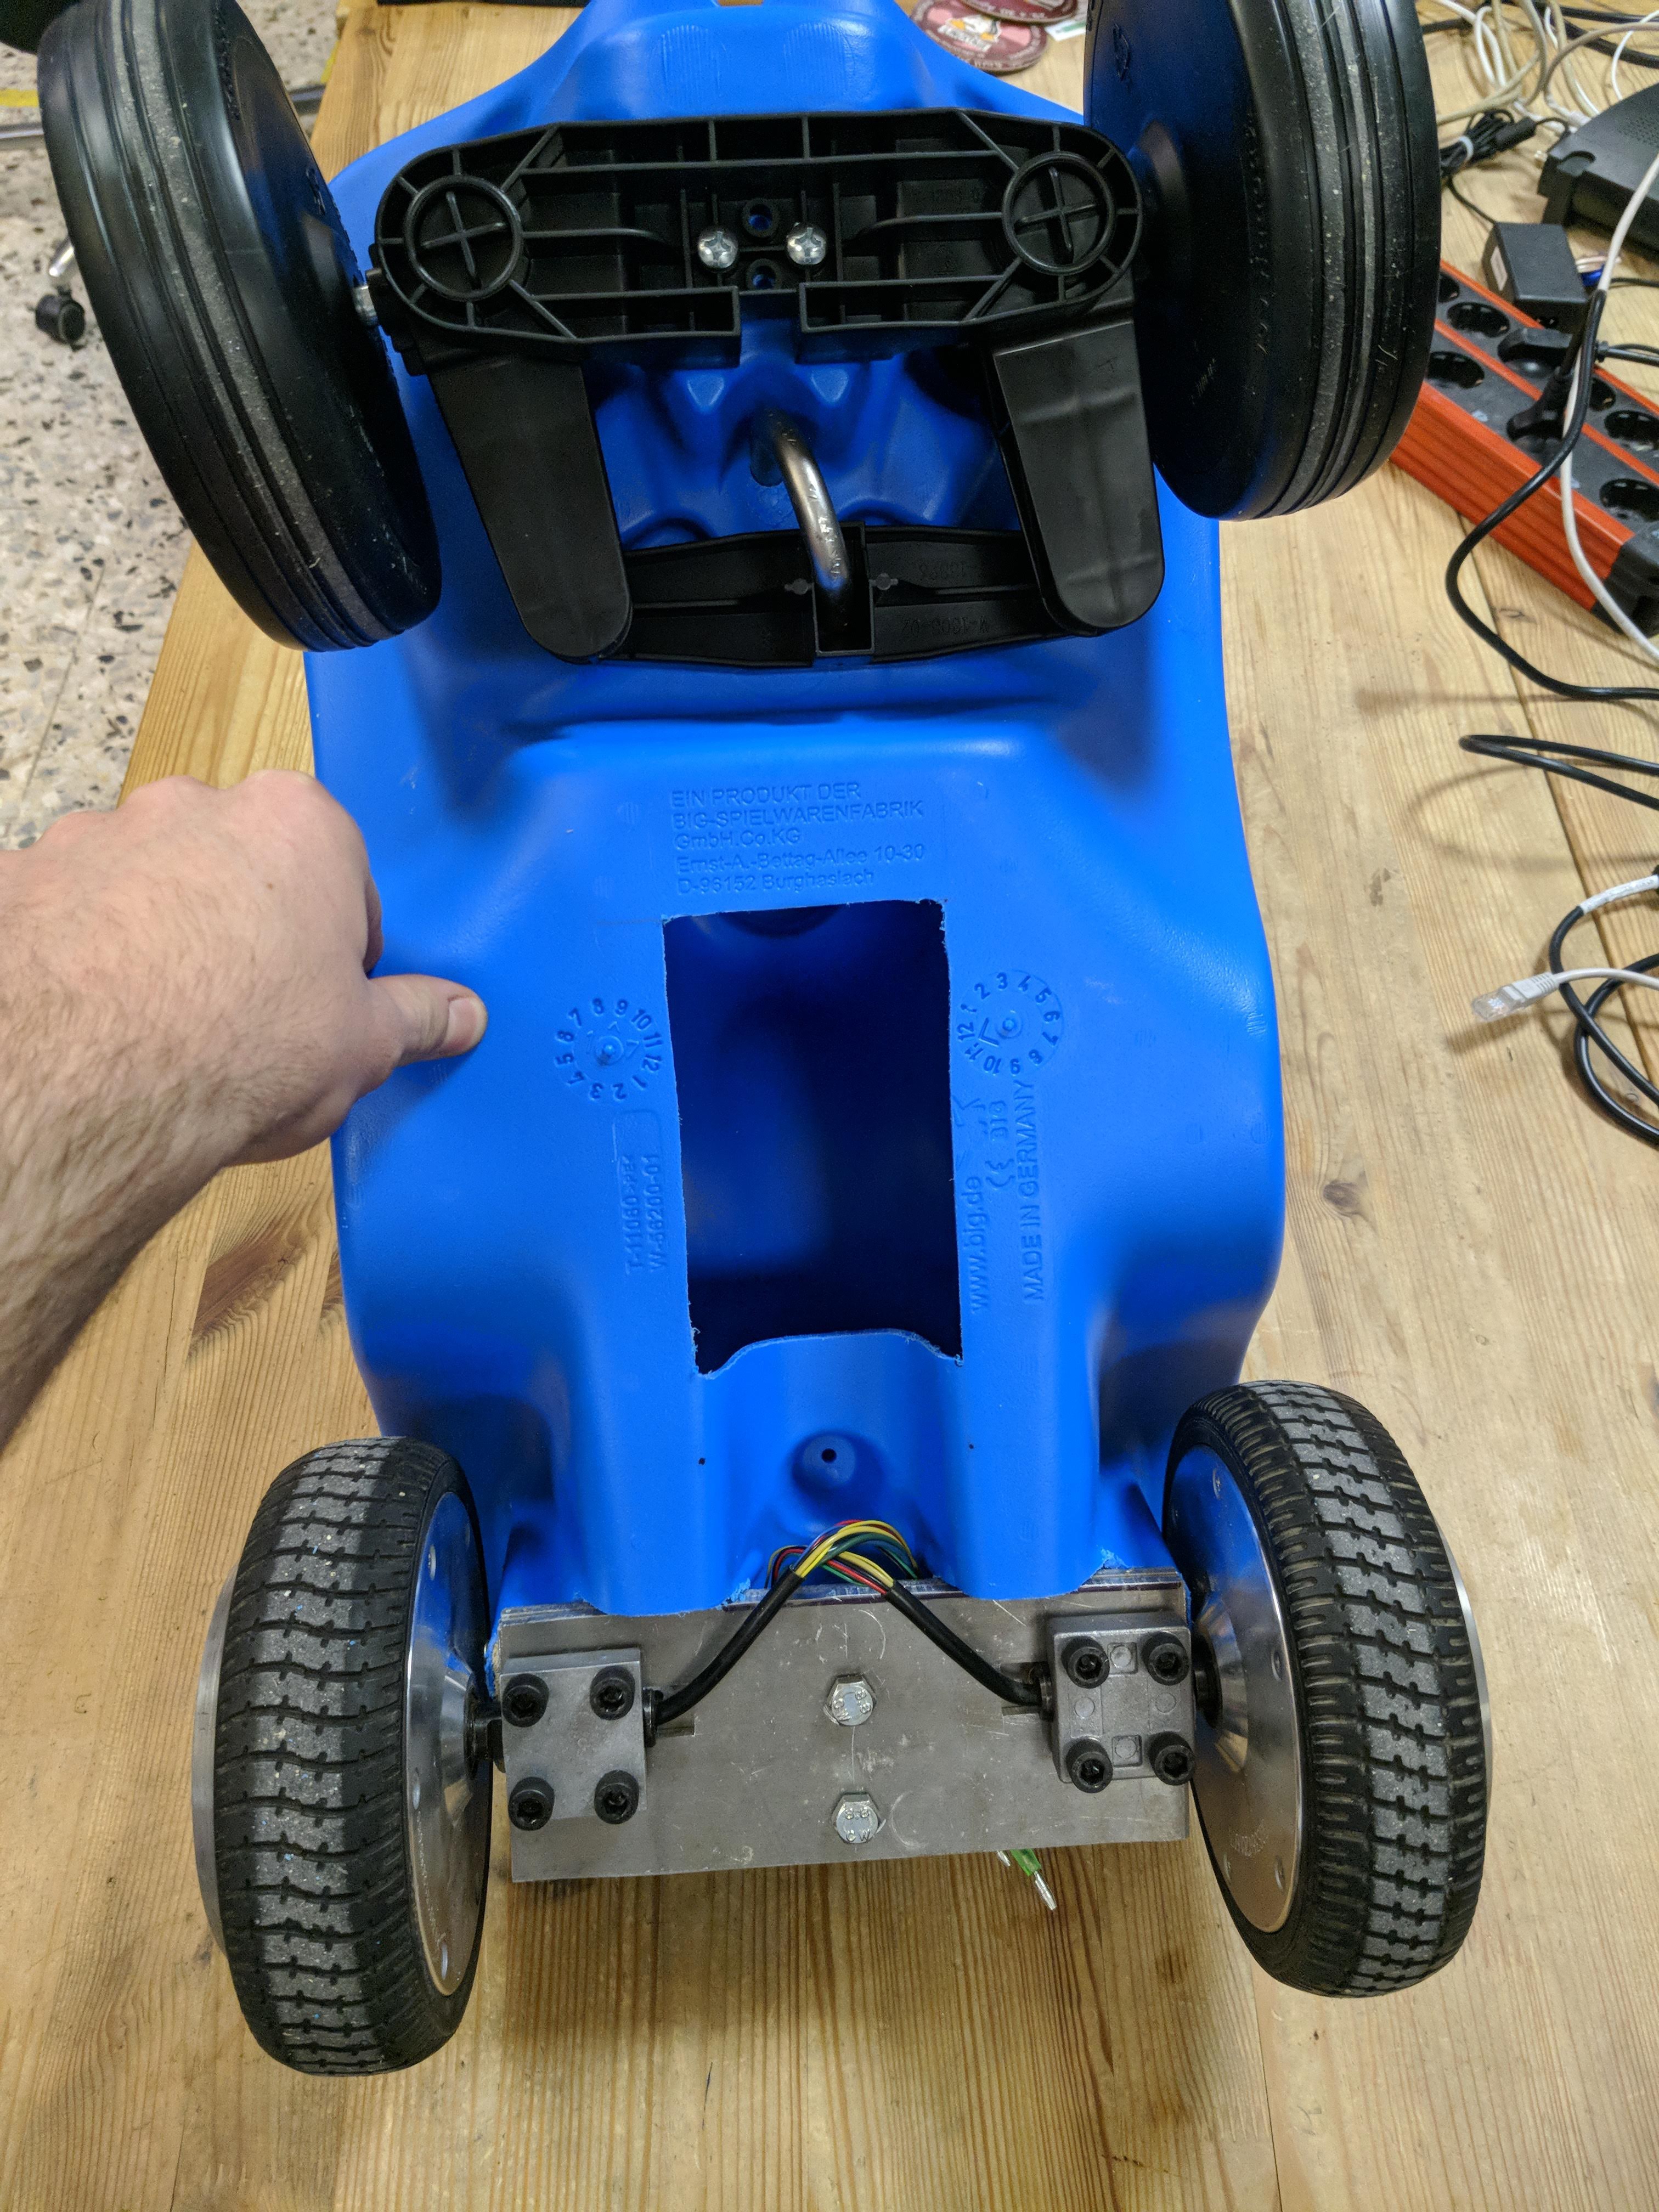
Electric Bobby-Car
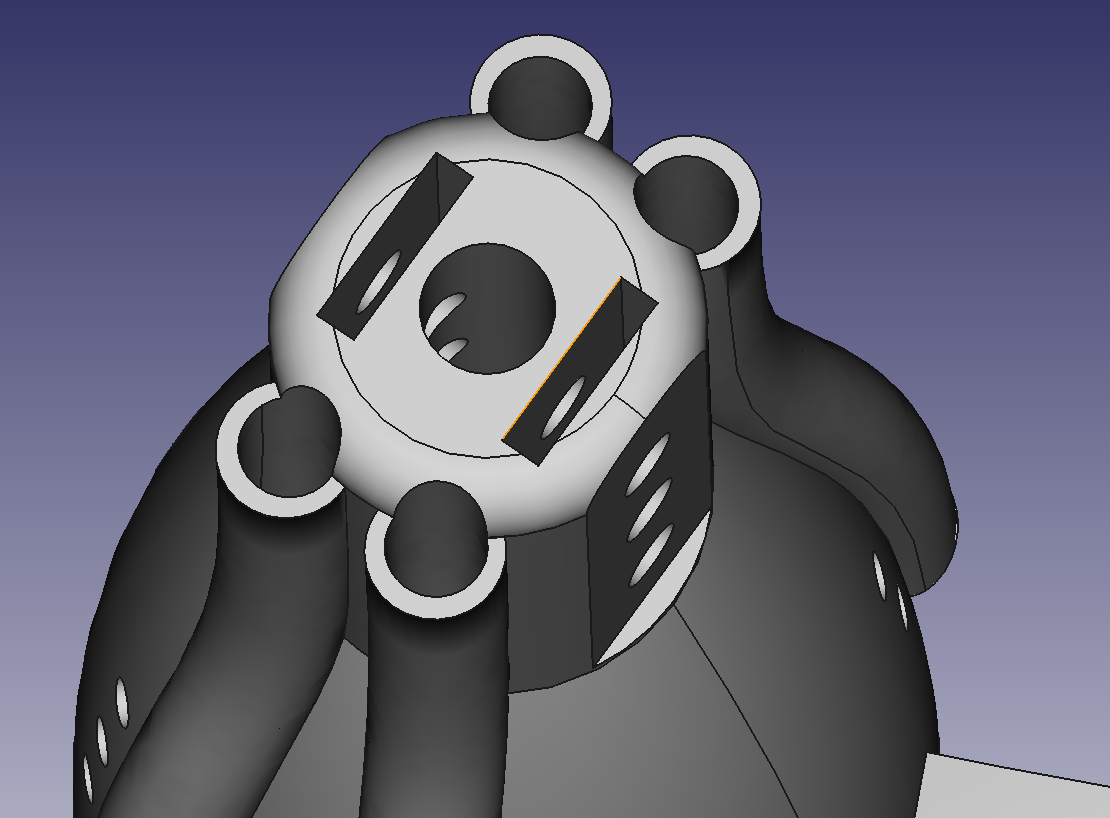
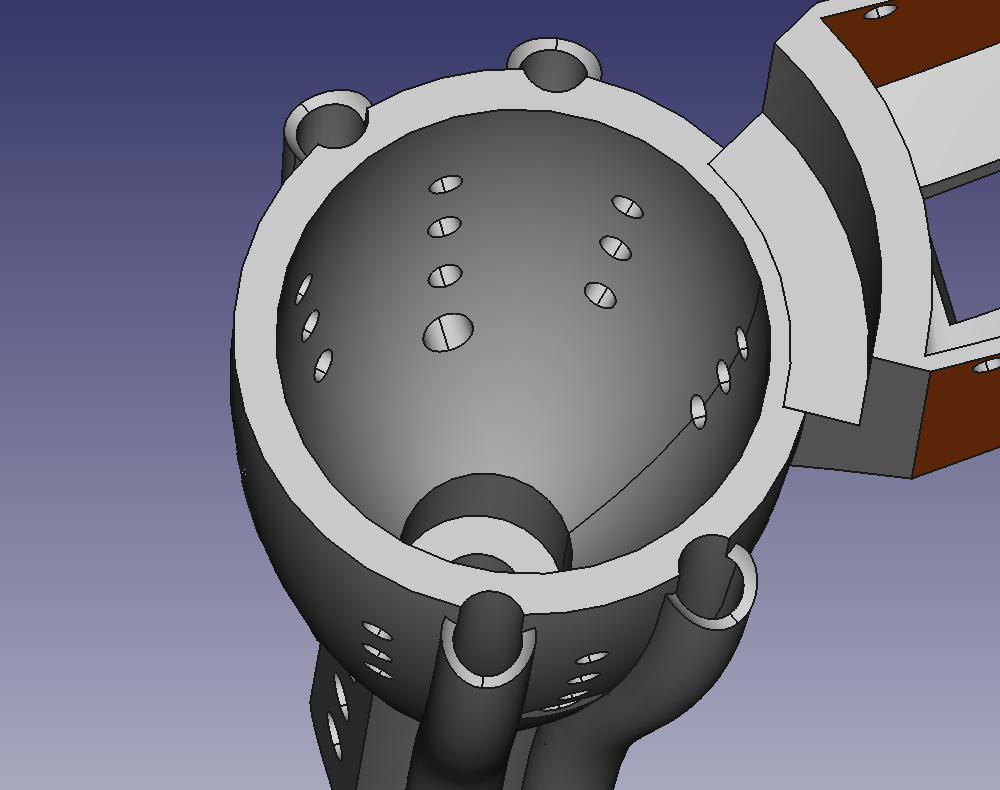
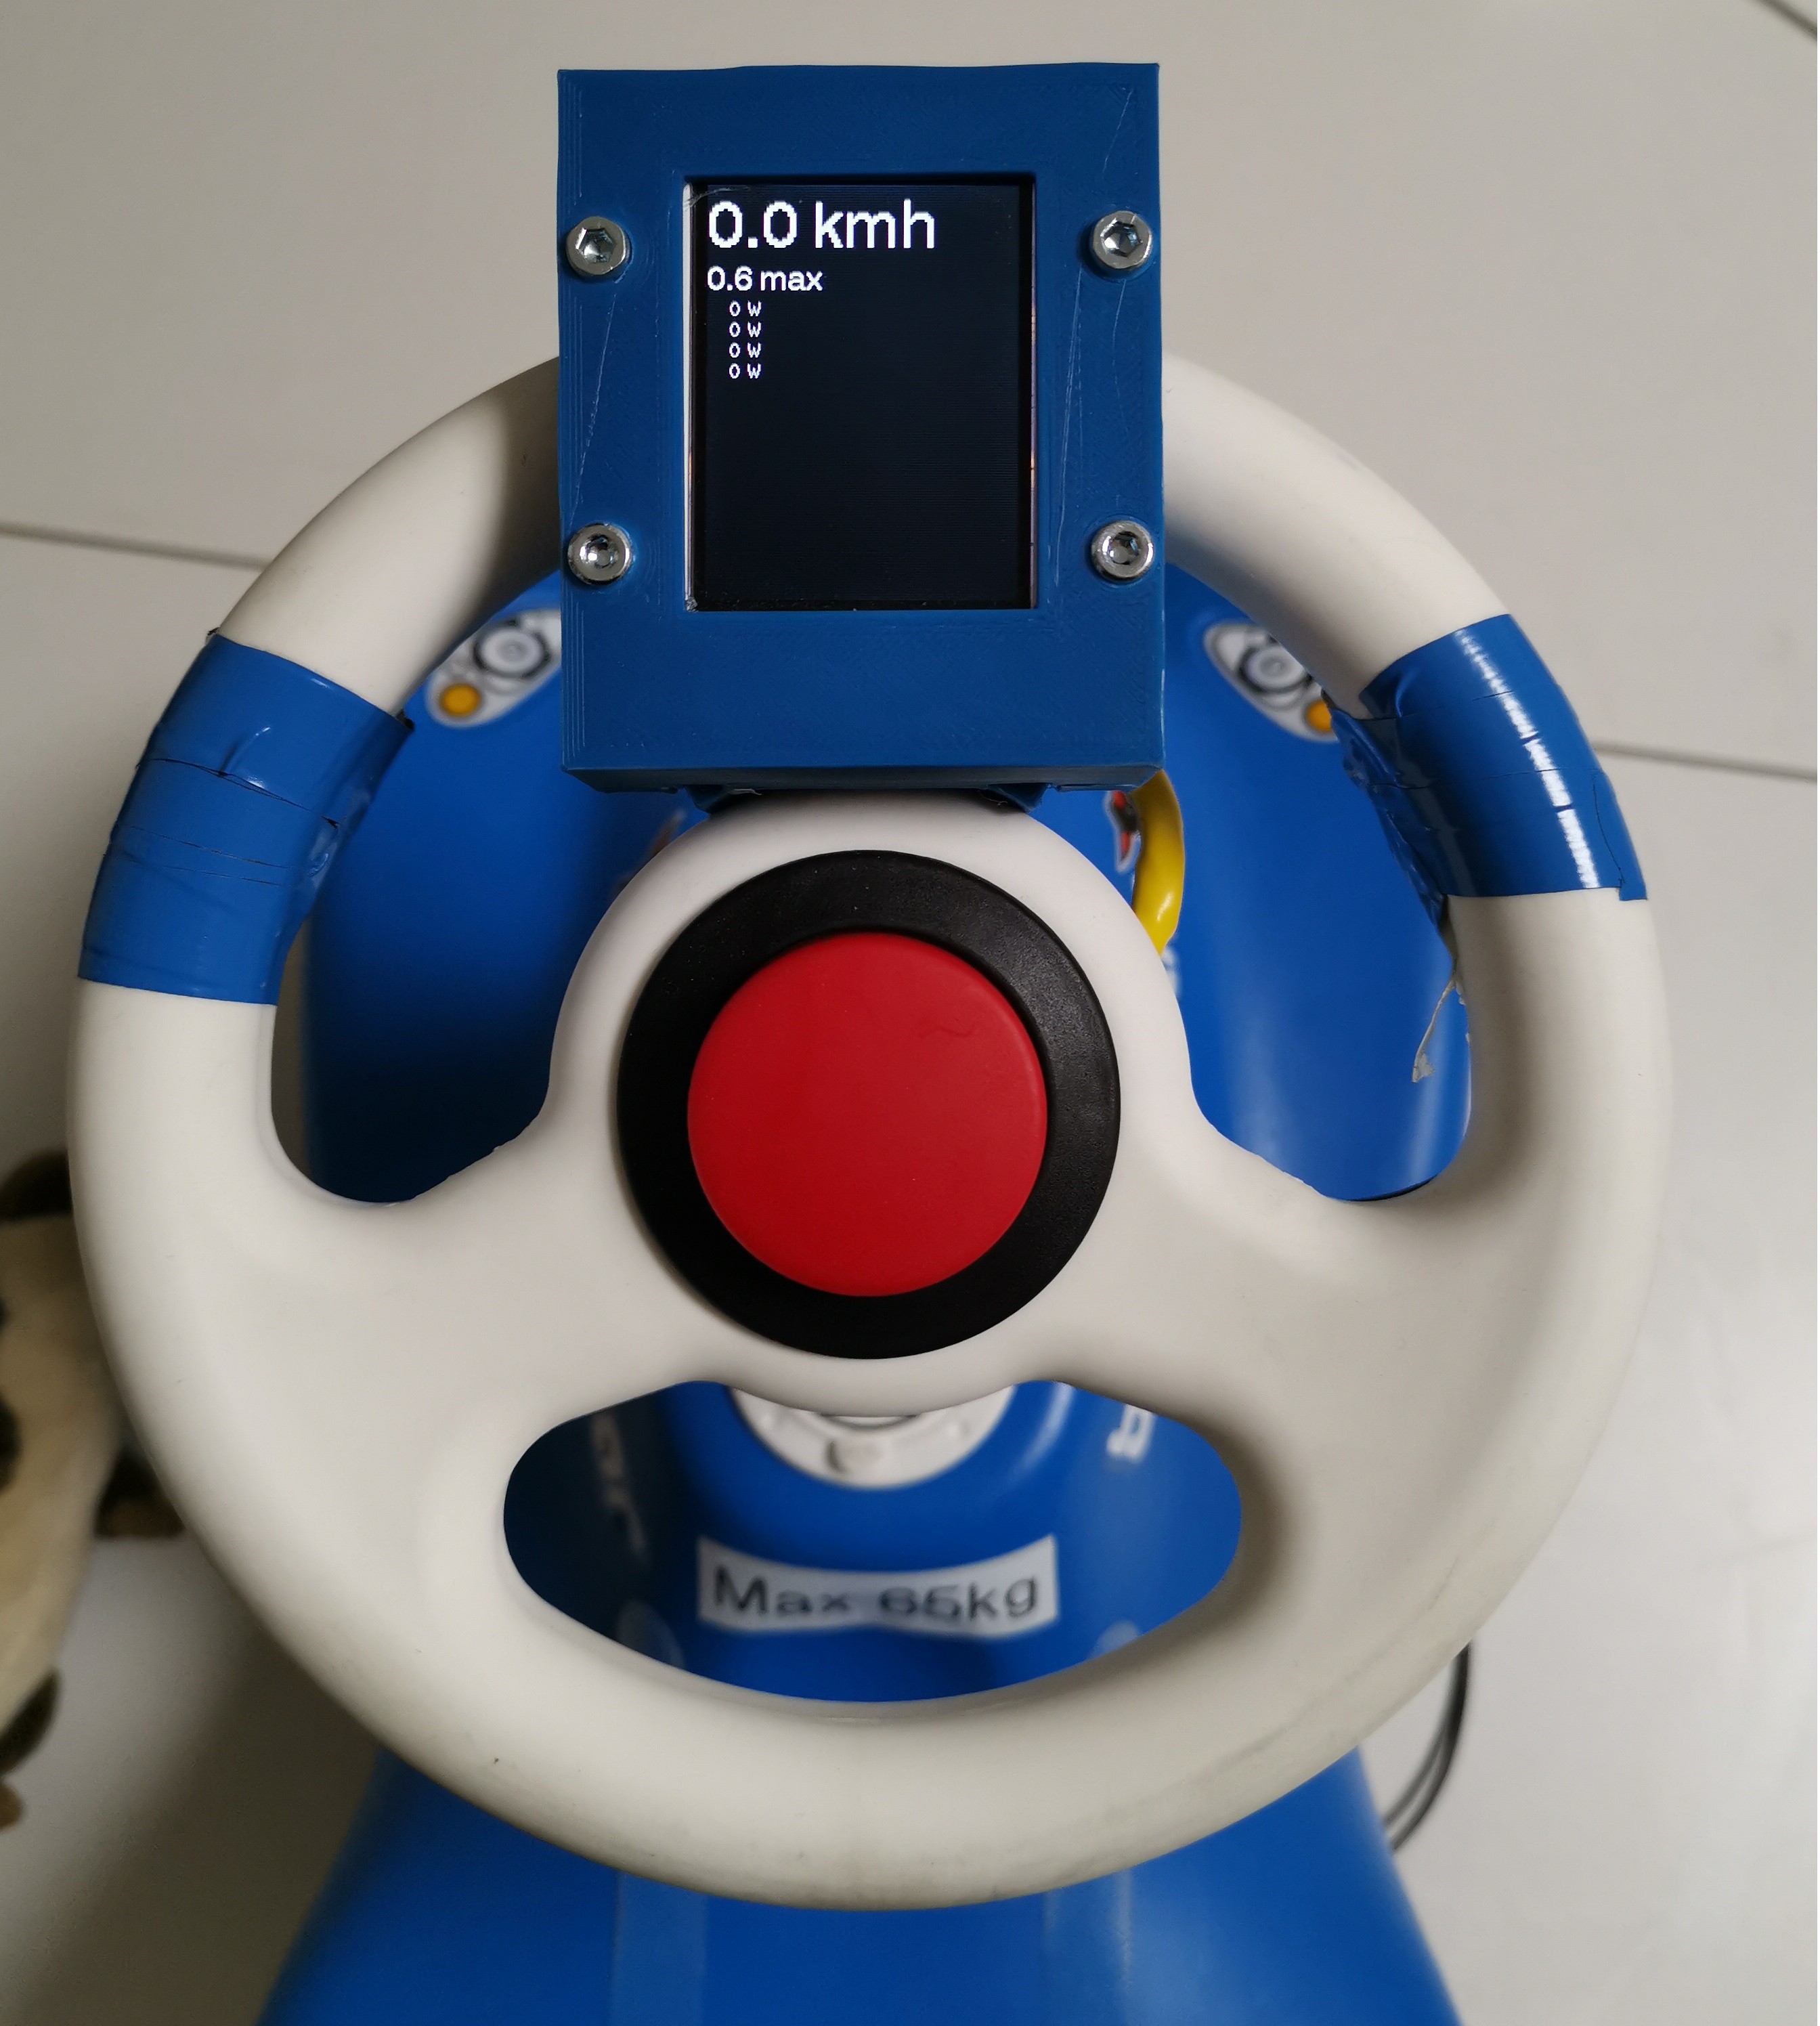
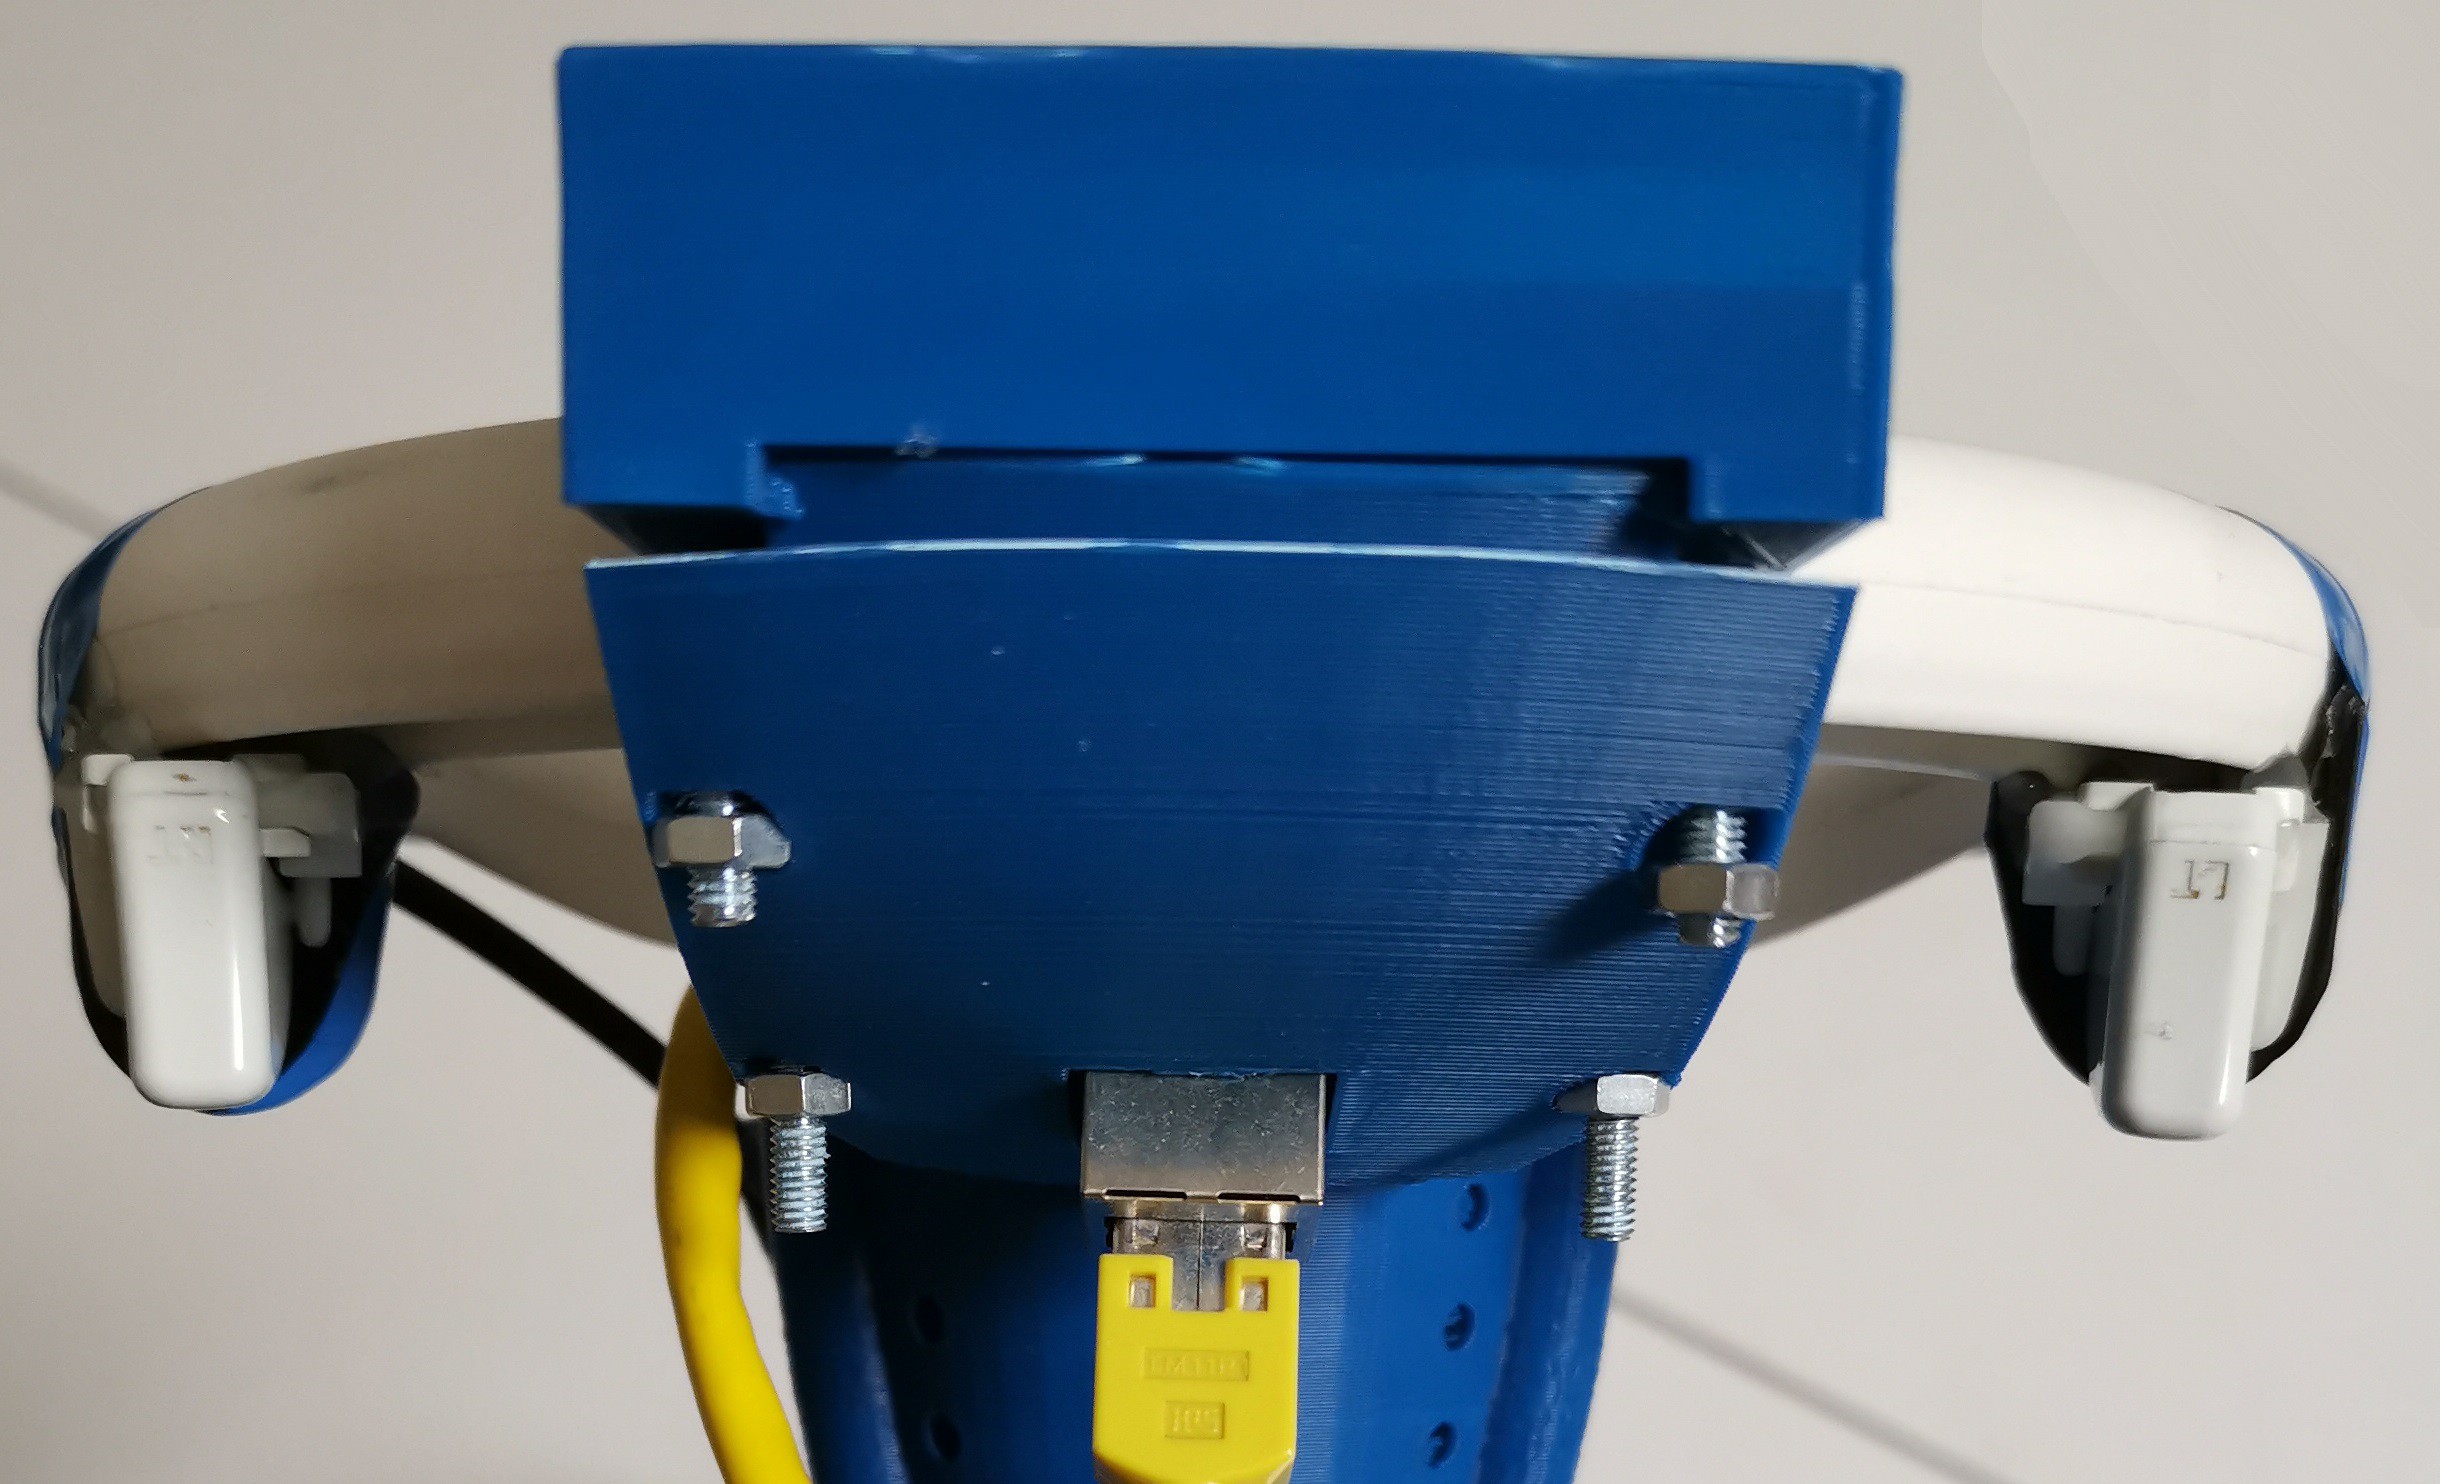
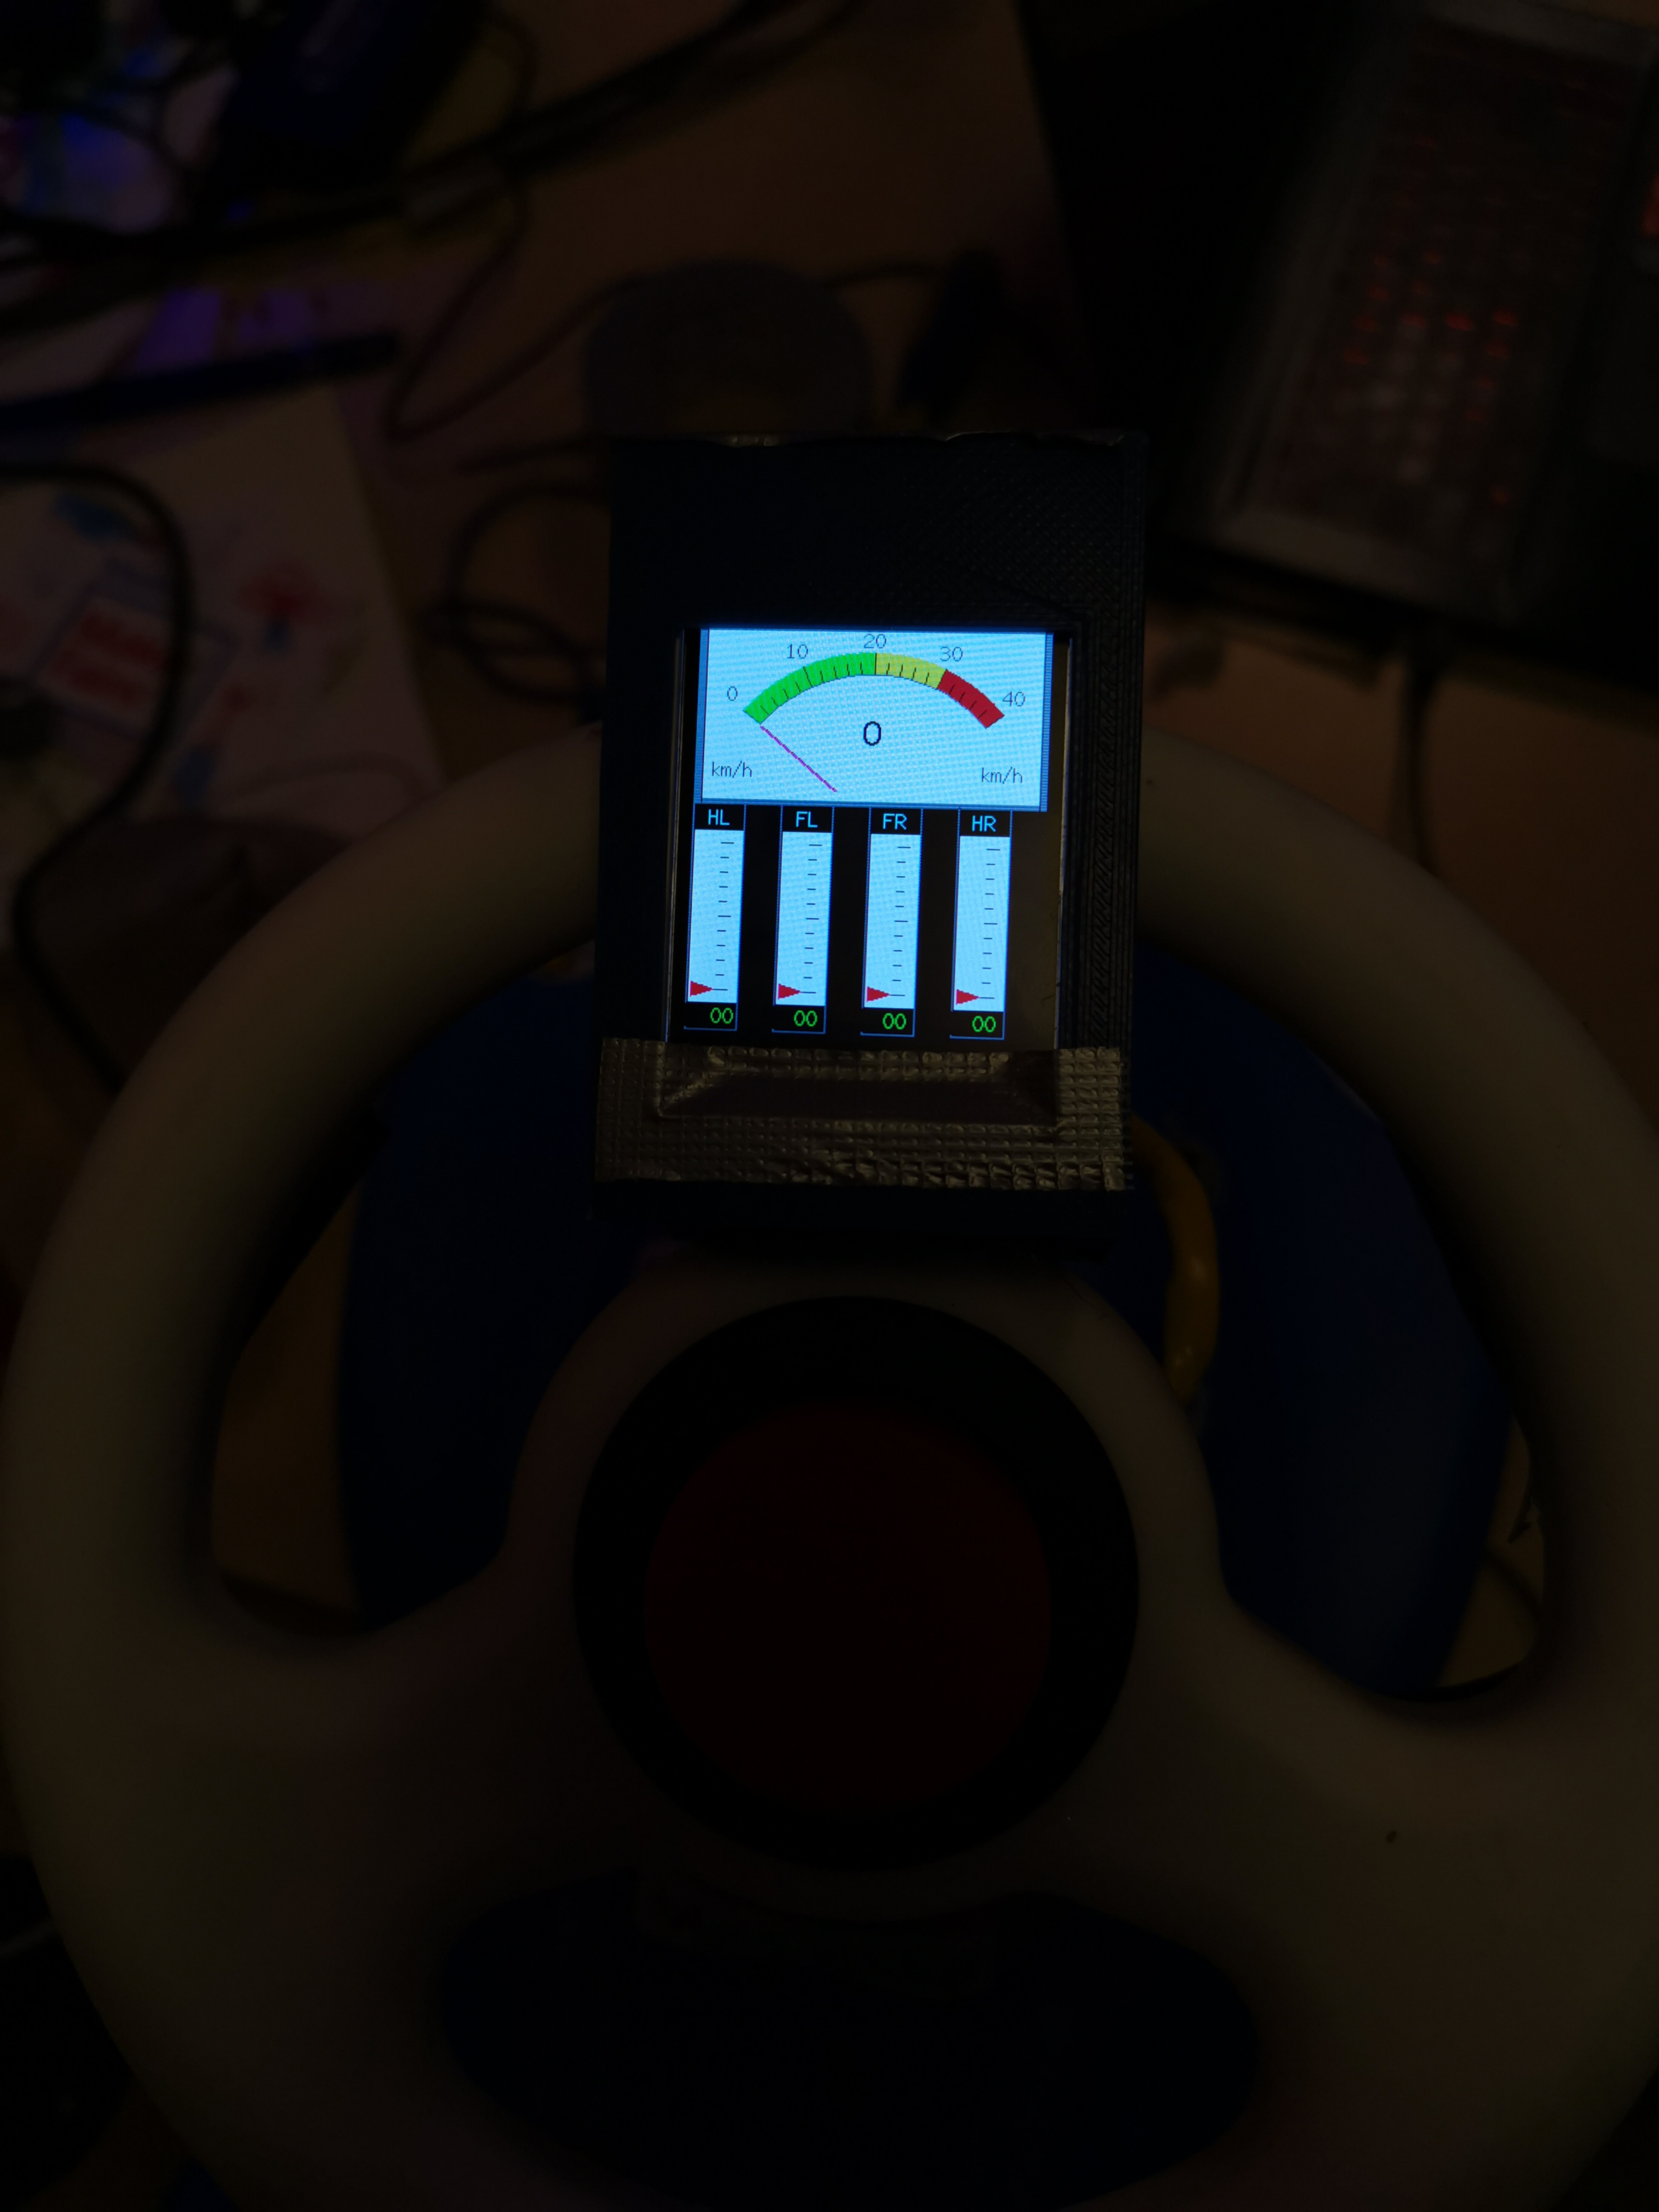
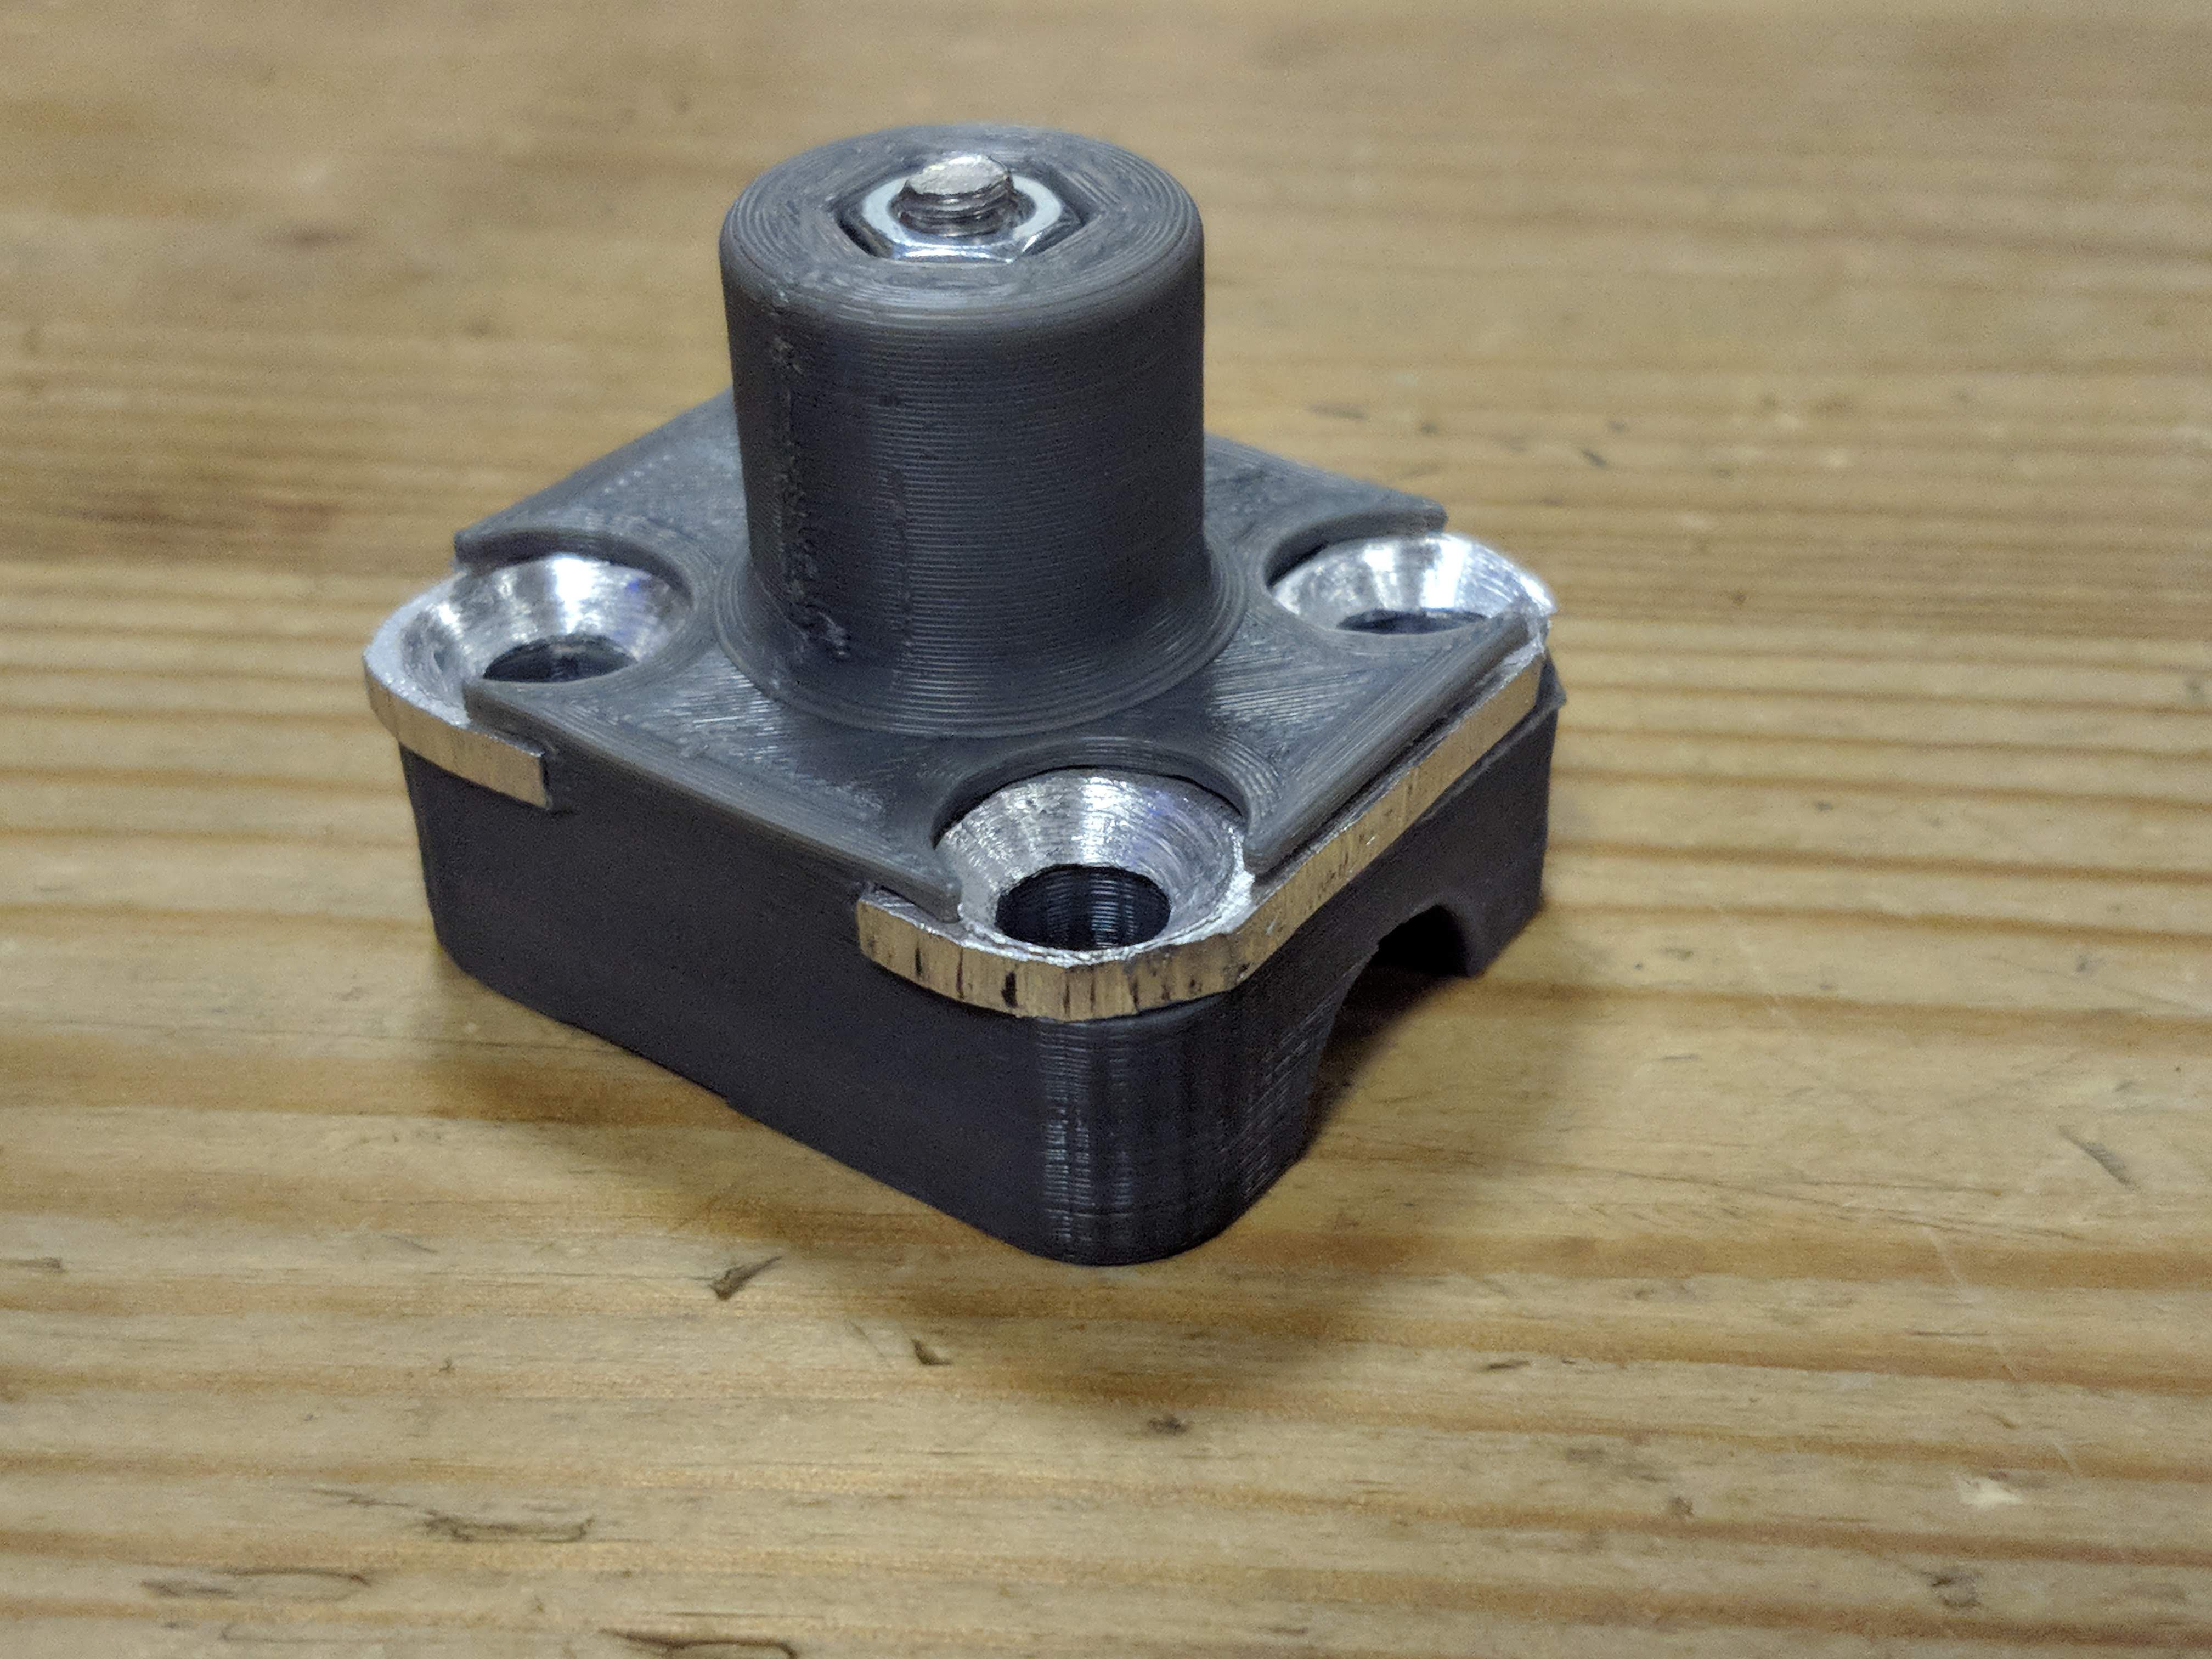
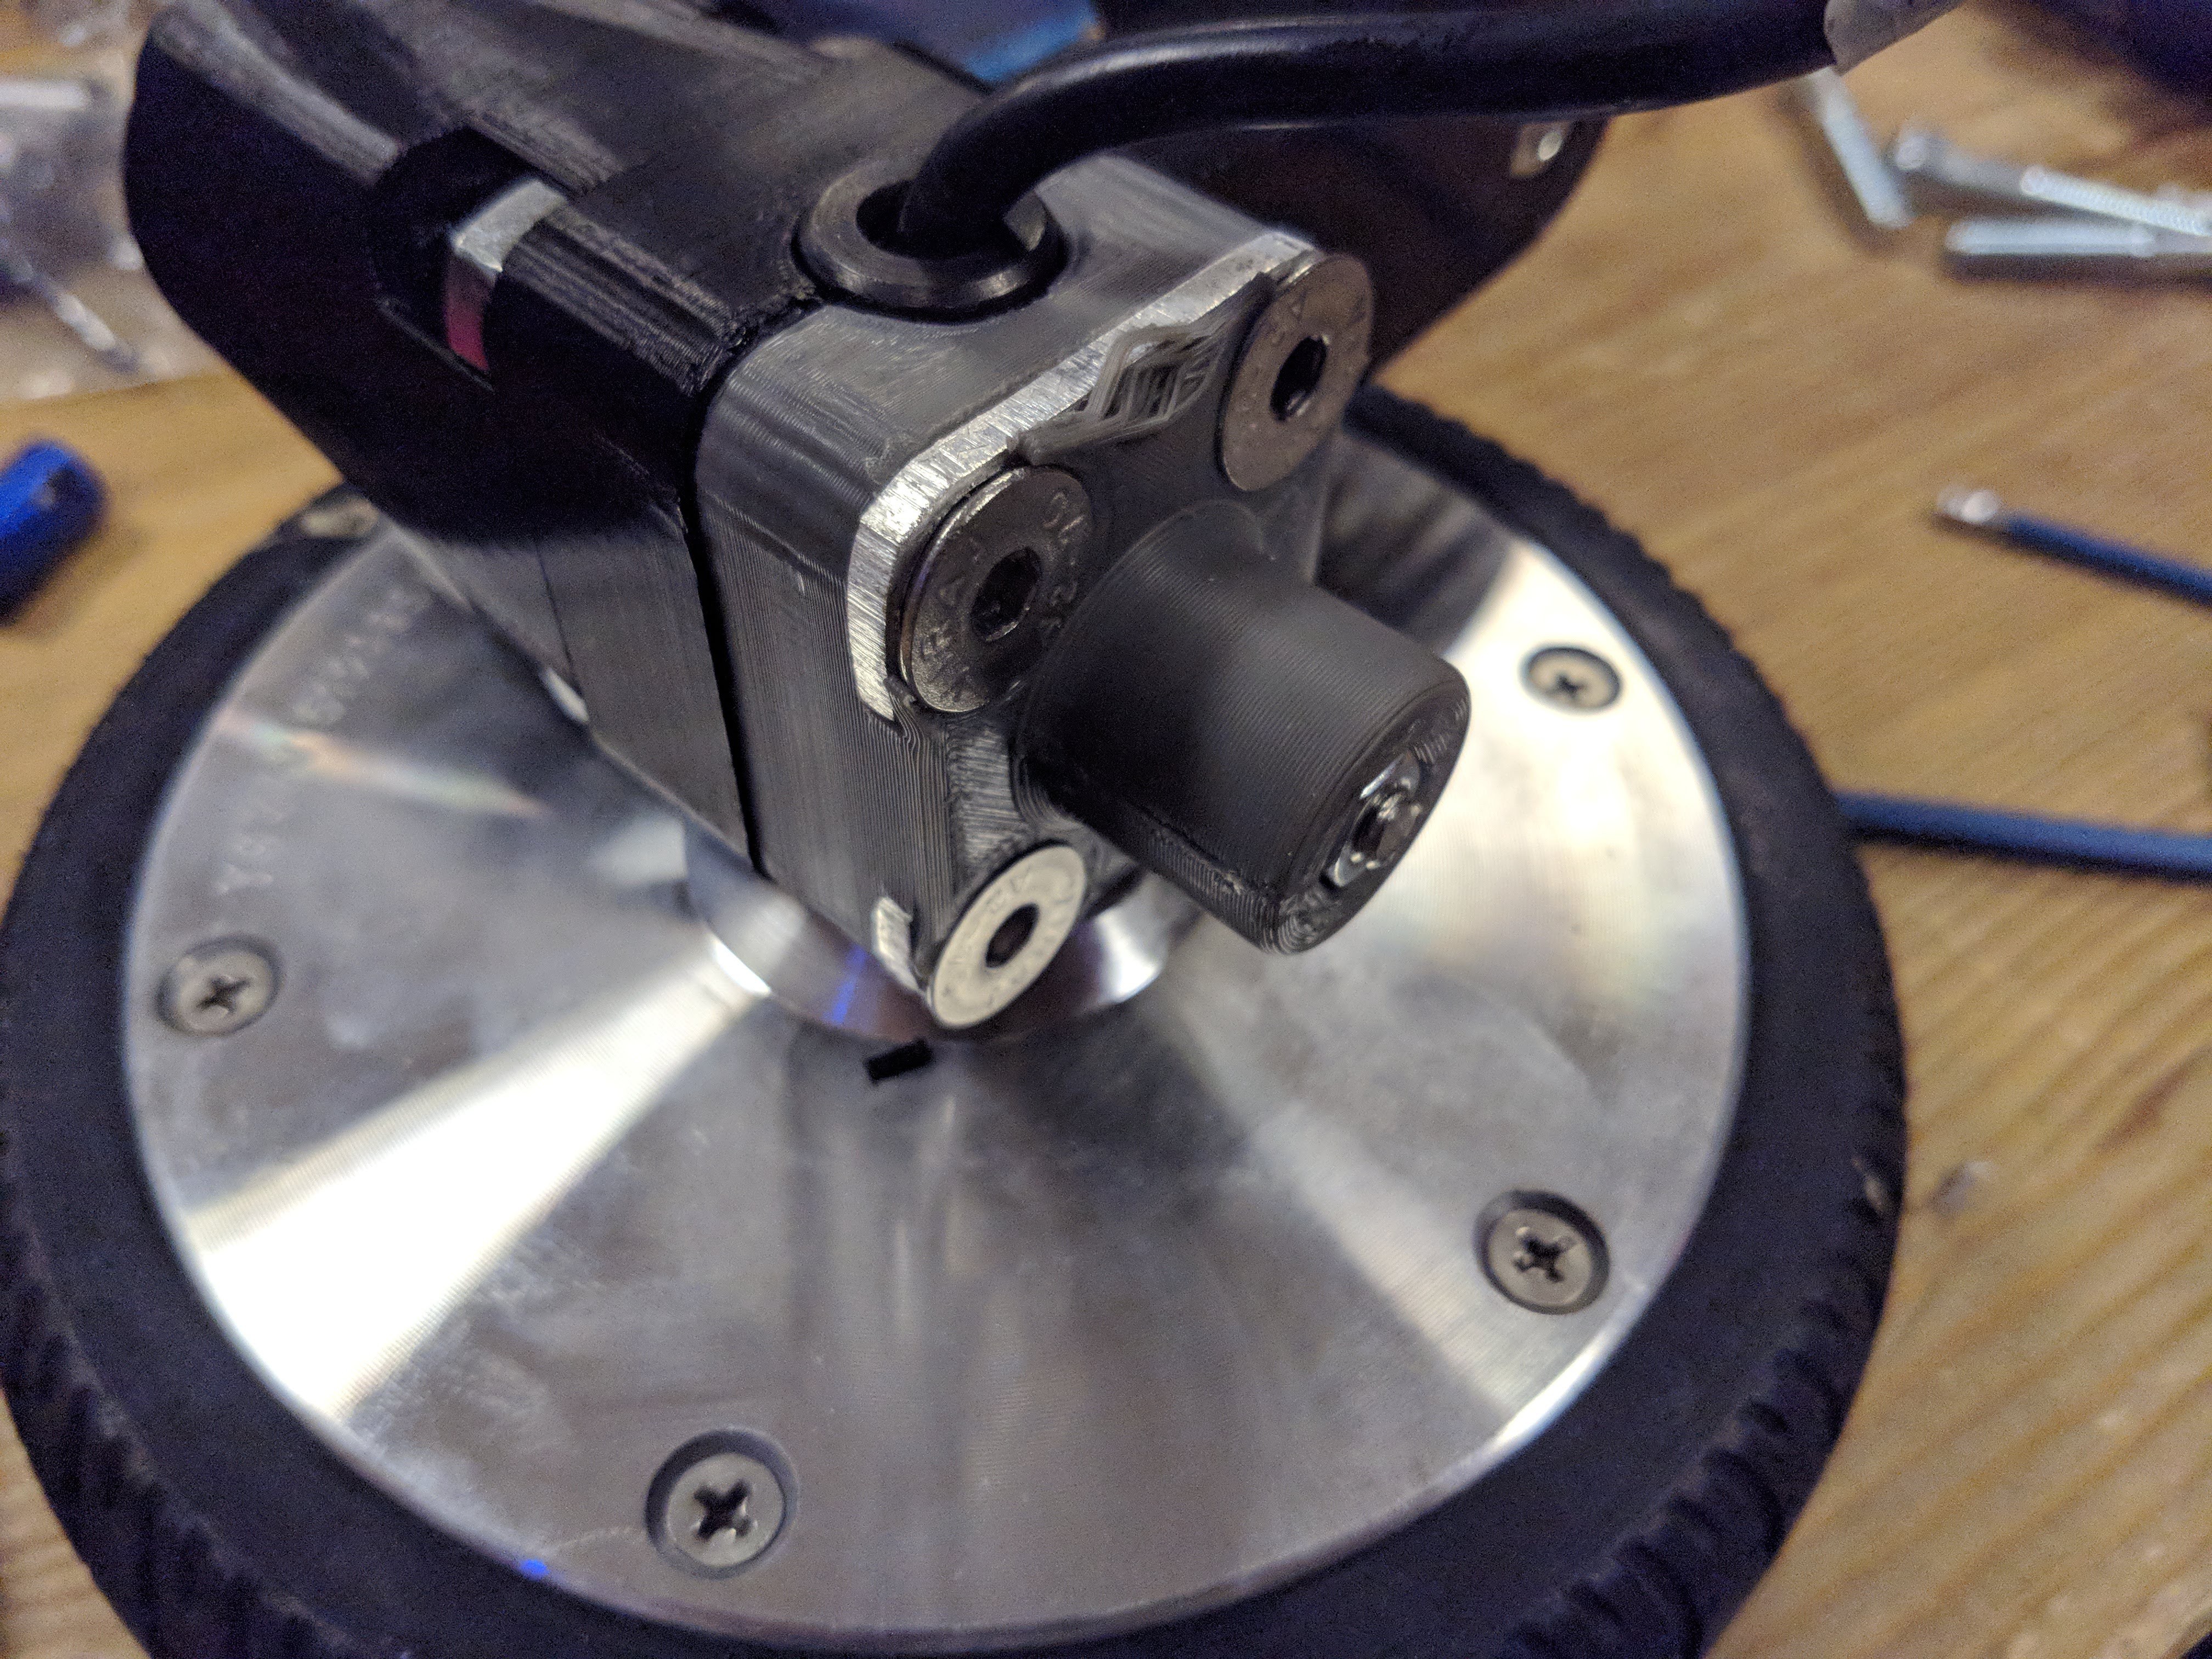
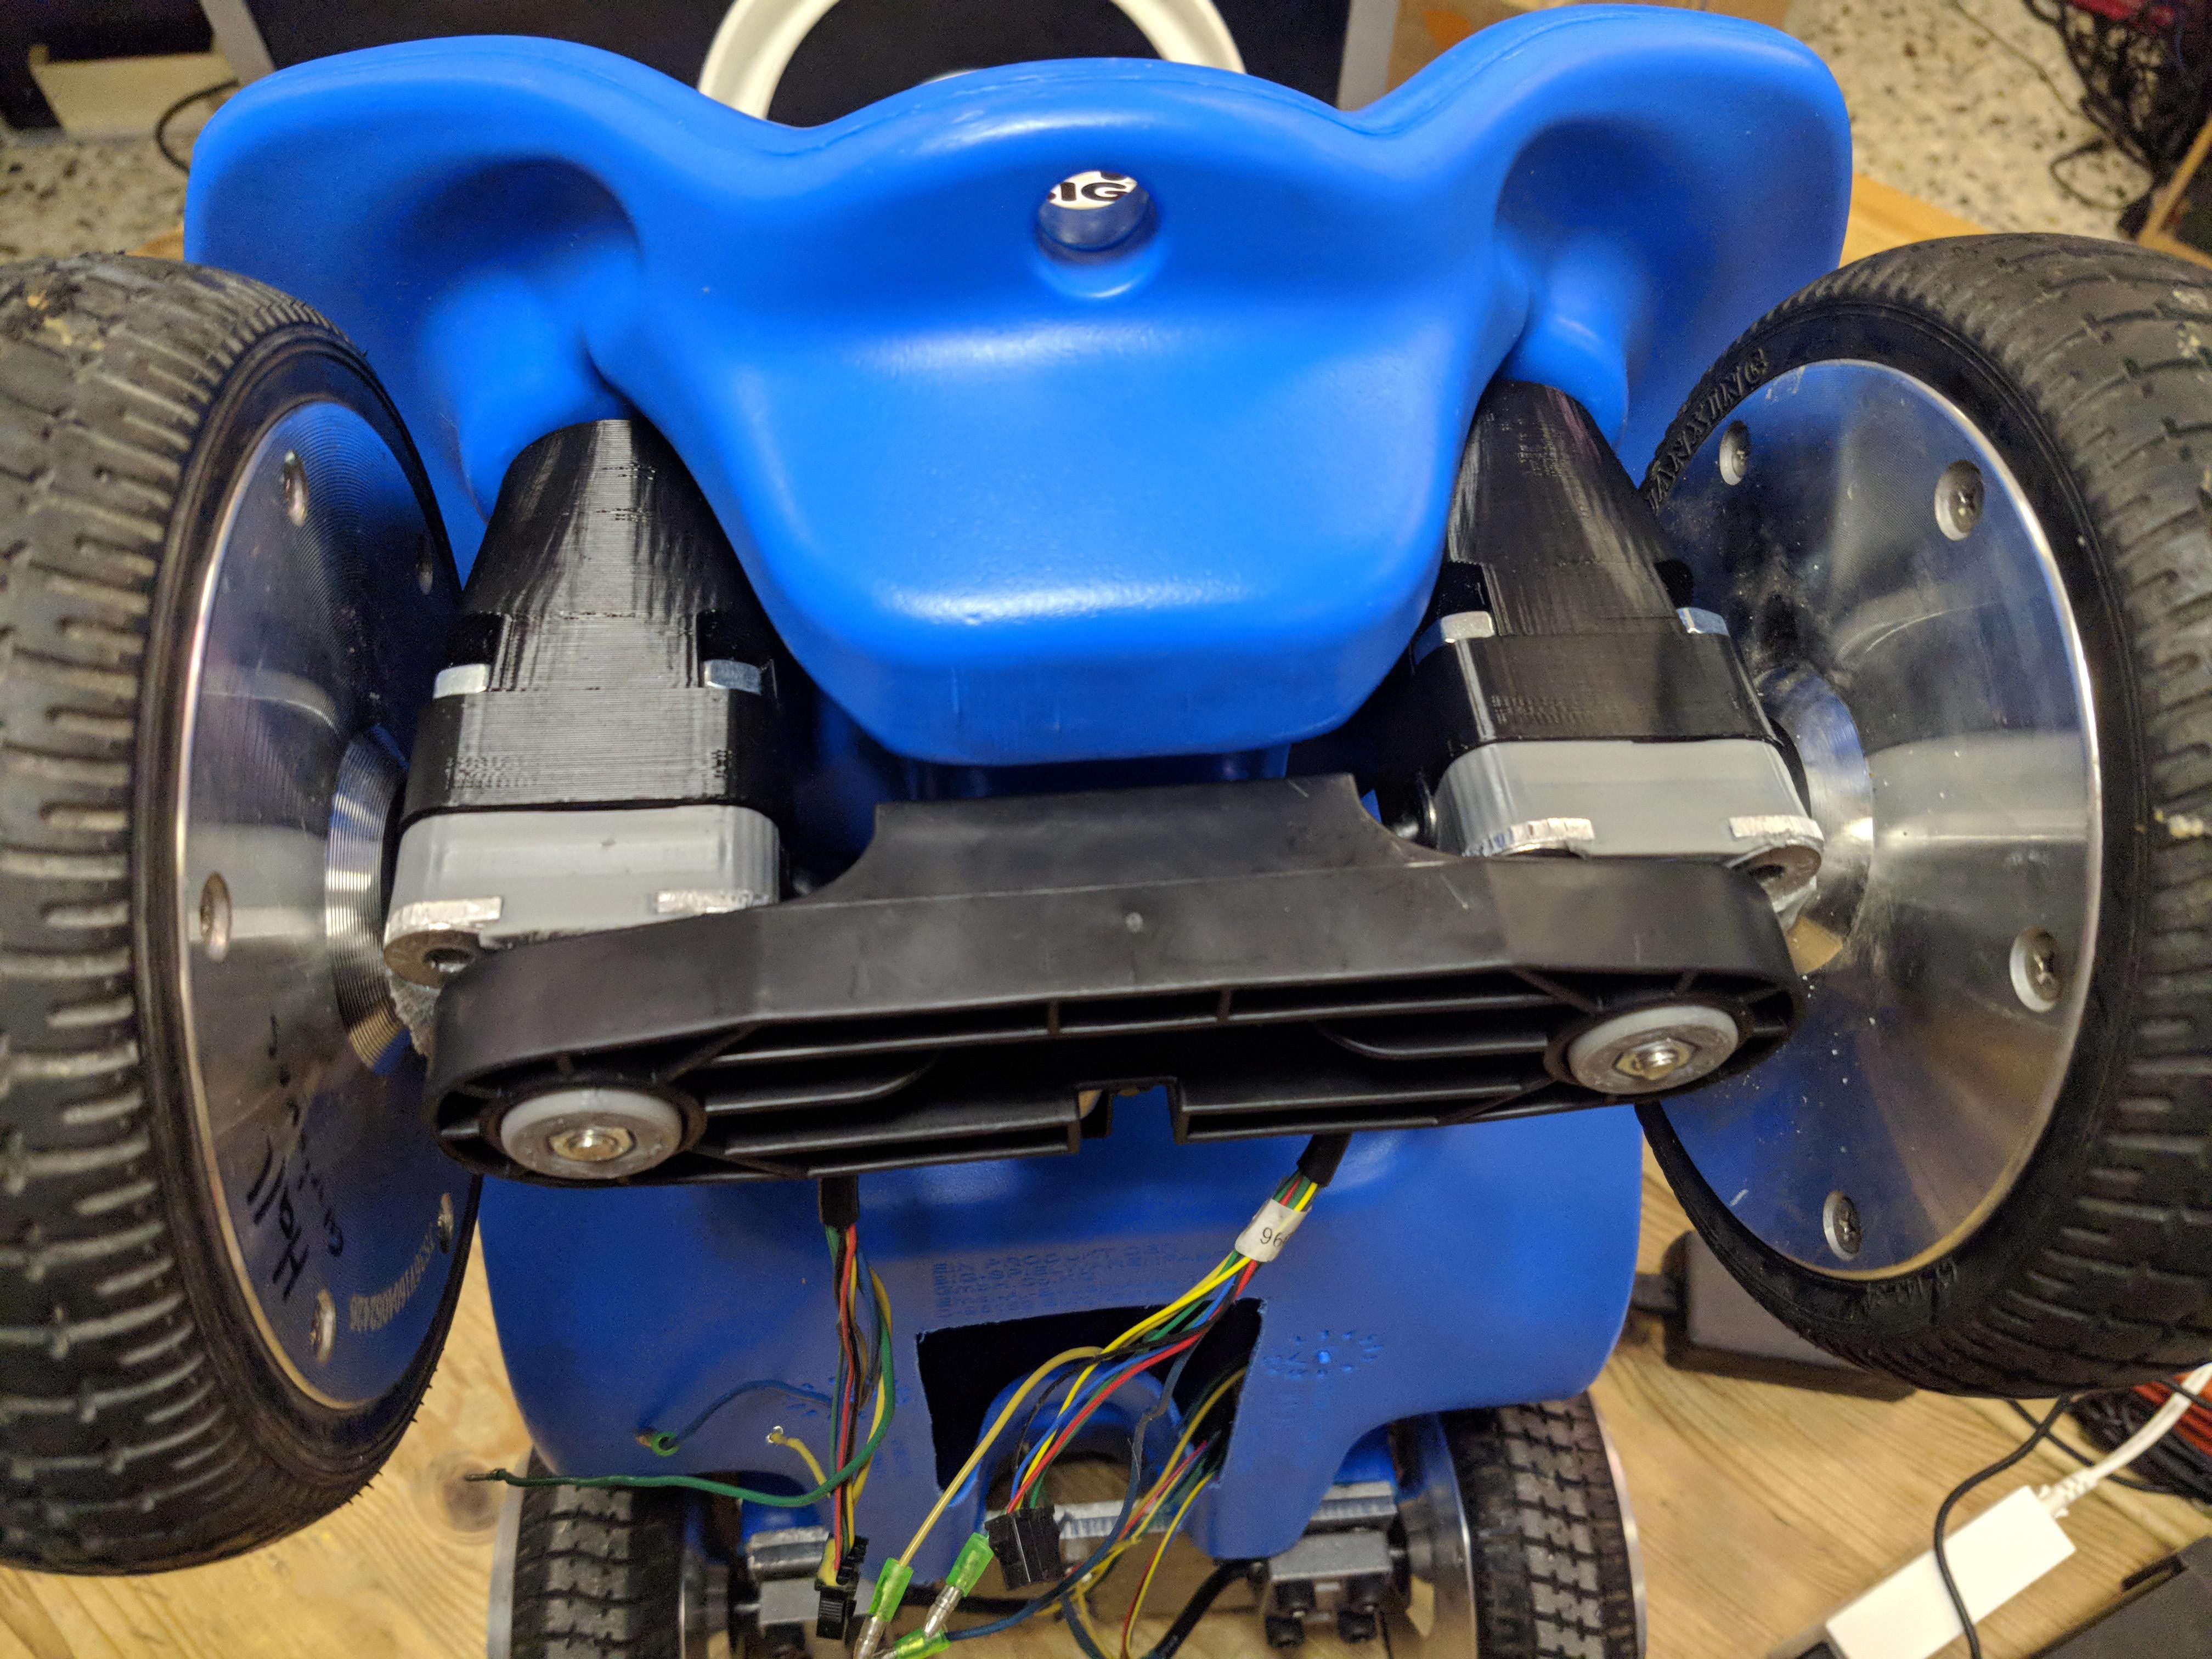
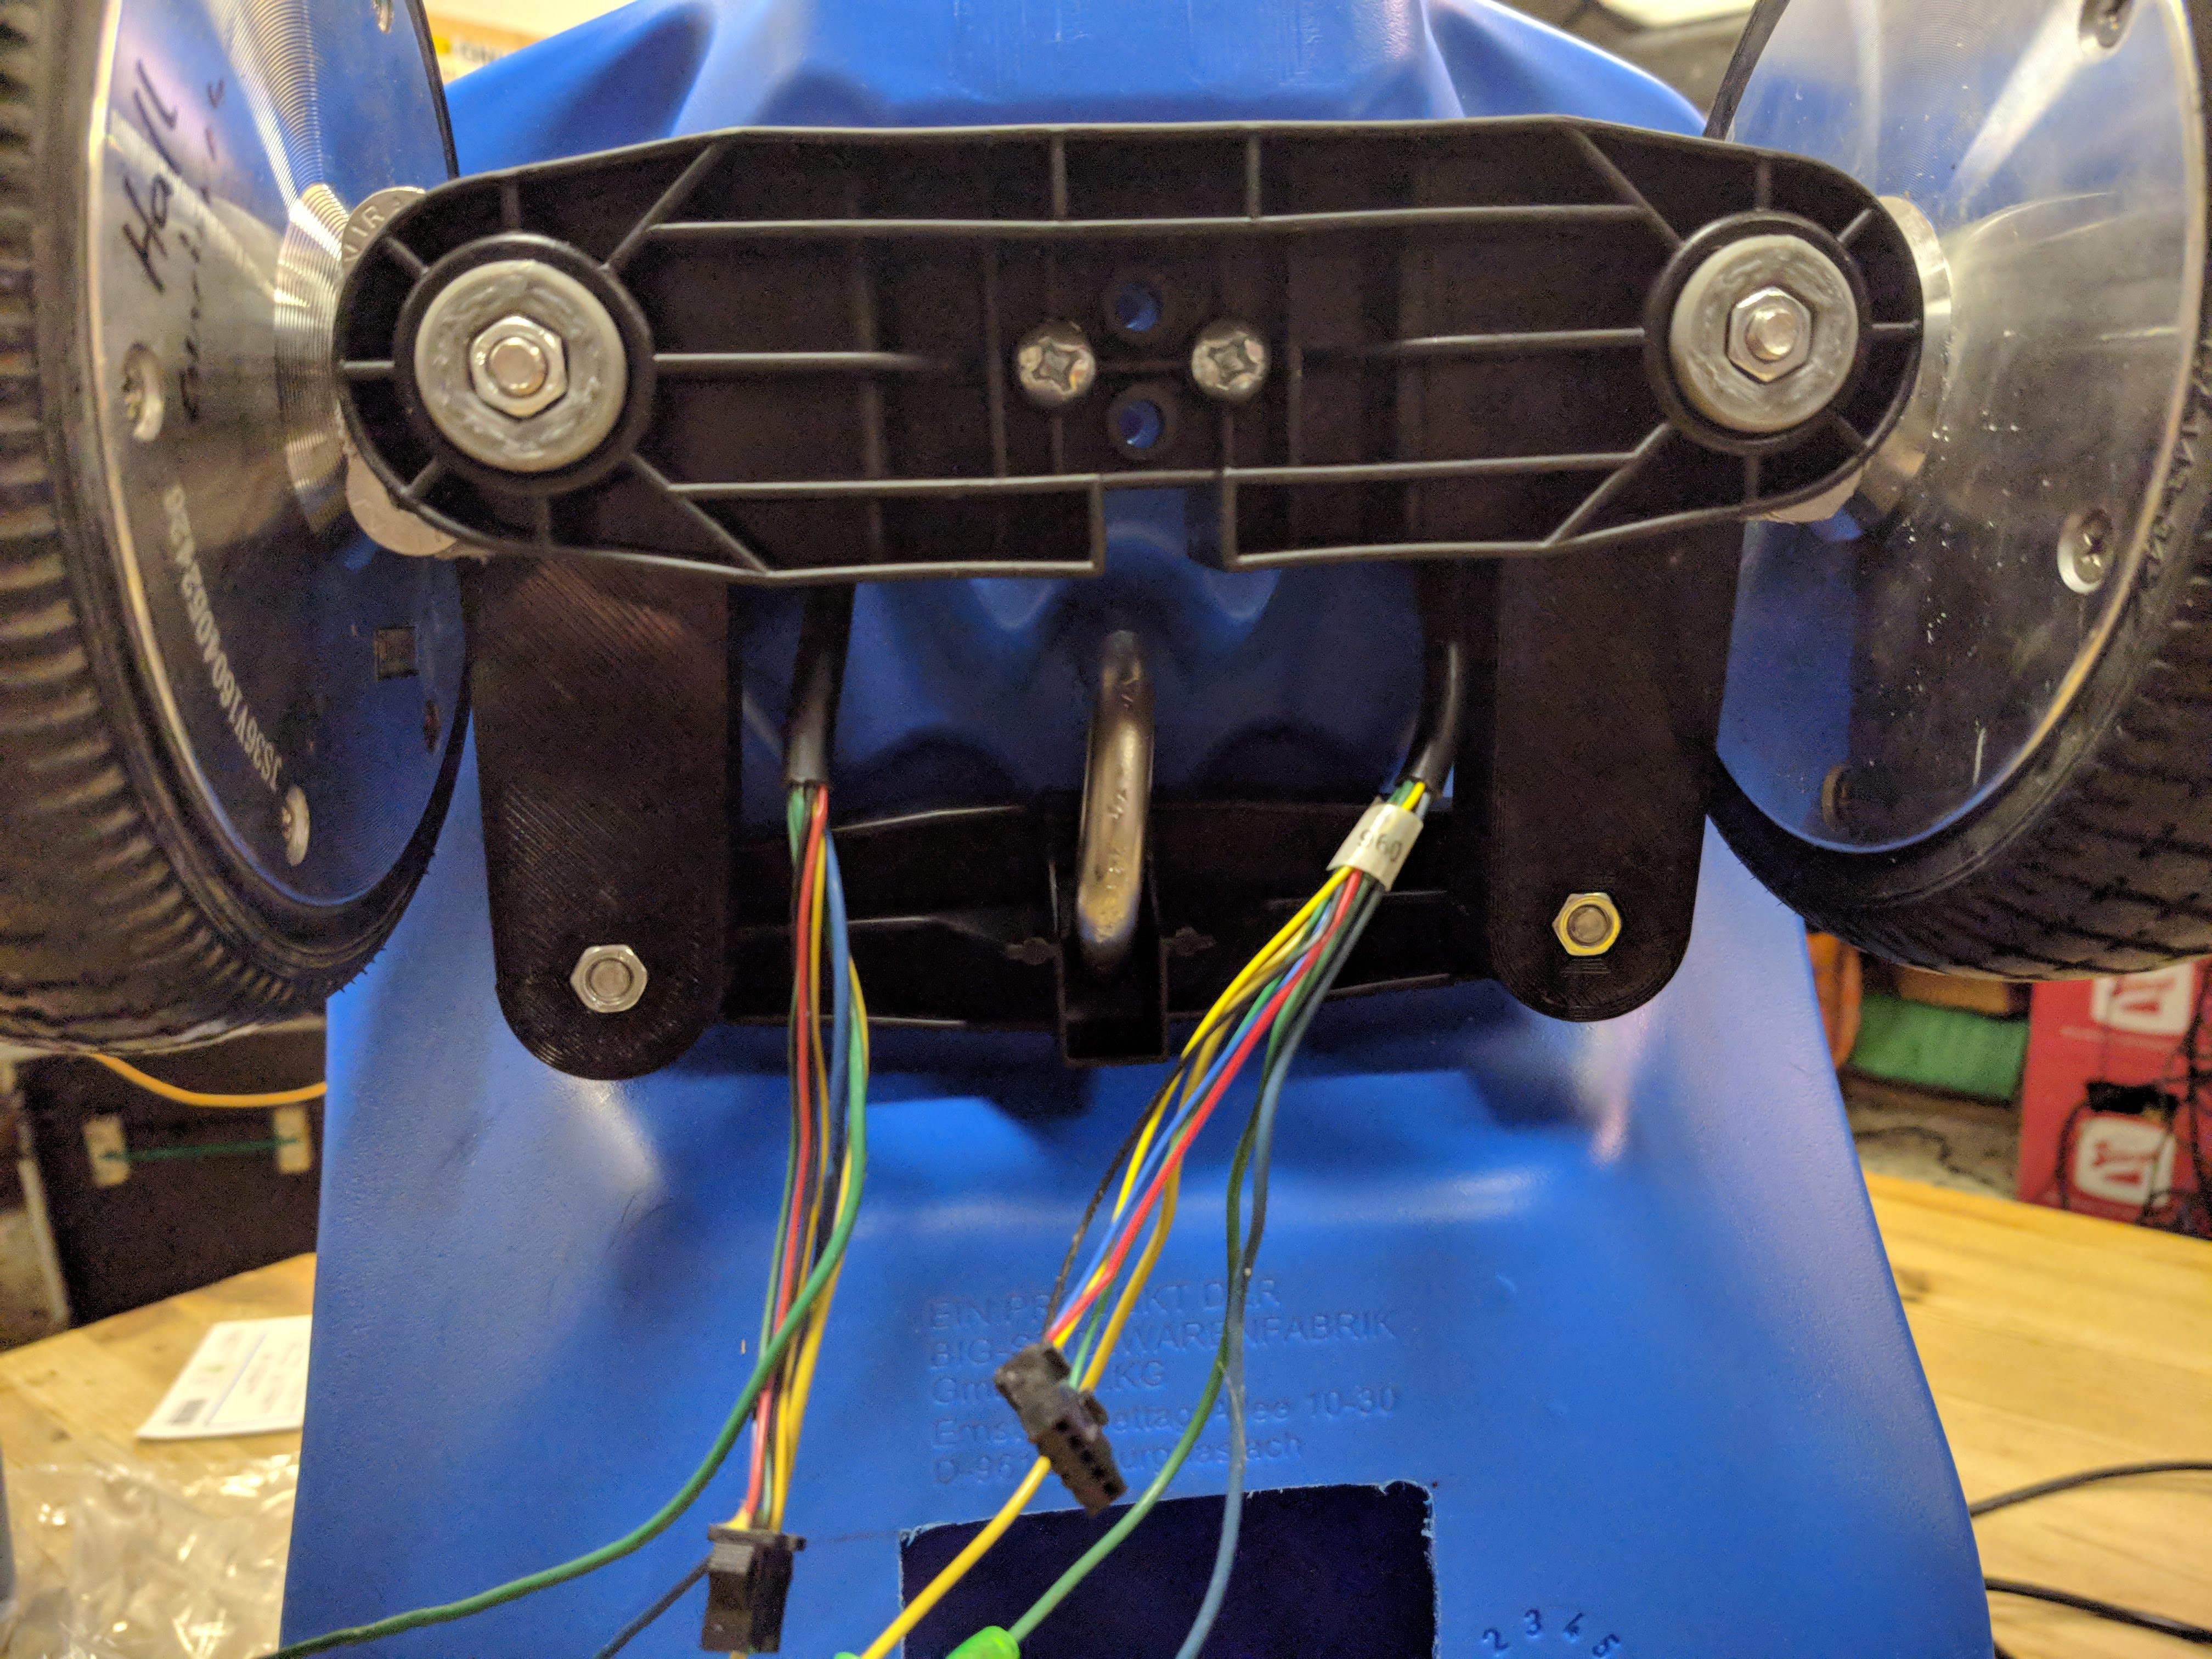
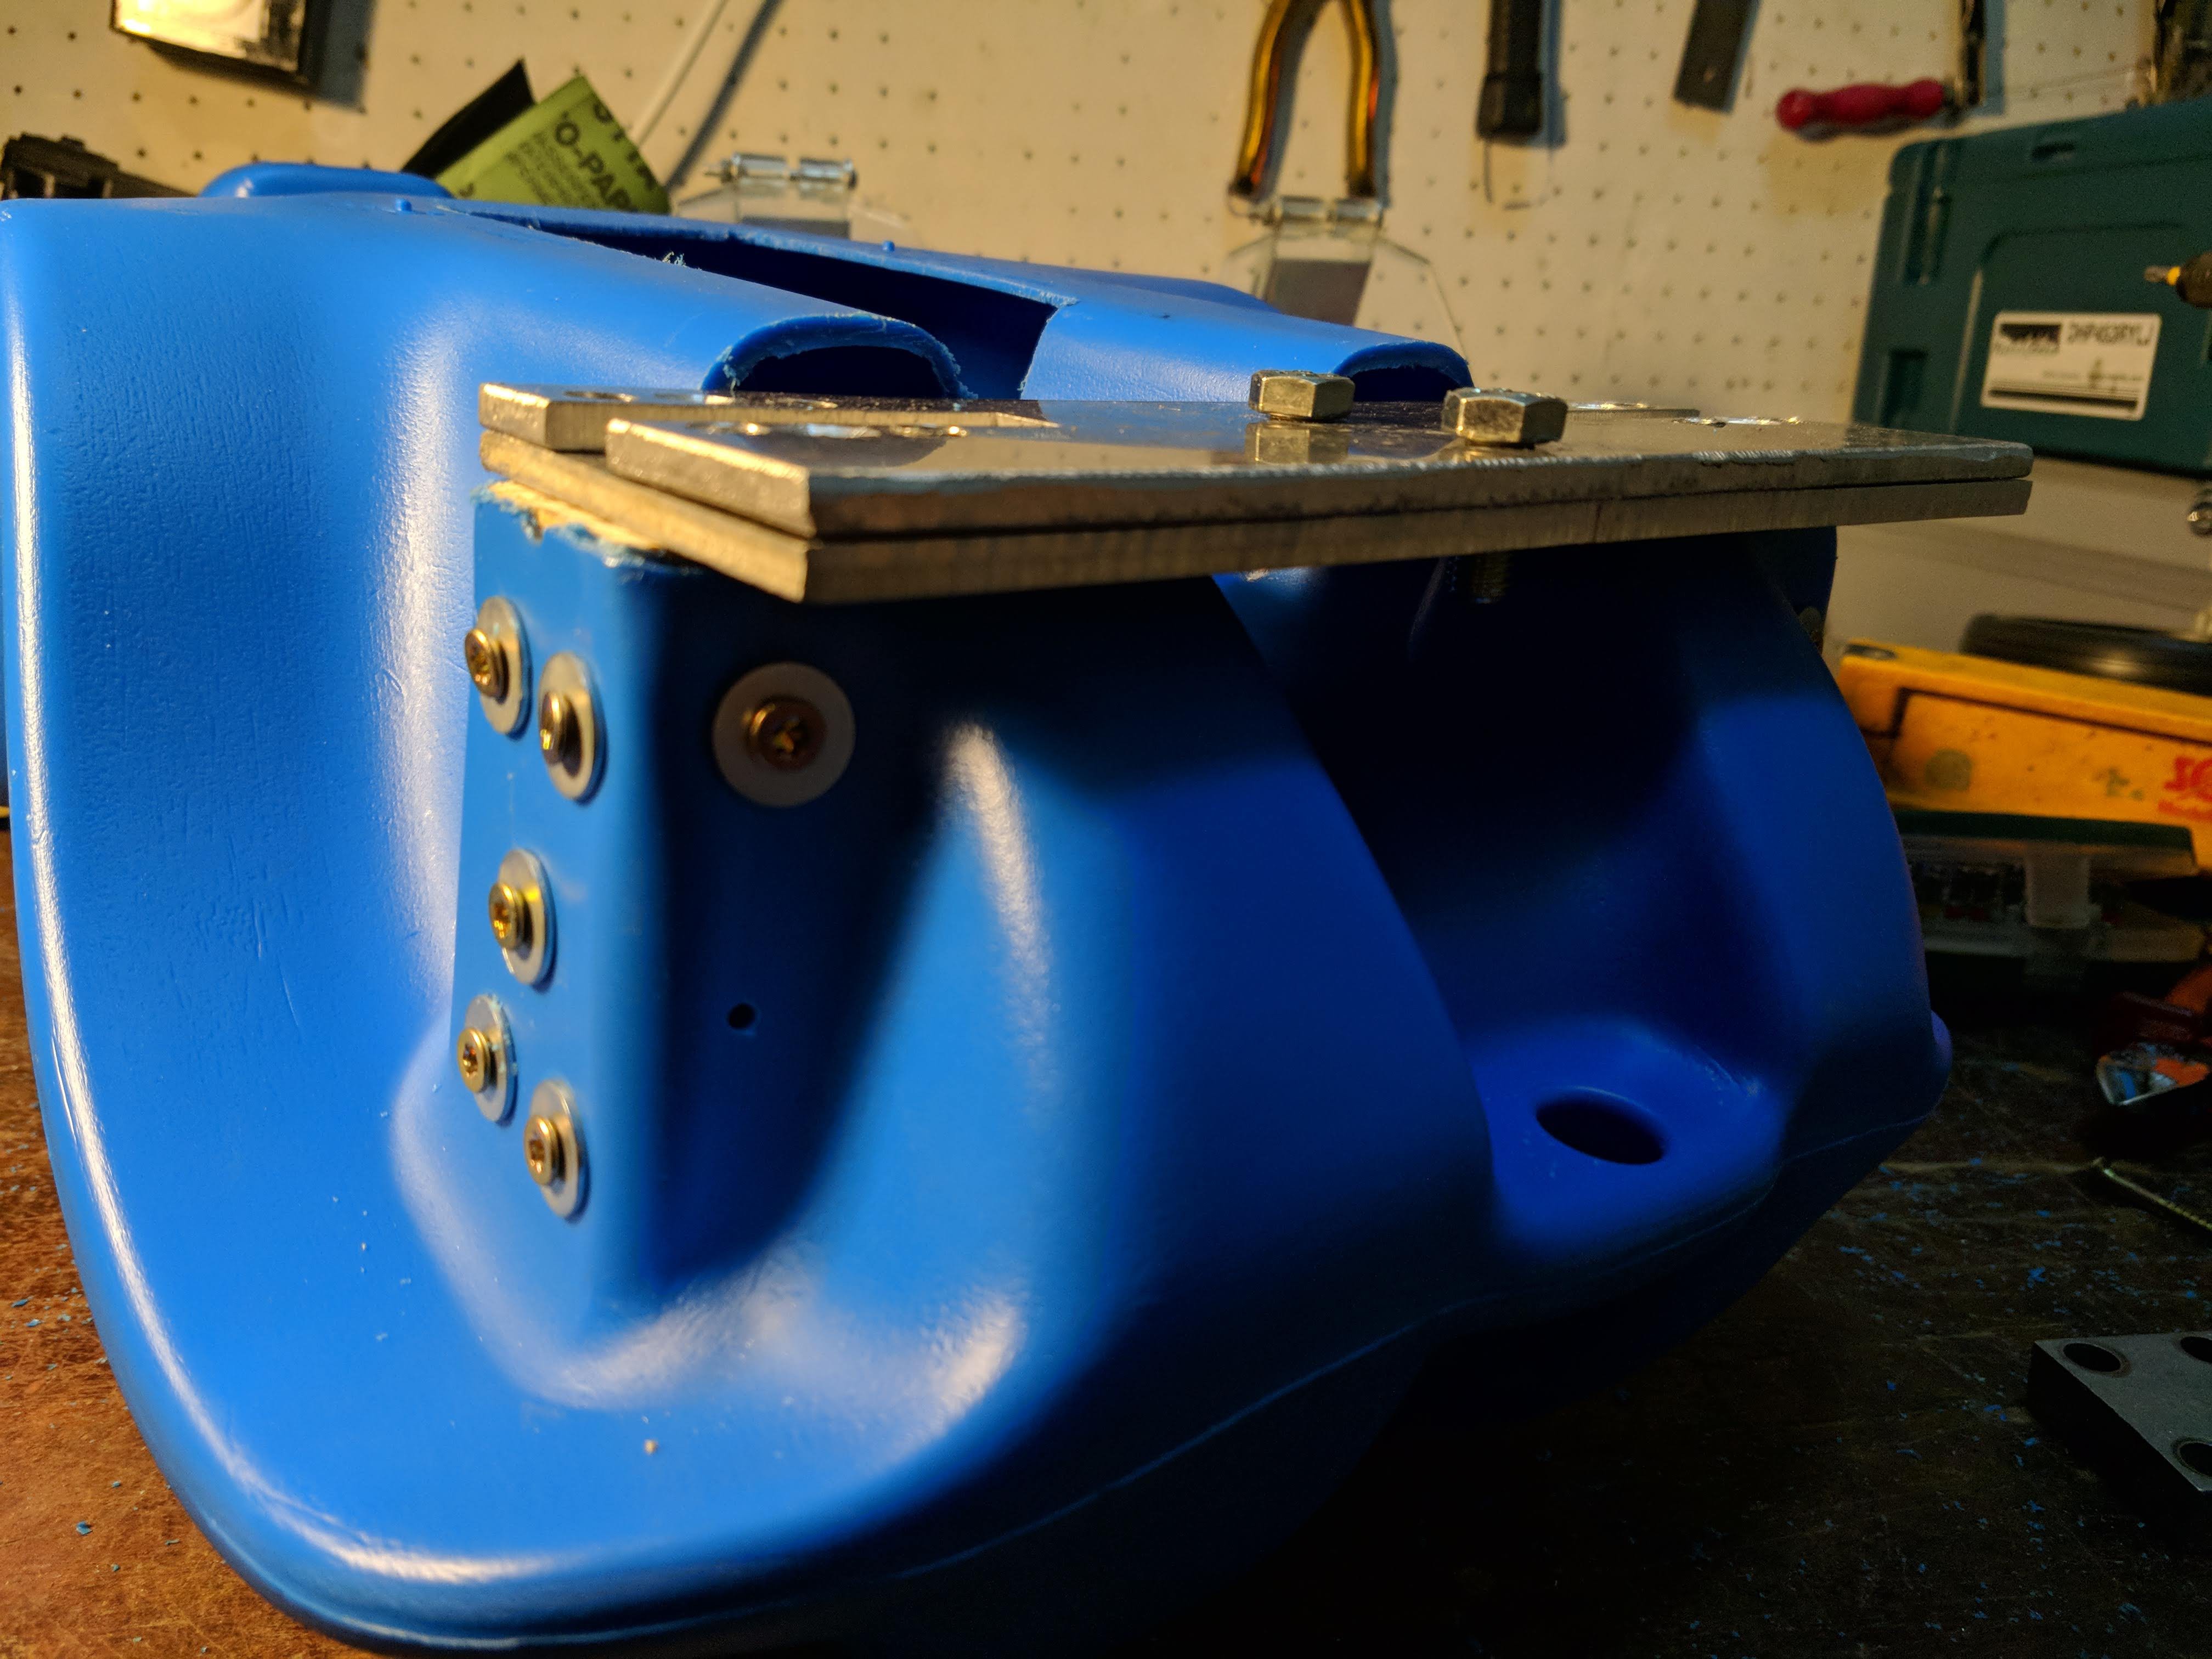
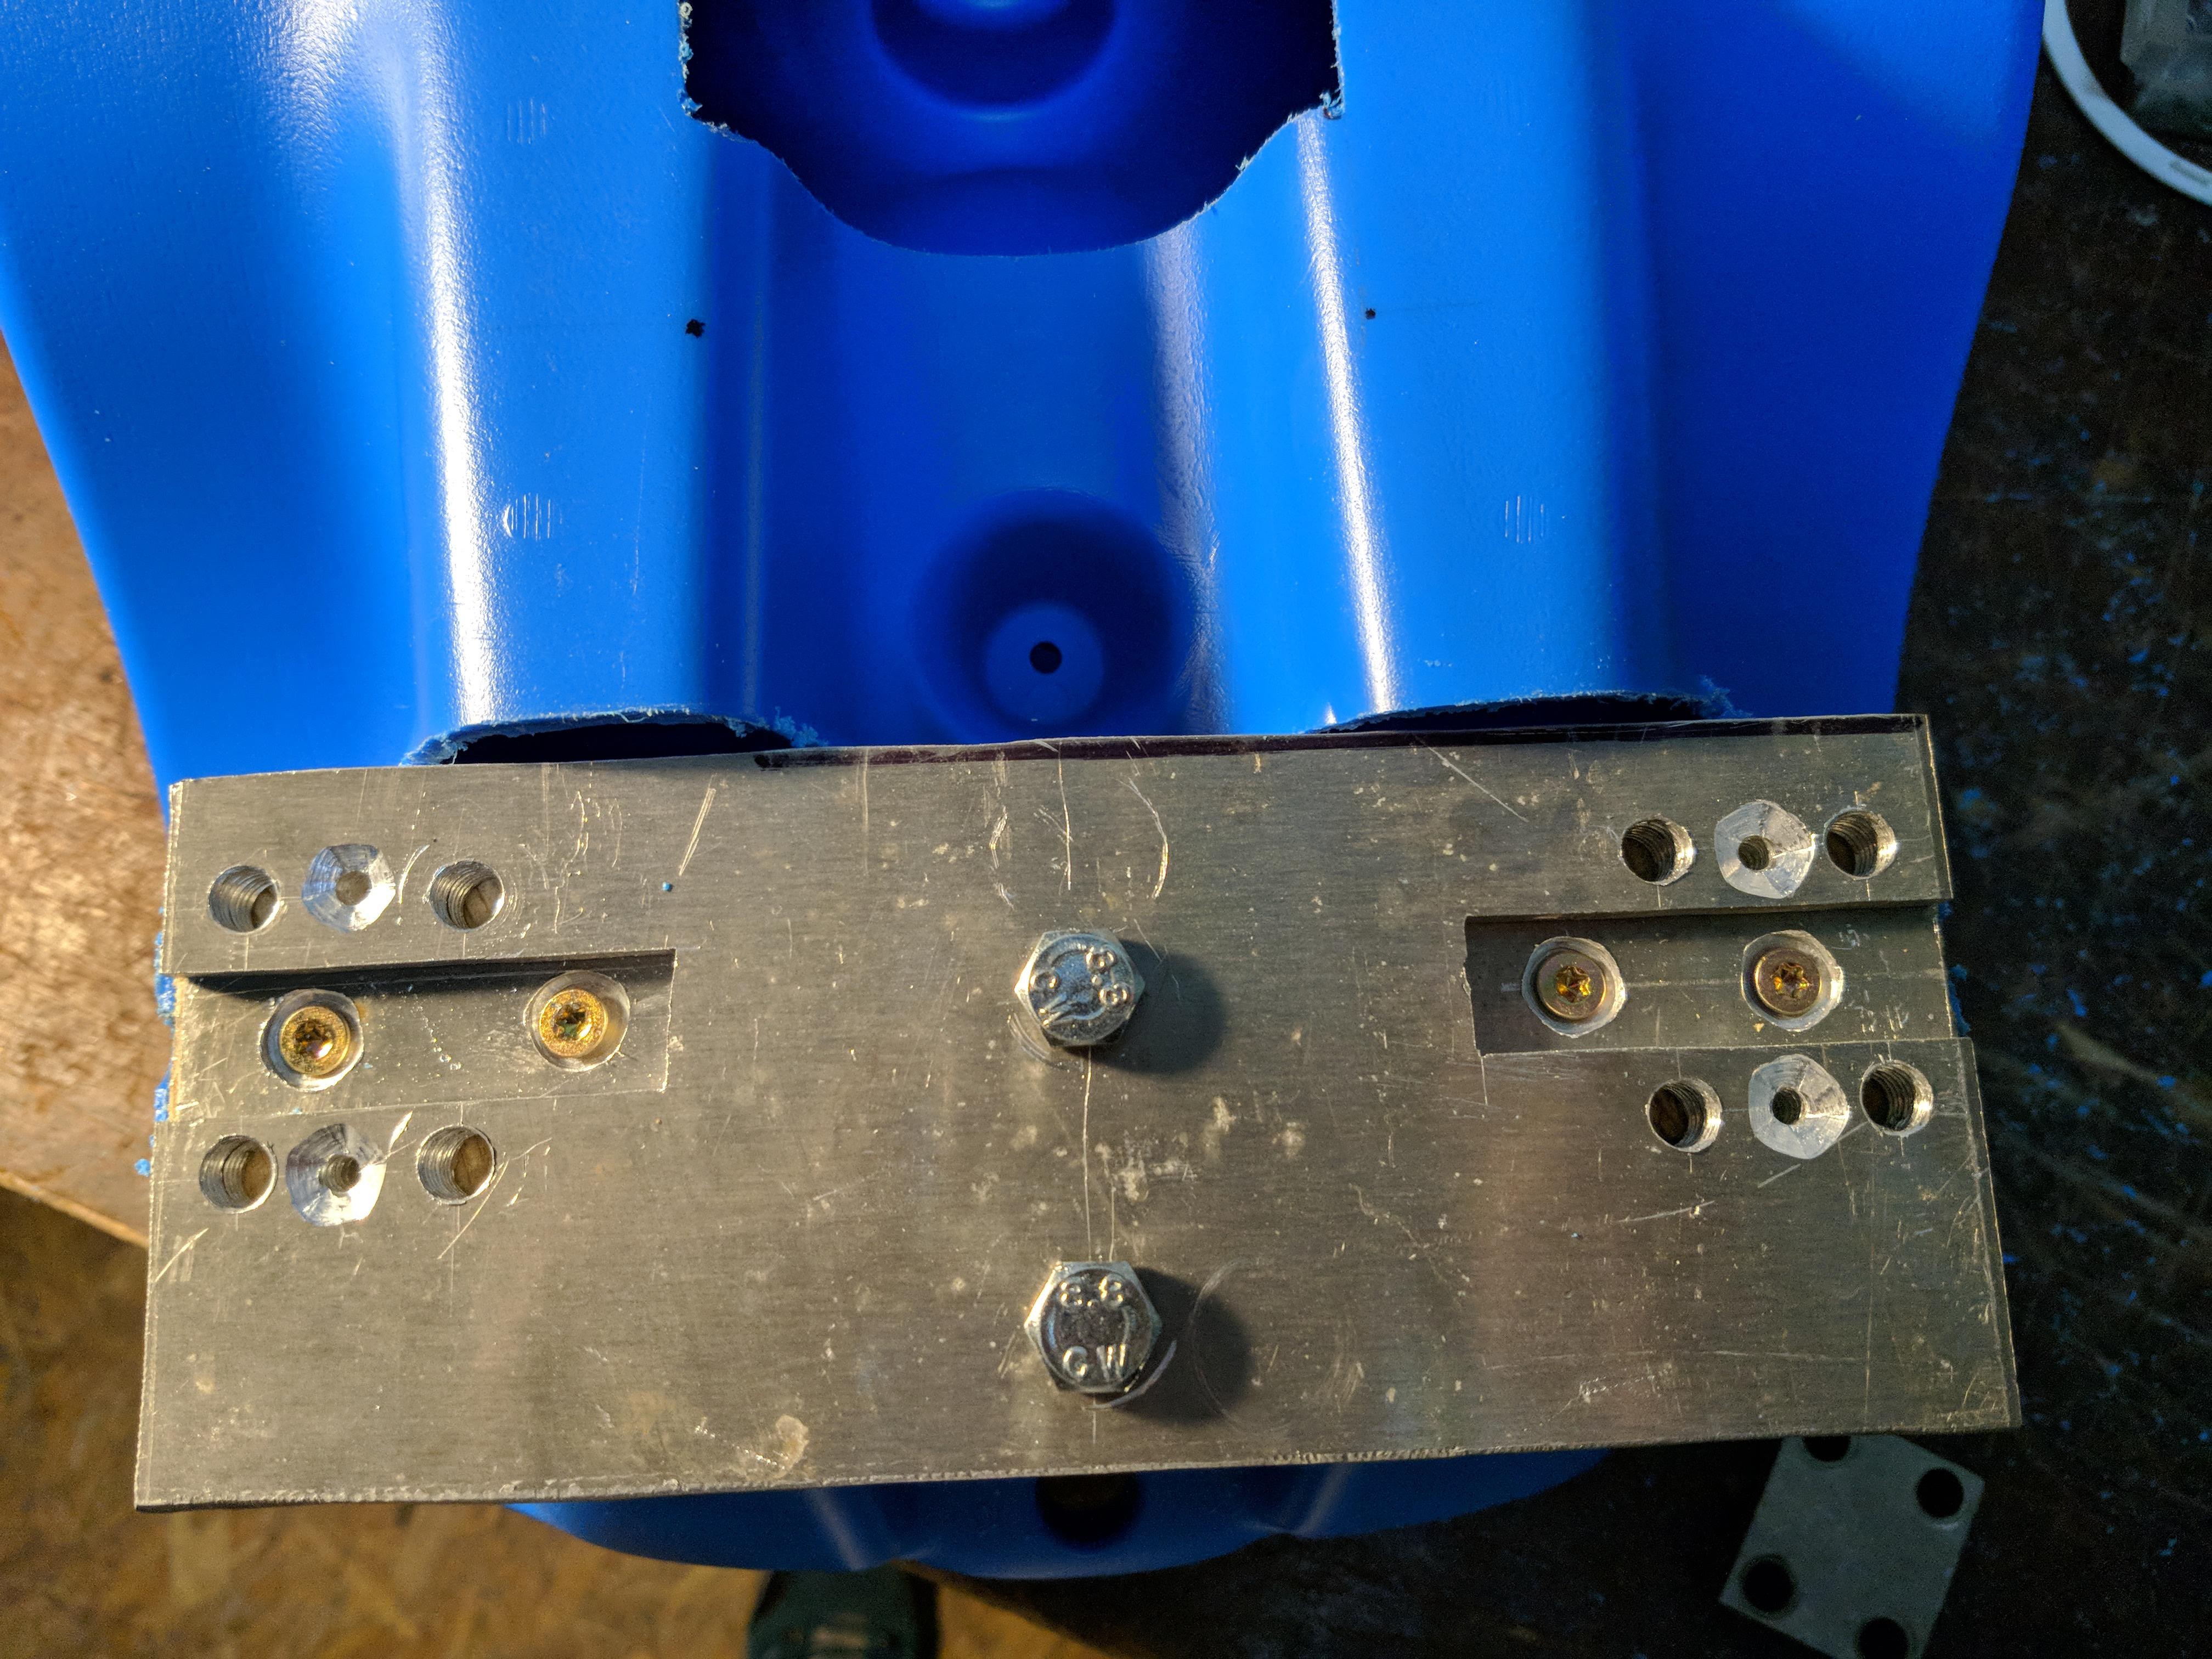
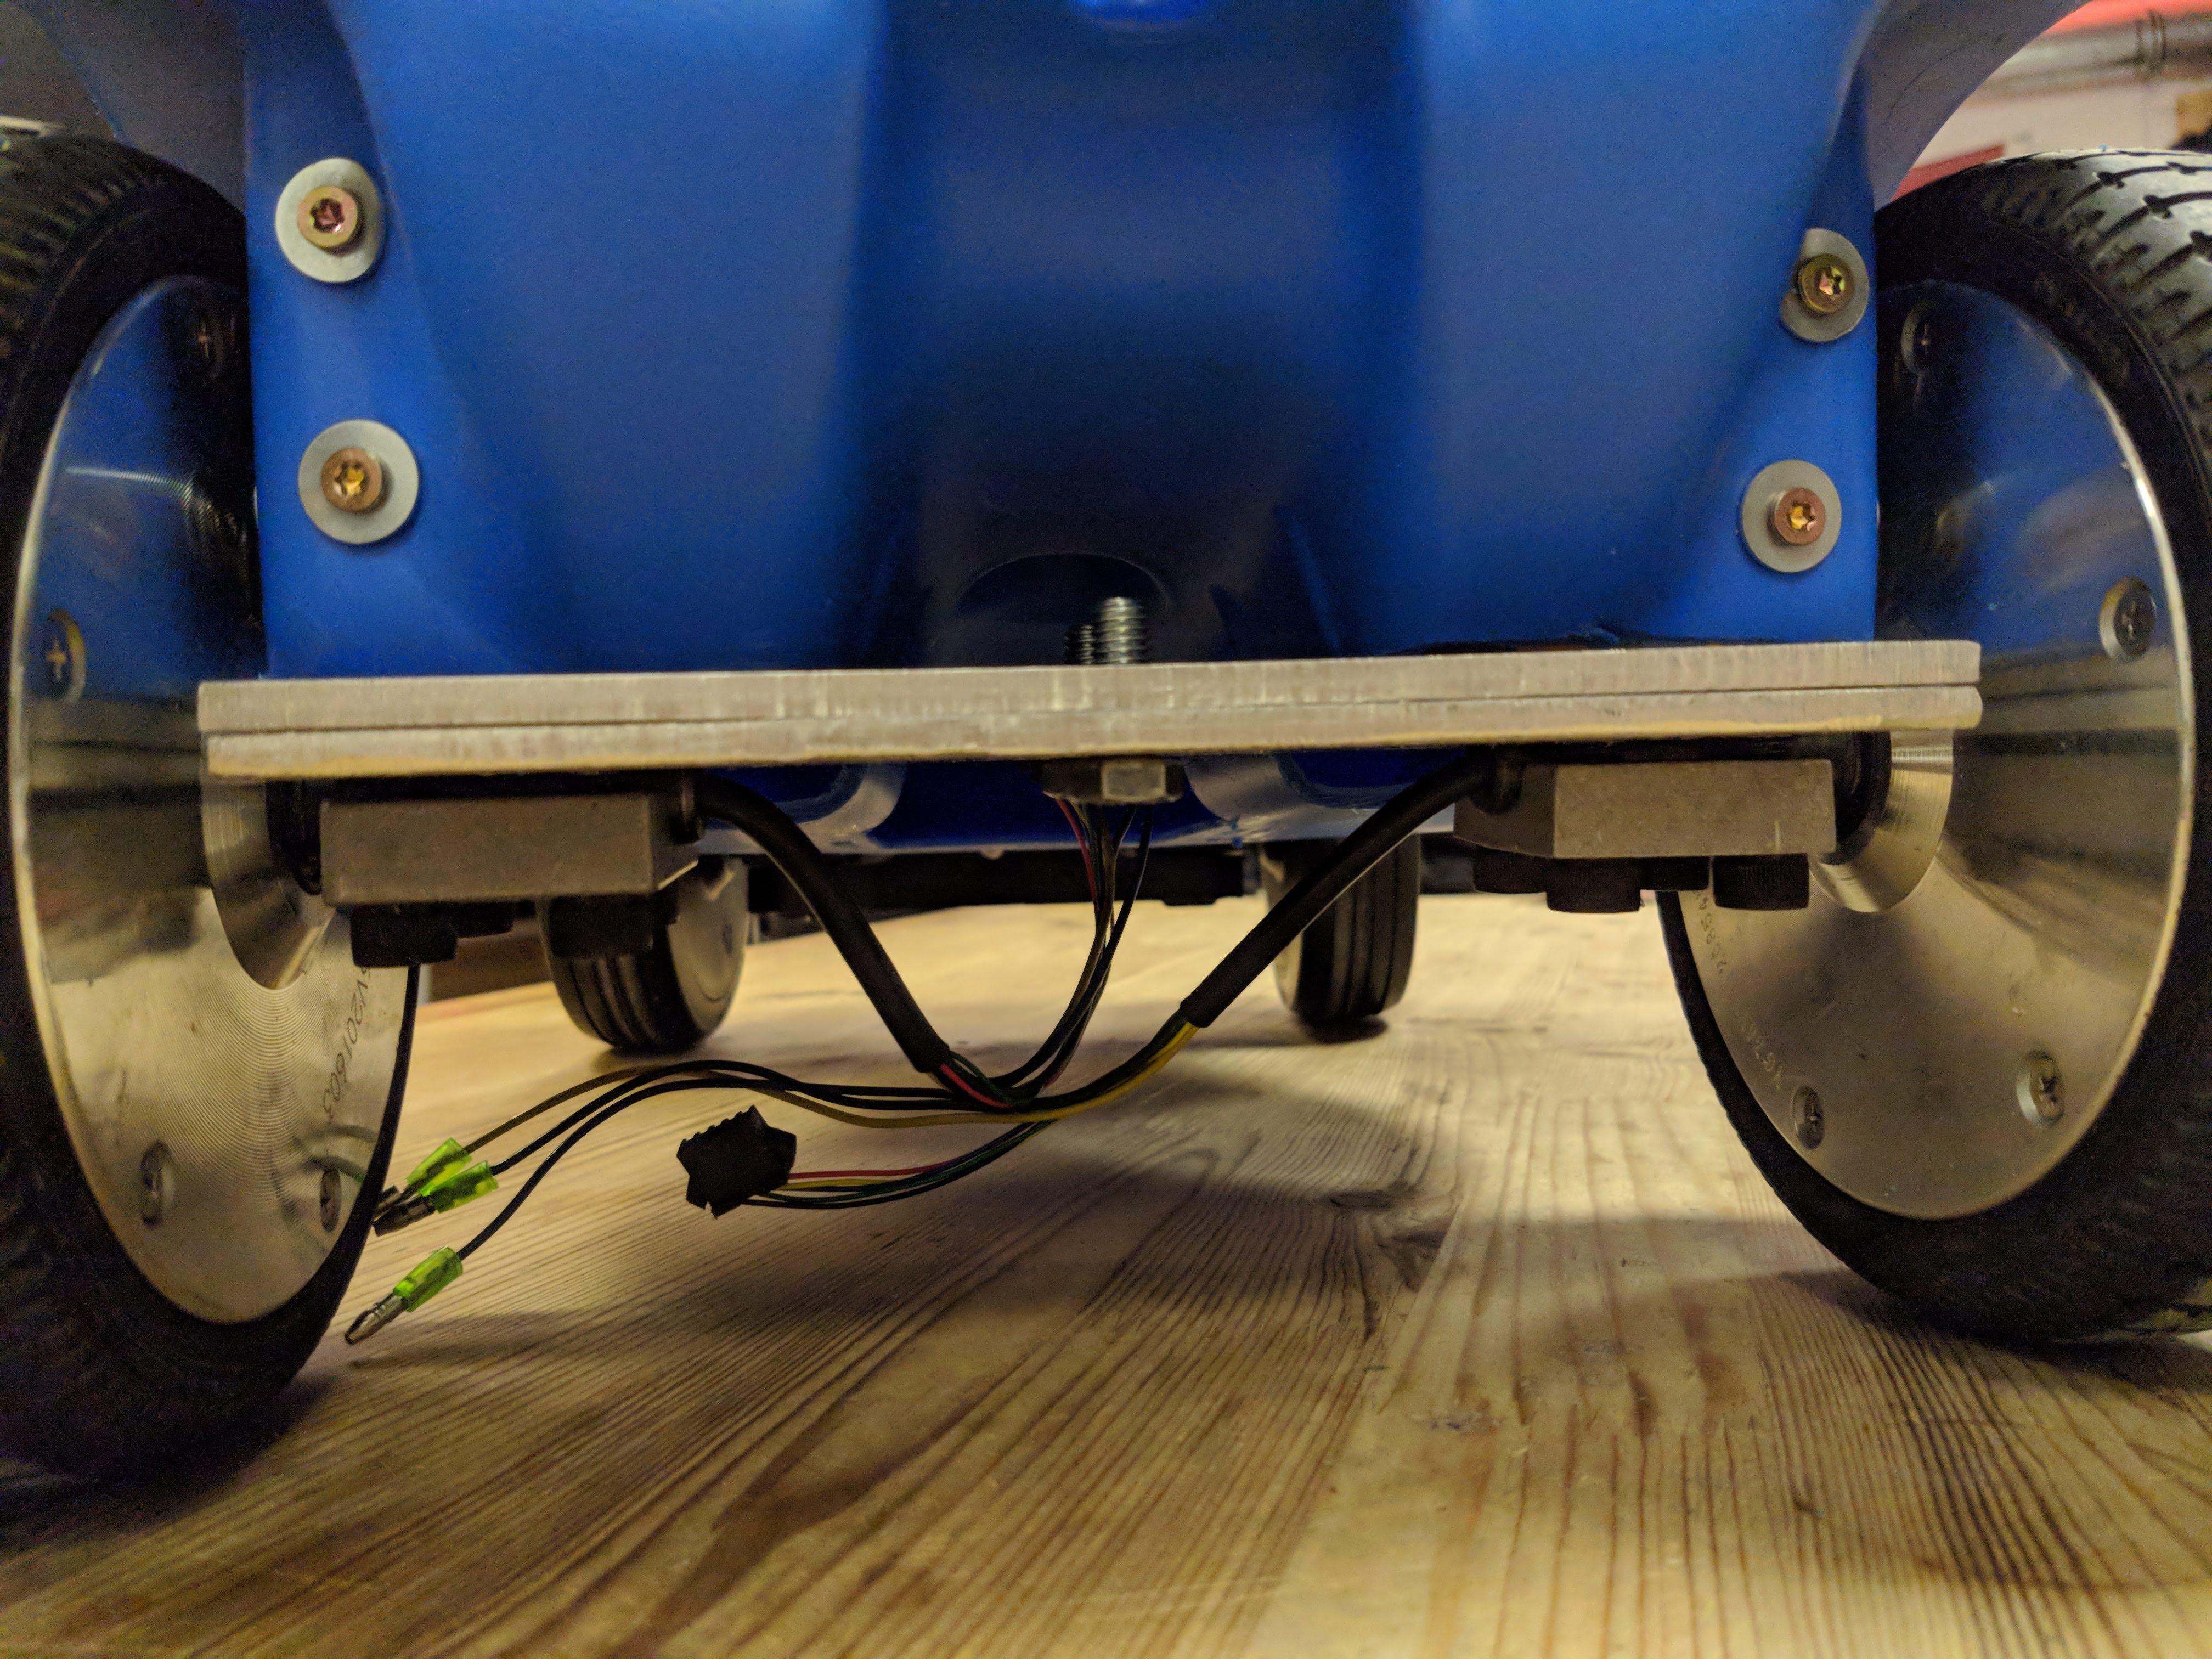
This projects converts a Bobby-Car (children's ride-on toy) to electric by using 4 Hoverboard motors, VESC controllers and an ESP32
 Peter Pötzi
Become a Hackaday.io member
Already have an account? Log in.
Just one more thing
To make the experience fit your profile, pick a username and tell us what interests you.
Pick an awesome username
hackaday.io/
Your profile's URL: hackaday.io/username. Max 25 alphanumeric characters.
Pick a few interests
Projects that share your interests
People that share your interests


 M.daSilva
 SephenDeVos
 jonas
jonas
Very cool project! I have questions (as well as some dead hoverboards):
Which VESC controllers are you using?
Are you using the original battery?
Is the code available?