 Tony-Lin
Matters needing attention:
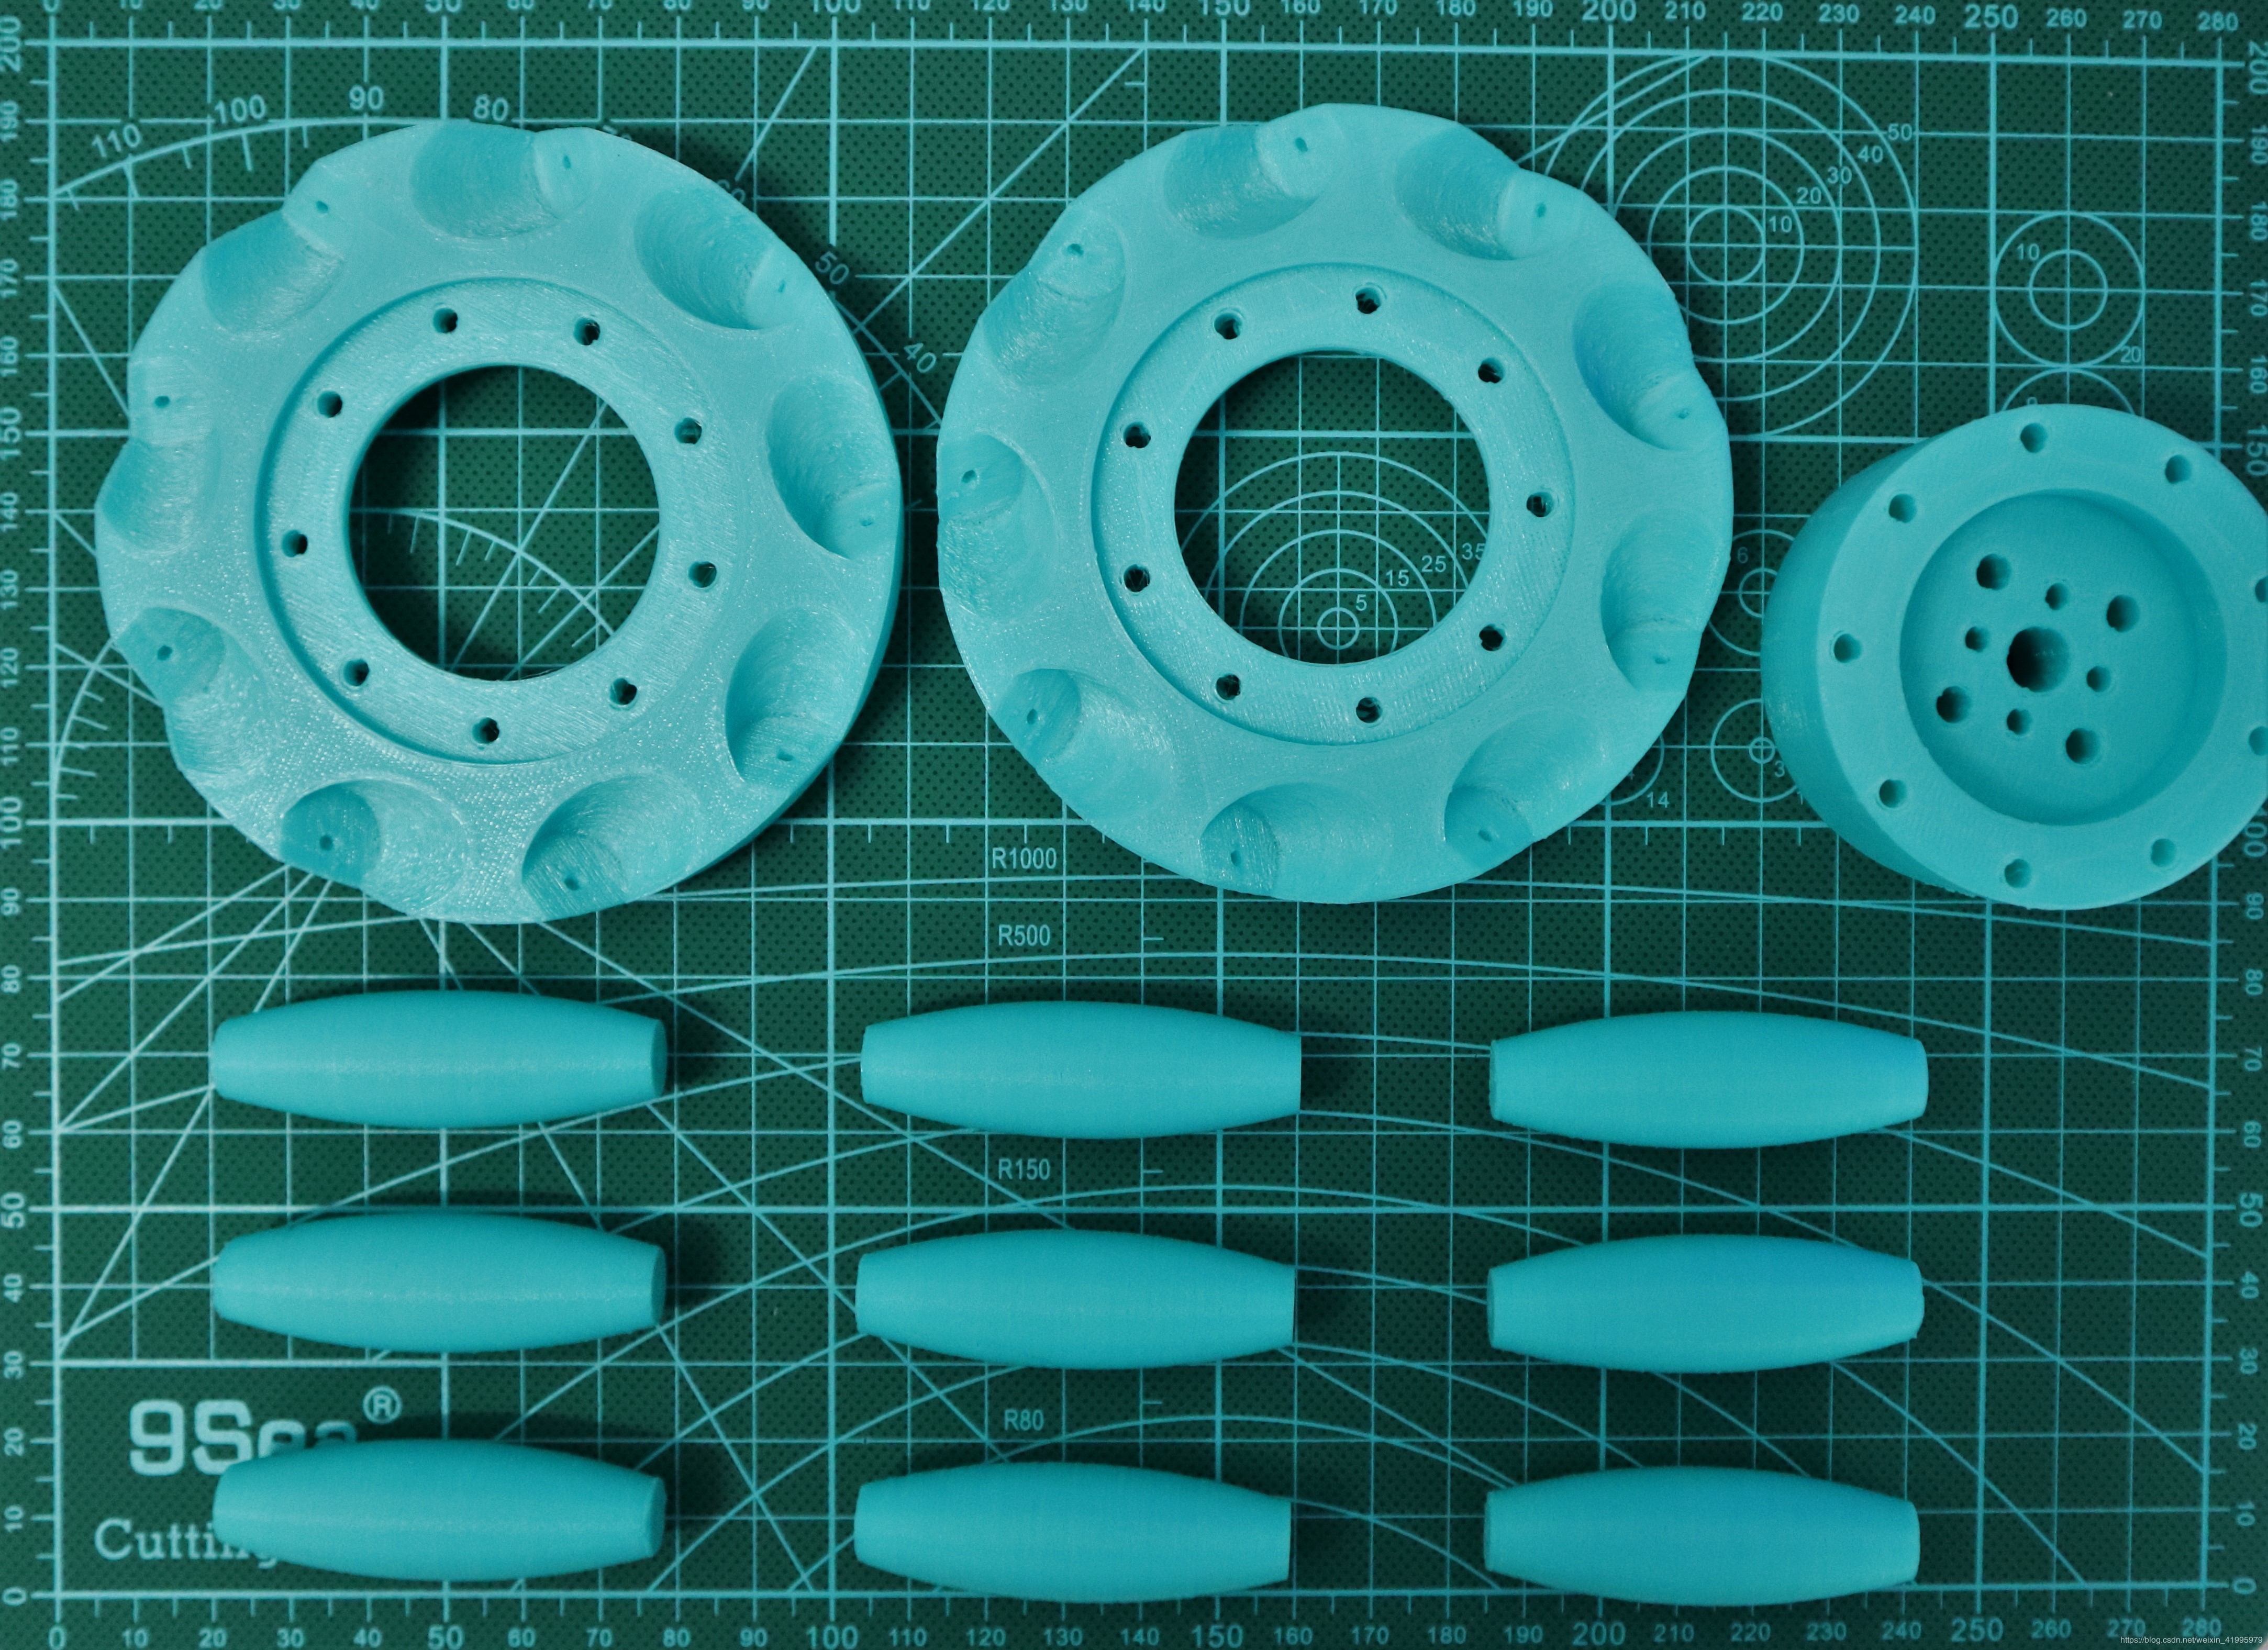
As we all know, Mecanum Wheel has the opposite one and the positive one. A Omnidirectional mobile platform can consists of four Mecanum Wheel(two opposite wheel and two positive wheel )
So you can find two STL files one of them called "p0" and the other one called "p0-m".
To build a opposite wheel, you should print two "p0", one "p1" and nine "p2".
To build a positive wheel, you should print two "p0-m", one "p1" and nine "p2".
 Russell Munro
 aris
aris
 TTN
TTN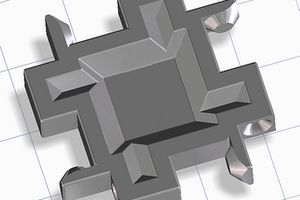
 Andrey Kalmatskiy