 Embedotronics
Software Used:
These are the software we have used for this project:
1. Arduino IDE: You can download the latest Arduino IDE from this link:
https://www.arduino.cc/en/Main/Software
2. Google Drive: You need to use some of the apps from your google drive and first one is Google Sheet and another one will be Google app script, where you need to write your Google script.
3. Pushingbox: This tool you need to use to push data from your Arduino to Google Sheet, as directly you can not send data from Arduino to Google Sheet, so this is the third party tool which you need to use. You can go to this page and just log in with Google.
Components Used:
1) Arduino UNO:
Arduino/Genuino Uno is a microcontroller board based on the ATmega328P (datasheet). It has 14 digital input/output pins (of which 6 can be used as PWM outputs), 6 analog inputs, a 16 MHz quartz crystal, a USB connection, a power jack, an ICSP header and a reset button.
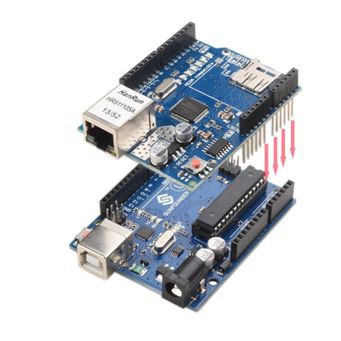
2) Ethernet Shield: The Arduino Ethernet Shield 2 connects your Arduino to the internet in mere minutes. Just plug this module onto your Arduino Board, connect it to your network with an RJ45 cable and follow a few simple steps to start controlling your world through the internet. As always with Arduino, every element of the platform – hardware, software and documentation – is freely available and open-source. This means you can learn exactly how it's made and use its design as the starting point for your own circuits. Hundreds of thousands of Arduino Boards are already fueling people’s creativity all over the world, every day.

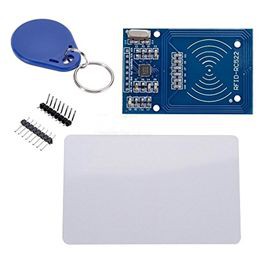
3) RFID RC522 Reader with Tag:
There are cheap RFID modules that can read and write Mifare's tags and being sold at several web stores, like eBay and included with many "starter kits" nowadays. Simply search RFID-RC522 (MF-RC522). The microcontroller and card reader uses SPI for communication (chip supports I2C and UART protocols but not implemented on library). The card reader and the tags communicate using a 13.56MHz electromagnetic field.
Circuit Diagram:
You need to connect ethernet shield first as shown in above image then you need to make the RFID connection.
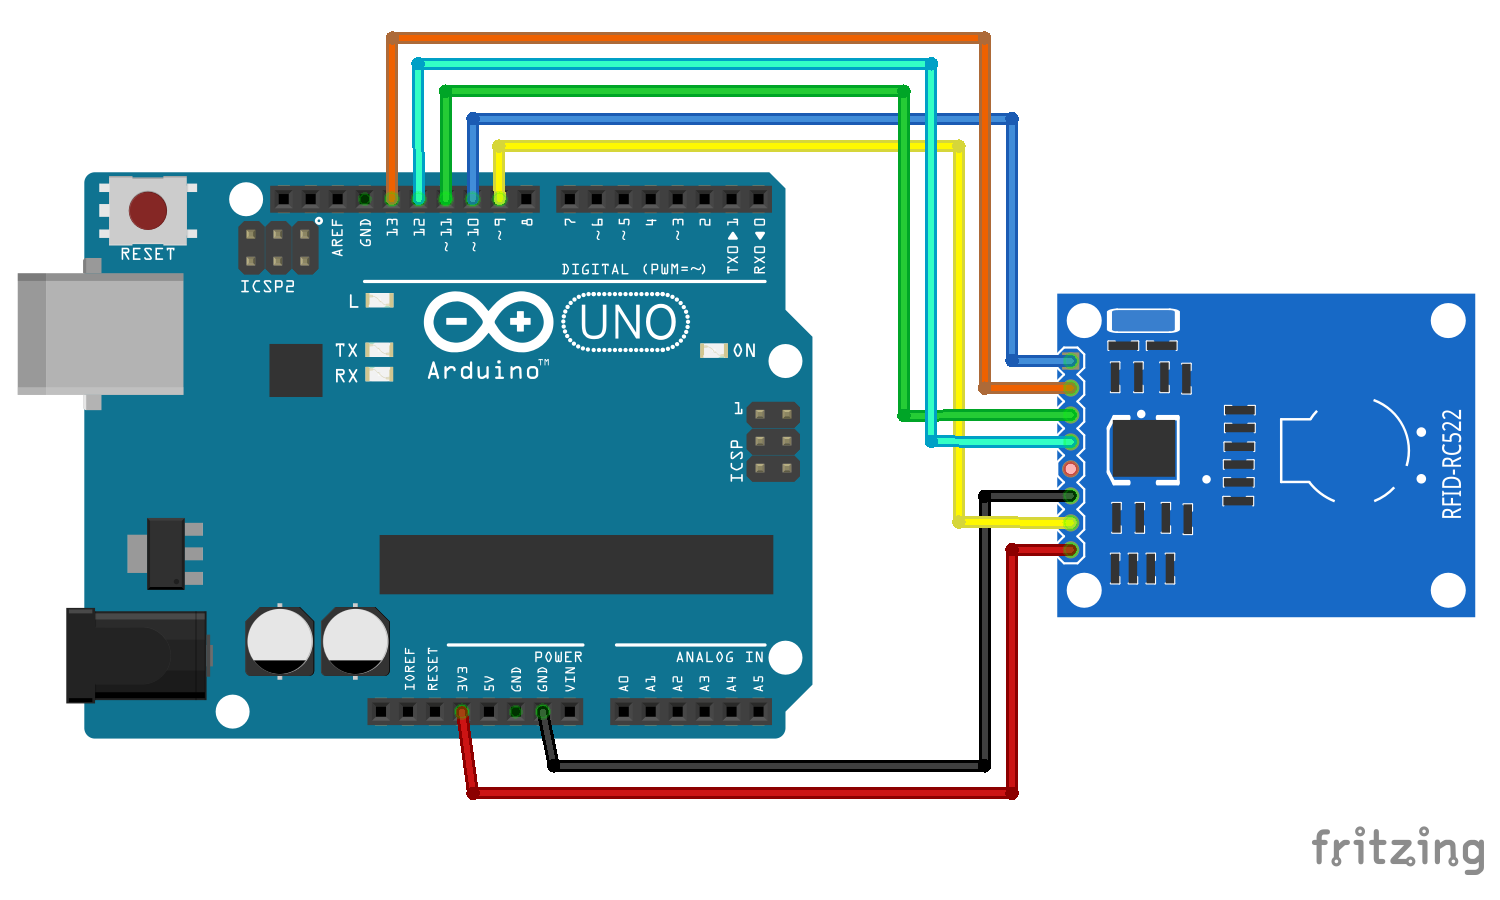
Below is the connection pins for Arduino and RFID reader:
RFID-RC522 Arduino UNO Arduino Mega
RST 9 9
SDA(SS) 4/10 4/53
MOSI 11 51
MISO 12 50
SCK 13 52
VCC 3.3 v 3.3v
GND GND GND
IRQ is not connected
Please make sure one thing that we are using two SPI devices so SDA(SS) is already used with Ethernet shield so we have to use separate pin for SDA(SS) in case of RFID-RC522 so that there will not be any conflict between two SPI devices.
Library:
You need to install one library for RFID RC522. You can get the library from this link.
Code:
You can get the source code of this project from our github page. Here is the GitHub link for that.
Video of Project:
The whole project description is given in above video.
If you have any doubt regarding this project feel free to comment us below.
And if you want to learn more about embedded system you can visit our YouTube channel.
Please visit and like our Facebook page for frequent updates.
Thanks & regards,
Embedotronics Technologies


 Open Technology
 Silícios Lab
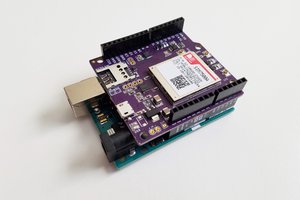
 Timothy Woo
Hey! Can you share the report or documents of the same?