 DailyDIY
It took me a while to design a PCB in EasyEDA.

Firstly there were two leaps of faith I took
1) I did not test the SK6812 LED because I had none. I read up on the LED documentation and it was identical to the WS2812B LED.
2) The LTC4054 Li Ion charger chip, I had no experience designing with it.
I read up on a lot of design notes for both the devices and figured out what was that I needed.
For the SK6812 LED, I figured out that soldering it by hand will be a pain. But I couldn't find an alternative to it. Easy EDA had the component designed, and I used it. I also ended up verifying the pad layout of the design against the LED mechanical drawings and confirmed it was within spec.
The LTC4054 was a simple enough chip to work with. I set the charging current of the Li Ion Battery to 200mA, as my battery was 300mA, which makes the charging current less than 1C, and is overall good for the battery and the charger.
I purchased a battery and sized my PCB to it. The PCB dimensions are 30mm x 15mm, and all the components are on the top side of the PCB.
I put in a order at JLCPCB in last week of April, and the PCB's came by the first week of May.
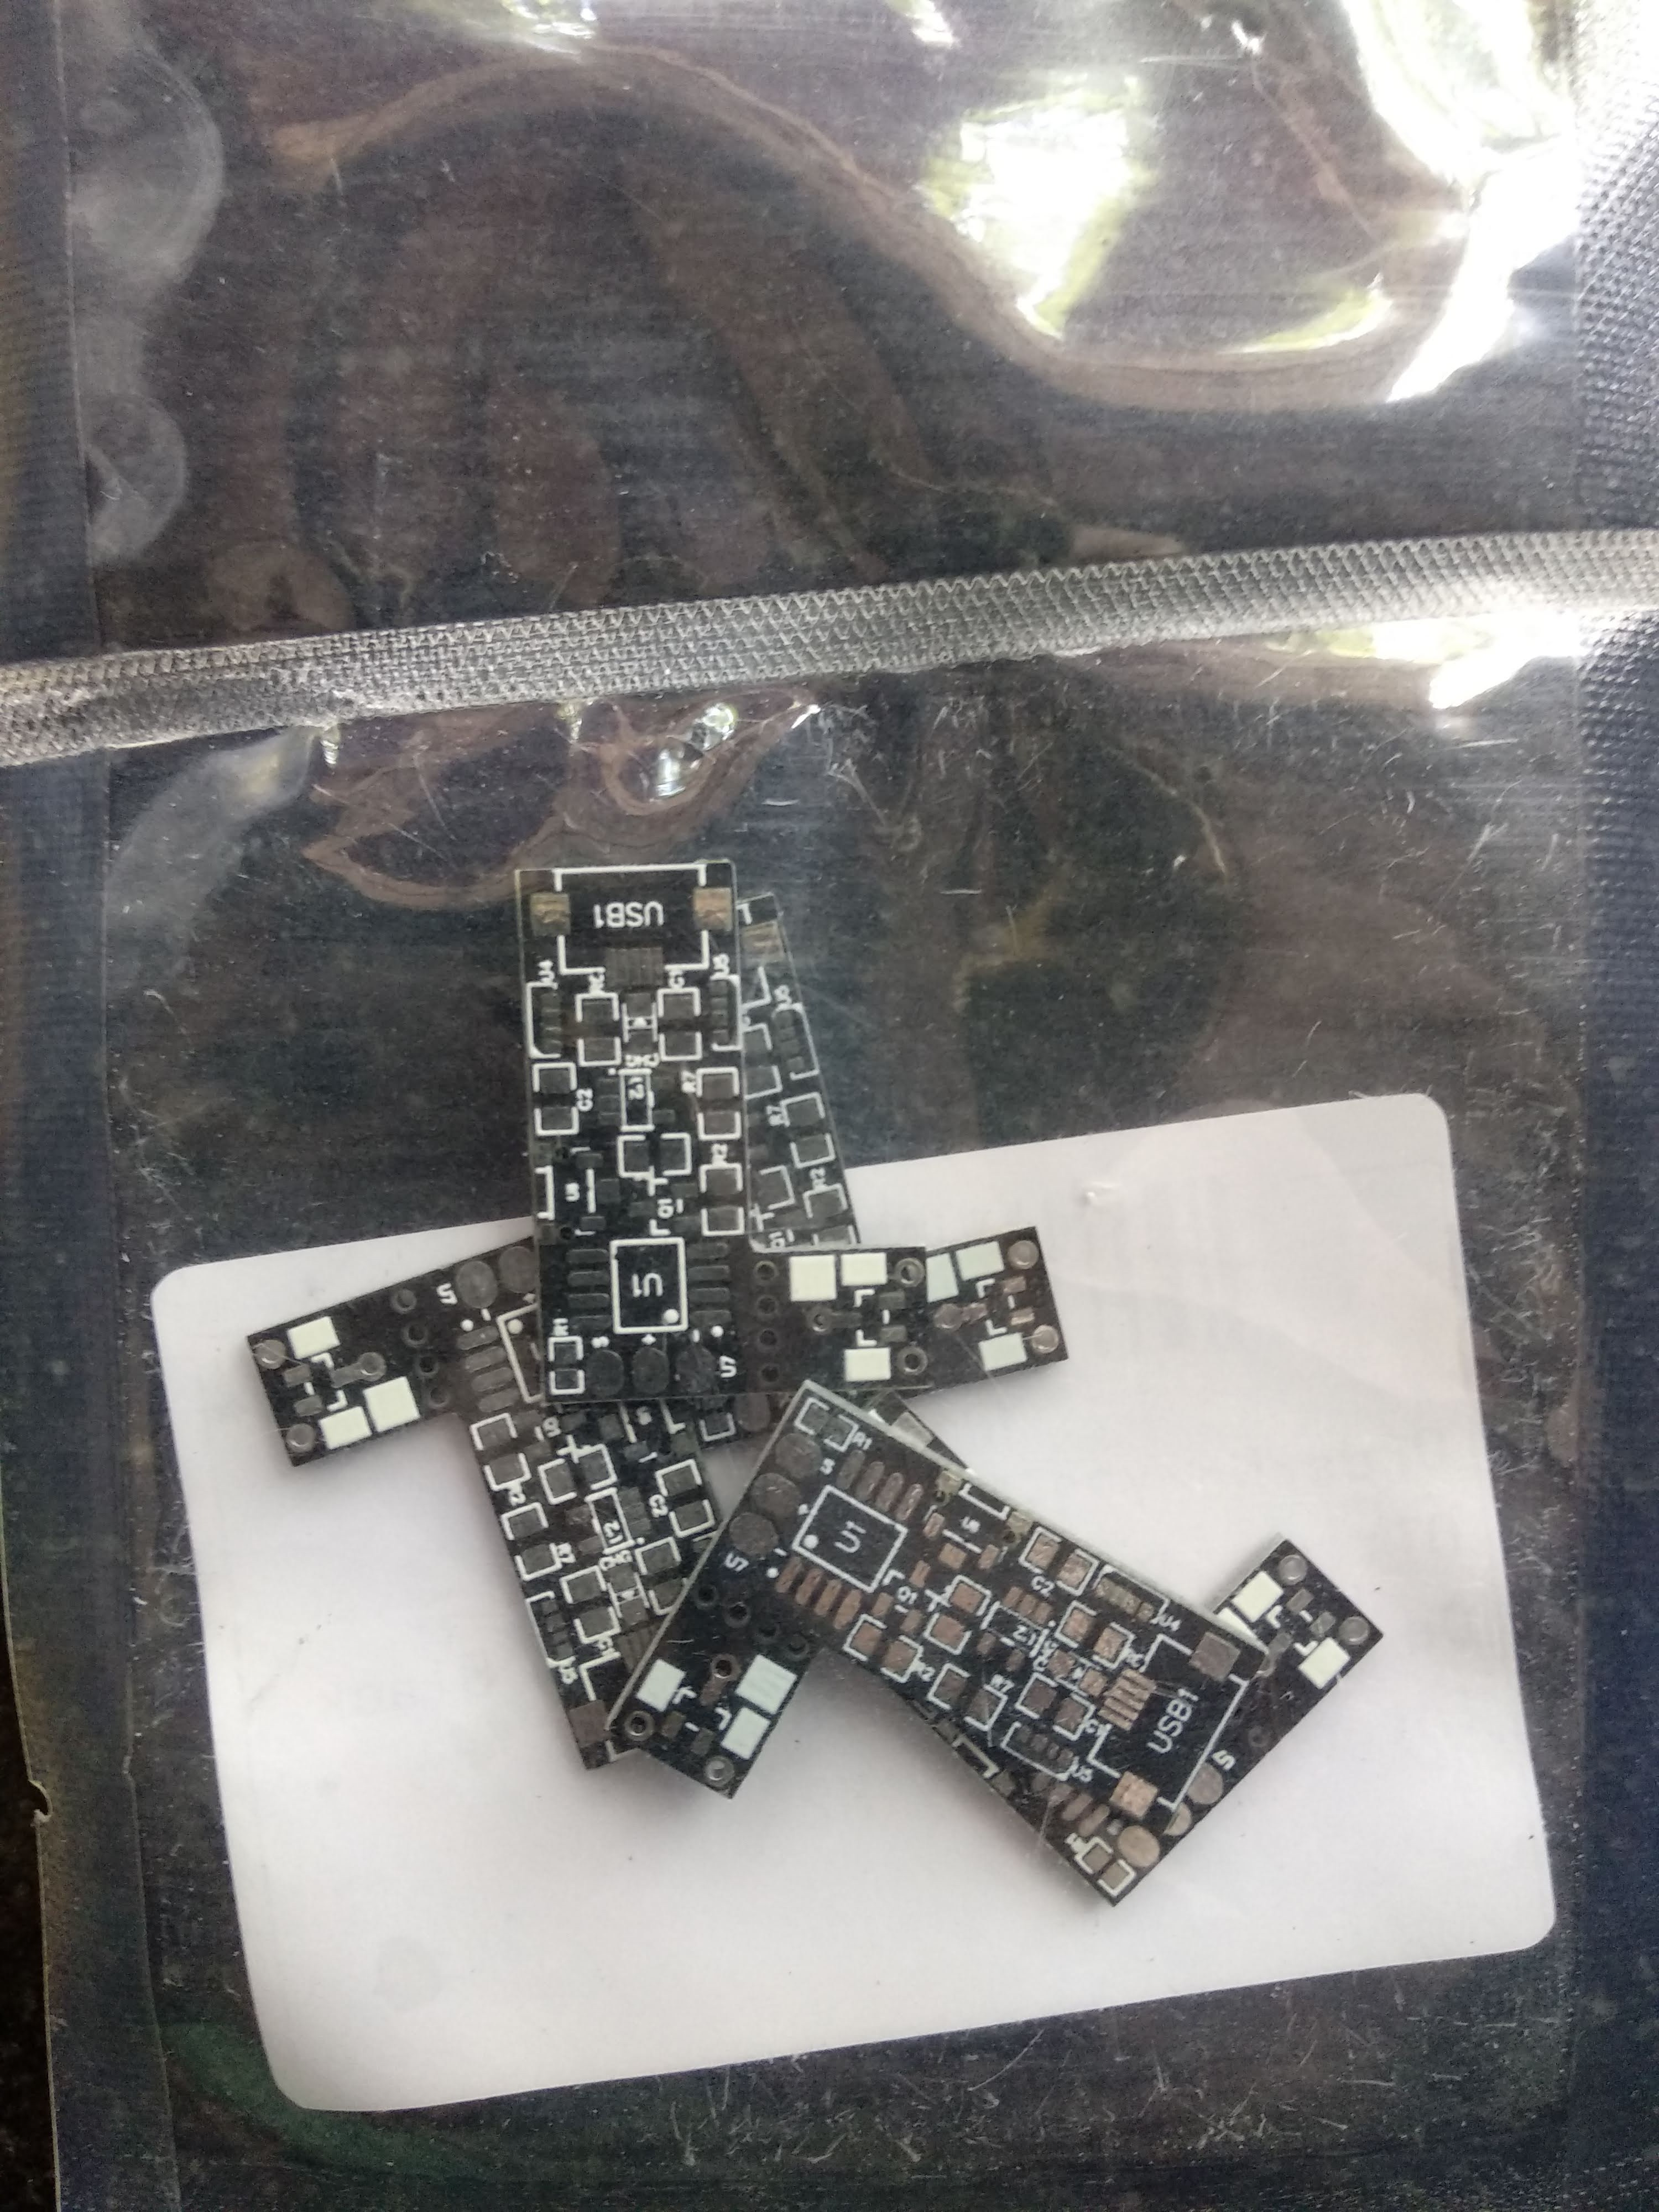
A friend who has a steady hand and repairs phone for a living helped me solder all the parts for the PCB. The most difficult was the SK6812 LED. Everything was soldered exceptionally well, and I have done basic tests on the LED's and the ATtiny as well.
In image below, the SK6812 LED's are the two white rectangles on the edge of the board, on the right of the USB Micro connector. The LTC4054 is the small 5 legged chip in the middle of the board. The white rectangle on the bottom edge of the board( right of the LTC4054) is the reset button. The ATtiny85 is the 8 legged SOIC chip. the three pads at the very extreme right are to connect the DS18b20 temperature sensor.

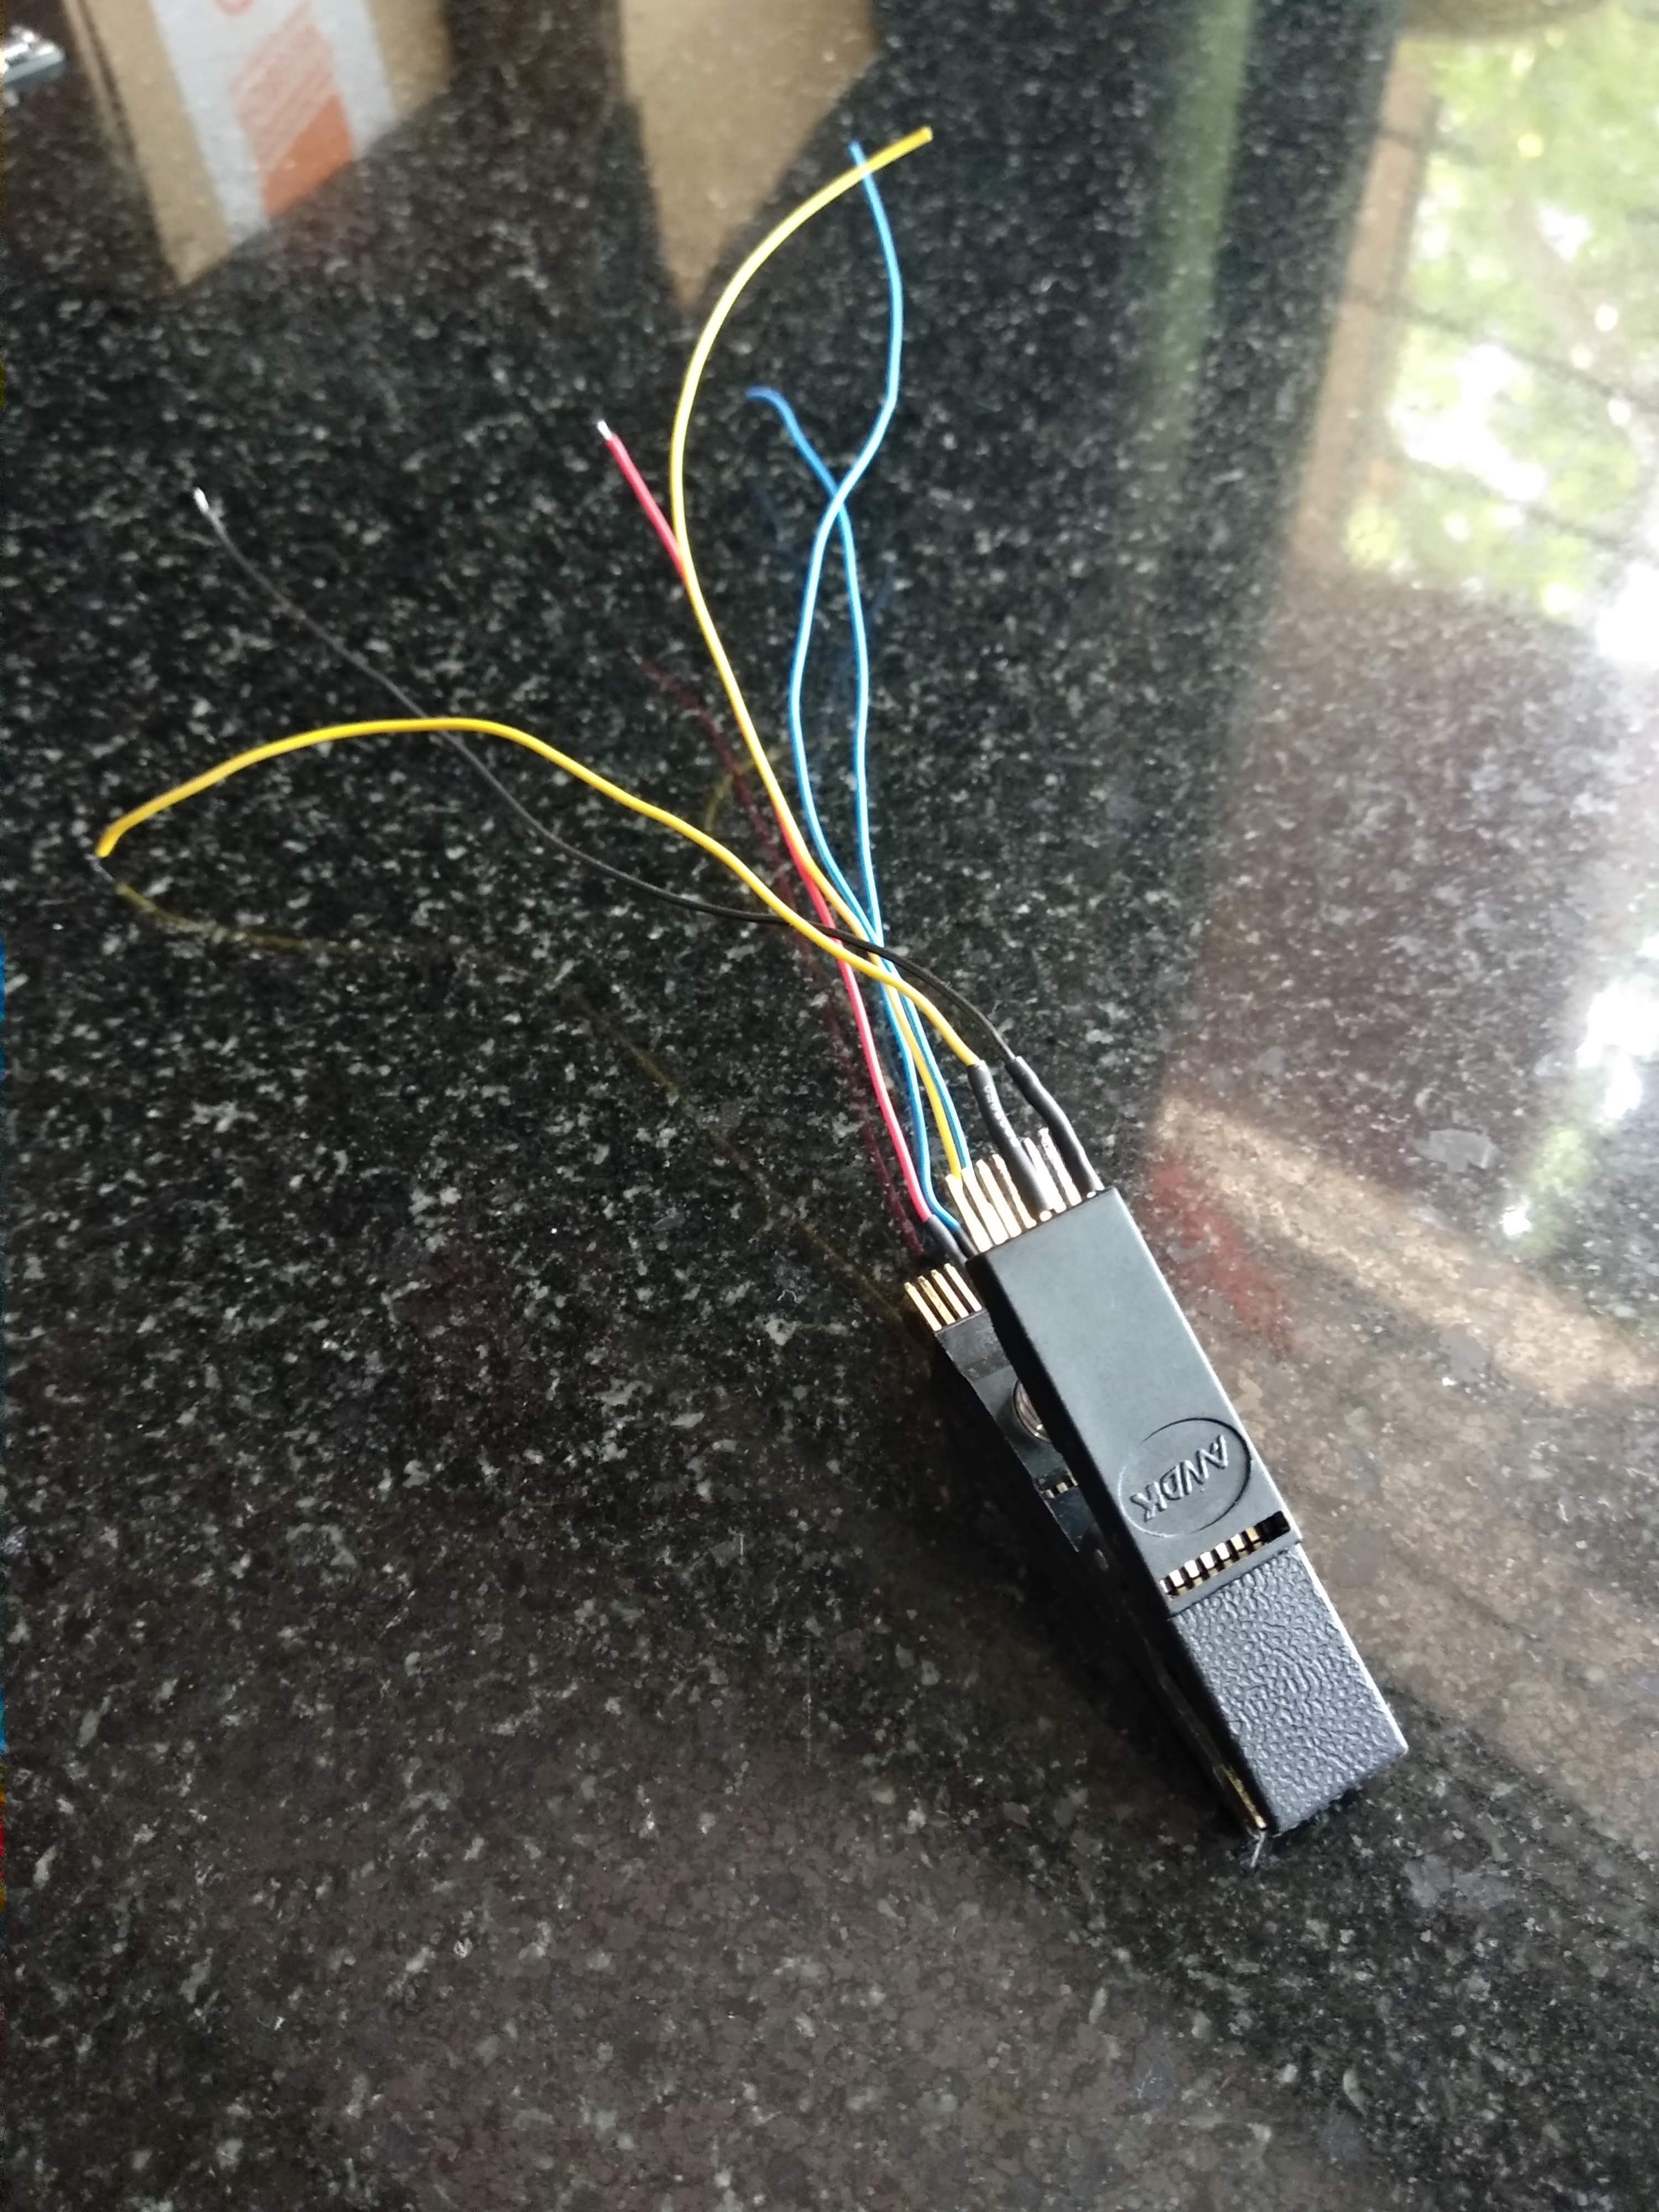
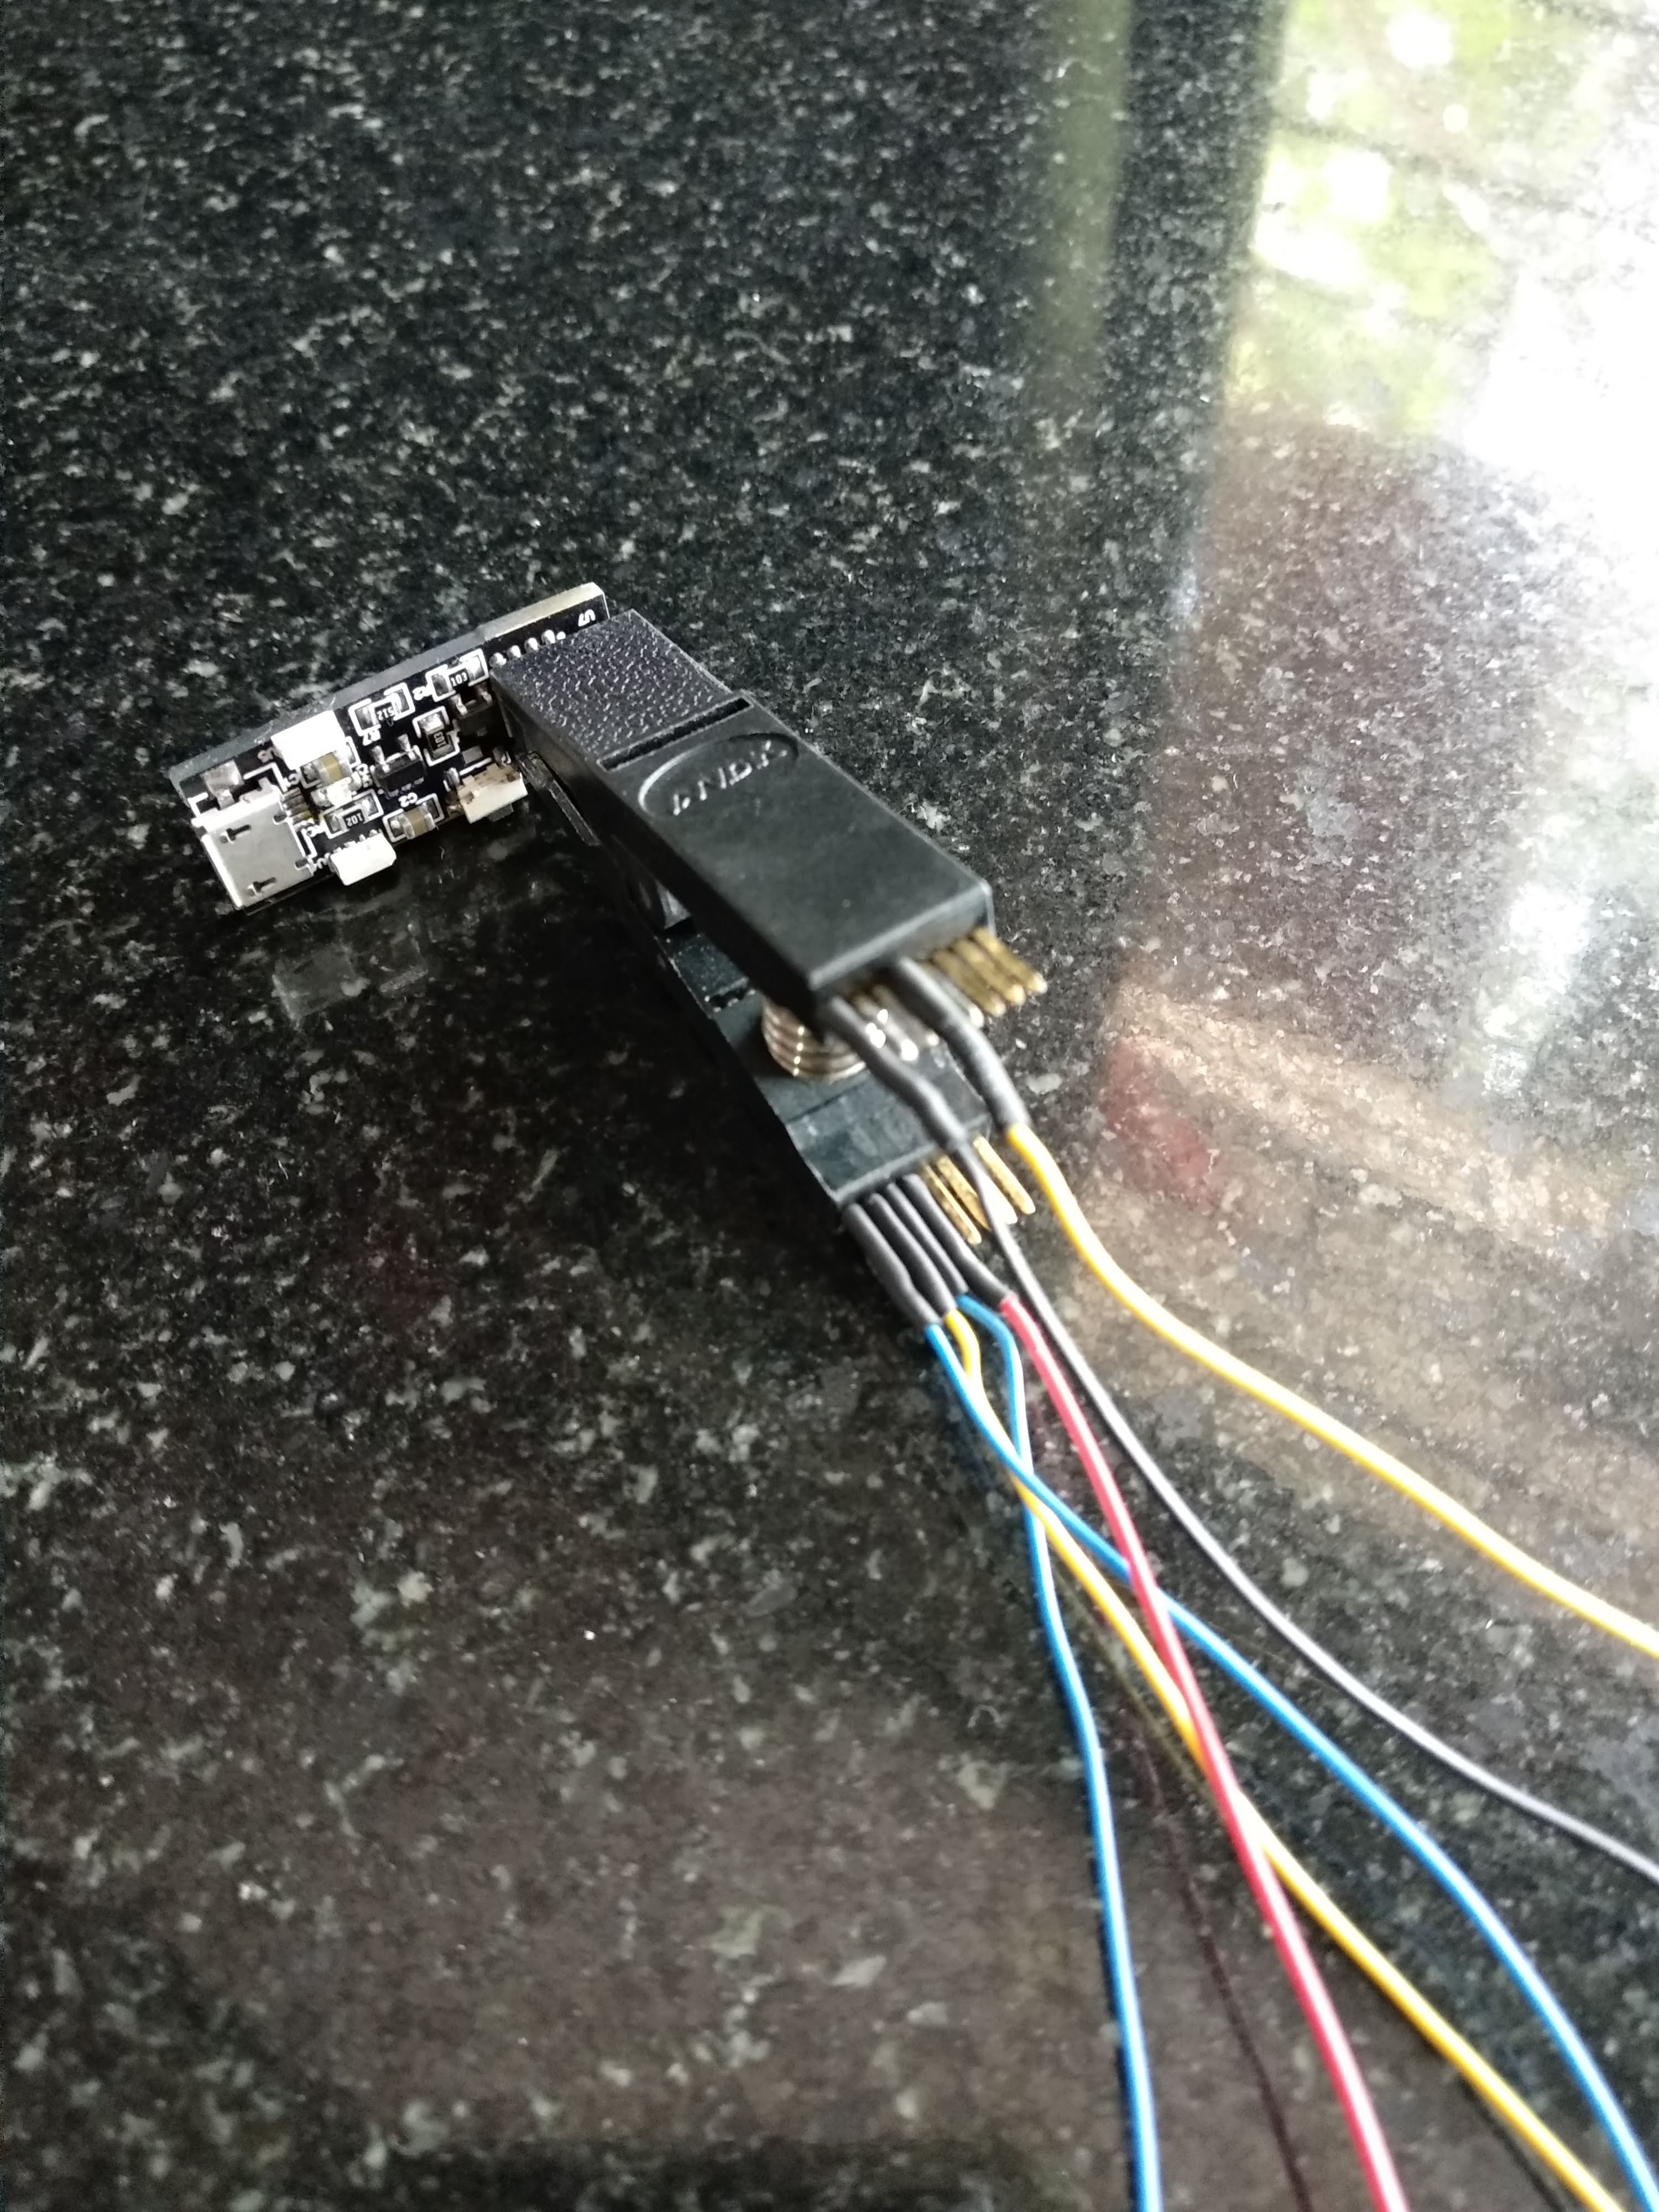
I have a SOIC clip adapter which I am using to program the ATtiny85 as shown below.
I keep updating my project progress on Instagram, with videos as well.
Discussions
Become a Hackaday.io Member
Create an account to leave a comment. Already have an account? Log In.