 Maave
Maavetl;dr look at the pictures
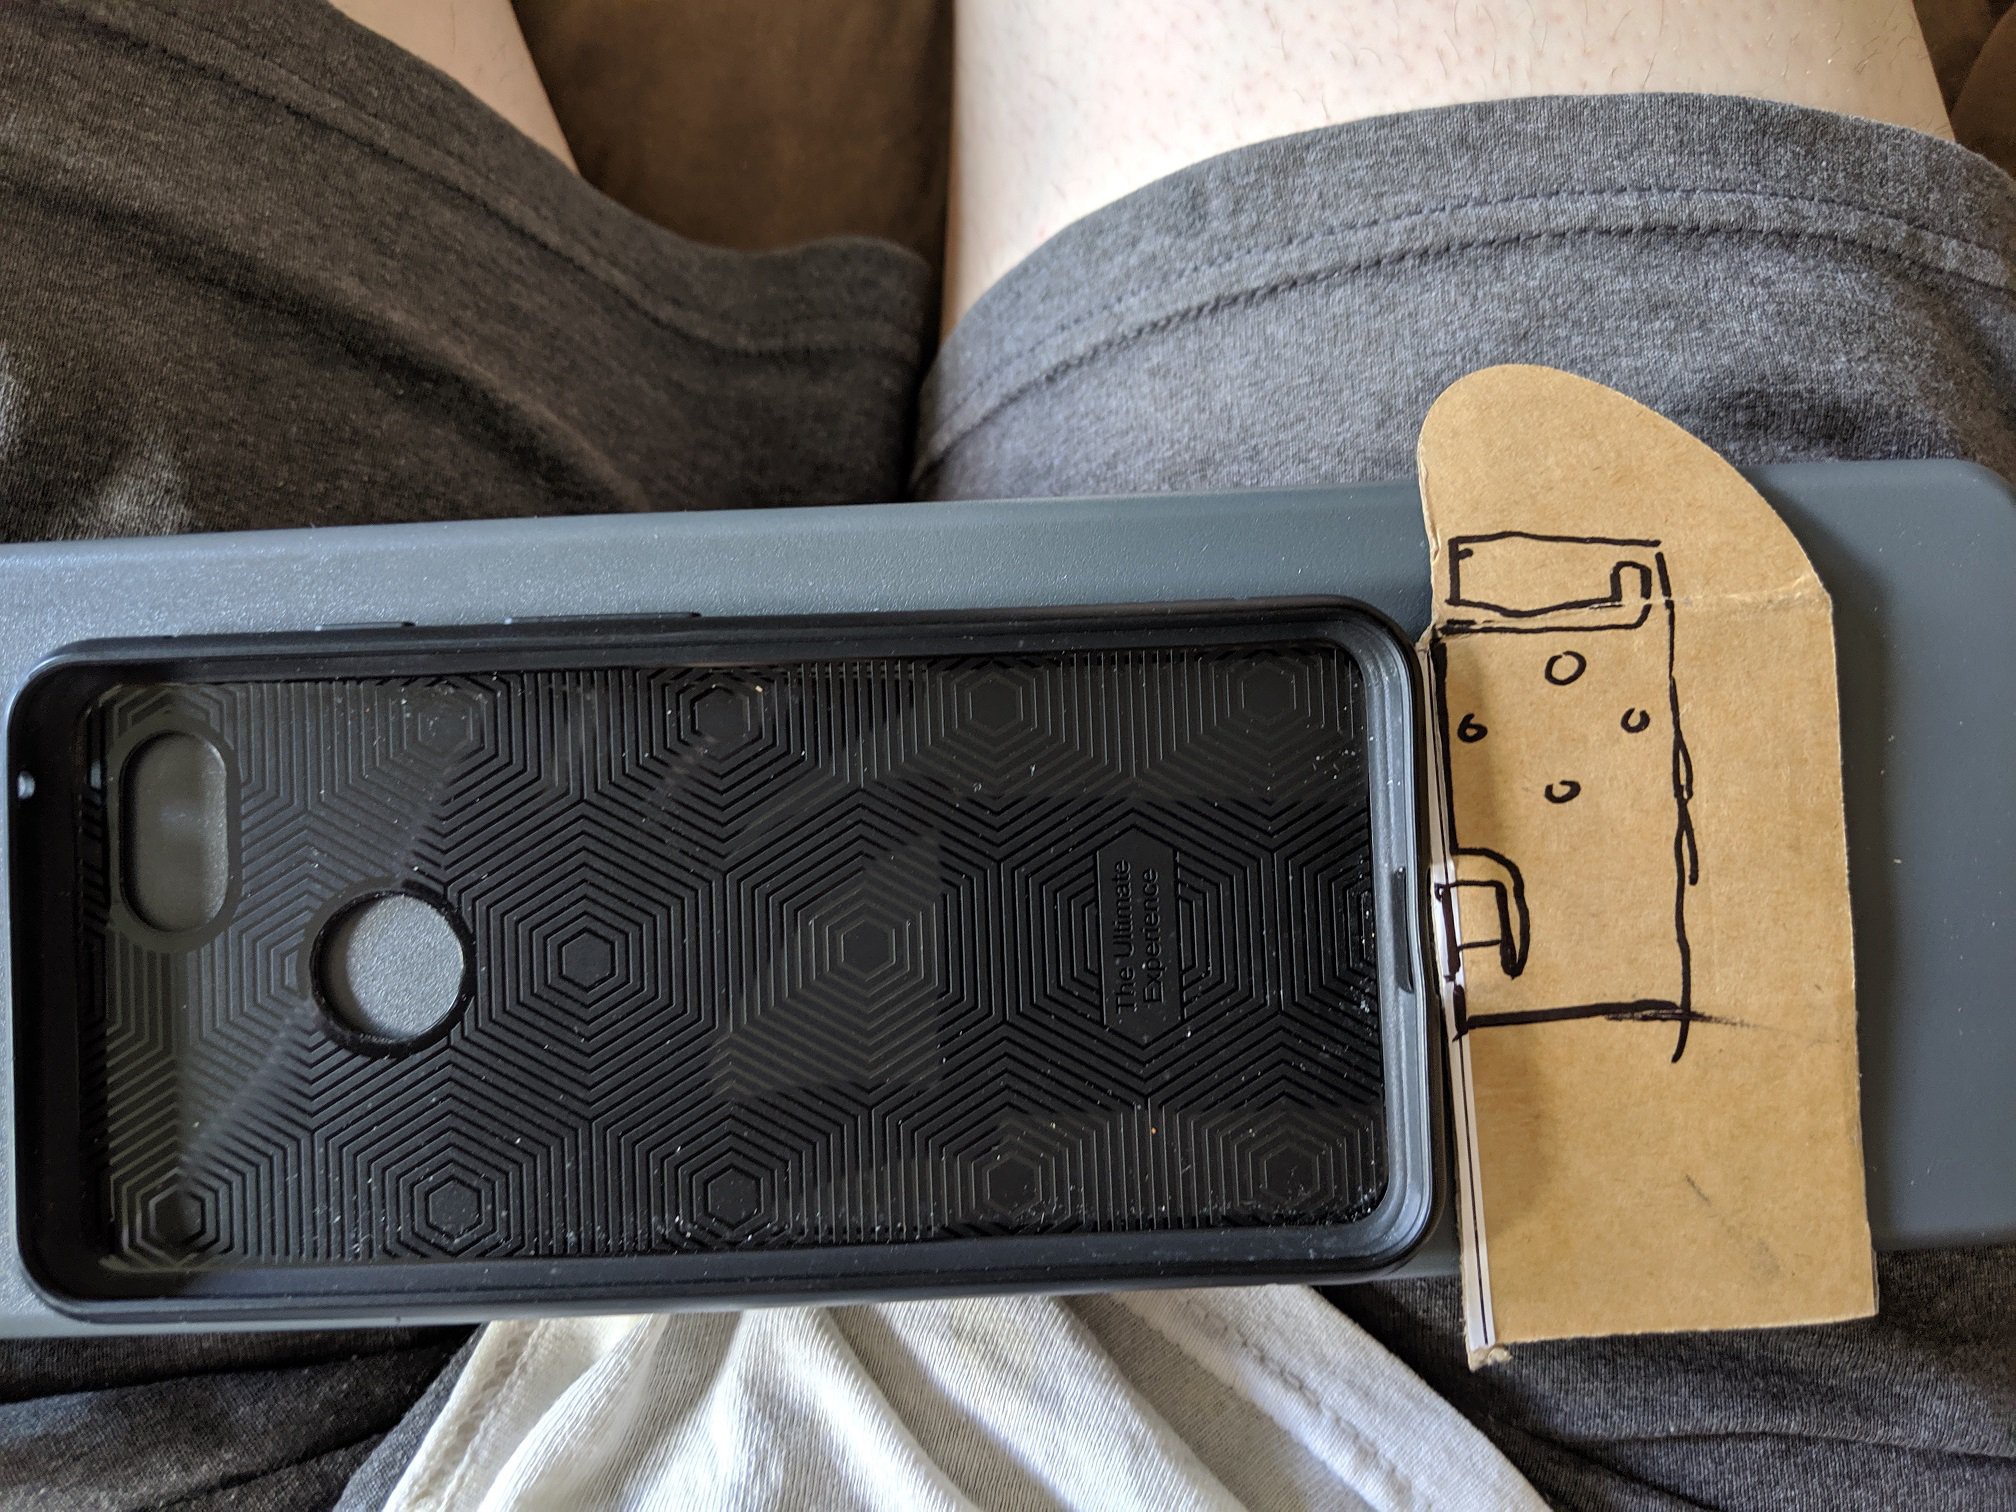
Time for physical layout. I did some mockups on cardboard. Fitting into 2sq inches is a challenge. For now I'm going with a 2x1 vertical layout so that I can fit the shoulder buttons, but I could make it shorter and wider or even a 1.41x.141 square.
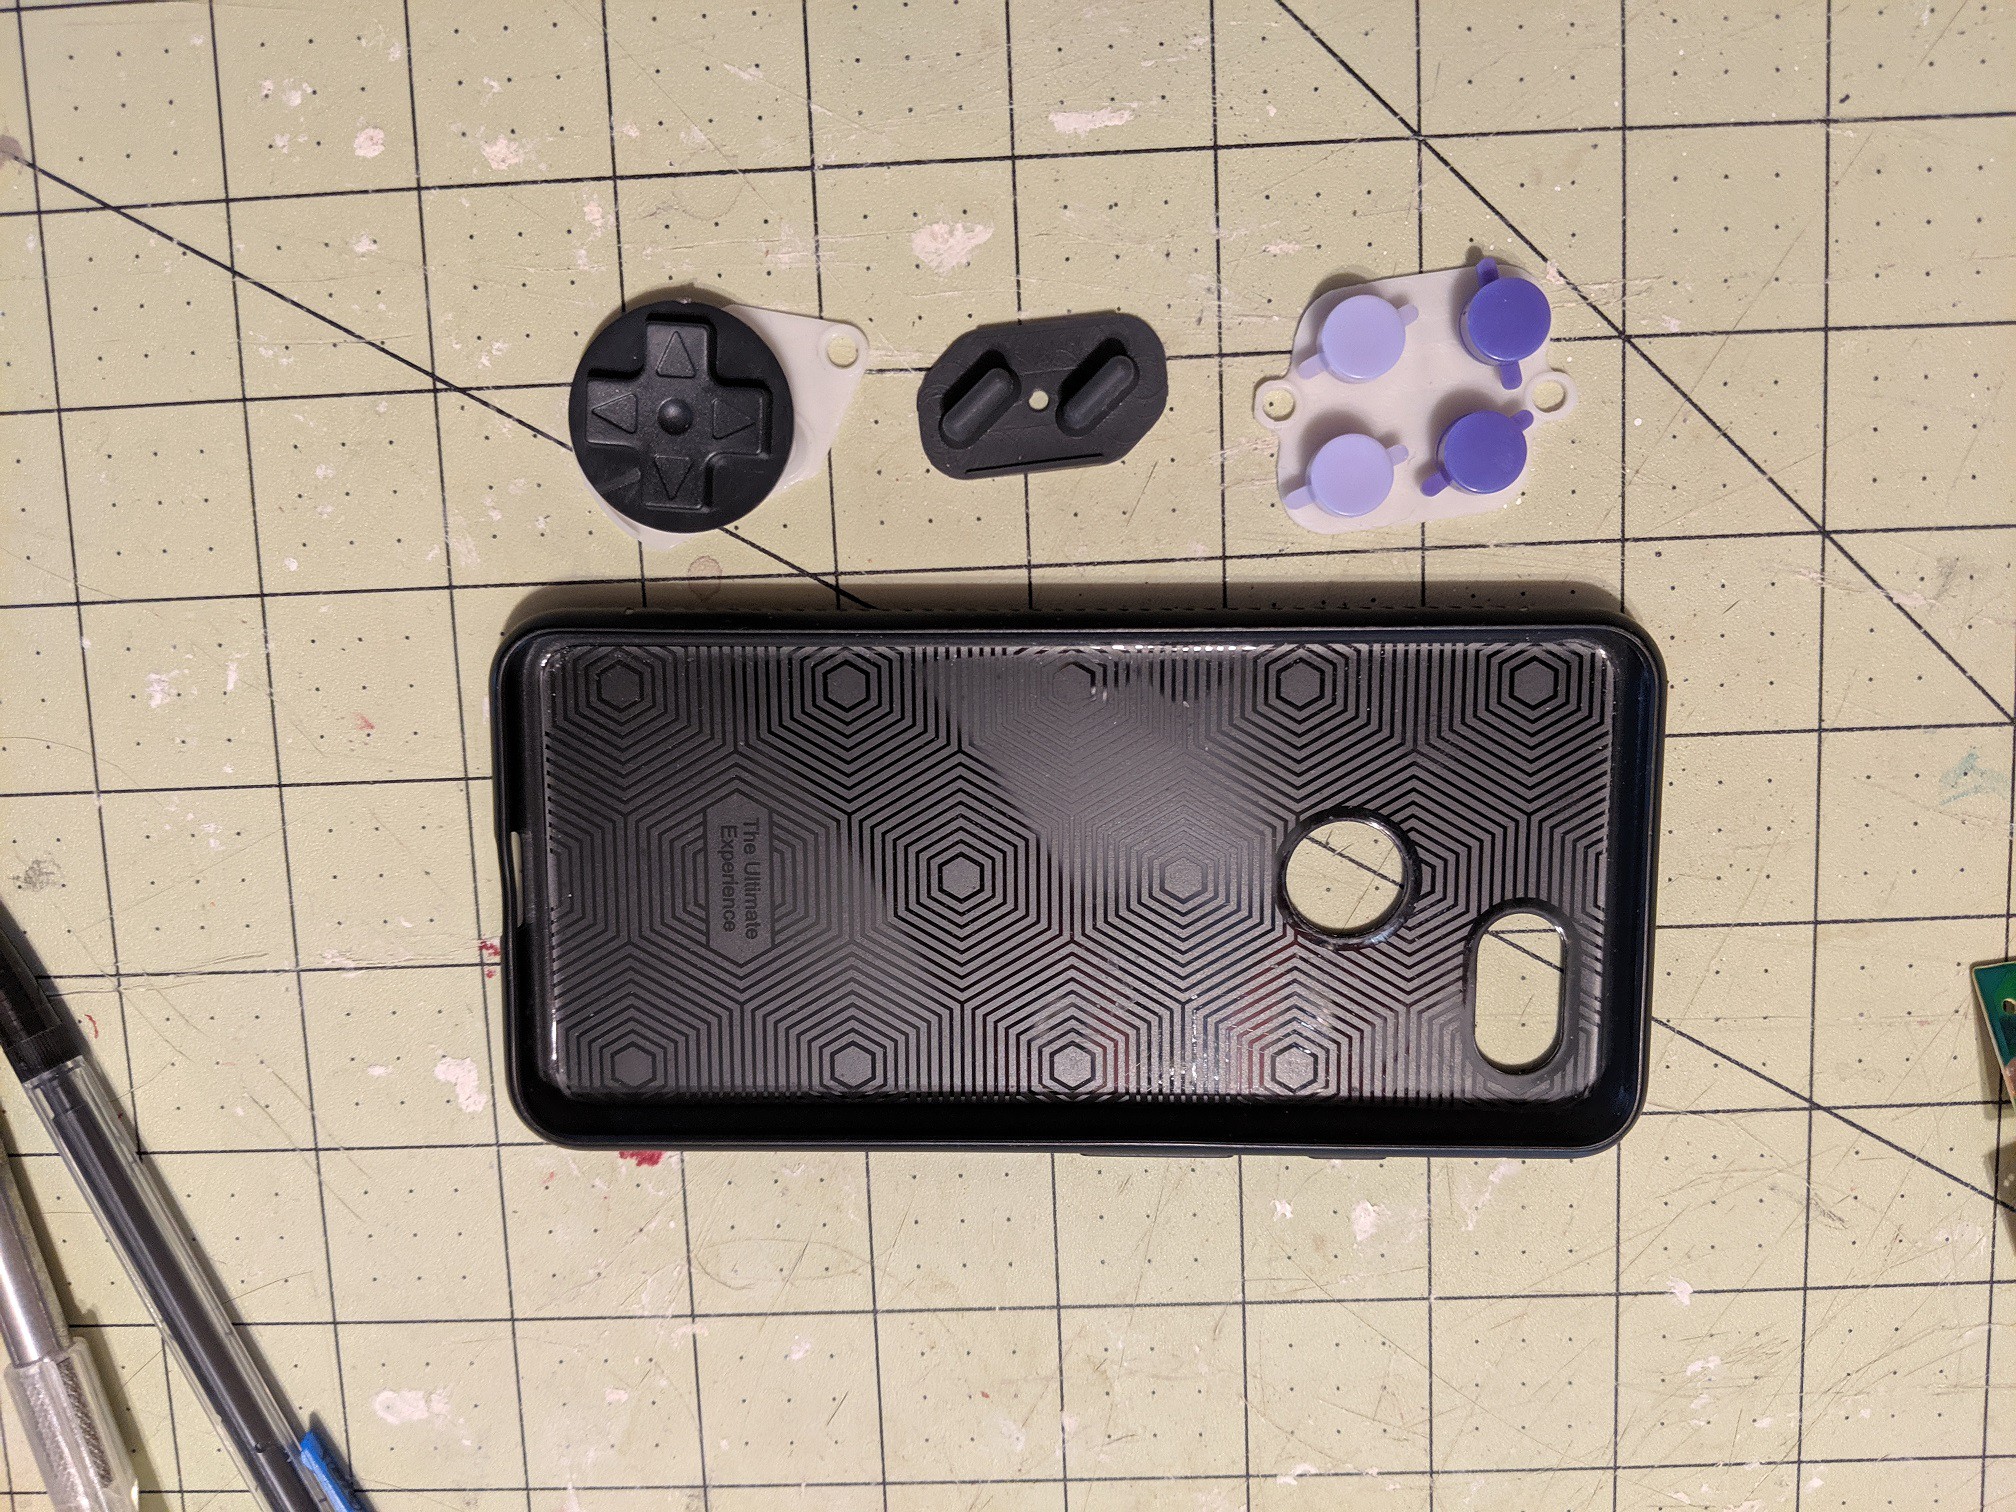
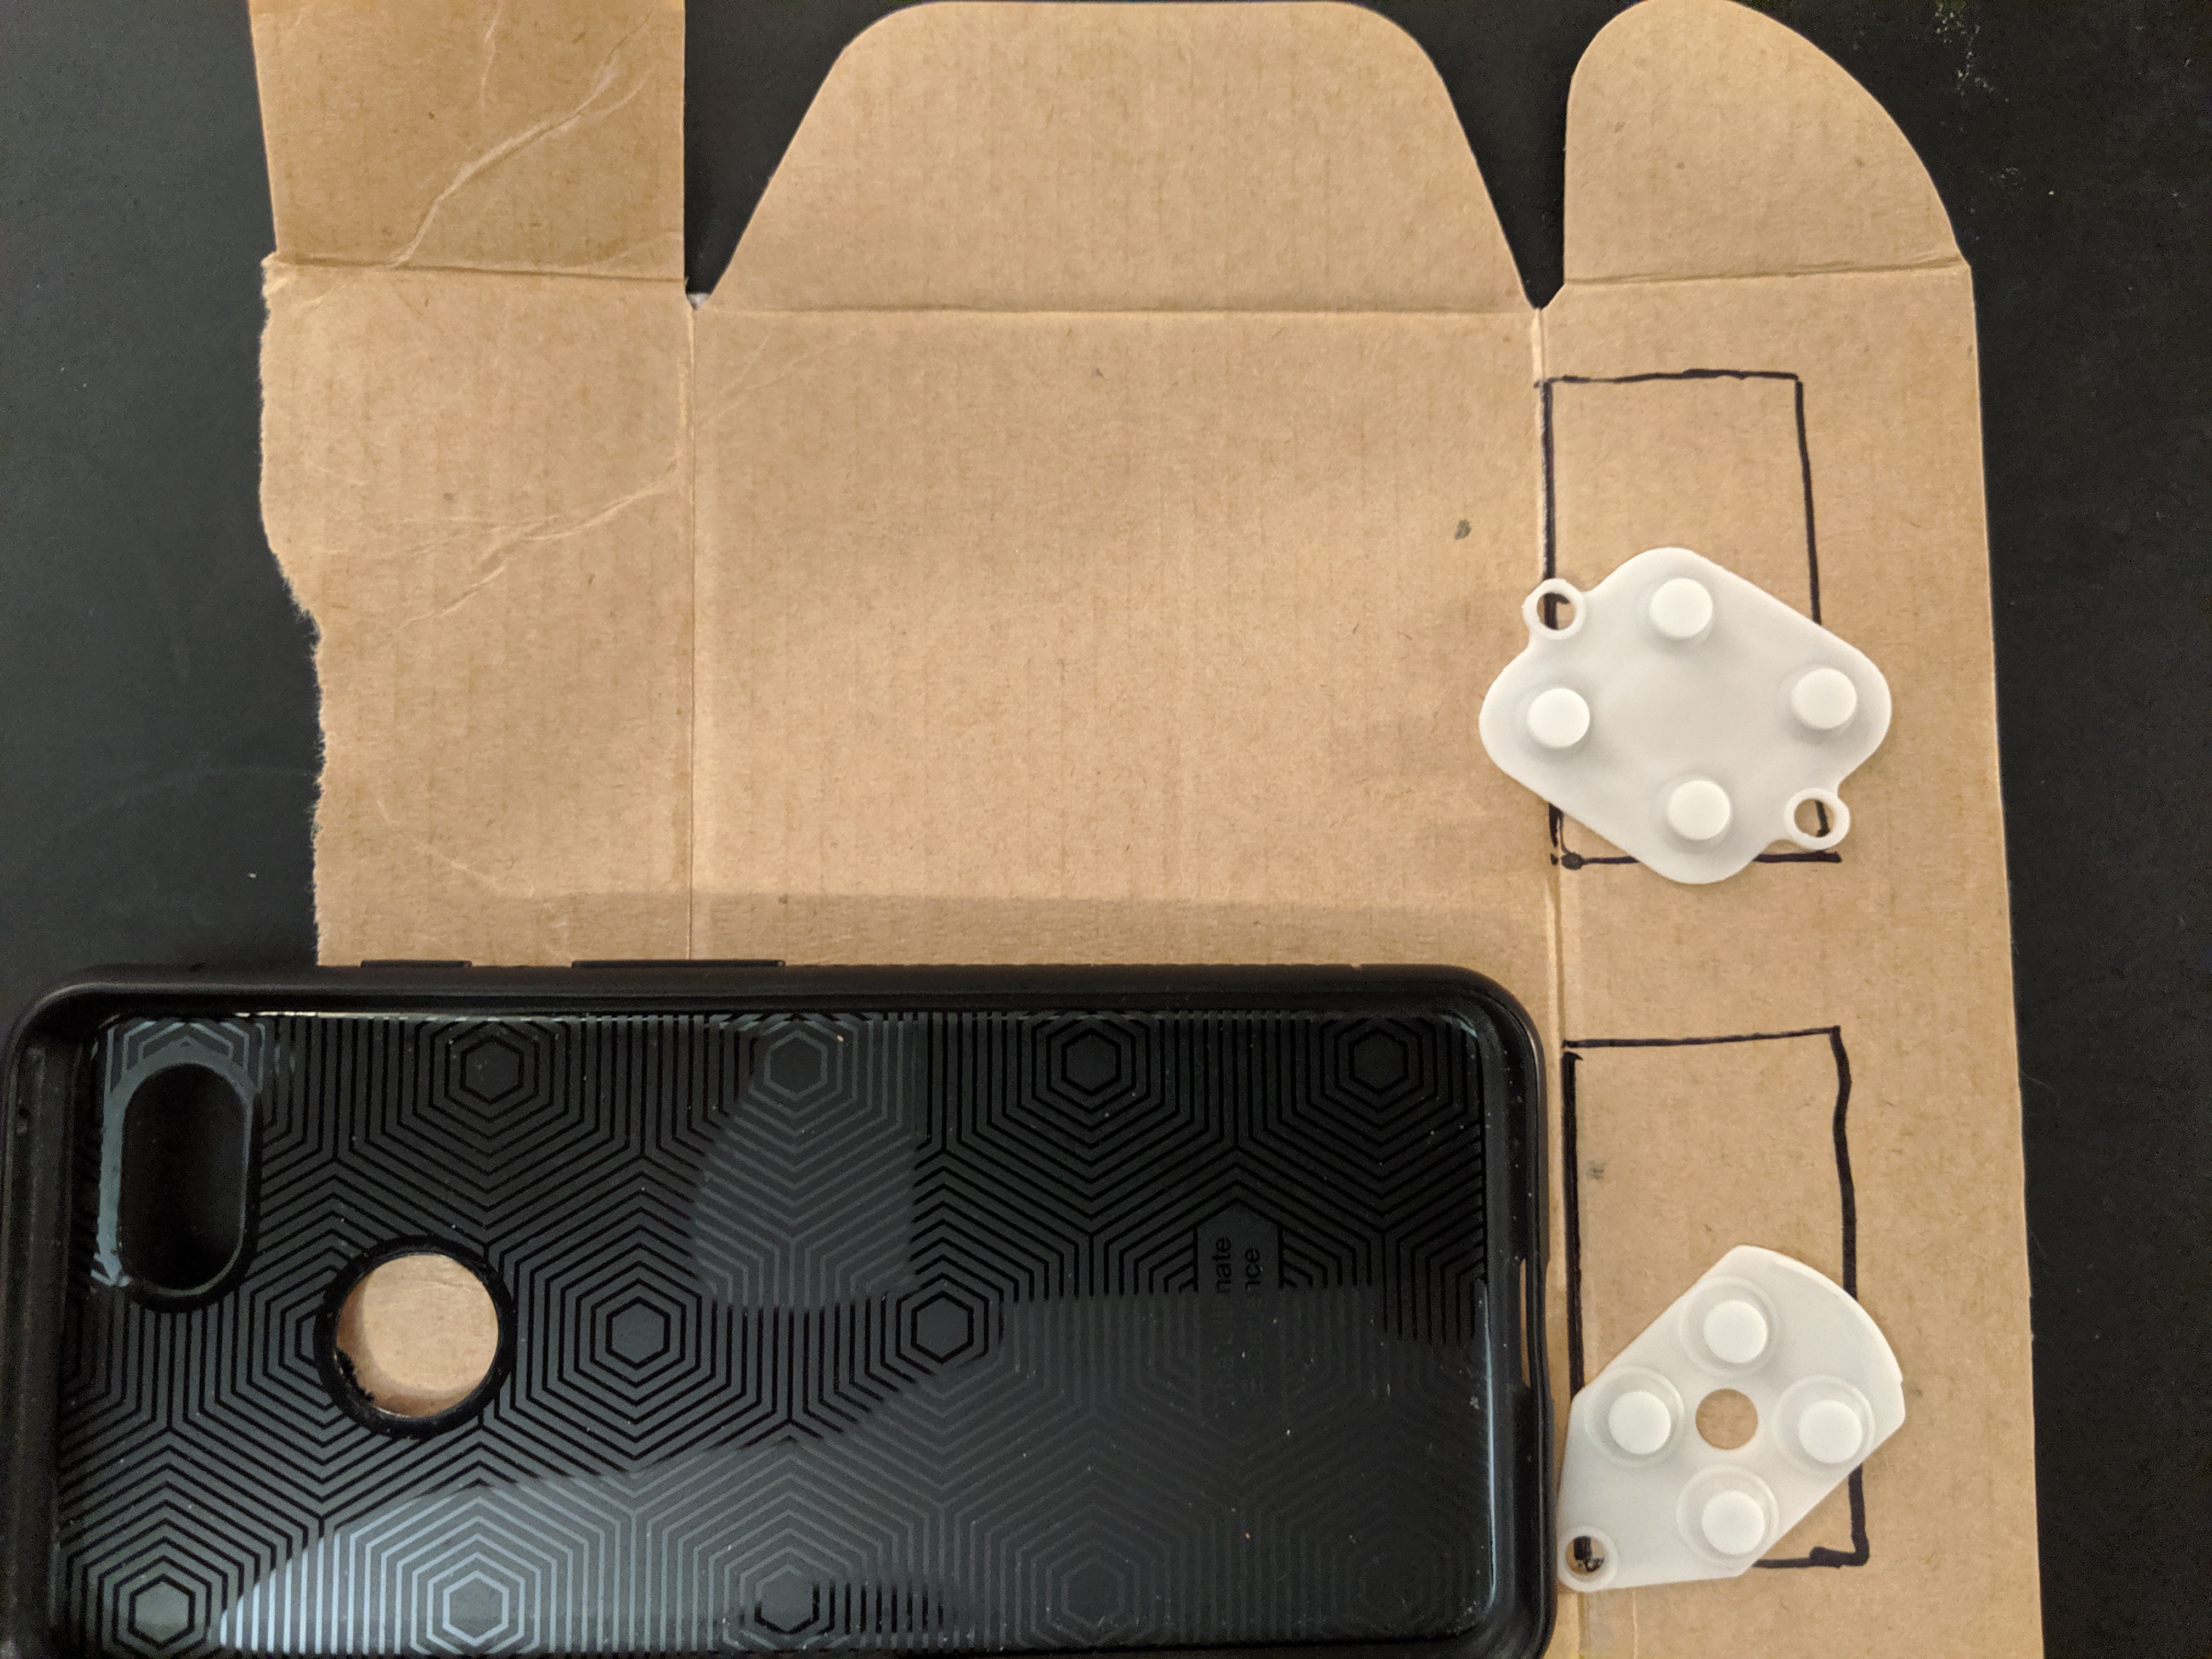
I opened up a knockoff SNES controller to measure the silicone membrane. One minor issue is that the ABXY silicone won't fit with a 1-inch width layout but the D-pad will. For the first version I'll use a D-pad silicone on both sides. Later I'll look into smaller button sets like GBA, DS, and PSP. I'll also look into dome switches like those used in the 3DS, PS Vita, and Switch.
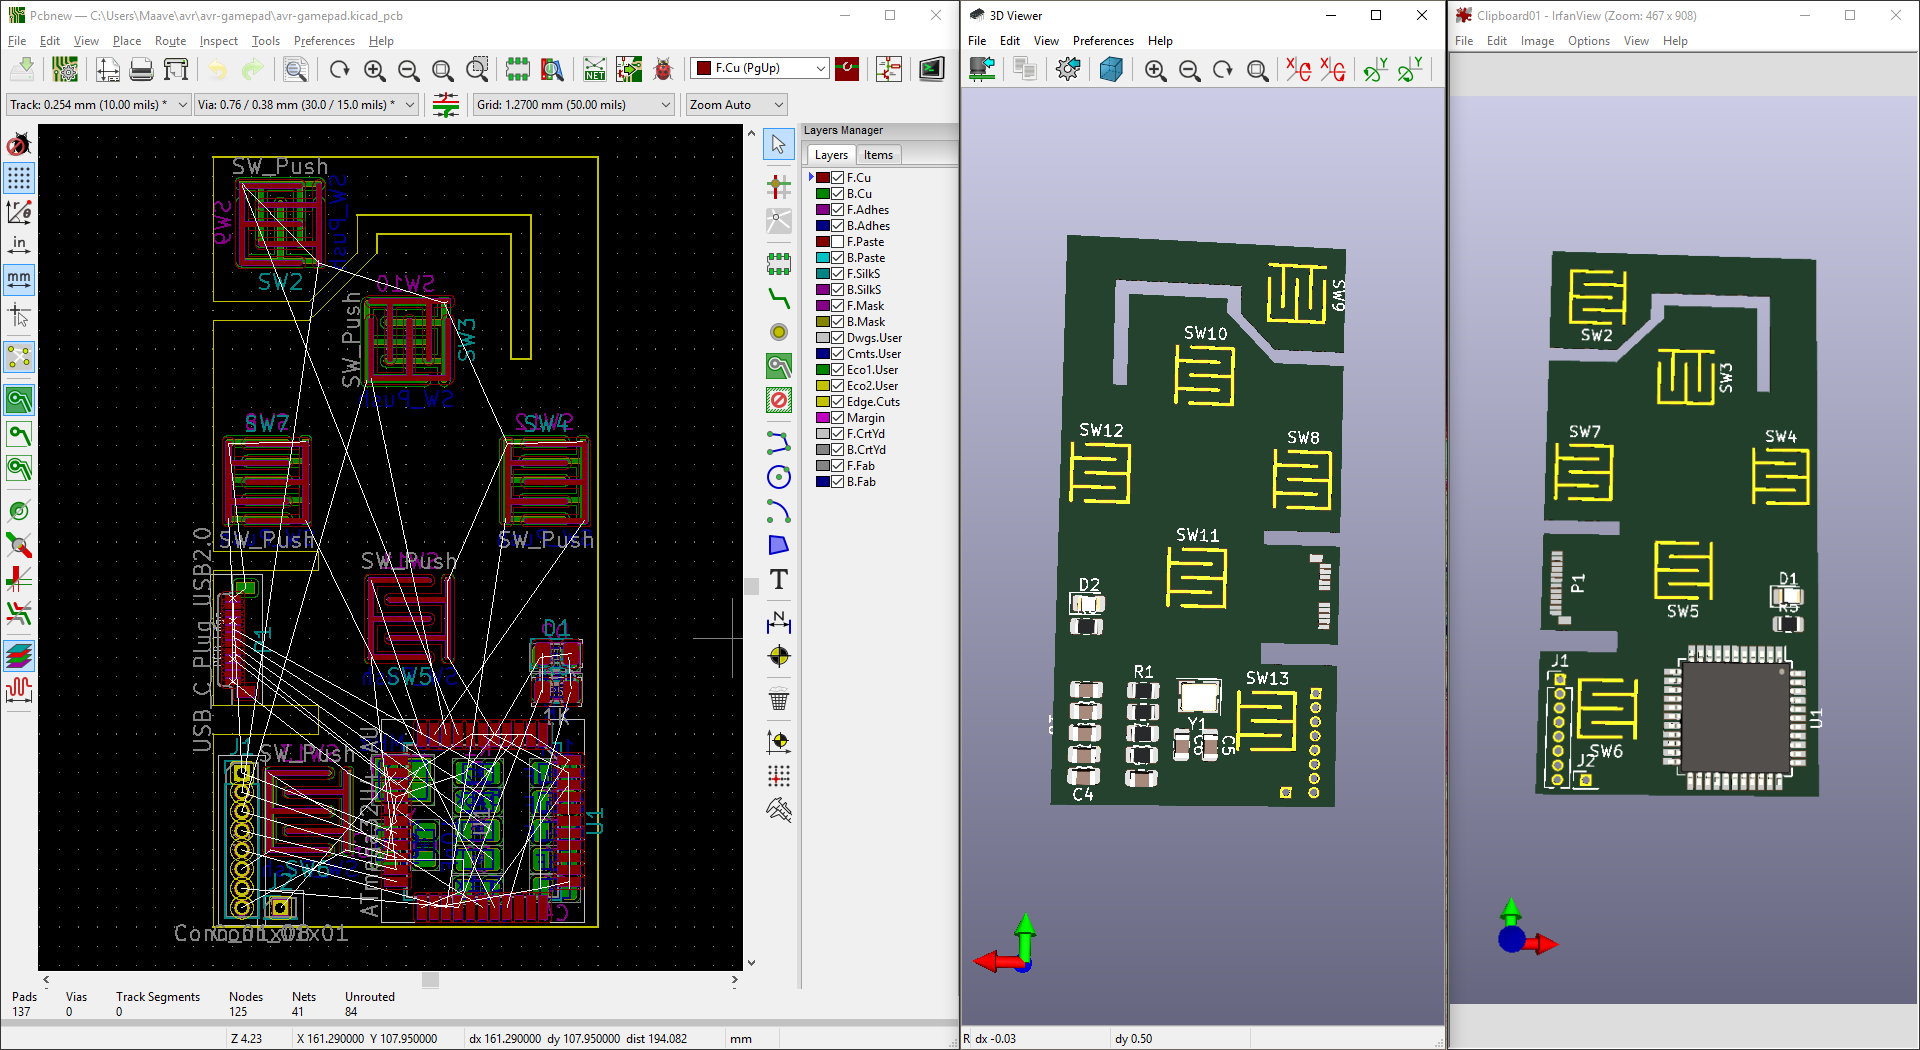
This is a tight fit. I haven't routed anything yet, just roughly placed the components. The layout feels a little wasteful because I need to leave large open areas for the buttons. The D-pad pivots on a post so I can't put anything in the middle of the buttons (yet). The upside is that this leaves tons of room for silkscreen art and pad art.
There are a number of changes that could save space
-make it shorter and wider
-shrink the start/select button contacts
-use smaller components (currently 0805)
-make the cuts as small as possible (check oshpark specs)
-move the header pins that connects the 2 sides
-adjust the flex PCB running to the L/R shoulder buttons
-make the reset button a jumper (done)
-swap ATMega 32u4 for the smaller 32u2 (questionable)
-use the internal oscillator instead of an external crystal (highly questionable)
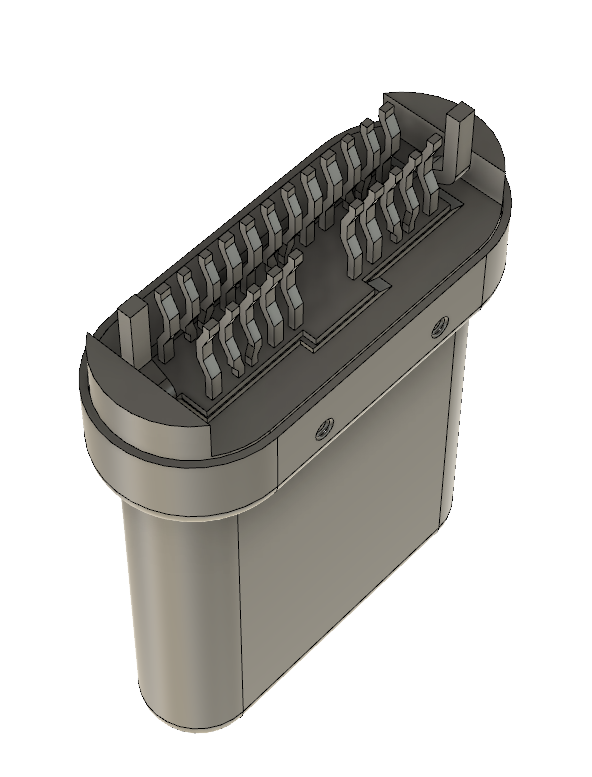
The only USB-C male connector available in KiCad by default was this Molex 105444. I selected it for now to get the PCB going but this looks like a PITA. Please comment if you have recommendations.
Discussions
Become a Hackaday.io Member
Create an account to leave a comment. Already have an account? Log In.