 Tim Wilkinson
A complete set of 3d printable parts for one robot joint easily fits on the print surface of a Prusa i3. I'm using a recently upgraded Prusa i3 Mk2.5s and printing with Matterhackers PETG Pro filament. The total print time is about 10 hours (0.20mm layer height, 20% infill, no supports).
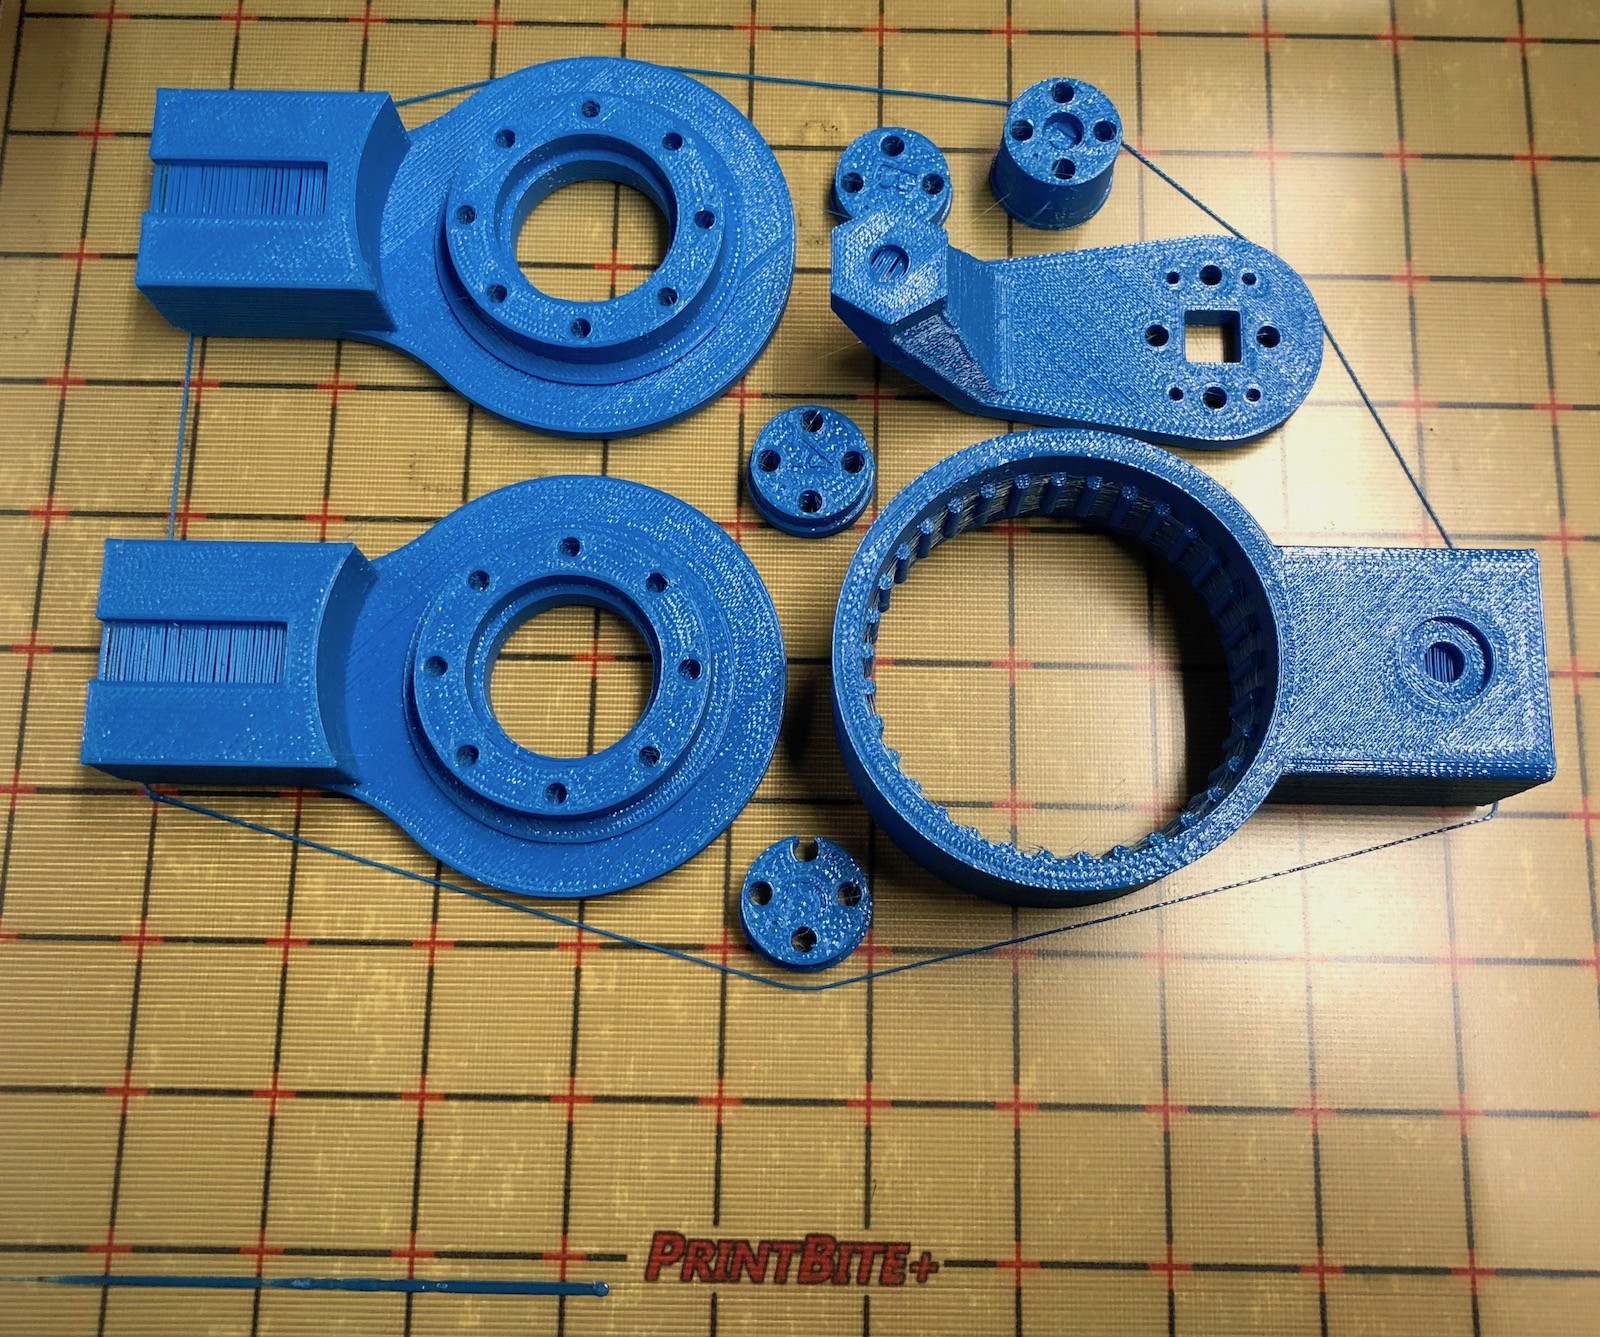 The above photo shows the printer parts just before removing them from the printer (although it's worth noting I forgot to print the cycloidal gears so had to do those separately). Note that I'm not using the standard print surface from Prusa as this PETG stuck aggressively to it. Instead, rather than use Windex or blue painters tape as an interface layer, I'm using the PrintBite+ surface (as reviewed by Adam here) which solidly holds the parts during printing, and releases them "like magic" once the bed cools down.
Part Prep
While you can print the parts without supports, some parts do include a little extra material to help them print, and this needs to be removed before assembly. Specifically, some bridges and bolt holes need tiding.
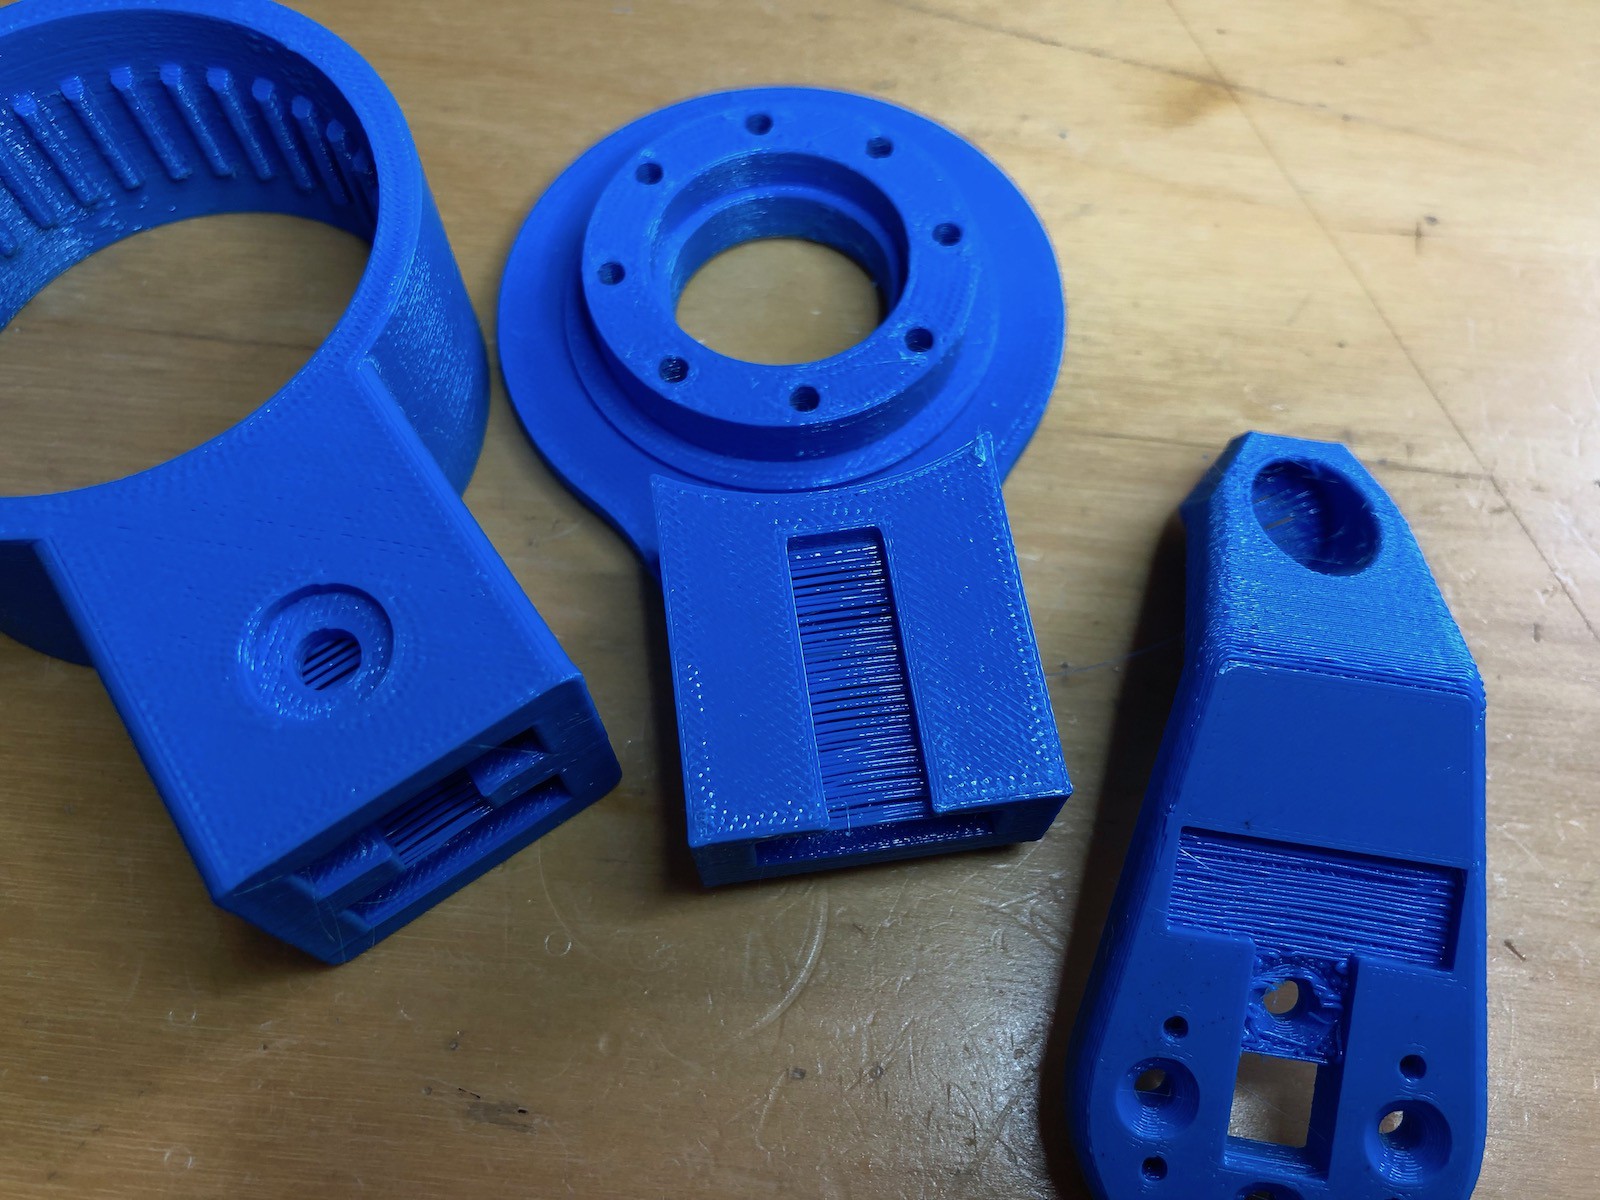
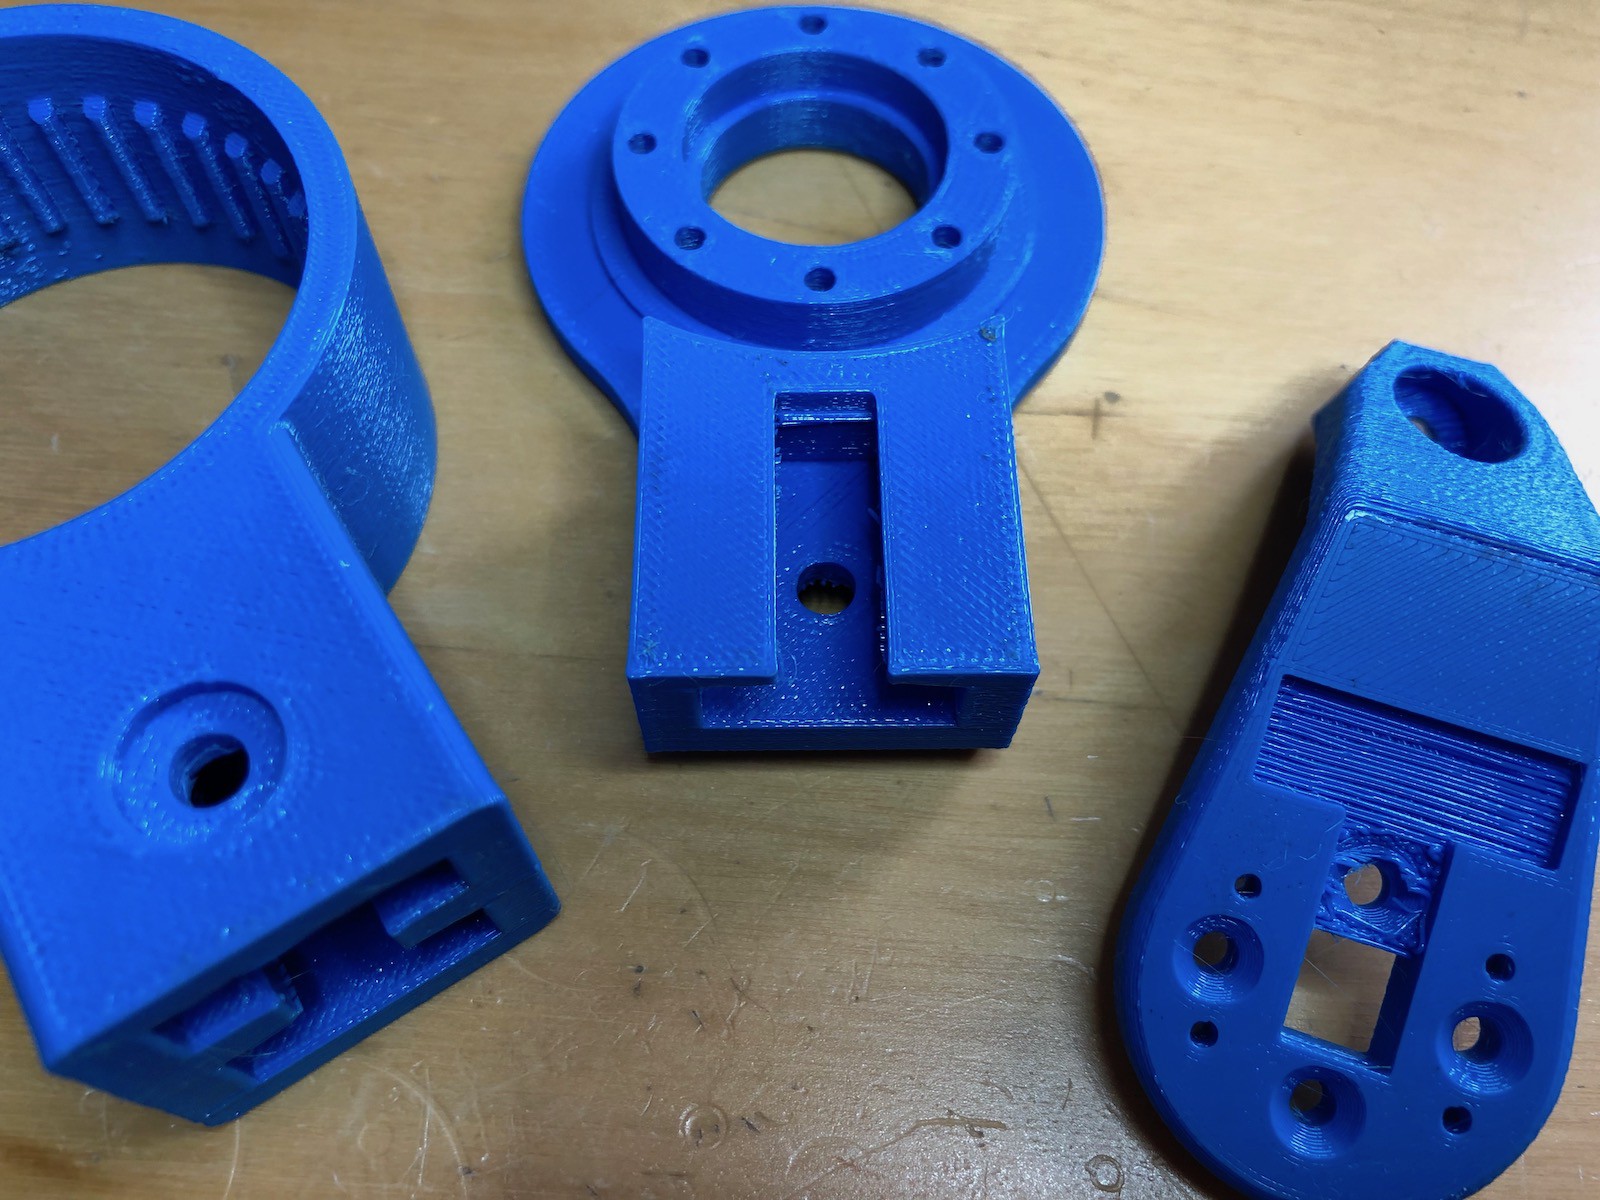
In the photo above, you should be able to see the bridge across the bolt hole on the left hand part, and the big supporting bridge on the middle part. Below you see the same parts with the bridges removed (using drills and craft knives as appropriate).
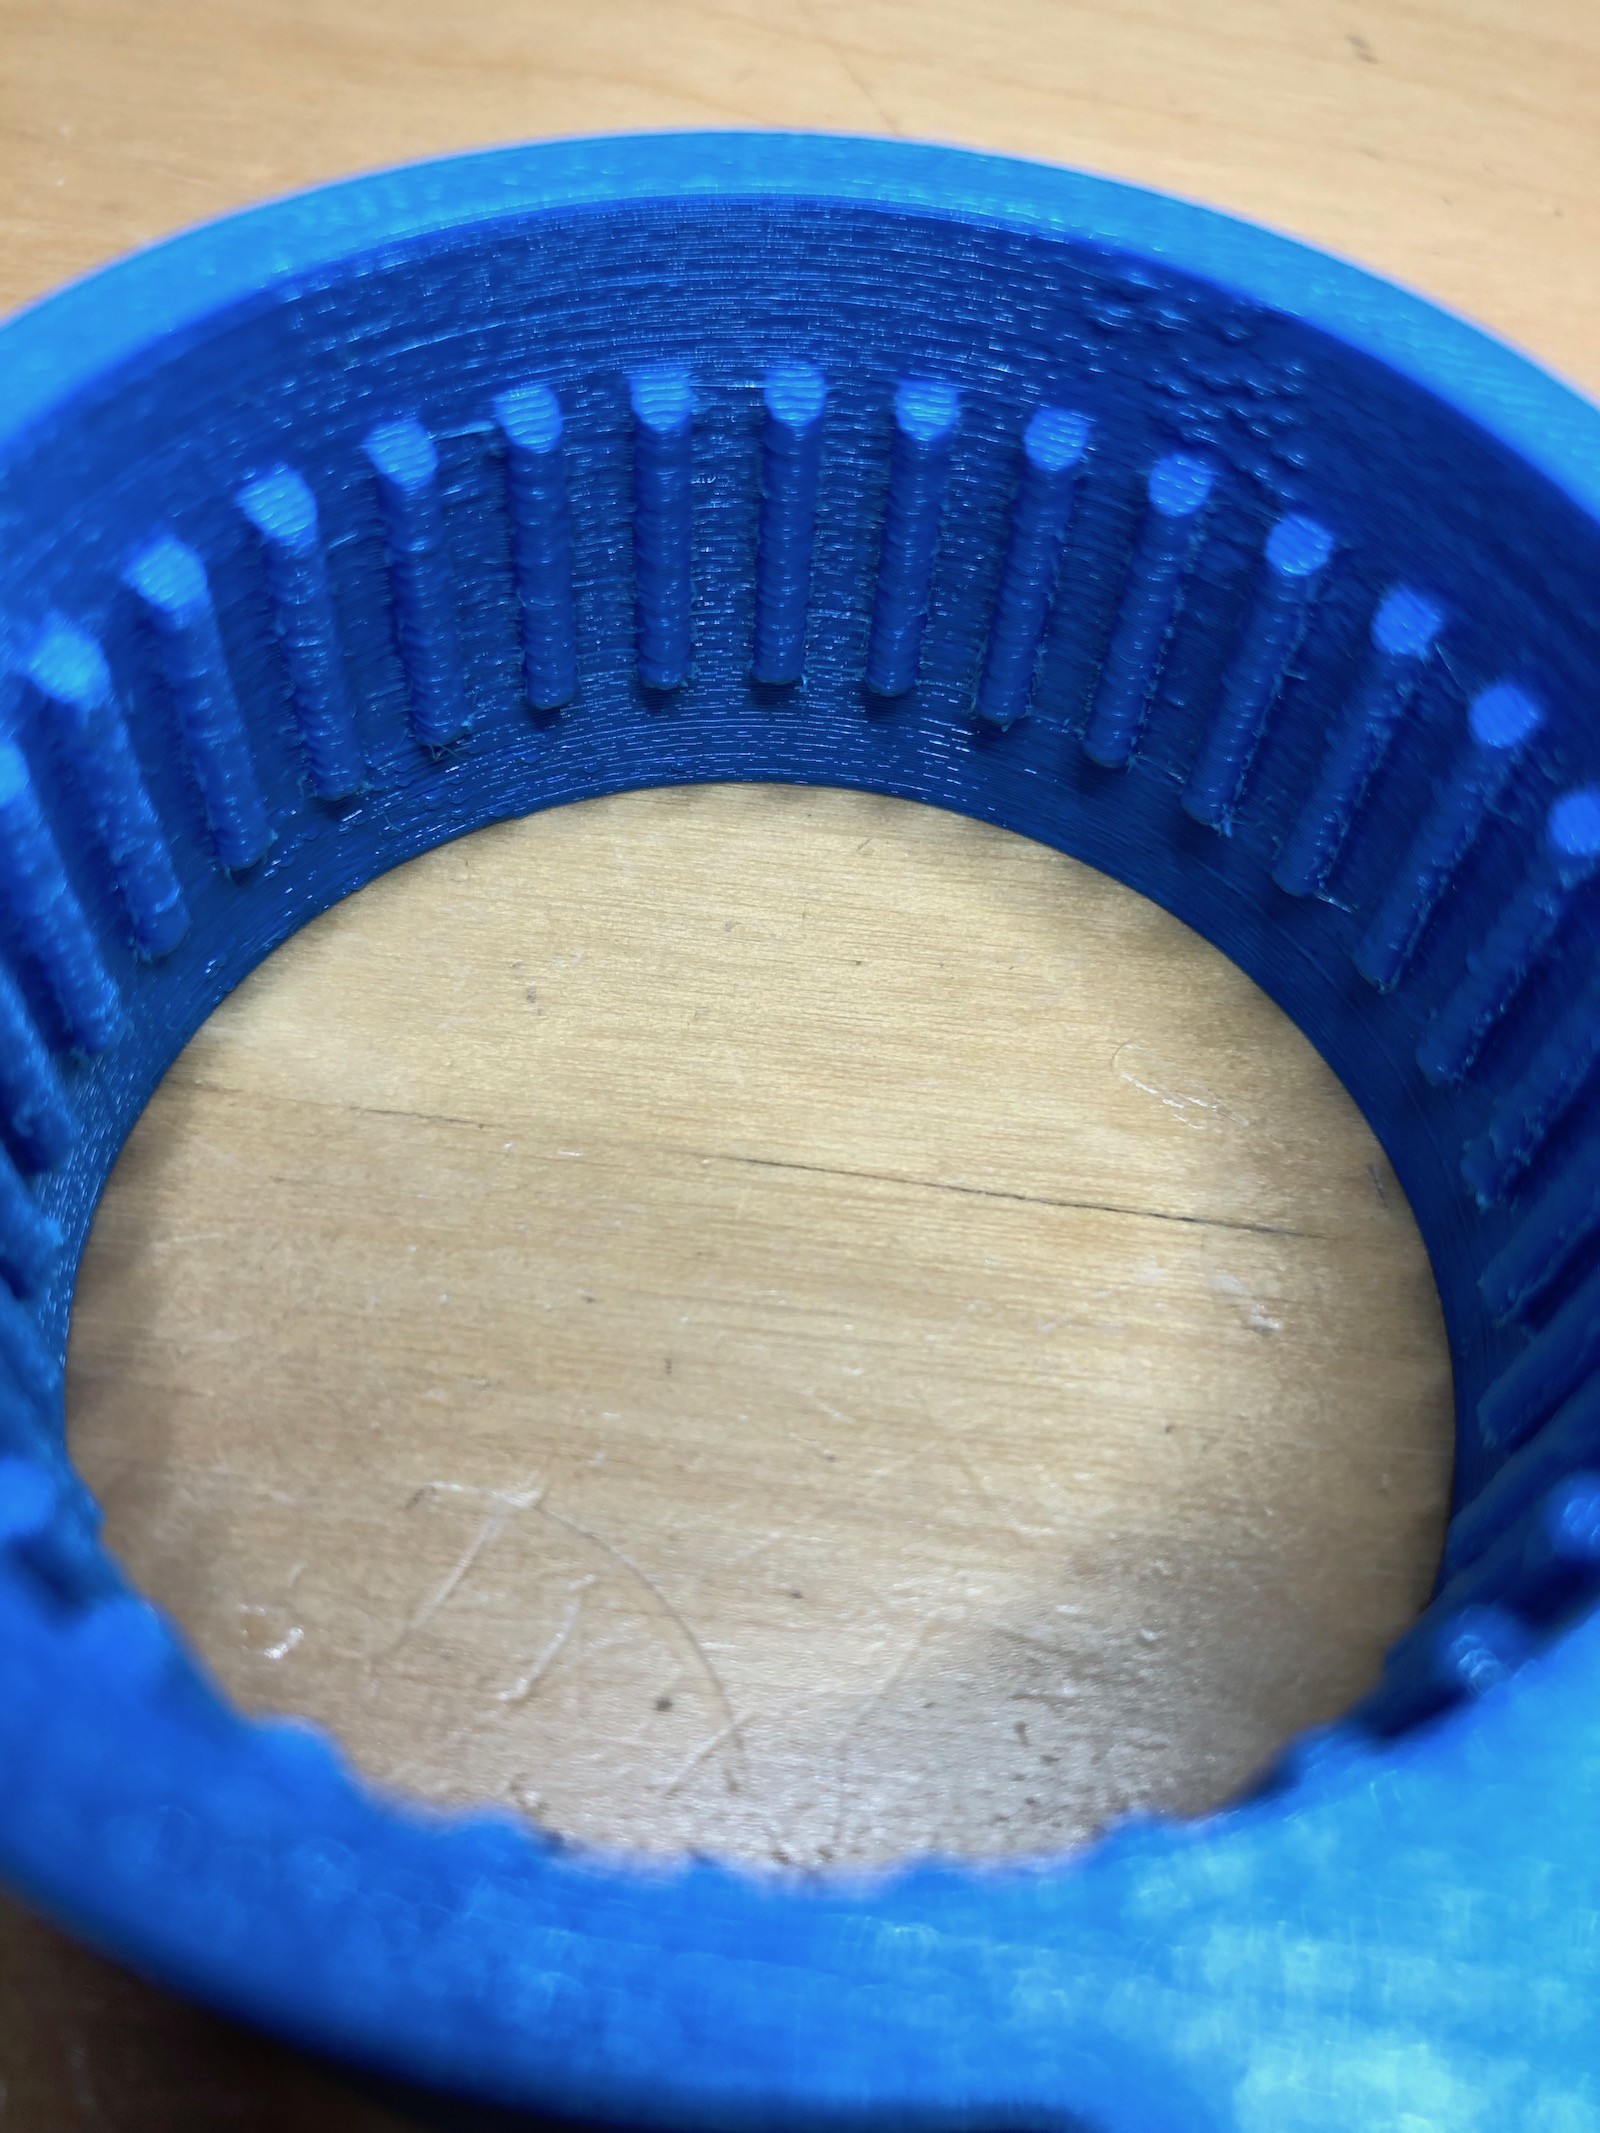
Finally, you might find a little stringing on the parts, especially on the internal surface of the output drive.
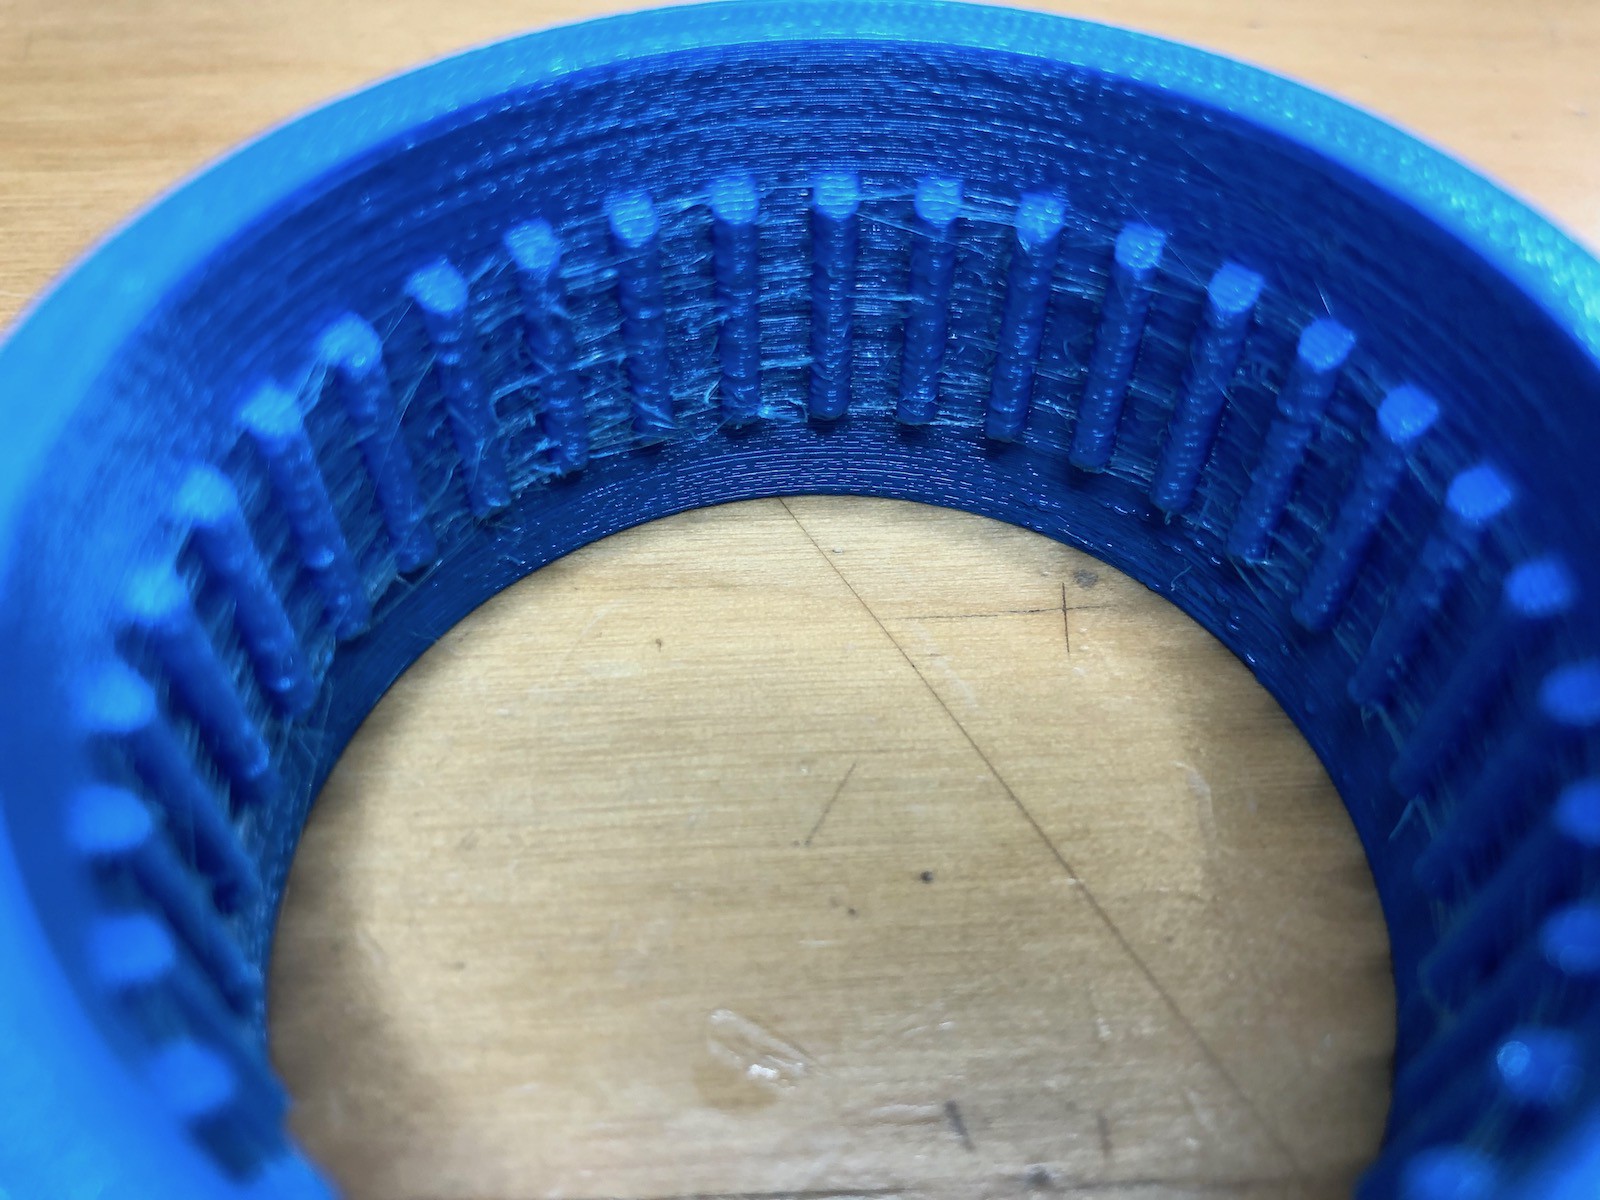
In reality, you could probably just leave this as it'll be quickly worn away once the joint is used. However, to keep things tidy, it can be eliminated using a hot air gun and will look muck cleaner as a result.
Discussions
Become a Hackaday.io Member
Create an account to leave a comment. Already have an account? Log In.