-
Log 2: But Wait, There's More!
06/23/2019 at 19:54 • 0 commentsThe basic design of the software to this point was to do everything via the web server embedded in the ESP-01 (in the Arduino libraries for the ESP8266). Unfortunately, this has a lot of overhead: every connection takes time, and all of the latency adds up to a terrible playing experience. ("Right-right-I PUSHED RIGHT WHY IS IT NOT MOVING RIGHT right right OH TOO FAR LEFT LEFT ... crap".)
The second version listens on a TCP socket for a connection. I wrote a quick Perl script to connect to it and send commands:
#!/usr/bin/perl

use strict;
use Curses;
use IO::Socket::INET;

use Data::Dumper;

$| = 1;
$SIG{'INT'} = 'finishup';


my $destination = shift || die "No destination IP:port given";

unless ($destination =~ /\:/) {
    $destination .= ':8267';
}

my ($socket,$data);
$socket = IO::Socket::INET->new ( PeerHost => '10.0.0.231',
				  PeerPort => 8267,
				  Proto => 'tcp',
				  Blocking => 0 )
    || die "Error creating socket: $!";

initscr();
raw();
noecho();

while (1) {
    my $c = getch();
    if ($c) {
	if (($c == 3) or ($c eq '=')) {
	    endwin();
	    exit(0);
	}

	$socket->send($c);
    }

    my $data;
    $socket->recv($data, 1024);
    if (length($data)) {
	print Dumper ($data);
    }
}

exit 0;

sub finishup {
    endwin();
    exit(0);
}
This works *most* of the time. Until the ESP (or laptop) can't quite reach the WiFi access point, and a packet needs to be retransmitted. So, in the third version, we do away with the overhead of the TCP connection itself - resorting on the default user behavior of "it doesn't look like it moved, so I'm just going to press the button again" by dropping down to UDP.
The perl script looks almost identical:
#!/usr/bin/perl

use strict;
use Curses;
use IO::Socket::INET;

use Data::Dumper;

$| = 1;
$SIG{'INT'} = 'finishup';


my $destination = shift || die "No destination IP:port given";

unless ($destination =~ /\:/) {
    $destination .= ':8267';
}

my ($socket,$data);
$socket = IO::Socket::INET->new ( PeerHost => '10.0.0.231',
				  PeerPort => 8267,
				  Proto => 'tcp',
				  Blocking => 0 )
    || die "Error creating socket: $!";

initscr();
raw();
noecho();

while (1) {
    my $c = getch();
    if ($c) {
	if (($c == 3) or ($c eq '=')) {
	    endwin();
	    exit(0);
	}

	$socket->send($c);
    }

    my $data;
    $socket->recv($data, 1024);
    if (length($data)) {
	print Dumper ($data);
    }
}

exit 0;

sub finishup {
    endwin();
    exit(0);
}
candor:display jorj$ cat input-udp.pl
candor:display jorj$ cat input-udp.pl
#!/usr/bin/perl

use strict;
use Curses;
use IO::Socket::INET;

$| = 1;
$SIG{'INT'} = 'finishup';


my $destination = shift || die "No destination IP:port given";

unless ($destination =~ /\:/) {
    $destination .= ':8267';
}

my ($socket,$data);
$socket = IO::Socket::INET->new ( PeerAddr => $destination,
				  Proto => 'udp' )
    || die "Error creating socket: $!";

initscr();
raw();
noecho();

while (1) {
    my $c = getch();
    if ($c) {
	if (($c == 3) or ($c eq '=')) {
	    endwin();
	    exit(0);
	}

	$socket->send($c);
    }
}

exit 0;

sub finishup {
    endwin();
    exit(0);
}
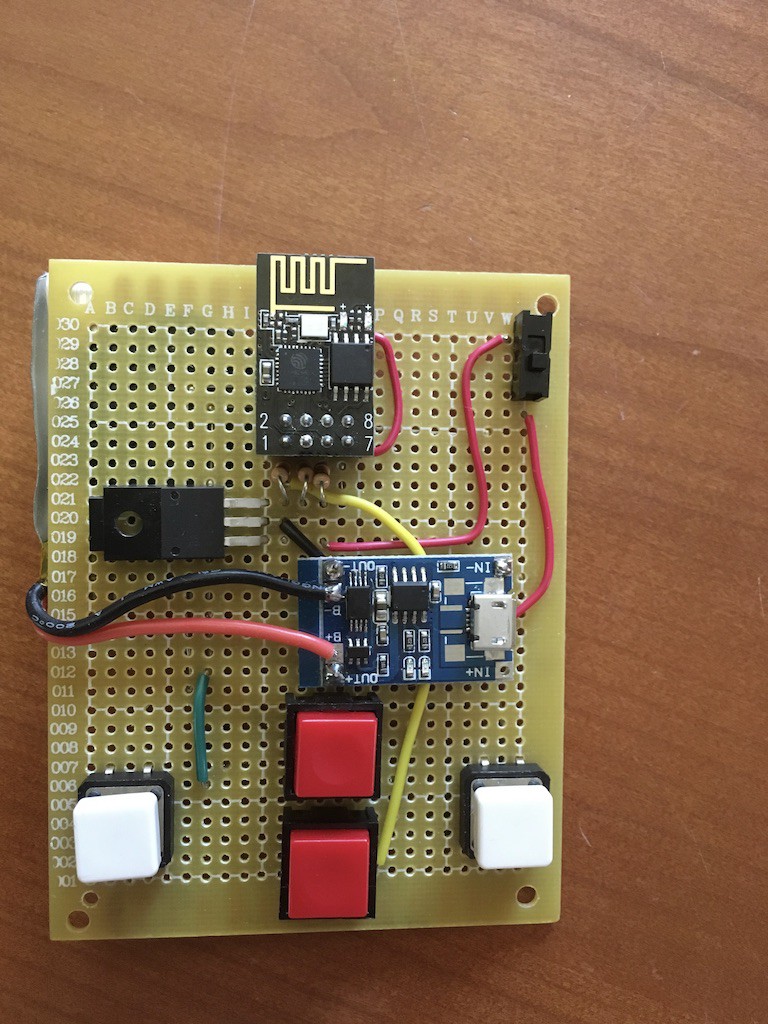
And, with this finally sorting out the network issues, I built a quick remote:
![]()
Four buttons left over from other projects (two sent by a friend while prototyping Aiie, thanks Jennifer!); one $5 lithium-ion battery charger with +5v output; a 3.3v linear regulator; an on/off switch; one ESP-01; 3 resistors; a proto-board lying around; and a 1000mAh 3.7v lithium-ion battery I'd also bought for another project years ago.
The remote connects to WiFi and uses multicast DNS to find the IP address of the Tetris Display. When you press a button, it opens a TCP connection; as long as that connection is open, the Display keeps "playing" tetris (the pieces move down by themselves). When you press buttons from here on, each button press is one UDP packet sent to the display.
This is the point where I started hearing "the pieces are too random" and "but I can't do new-fangled super-rotation so it's broken". I suppose this is why we keep the customer in the loop early and get feedback often ... sigh. A little coding to butcher what used to be a straightforward and simple game, and then everyone's happy!
Well, mostly.
The side-scrolling-text display is still in there, but it's not doing much. You can play Tetris, which I suppose is nice, but it's not something we do all the time. The truth is that, after a weekend of fun, this thing wound up plugged in sucking up power for two months doing ... nothing at all. Which seems like a waste. But sometimes you need to let things percolate for a while, and eventually inspiration strikes.
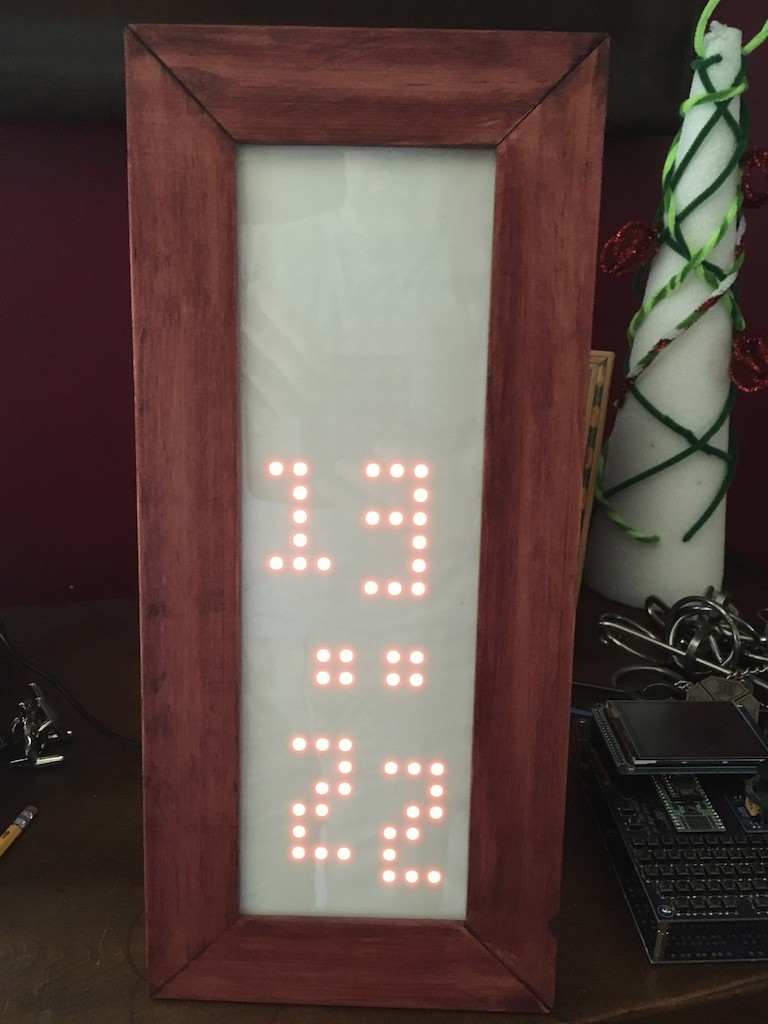
And it finally did, in the form of this Hackaday blog article about a Tetris Clock.
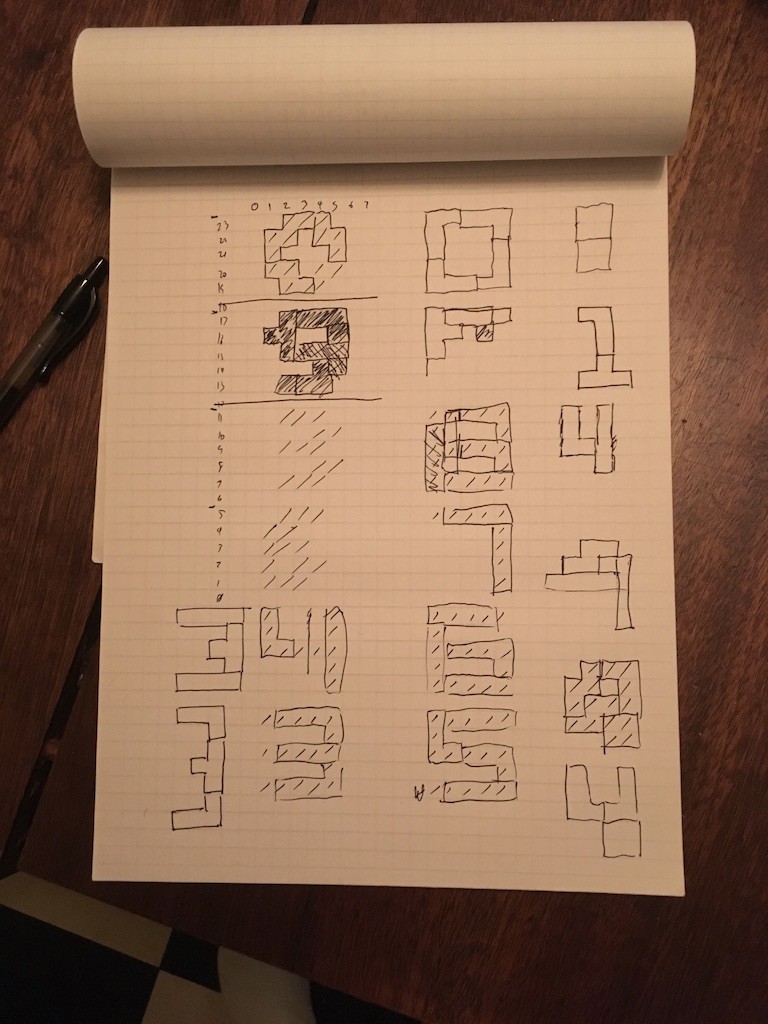
When I saw the pieces falling there, I realized that the biggest mental obstacle with this project is its aspect ratio. The vertical portrait mode makes the display ... awkward. I can't figure out how to elegantly display anything. But with pieces dropping, I can see how this would work - as long as we can make everything out of Tetris tetrominoes, then Tetris itself becomes the vehicle for display. Which just means that we have to design a font out of Tetris pieces.
This was the first pass at making a font:
![]()
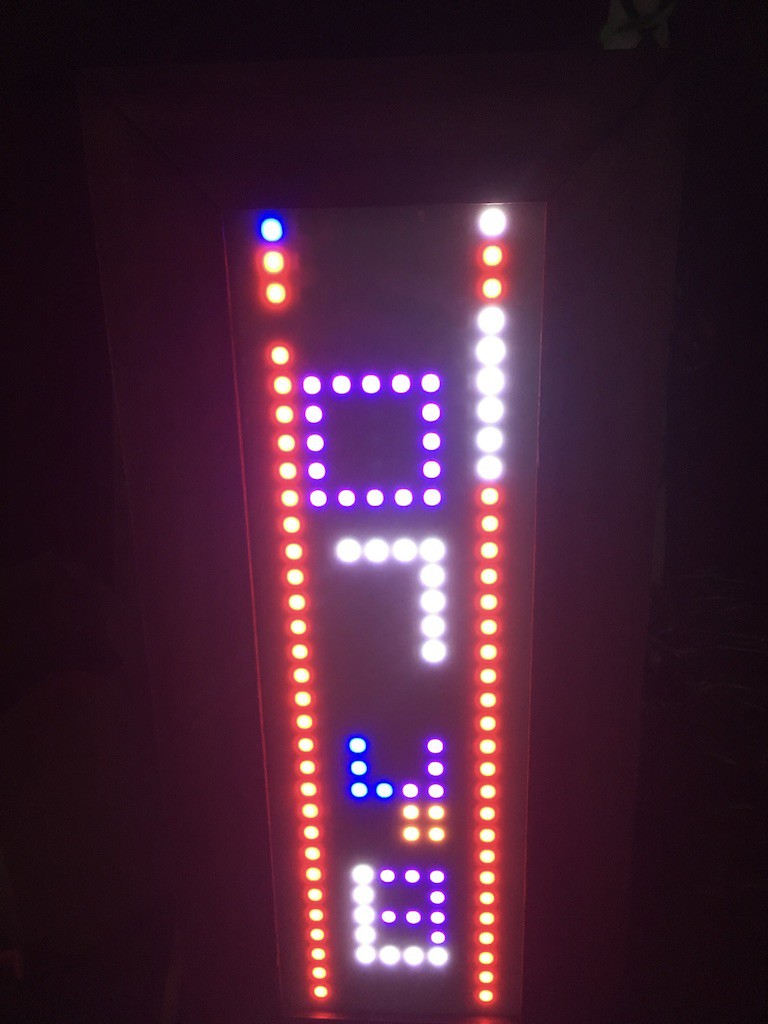
Which looks something like this:
![]()
(The left and right columns are debugging data, telling me what it's doing old-school 1-bit style.) The color of the numbers turned out to be distracting, and on the advice of my eldest (who is actually a professional UX designer and knows a little something) I made them all one color. Then he designed a second font that was only 3 pixels wide, with variable height (where mine was either 4 or 5 pixels wide, but always 5 pixels tall).
![]()
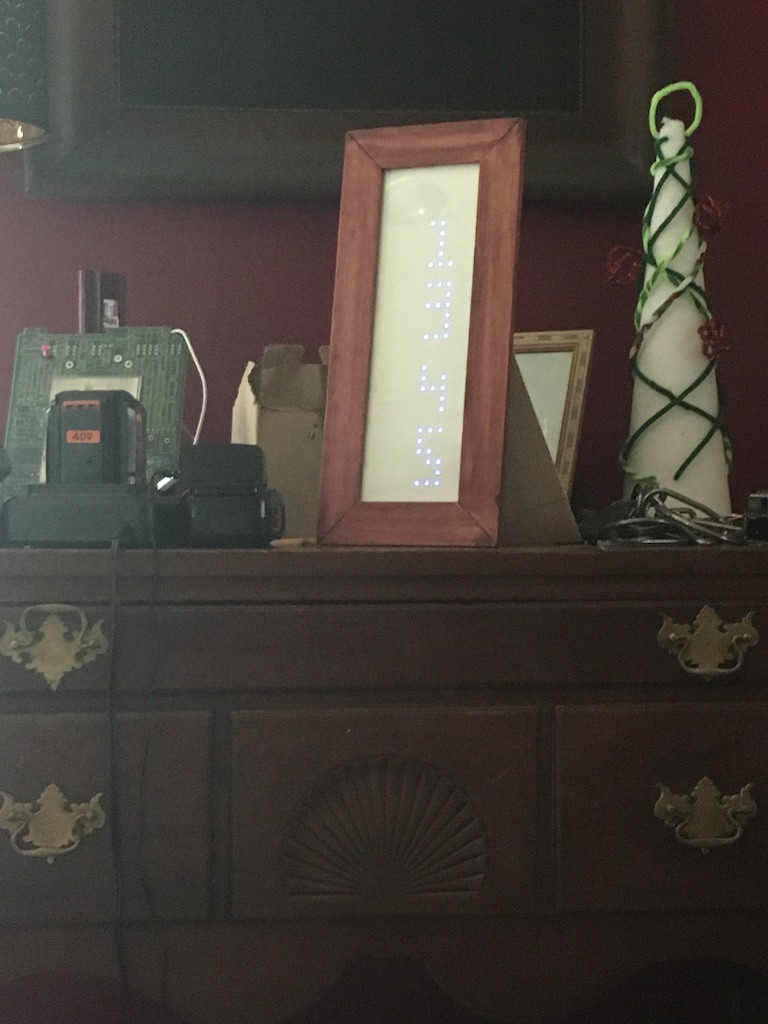
At which point, I realized they're narrow enough to show two across:
![]()
Nice.
All of that brings us to some action of what it's doing today:
-
Log 1: Spare Parts
06/23/2019 at 18:18 • 0 commentsThis project started with a pile of spare parts.
When I was an Electrical and Computer Engineering student decades ago, I began hoarding parts. Found a broken fax machine? Well, pull out that LCD panel! Busted old Mac? Pull the power supply! Scanner that's on the fritz? That LED light looks awesome!
(On the plus side, this also meant I found broken things that were repairable. My favorite was the 1990-ish 21-ish TV that a business down the street from me trashed. It had obviously been dropped; a corner of the circuit board was demolished. Fortunately it only had the power traces on it, so it was easy to build jumpers over the destroyed corner... and then I sold the beast for a pretty penny. Nice income for a poor college kid.)
After I had my first "real" job and bought a house, I changed my approach - I stopped trash-picking parts from random electronics and began building stock of new things. Electrolytic caps. Resistors. Inductors. Heat shrink tubing. LCD displays. Breadboards. Mostly small stuff - I didn't want to have to wait a week for parts delivery when I was trying to hack something together, but I also didn't have a lot of space, so it was a bit of a trade-off.
Now, this was the 90s. I remember having to call DigiKey and read lists of part numbers to them, which I'd copied out of a thick catalog. (It took years to get them to stop sending those!) But since I often noodle around more than design-and-build, I didn't often order from DigiKey directly; I'd use All Electronics (a surplus reseller) to find things that looked interesting, and then build stuff around what I found. Which lead to a problem: I'd start thinking of a design around a part I'd seen in an old All Electronics catalog, only to find the part was gone when I tried to order it. Defeating this super frustrating pattern, I began ordering cool-looking parts before I decided what to do with them, just so I'd have them.
This, obviously, can't last. I don't have an infinite amount of space or money. I eventually stopped buying every single Varitronix LCD display that showed up for $2 at All. The Web had become more approachable for stodgy old companies, and both Mouser and Digikey really began to shine. Of course, you also paid like-new-prices for everything and a premium for shipping; and all of this was based on traditional high-volume parts. If it couldn't be sold in lots of thousands to an electronics manufacturing company, you couldn't find it on the web.
Enter, stage left: Sparkfun.
Holy crap, did this place blow my mind. Sparkfun really understood what I wanted to do, and turned it in to an amazing business. Adafruit came after with a similar premise, and the two of them have seen *so much* of my money that, if I put it in to real terms, my financial advisor would be seriously mad at me. But the fundamental problem remained: Sparkfun would, for example, design and build a 4x4 I2C button panel with programmable RGB lights under the keycaps, sell it until they were out, and then ... they'd be done. Product gone.
All of this lead to what, in the photography world, is called GAS: Gear Acquirement Syndrome.
And one piece of Gear that I Acquired was an 8x32 flexible LCD panel from Adafruit. (I'm pretty sure it was an earlier revision of the one that's still available there today, for a hefty price.)
In the past few years, I've been trying to reverse my Gear problem - using up the things I've got "in stock". My Aiie! project was built from parts around the house. So is Detritus, my 8-bit CPU (which is sadly not quite complete: I ran out of "the right parts" and had to start ordering stuff, which made it less attractive; I've got parts sitting around at work waiting for me to spend time on it at lunch again).
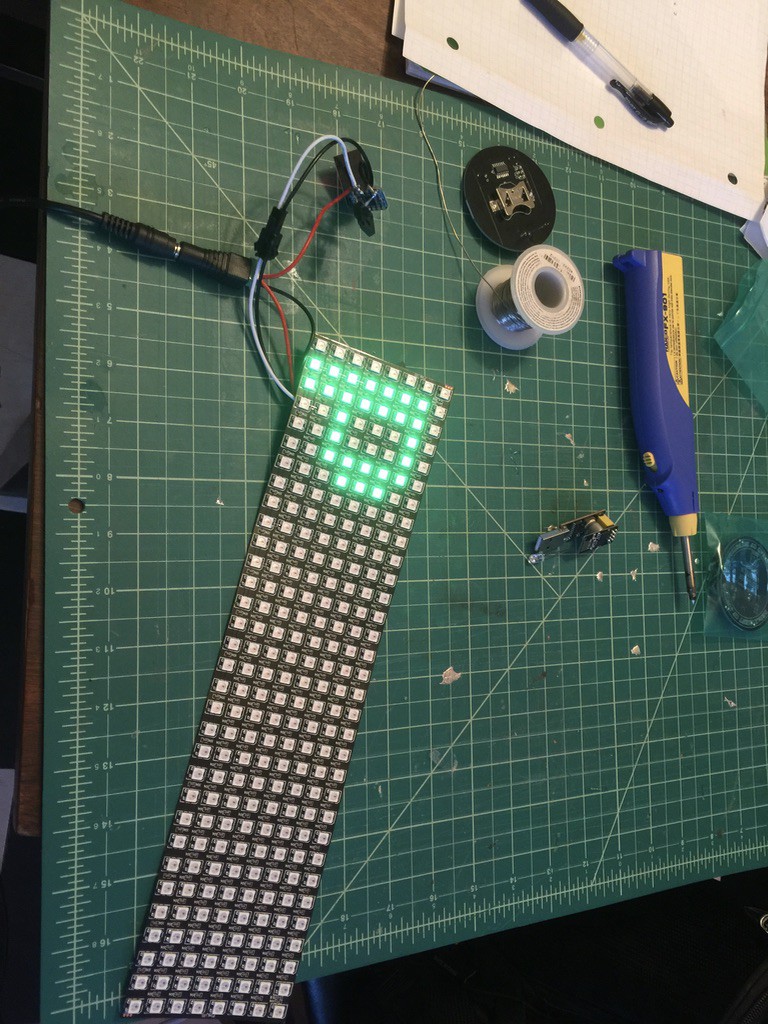
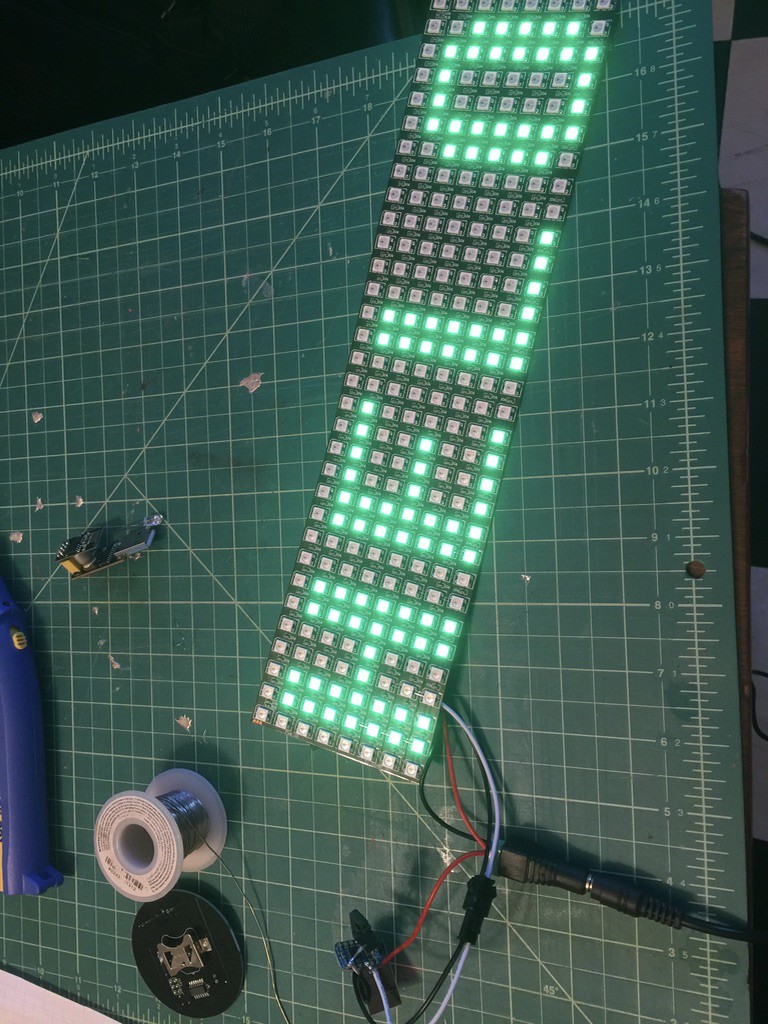
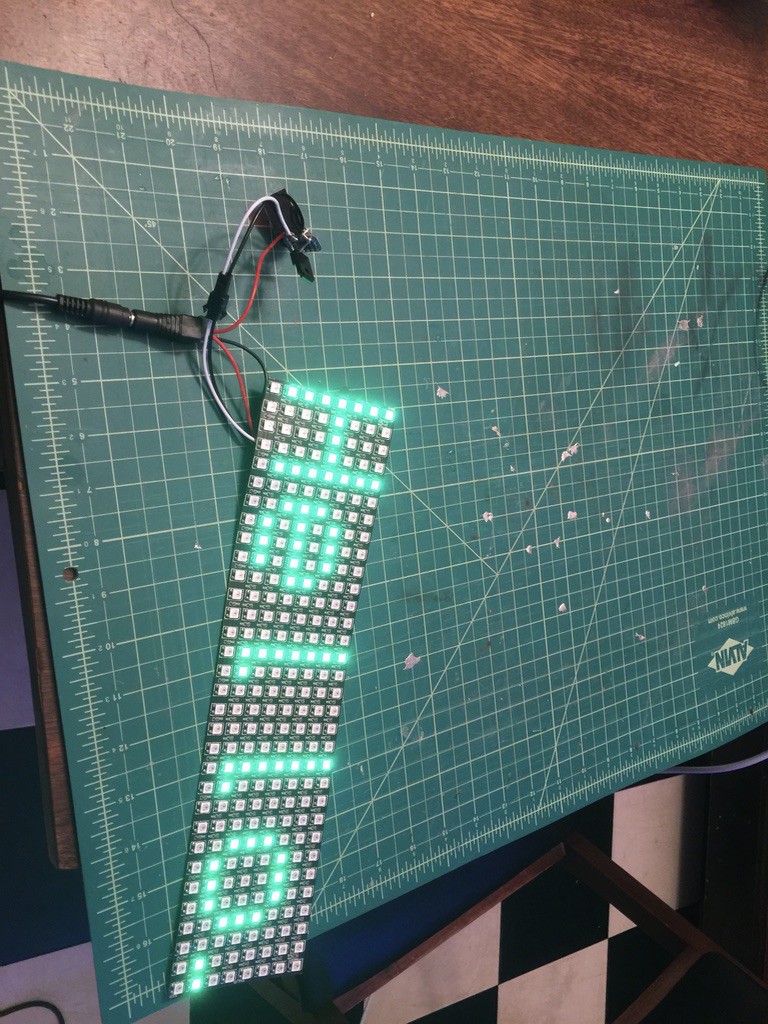
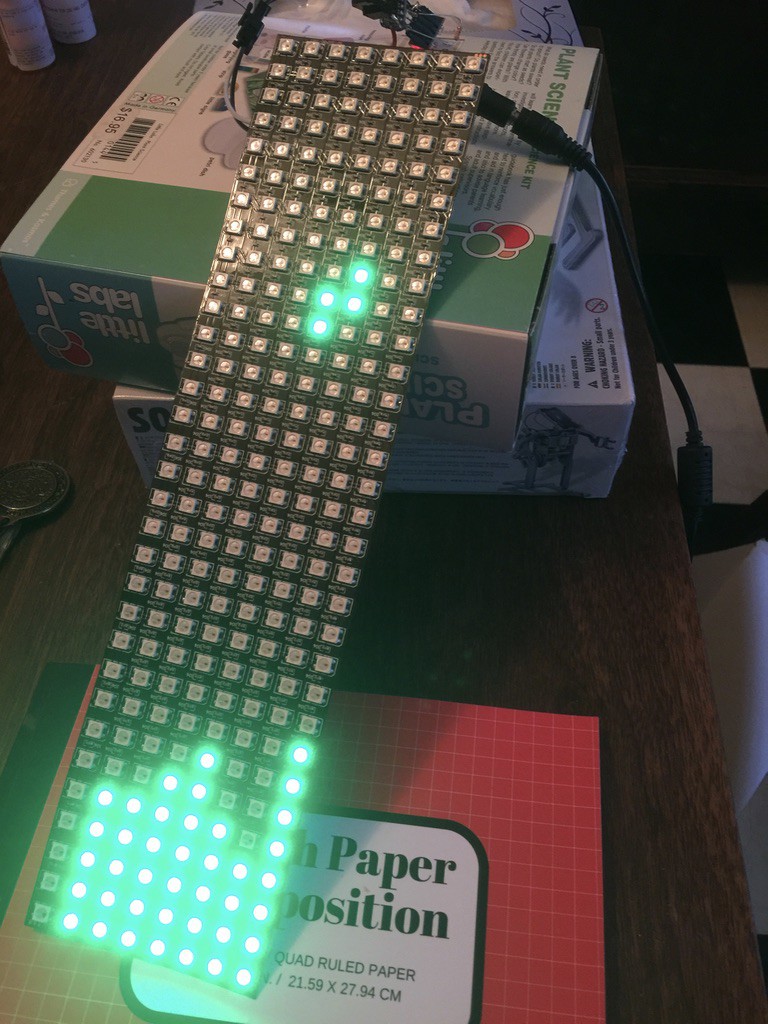
And that's the genesis of this project. One panel, lying around the house. I'd thought I'd make it a text display of some sort; I have a penchant for scrolling displays. But I hadn't decided on anything actually useful, so it sat in wait for a long time. Until January 2019, when I decided to at least see the thing lit up.
![]()
![]()
![]()
And while I was looking at these photos, where the LED display is in portrait orientation, I realized it might be a pretty good display for Tetris.
![]()
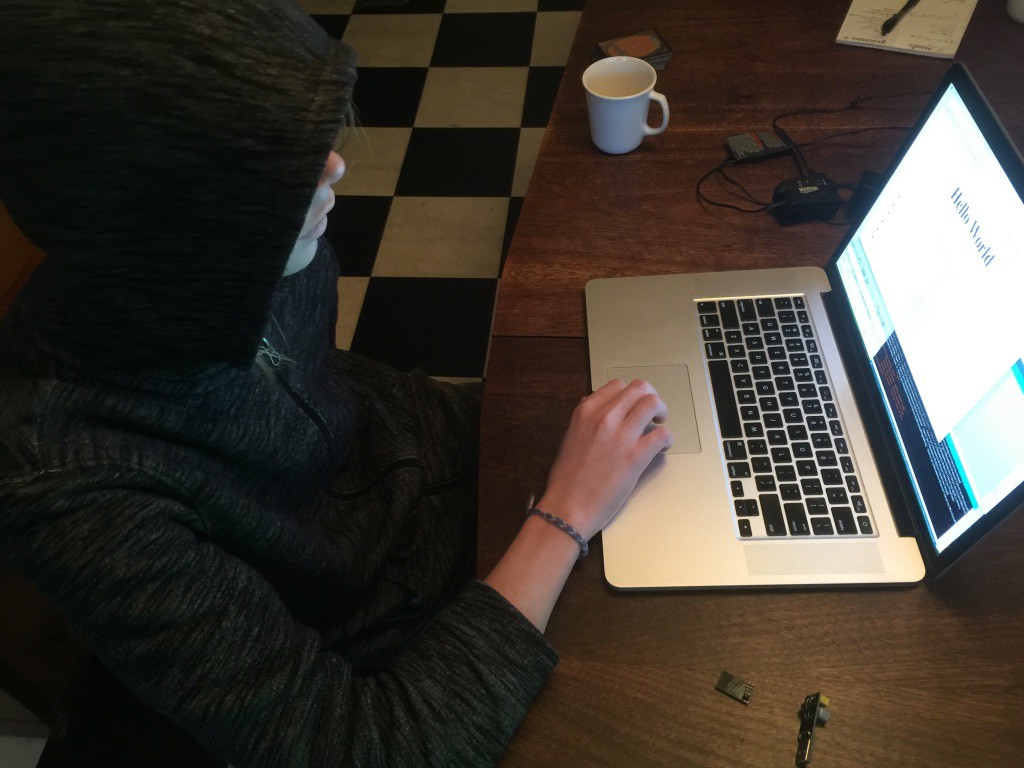
It wasn't long before I had an ESP-01 running Tetris, and then we had some playtesting through the web browser...
![]()
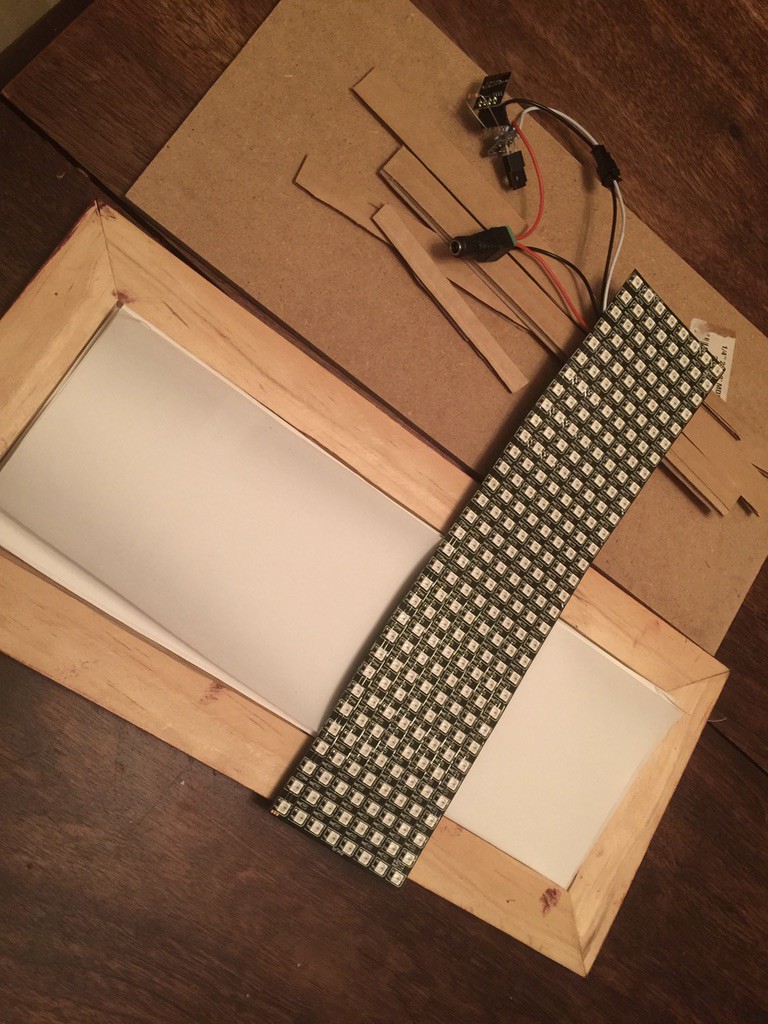
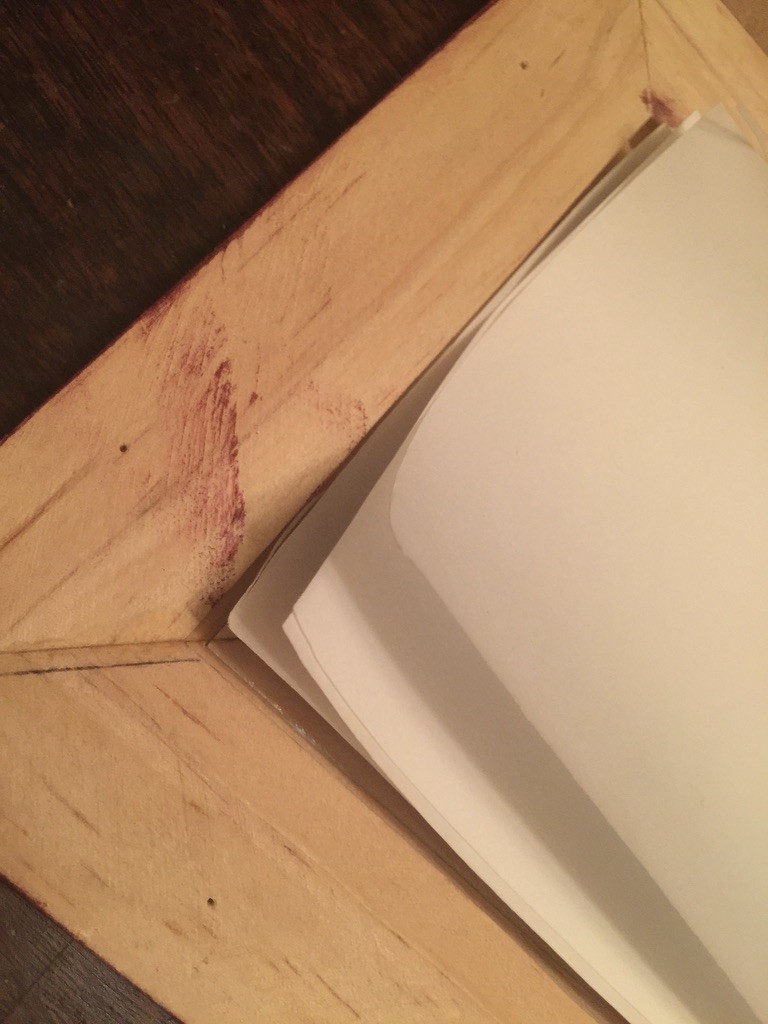
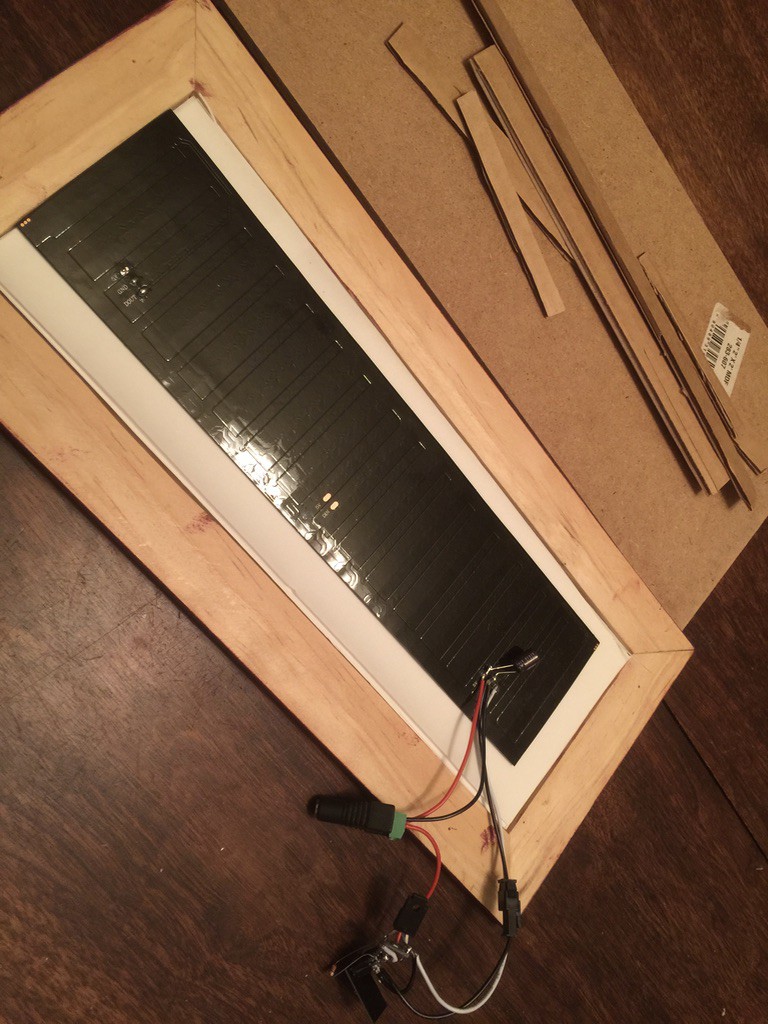
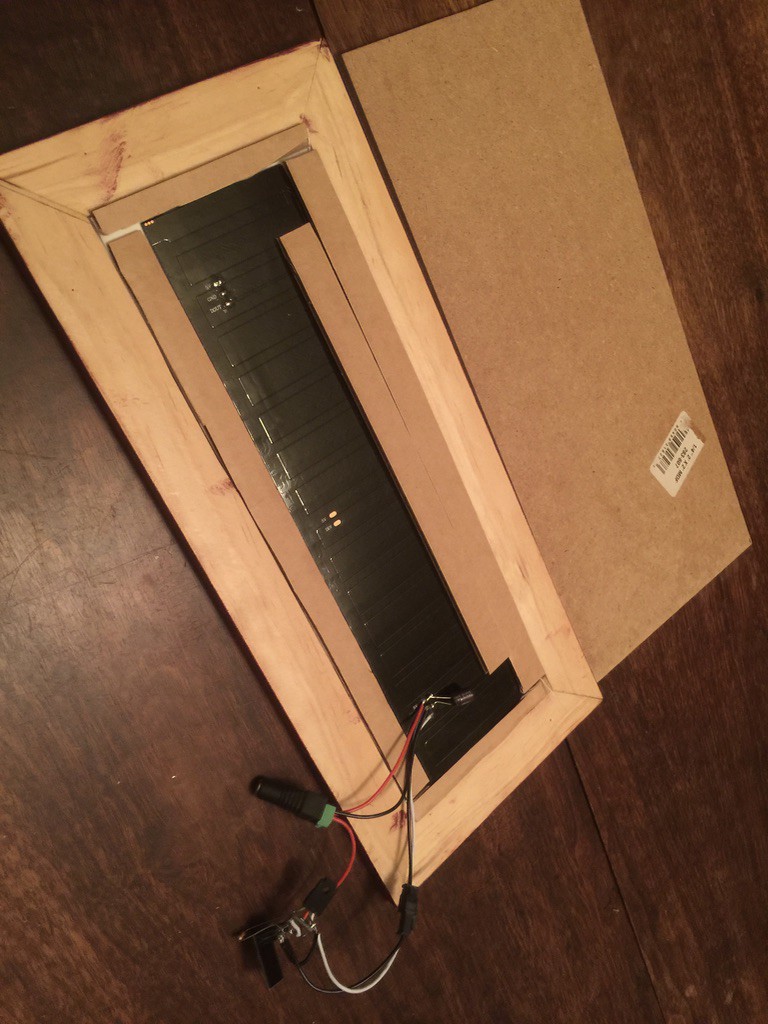
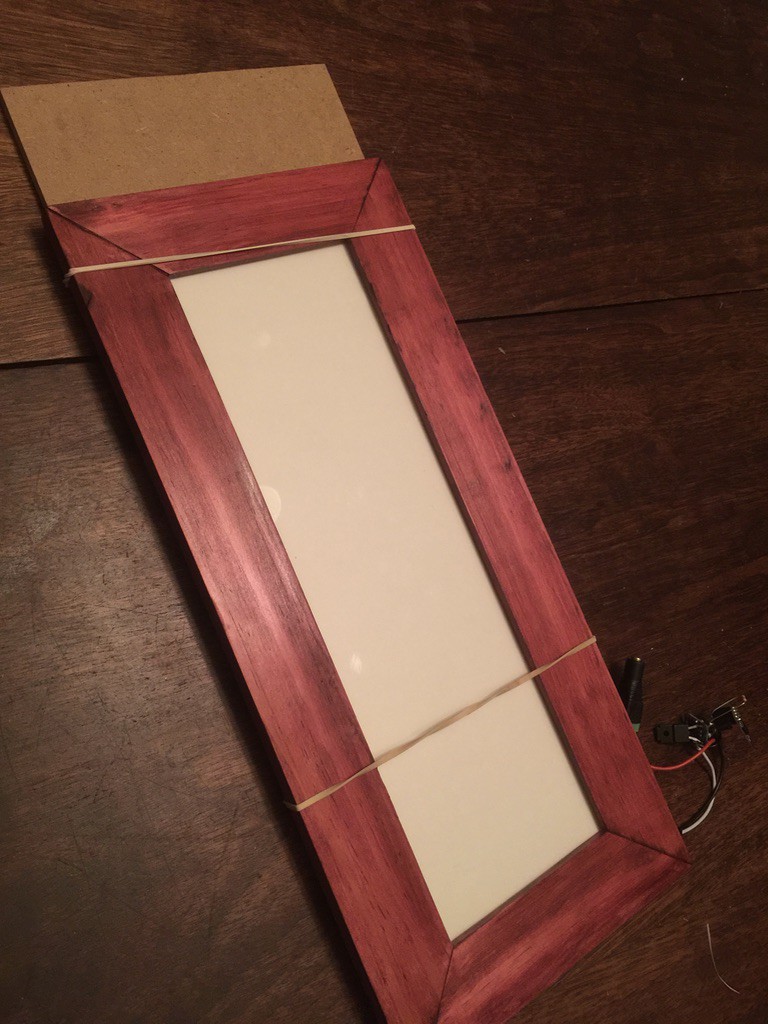
The first version required GETs of four URLs to perform the four actions (move left, move right, rotate, drop). It worked, Jake liked it, and we had a project. Some scrap wood in my wood shop, stain from another project, scraps of cardboard for spacers, glass rescued from an old broken window, tracing paper as a diffuser, a bit of particle board as a backer, and...
![]()
![]()
![]()
![]()
![]()
Presto, it's a framed display!
Tetris Display
When the world gives you a random 8x32 WS2812 LED display, you make ... Tetris!
 Jorj Bauer