 hackhead79
Here I will document the incremental process of upgrading my budget 3d printer (I paid around 150 € for it during a sale - normal price around 200-230€) to make it more functional and plain better!
0%
0%
Kossel 3D printer upgrade project
project log of planned and / or done upgrades for my 3d printer
Become a Hackaday.io member
Already have an account? Log in.
Just one more thing
To make the experience fit your profile, pick a username and tell us what interests you.
Pick an awesome username
hackaday.io/
Your profile's URL: hackaday.io/username. Max 25 alphanumeric characters.
Pick a few interests
Projects that share your interests
People that share your interests

 Malte Schrader
 Benchoff
 Mo Badr
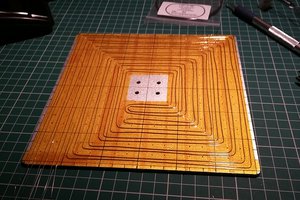
 Lukas Koch aka Ast