Electroniclovers123
➢Step descriptions:
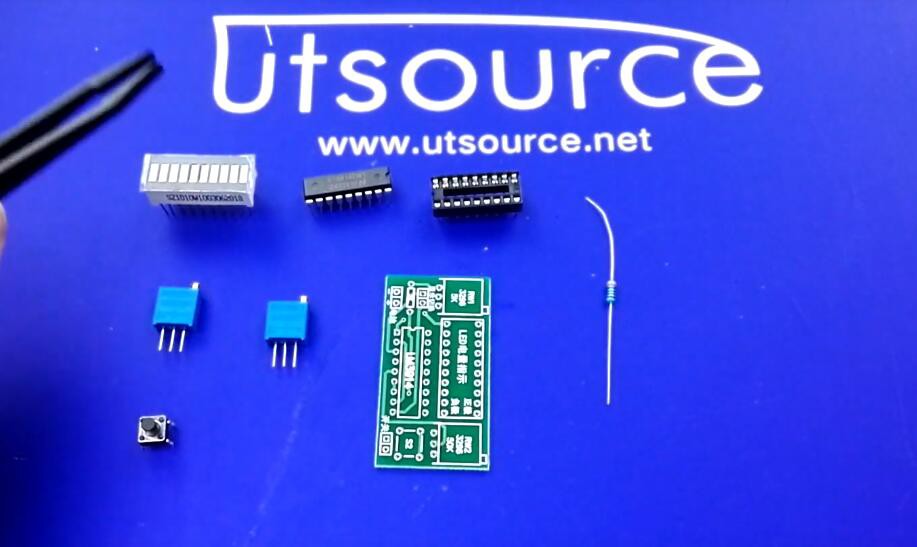
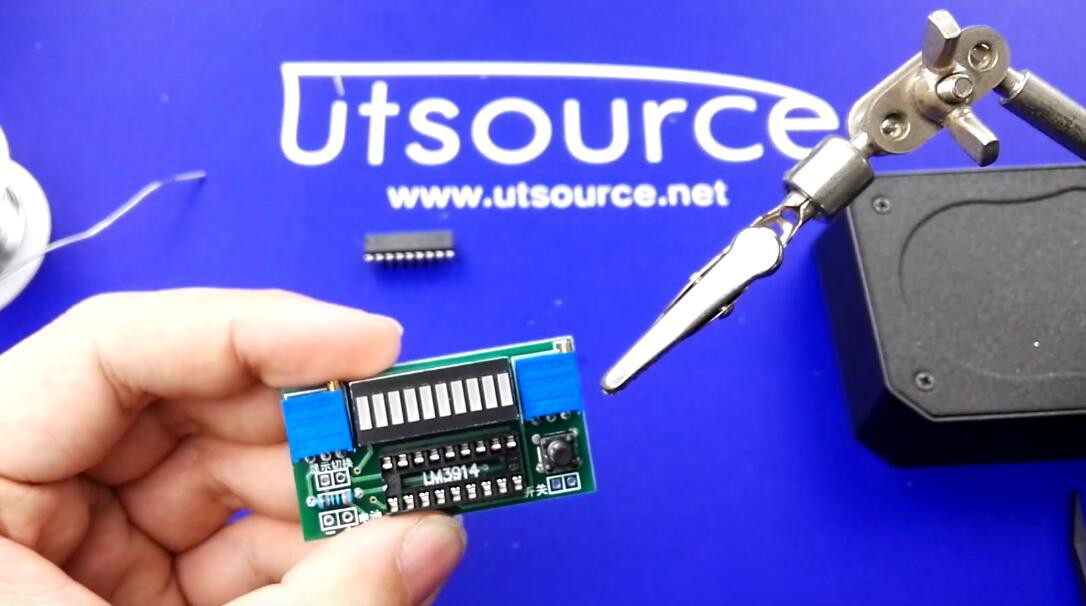
✦Step 1:-Here are all the materials you need.
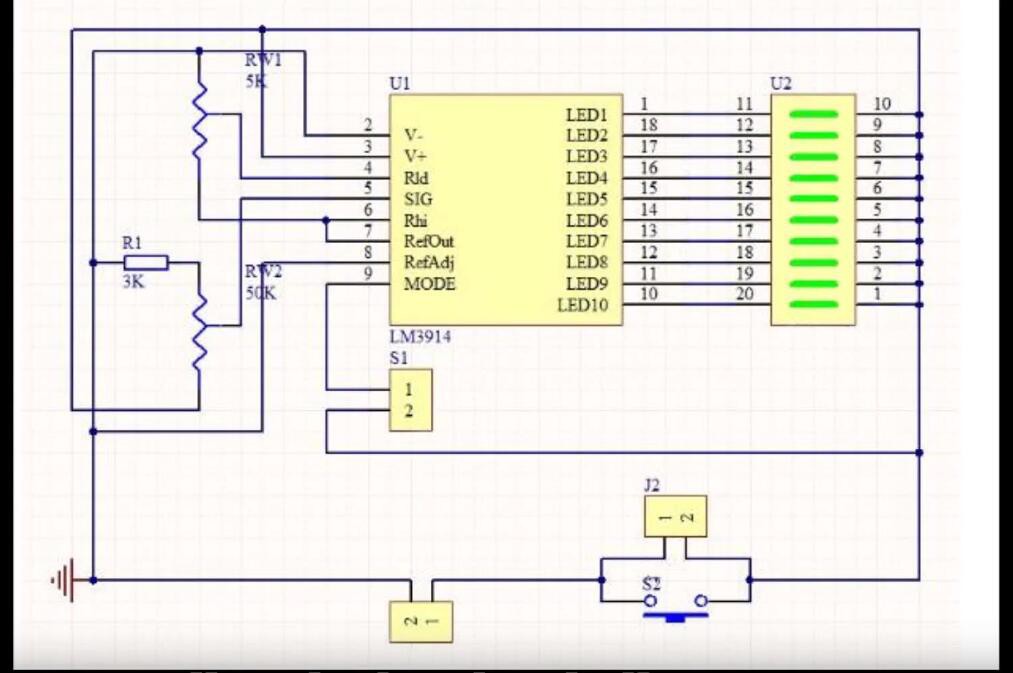
✦Step 2:-Here is the circuit diagram.
✦Step 3:-Install the part according to the circuit diagram.
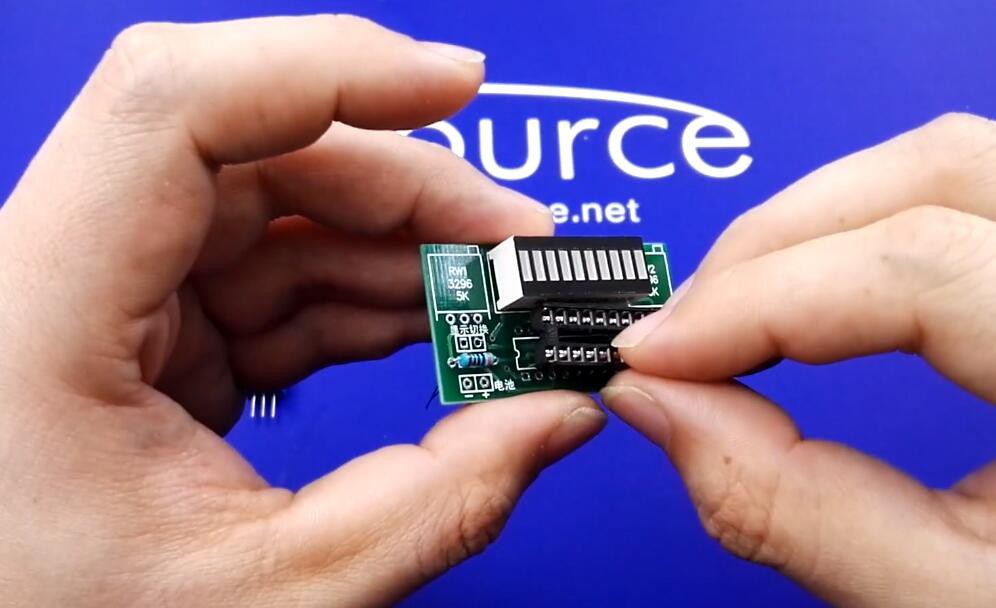
✦Step 4:-Finished.
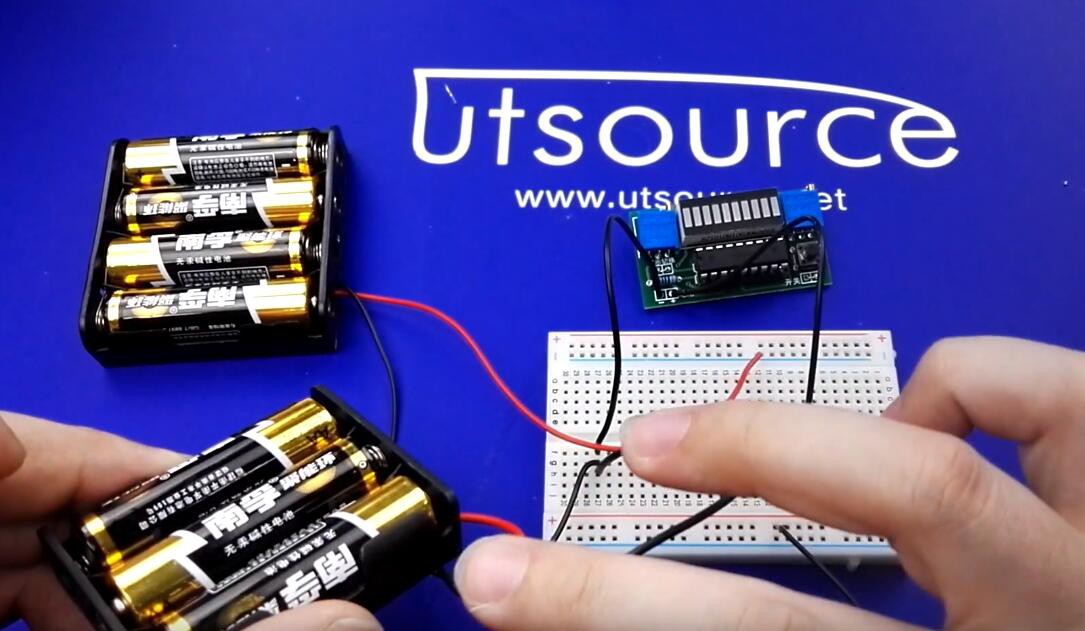
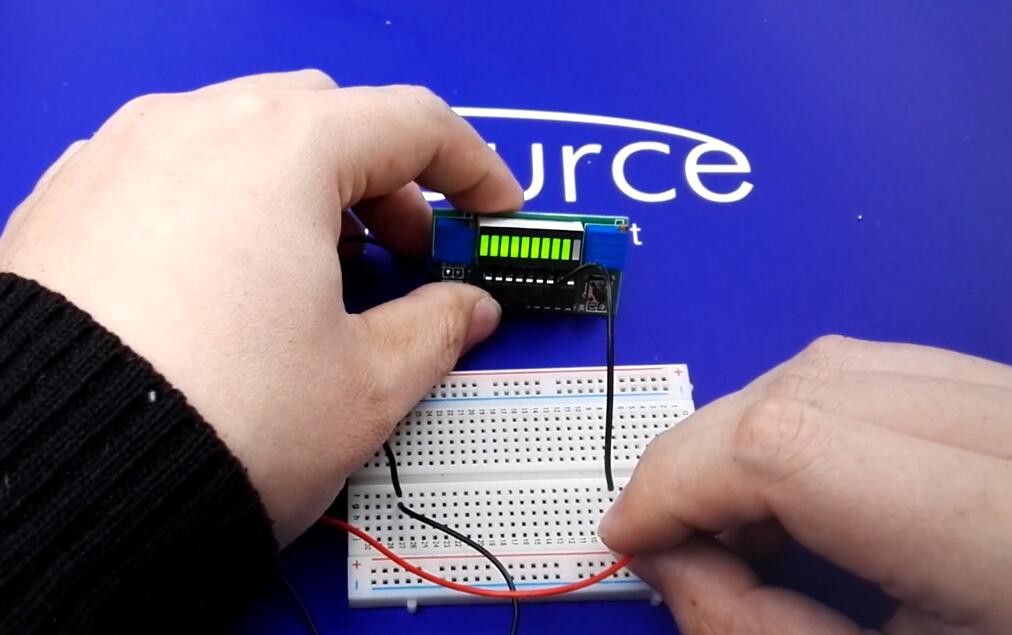
✦Step 5:-Test it, the indicator shows one bar battery.

✦Step 6:-Then replace it with a 4.5V battery pack.
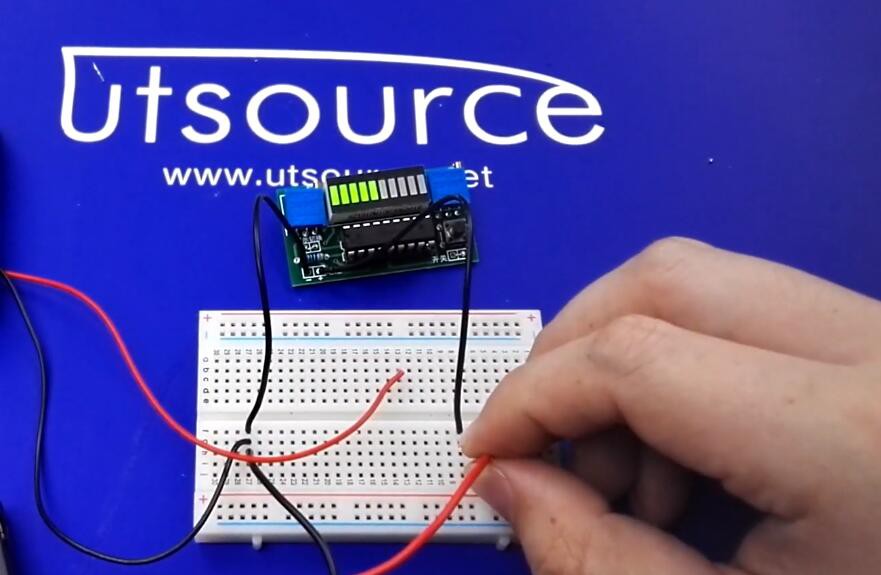
✦Step 7:-Five bars battery on the indicator.
✦Step 8:-Finally, we directly connected to the 6V battery pack.
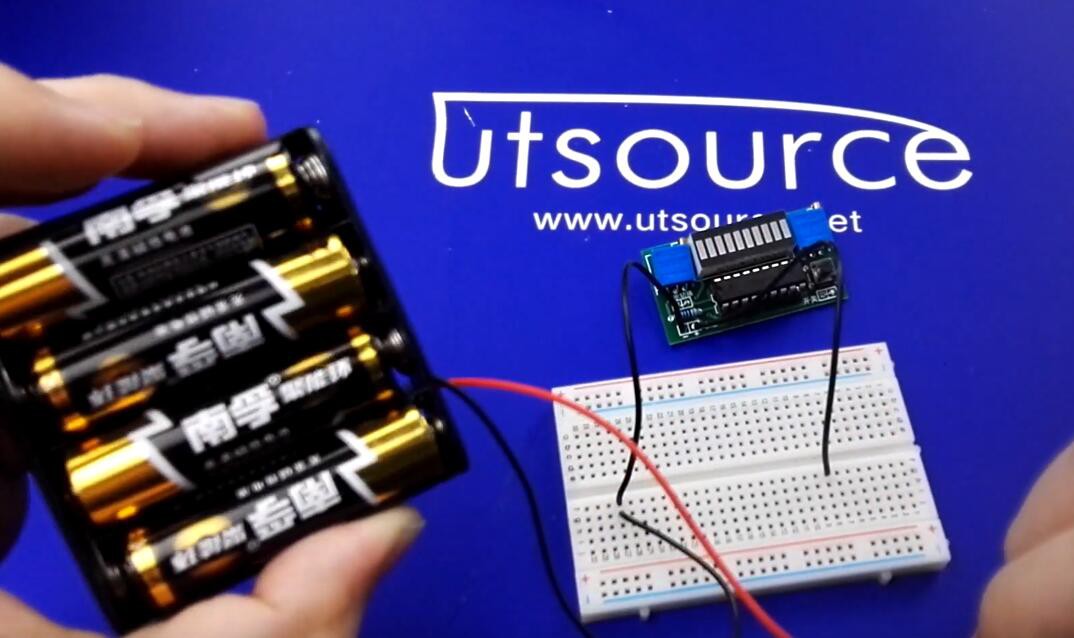
✦Step 9:-9 bars displayed on the display.
Products list:
『10-segment digital tube』https://www.utsource.net/sch/10-segment%20digital%20tube
『LM3914 』https://www.utsource.net/sch/LM3914
『3K resistor』 https://www.utsource.net/sch/3K%20resistor
『3296W potentiometer 5K(502) 』https://www.utsource.net/itm/p/6494012.html
『3296W potentiometer 50K (503) 』 https://www.utsource.net/sch/3296W%20potentiometer%2050K%20503
『Touch button』https://www.utsource.net/sch/touch%20button
Video on Youtube:

 FrazzledBadger
 Adam Redfern
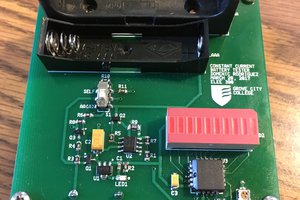
 Domenic Rodriguez