 Cees Meijer
So the thruster parts arrived way faster than I expected from Russia.

And they look great. Not sure how they did it, but they are very nicely printed and have a real smooth finish. Included in the box is a bundle of printed instructions for assembly. All of which are also available online, but it's nice to have them in print too. What is remarkable though is that though every aspect is of the mounting and modifying of the motors is described and illustrated using photos, there is no assembly drawing of the completed thruster. So up-to the moment I was actually assembling it I still did not really have a good idea of how it would work.

The first step is preparing the motors for underwater. the instructions mention using a slow-curing epoxy glue, but I actually used some 2 component epoxy moulding kit that is specifically designed for moulding sub-sea cables and connectors. It comes in a convenient package where the two components are separated by a removable seal.
So I created the moulding form around the motor using Kapton-tape as shown in the instructions, mixed the epoxy and poured it in. After mixing the epoxy a little bit too long it was already getting warm and started curing while I was pouring it in. Which made it look like it was not filling all the gaps. But after the mix has cured and removing the tape, it turned out to have worked really well. Just a few bubbles got trapped, leaving some of the copper exposed, but these were quickly filled using some epoxy glue.
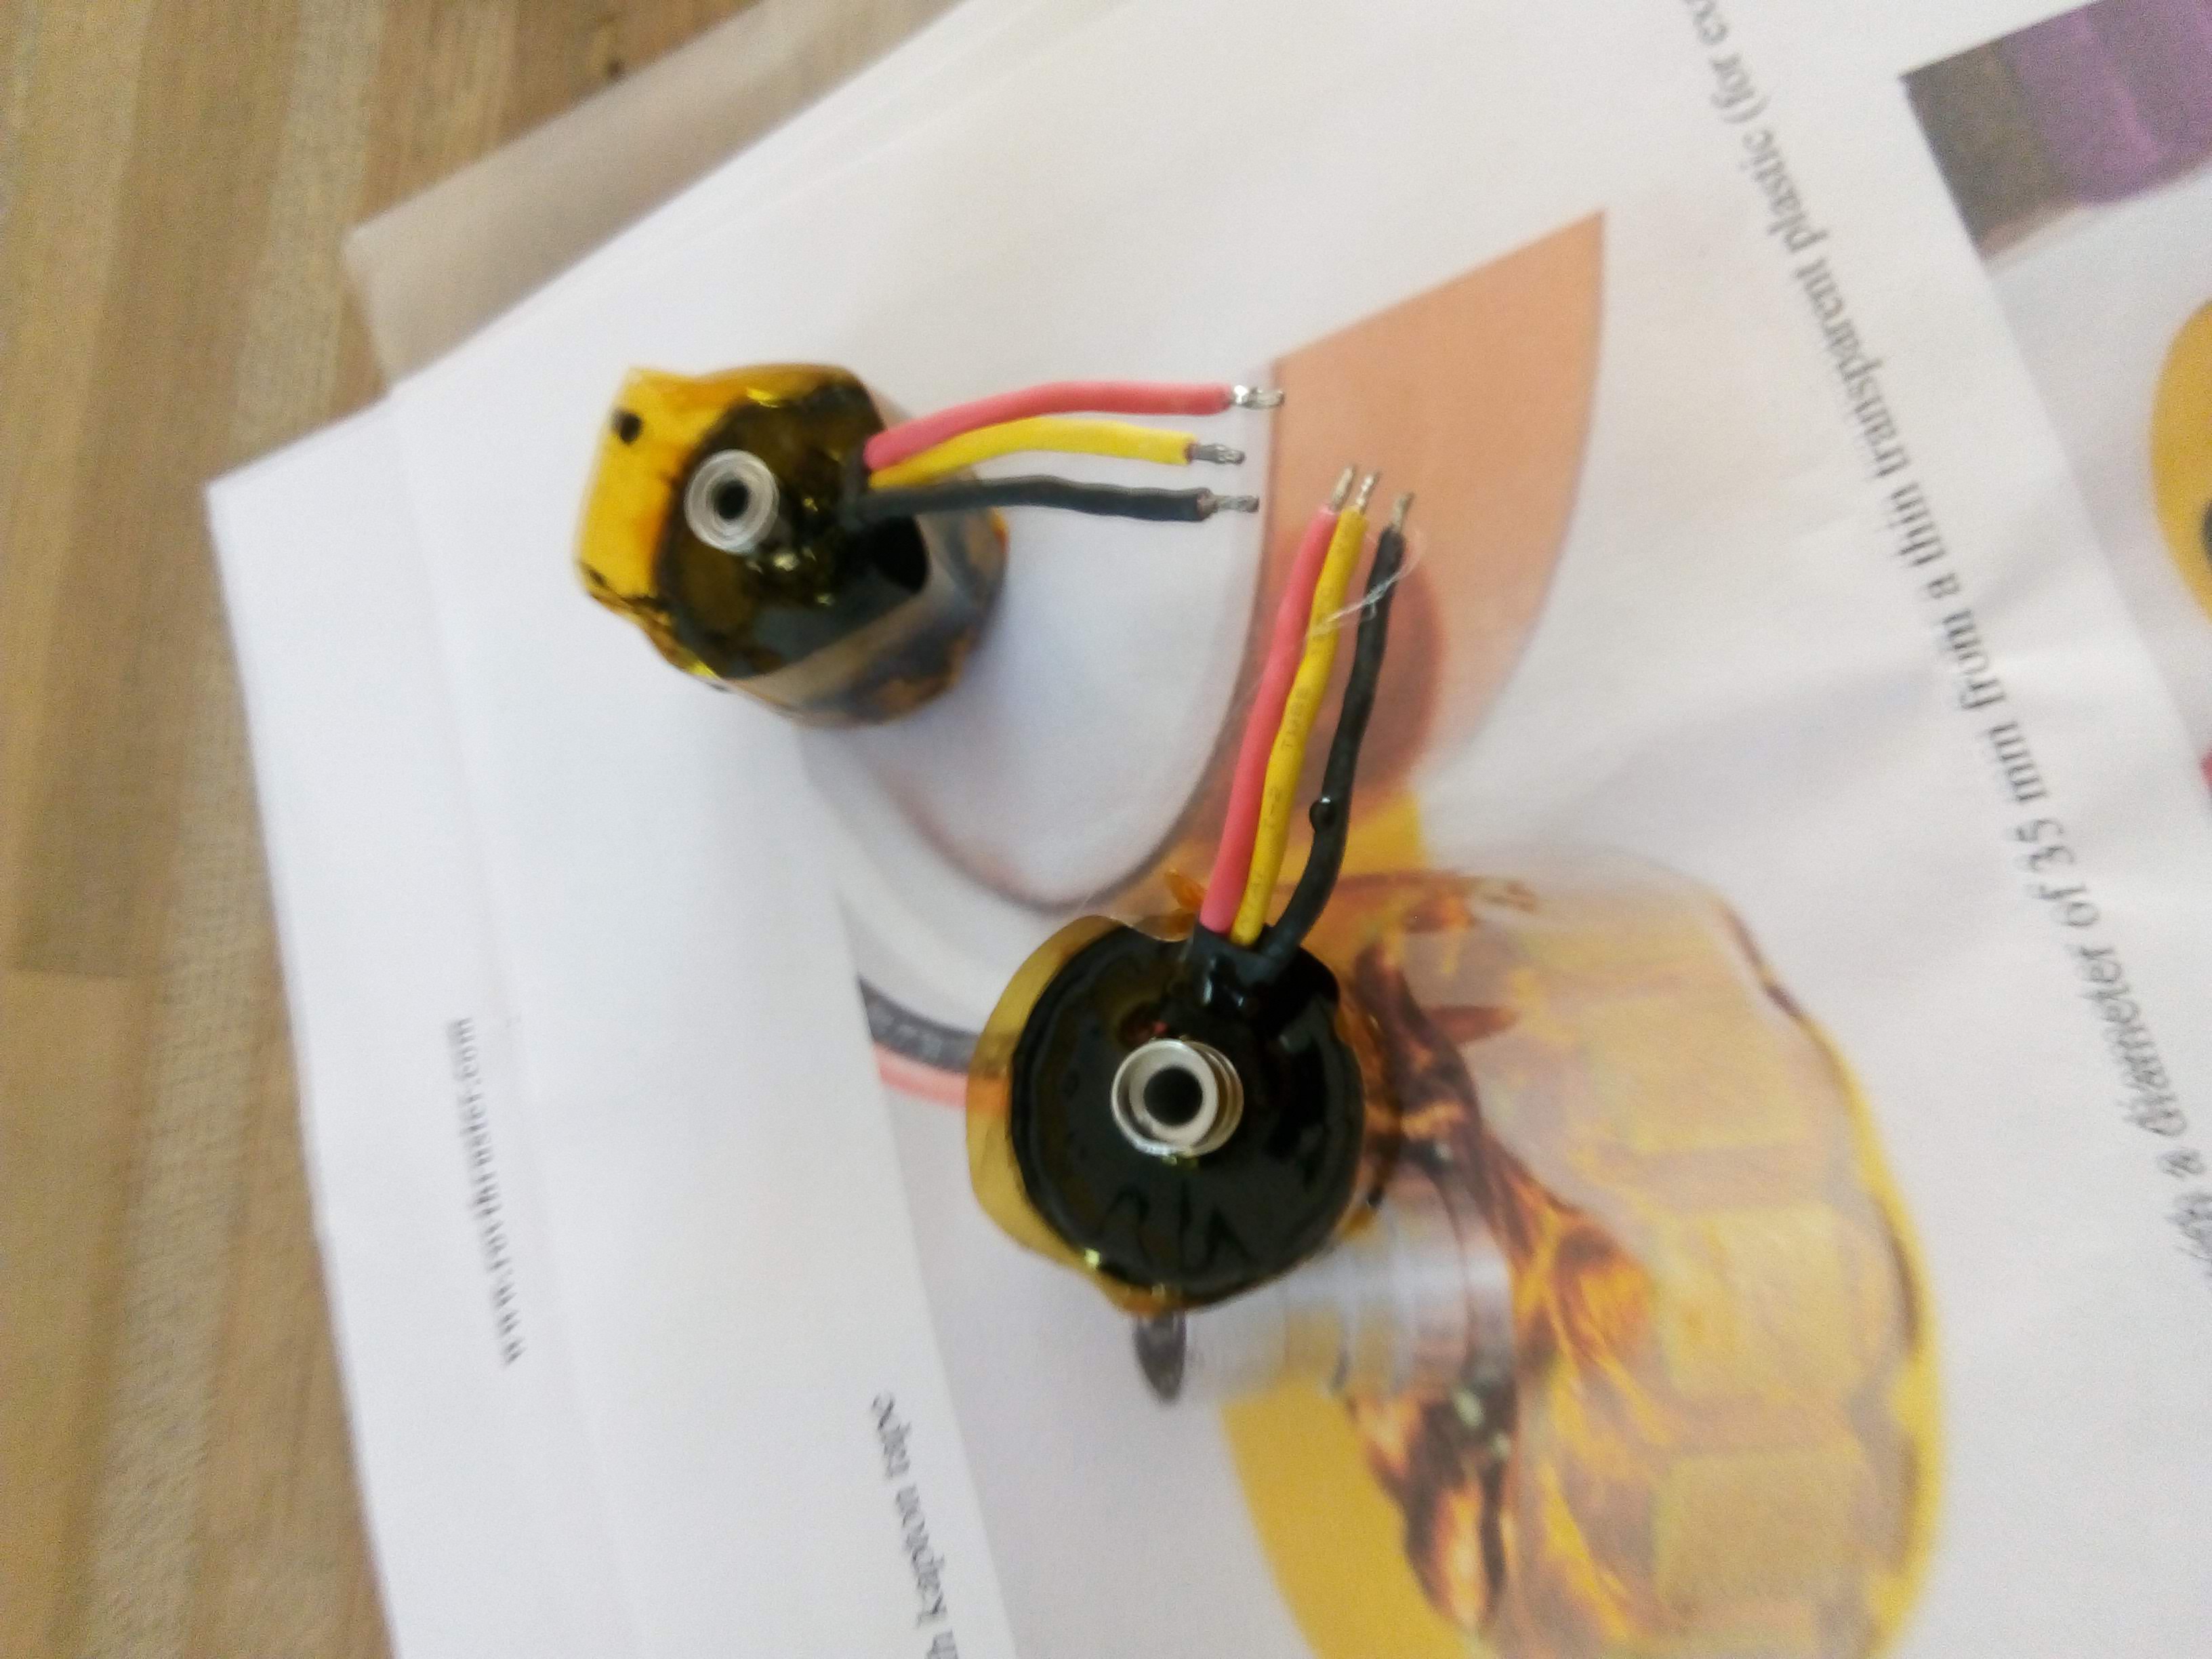
It was only after I started assembling it that I noticed that the epoxy layer was actually a bit too high. Some filing was required to round off the edges, so the motor would fit the thruster housing.
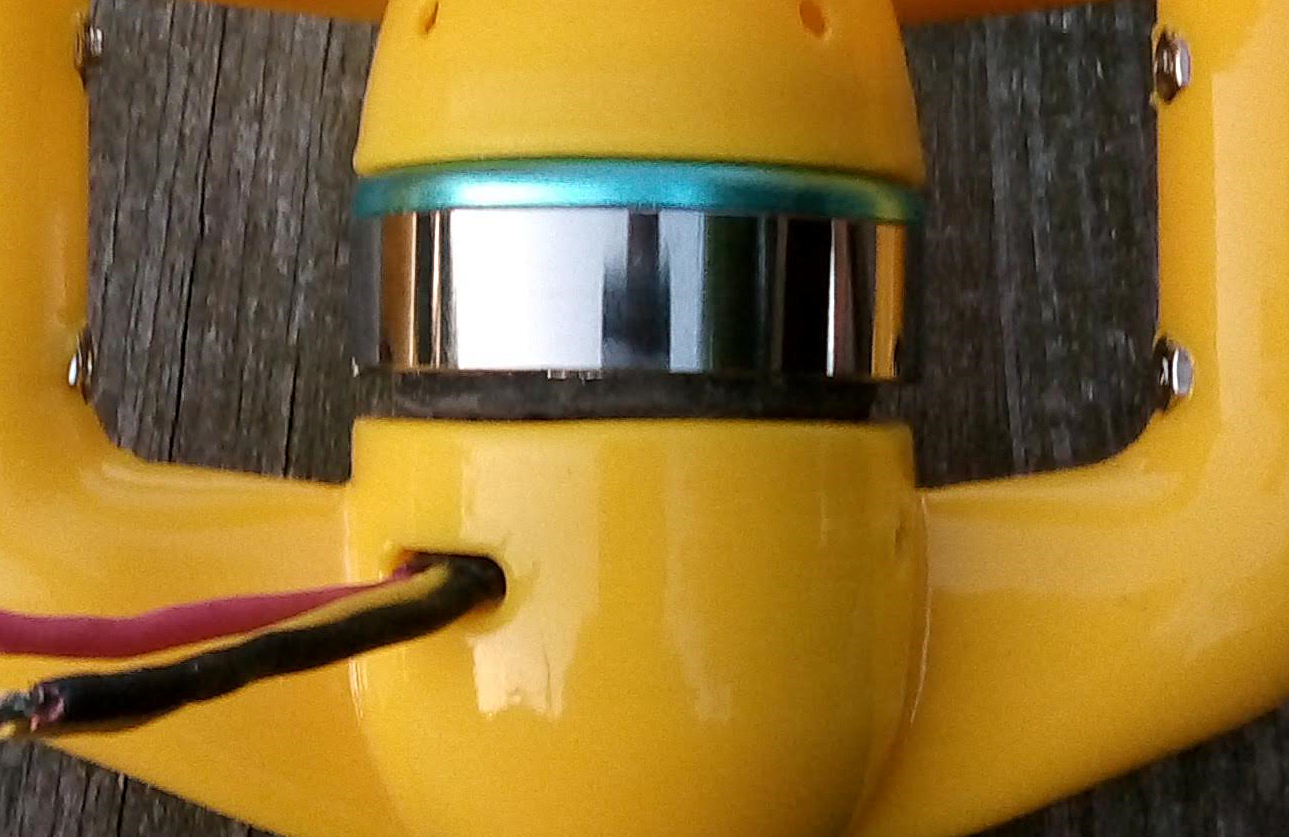
After that it was just following the detailed assembly instructions on Instructables, and everything worked out great.
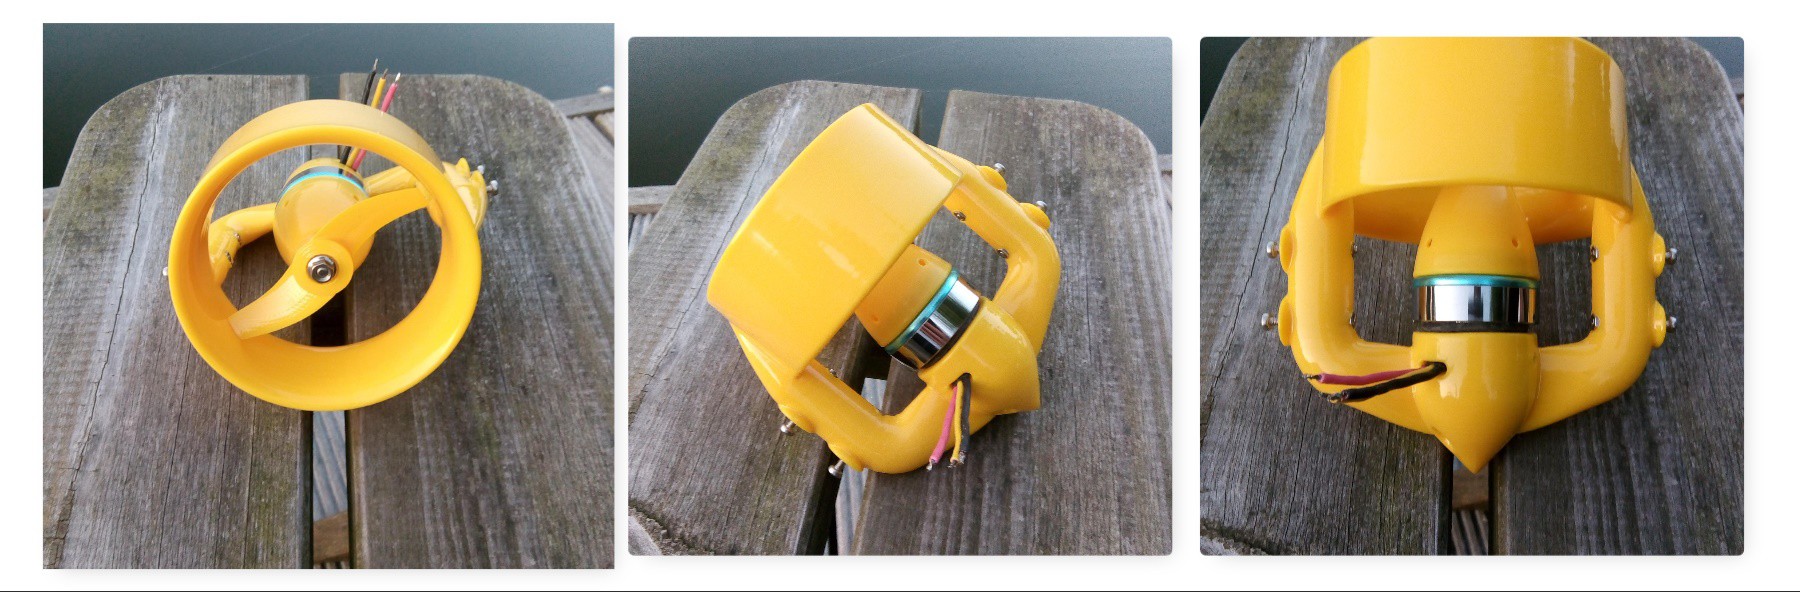 So now I have two thrusters. In the mean time my Electronic Speed Controllers with reverse option arrived from HobbyKing. So it's time to start putting it all together.
Discussions
Become a Hackaday.io Member
Create an account to leave a comment. Already have an account? Log In.