
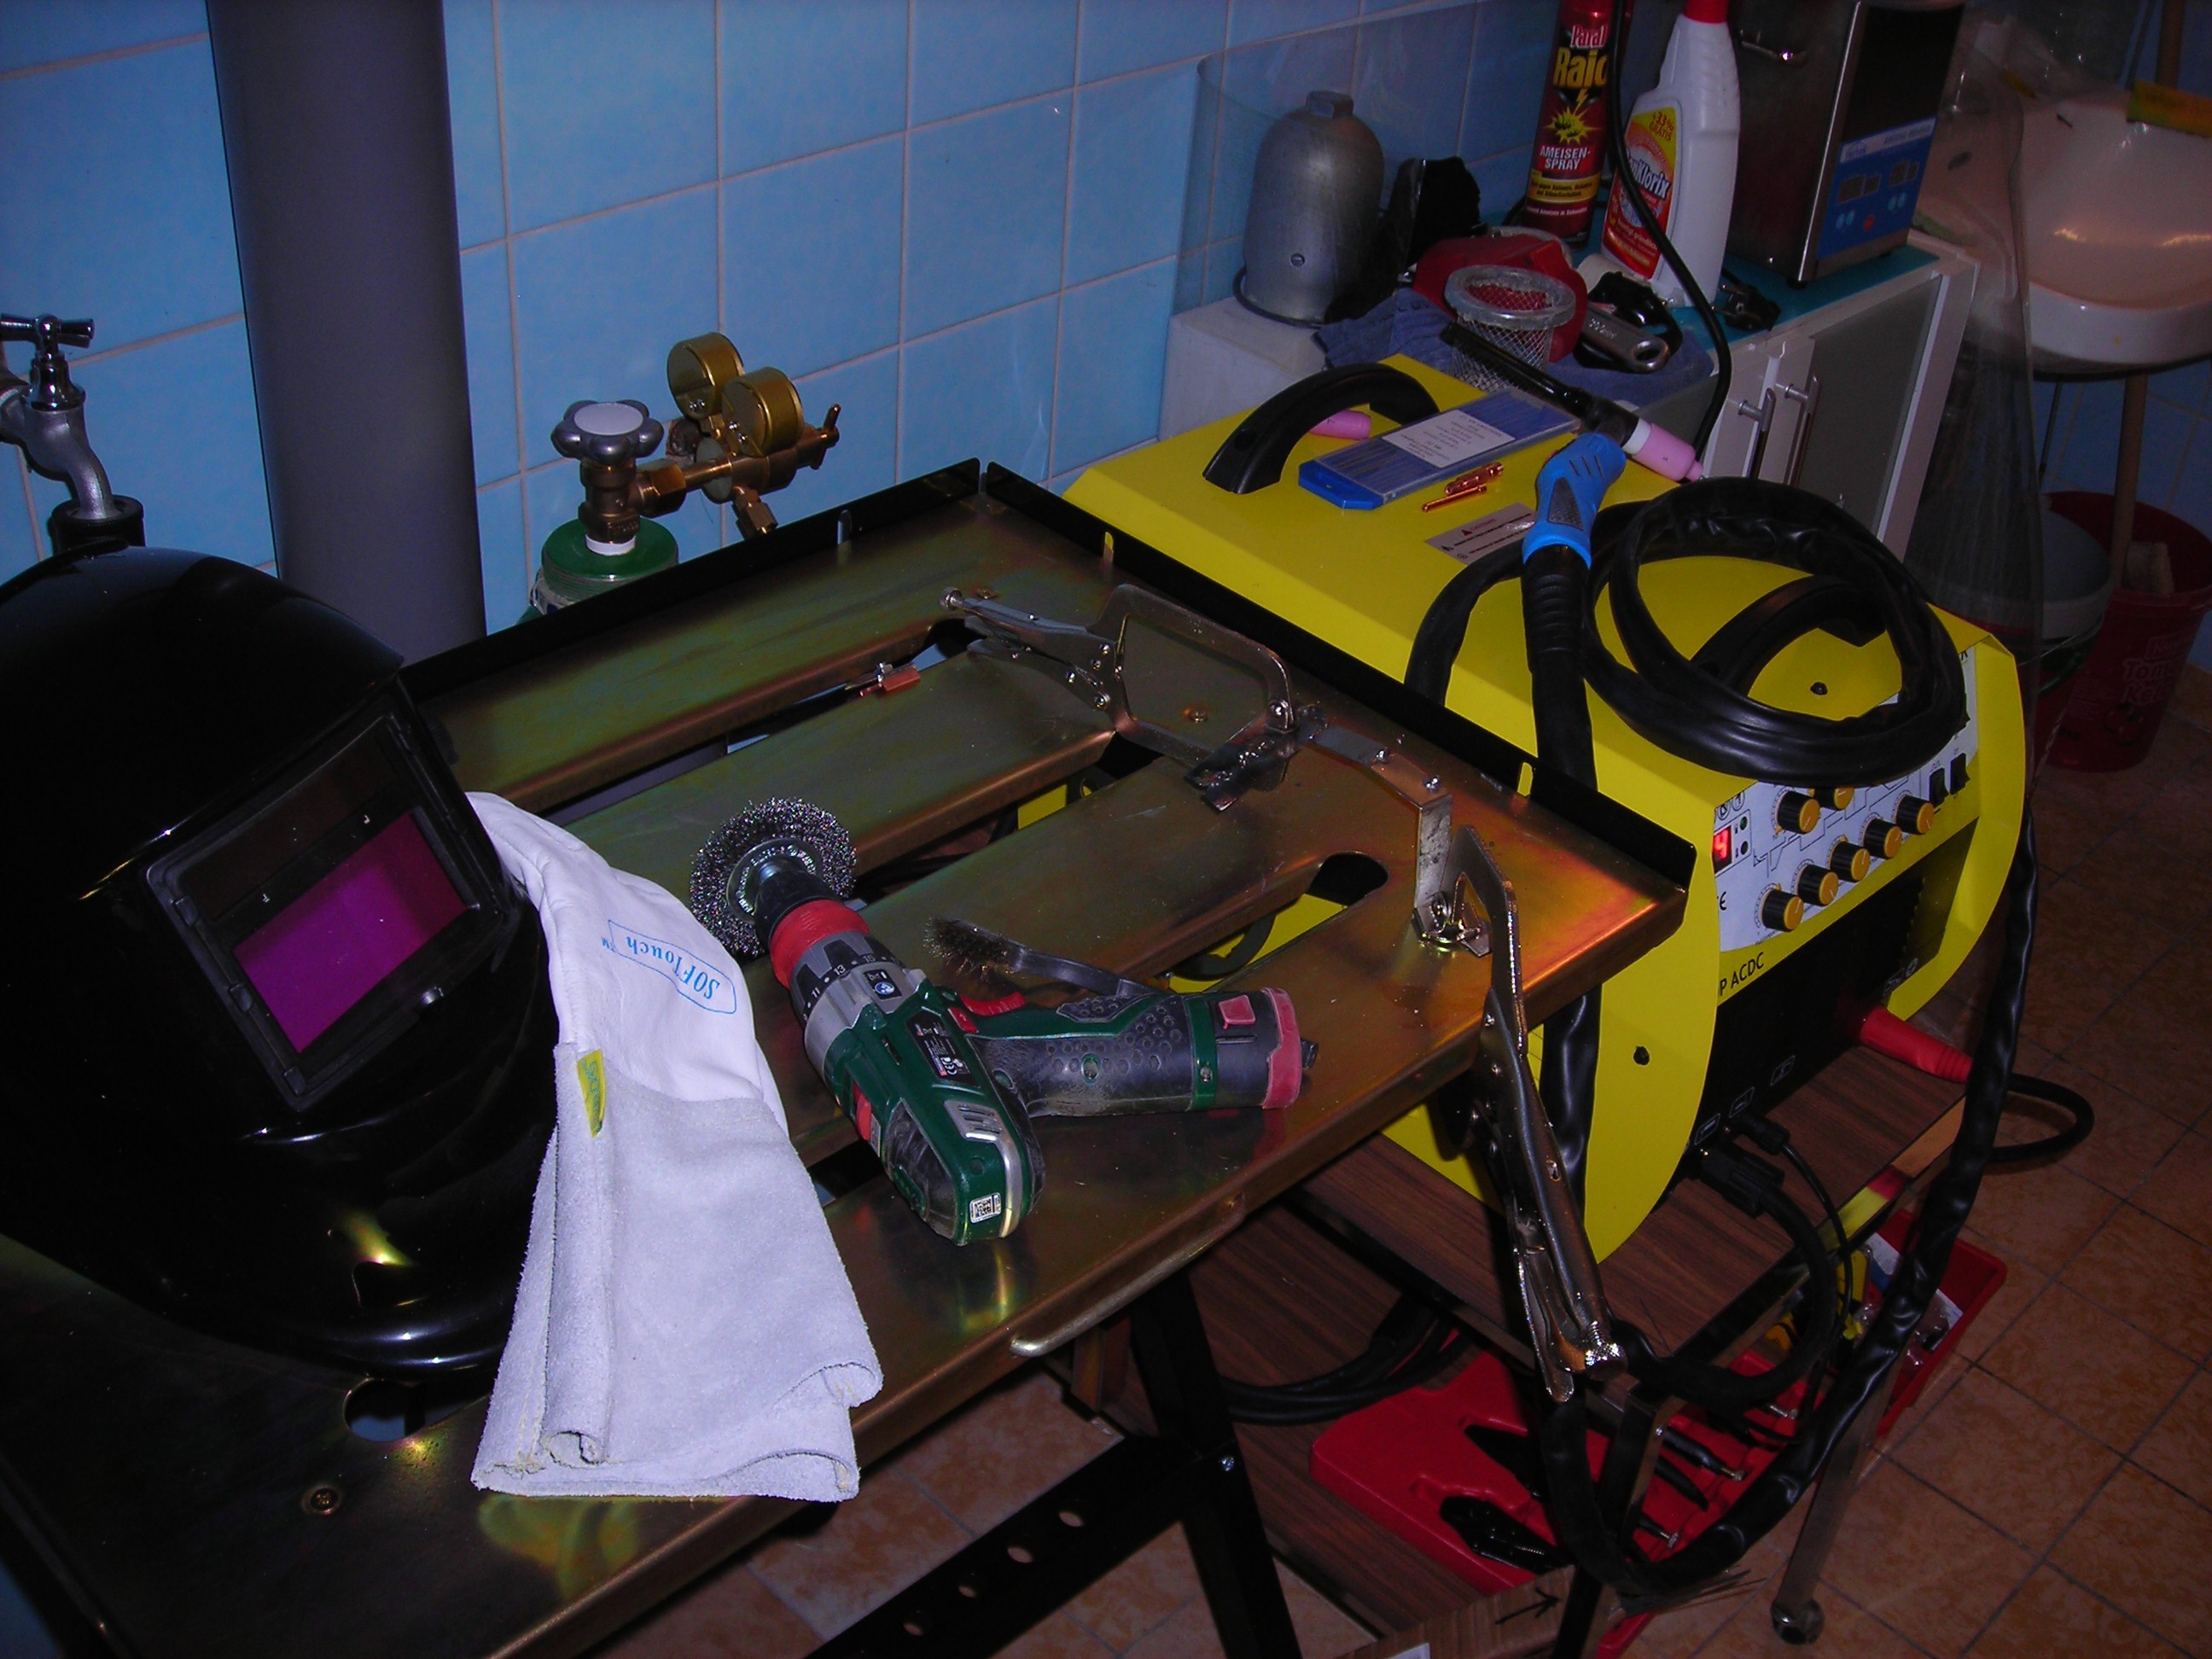
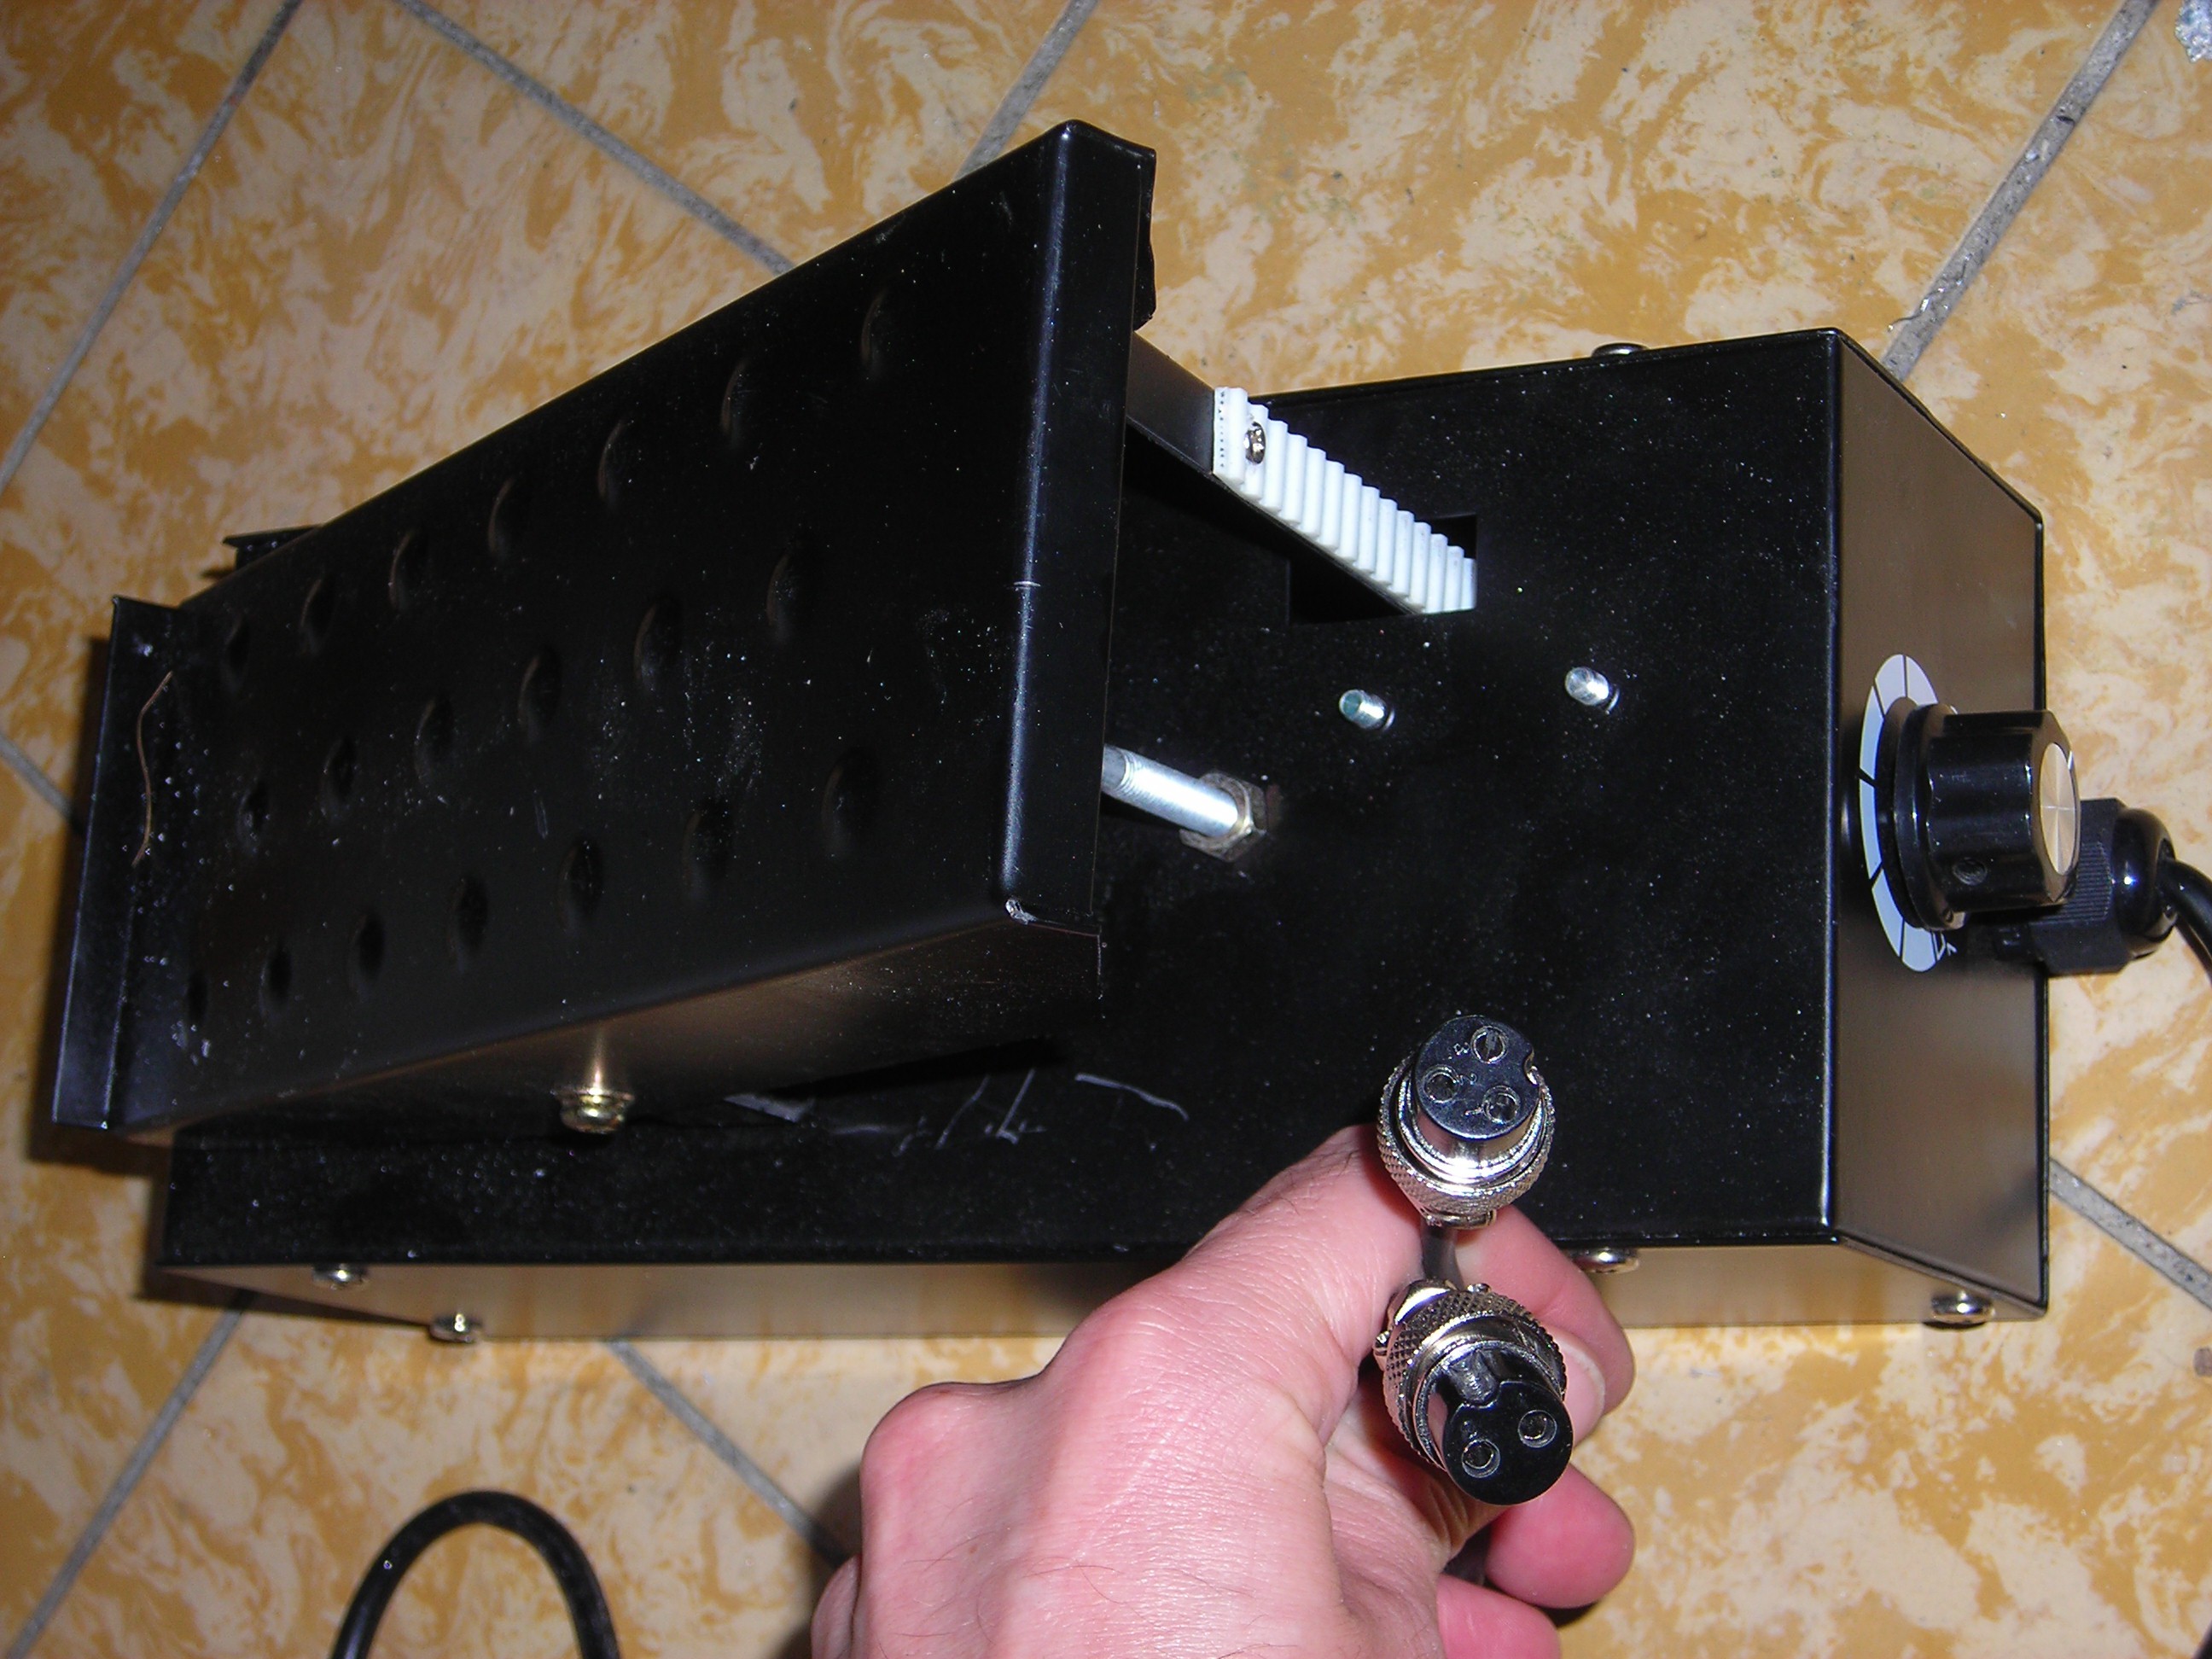
This is a short project that deals with adding simple potentiometer-driven foot pedal current control to a TIG welder which is missing the appropriate connector, but has the necessary connections on the front panel PCB in the housing.
The welder in question is sold as "Weldinger WE 200P ACDC" in Germany, otherwise it is known as the chinese "WSME 200". The same hardware was obviously rebranded multiple times and is sold in many different housing designs.


 Mike
Mike
 Shranav Palakurthi
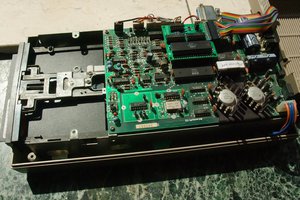
 JP Gleyzes
Love this project. I'm working on the online grade calculator tool. You can see here the detail https://myeasygrader.com/