 Jack Pearse
In 2010 I was helping the artist Rainer Plum to create a lasersculpture in the german national library in Frankfurt (a.M). I did some calibration work and developed a custom interactive projection software for this lasersculpture. (see: http://rainerplum.com/index.php/de/laserinstallations/2010-eine-sonderbare-wiederholung-eines-traumes/)
While doing development I looked up some formula on the network. Accidentially I stumbled upon this arcticle: https://de.wikipedia.org/wiki/Hyperboloid
After sitting in front of the lasersculpture I was shocked: Using this mathematical fact should make it possible to create a lasersculpture which is "bent" right in the middle of the room.
The problem with classic "laser shows" is that all light is emitted from one center which is the center of the scanner module where the galvanometer mirrors are joined together. To get a bright sculpture inside the room you'd need a really powerful laser. In small rooms maybe 1W of laser power is enough. Outdoors you will need 5W or more. All at all laser projections are really dangerous toys and you should really know what you are doing. You have only one try. One false blink and you could end up blind.
To maintain a sculpture which is opened at both ends we needed a completely different approach. We cannot start with a central powerful laser source to create a ring of light. We introduced an alignment which has some benefits: If you want to achieve the "same" brightness like with scanners you need to distribute the power to a couple of laser modules. We also want to keep the number of revolutions low to have better control of the centrifugal forces. We decided to go for somewhat like 3-5rev per minute. To get a clean and smooth image we calculated that 10 lasers should be enough to trick the eye - which works perfectly.
To avoid any danger we decided that the total power of laser light should not exceed 20mW. Therefore we used 10 times a 2mW laser diode to maintain the maximum power of 20mW. For indoor usage this is absolutely bright enough and the danger for people is not so high. However: Do measurements before showing this sculpture to anyone!
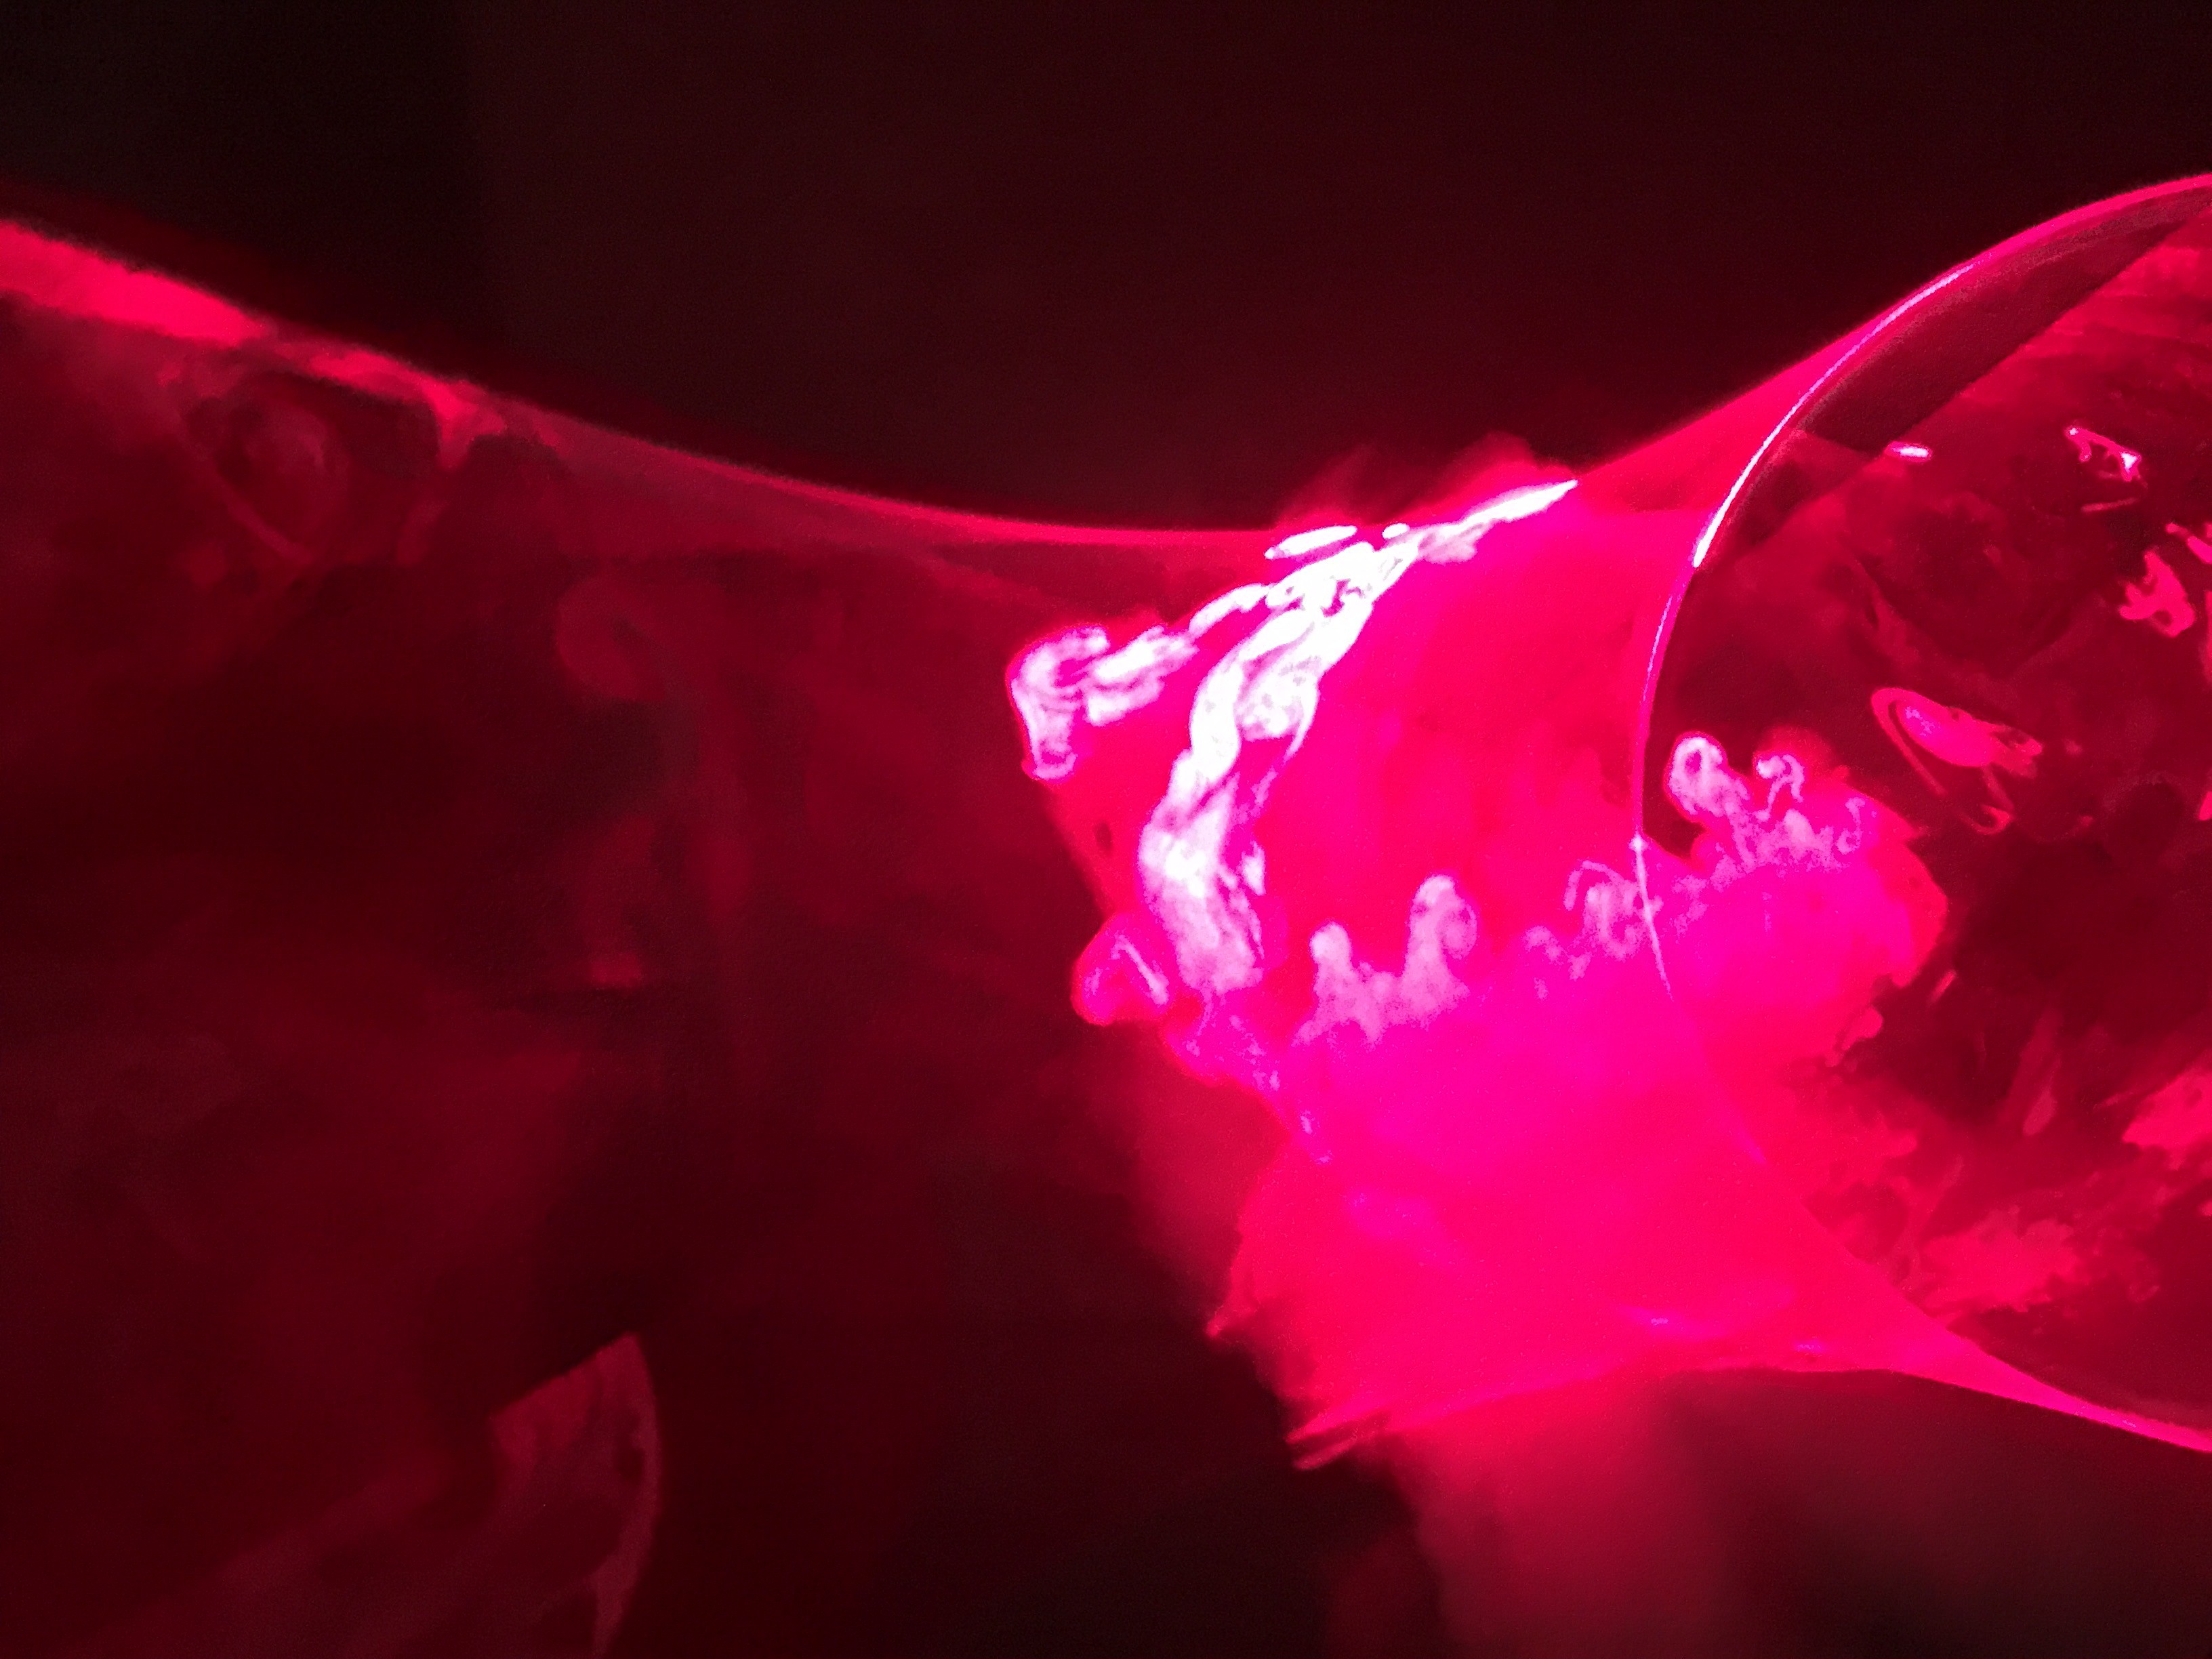
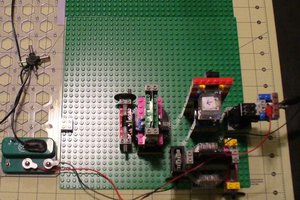
(The picture above shows the calibration of the first version from 28th April 2012)
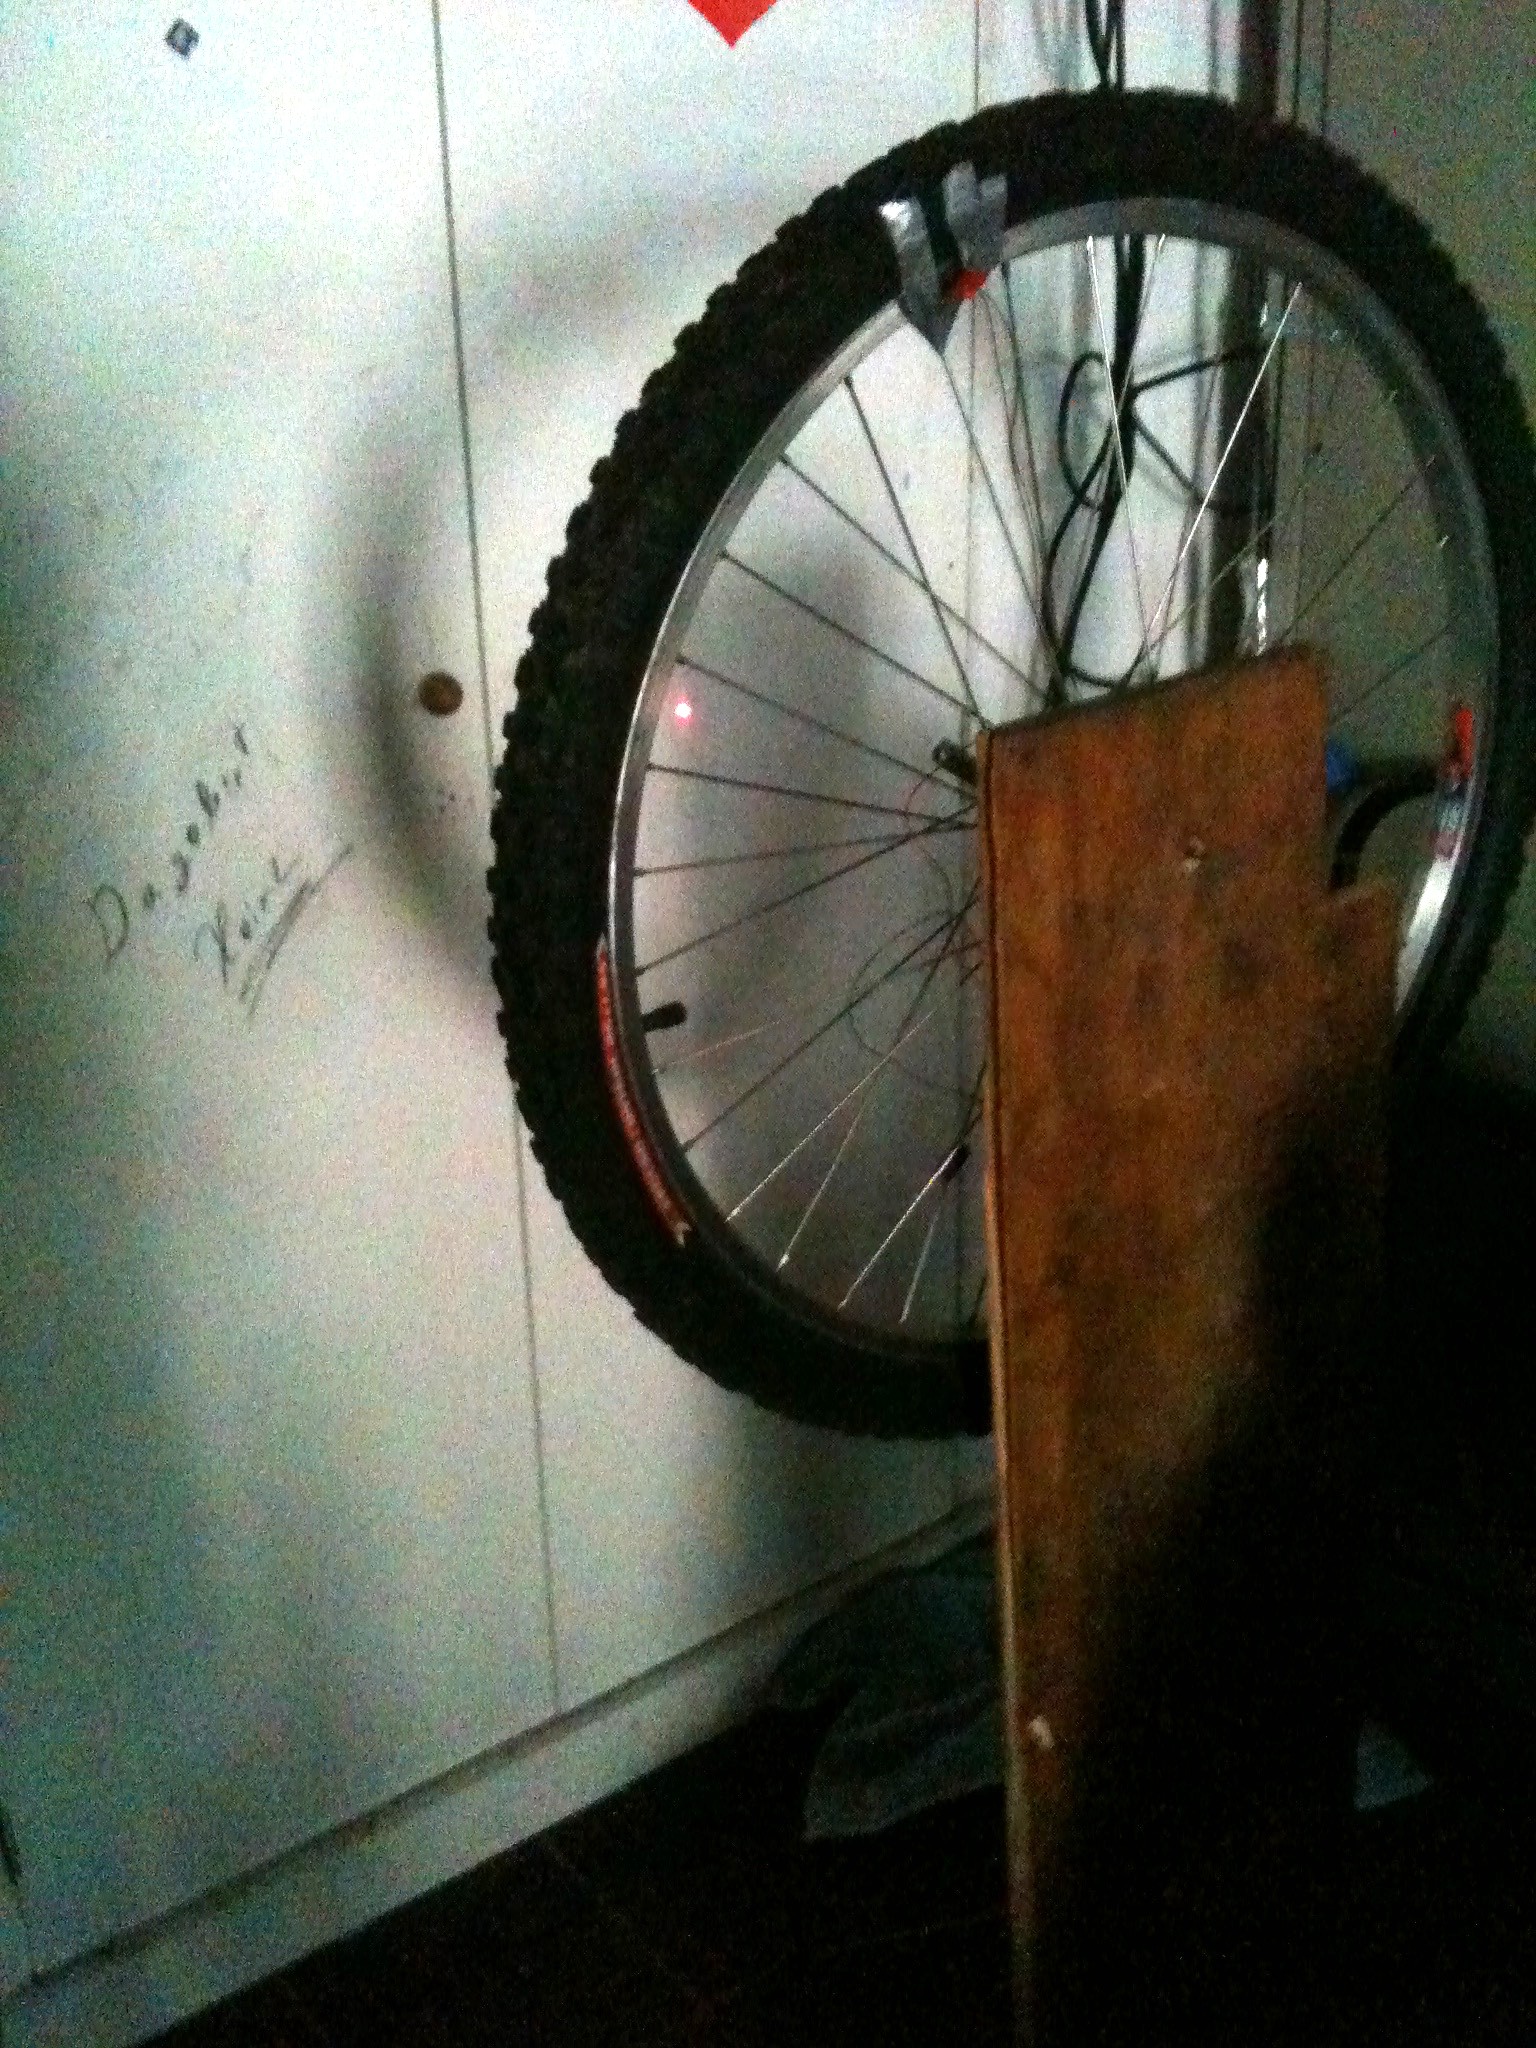
To avoid static beams we attached the power connection of the laser diodes to a centrifugal switch. Two metal blades are arranged in the middle of the wheel. One metal blade was glued to the wheel while the other blade is being bent by the forces which occur by the rotation. If the revolution speed is high enough the blades touch each other, the switch is closed, the laser diodes are turned on!
An e-bike motor maintains the rotation so that we can start the sculpture by just pushing a button next to our audio mixer.
To get the nice "bended light" we just needed to adjust the lasers to a virtual circle on the wall. Think of the 10 laser beams being wires which are connected to virtual wheel on the wall with the same diameter like the bike wheel. Rotate the virtual wheel a litte bit and see how the wires follow. The more you turn the virtual wheel the more narrow the sculpture becomes.
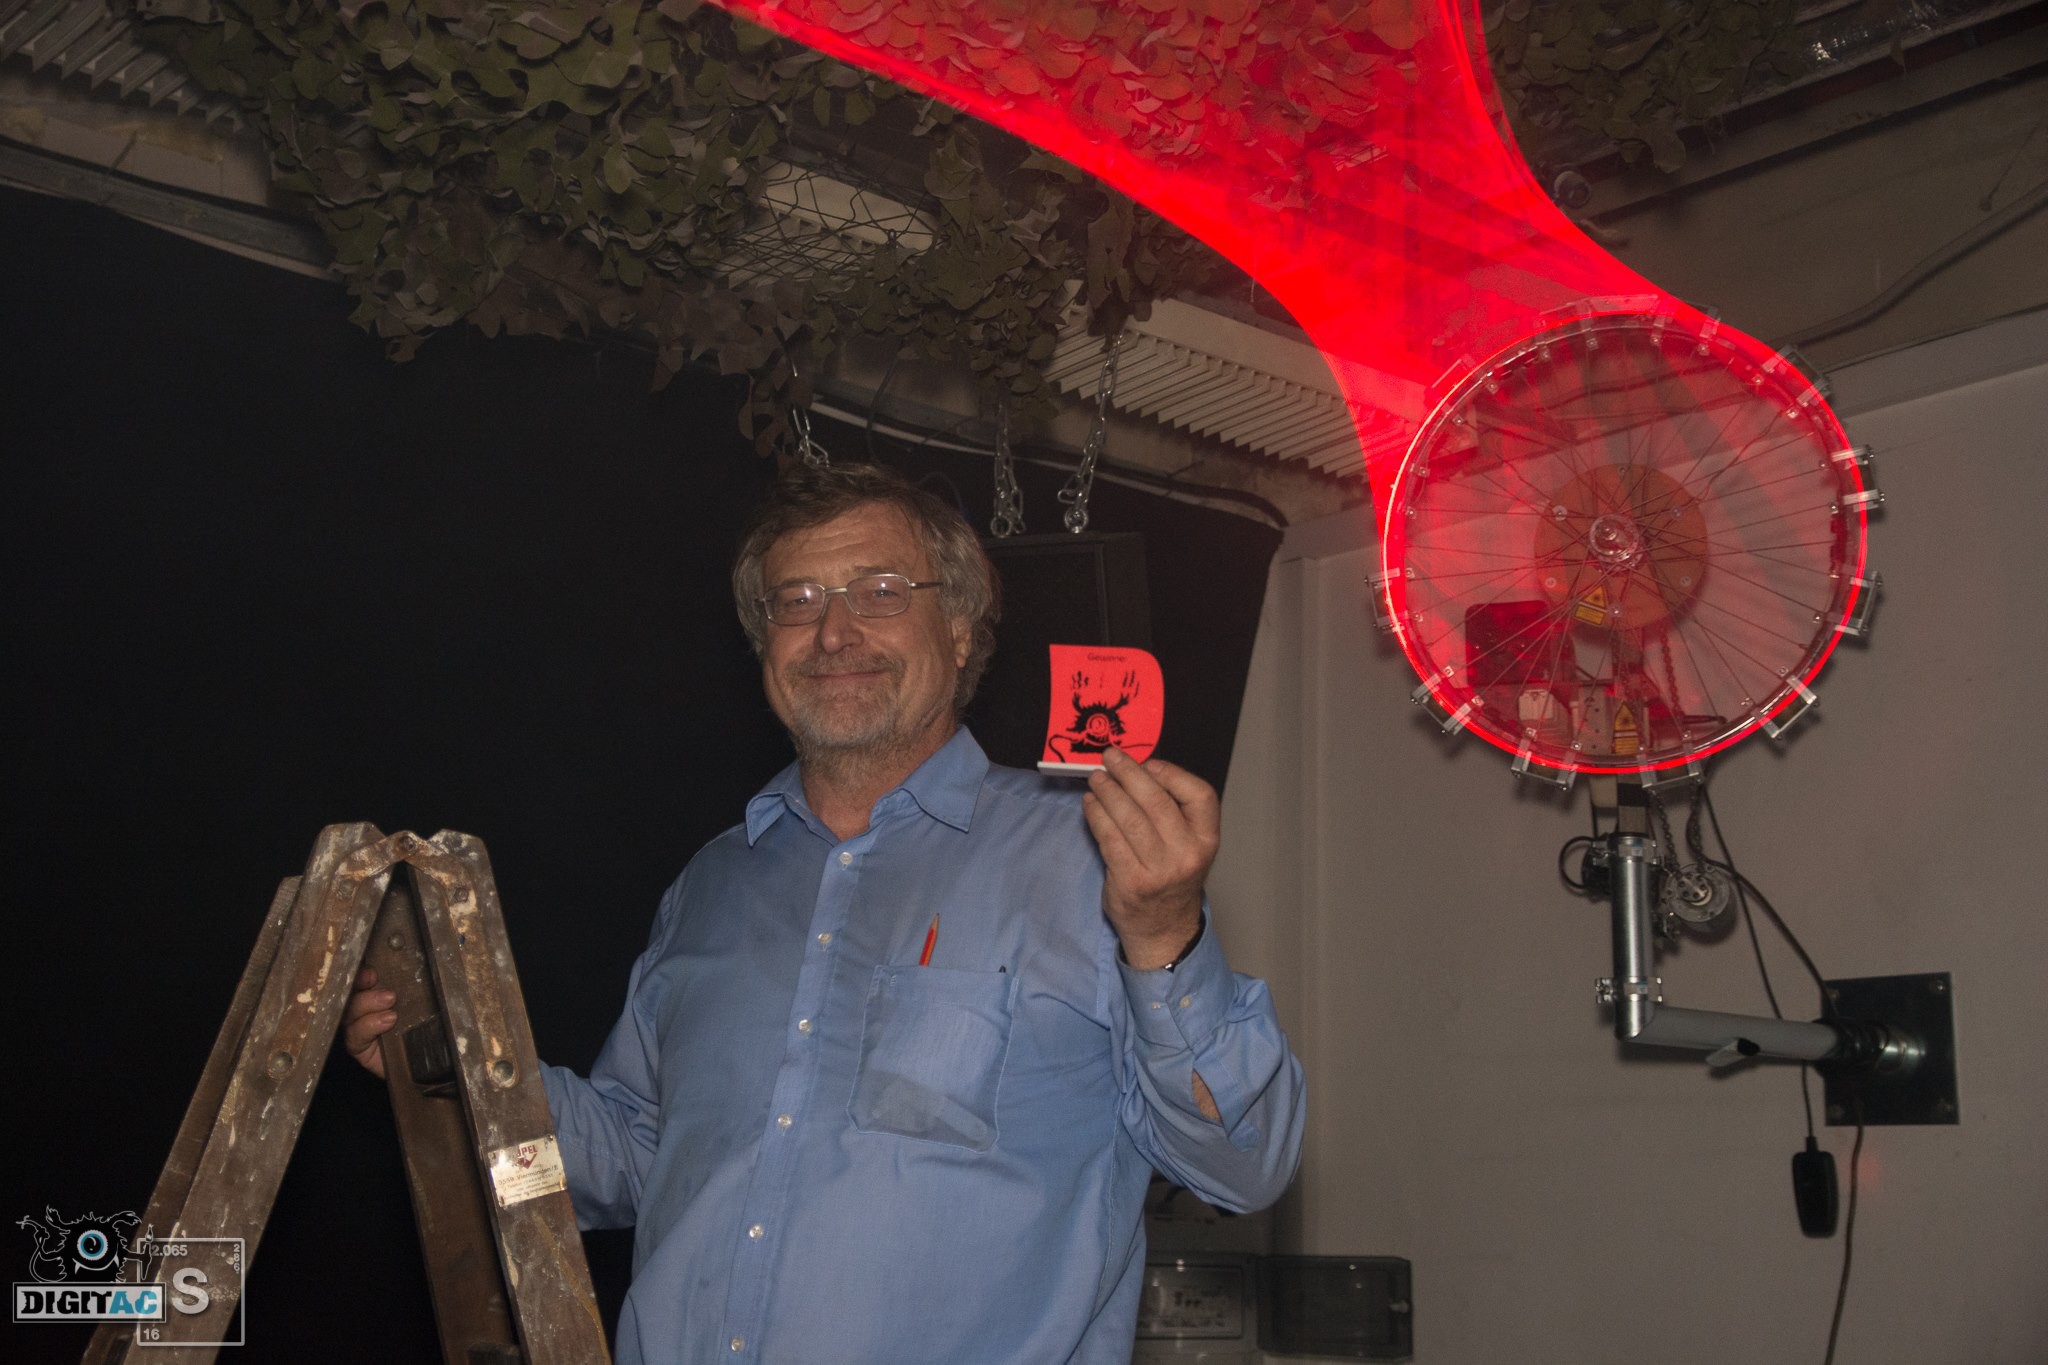
The second version of the "Bending the Light"-device with the centrifugal switch a wallmount and sliding contacts (which you can see in the video and the image above), was built by Uwe Reisinger at Digitac. If you visit Digitac in Aachen you can see it wall mounted and in action.
If you like to see a video of the sculpture in action, see the end of the following video:
About the video: I've got feedback about that video. Some people have been confused about the style. Last year we did a small "partyprod" at the demoscene party "Evoke". The category was "wild animation". The video is a parody of old eighties demos which mimics "roto cubes" and other geometry with real life objects. It won the 3rd place in this category. We used the video here because it's already on youtube. The hyperbolid is to be seen after the break in the middle. Unfortunately it's hard to...
Read more »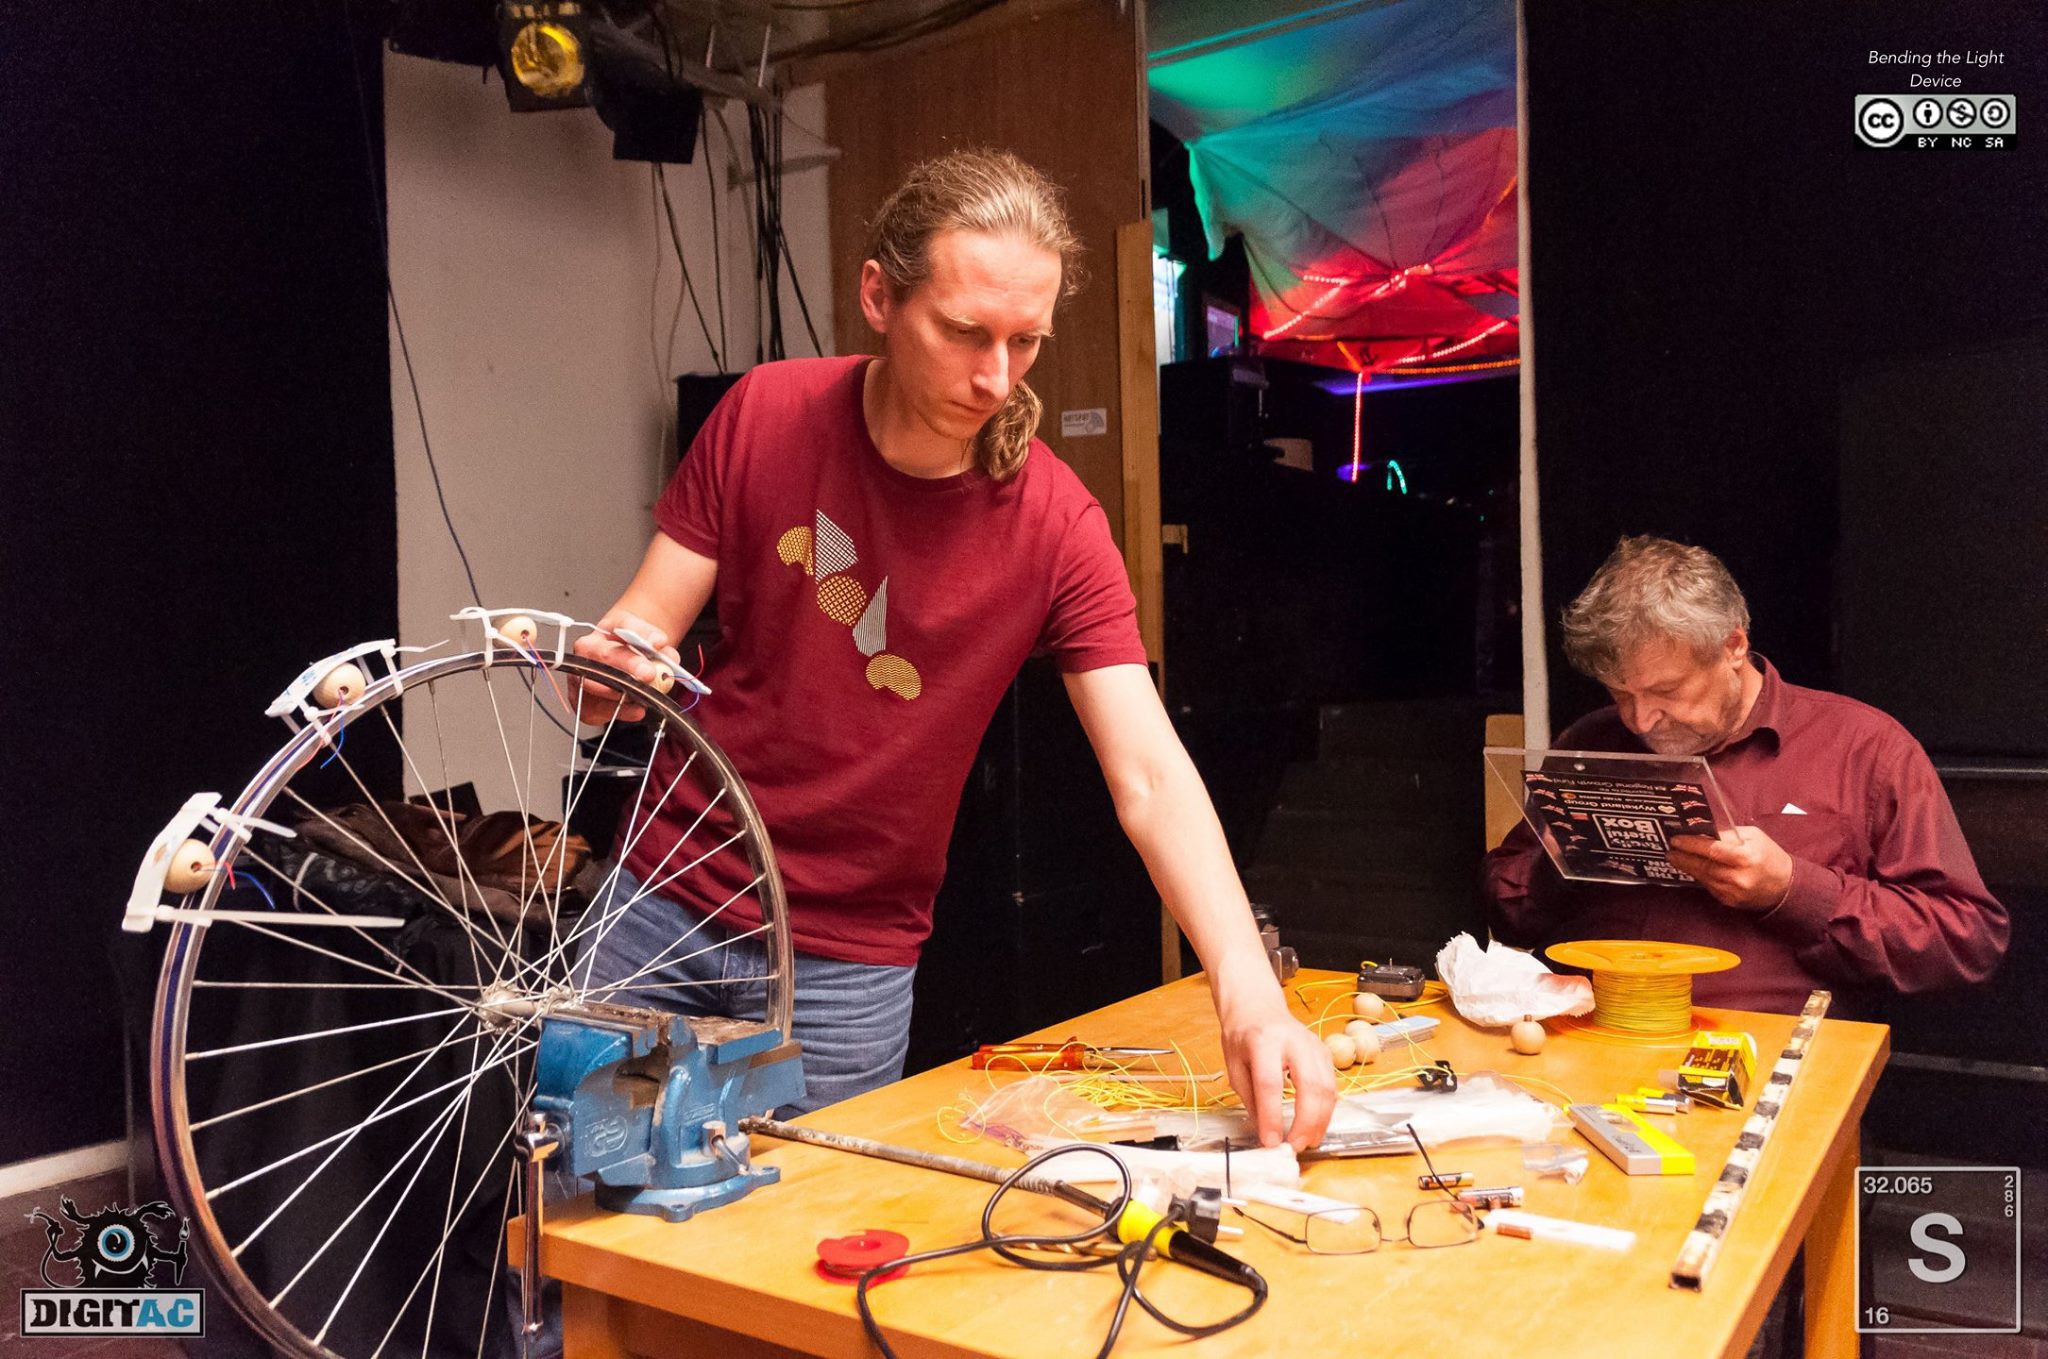
 esben rossel
 Steve Schuler
 helge
helge