 Andrey V
Small calculation
For my project I need the stencils for 12 PCBs (10 for the top side, 2 for both sides)
Let's calculate how much it will cost. 470mm*370mm stencil with valid area 290mm*190*mm with frame and electropolish will cost itself 16.11USD but it's weight is 1.5kg and shipping cost for it is 47.90USD for Singapore EMS.

So 1 stencil with delivery will cost 64USD. For 12 boards it will cost 768USD.
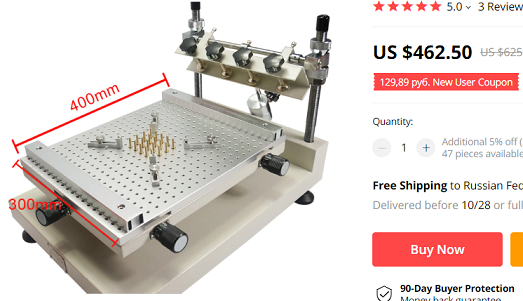
To print paste on the PCB I need a printing machine. Useful machine I found on Aliexpress costs 462USD (with delivery).
So totally for stencils and printing tool I need to pay 1230USD.
In my country median wage for an engineer is about 30000RUR (500USD) monthly.
Lets start to save some money!
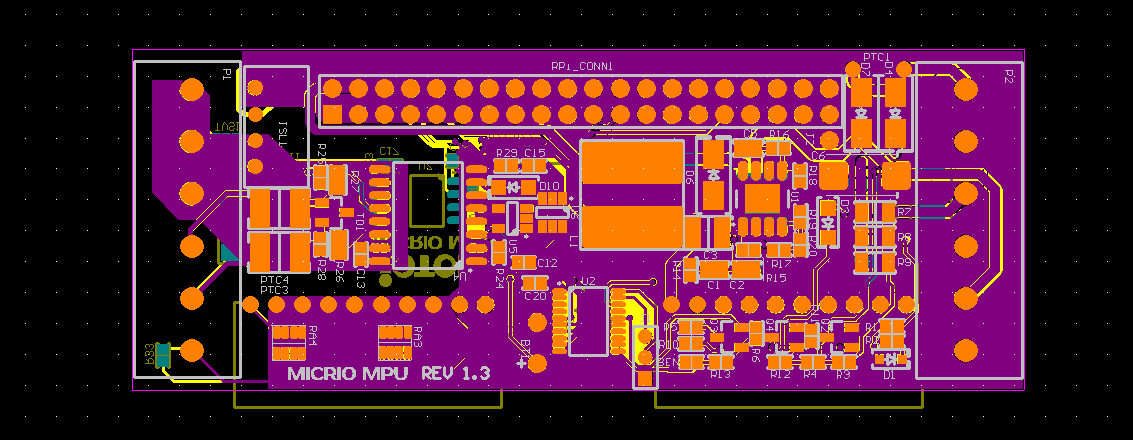
The smart solution is to merge all PCB gerber files in one big gerber file. I can do it with the software for PCB preproduction (like CAM350) or find free software (it's exists!). One PCB gerber looks like this:
Merged PCB gerbers for 12 PCBs:
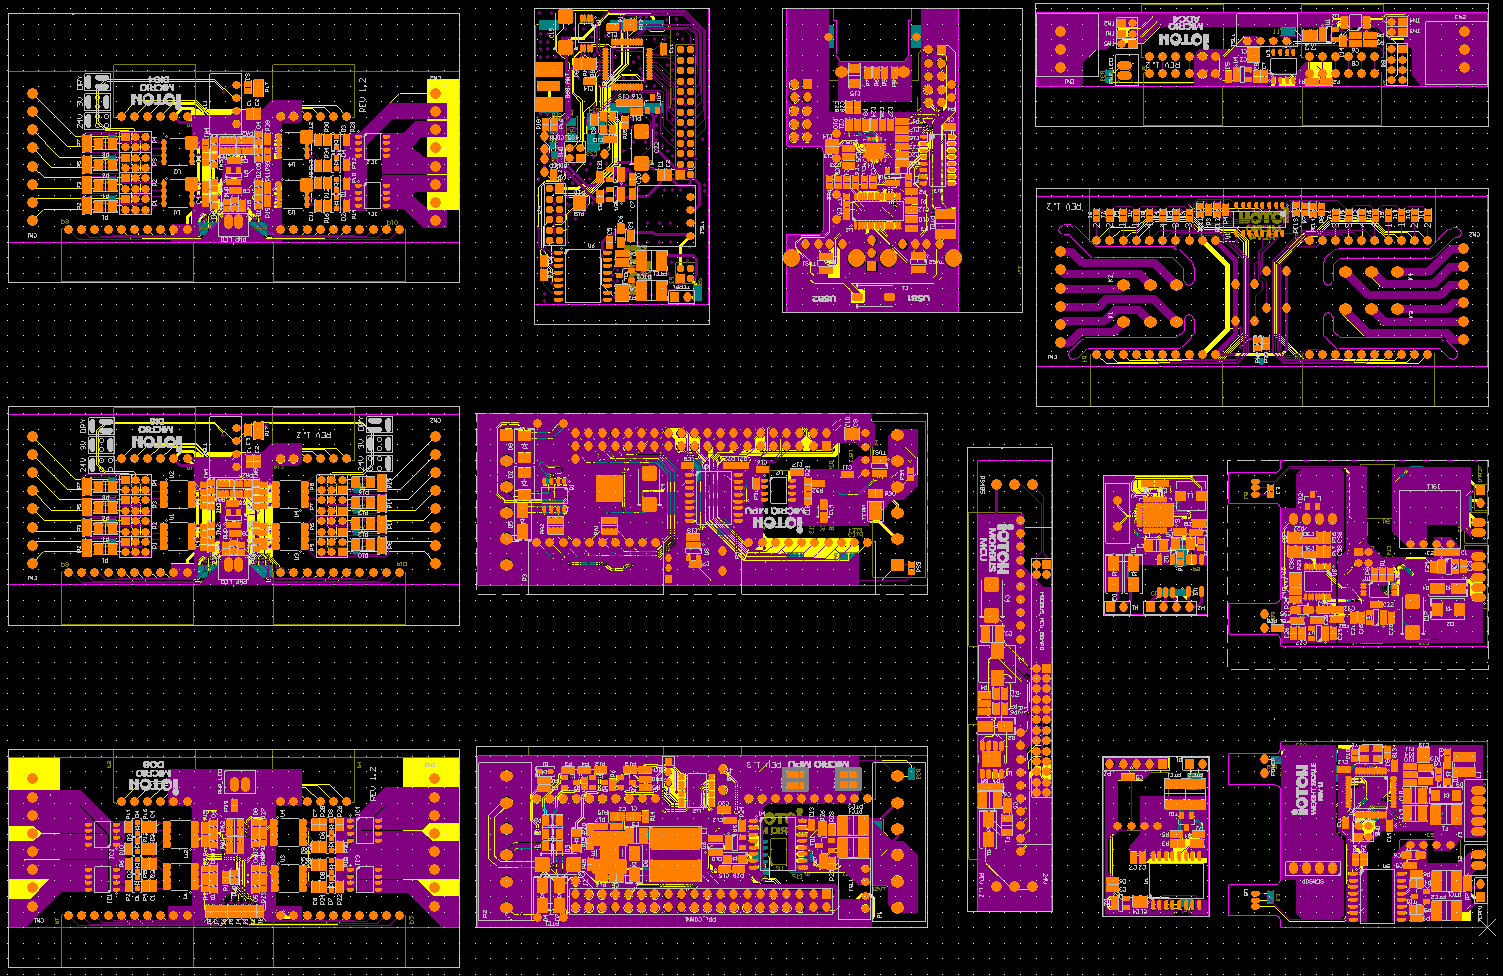
If you wondered why 14 PCBs instead 12, my answer is - additional 2 PCBs is the bottom side.
Really I need only 1 gerber layer for stencil - top paste (.GTP), but board outline layer (typically any mechanical layer or keepout layer) will be useful when you start doing solder paste printer.
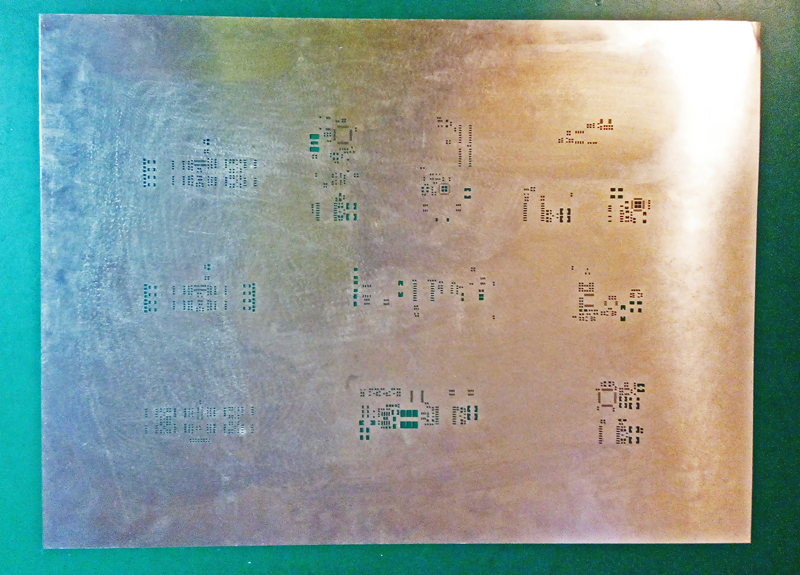
So I put 12 PCBs gerbers on one stencil, and now it will cost 49.33USD with electroploishing and shipping (w/o frame). I don't need frame for solder paste printing. Multi board stencil looks like this:
At this stage I saved 768USD - 49USD = 719USD!
This is a lot of money! But let's go further!
Solder paste printing tool.
For the quality solder paste printing I need a precise stencil positioning for each board. You can see PCB height and X/Y adjustment mechanism on any good solder paste printing tool.
But my idea is different!
My idea is about positioning stencil once for all PCBs right away, independent of size and shape. Look what I'm done.
Something about materials and tools I used:
- 4mm acrylic glass 550mm*450mm (9USD)
- M4 thread taper
- Drill bits (3.3mm, 4.2mm, 8mm)
- Aluminum profile 20mm*20*mm*230mm (1USD)
- Milling service (15USD)
At first I prepared the drawings for acrylic glass milling. I have board shape gerber file. It looks like this:
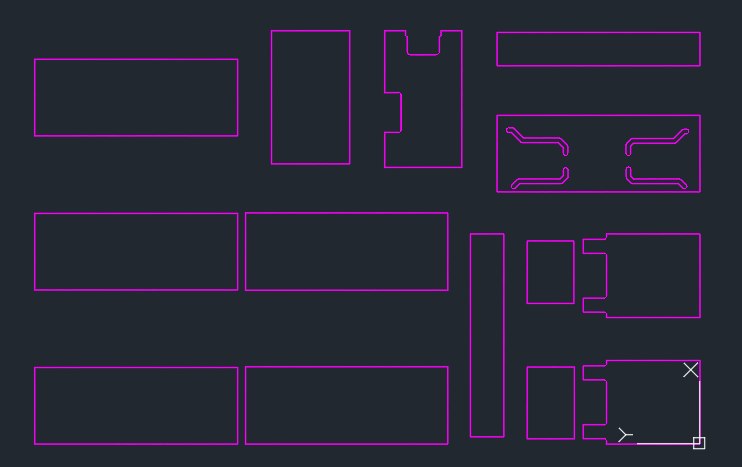
I did some minor changes:
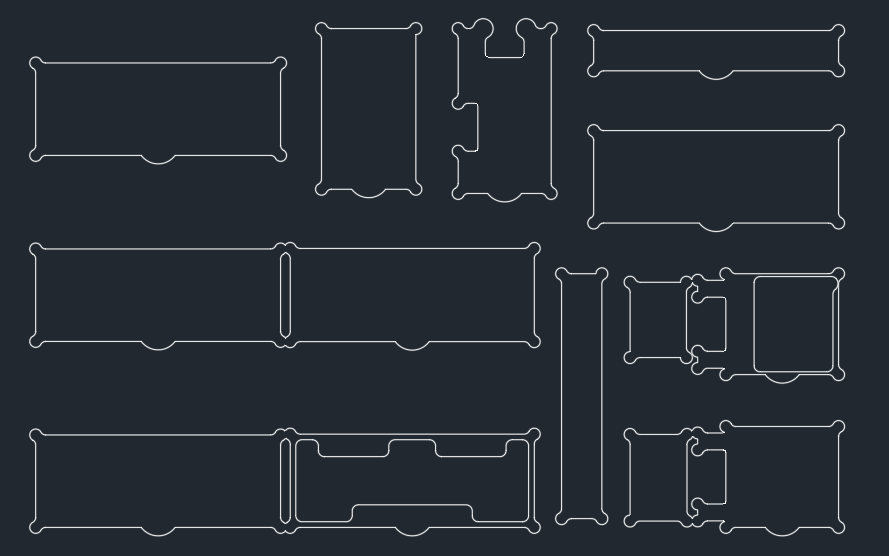
And it's ready for milling. This is milling result:
- Groove in order to take out the board.
- Hole to place PCB with the components, soldered on top side and print solder paste on bottom side.
- Endmill has some radius.
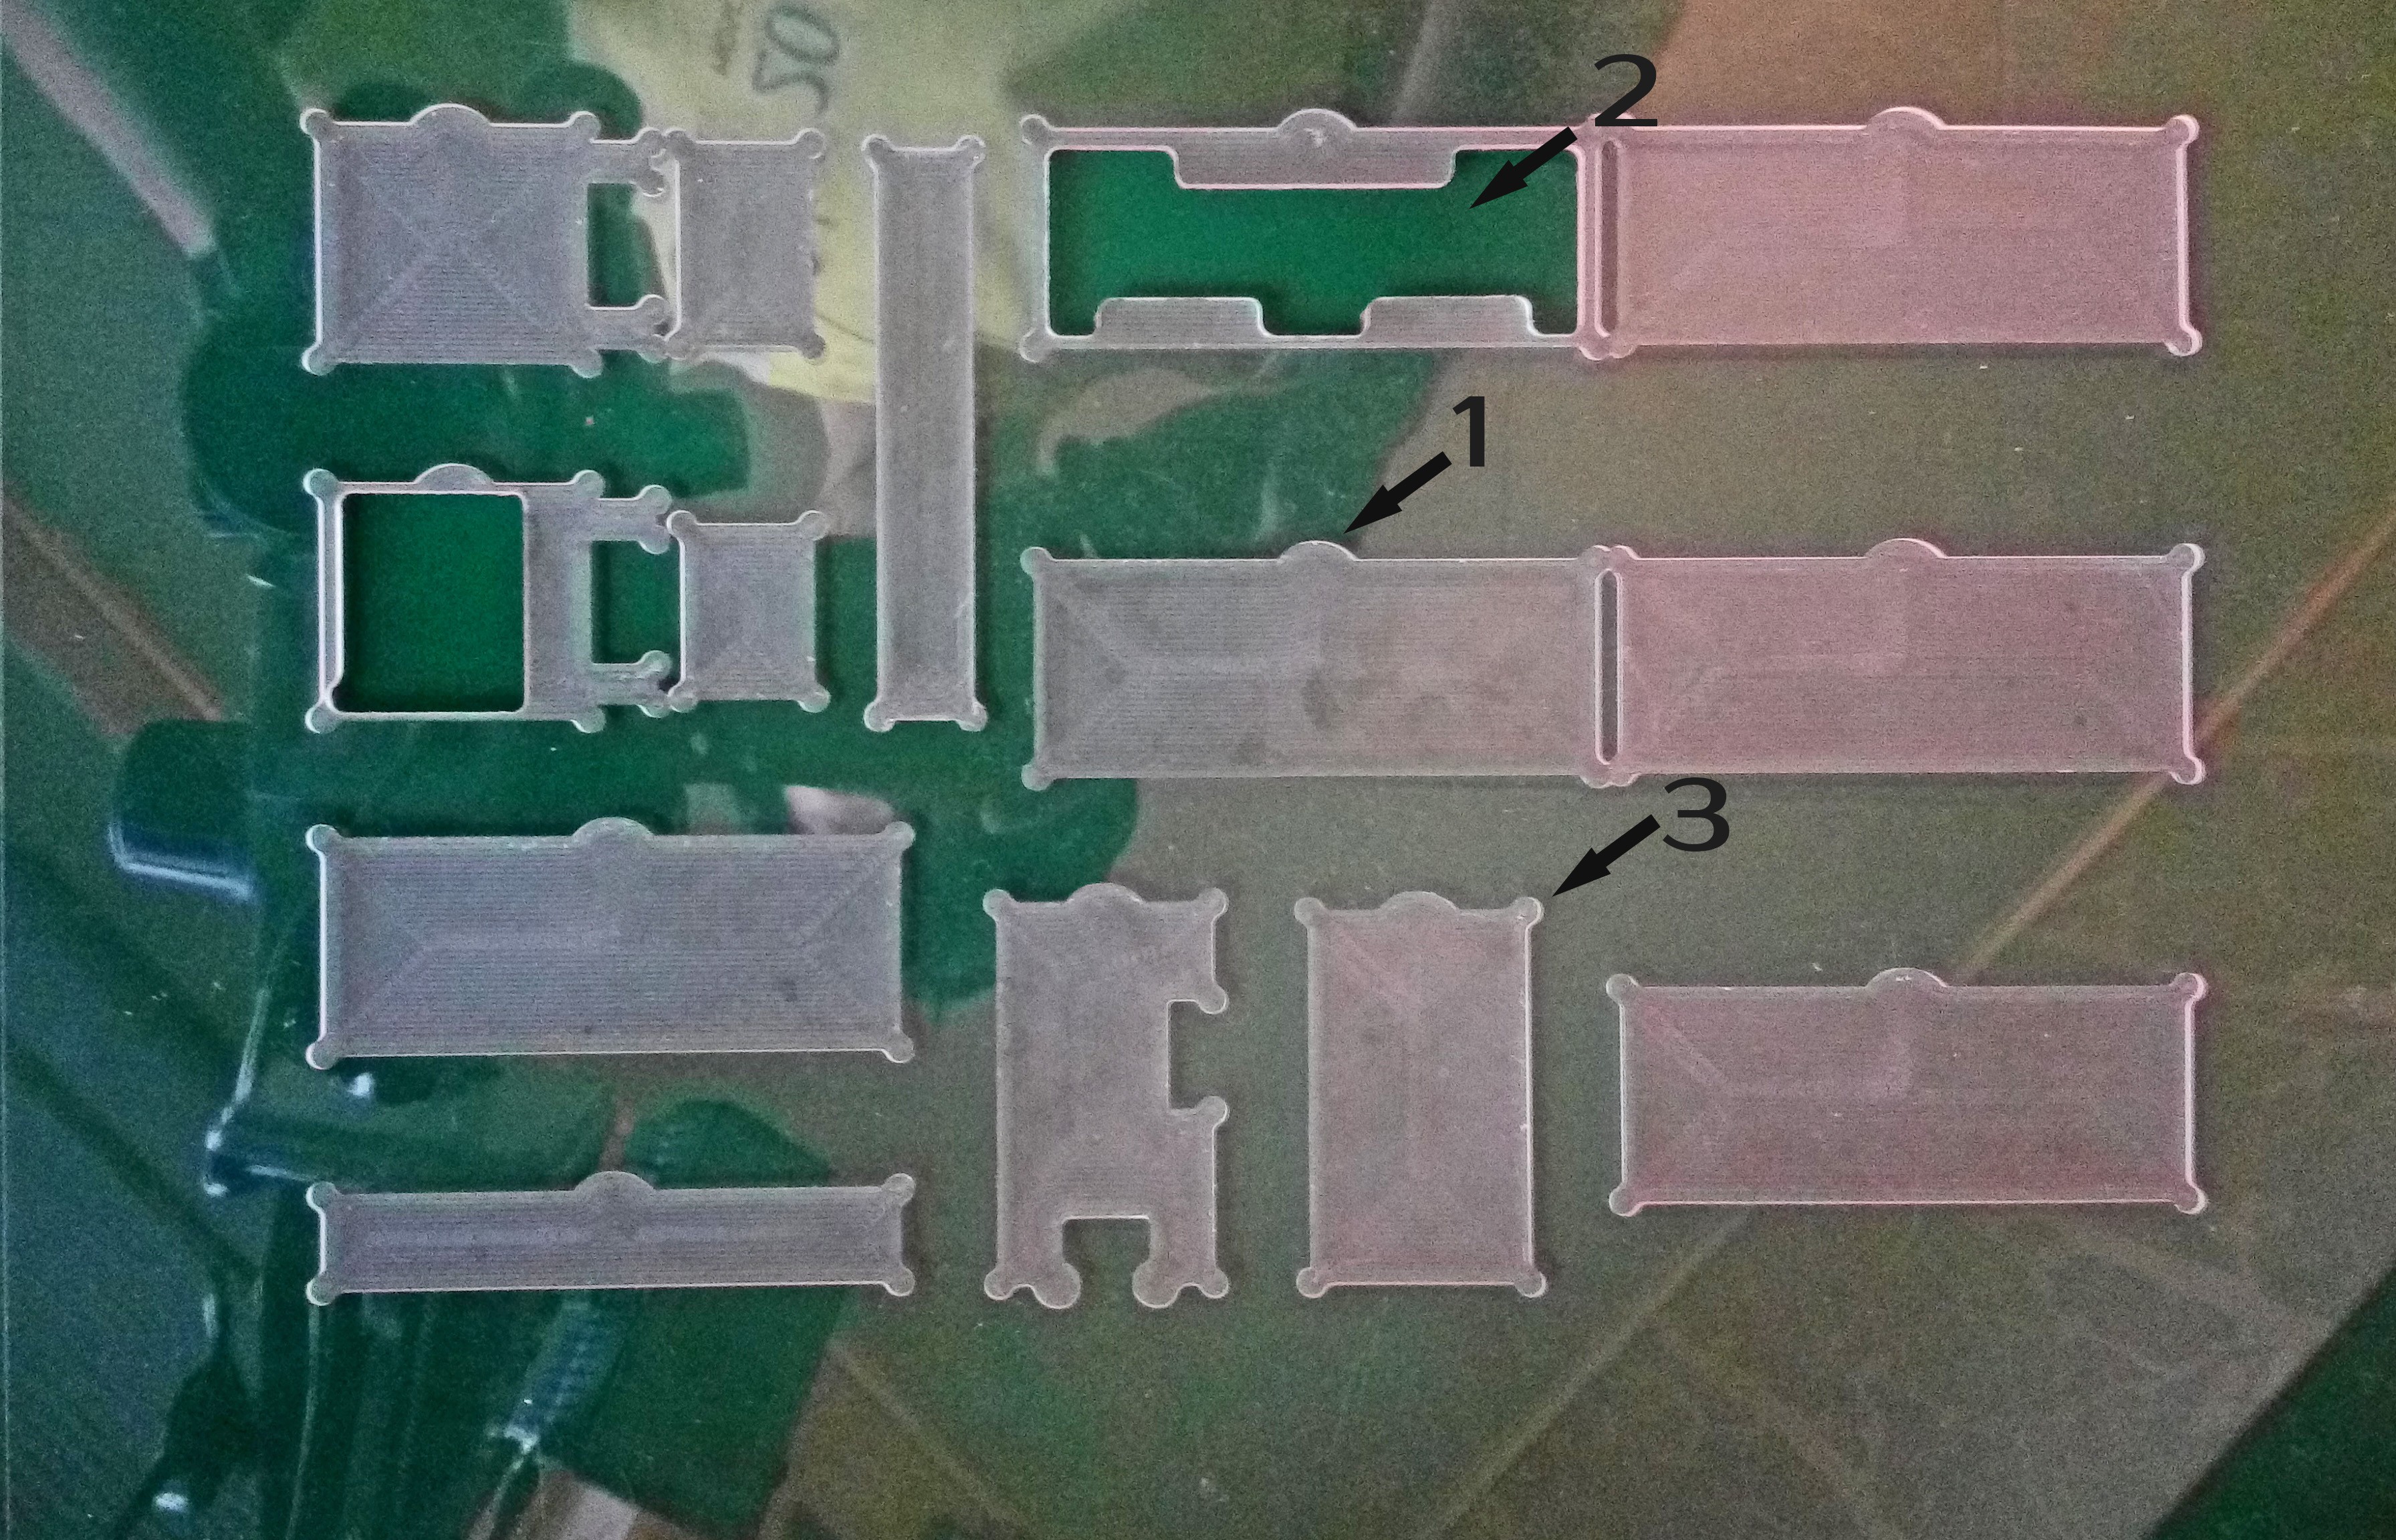
With placed PCBs:
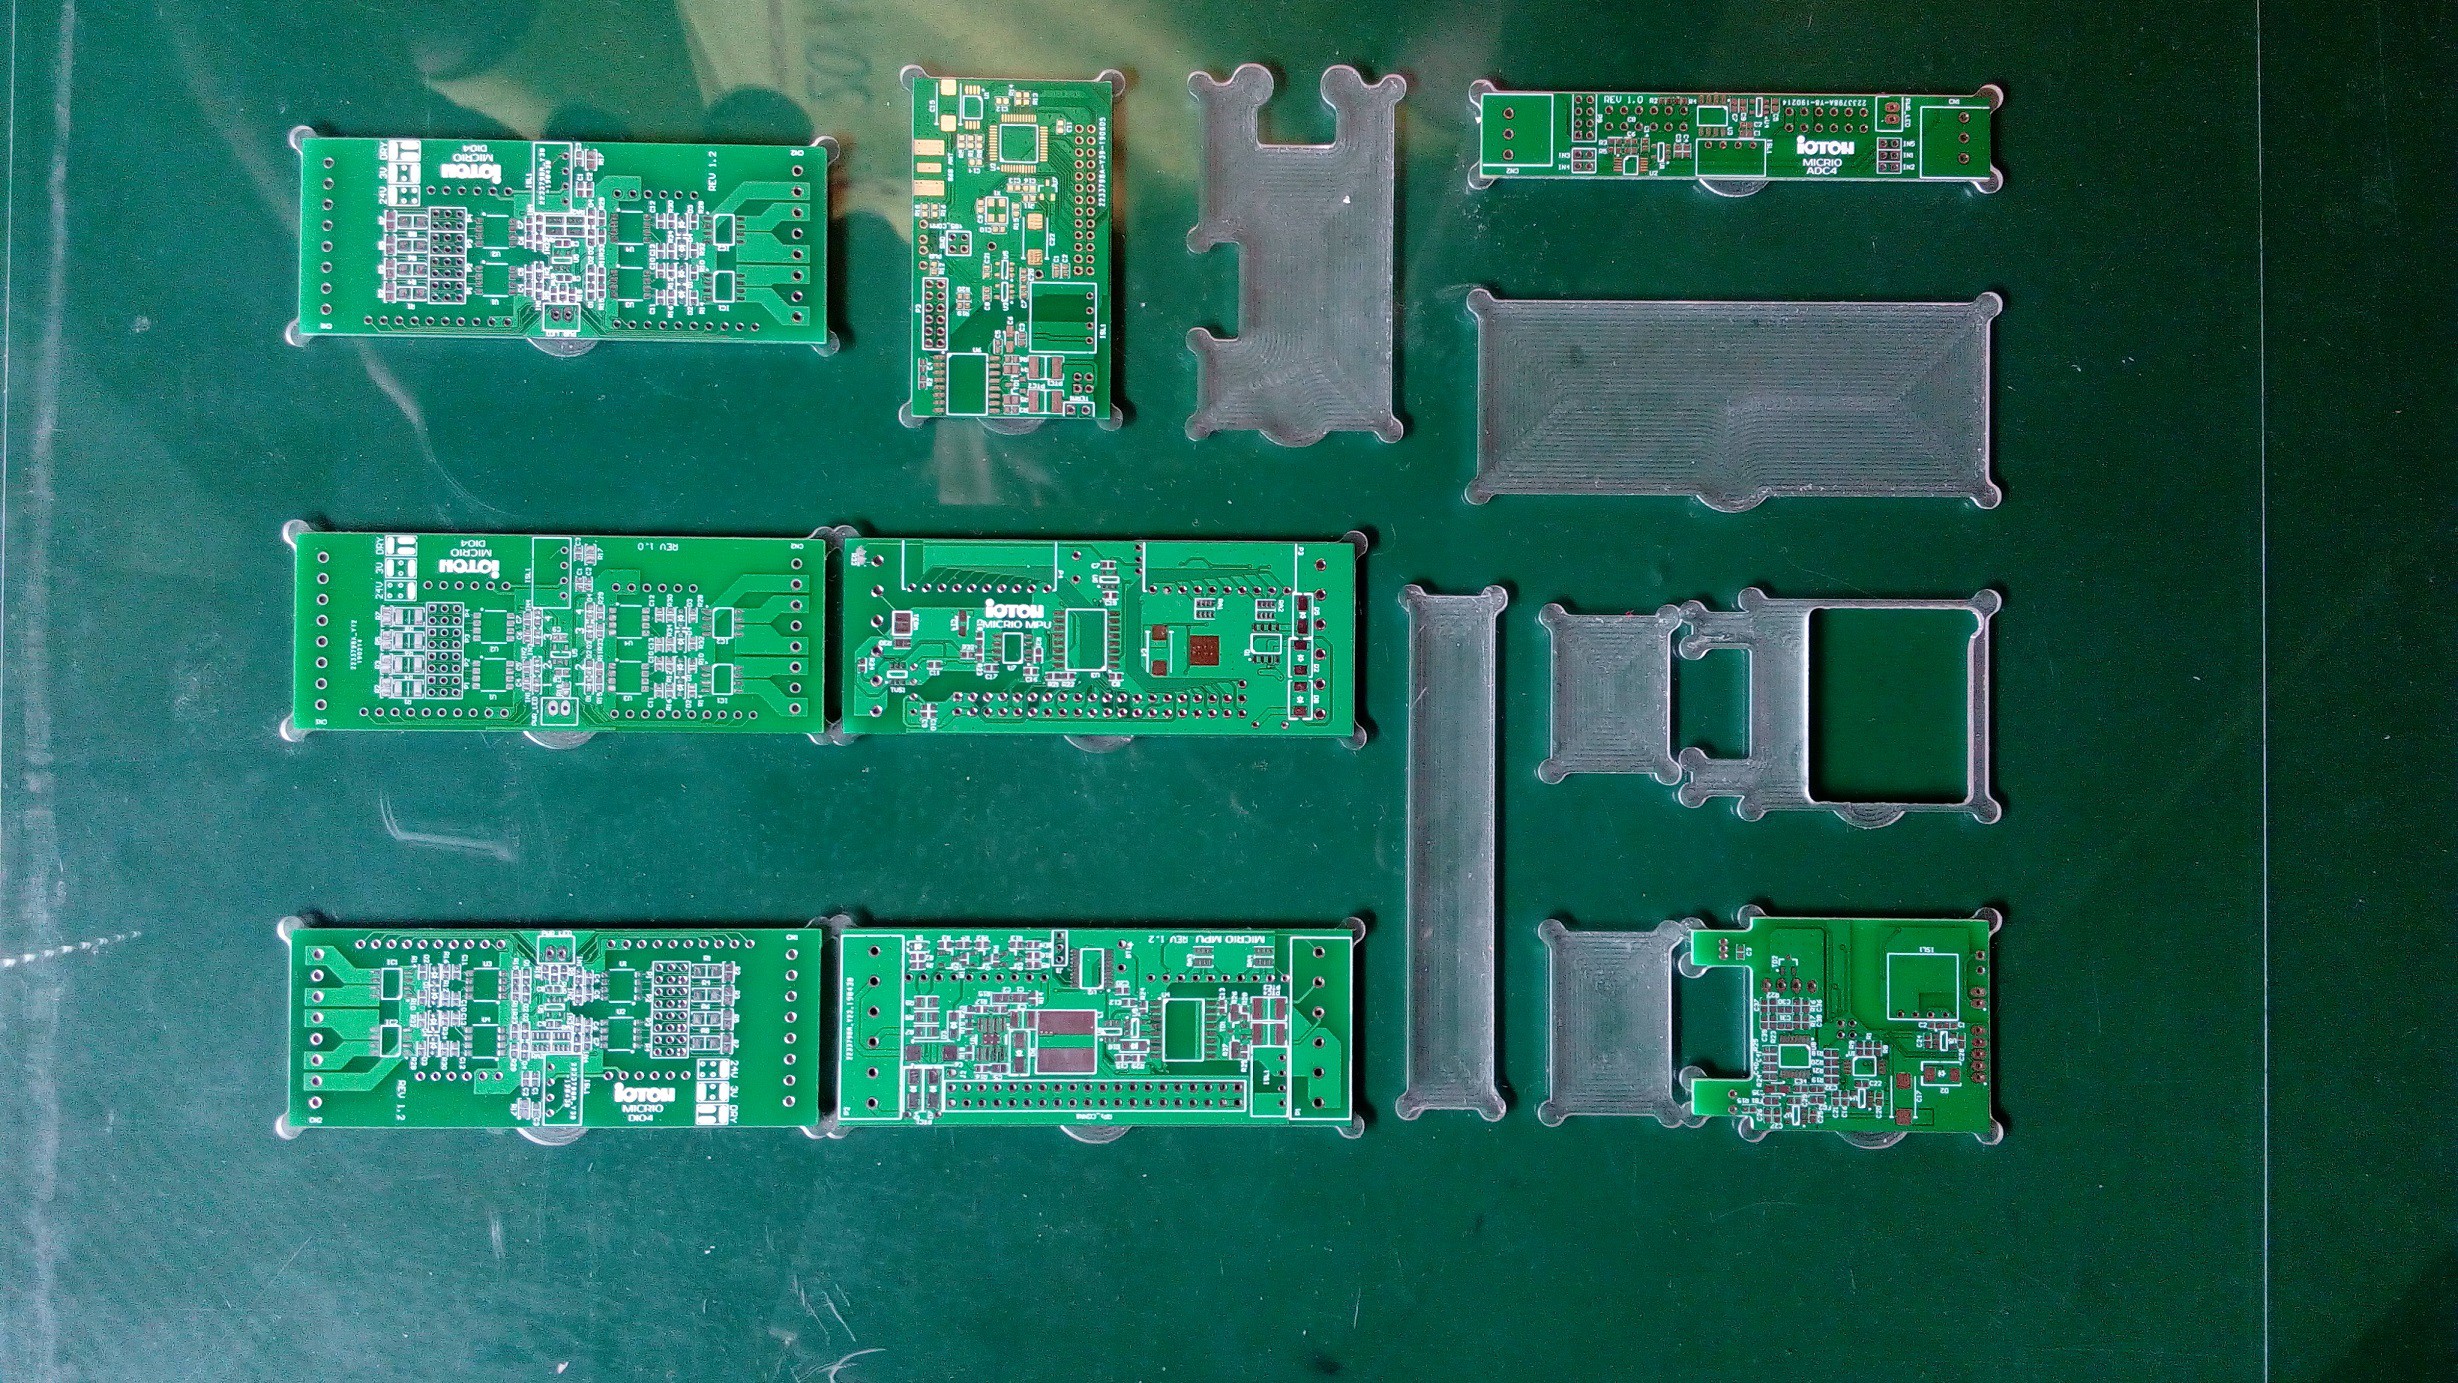
It's time to make a stencil holder.
I placed stencil as well as possible to match holes with soldering plates, and scribes stencil contour with knife.
After that I prepared a holder(20mm*20mm alu profile). I drilled 4mm holes for the fixing bolts, and 10mm holes for the bolts cups.
For fix this thing I drilled holes and cuts thread in acrylic...
Read more »


 ElectroBoy

 Lithium ION
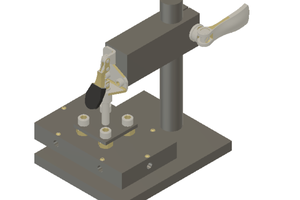
 Jayken
I like your ideas and I find your point of view enlightening and interesting.