Close
0%
0%

An Arduino Dial Controller. (Ahmsville Dial)

This is an Arduino based controller inspired by Microsoft’s surface dial.

Public Chat
Similar projects worth following
The Ahmsville dial is an Arduino based device inspired by Microsoft’s surface dial, it serves as a secondary dial controller for your pc.

Like many other hackers / content creators, I use a lot of design applications, from cad applications, pcb design applications, to graphics design applications like photoshop and premier pro. A mouse and a keyboard; while often sufficient for interacting with this application, cannot compare to the convenience of having a dedicated dial controller for zooming, scrolling and tuning type operations.

Mind you, the dial’s functions are not limited to application specific controls, I personally use it as my dedicated media controller, as a color-based passkey to login to my PC, and also as a macro key device for running quick operations on my PC.

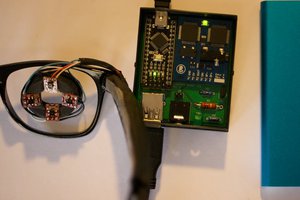
The Dial uses the ATmega32U4, a chip capable of emulating keystrokes and mouse controls, its the same chip found on the arduino pro micro. As the dial is arduino based, programming it to suit your needs is really easy, especially with the Dedicated library I’ve written for it.

The Design

Even though this is a DIY project, The dial is designed for longevity, this is not a device that will ever fail, at least not physically; I made sure of it, by using magnetic rotary encoding instead of  the more common contact based rotary encoders; the use of capacitive touch instead of push buttons is also another choice i made to ensure that the dial is robust.


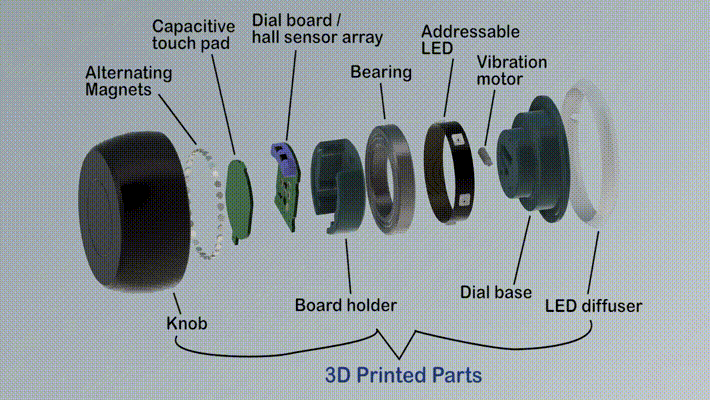
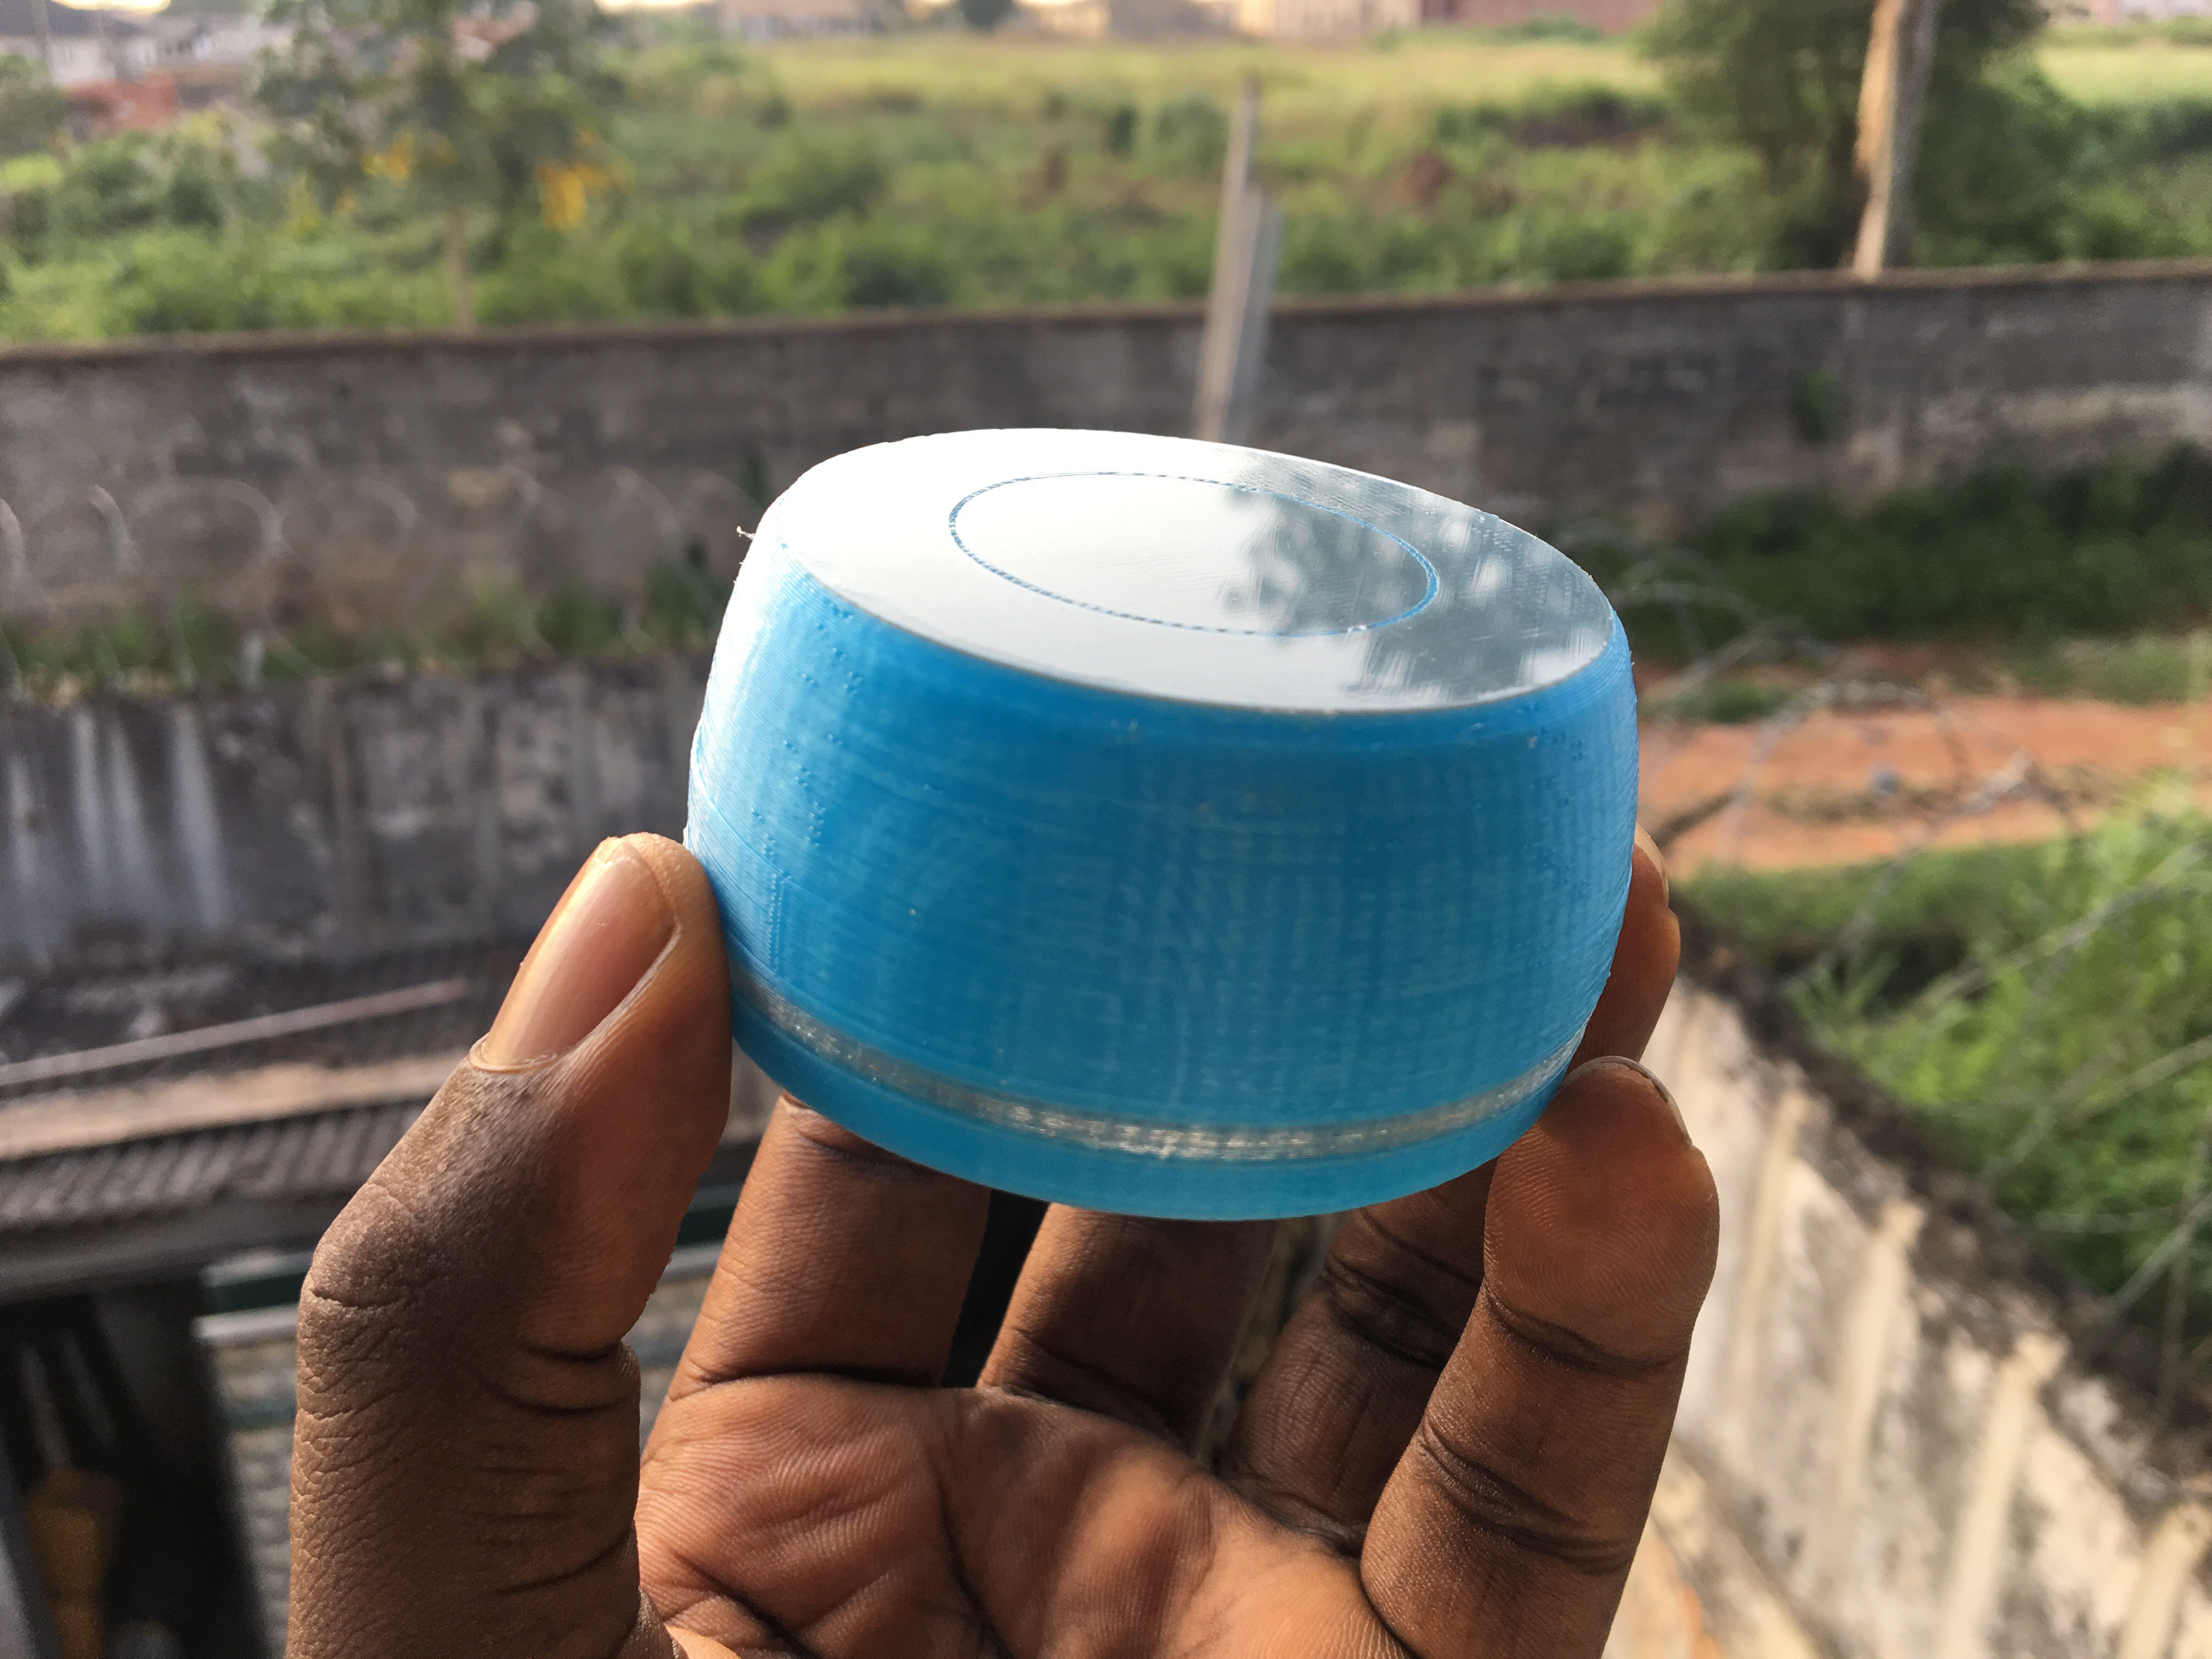
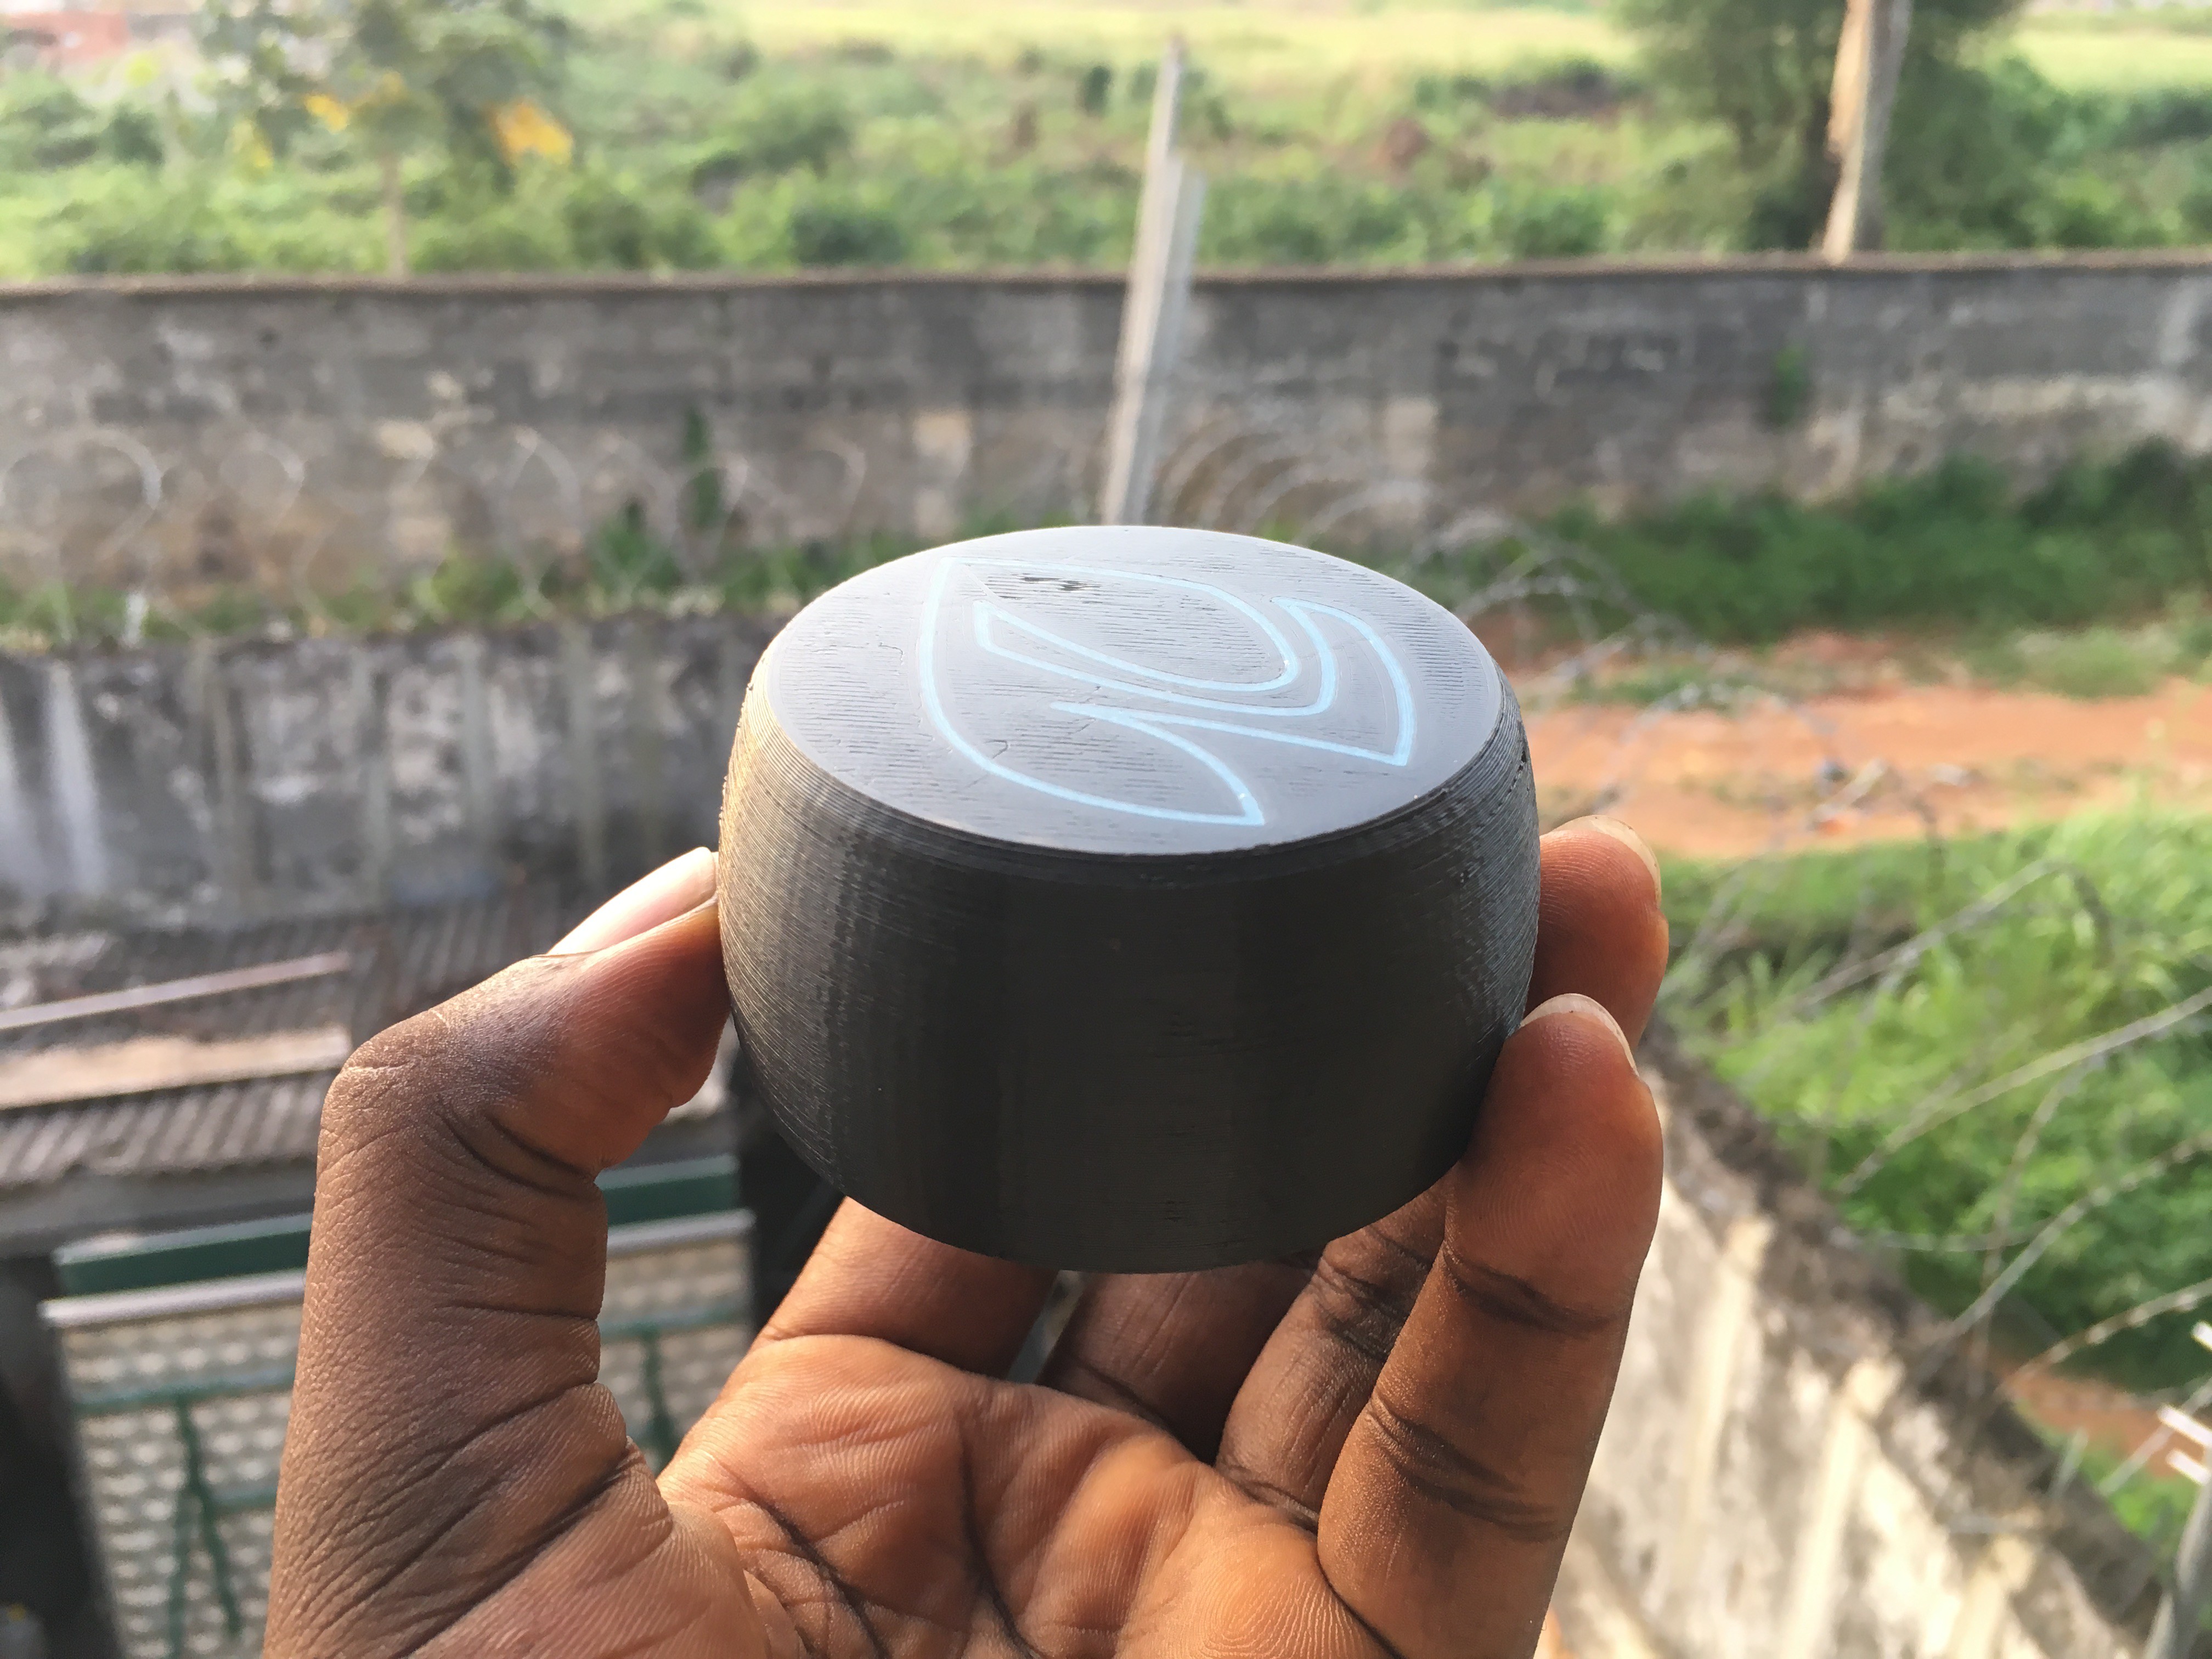
The dial’s enclosure is 3D printed, and can be printed in a number of way, with a variety of materials and in a number of colors; as is common with 3D printed things in general.
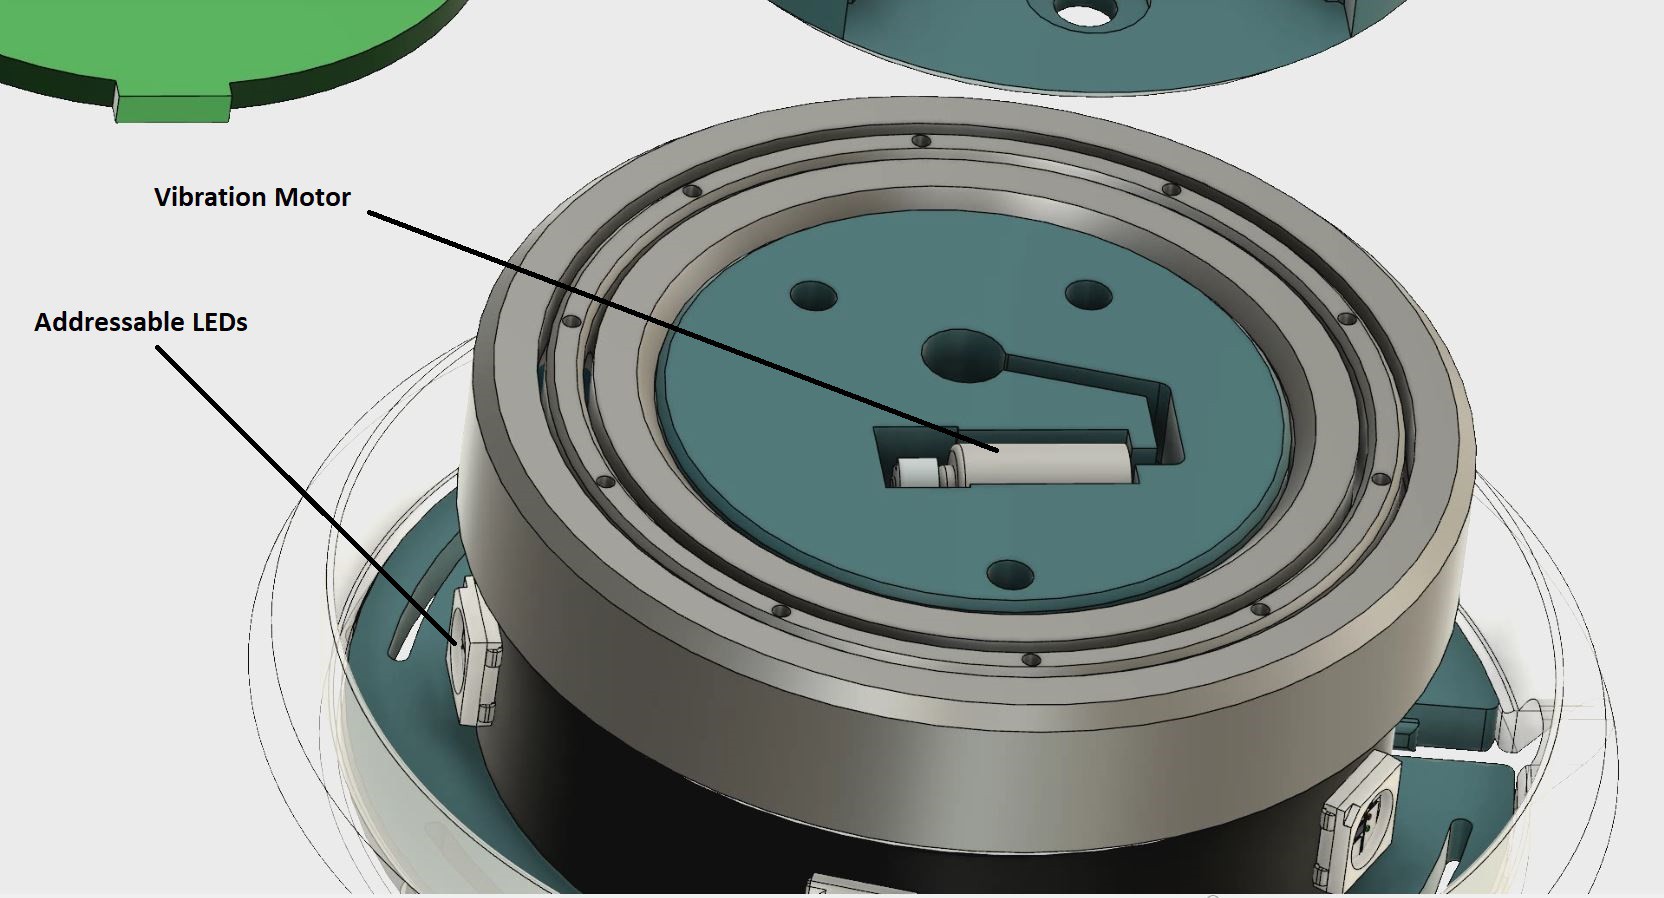
Dial Features:

  1. Magnetic Rotary Encoding (for contactless and smooth knob rotation).
  2. Capacitive touch top (Detects four touch types - single and double tap, short and long press).
  3. Programmable LEDs and vibration feedback.

The Knob (Magnetic rotary encoder)

The knob has magnets with alternating poles attached to it, and the hall effect sensors on the dial board are used to read the analog value changes that occurs when the knob rotates. With this setup the circuit/sensors is completely isolated; it makes no physical contact with the knob, hence the contactless and smooth rotation. This magnetic rotary encoding method is also highly scalable, in terms of size and resolution. You can learn more about it here- https://github.com/ahmsville/Magnetic_rotary_encoding

Capacitive Touch Inputs

Under the knob lies a capacitive touch pad that gives you four touch inputs, single tap, double tap, short press and long press, this touch inputs can be mapped to different functions on your PC. The capacitive touch detection is also done on the Arduino, you can learn more about it here- https://github.com/ahmsville/Advanced_capacitive_touch_detection

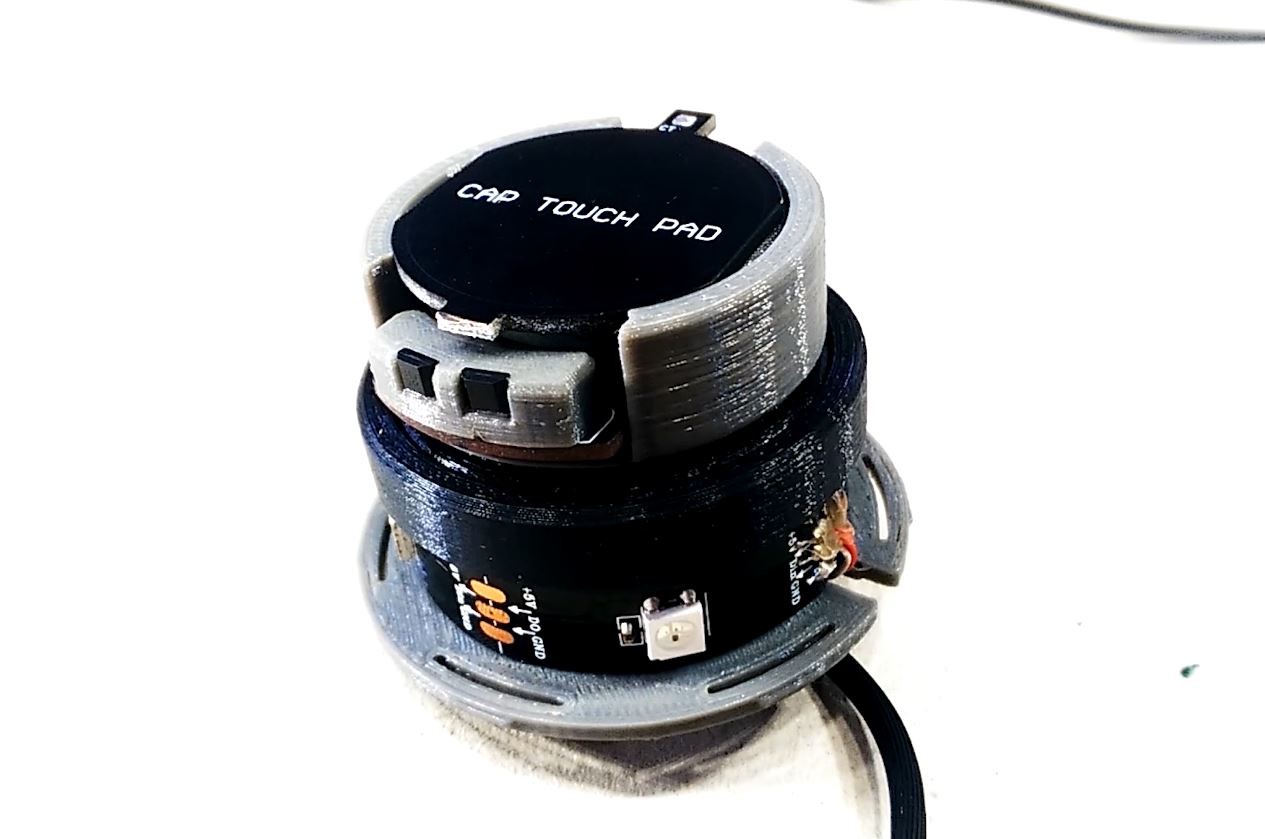
Programmable LEDs and Haptic Feedback

The dial uses the traditional addressable leds, they are strategically placed to provide the dial with functional aesthetics, so in addition to making the dial look really cool, they also provide additional functionalities to the dial. For example: programming application specific keystrokes for multiple applications by simply assigning different colors to each application, the aforementioned color-based passkey is also another example…watch the full Video to learn more.

The Dial also uses a micro vibration motor to provide a really satisfying haptic feedback for the knob’s rotation and the capacitive touch inputs.

Circuit & Parts

... Read more »

STL FILES.zip

STL files

x-zip-compressed - 654.13 kB - 08/21/2019 at 08:03

Download

Adobe Portable Document Format - 2.32 MB - 08/19/2019 at 17:55

Preview
Download

View all 9 components

  • 1
    Build instructions

    Download full build instruction - http://bit.ly/2TKfQjP

  • 2
    Programming the Dial

    I have written a comprehensive Arduino library for the dial, with enough examples to help you quickly get started.

    You can also write and share your own.

    All required libraries.

    Sample code:

    #include <Ahmsville_dial.h>
    #include <FastLED.h>
    
    /*
        upload sketch to the dial to test all its functions.
        ....By Ahmsville...
    */
    
    
    Ahmsville_dial ahmsville_dial = Ahmsville_dial(); //create a new ahmsville dial instance
    
    /********************************************************************LED CONFIGURATION*****************************************************/
    #define DATA_PIN    10
    #define LED_TYPE    WS2811
    #define COLOR_ORDER GRB
    #define NUM_LEDS    4
    CRGB leds[NUM_LEDS];
    
    #define BRIGHTNESS         127
    
    uint8_t gHue = 0; // rotating "base color"
    int count = 0, touch;
    
    void setup() {
     ahmsville_dial.initialize_ahmsvilleDial(1);   //initialize ahmsville dial
      initializeLED();
    }
    
    void loop() {
      rainbow();  // LED animation
      count += ahmsville_dial.knob();  //detecting knob rotations (returns a signed integer in relation to the direction of the rotation)
      touch = ahmsville_dial.capTouch();  //detecting capacitive touch (returns integer 1 - 4 or 0 when no touch is detected)
      Serial.print(count);  //print knob rotation count
      Serial.print("\t");
      if (touch == 1) {  //print "singletap" if touch type is 1
        Serial.println("singletap");
        delay(1000);
      }
      else if (touch == 2) { //print "doubletap" if touch type is 2
        Serial.println("doubletap");
        delay(1000);
      }
      else if (touch == 3) {  //print "shortpress" if touch type is 3
        Serial.println("shortpress");
        delay(1000);
      }
      else if (touch == 4) { //print "longpress" if touch type is 4
        Serial.println("longpress");
        delay(1000);
      }
      else if (touch == 0) { //print "no input" if touch type is 0
        Serial.println("No input");
      }
      ahmsville_dial.normalize(1);
    
    }
    
    /********************************************************************LED SETTINGS/ANIMATION*************************************************/
    
    void initializeLED() {
      // tell FastLED about the LED strip configuration
      FastLED.addLeds<LED_TYPE, DATA_PIN, COLOR_ORDER>(leds, NUM_LEDS).setCorrection(TypicalLEDStrip);
      // set master brightness control
      FastLED.setBrightness(BRIGHTNESS);
    }
    
    void rainbow() {
      EVERY_N_MILLISECONDS( 20 ) {  //frames/milliseconds delay
        // FastLED's built-in rainbow generator
        fill_rainbow( leds, NUM_LEDS, gHue, 10);
        // send the 'leds' array out to the actual LED strip
        FastLED.show();
      }
      EVERY_N_MILLISECONDS( 30 ) {
        gHue++;  // slowly cycle the "base color" through the rainbow
      }
    }

View all instructions

Enjoy this project?

Share

Discussions

Gusman Adi wrote 09/16/2020 at 17:11 point

Hi Ahmed, currently I'm still waiting for my kit to arrived (RR056467496NG although I'm not so sure why it a always said system error when I tried to track the package). Is it possible to start the project without the kit that I’m ordering? Please suggest since I’ve gathered all the materials needed except the kit

  Are you sure? yes | no

Similar Projects

Does this project spark your interest?

Become a member to follow this project and never miss any updates