 Fuji Pebri
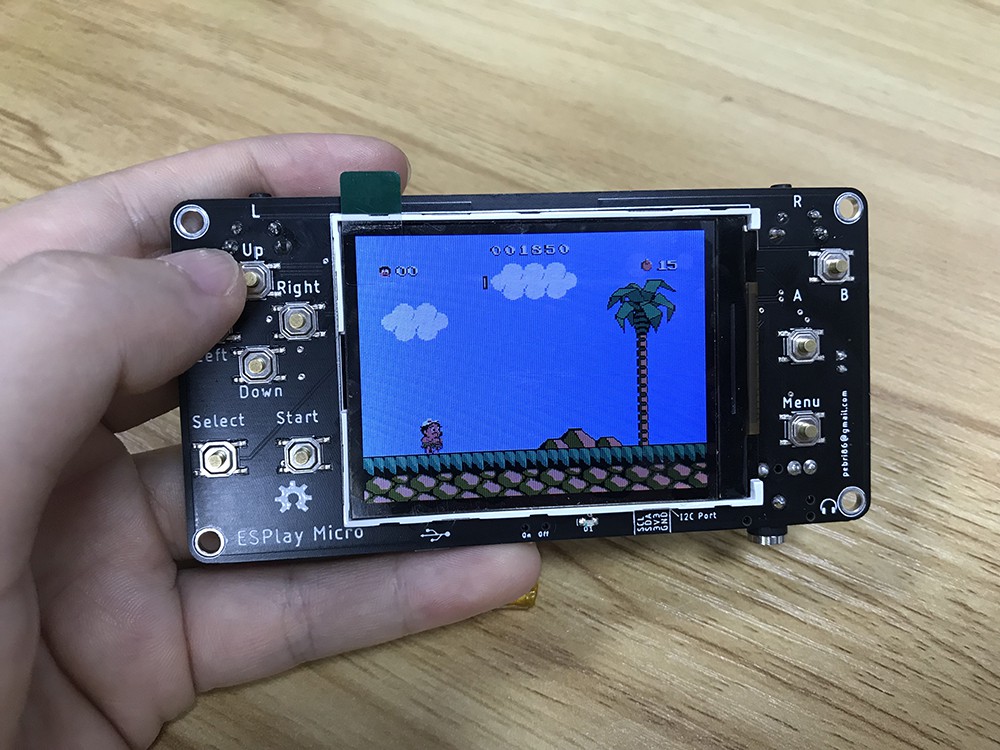
The board are designed for the following feature :
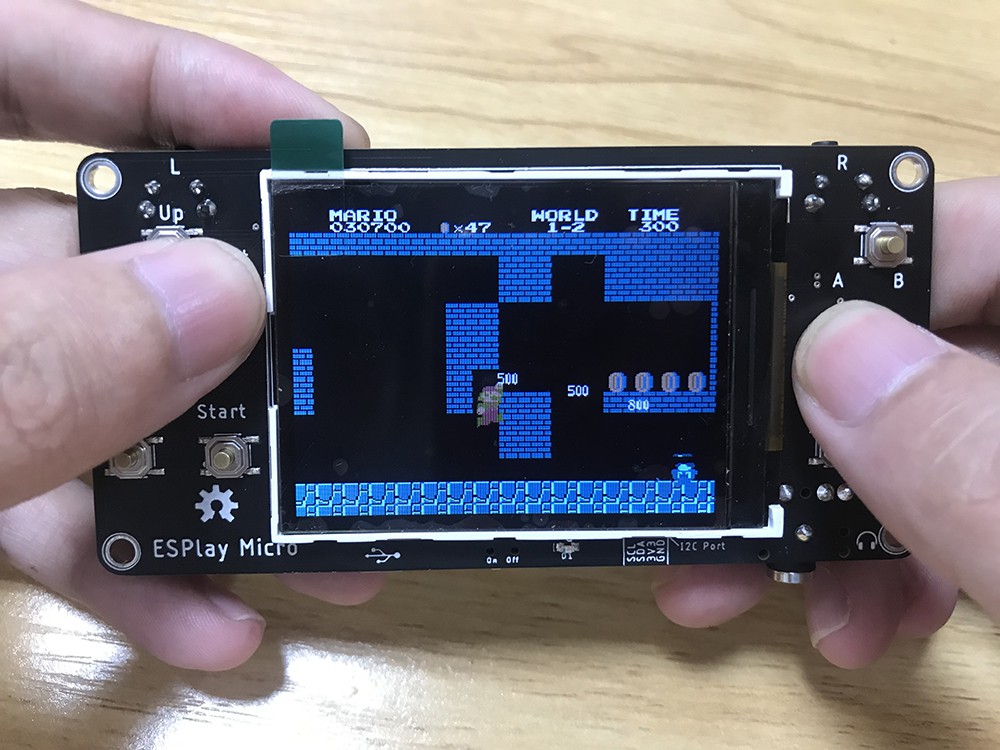
- ESP32 WROVER, Dual core processor with Integrated 4MB Flash + 4MB PSRAM
- Integrated WIFI and Bluetooth 4 BLE
- 2,4" ILI9341 TFT Panel
- More button (expanded via PCF8574 I2C GPIO)
- Micro SD slot connected to SDMMC Host in 1 Line Mode for save GPIO pin
- Integrated I2S DAC via UDA1334A
- Integrated USB to Serial for programming and debugging using CH340C
- Built-in TP4056 Li-Po charger
- I2C port for expandable function
- 3,5mm Headphone jack
- Smaller Size, PCB only 100 x 50 mm.
And planned ability to run LVGL UI both of C and Micropython ( lv_micropython)


 natalie
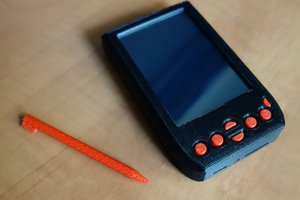
 brtnst
 NuclearPhoenix
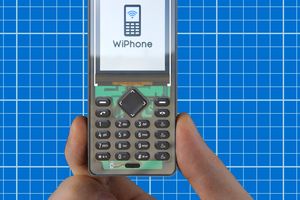
 stupid
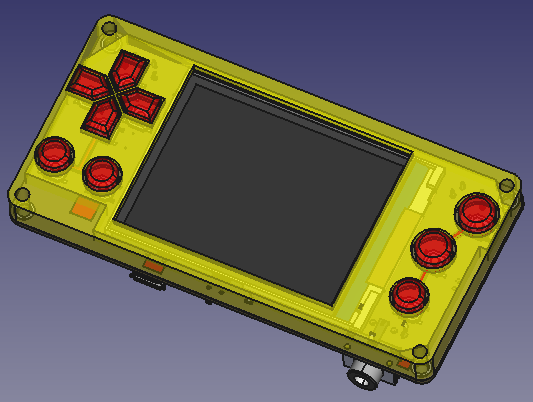
I don't know why I only saw it now. Very nice project! I can see why you printed a case with button caps — those metal buttons are the worst.