 minh7a6
I bought my first 3D Printer which is an Ender 3 and I really like it for what it can perform for its price. However, one big downside of it was that it was very loud, and I put my printer in my room, so I can barely sleep when the printer is working.
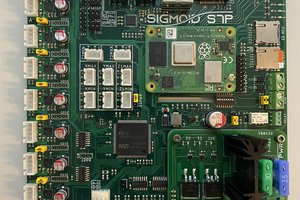
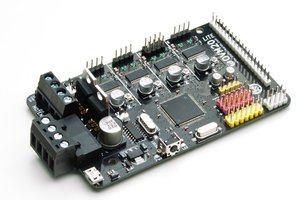
Because of that, I decided to upgrade its stock controller board to something else that is pin compatible. I looked on internet and I found that there are 3 boards that do that: EZBoard from TH3D, Cheetah from FYSETC, SKR Mini E3 from BIQU. But, EZBoard is pretty pricey, both FYSETC and BIQU use a pretty basic MCU: STM32F103RCT6. I want something better with hardware FPU (not available for Cortex M3), faster speed for native 1/256 microstepping and native support for Marlin 2.0. So I made my own 3D Printer Board: which is QMP32B. This uses STM32F446RET6 which is 180MHz (168MHz with USB) and TMC2224 connected with UART mode so everything is done in software. This is just better and much quieter than the stock one. And this has been printing more than 150 Hours now and it has proven to be very stable.
When I design the board, I know that most users (including me) will not want to toggle pin BOOT0 for uploading code. I had modifed the startup assembly code and a custom gcode (M8150) to make the MCU jump to USB DFU mode. So now the user just need to type M8150 on any serial monitor then the MCU will jump directly to DFU. They just need to install STM32CubeProgrammer to upload the program.
P.S: Same with MINHF4, I don't plan to manufacture this board since I have no funding nor time (Prepping for Second Year Uni T.T ). But if you have any questions, feel free to ask :))


 pkElectronics
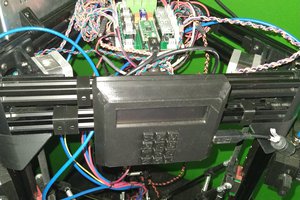
 derethor
Hello. It is very interesting project. I want to repeat this project for my 3d printer, of course with you permit. I learned you schematic and recognized such thing: you used 3 pin for LCD display, LCD_EN, LCD_RS, LCD_D4. I want to ask you. How it works? Because for 12864 LCD needs at least 4 data pin and EN and CS. Please explaine me. Thank you