 Patrick
When I first started the rPi bare metal vGuitar rig project, I bought a number of these cheap (inexpensive) 3.5" 320x480 touch screens.
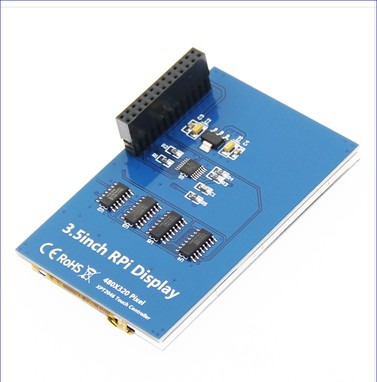
They are ubiquitously available on ebay for around $10, $12 with a case. They are generically found at the LCD Wiki page and the installation instructions for using them with an rPi in raspbian is available here. They are based on the ili9486 display driver chip, and the xpt2046, ads7846 compatible, resistive touch controller chip.
It only took a few minutes to install the drivers/overlays in a raspian image and verify they were working, but it took a substantial amount of time to figure out how to make them work in bare metal. I know that It should have been easier and quicker, but reverse engineering the linux driver, and some arduino drivers, and some teensy drivers ... well, the information was all there, it was just buried, typically, in a multi function library that handles all kinds of i2c or SPI display/touch devices, and it took me a while to find what worked, and distill it down to a couple of small easy, to read C++ objects.
The source is currently available here.
When I am dealing with this kind of hardware in a (the Circle) bare metal environment, I prefer to move the device off of the rPI, and not use it as a shield, so that I can be sure I have isolated all of the control lines (pins) that the device requires to run, and also vice-versa to know which ones, for sure, it does not use. So below is a picture of the development rig, based on my TeensyPi Breakout Breadboard subproject, that I used to sort out, debug, and implement these drivers.
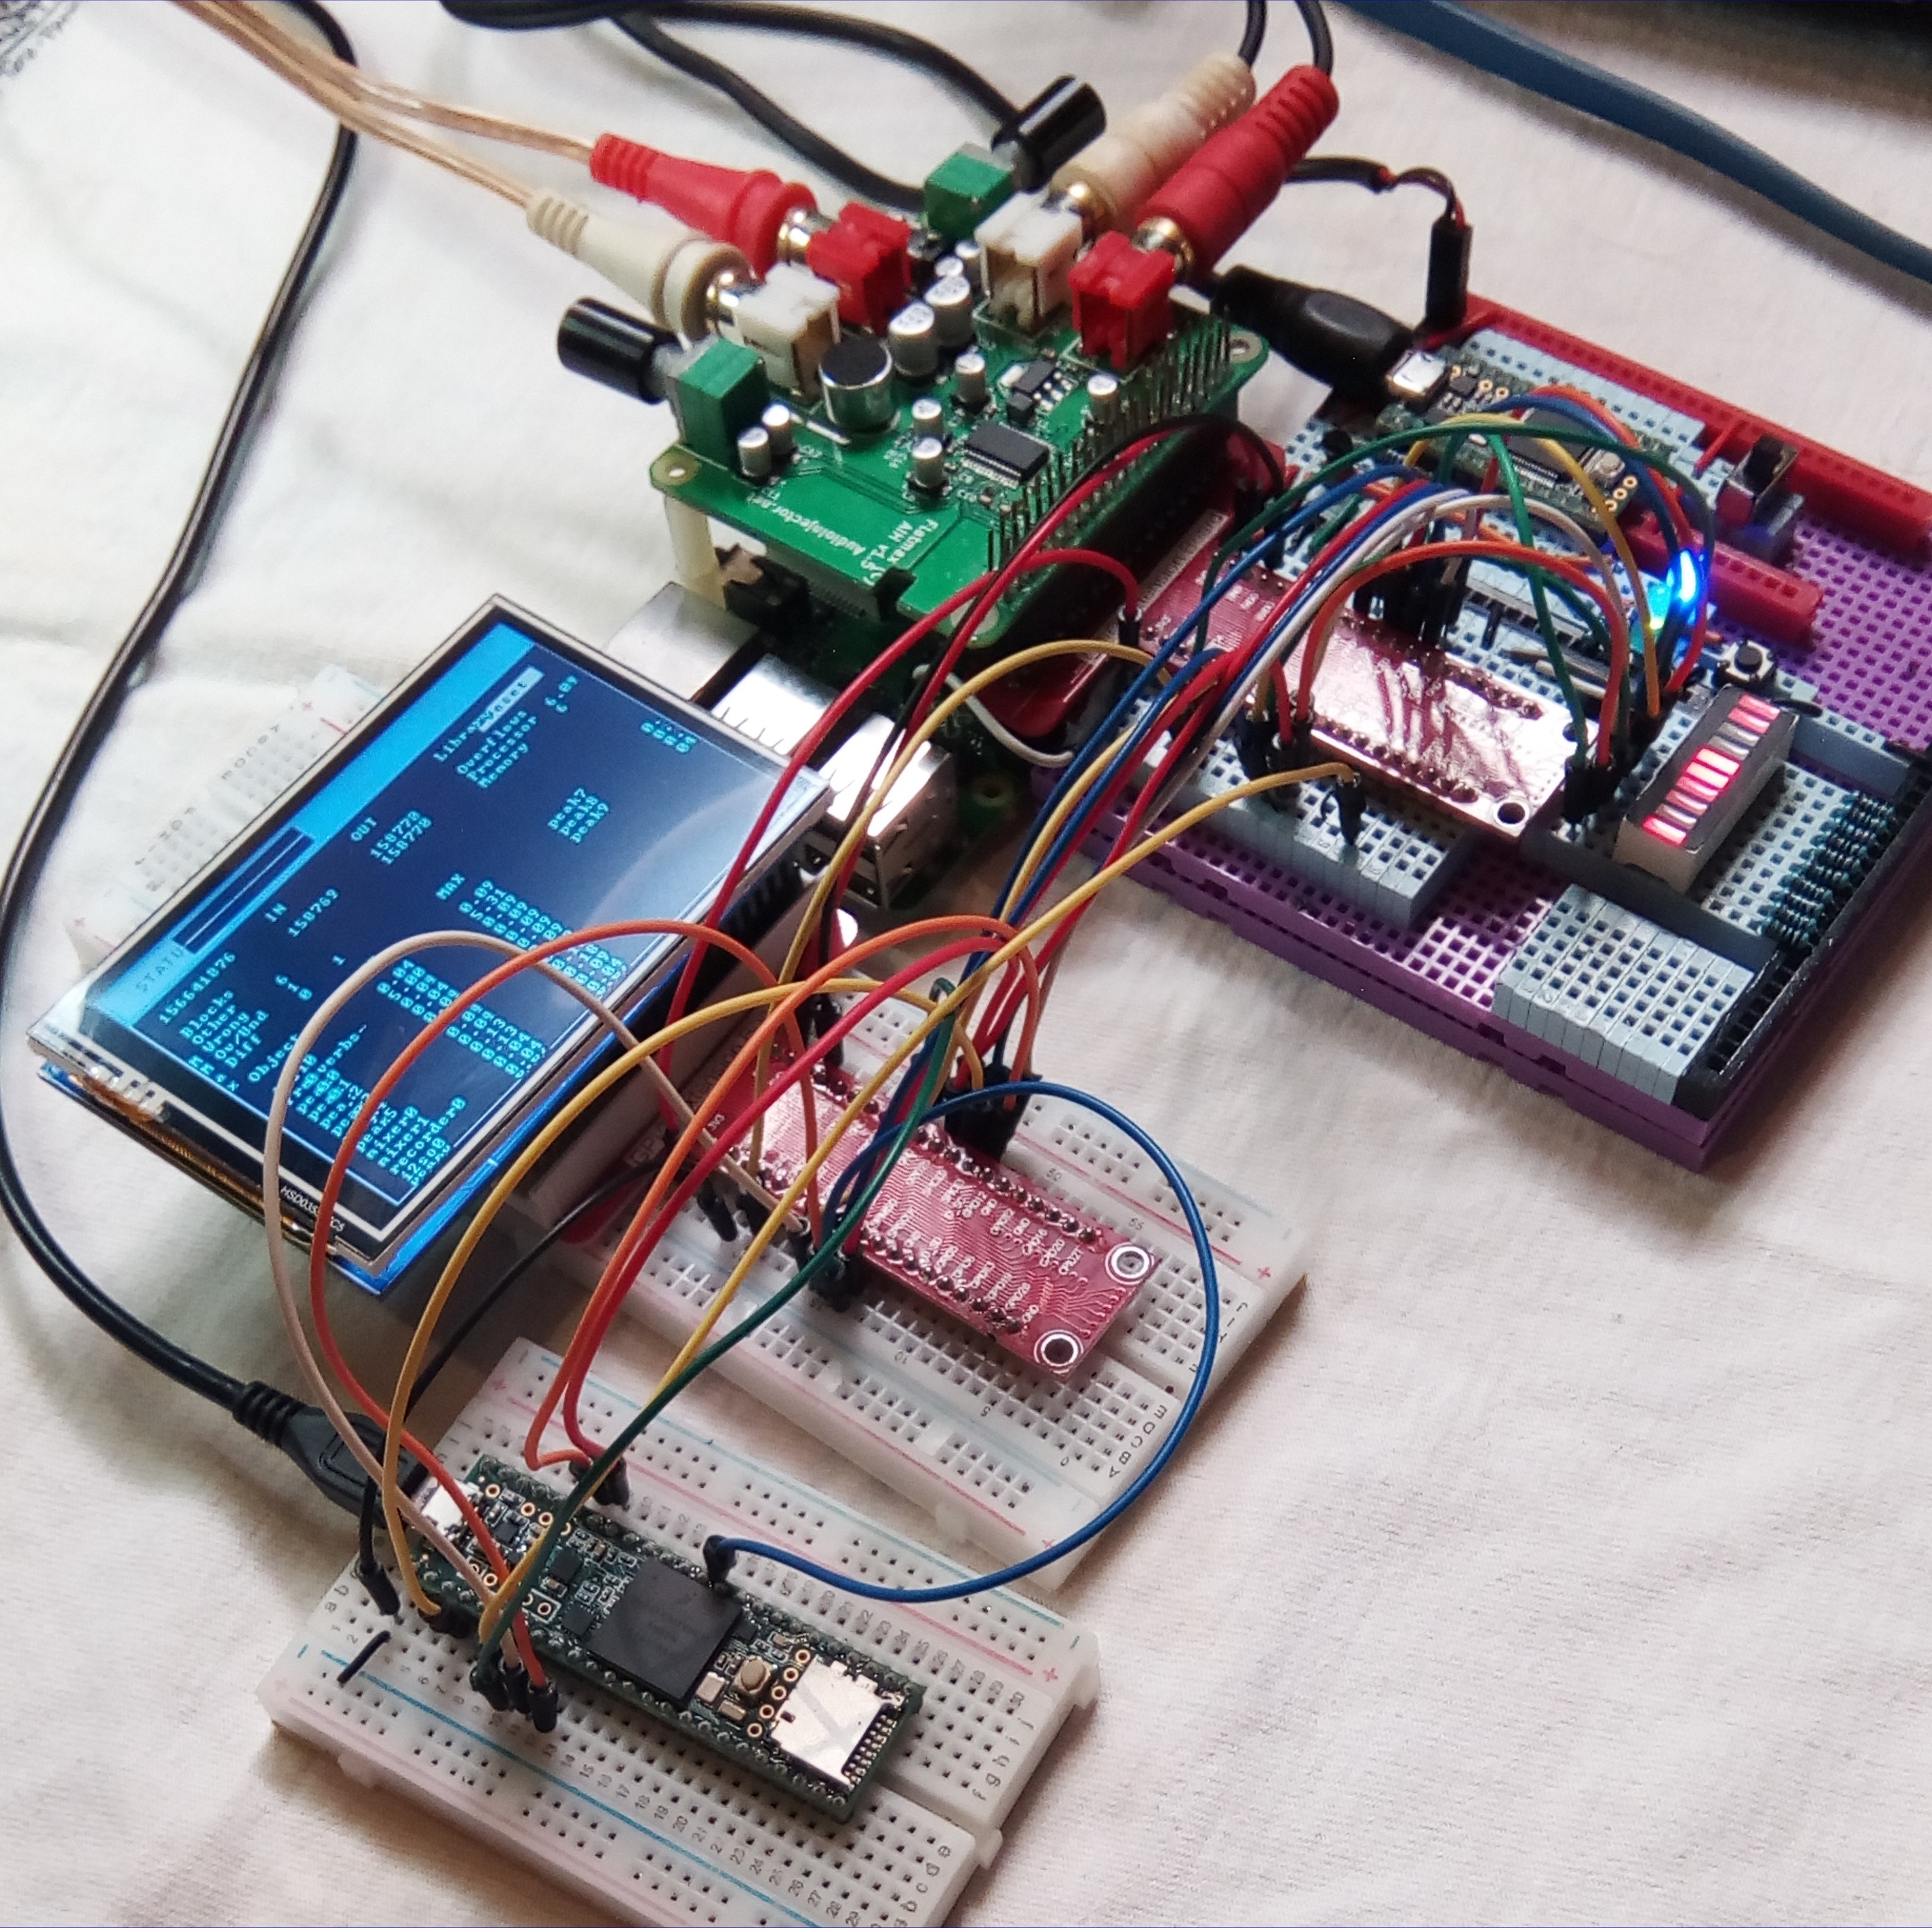
The Teensy3.6 in the bottom left portion of the screen is used to run the Teensy Logic Analyzer, which I have found really handy in trying to debug i2c, i2s, spi, and various other protocols. Although I have now purchased a $70 store bought fpga logic analyzer, there will always be a warm place in my heart for the teensy logic analyzer :-)
I just happened to do the development while I had an Audio Injector Stereo shield attached to the RPI. The test program I am running on the display is the Audio Recorder prototype I developed earlier.
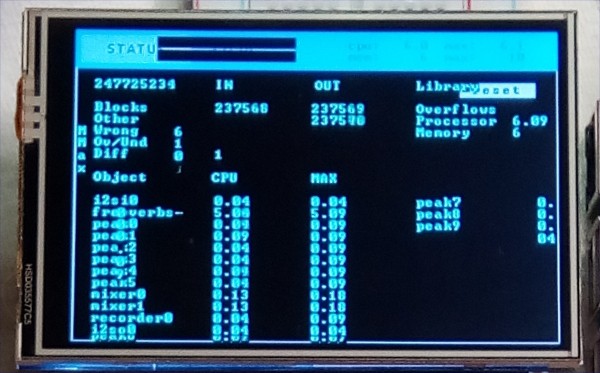
As expected, the most difficult part was the stupid resistive touch screen. Using code from Paul's Teensy Arduino Core I was able to prod, push, ping, and tweak it until it worked satisfactorily.
In spite of the fact that I did not modify the program at all to work with the smaller screen (so some buttons and things are in the wrong place), the image is still quite readable, and the touch screen works about as well as most similar resistive touch screens:
I'm gonna call this project "complete".
- Patrick

 Iulian Arcus
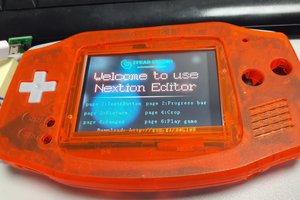
 Craig Hissett
 Mike Szczys
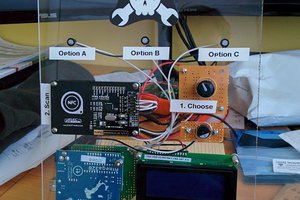
You don't know how much I love you right now! hahaha
I had this idea in which I wanted to make a UI for fluidsynth on a RPI using this cheap 3.5inch lcd screen and was wondering how I could write my own drivers for it, because official ones suck very much. Went hell (decompiling overlays, surfing original drivers, etc) trying to find info on how to comunicate with this thing, which made me follow the same steps you probably did, and at one point I ended up on this blog.
I almost cried when I noticed the bitbucket links to the source code in this page where broken, but kept it cool and starting literally following your name until I stumbled upon some of your comments on the RPI forums which had your new github repo.
Thanks for the hard work! Really having fun with this!