 Patrick
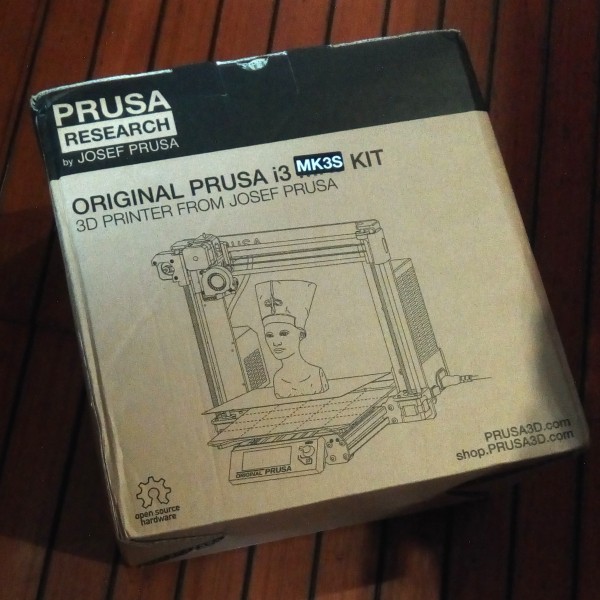
PRUSA MK3S BUILD AND INITIAL TEST
Although this is perhaps not perfect hackaday.io material, please forgive me. It’s just a kit that I put together, but I wanted to document it.
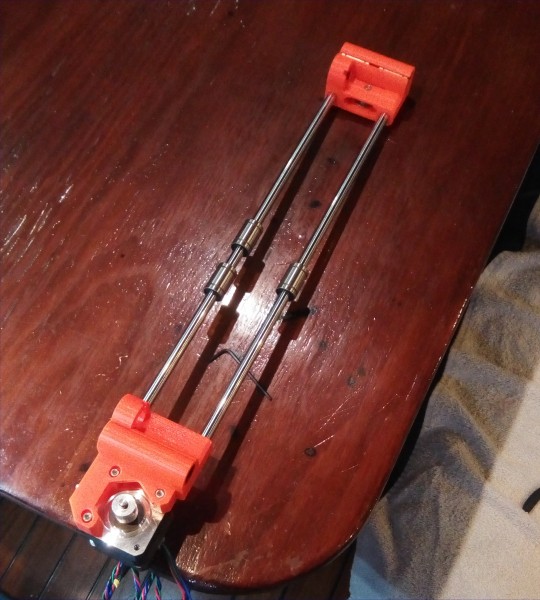
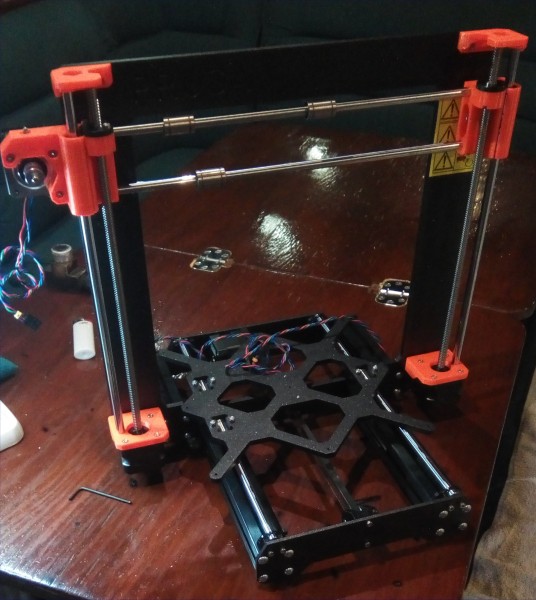
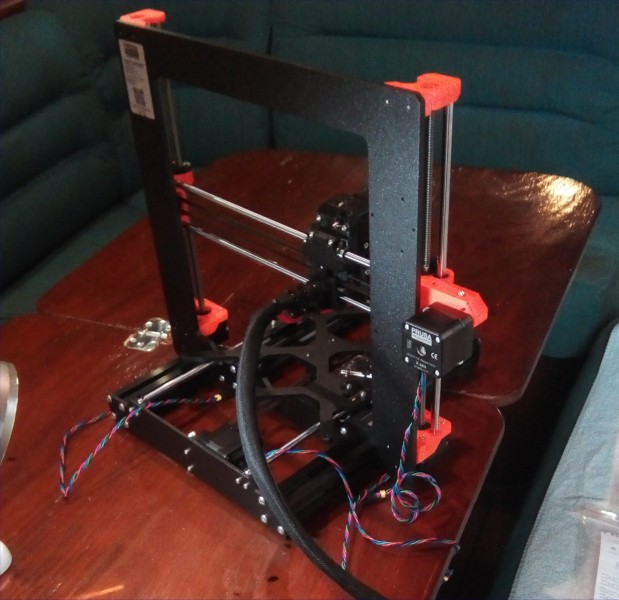
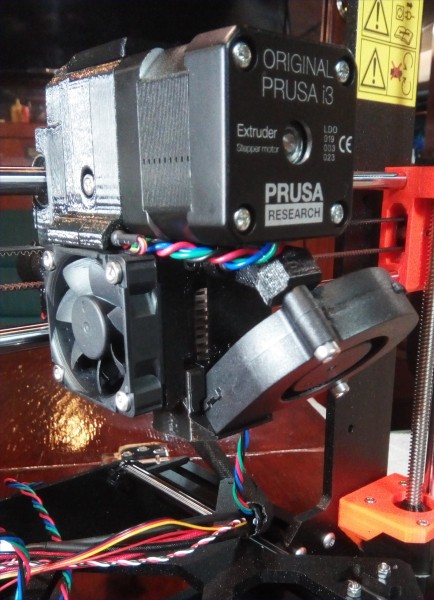
I finally got my first-ever 3D printer. The kit arrived in the office on Thursday, but I didn’t pick it up and bring it to the boat until Saturday afternoon. I started the build about 5:00pm on Saturday. I finished step 6, the Print Head Assembly around 2:00am.
Starting on Sunday around noon, I did the remaining steps, so that by about 3:00 the printer was fully assembled. So I guess it took me about 12 hours to build it. I feel like I took a reasonable number of breaks, especially including sleeping.
So, I made a simple 3D printable design using Sketchup, and printed a few examples of it. It took me about an hour to design the coin as I’m new to 3D printing and had to figure out Sketchup, download, install, and learn the basics of a slicer (Prusa slicer), and so on, but it worked! I printed it out a few times, starting with the basic Prusament gray, and then using some extra colors.
It all worked very well, and I’m very happy 😊
Today I start learning fusion (as soon as I post this project).
PACKING AND SHIPPING
The kit arrived very well packed. Exceedingly well packed. The outer box was solid and withstood the rigors of being shipped from internationally Czechoslovakia to Miami, then from there to Panama, and finally here to the remote island of Bocas Del Toro.
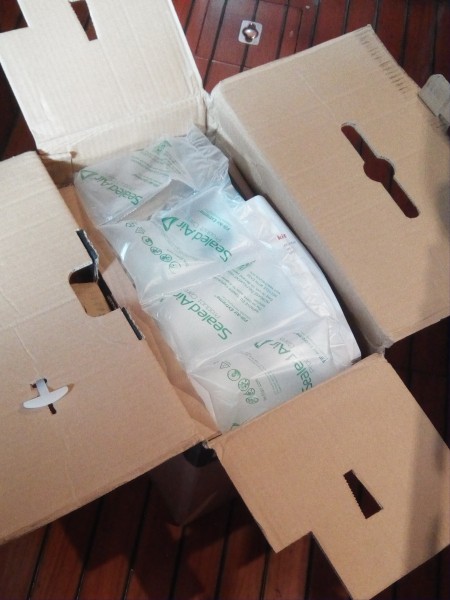
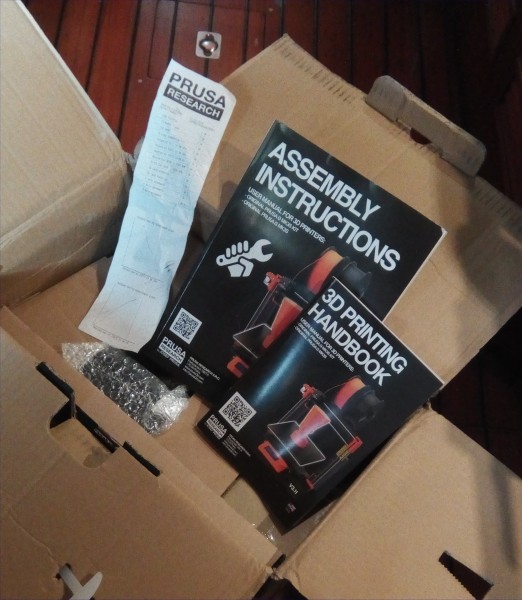
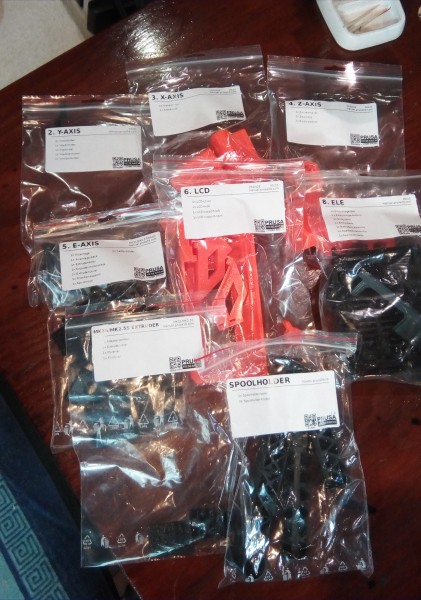
Upon opening the box I was greeted by the assembly and user manuals, the factory quality assurance checklist, and a number of individual boxes containing the components and parts, sorted by the steps to be completed during the assembly.

Each box was then individually (exceedingly) well packed, with each box clearly labeled, and within it, each part clearly labelled, once again, ordered by the steps in the assembly, which made the assembly a very ordered and relatively simple process.
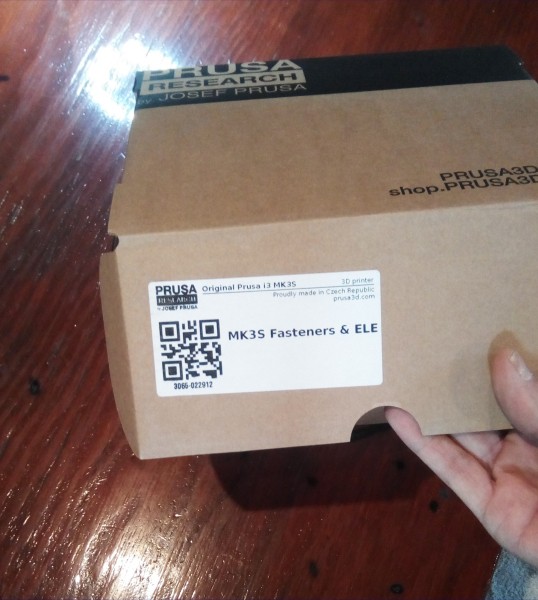
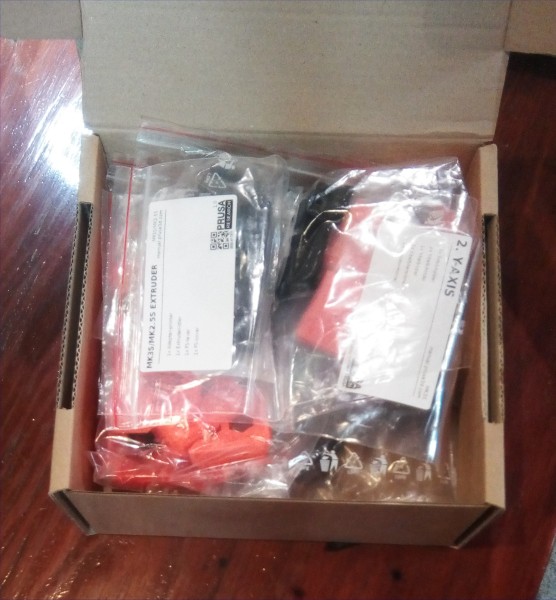
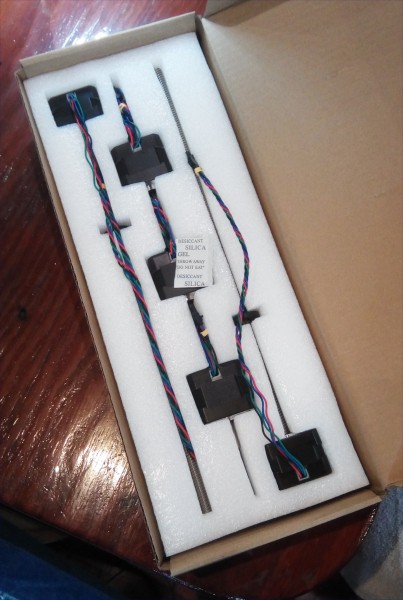
For example, the motors were exceedingly well packed in this box, each one individually labelled, all screws and connectors attached. Each bag was not only keyed to a step in the process, which really helped, but generally included a life-size picture of all the connectors, bolts, screws, and other parts, in the packet. So when I completed almost every step, there were no parts left over. And I didn’t have to keep track of parts across the whole project.
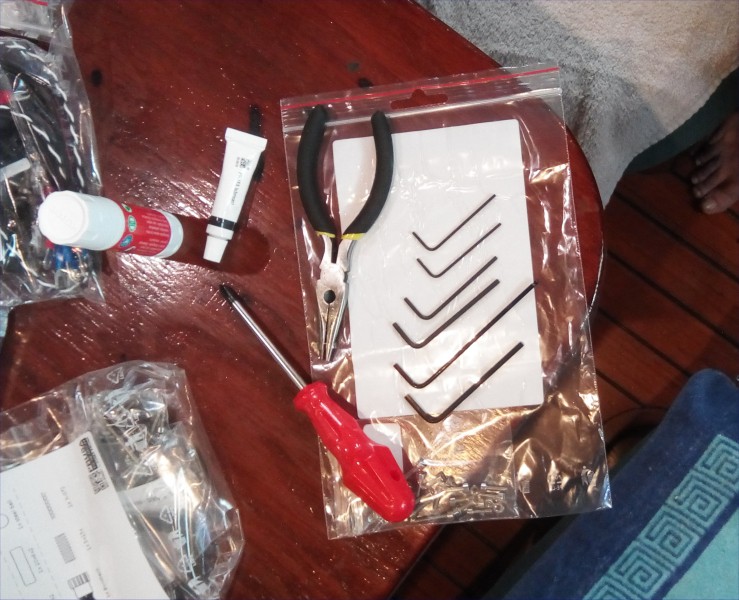
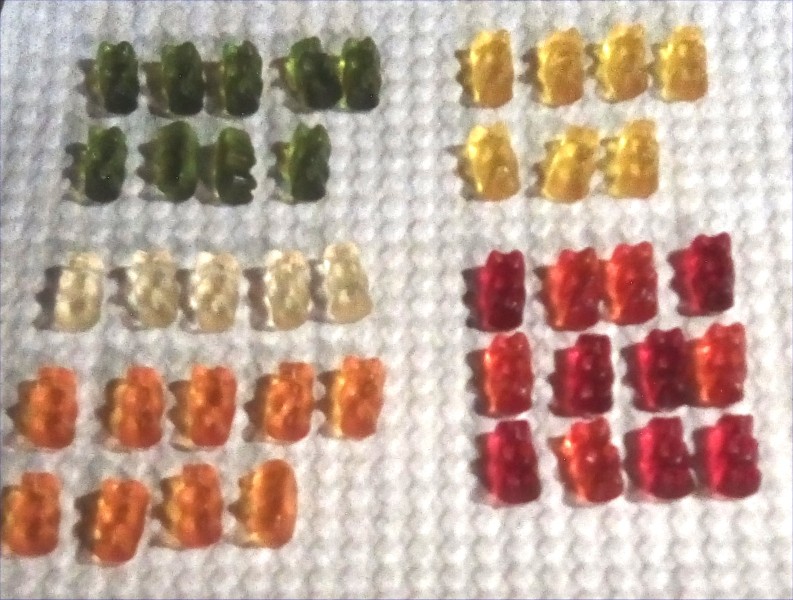
They even included the minimal set of tools to assemble the printer, although most hobbyists will have their own additional tools they’ll want to pick up during the process, and a package of the famous Haribo candies, along with instructions on how many to eat at each step of the process.
All in all the product was, as I have said three times now, exceedingly well packed. In the end I could have probably done without the printed assembly/user manuals, and sometimes it seemed like the packaging was a bit excessive. However, you pay a premium for a Prusa printer, and this is what they deliver … very high quality throughout … from the parts themselves, to the documentation, to the packaging, and finally to the support. I did not have to use it but they actually have 24/7 online support from actual knowledgeable human beings. So, basically AAA++ on the packing and shipping.
ASSEMBLY
I had been worried that there might not be a MK3S specific assembly manual, but there was. All in all the documentation is beautiful, super informative, easy to follow, and gave me confidence during the assembly that I was doing the right things in the right order. In fact, I ended up using the online version of the manual in preference to the printed manual, mostly because you can zoom in on the photos. Also the boat lighting is not that great, and the illuminated screen really helped. Plus you can see the comments that other builders had made.
The assembly was straight forward, if a little time consuming. Each step is well documented and there’s really not a lot to say. I followed the manual step by step, taking the required Haribo breaks as prescribed.
ONE NOTE: THEY DID NOT INCLUDE A GUIDE AS TO WHICH COLORS YOU ARE SUPPOSED TO EAT, and WHEN! Not being really sure about that, I tried to match the flavors to the individual steps, blending, for instance, the lime and cherry flavors for steps that had electrical wires in them, but after a while I stopped using the Haribos entirely, and instead reverted to my own inter-step relief mechanism (a cigarette.a puff, and some coffee), and after step 6, seriously, a beer and some sleep was in order. In the entire assembly there were only one or two times that I felt slightly unsure about what I was doing, but was always able to resolve it by examining the photos, comments, and pieces until I was sure how the next step was supposed to proceed.

After about 12 hours at a fairly careful easy pace, I had the assembled printer on my table.
STARTUP, SELF TEST, FIRST PRINTS
It then took me a couple of hours to watch the intro videos two times before I turned on the switch. I wanted to be sure what I could expect, and hopefully that was not just a spark and a puff of smoke :-)
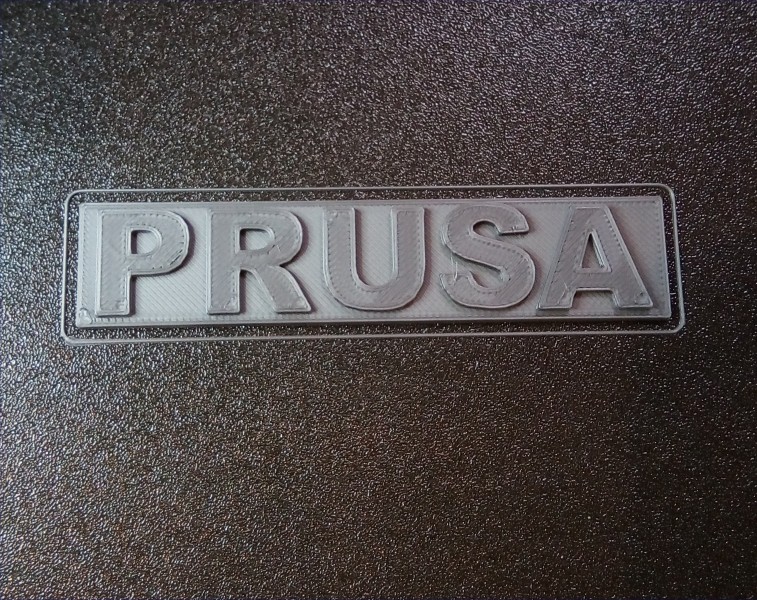
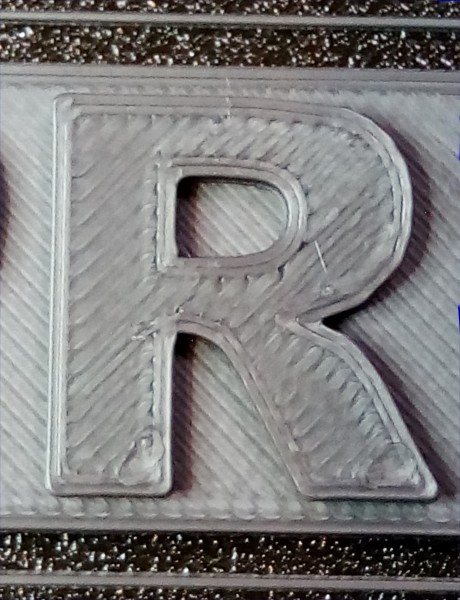
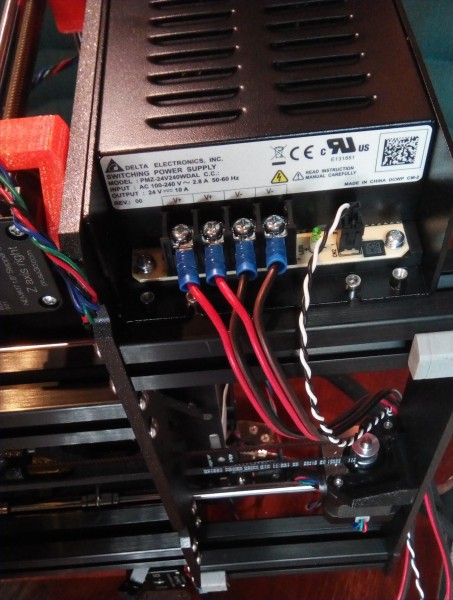
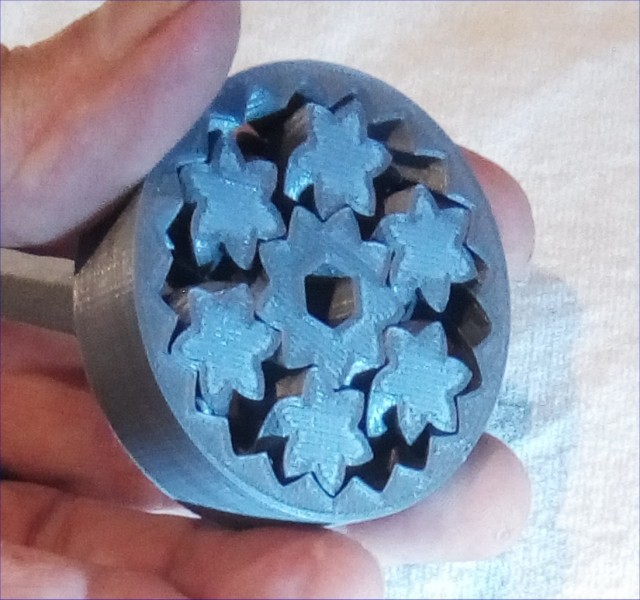
All went well, as I ran through the self tests and initial setup and alignment according to the video and firmware program. I did my first print of the Prusa logo and had a beer just looking at, and holding it. By 5:00pm I found a slightly better home for the printer than in the center of my dining room table and started a more complicated print of the gear mechanism, which finished in a couple of hours:
I had ordered some other filaments. I don’t want to break the airtight seals on the packages yet due to the extremely high humidity here in Panama and on the boat, but one of the packages included a plastic bag with about 15 different samples of PLA … about a meter of each.
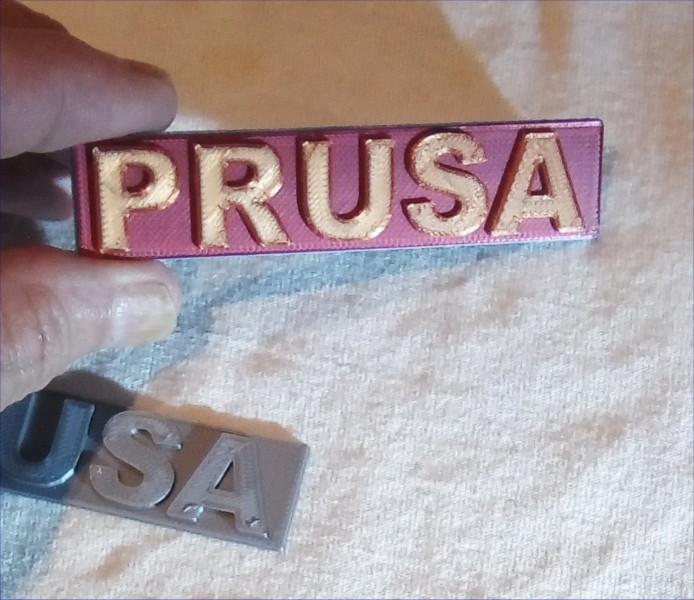
So, I played around with loading and unloading filaments, and made a two color print of the PRUSA logo (copper metal filament on top of red filament) by stopping the print after it finished the base layer, and changing the filament at that point. It’s actually three colors as I started with a small piece of some blue filament (which would have looked better with the copper), but ran out before the base was finished.
Anyways, it all works, and I am very excited.
MY OWN (FIRST) 3D PRINTED DESIGN
So, to finish off my second waking period with this printer, about 7:00pm on Sunday night I decided to make my own coin (instead of printing the Prusa badge over and over).
Since I’m completely new to 3D printing, I had to download and install a slicer. Without further ado I just downloaded and installed the Prusa software package for Win10. Later I may try other slicers, but for now I just wanted to get something of my own, for the first time, to the printer.
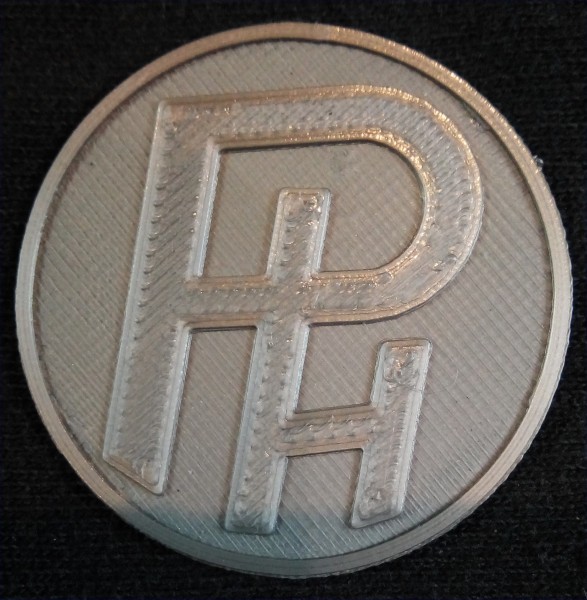
Above is the coin in gray Prusament.
Likewise, although I have downloaded and installed fusion, I decided not to try to learn it for the first thing. I’m already familiar with Sketchup, and so I just used Sketchup to create the coin. Nonetheless, I had to download the sketchup STL extension, and figure out how to create a “solid” and a “shell” from that.
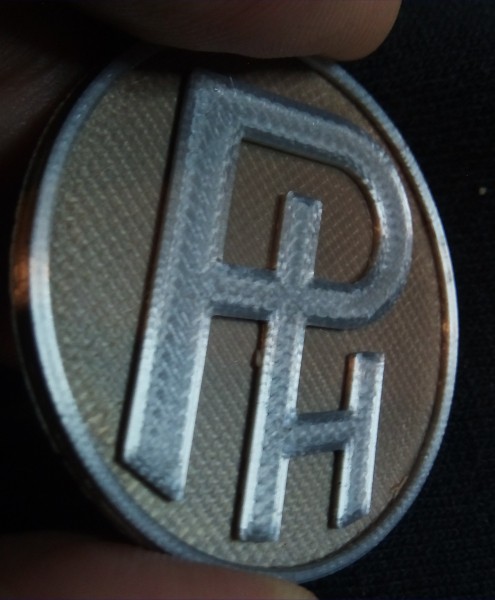
Below the coin in copper over silver(ish) ....
I loaded the STL into PrusaSlicer, learned enough to set a layer height and export the gcode, stuck the gcode on the Prusa SD Card, put it in the machine, and pressed print (cleaned the bed, pre-heat the machine, load Prusament filament, select the file from the SD Card, and press print).
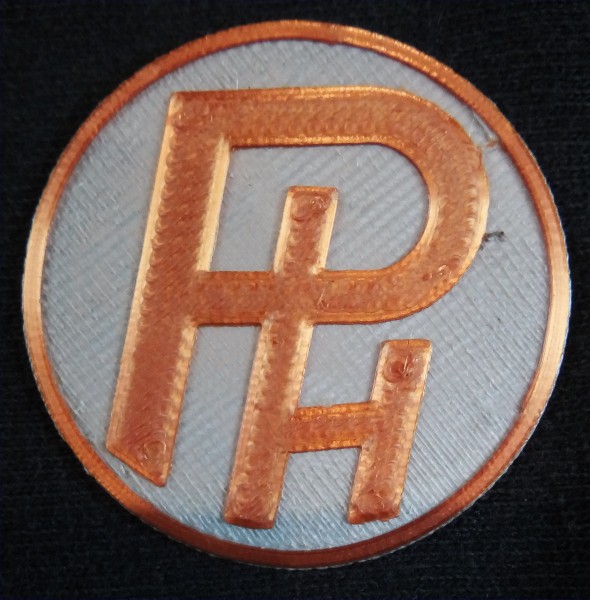
Below, my favorite: silver over gold.
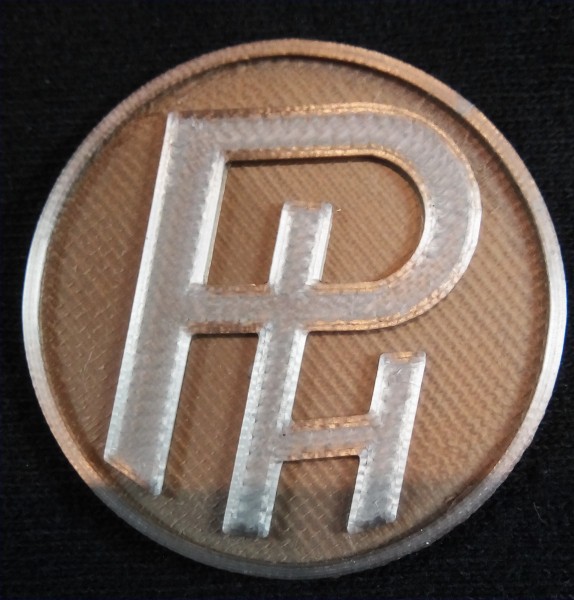
The coin cam out pretty good in Prusament, so I tried a couple of two color prints, Copper on Silver, and then Silver on this light gold stuff, which I think looks pretty cool (the best so far).
CLOSING AND NEXT STEPS
Today I want to try to design a holder for my cellphone that I can attach to a mic stand when I use the camera to take photos for projects. I’ve just been using a rubber band to attach the phone directly the mic adapter, which is not optimal, so I think this will be a good first fusion project.
I have a ton of other experiments to perform with 3D printing, and as I said, this may not be appropriate for hackaday, but I look forward to experimenting with it. I have some conductive filaments to play with, and I have an idea of running optical signals through things as well, so I got a bunch of photo transistors and diodes. Got a ton of various ws2812bs LEDs that I want to see about sticking into prints somehow, and there are various actual things I want to try making. Also have a variety of other materials, including PETG, ABS, and TPU to try.
But all in all, I am very, very happy with the printer.
I could have probably gotten 90% of this experience from a $150 chinese kit on ebay. But I’m generally ok with the fact that I have paid a premium to ensure that my first 3D printing experiences were good ones, considering today is the third day, and I’m ready to start a fairly substantial design project.
I am happy I got a Prusa. I know this is pretty old hat to most of you makers, but for me, just getting started, I think Josef and the team are a great company with a vision, and I’m glad to be using their product and associated with their effort.
Overall AAA++.