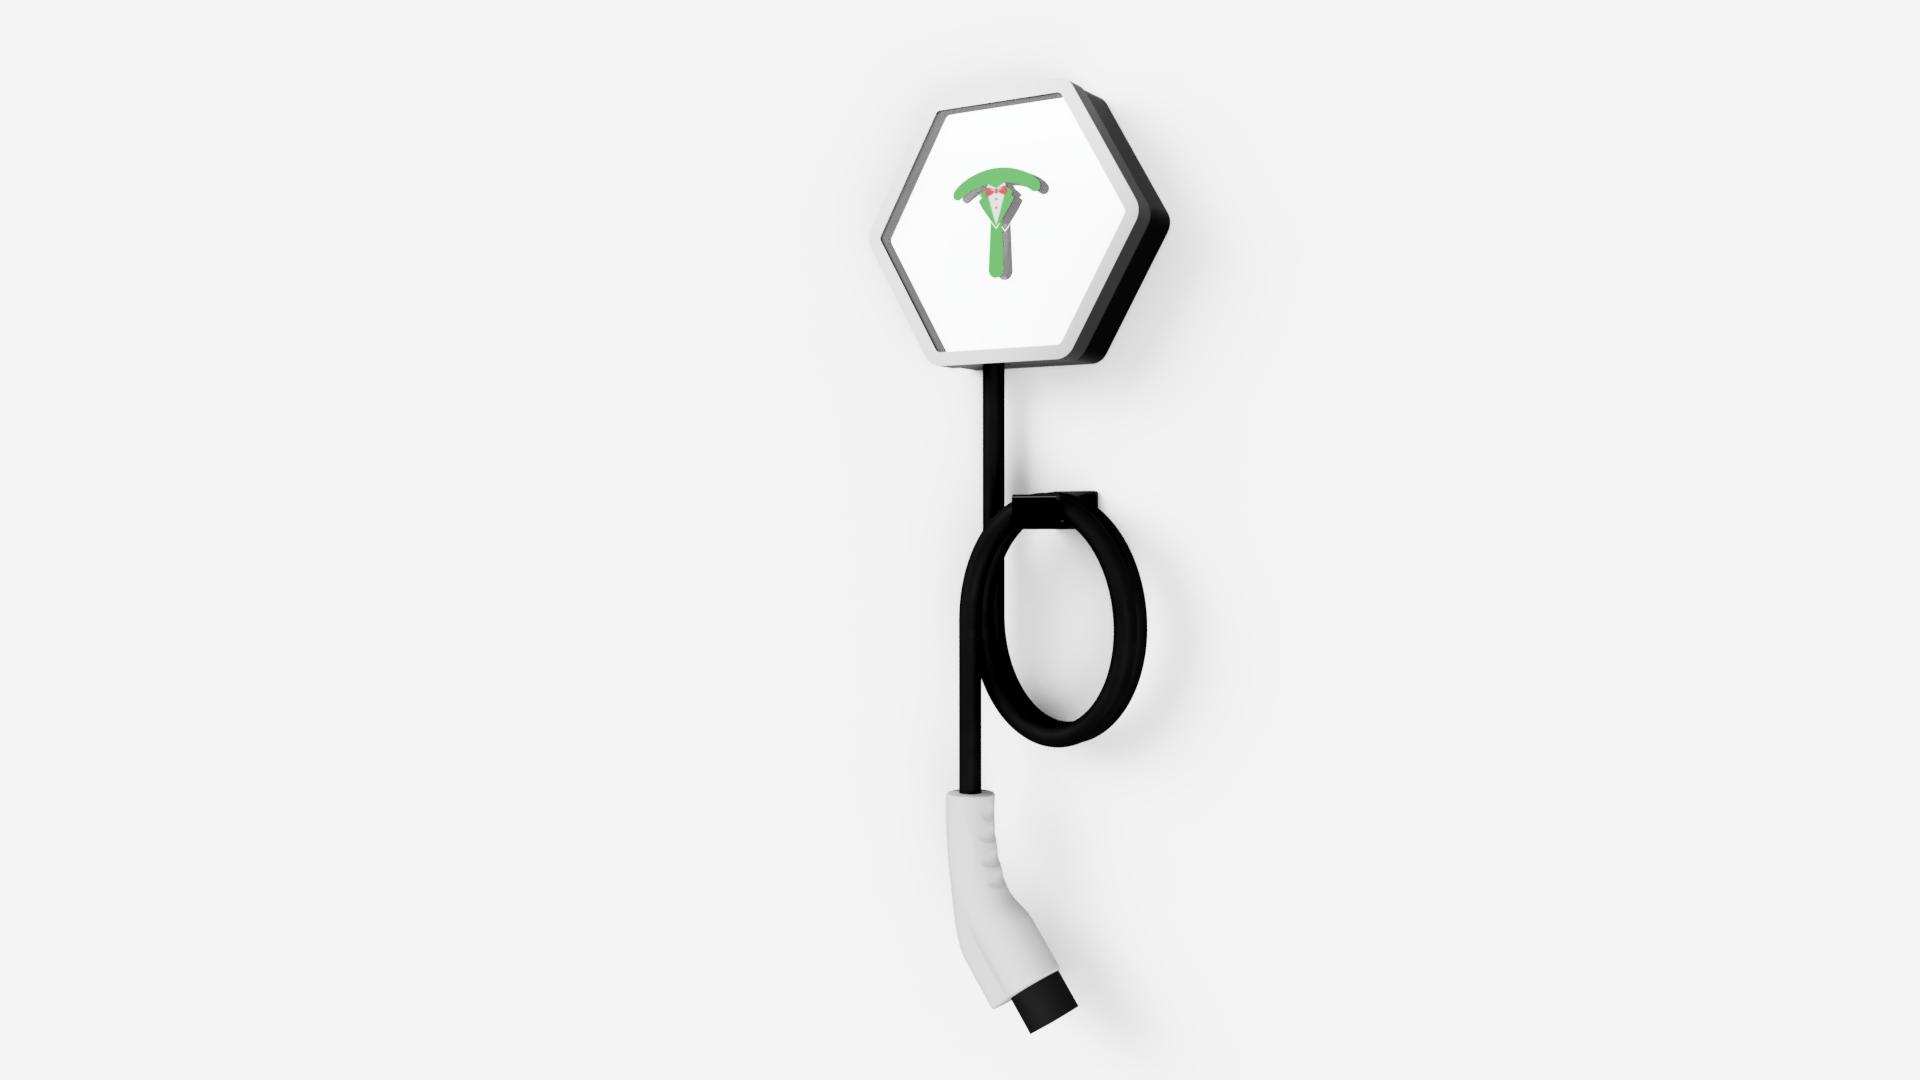
 Mastro Gippo
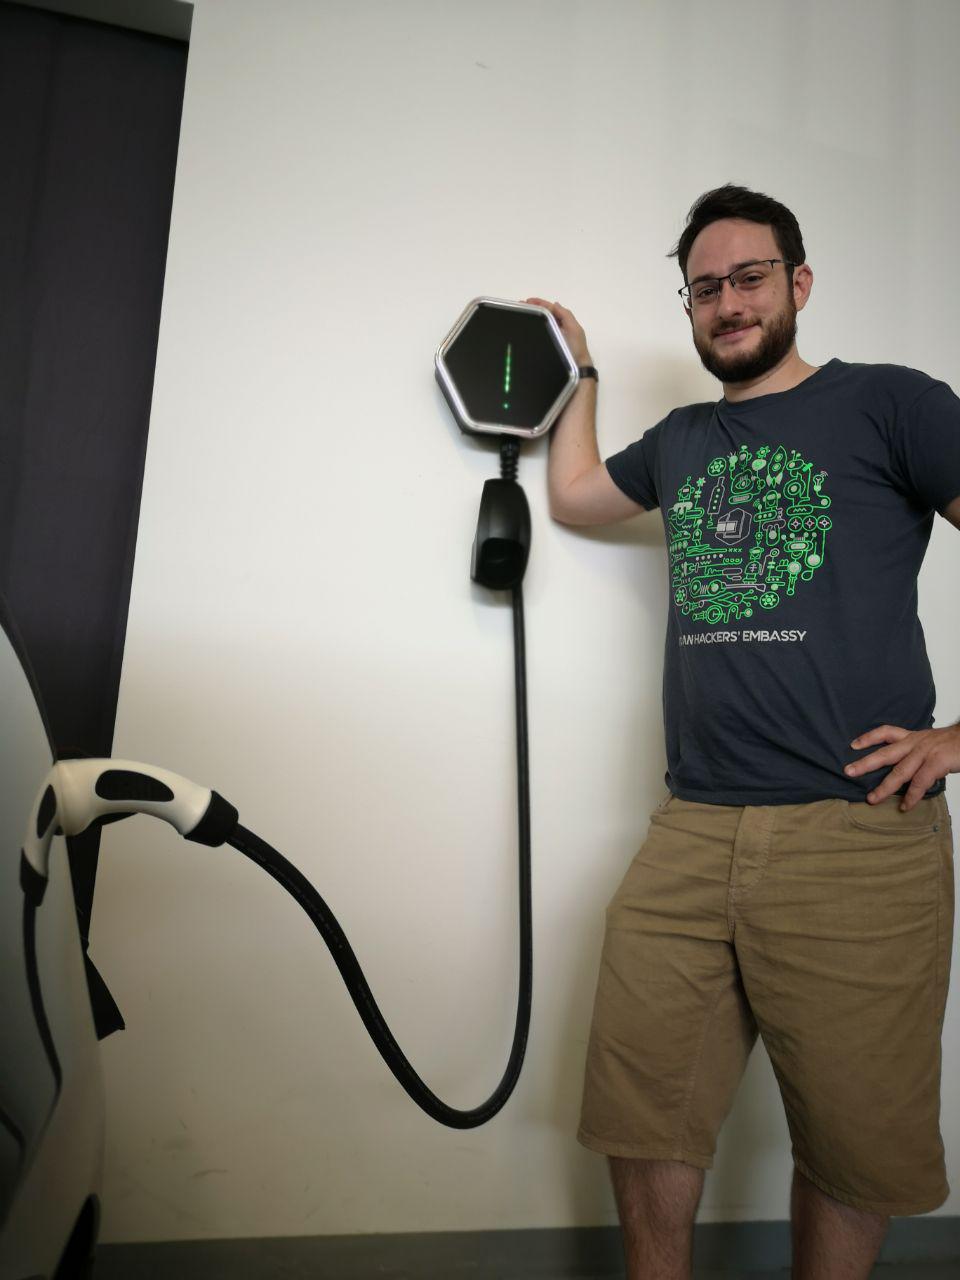
Today is the deadline for the Hackaday Prize contest, and that's a great chance to write a recap article about Prism.
Before going on with the technicalities, you can read an overview of the reasoning behind the project, learn more about EV charging basics, and read a brief overview of some similar products. We tested or even purchased most of the competitor products over the years but were not satisfied with them for one reason or another. So we decided to build Prism with every features we always wanted, and make it open so everyone could implement their own.
 It all started with some prototyping: I built a test board to talk to the car and a relay board to switch high voltage (Sources here and here). I went on testing another important part of the system, the power measurement module, that is based on a super cool Microchip ATM90E36 that does all the heavy lifting. I designed boards (HV in and ATM90, 12ch isolator) to test this part, reverse engineered Atmel/Microchip's own software, and wrote an open alternative (firmware here) to make it easy for anyone to develop software for this IC.
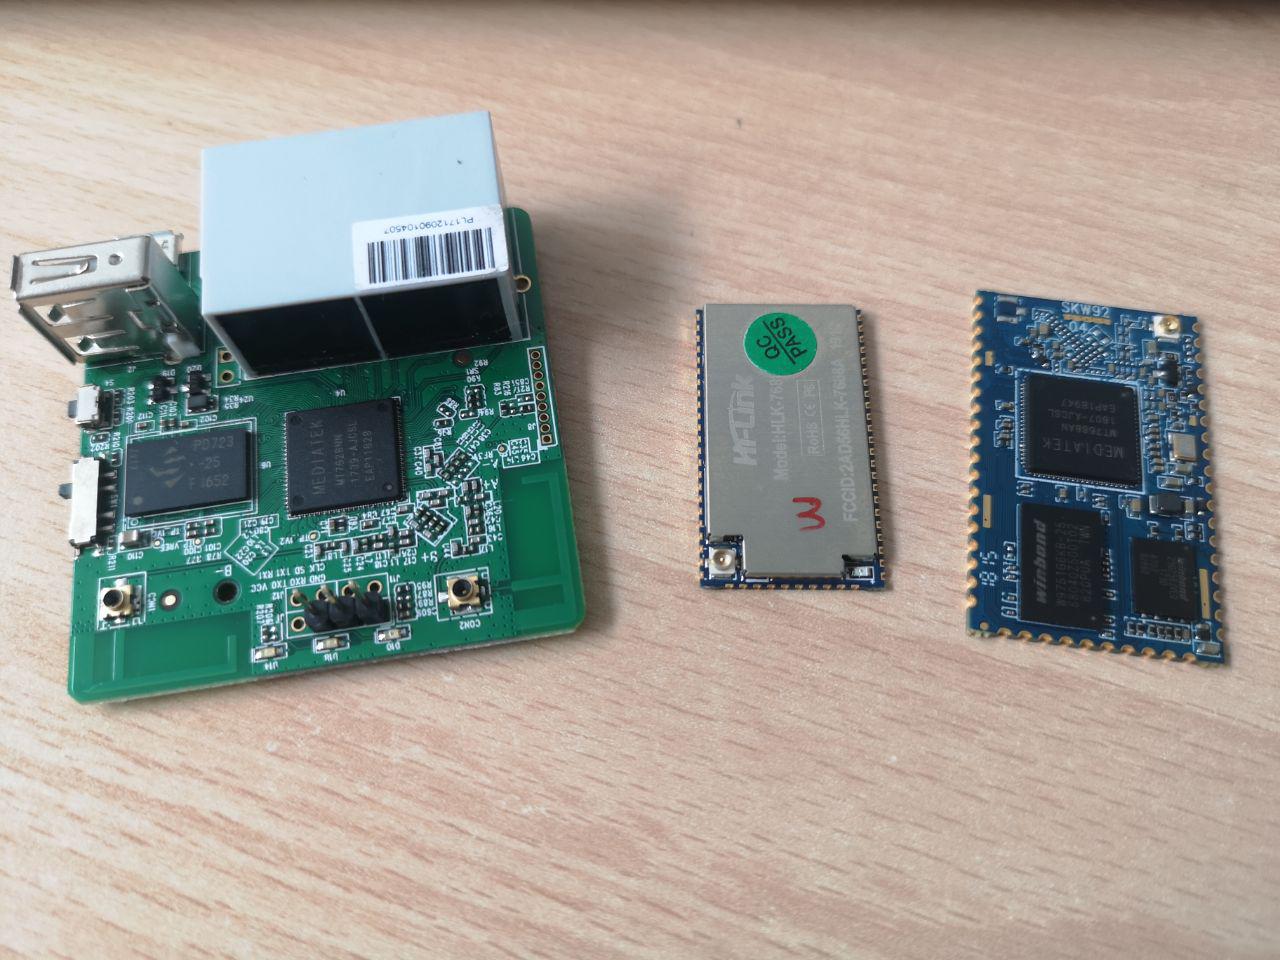
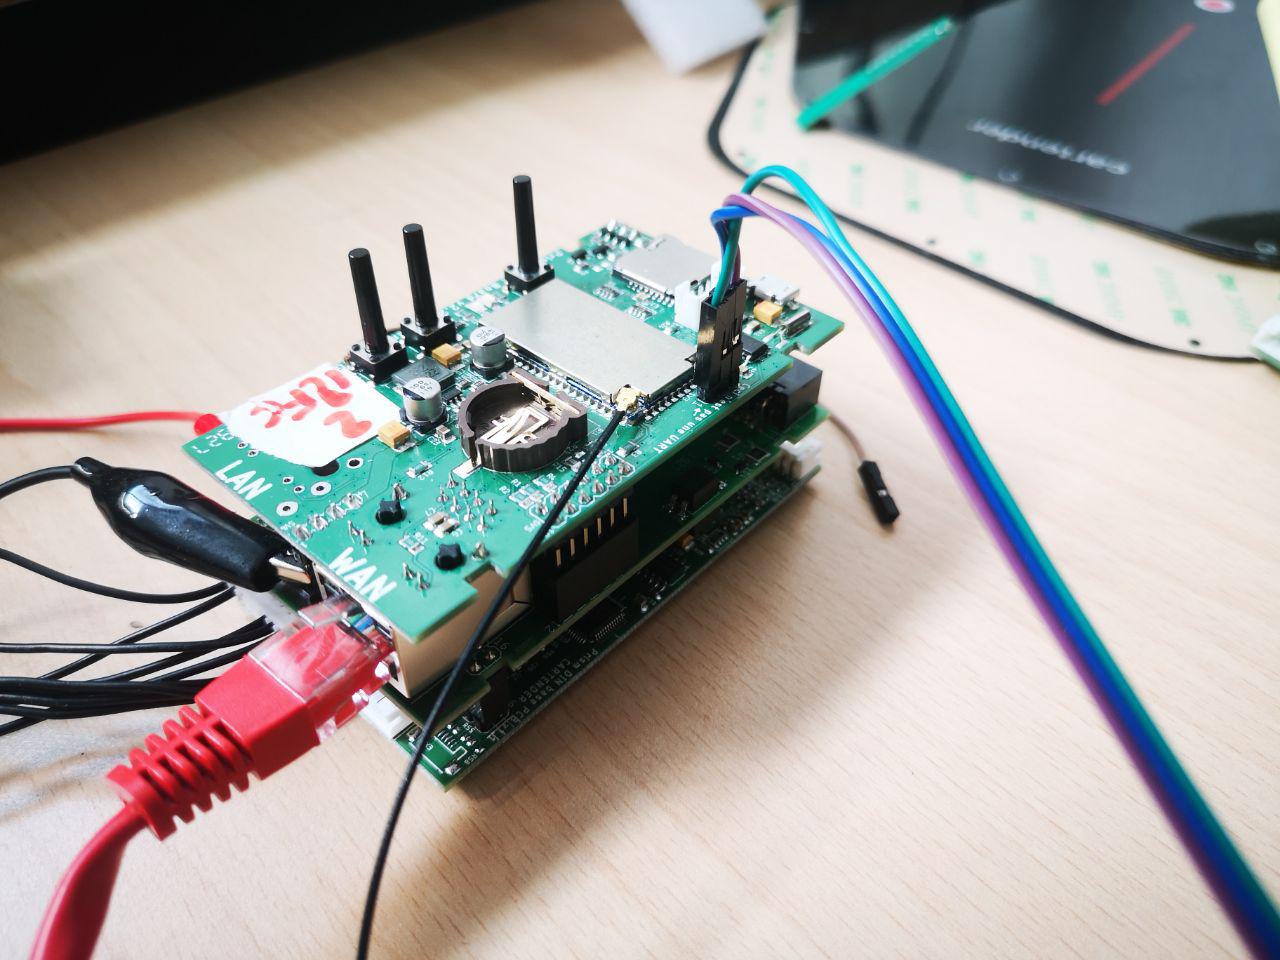
I then had to decide how to add intelligence and connectivity to the project. After long searches and lots of testing, I went back in time to the good old Linksys WRT54GL days and decided to use a routerboard module as the brain of the device. Using OpenWRT makes everything easier especially on the connectivity front, and the distro is very light weight, running on minimal hardware with a small power consumption. Adding an RTC to the module I discovered a bug in the kernel drivers and proposed a patch. What an adventure for a humble hardware dev messing with low level Linux!
With everything lined up and working, it's time to think about integration. Power management is usually pretty straightforward, but for this project it proved to be a bit of a headache as I needed various voltages. It was also time to update my Eagle library, since I've designed footprints and symbols for many hard to find parts while developing this project.
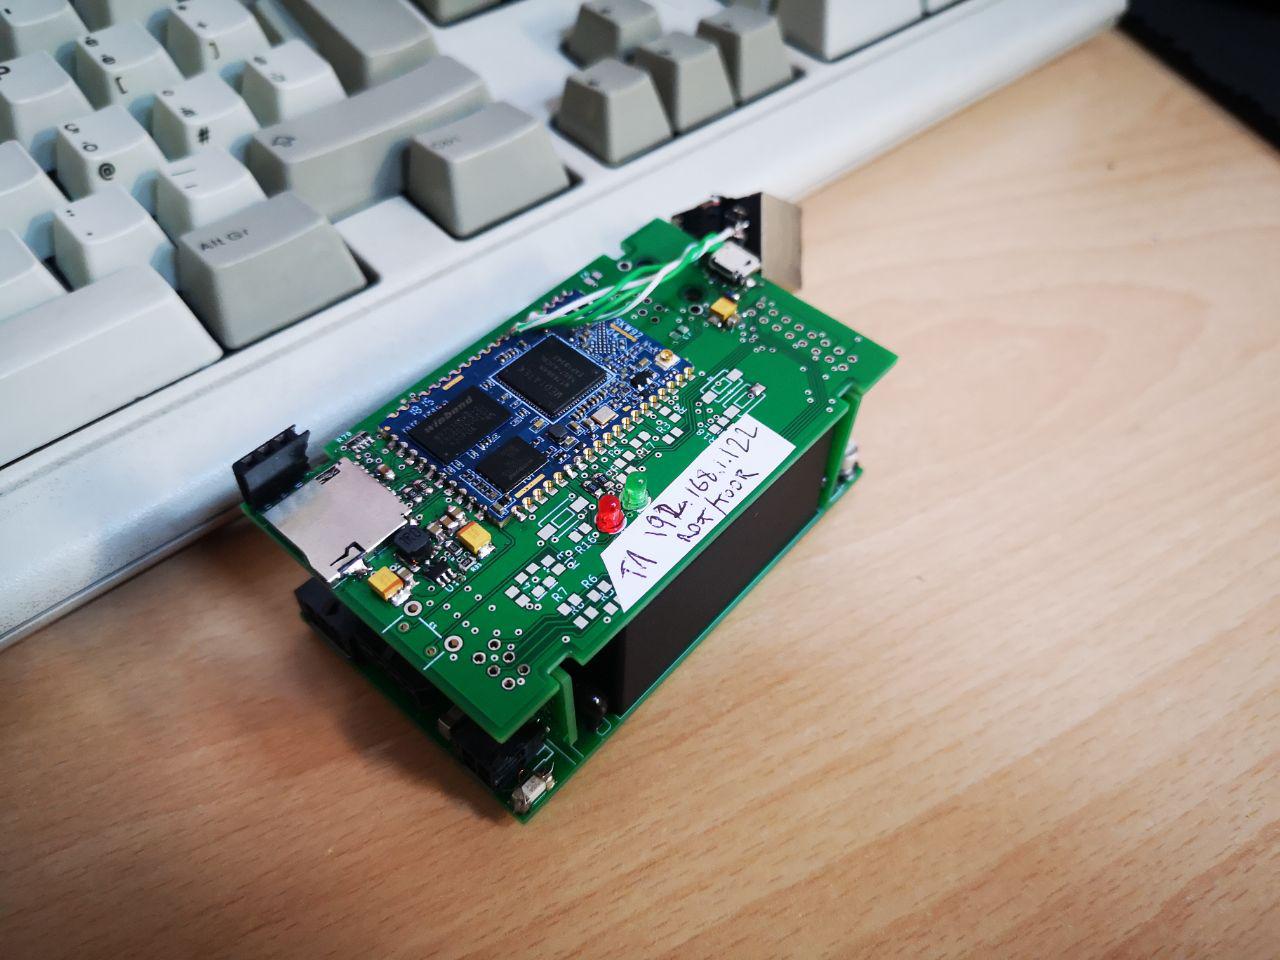
Trying to fit all the electronics inside a universal 3-DIN box proved a challenge. I wanted to use this enclosure as it's a proven standard and would make it easy to fit all the hardware anywhere, making the electronics independent from the outer enclosure. All the components will finally fit into four separate boards that are themselves modular, so it would be pretty easy to fit other linux modules replacing and modifying only the design of that board. Both Firmware and Hardware are open source of course; instead of releasing only gerbers we're publishing all the files so it's easier to modify them. The new version will be available soon, as we recently assembled a few boards and we're working hard testing them and ironing out the last few bugs. [Spoiler] I ditched the vertical boards and made a three boards stack, with standard and cheap pin strips to join them:
Getting ready to manufacture the boards we needed a fast and reliable way to test them so I asked Michele, our new intern, to design a nail bed. That would also allow him to get up to speed with the inner working of the project, but it turned out to be a quite spectacular fail. If anyone wants to help us on this part, sources are available here! :)
In the meantime, we were going crazy trying to find a viable and cheap solution for the exterior enclosure. We had to surrender to an expensive plastic mold, but not without a fight. I released the sources of an early prototype with potential for DIY experimentation. You can find the final enclosure CAD files here, to design add-ons or 3D print it (I wouldn't recommend that though, it has to be really strong to support the weight of the cable and auto-extinguish in case of fire).
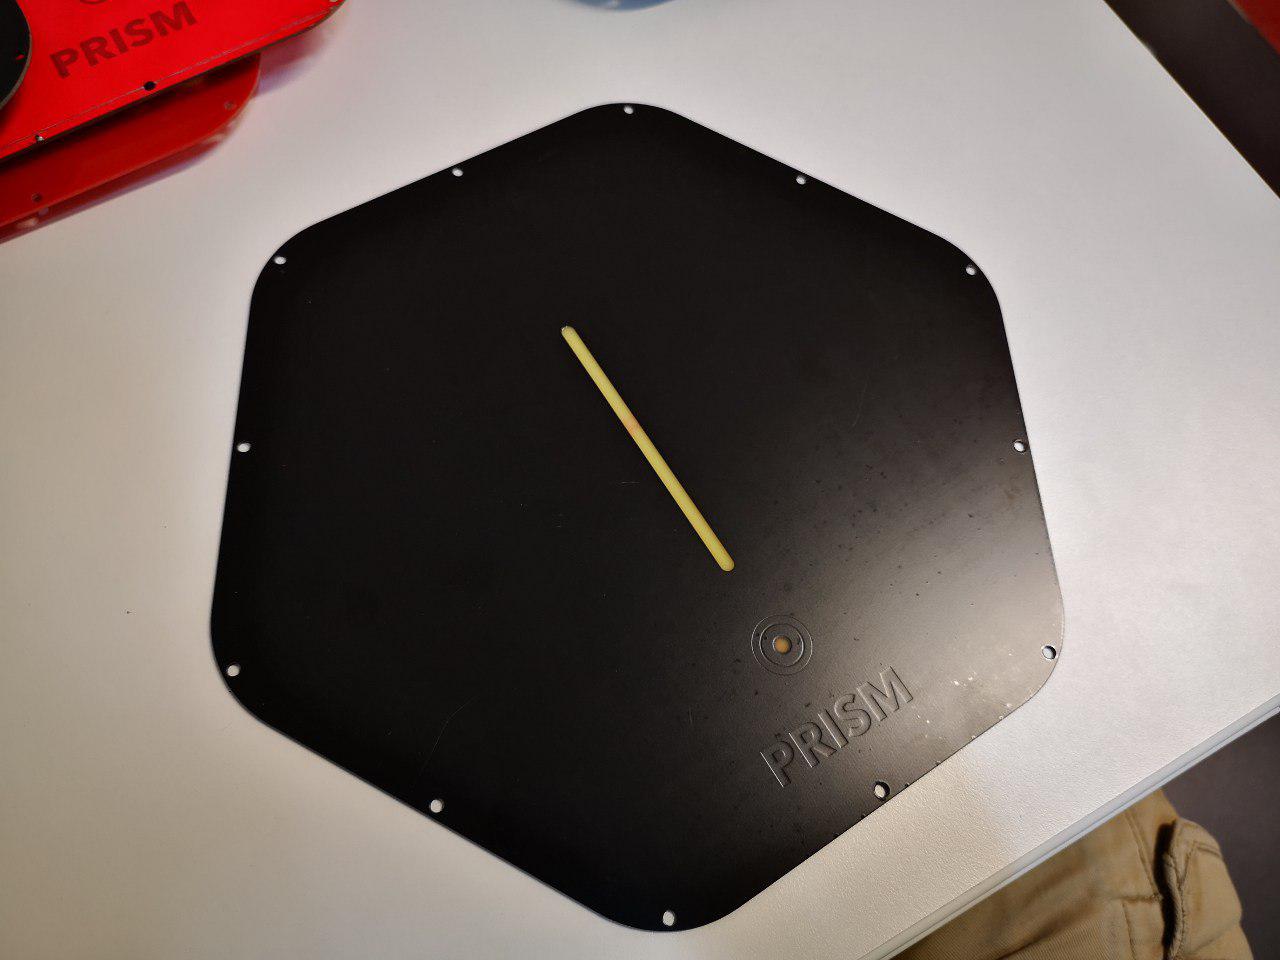
The design of this enclosure gave me the chance to experiment with an interesting concept for the front cover. I used a PCB for this part, as it's very strong and durable, can host electronics, is semi-transparent for LEDs and looks really nice. This raised a few concerns, but with the help of experts we found a solution that satisfied all safety requirements; I still have to test it due to some problems with the manufacturer though. Since this part is isolated from the high voltage stuff, this is a great gateway to encourage people to experiment! As sources are available, it's very easy for makers to customize this part. It's based on an Atmega328 so it can be programmed with the Arduino framework, with a piezo speaker to sense knocks and play sounds, a touch button and seven RGB LEDs. But I'd love to see someone develop some entirely different designs like a HAL9000 version with a LED ring, or a Supercar version with a horizontal LED strip playing the Larson scanner and the silhouette of K.I.T.T. etched on the copper layer!
Since a big goal for this project is to have people hacking it, safety has been an important driver for many design decisions so we only used certified industrial components for the final wiring and greatly oversized contactors to prevent fires. We also added a Residual Current Monitor (or GFCI) that detects both AC and DC leakage, since we're charging a >400V battery, that allows users to avoid installing an expensive external type B RCD . Being curious about how this worked, we disassembled and studied it while testing for standards compliance, and we discovered it works as a fluxgate magnetometer!
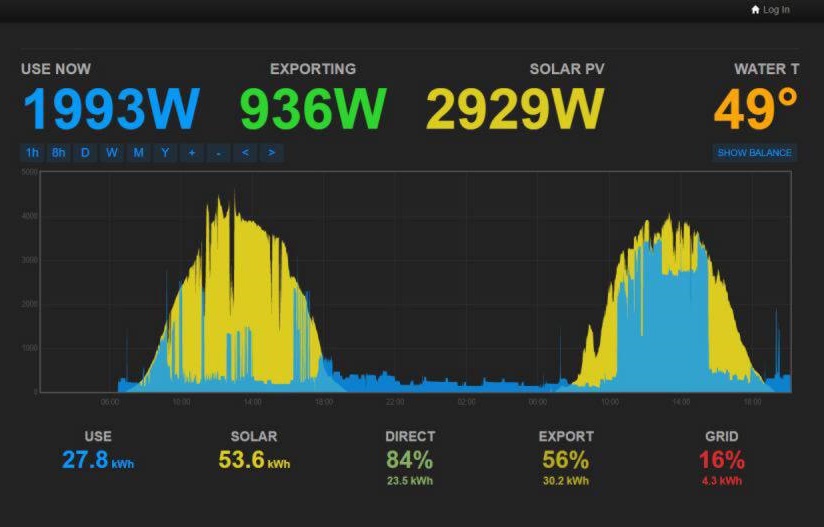
And as a final touch, we were finally able to reach one of the most important goals we set at the beginning of this project: charging a car with only free and clean solar energy. Playing with MQTT gave me a chance to implement some more frivolous functionality, like associating user input events to actions like remotely setting the charging limit through the car APIs (code here):
And finally, we started writing down some documentation both for the hardware and the software parts.
It's been quite a journey, and we still have to fight the final bosses: manufacturing the first batch and selling it. I'm pretty confident for the manufacturing part, as we got some samples of the new boards and they're looking good, and everything else is pretty much sorted out. About the commercial part, I trust my partners: we got a lot of interest from everyone we showed the project to. I've been working in the electric car industry for more than a decade, my partner ran his historic family car dealership for a long time and the third partner runs a successful renewable energy business so we already have contacts with many potential customers, some already lined up to get the first Prisms manufactured.
The price of the basic Prism is 950€ v.a.t. included, a bit less than the closest competitor but with more features out of the box and the obvious advantage of being completely open. There are also government incentives in Italy (our primary market for the first batch) that refund 50% of the expenses to people installing charging stations. The combination of price and features is quite attractive for residential customers and businesses owners to provide EV charging for employees and customers: when charging with solar energy, they can recover the full cost of Prism and its installation in less than 9 months, or half of that with government incentives! And that's not including the pleasure of travelling for free and producing no pollution thanks to the sun.
I won't dig too much in the details, but at that price we should recover the development costs and start turning a profit at around 170 sales. Bulk discounts for distributors or big installations would bring that number to about 260 units, but that would also mean we'd be selling more of them anyways. This is not including consulting services for customization, e.g. we have a potential customer for 40 units that requires some development to integrate Prism with his accounting software.
We're quite optimistic for the future and we hope to attract many nerds and makers like us that will join our project to make it great! After all we already are the biggest customers for electric cars, and owning one inevitably makes you want to experiment with it :)
Despite writing all the project logs from my point of view, this has been an incredible team effort. I'd like to thank all the amazing friends that helped make this project great. In order of "appearance":
- My parents, and especially my dad for teaching me all about electronics and passing on his passion
- Alberto, for being a great business partner and helping with the business and management:
![]()
- Anna, for designing and 3D modeling the gorgeous concepts:
![]()
- Stefano, for joining us in our business adventure and providing unique insights with his experience in renewable energy systems
- Michele helped modeling 3D parts and designing the cover and the testing jig:
![]()
- Giovanni made the Linux implementation a breeze thanks to his great experience in the field
- Paolo designed the gorgeous web frontend to manage Prism:
![]()
- Riccardo, for his amazing videomaking and photography skills
![]()
- And finally all the suppliers that worked with us to bring this project to light and made an extra effort to help us getting started.


Thanks!
Discussions
Become a Hackaday.io Member
Create an account to leave a comment. Already have an account? Log In.