Close
0%
0%

Rotating Moon Clock

A clock with a real rotating Moon.

Similar projects worth following
'Real' Moon clock. It's largely based on its predecessor the Panel-meter-moon-phase-clock with the big difference that instead of a panelmeter it has a rotating moon which depicts the phase of the moon.

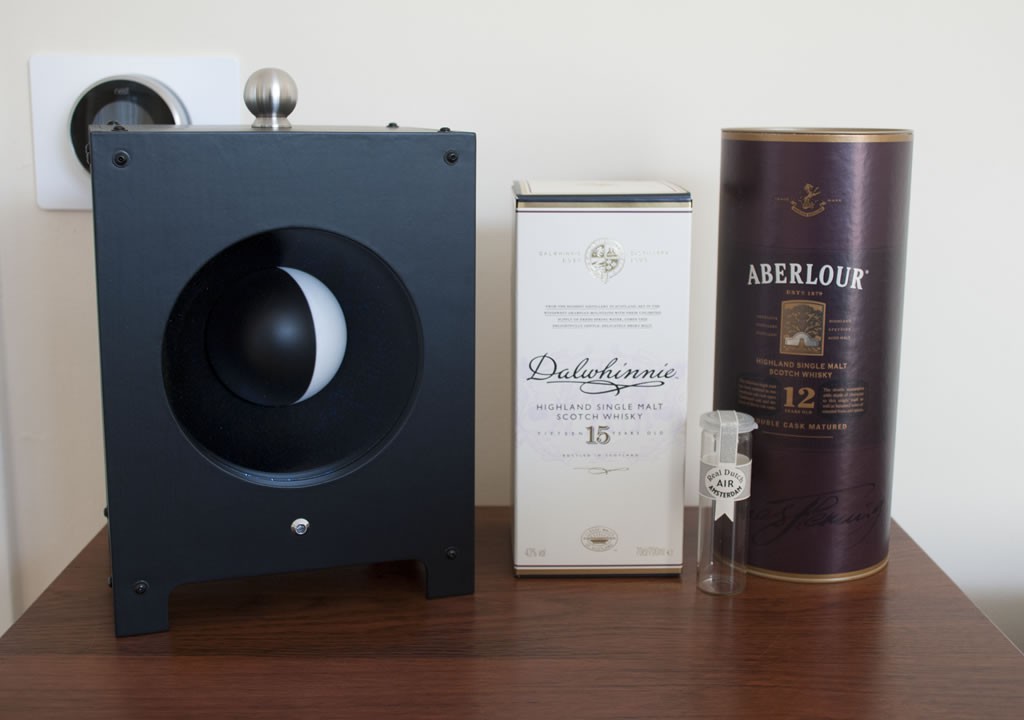
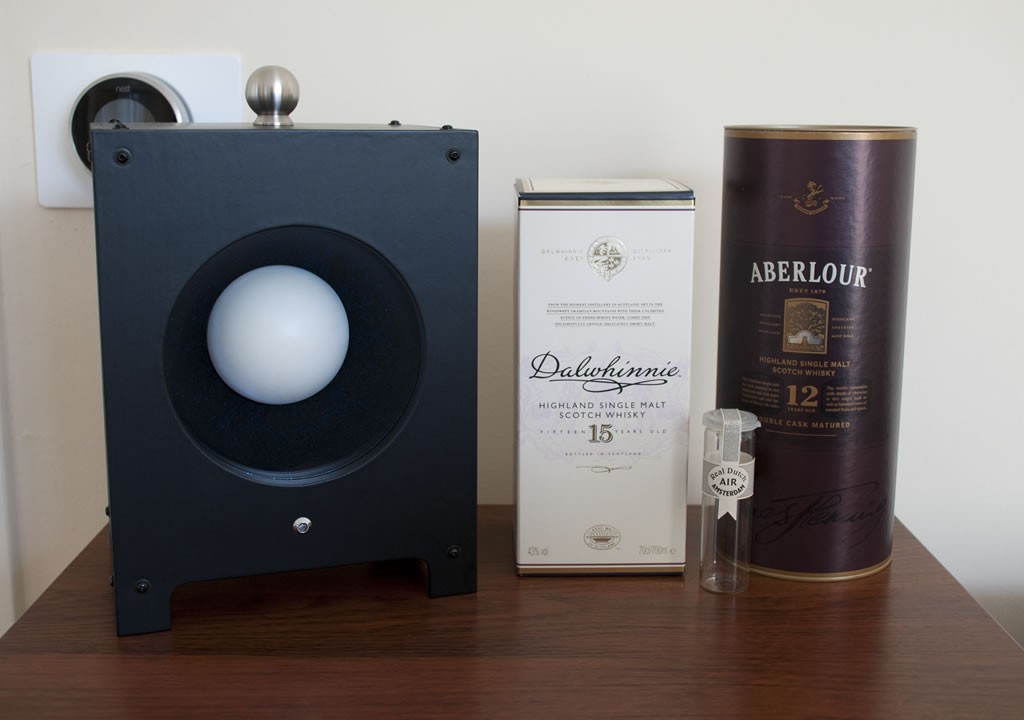
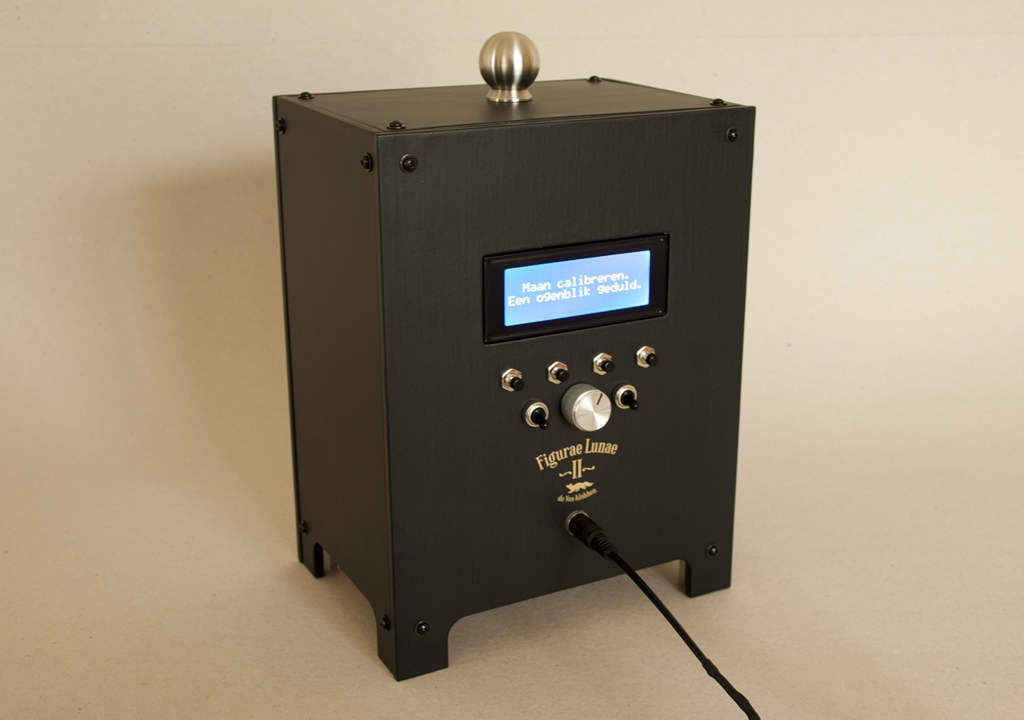
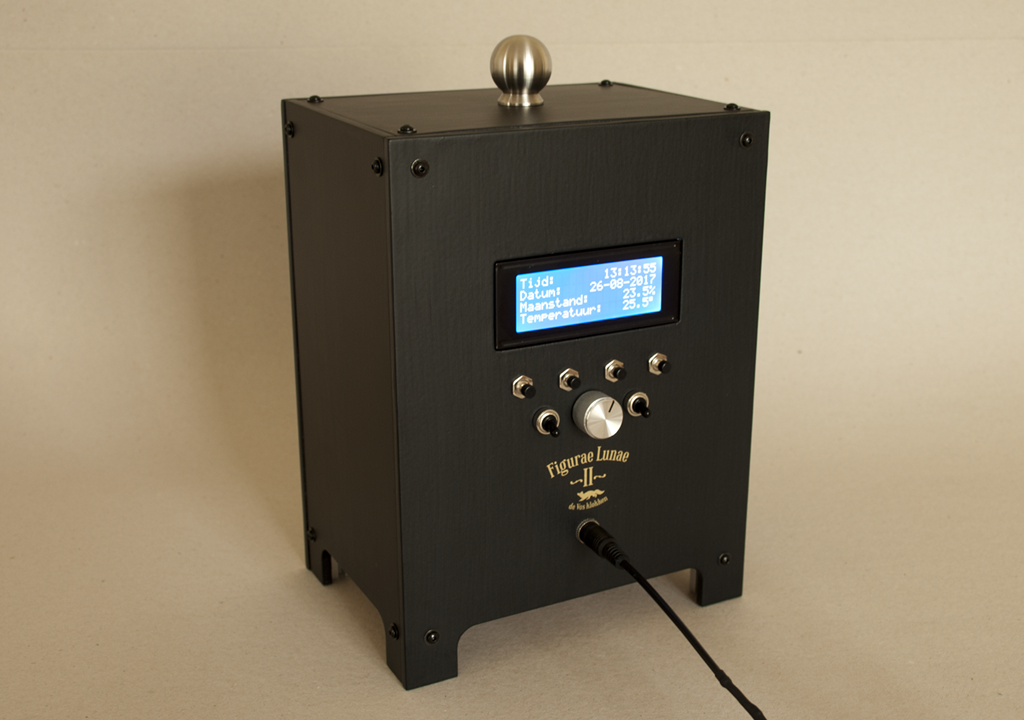
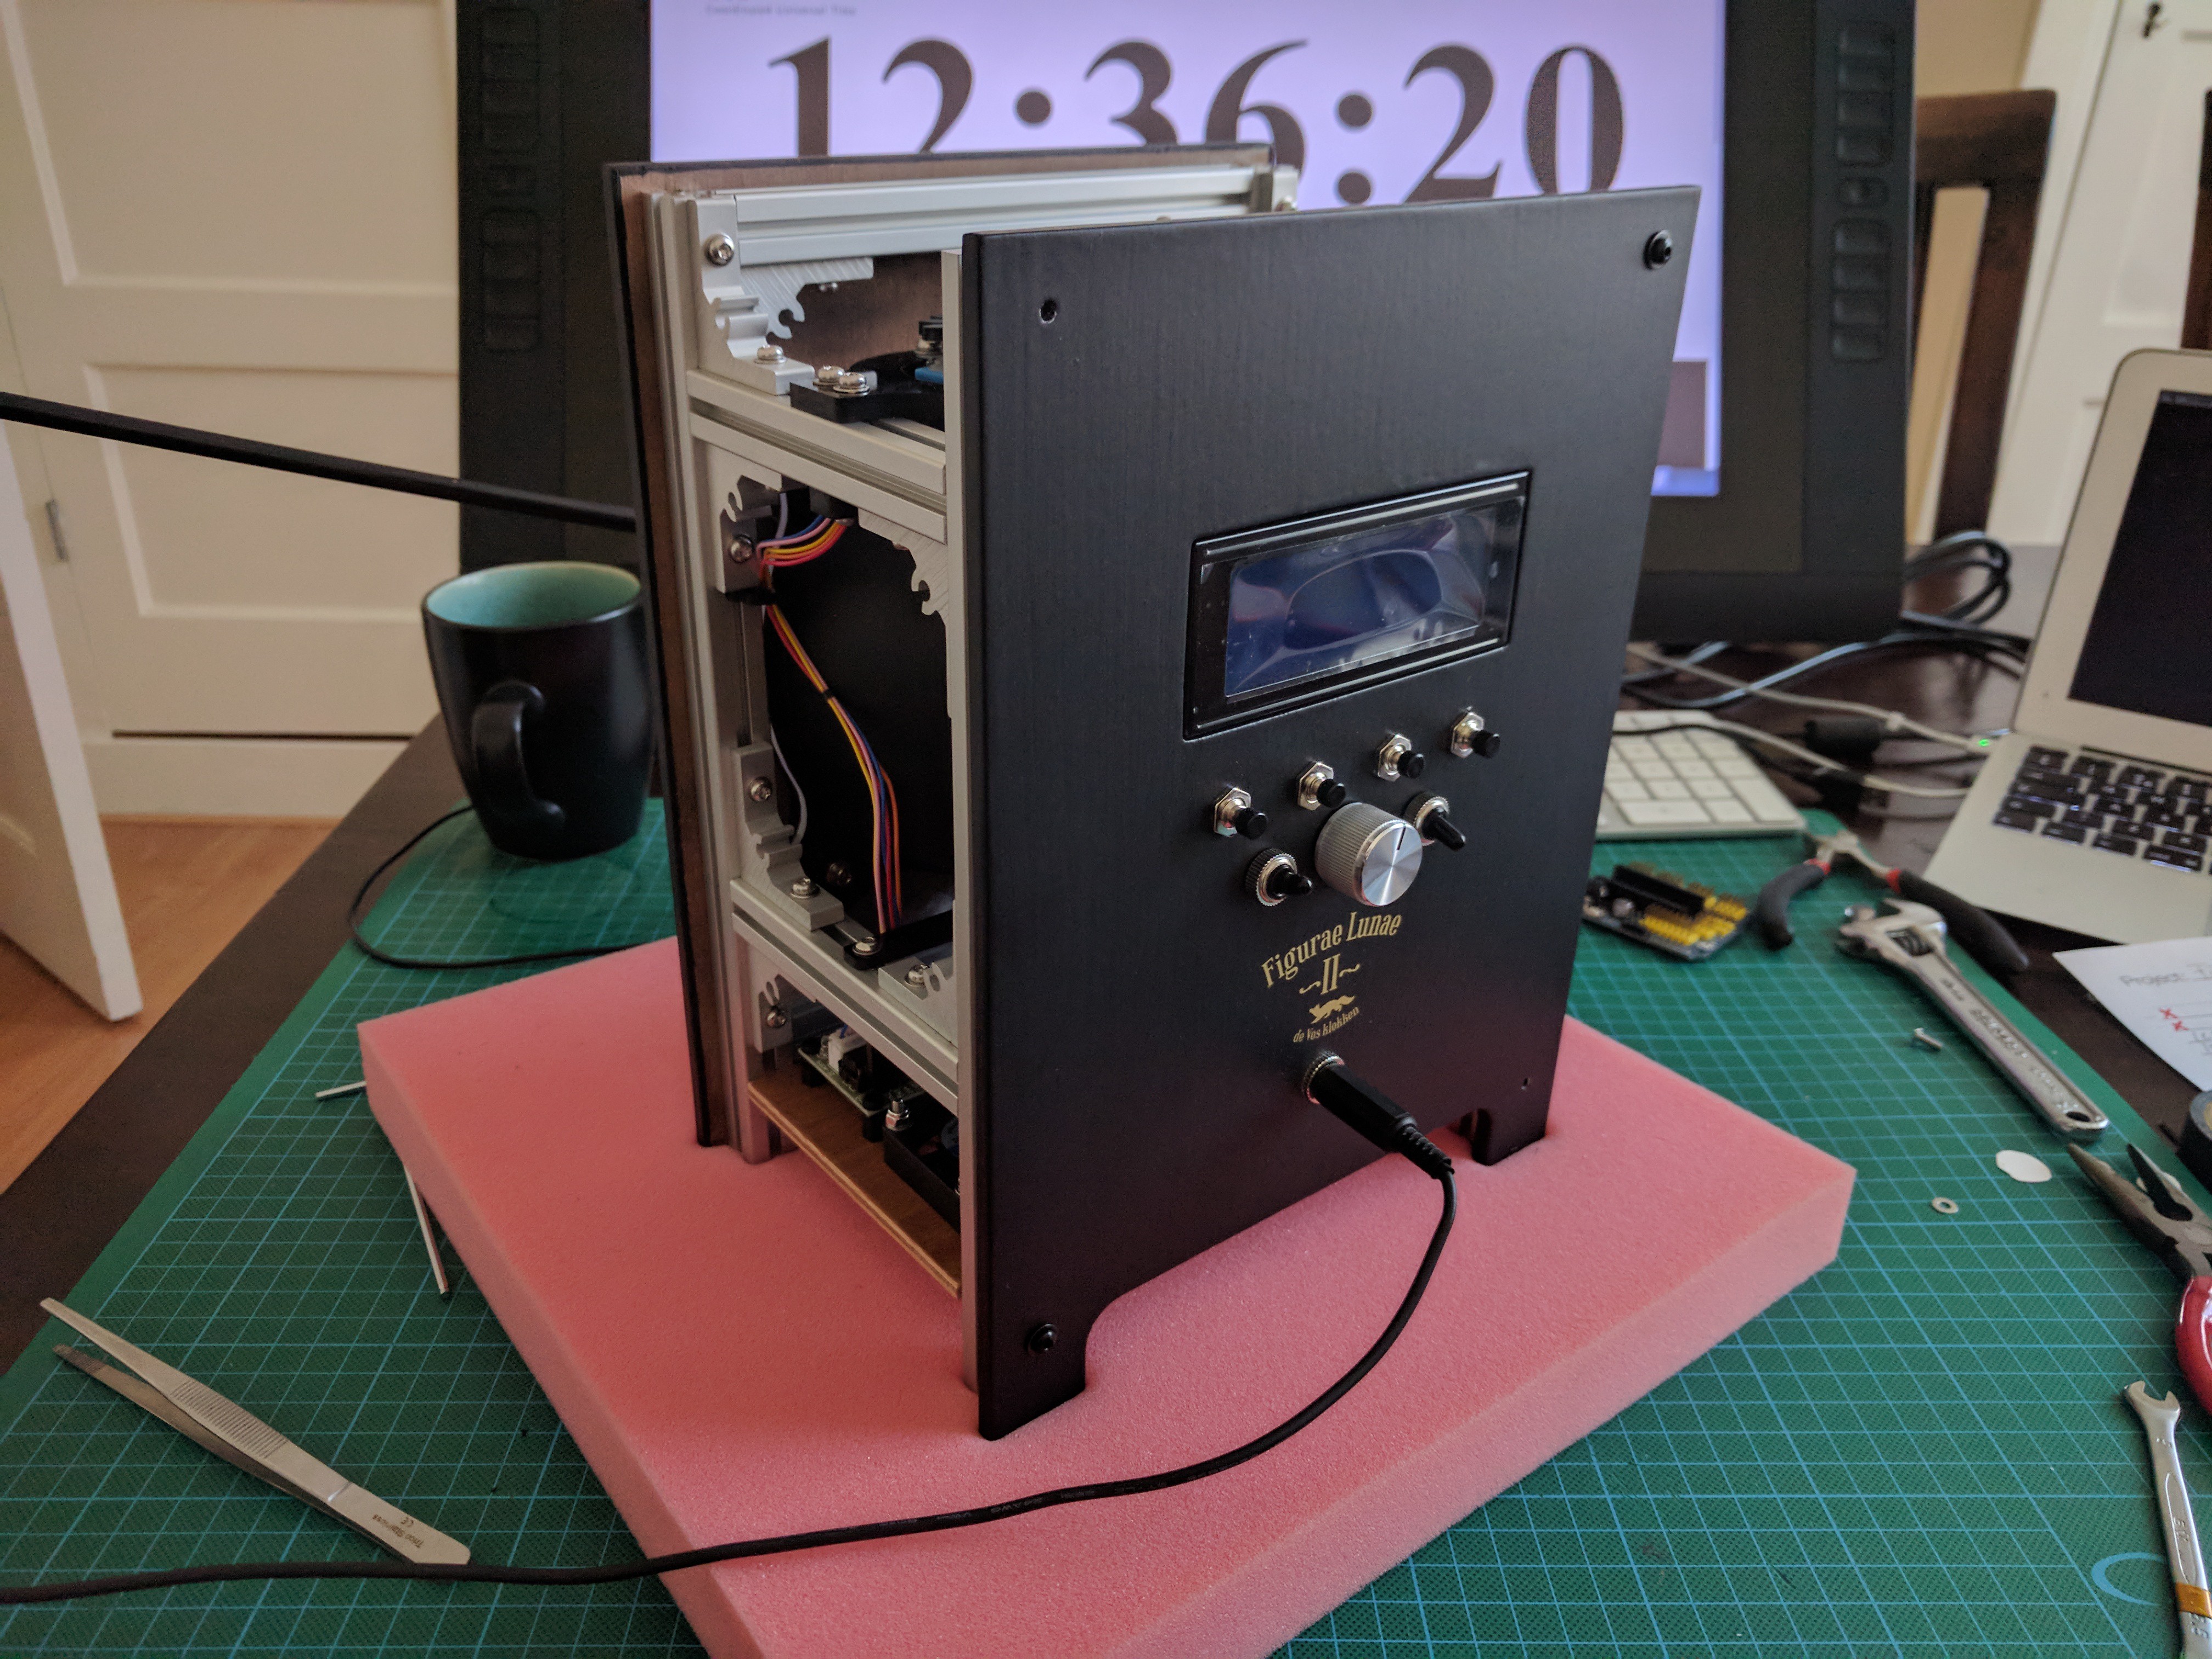
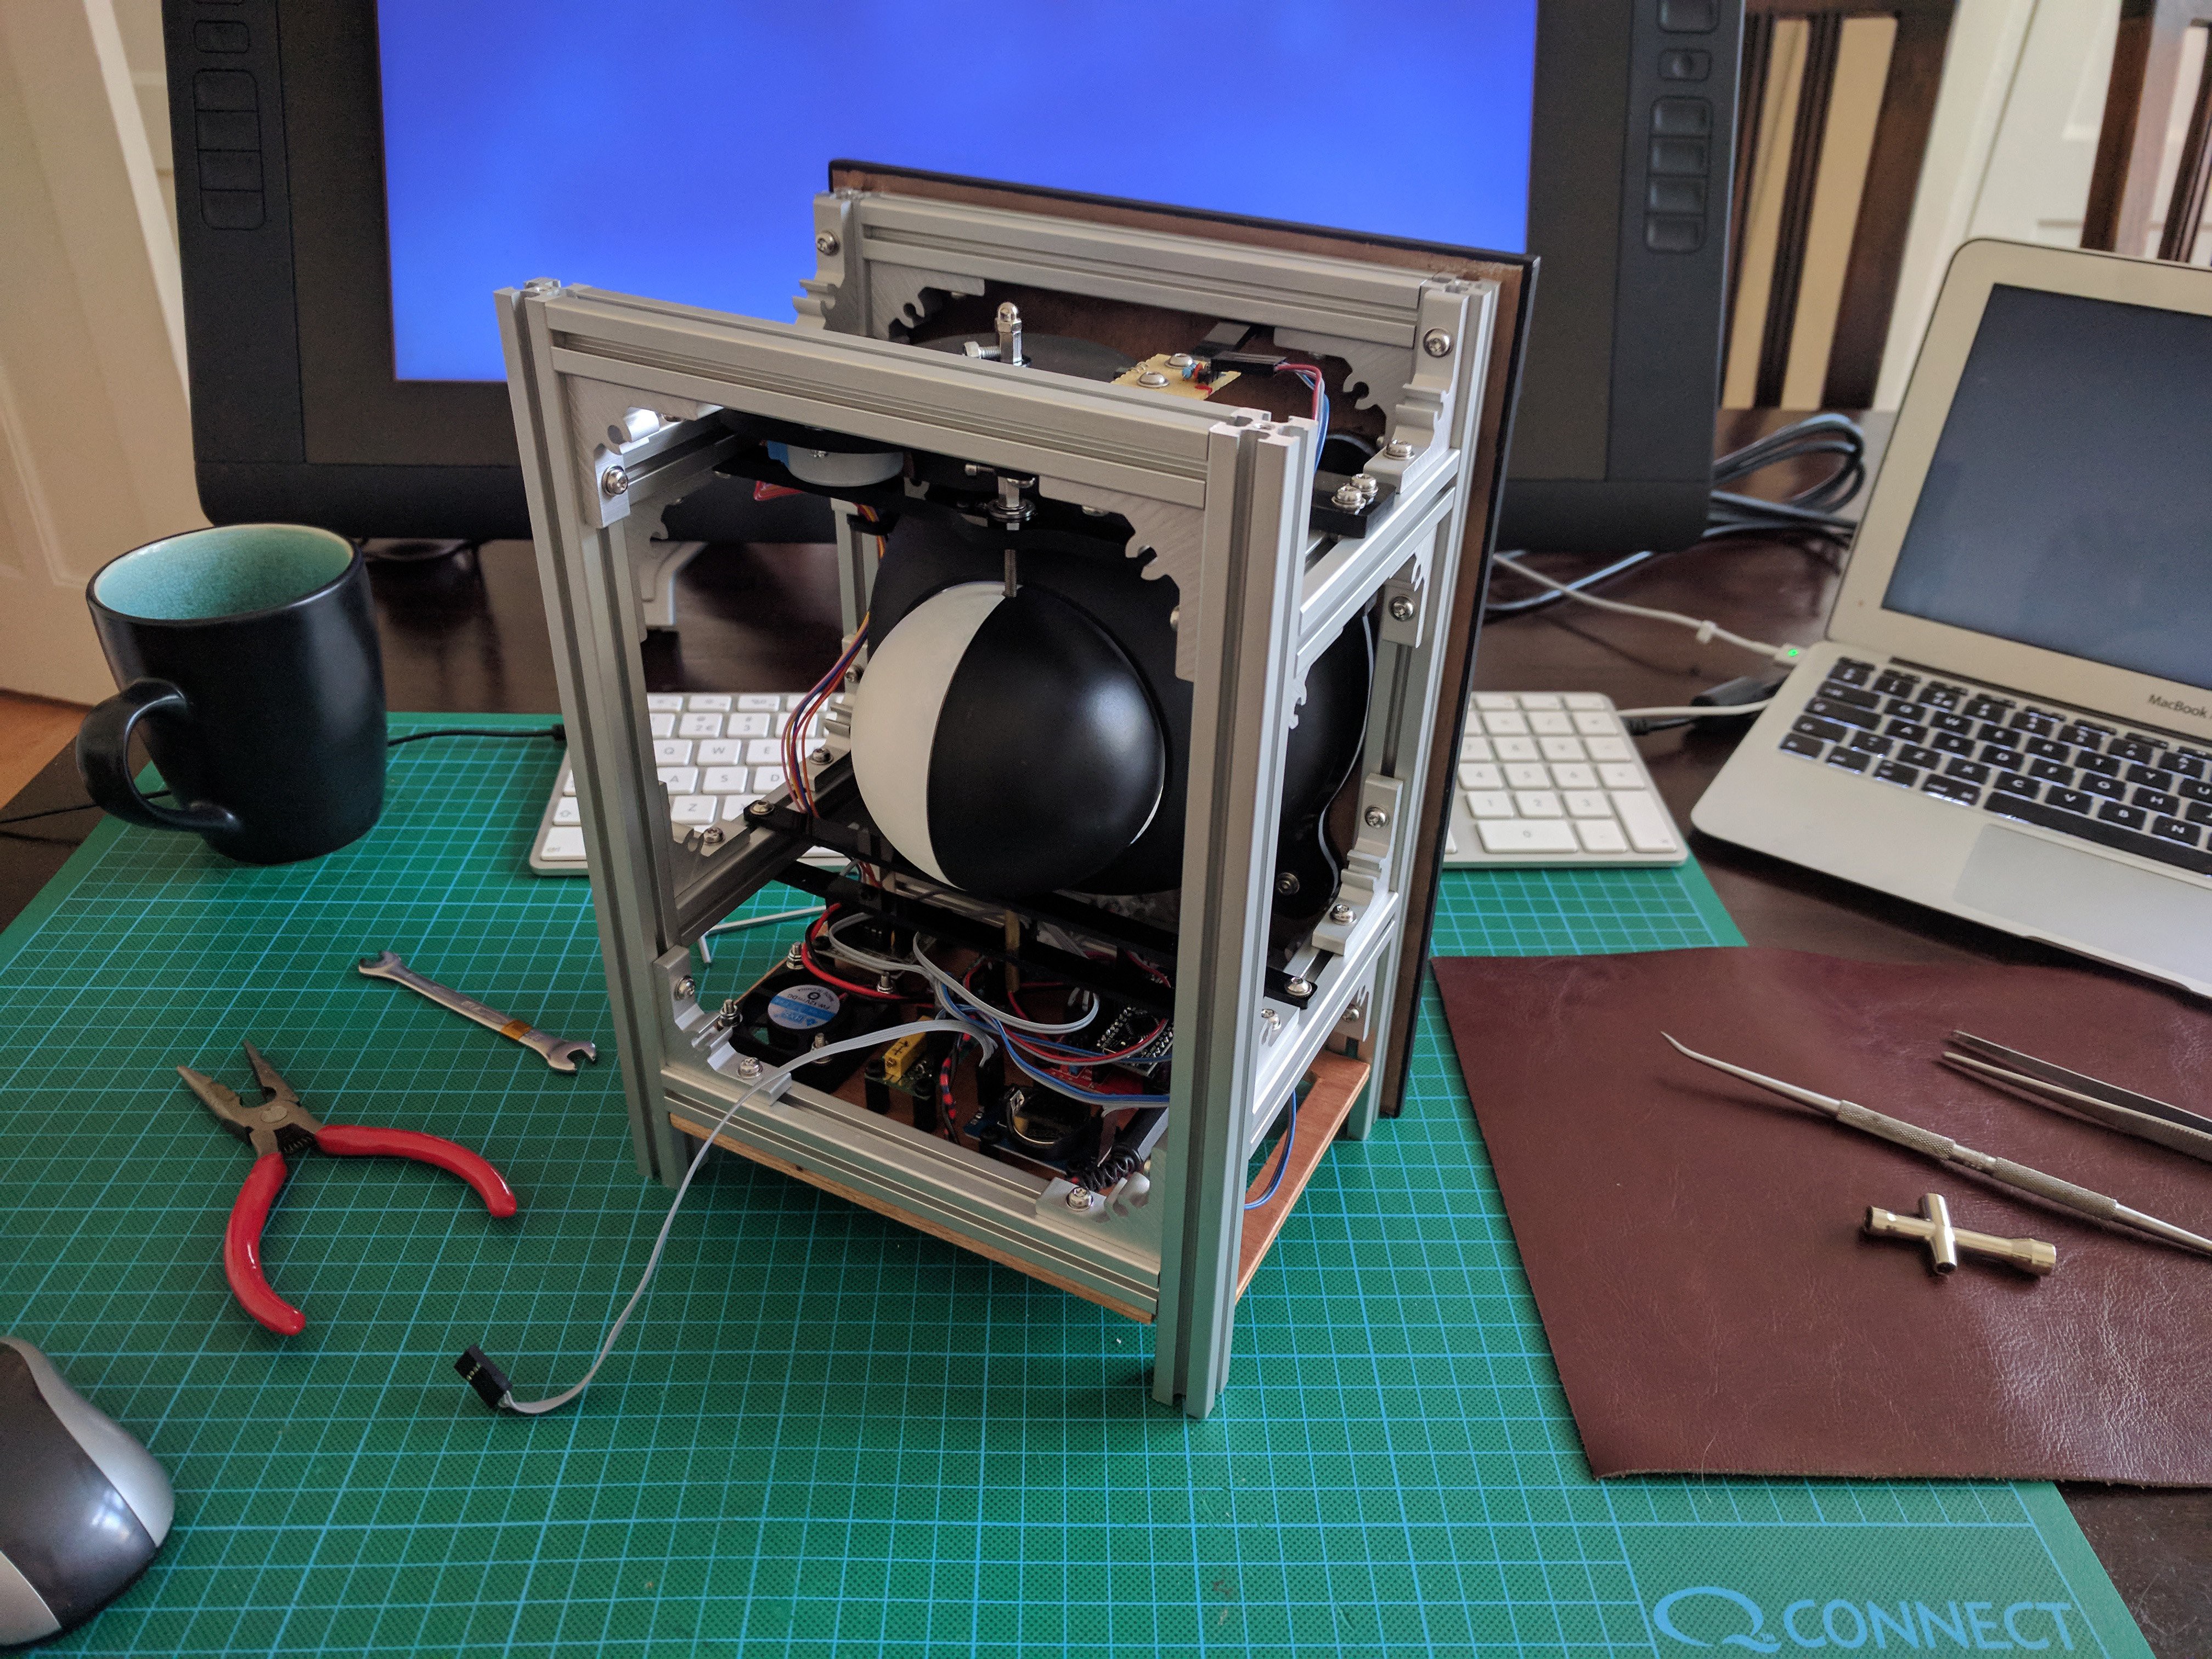
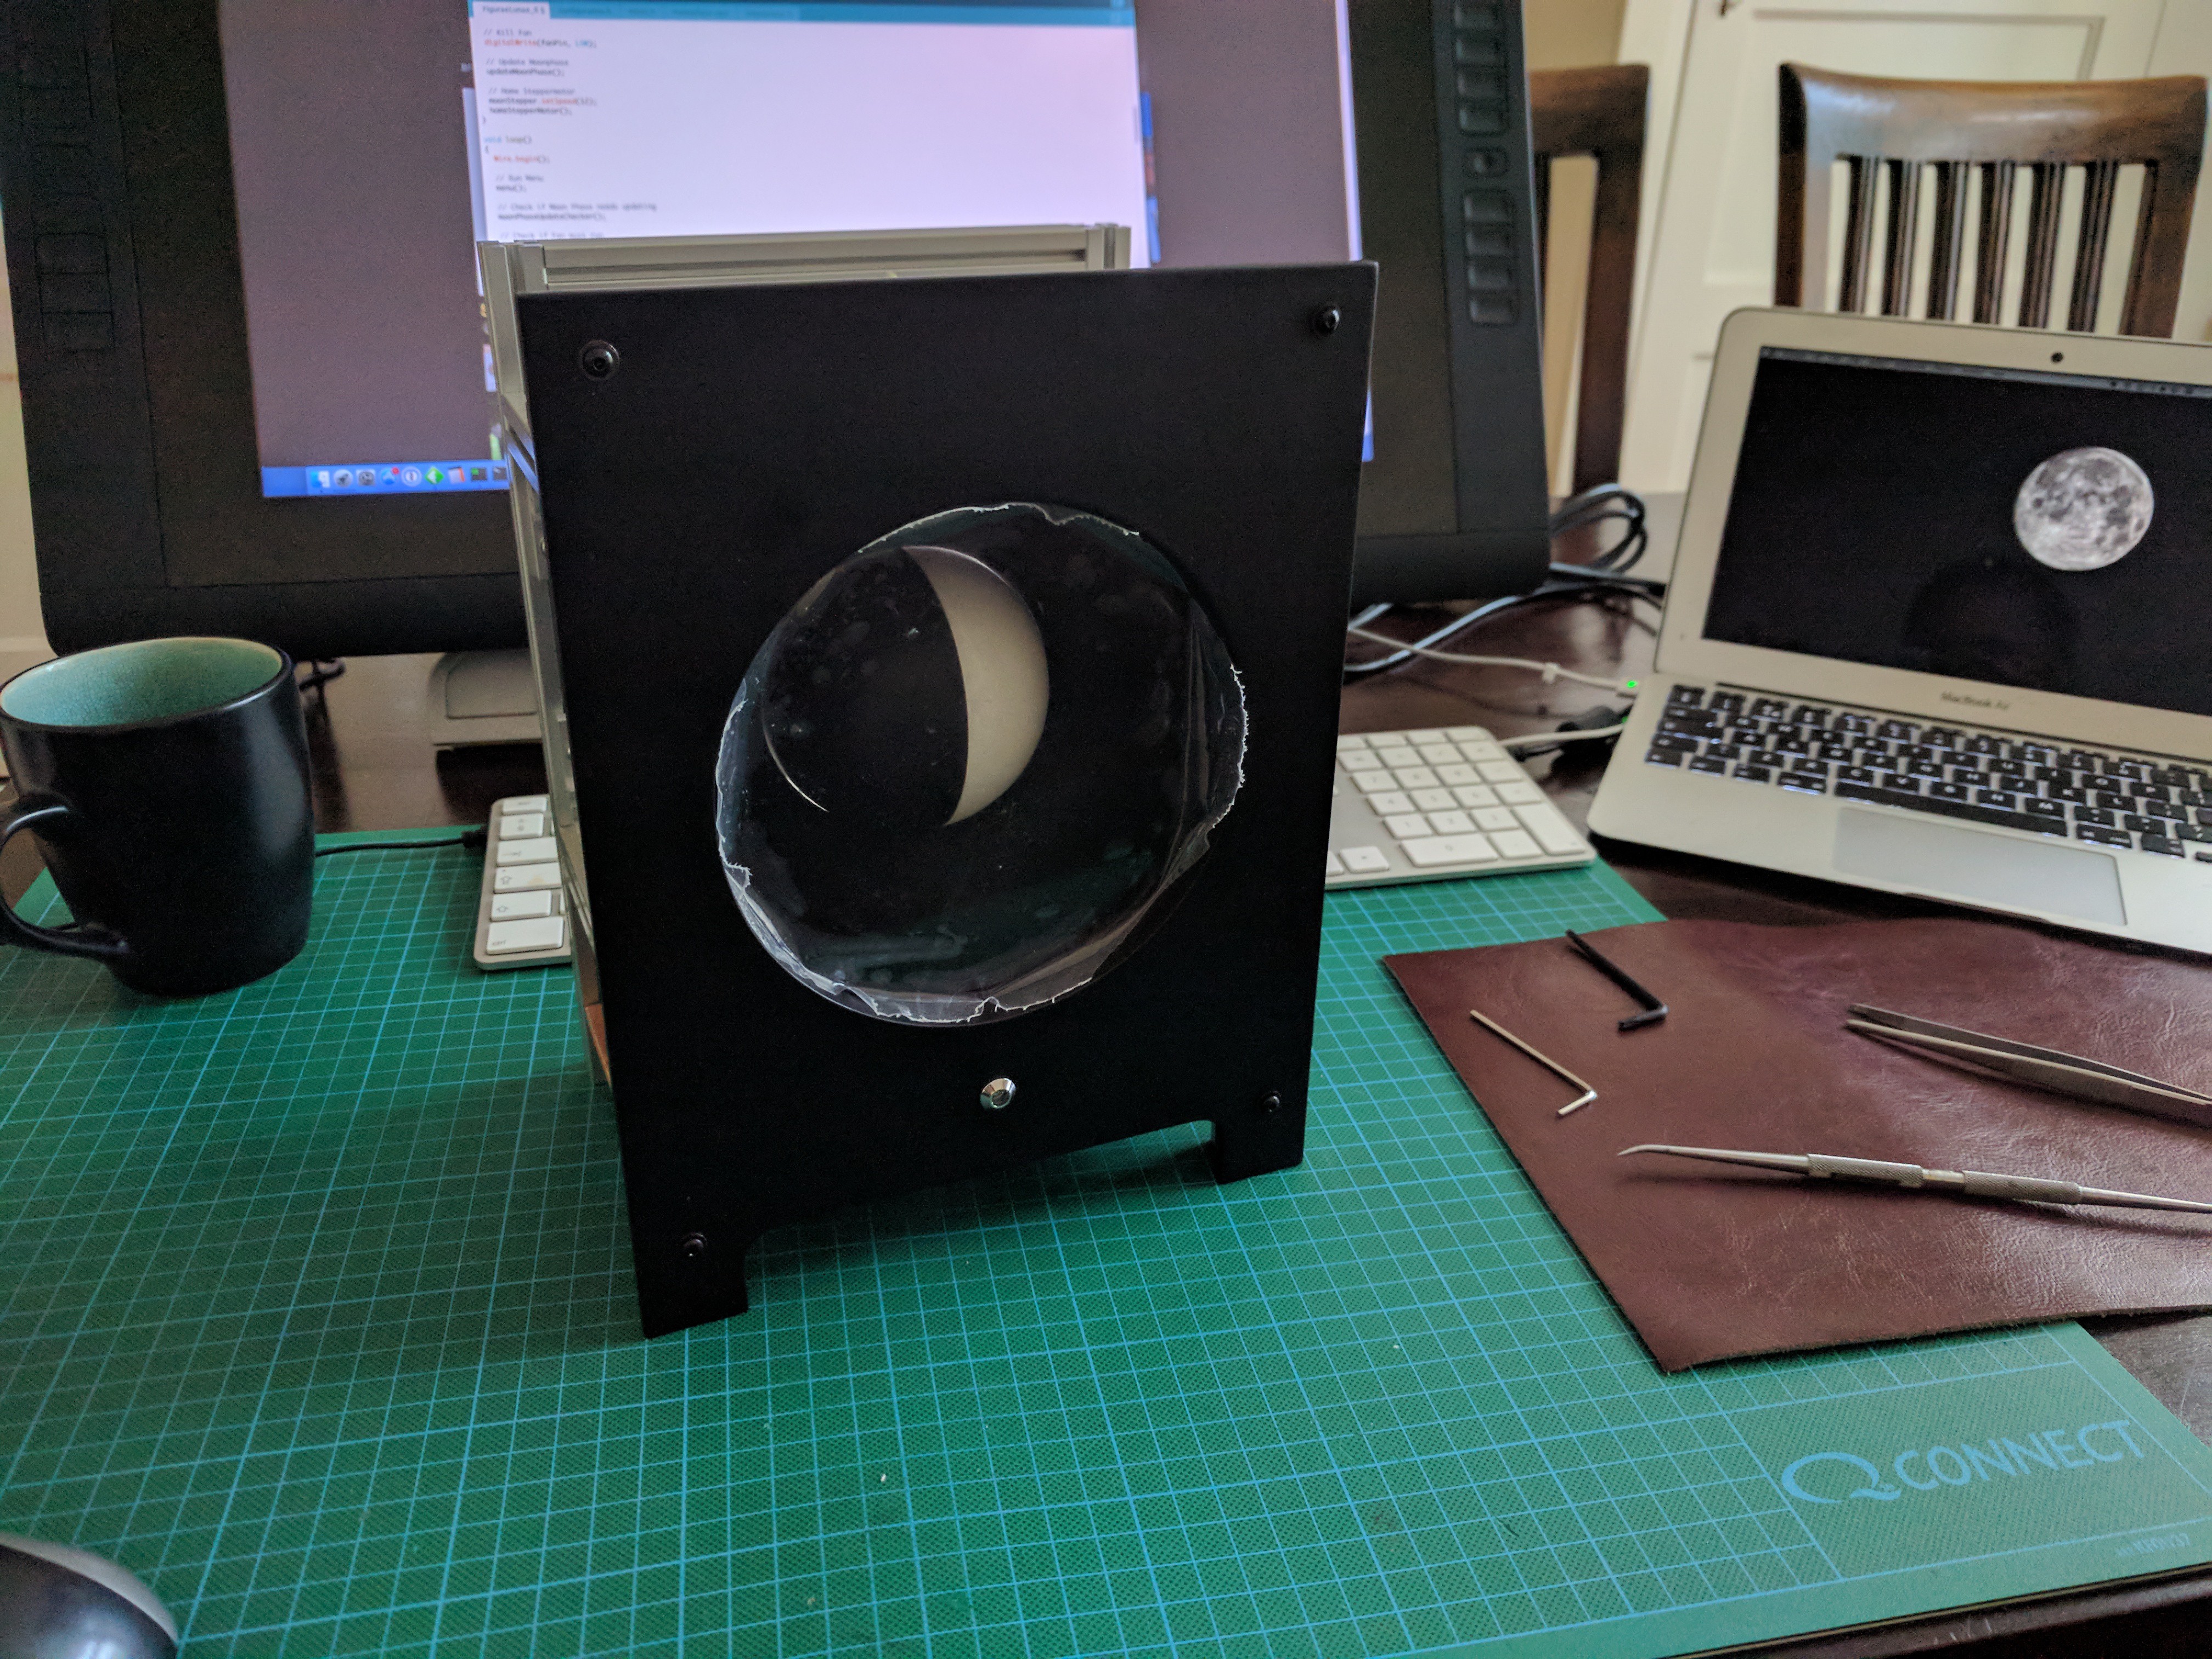
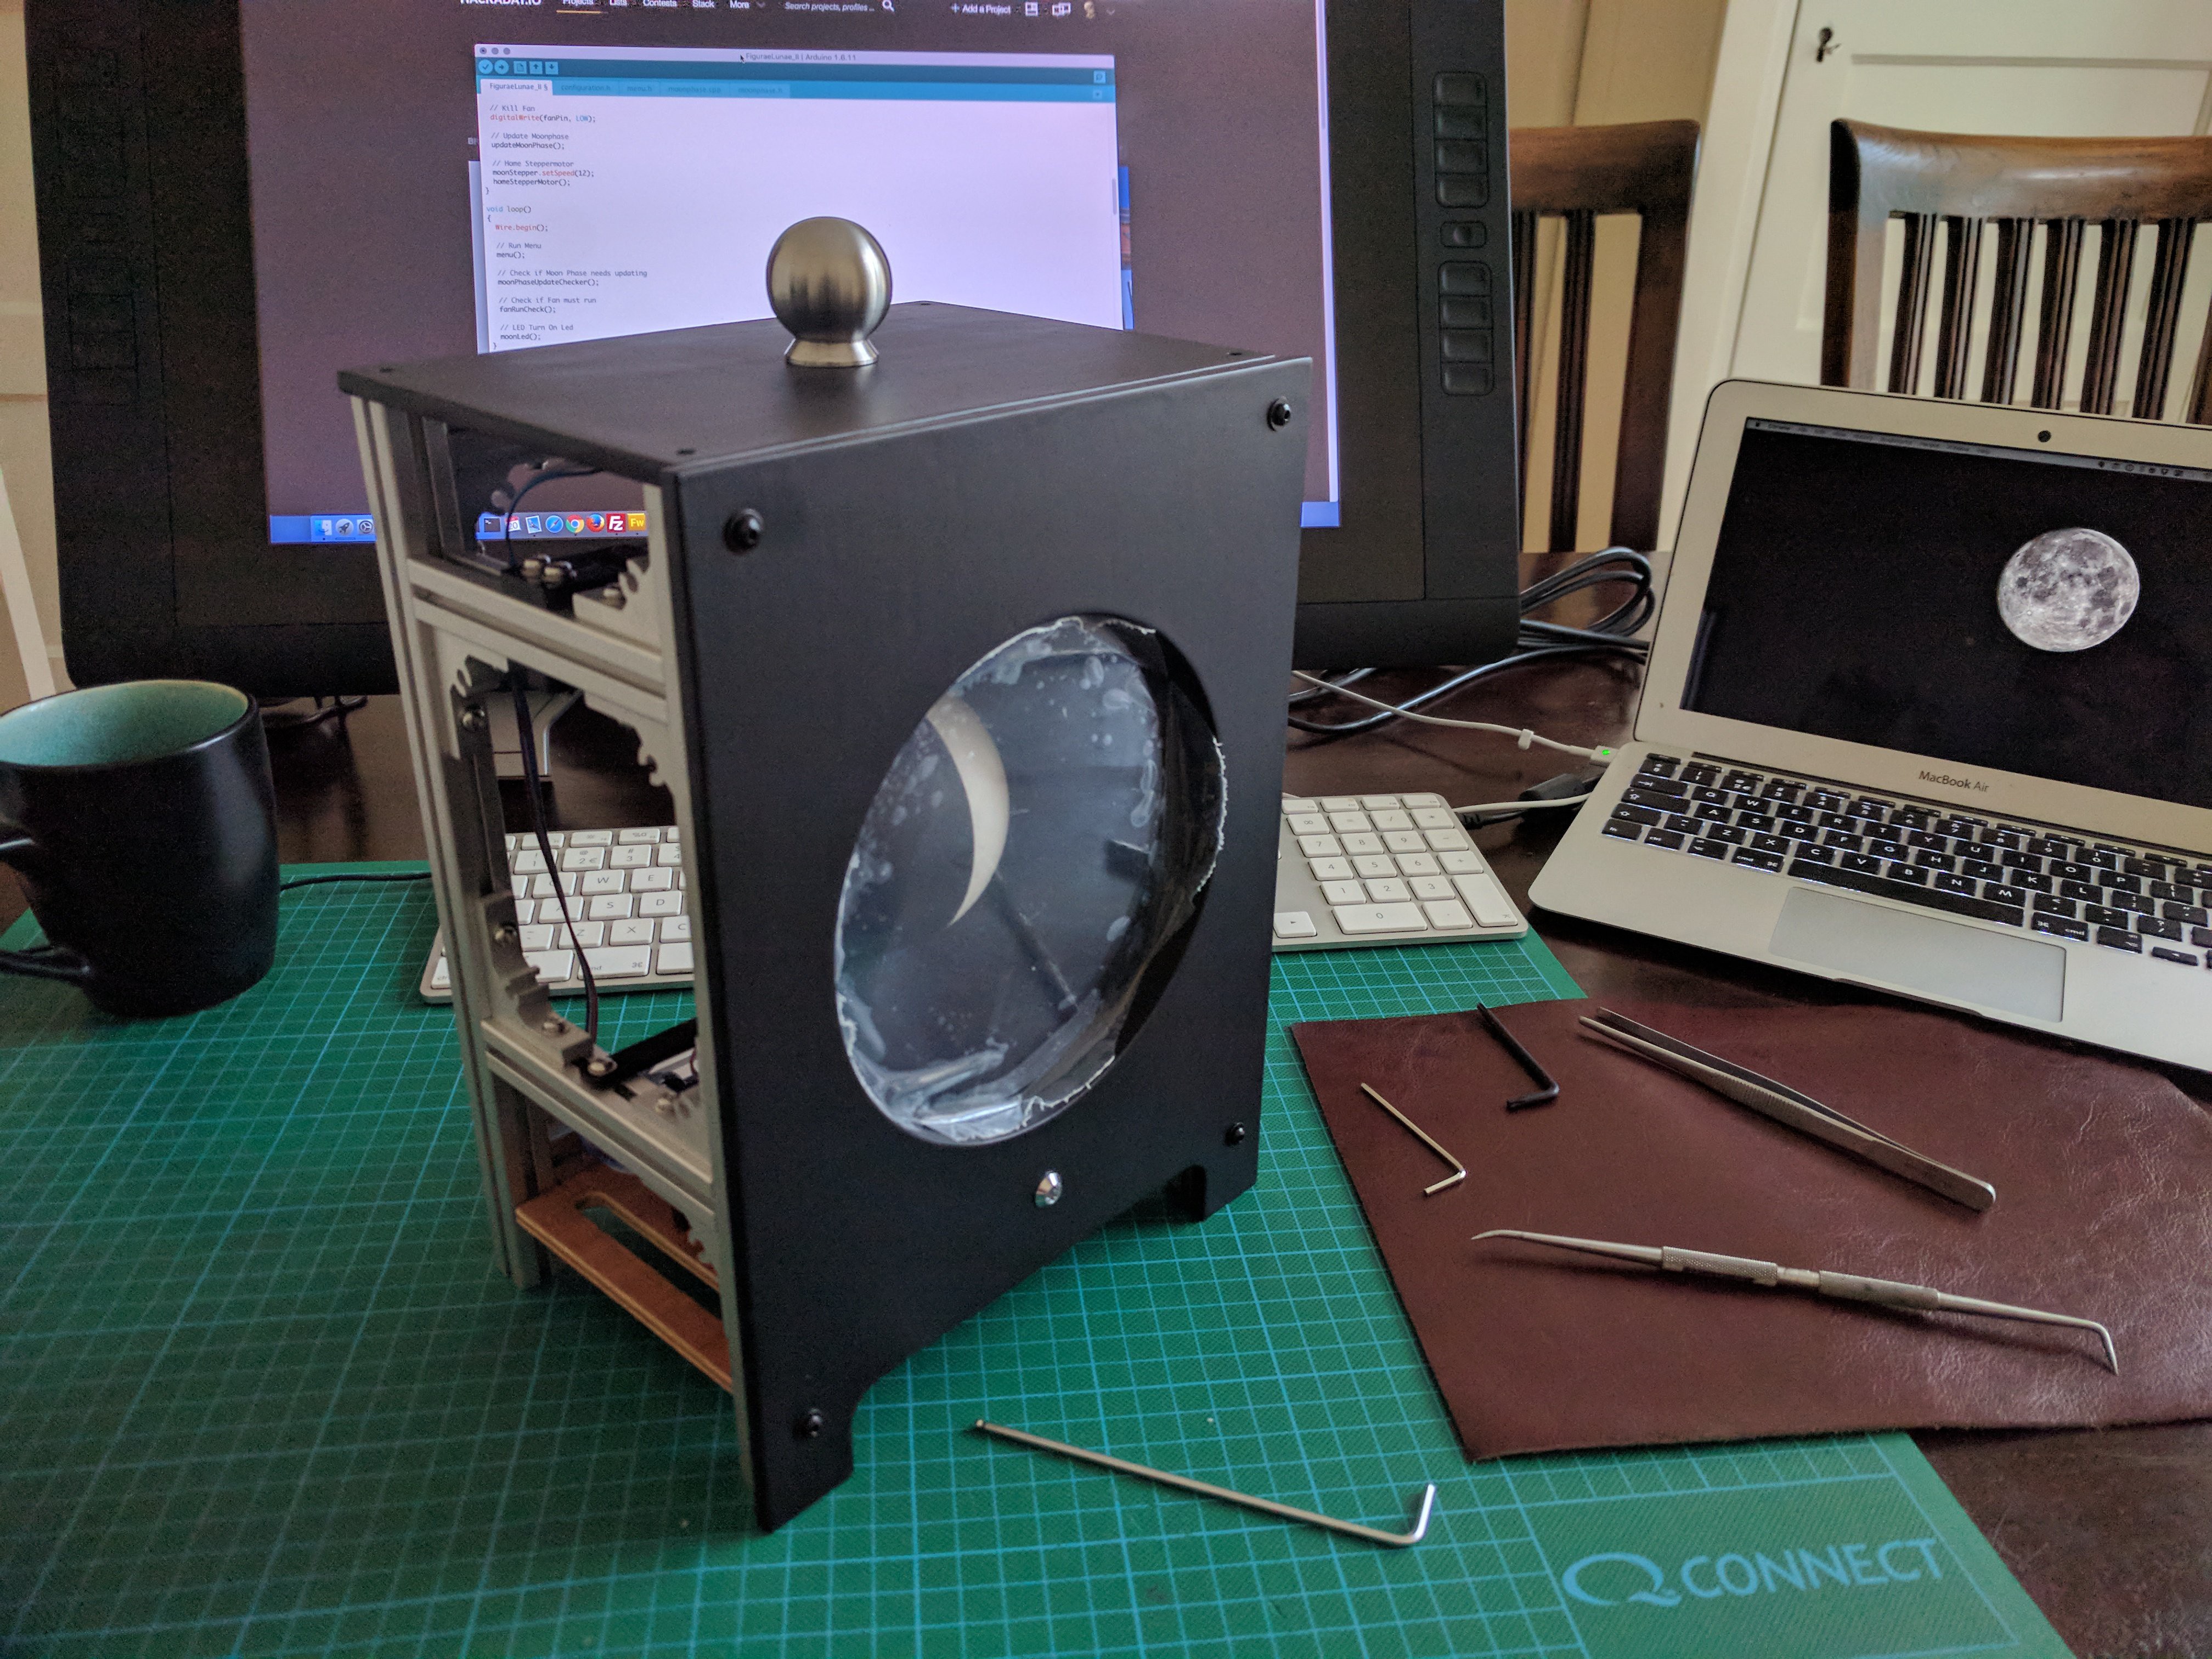
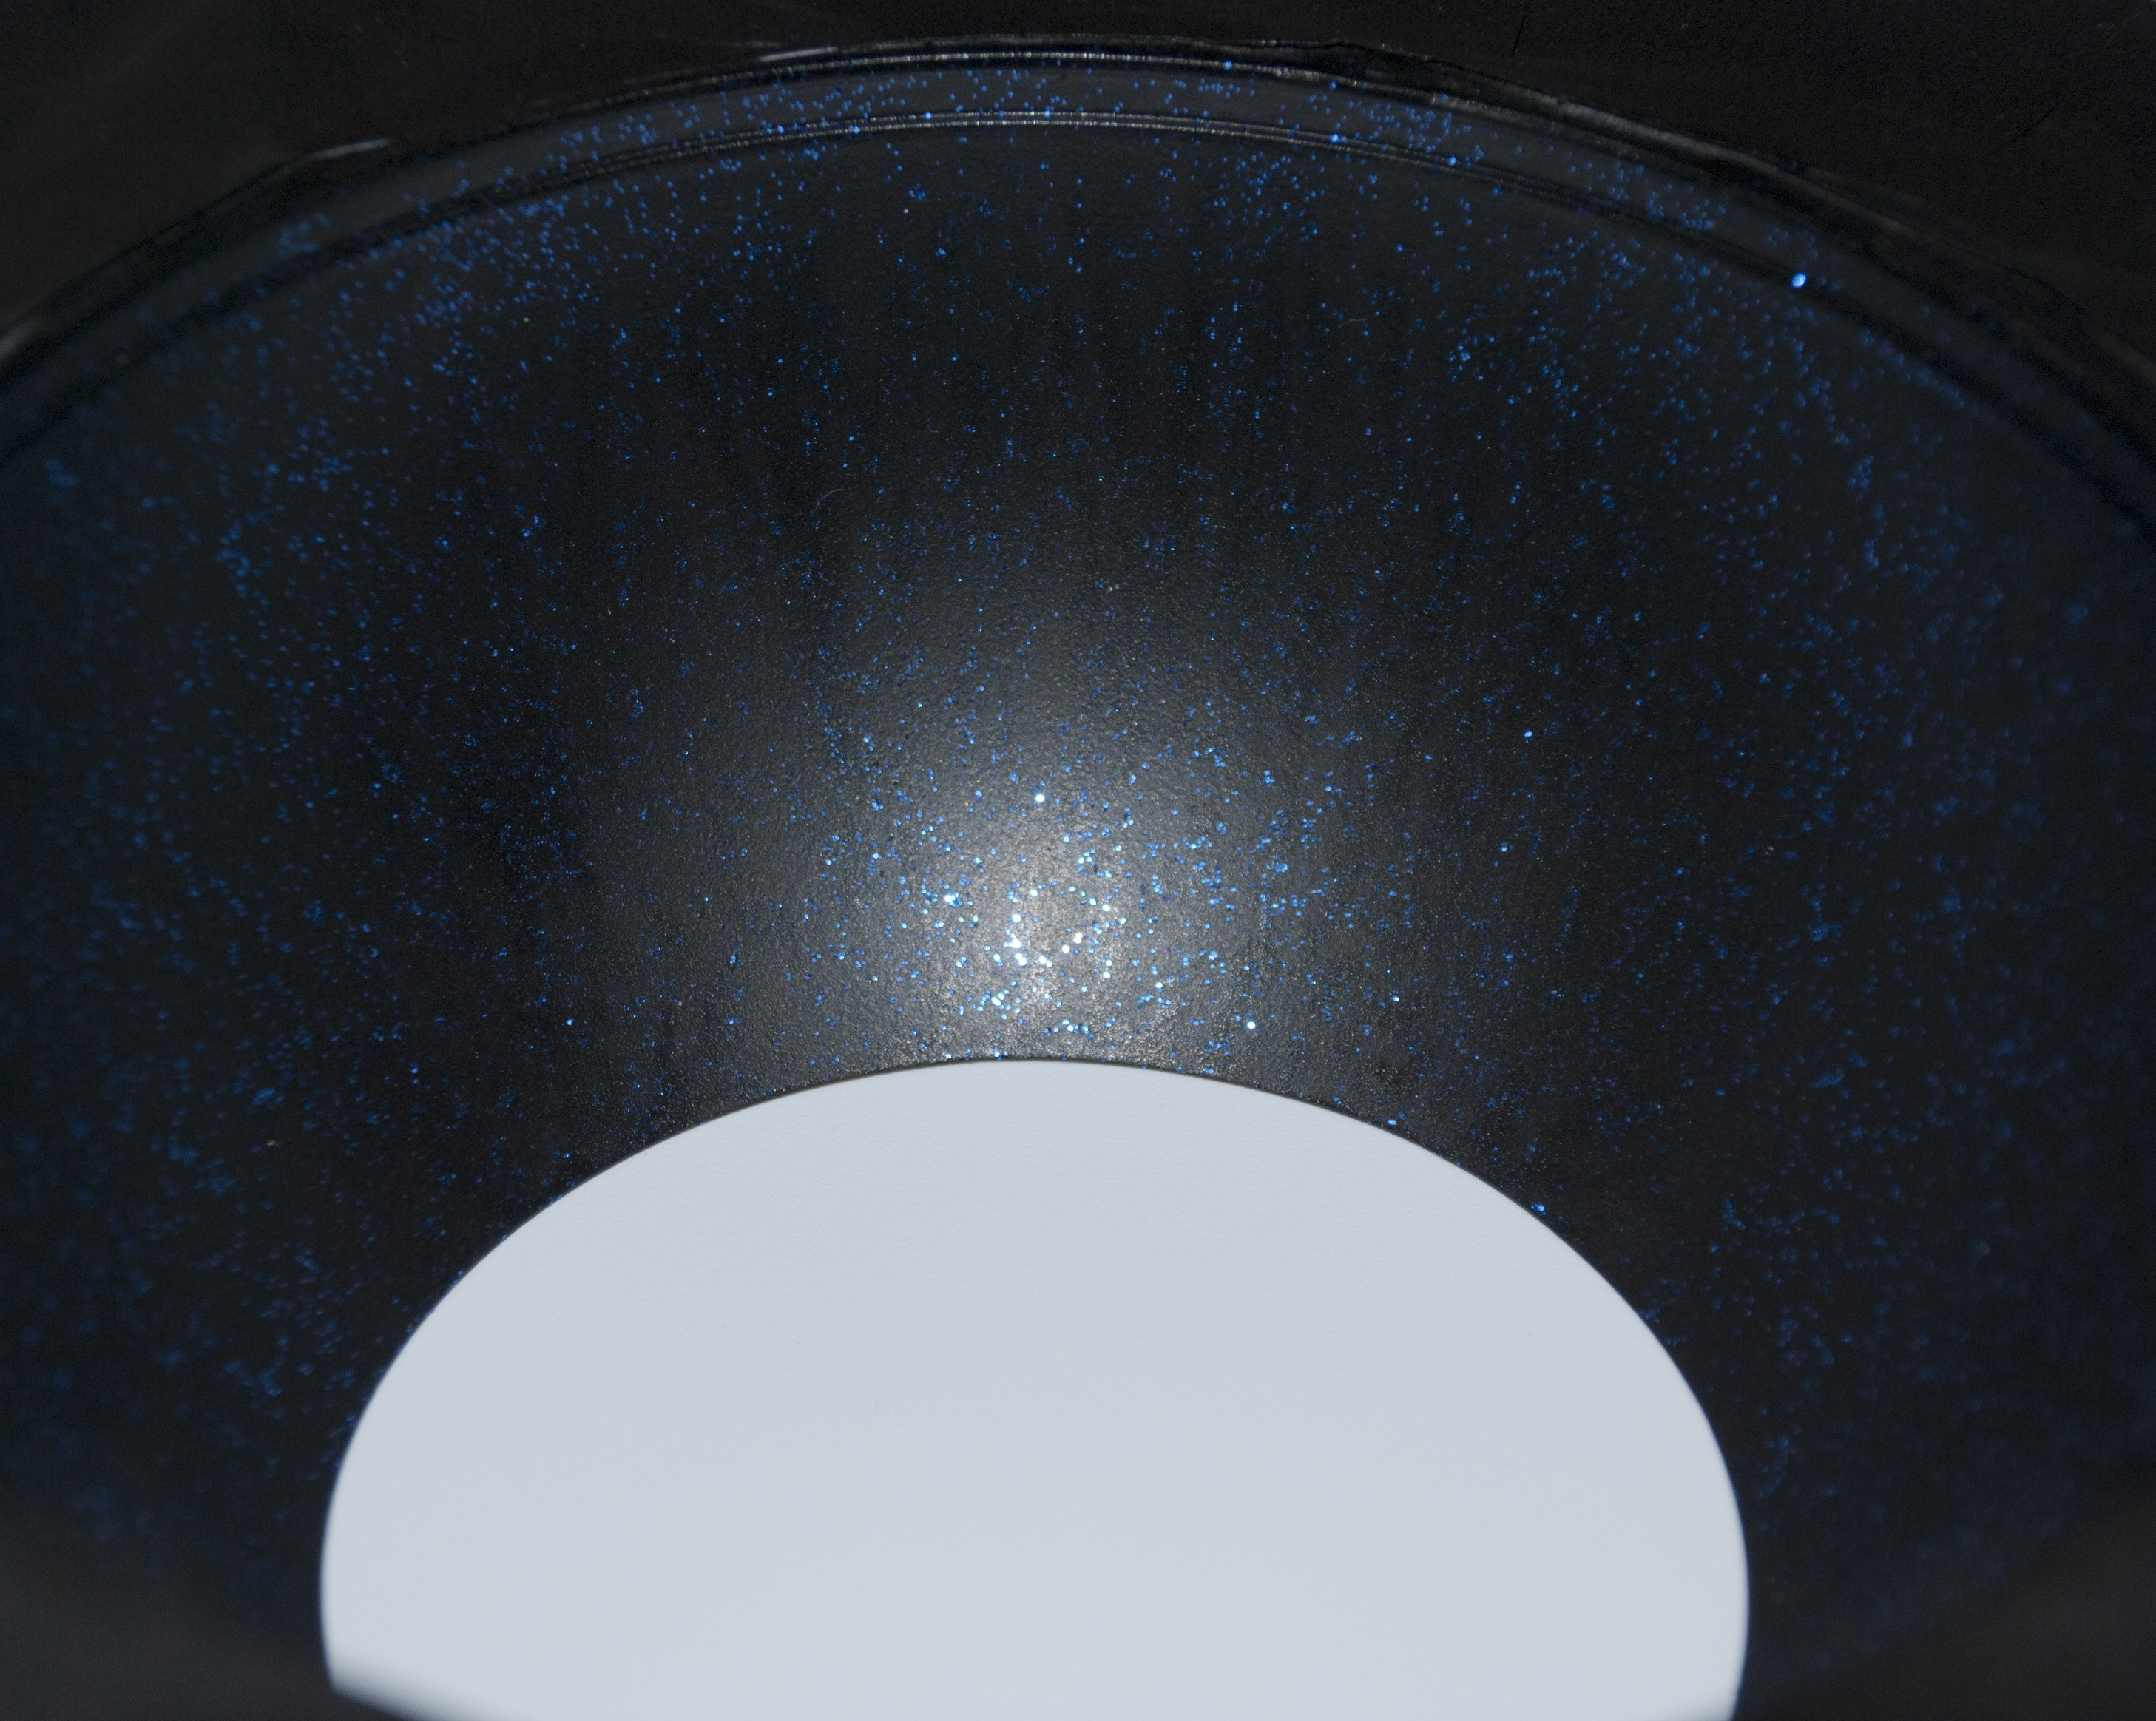
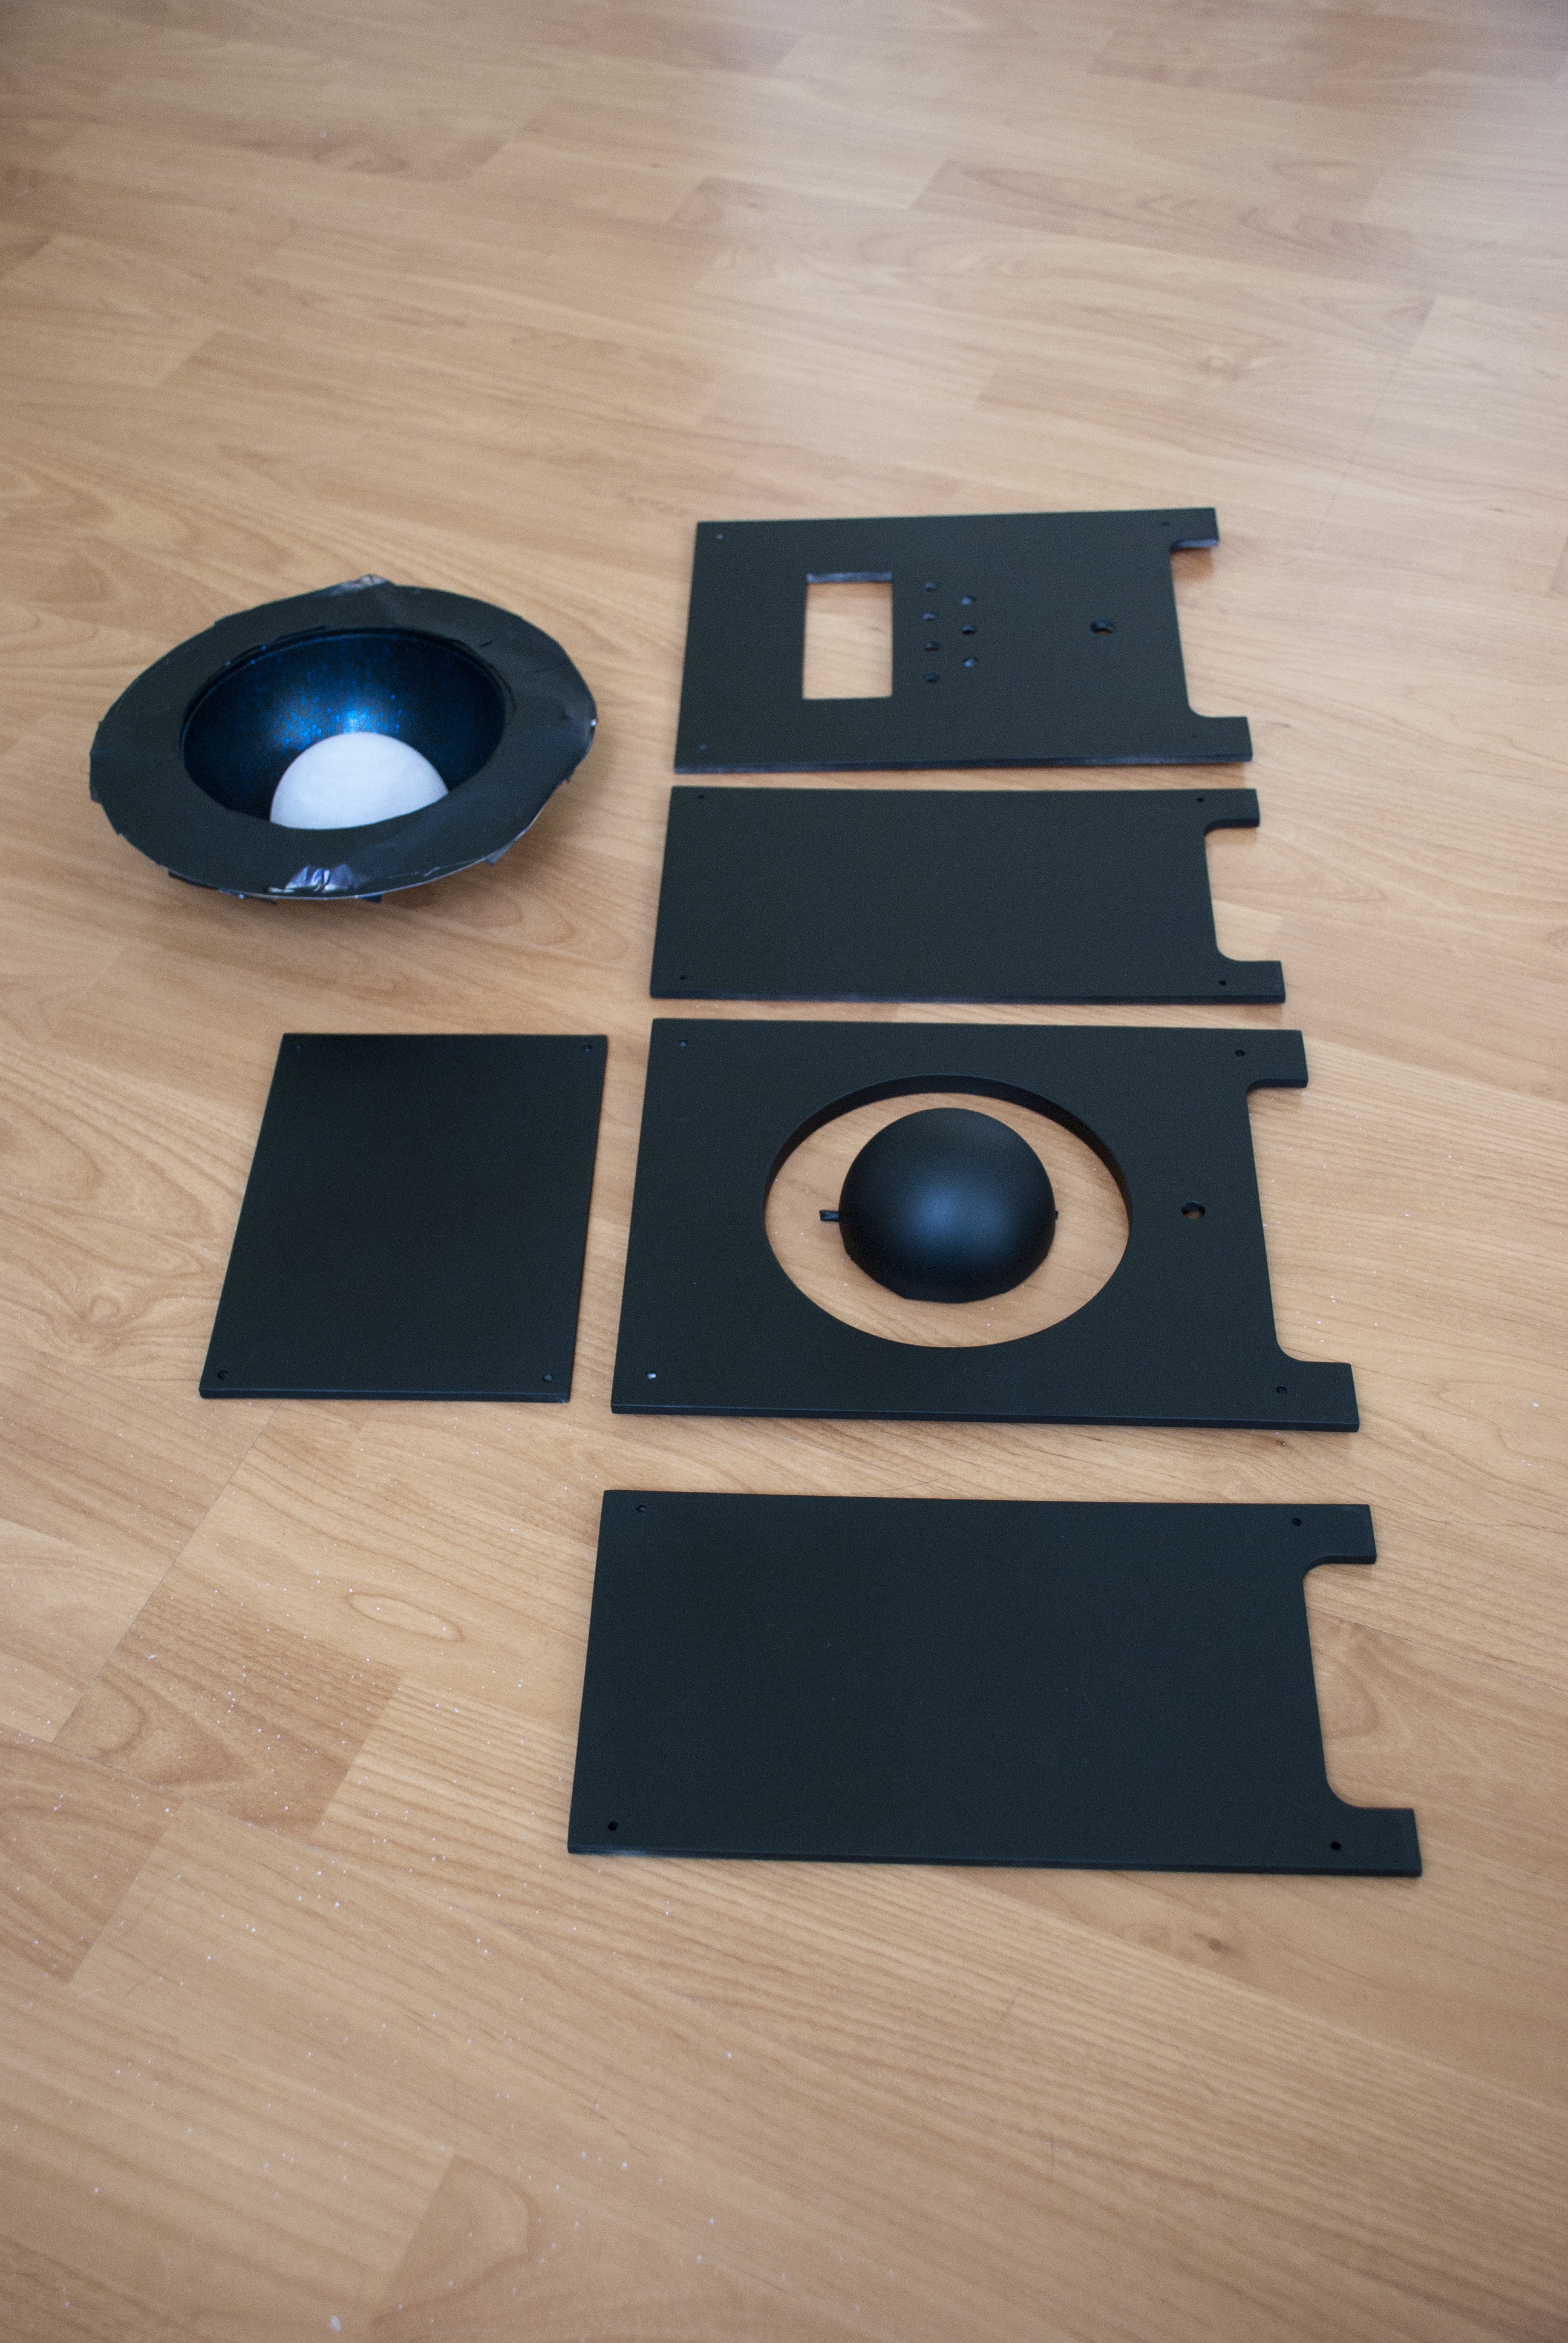
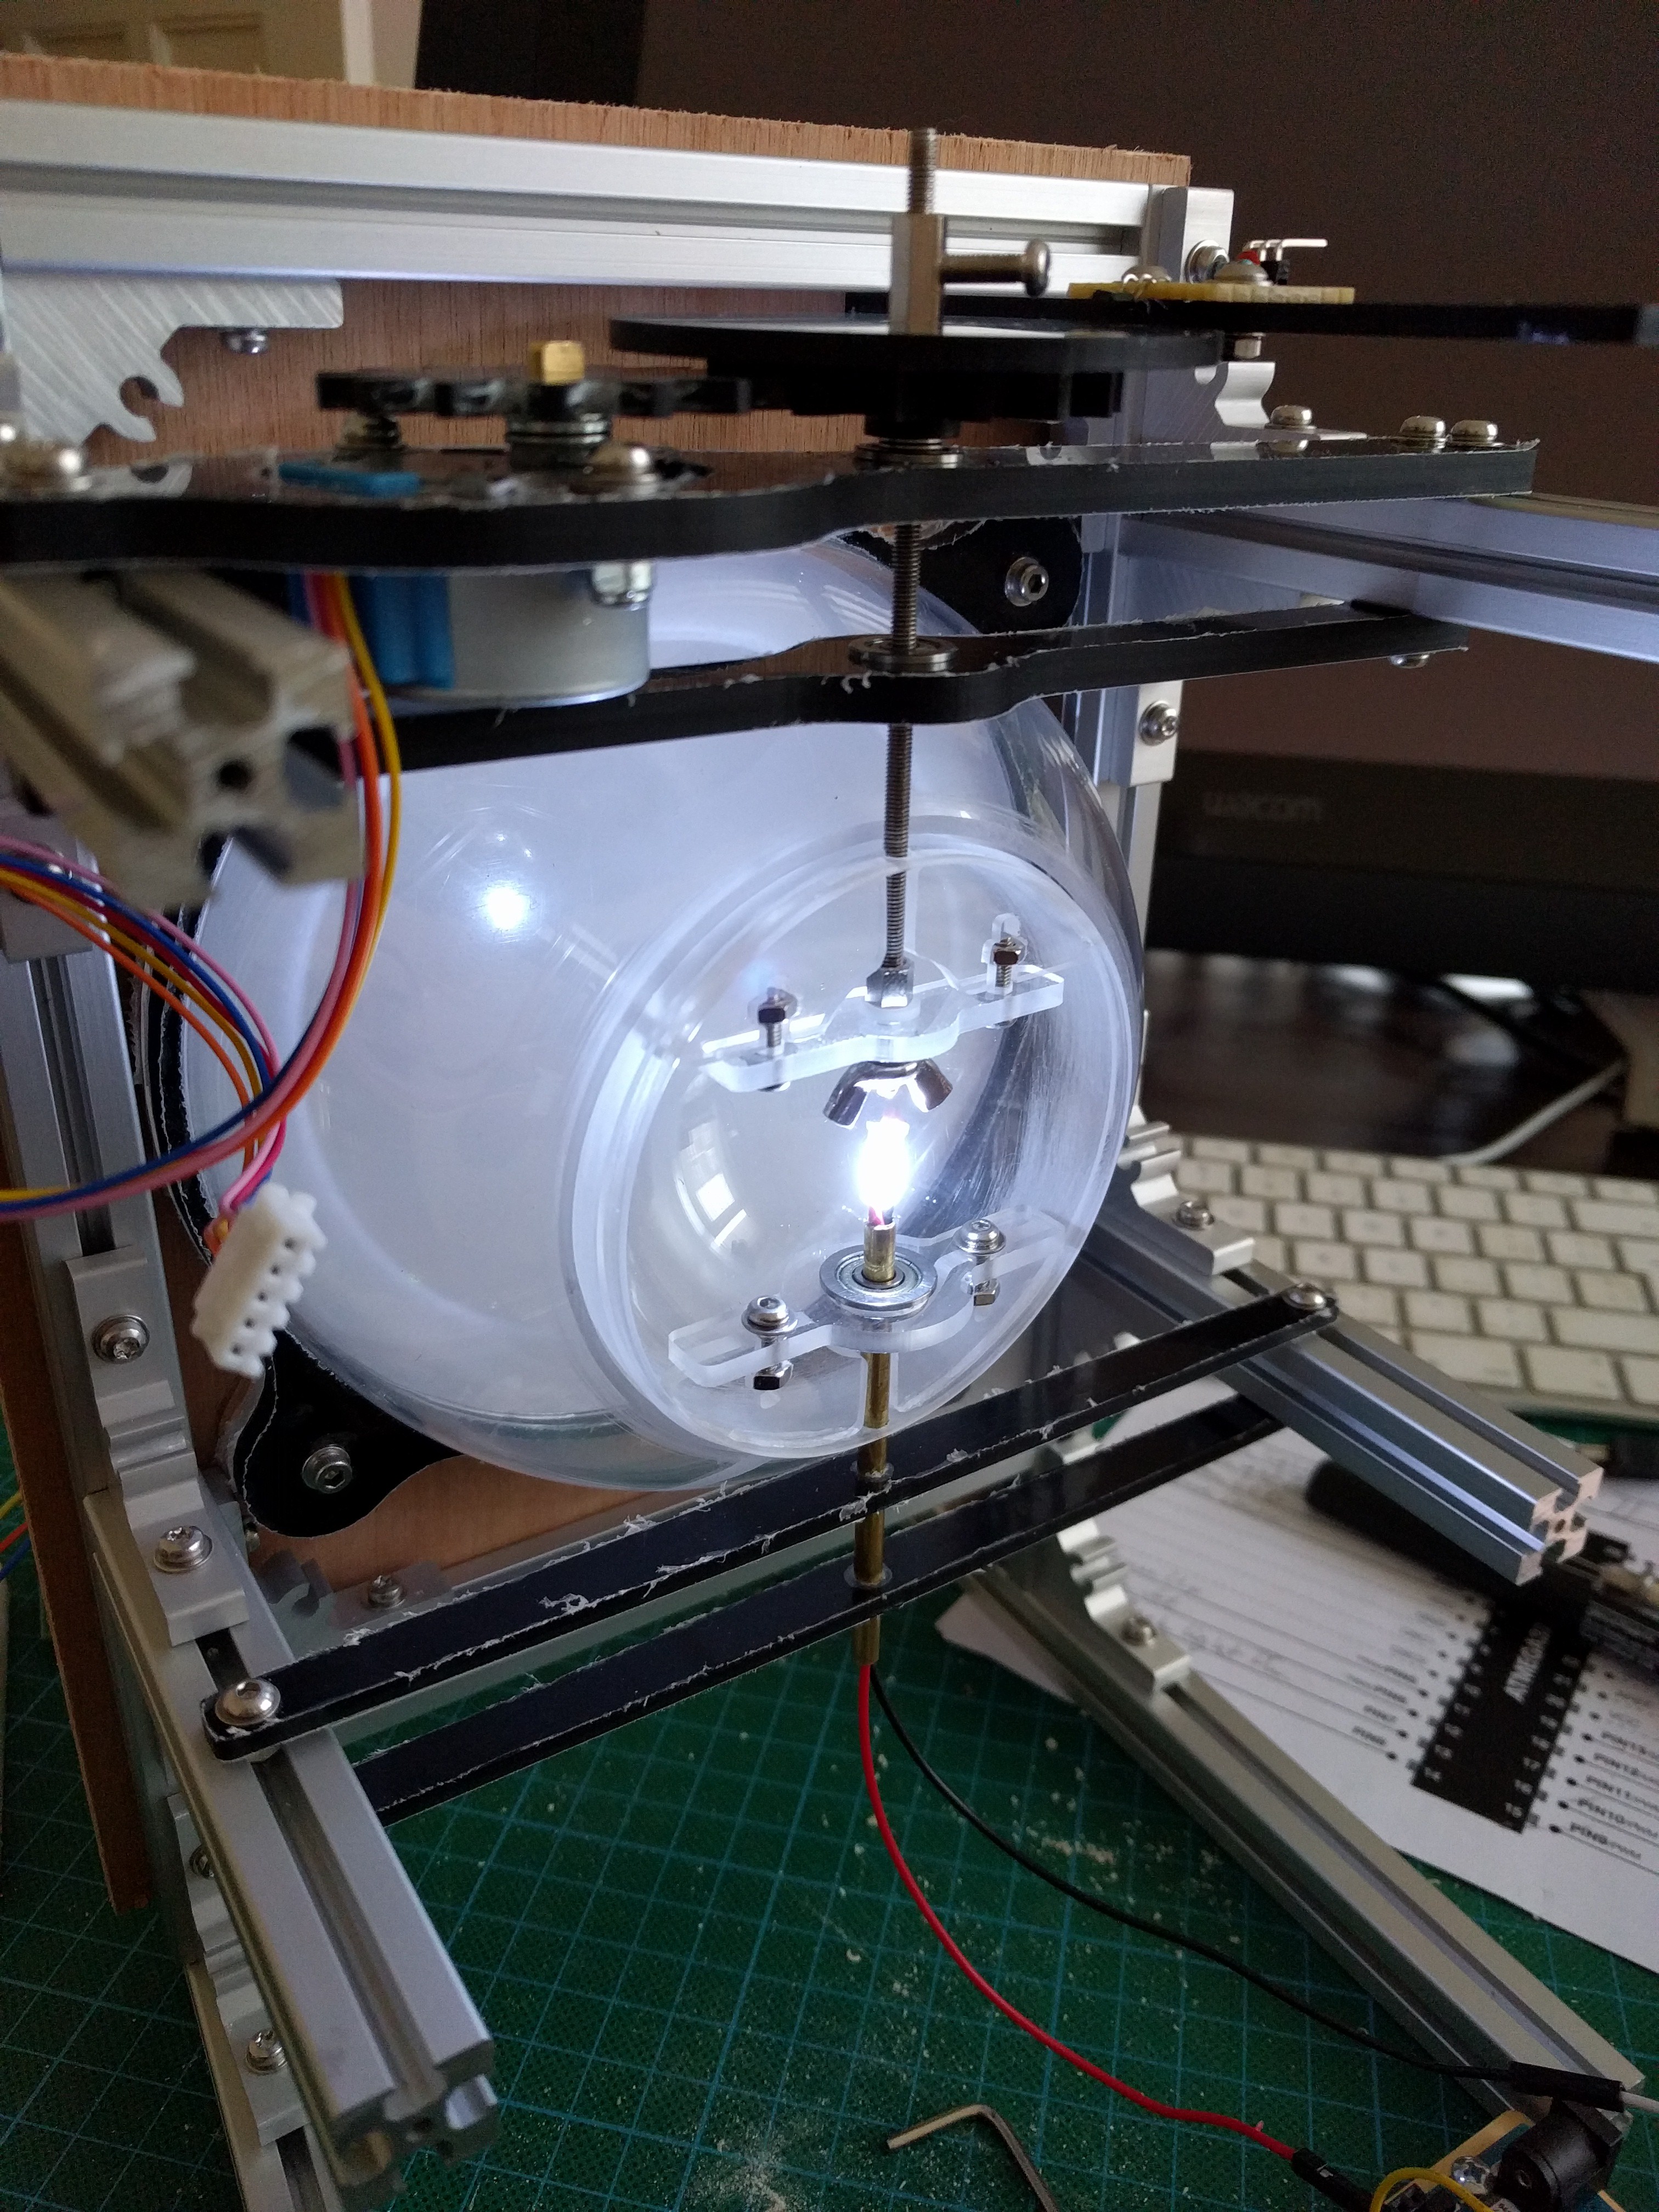
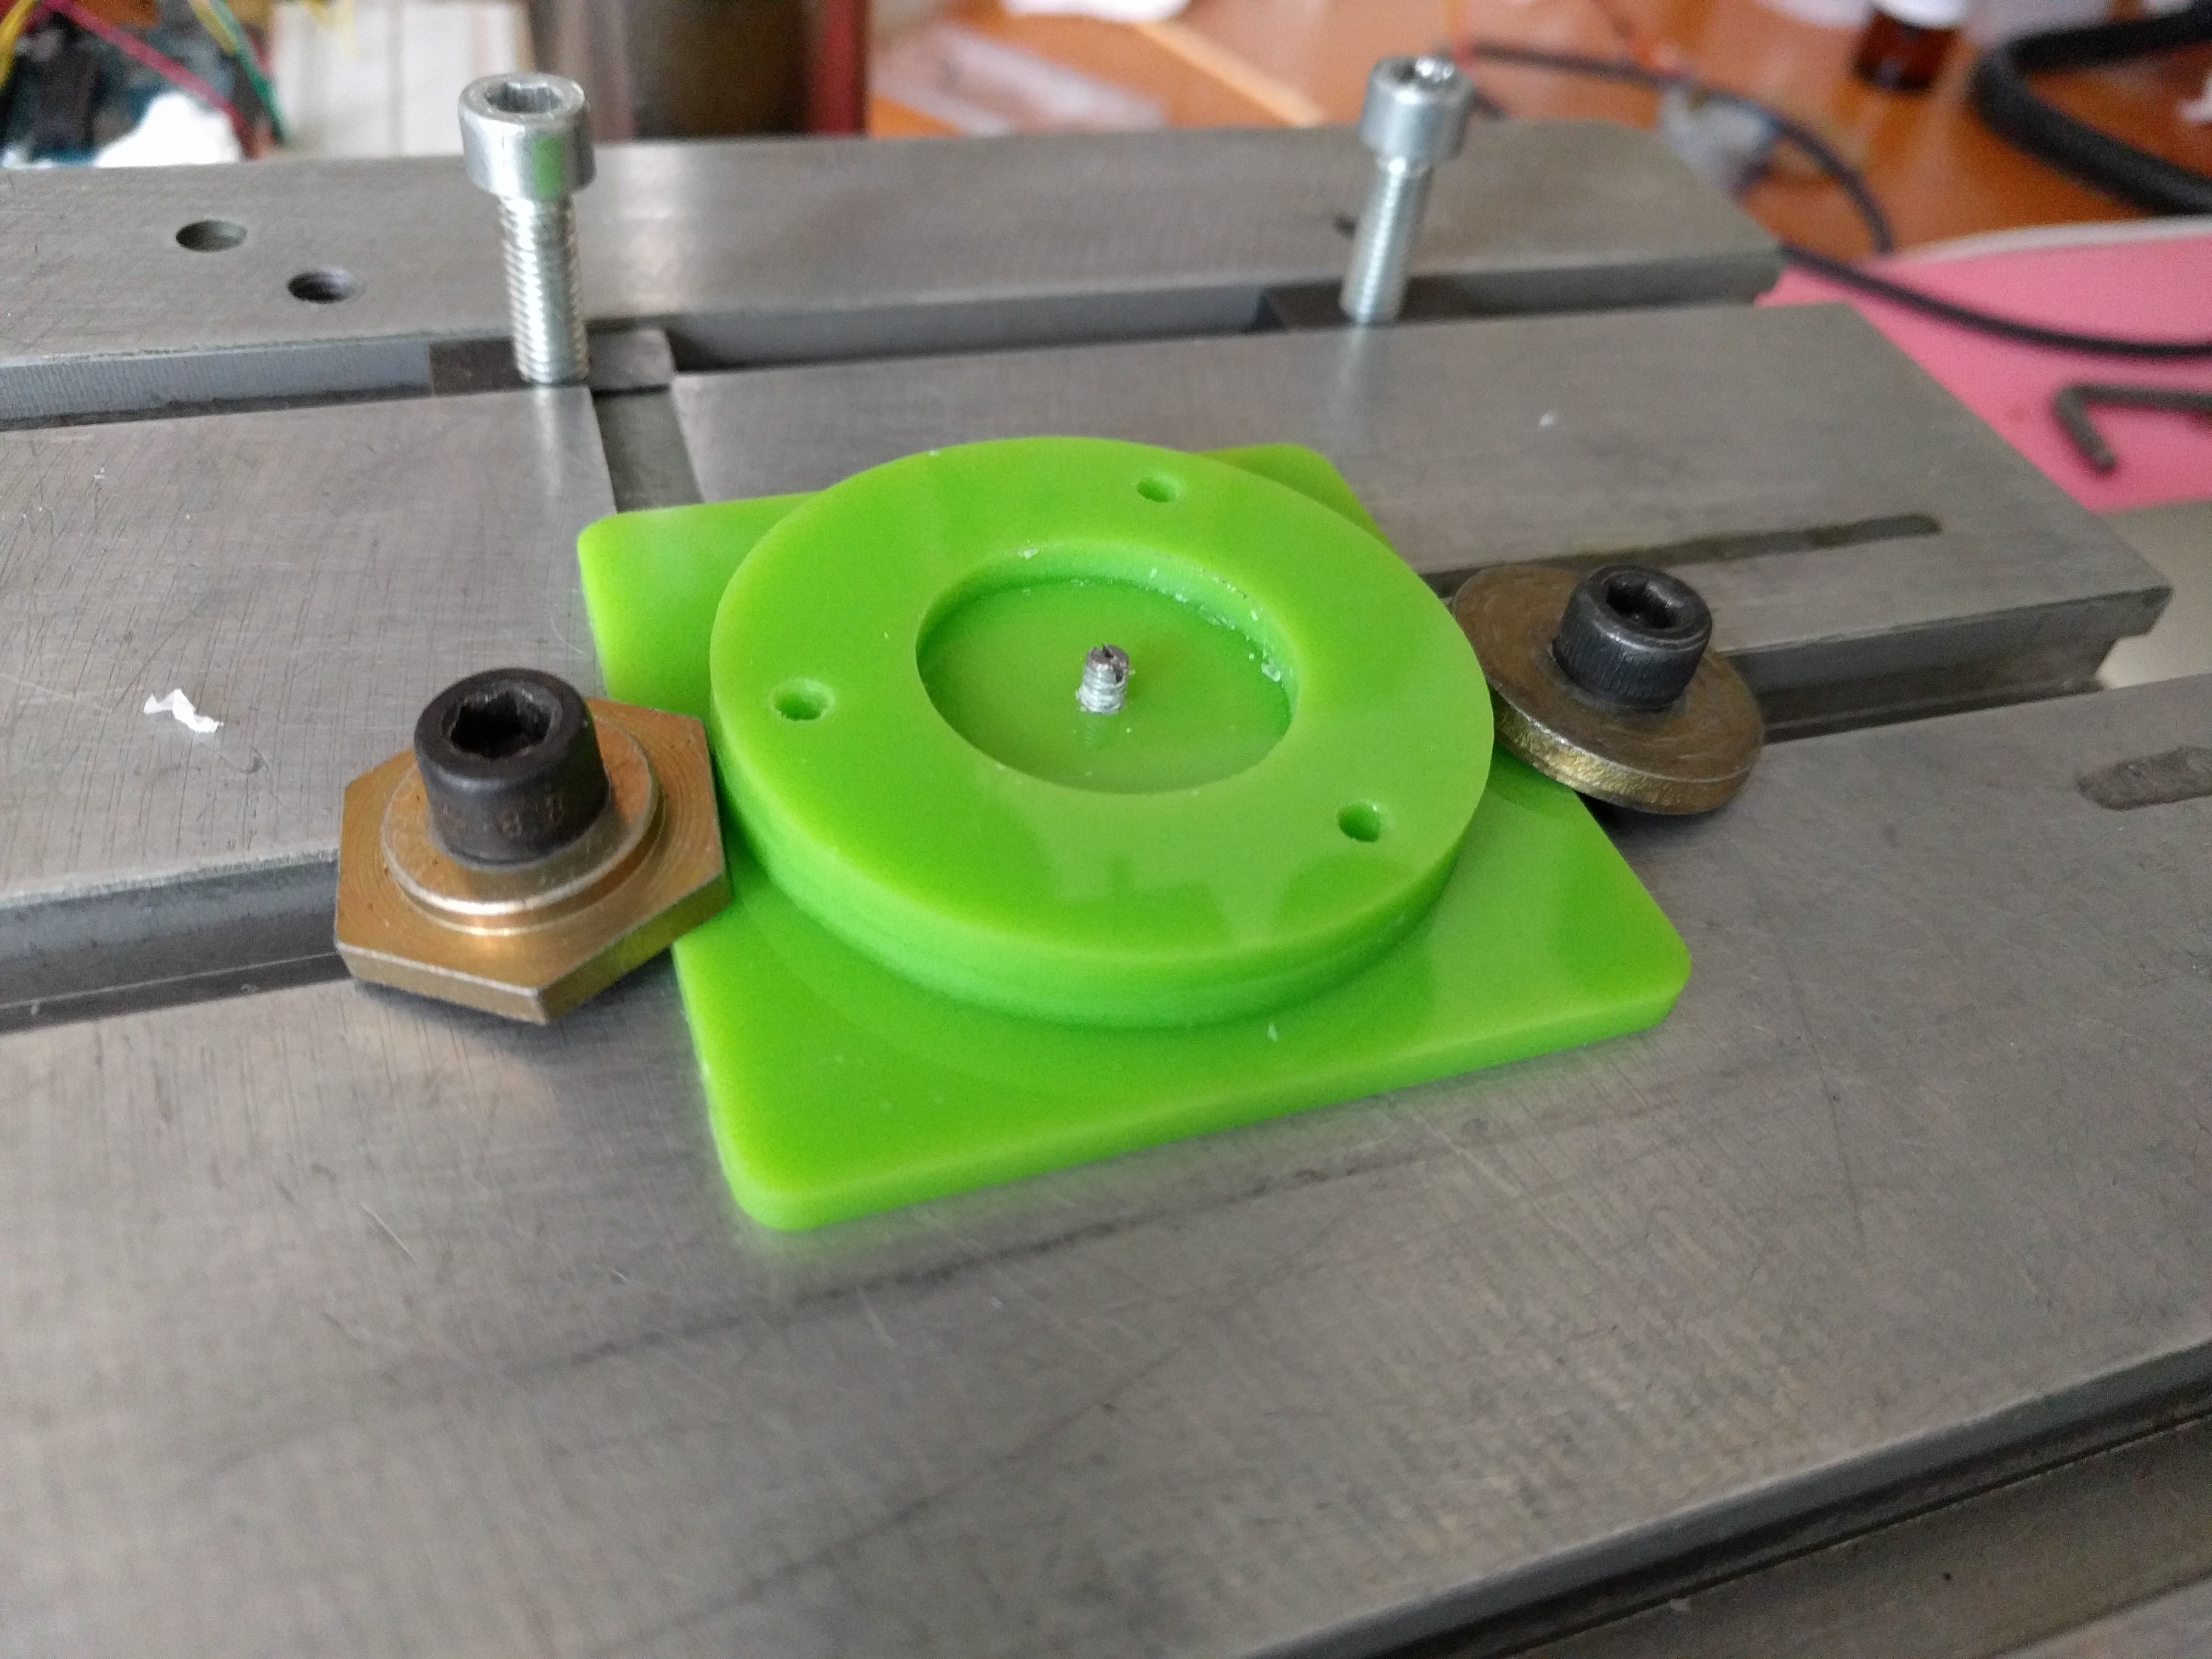
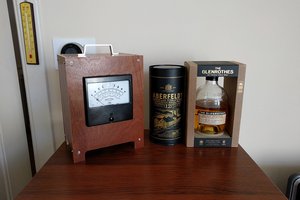
I started with the build of my second moon clock the "'Real' Moon clock". It's largely based on its predecessor, the Panel-meter-moon-phase-clock with the difference that instead of a panelmeter it has a rotating moon which depicts the phase of the moon.


  • 1 × Arduino Nano
  • 1 × 20x4 LCD over i2c
  • 1 × HAL sensor
  • 1 × M3 bolts, nuts and washers
  • 1 × 80mm Acrylic Sphere Moon

View all 8 components

  • Front

    SephenDeVos08/26/2017 at 15:54 0 comments

  • Clock Start

    SephenDeVos08/26/2017 at 15:46 0 comments

    The following images show the lcd display on startup.


  • Installing the back panel

    SephenDeVos08/20/2017 at 18:35 0 comments

    Installing the back panel a fiddly job because it's a little cramped  inside. The top row of buttons are (ltr) set/next, up, down and esc. the bottom row are daylight saving switch, time set potentiometer – because the clock works with UTC time you can adjust the time with the potentiometer to your local time – and the last switch on the row turns the full-moon light on or off.

  • Moon calibration and pre-assembly

    SephenDeVos08/20/2017 at 09:39 0 comments

    Started the calibration and pre assembly. 

    Note that there is still a protective film over the acrylic "glass".

  • Firmament

    SephenDeVos07/27/2017 at 09:06 0 comments

    The firmament of the clock will have a blue glitter finish over the matte-black paint giving it an illusion of stars.

  • The Panels etc.

    SephenDeVos07/27/2017 at 08:57 0 comments

    All the panels an parts have been primed and sanded ready for they're final coat of matte-black paint and to top it off a few coats of matte-clear sealer.

  • Testing the rotation

    SephenDeVos04/25/2017 at 06:14 0 comments

    And now with light in the moon.

  • The Moon V2

    SephenDeVos04/05/2017 at 06:15 0 comments

    Because the moon will be lit from the inside light has to pass through the material and black isn't the right color for that. Also i had a problem with the black inserts being a little of center causing the moon to wobble. So i made these parts which let light pass through and can be adjusted later by loosening te bolts.

    Not welded to the sphere yet.

  • The moon

    SephenDeVos04/04/2017 at 06:49 0 comments

    Cnc cut the pieces to support the moon and welded them to the sphere.

    To drill the holes in the sphere in a perfect line I made a little jig. It's basically a circle with a piece of m3 threaded rod in the middle. First you screw in the rod below the surface. You align the drill press bit in the hole. Then you place the sphere in the circle and drill the first hole. After that you screw the rod out so it protrudes like in the photo below. You place the sphere with the previously drilled hole over the threaded rod and drill the next hole. Et voila perfectly aligning holes.

View all 9 project logs

Enjoy this project?

Share

Discussions

Similar Projects

Does this project spark your interest?

Become a member to follow this project and never miss any updates