-
1Prepare the Supplies
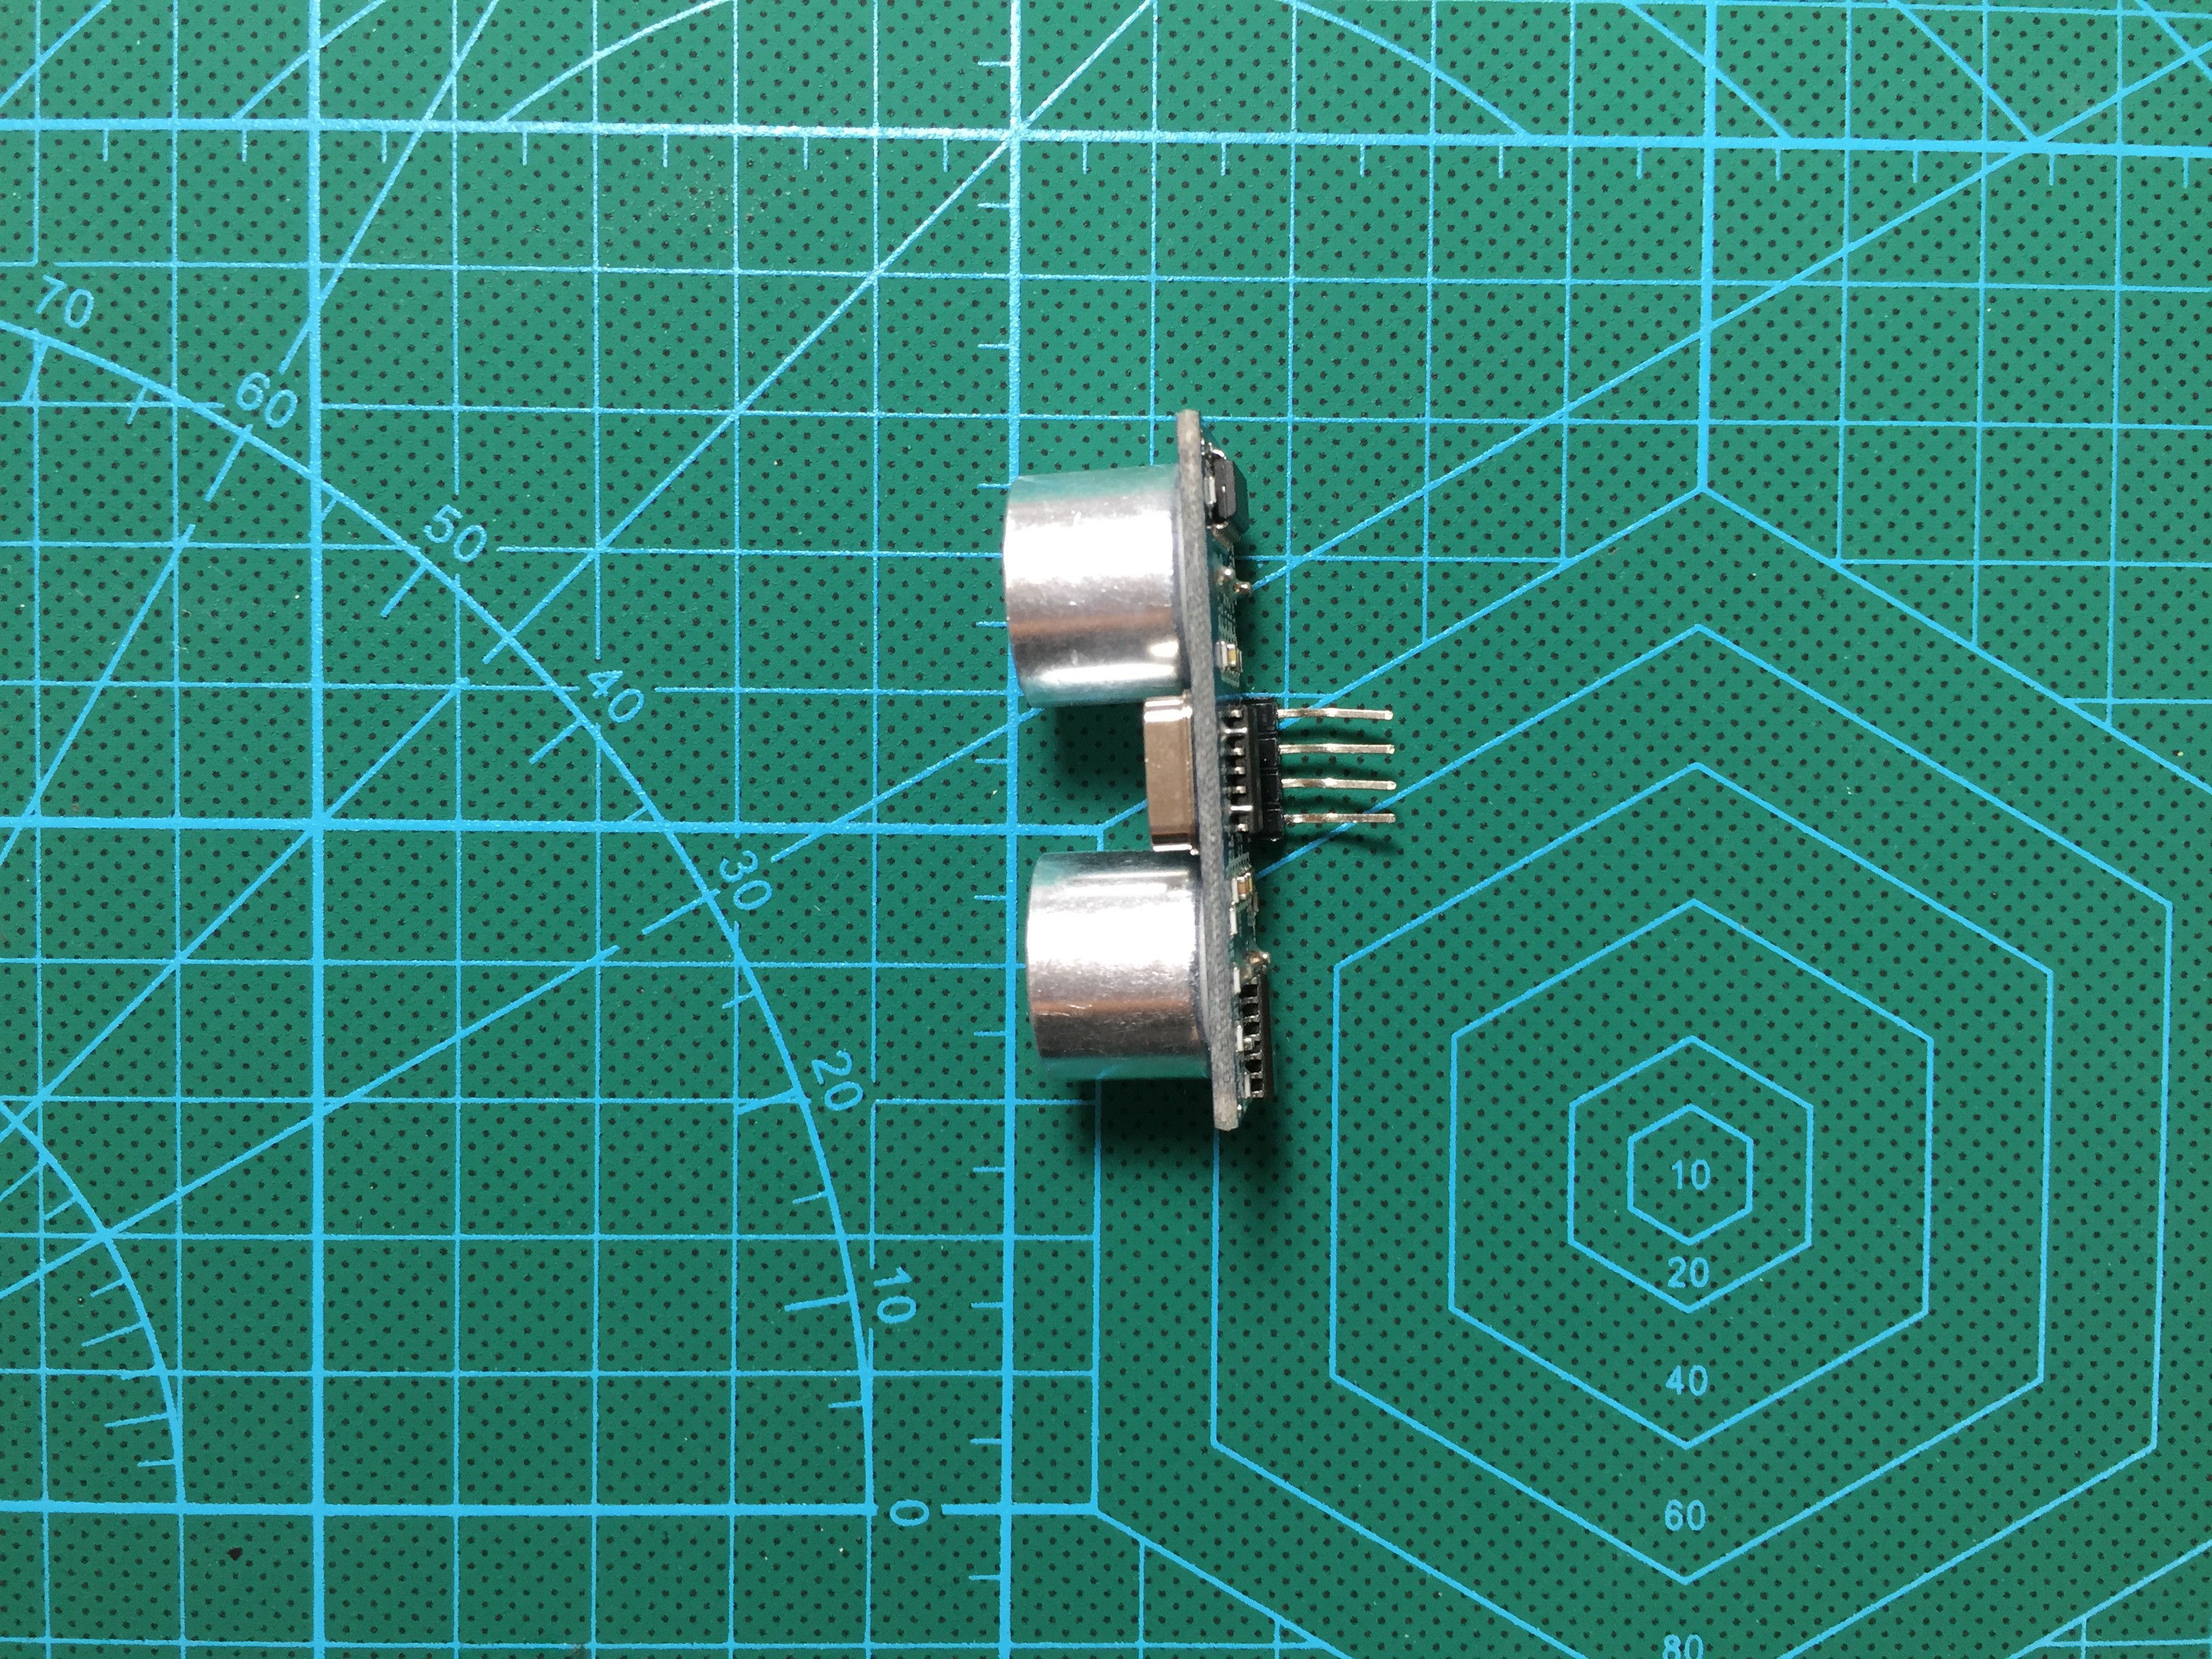
Use your pliers to bend the headers of the ultrasonic sensor, this way the sensor will be facing up when you solder it onto the perfboard.
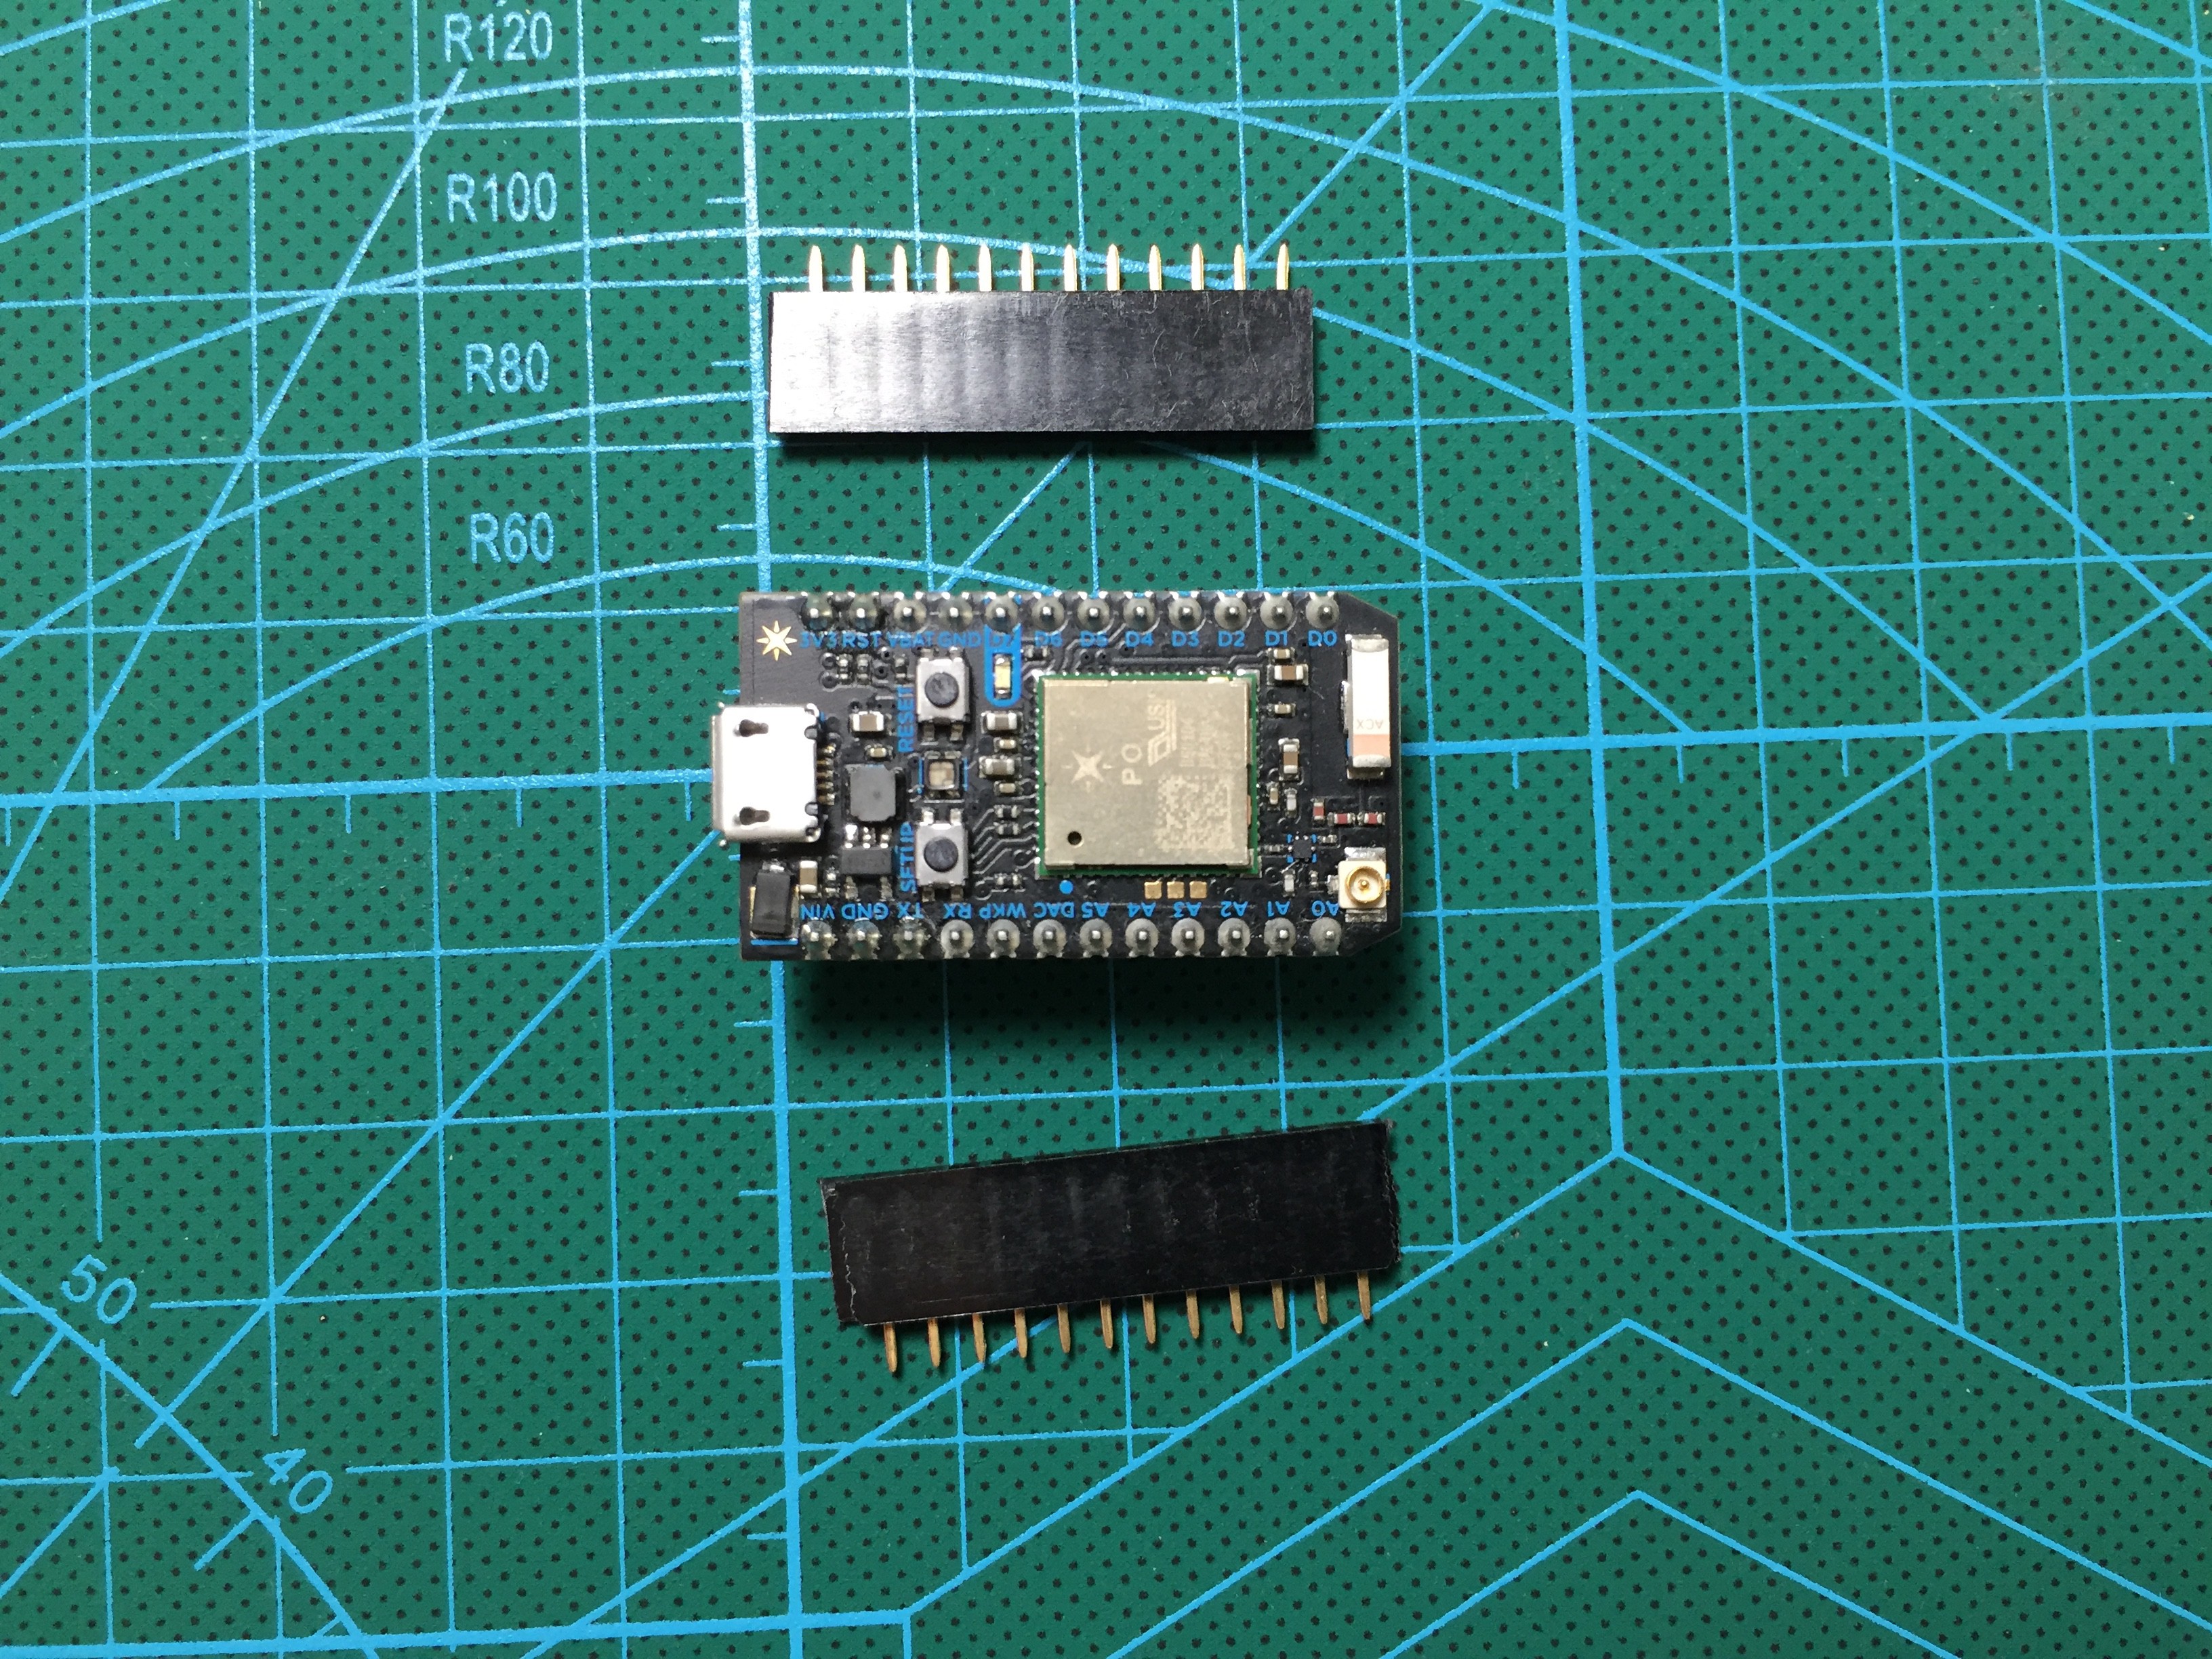
This is optional, but if you would like to reuse your Particle Photon, trim 2 female headers to match the male headers of Photon.
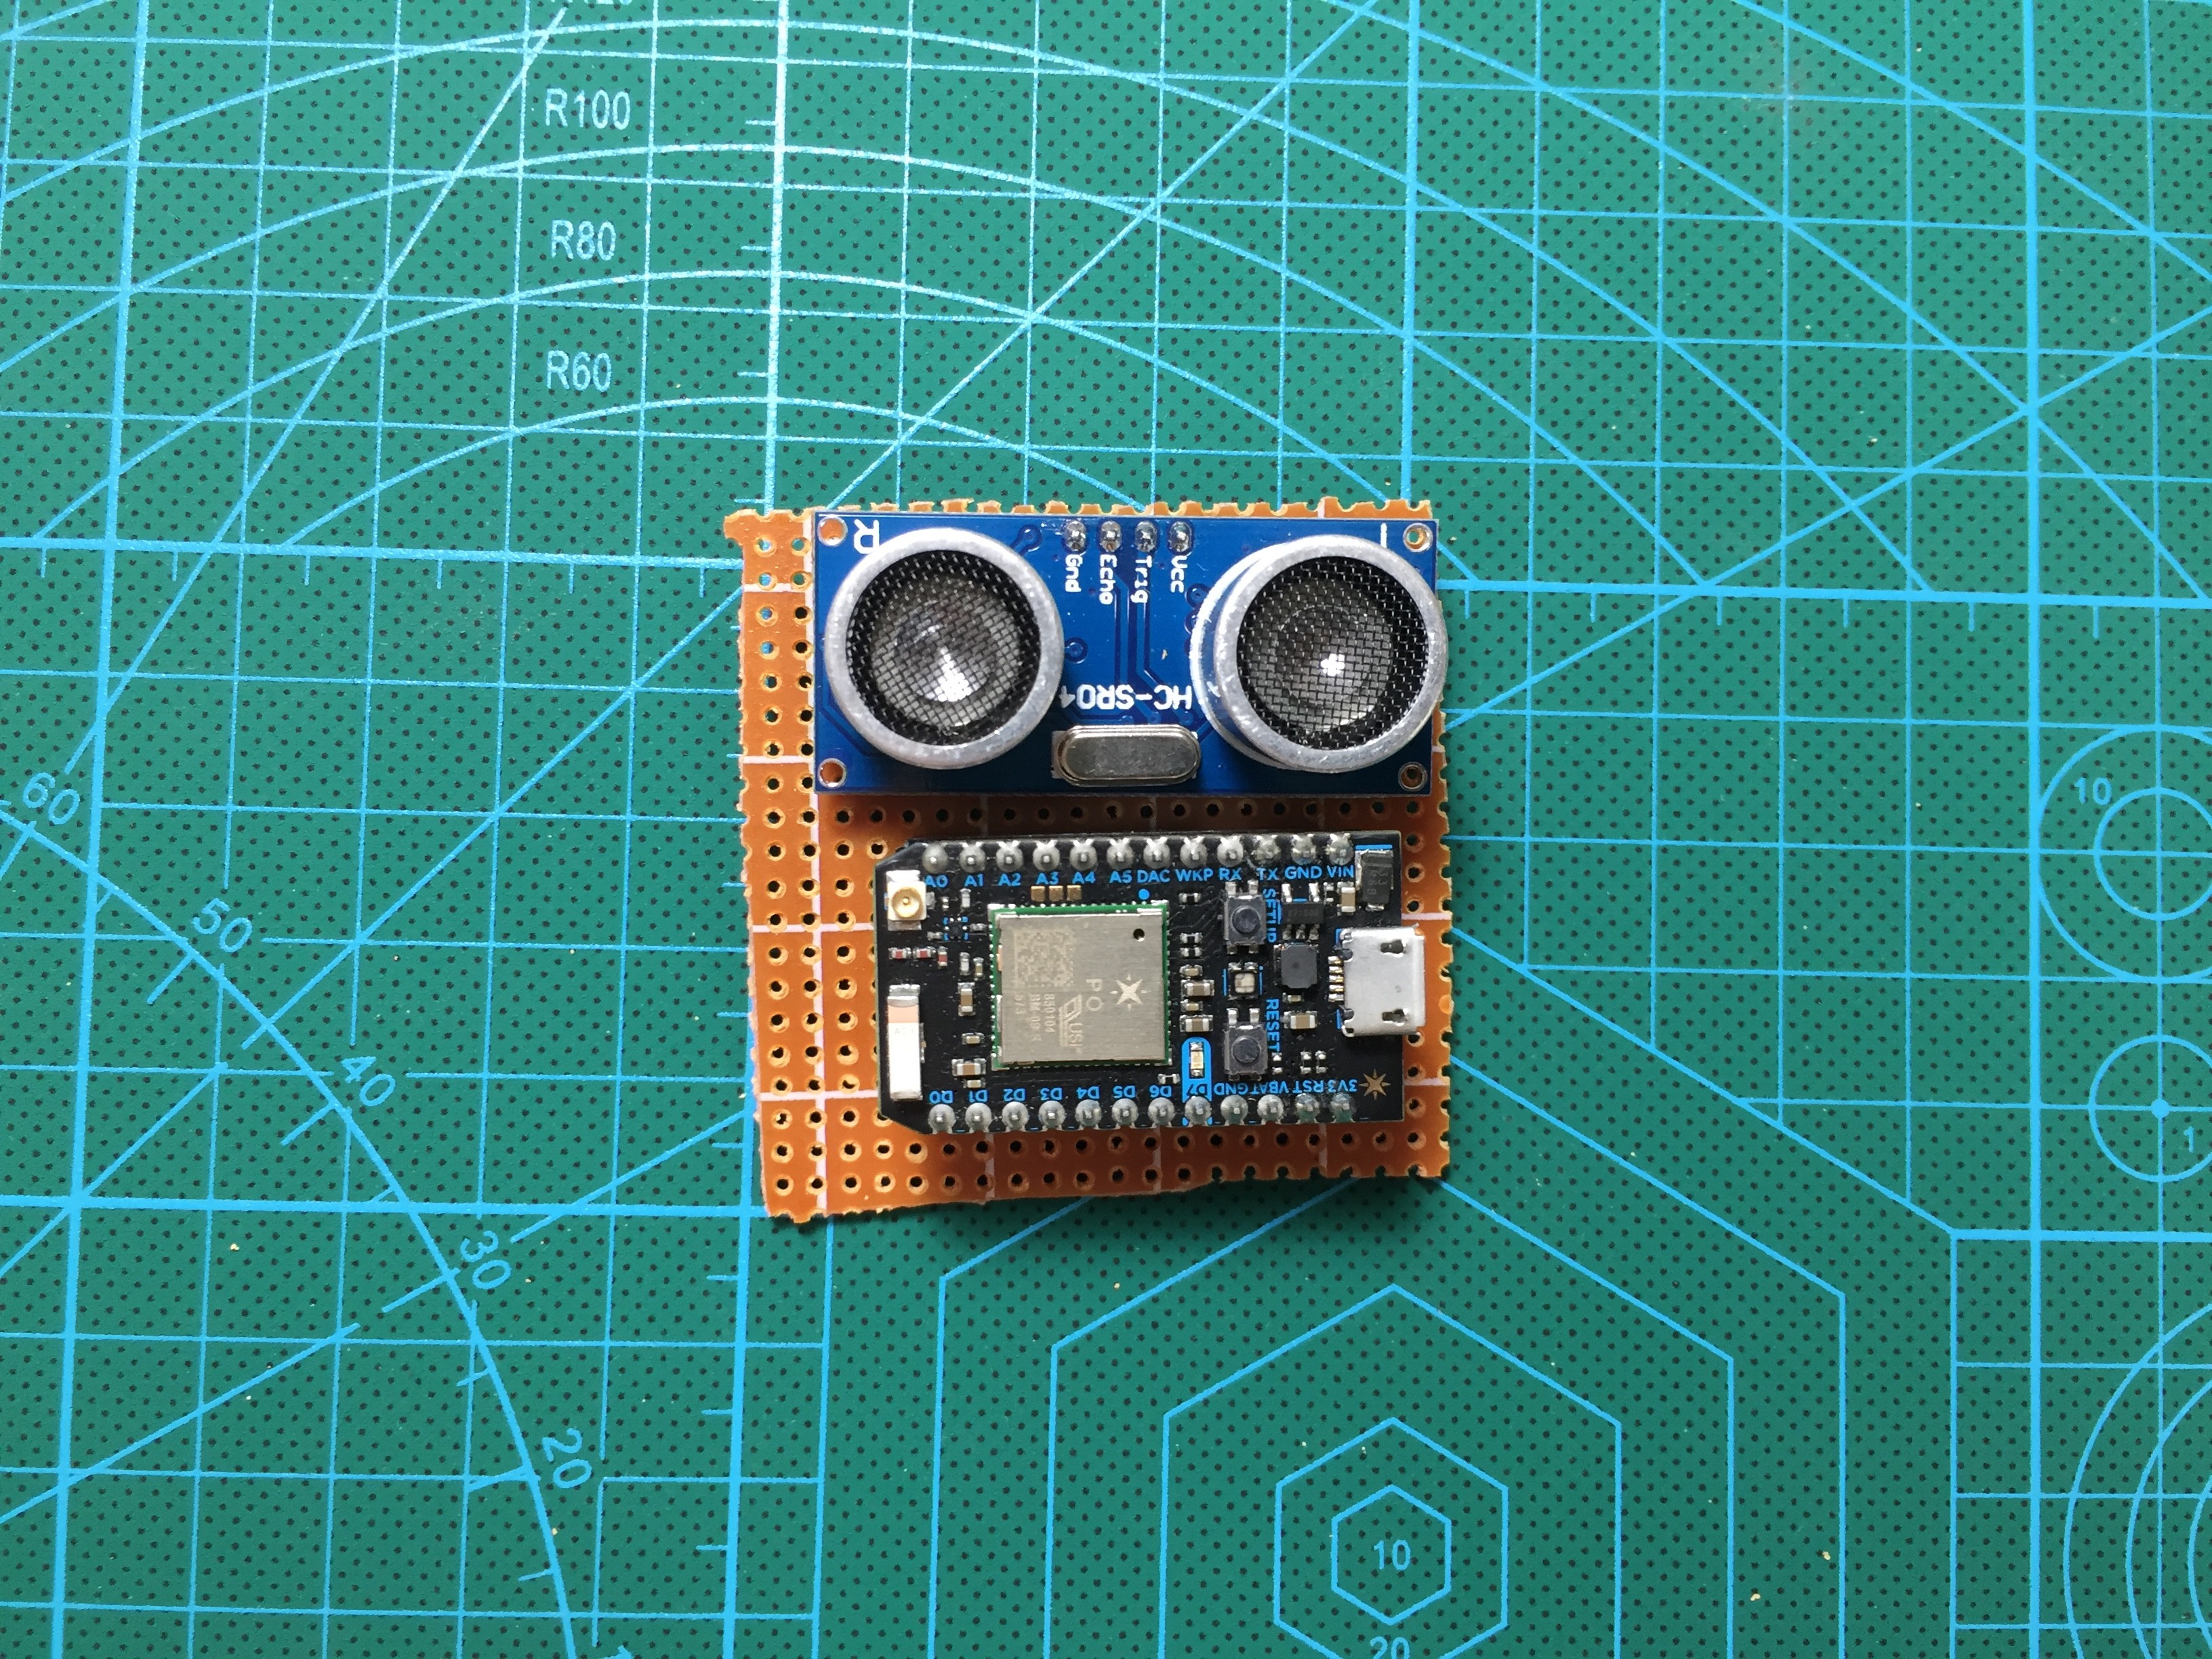
Trim your perfboard to a 50 x 50 mm square. I find it easier and cleaner to do this with a diagonal cutter instead of a saw.
-
2Wiring and Soldering
Mark the hole for the ultrasonic sensor headers before temporarily removing it from the board.
![]()
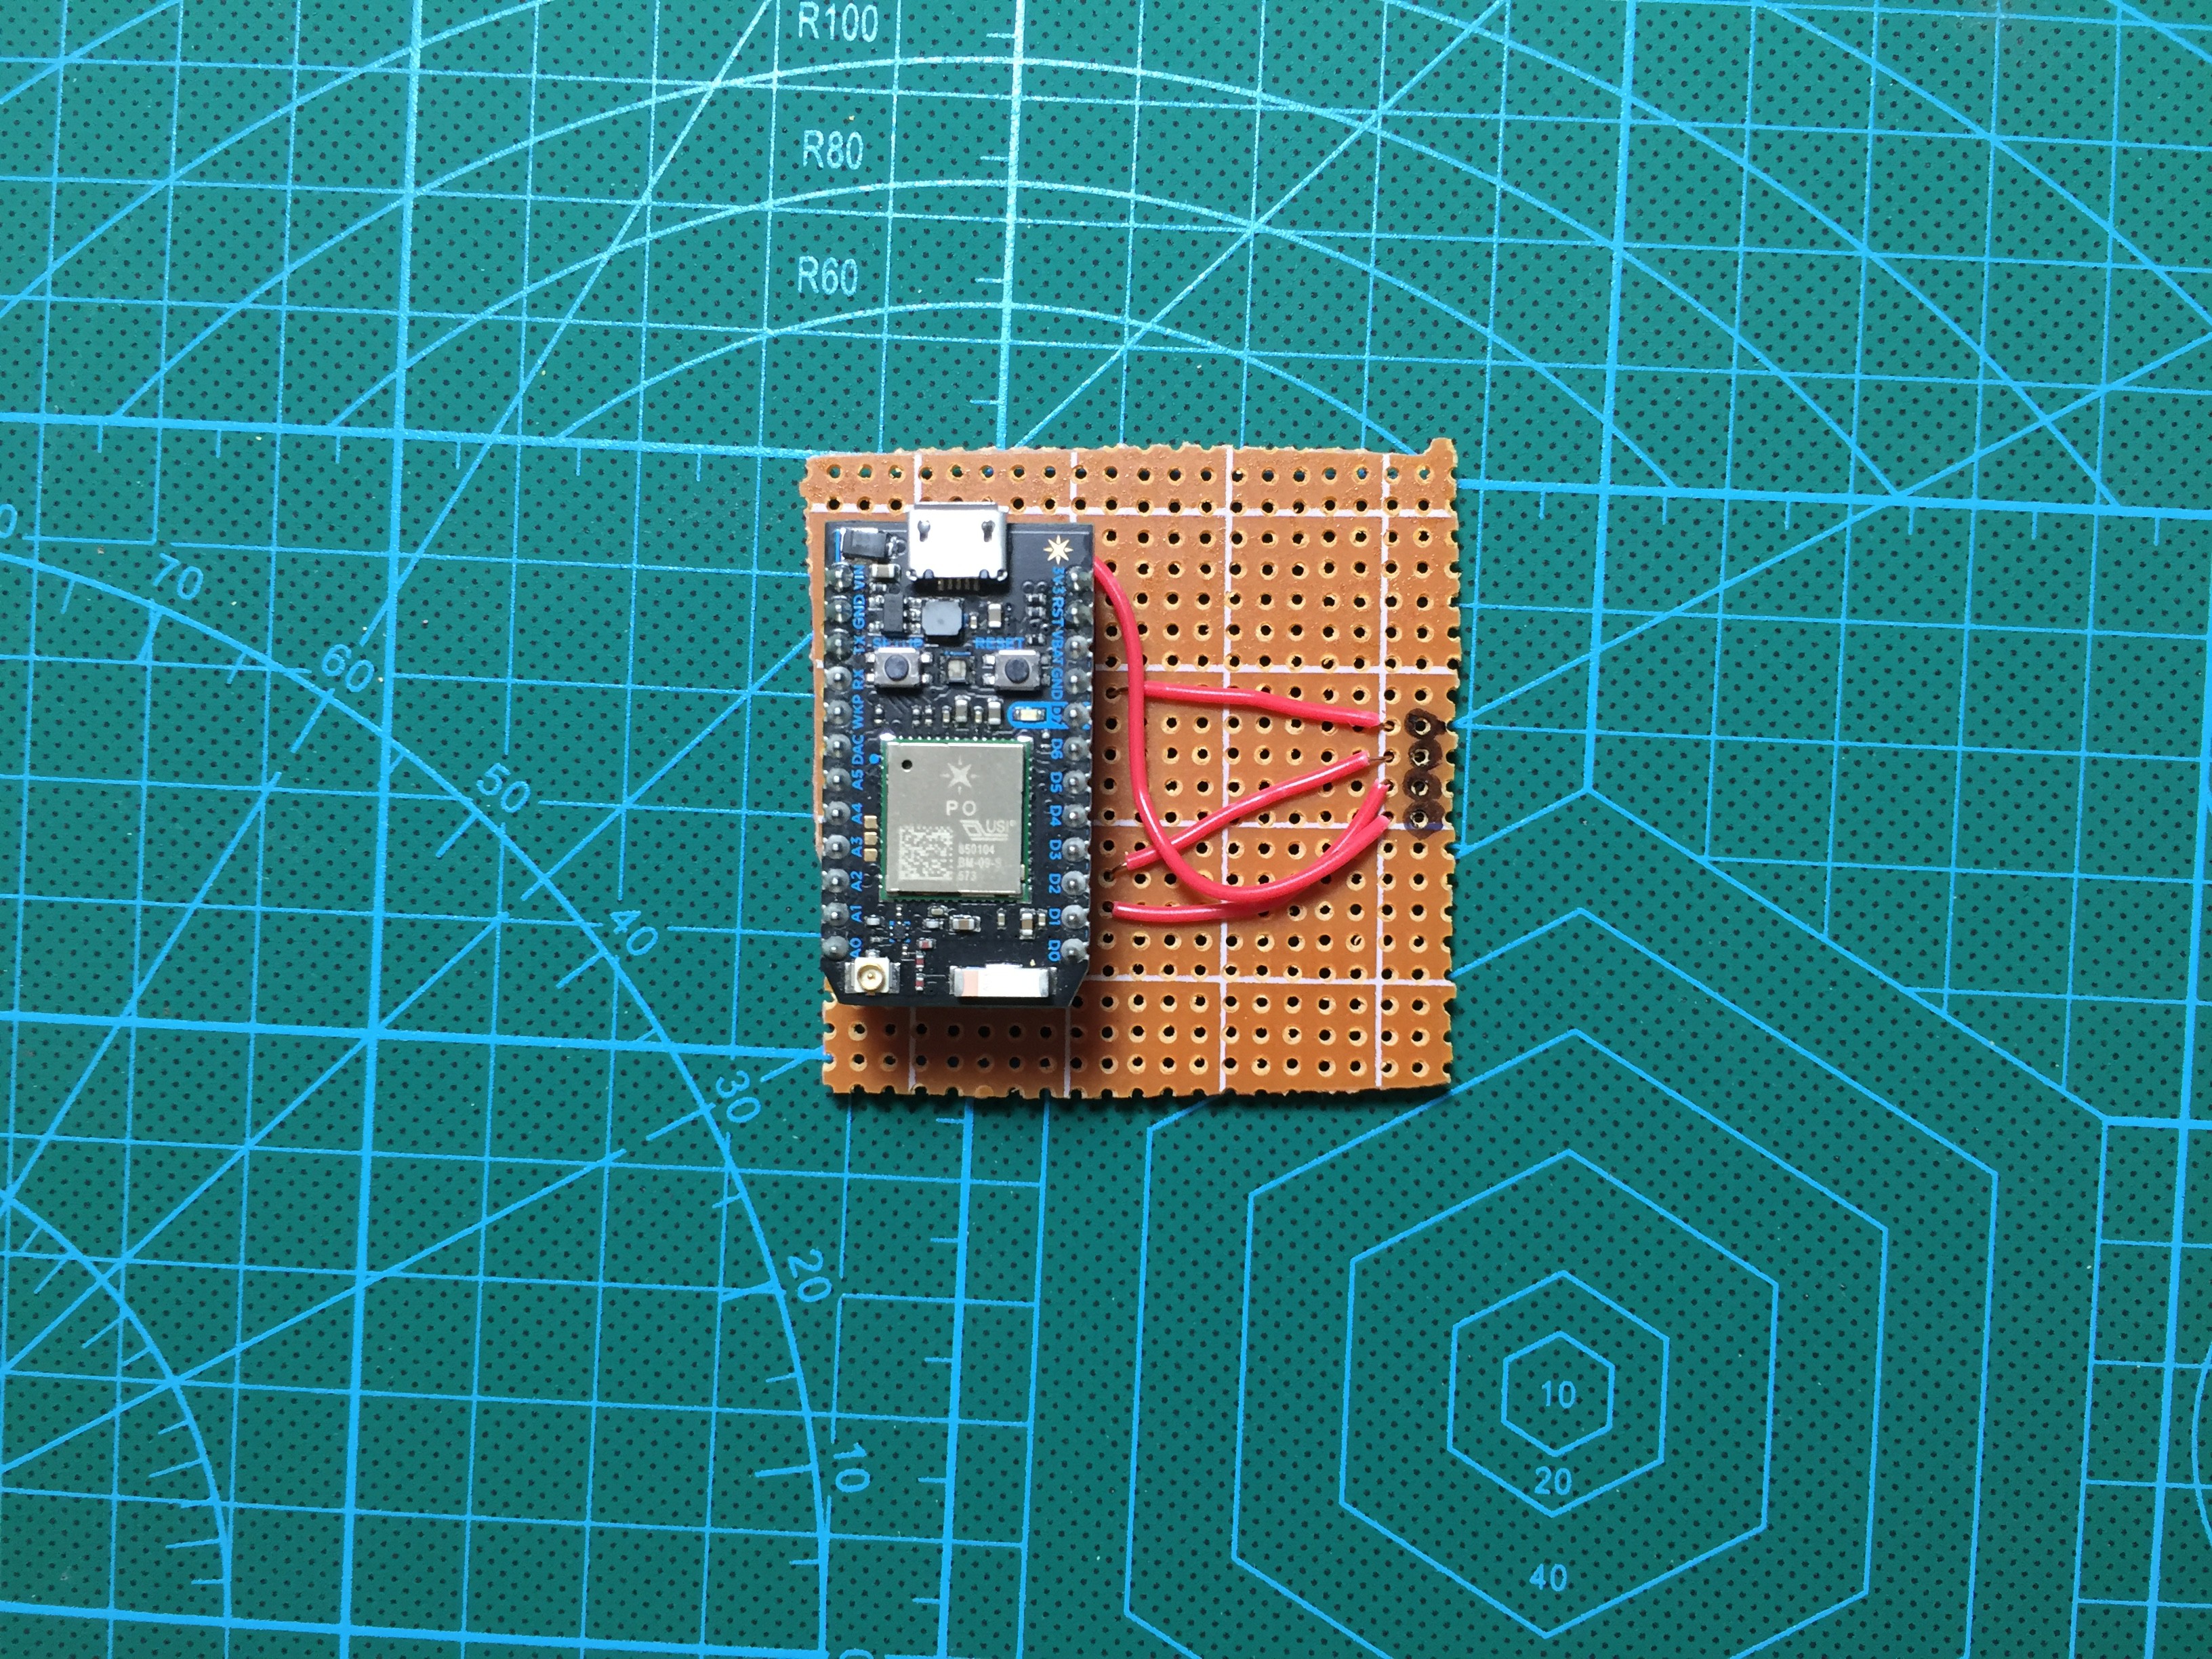
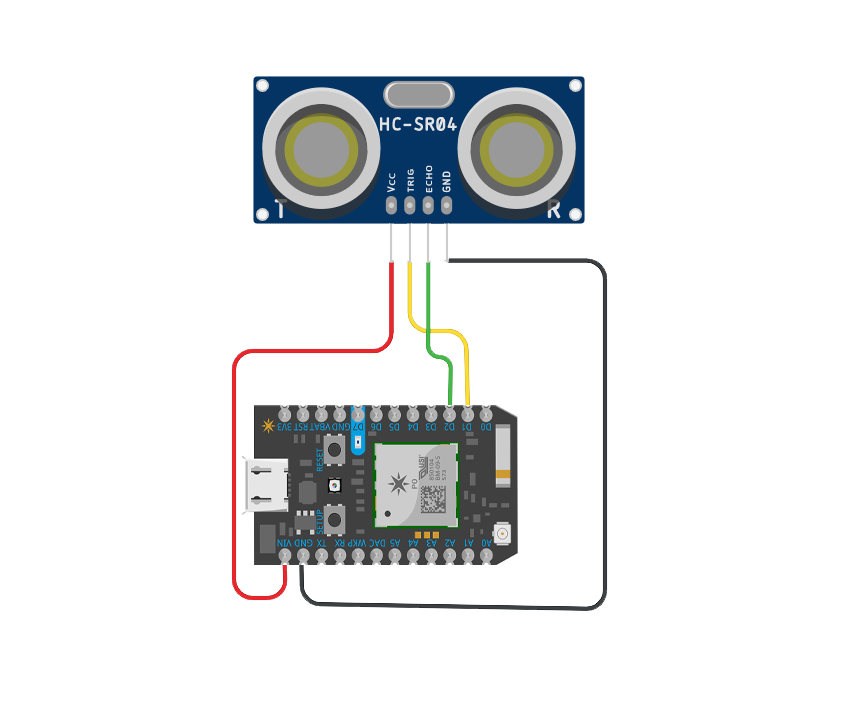
Wire up according to the schematic and reinsert the sensor when finished.
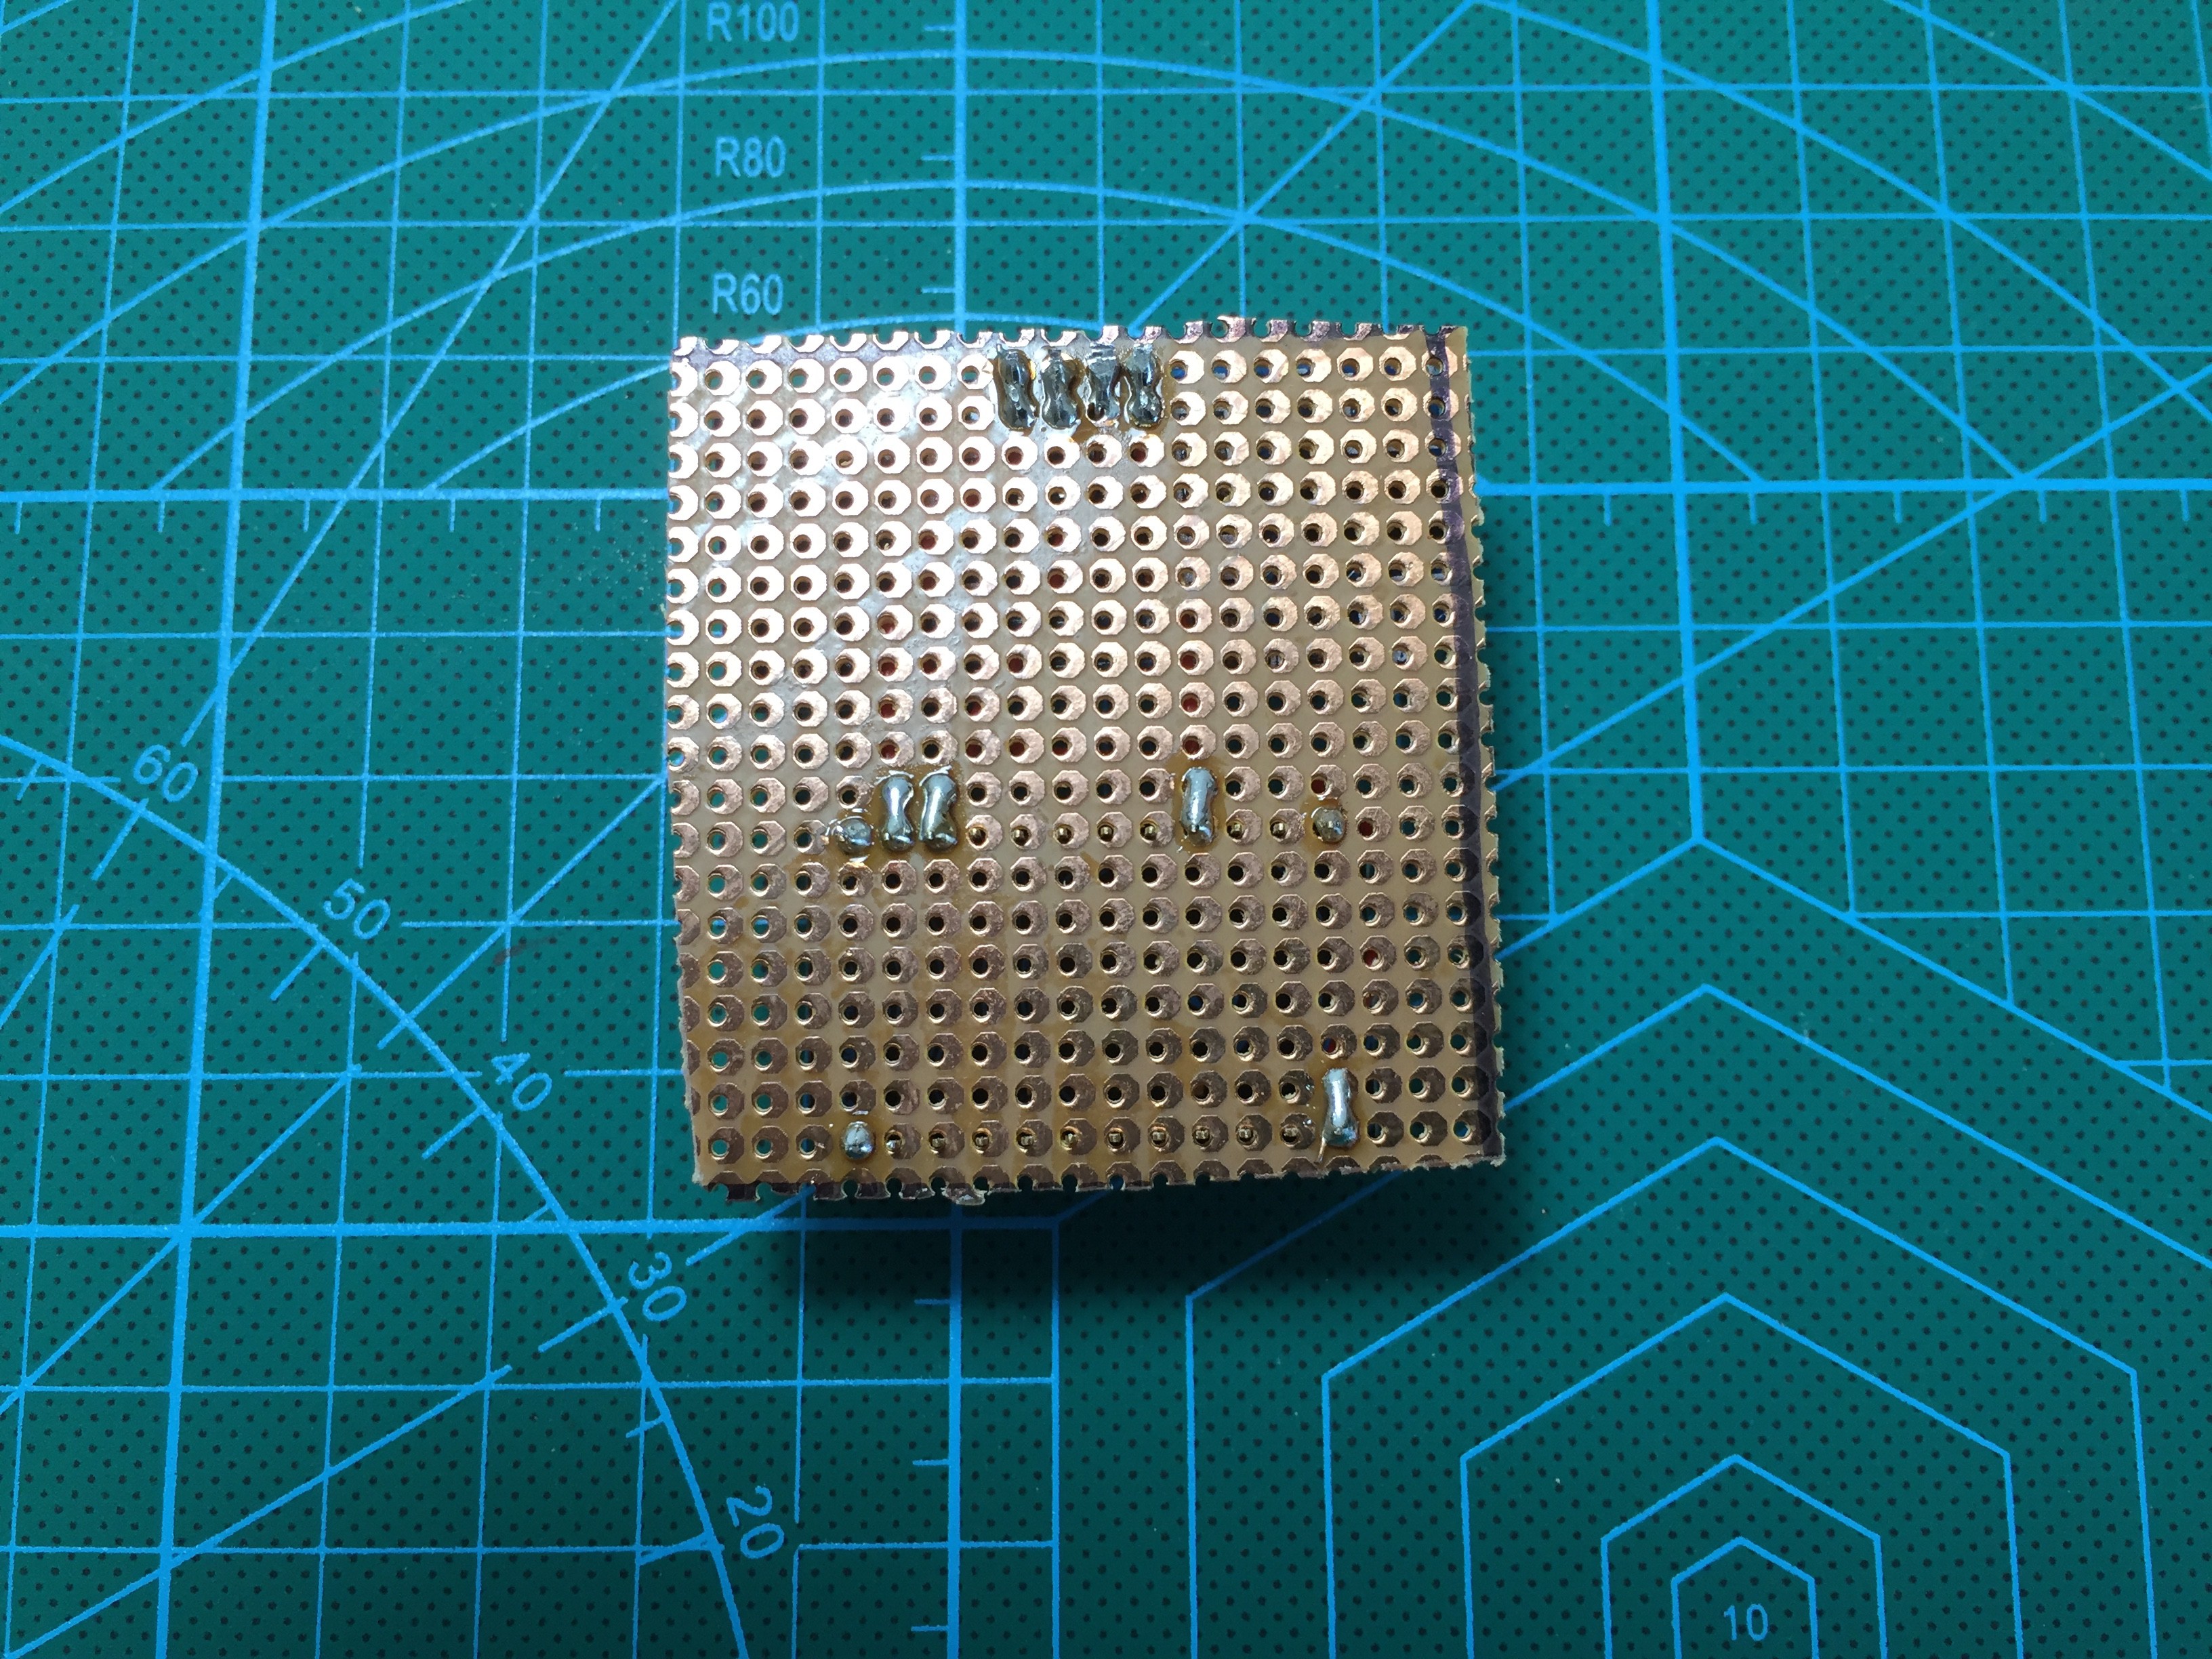
Flip the board and solder all the connections.
-
3Enclosure and Assembly
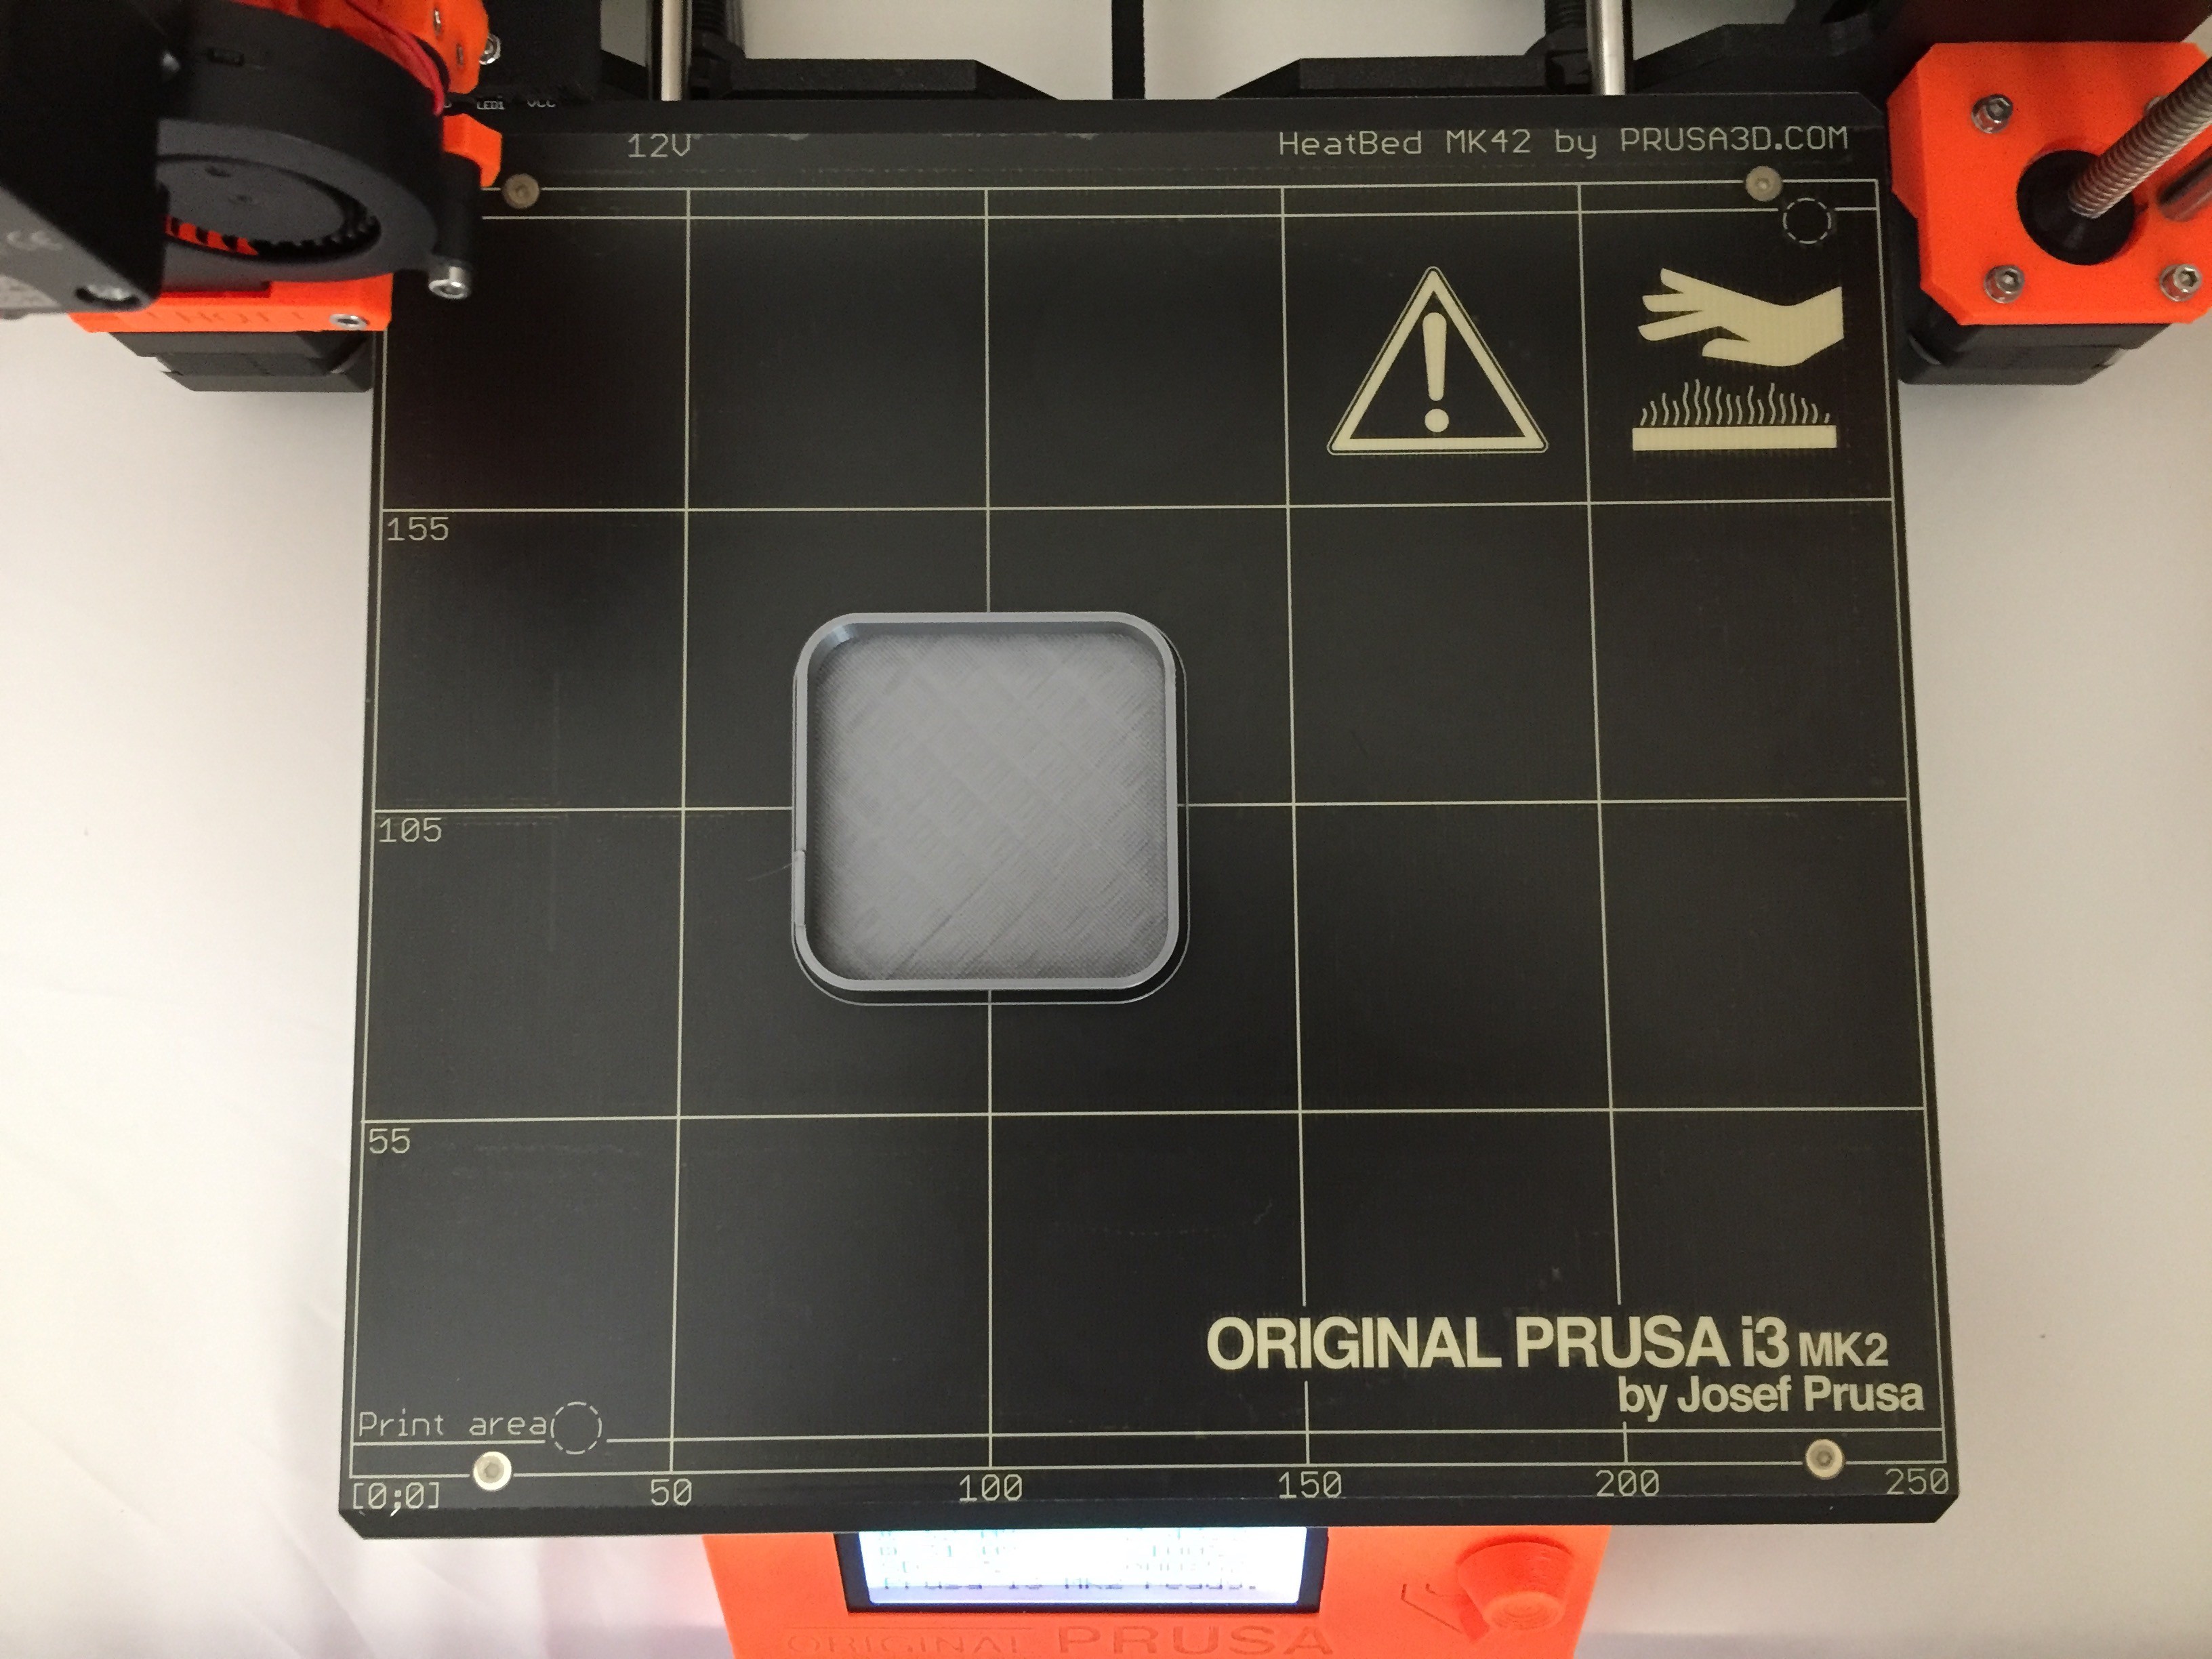
Download the STL files, I printed mine with the following settings:
- Material - Silver PLA
- Infill - 10%
- Support - None
- Speed - 50mm/s
Afterward, line up the ultrasonic sensor with the cutout, and snap fit the case together. The electronics should fit pretty snug inside.
-
4The Code
![]()
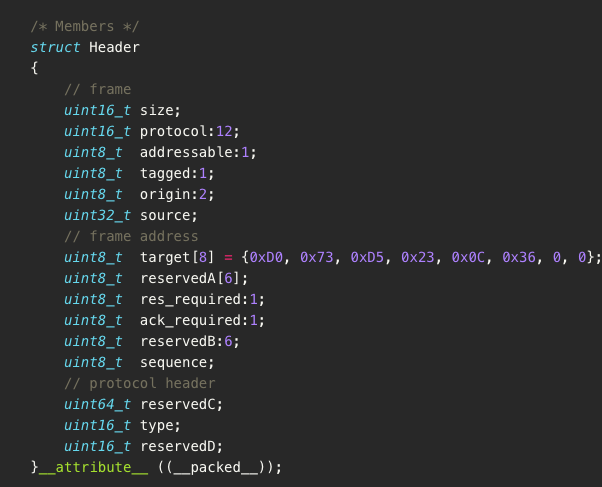
To communicate with the LIFX bulb, the code utilizes the LIFX LAN Protocol. The only thing you need to change is the target, or the MAC address of your LIFX bulb, which should be listed at the base of your bulb. If you want to control all the bulbs in your house, set all the address fields to 0. The code for this project is written in Particle IDE, and can be found on my Github.
-
5Other Applications
![]()
![]()
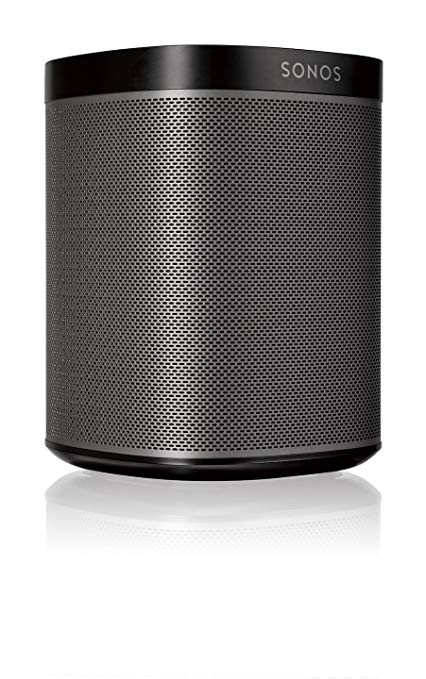
While I built this project to control LIFX lightbulbs, I can see how this concept can be easily applied to control other IoT devices just by tweaking the code. Imagine controlling the volume of your smart speaker with your hand, or adjusting the temperature through your smart thermostat.
 Gary Peng

Discussions
Become a Hackaday.io Member
Create an account to leave a comment. Already have an account? Log In.