 Electroniclovers123
➢Step descriptions:
✦Step 1:-Let's start soldering. We solder the SMD resistors first. They are really too small.

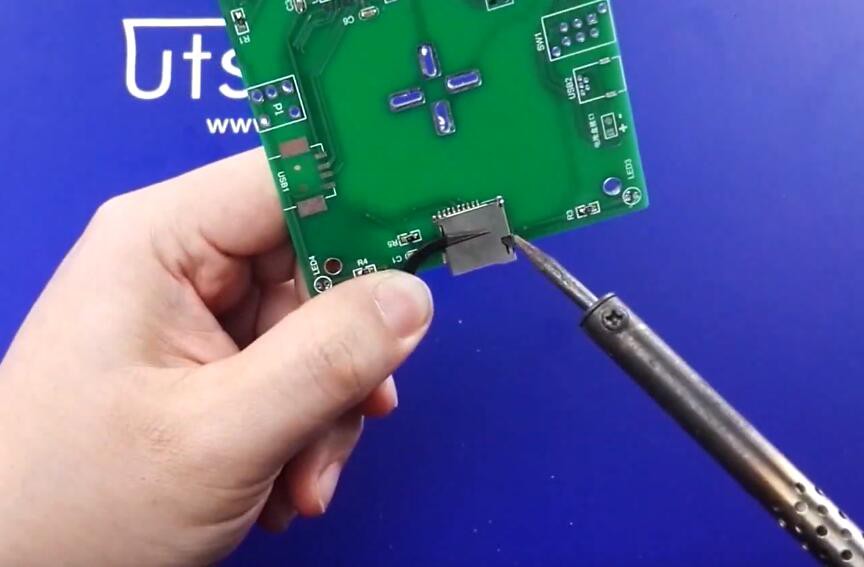
✦Step 2:-Then we solder interface of the TransFLash , there are a lot of pins, so we apply tin on the solder joint first.
✦Step 3:-OK, let's start to solder the SOP-16 and SOP-8 chips.

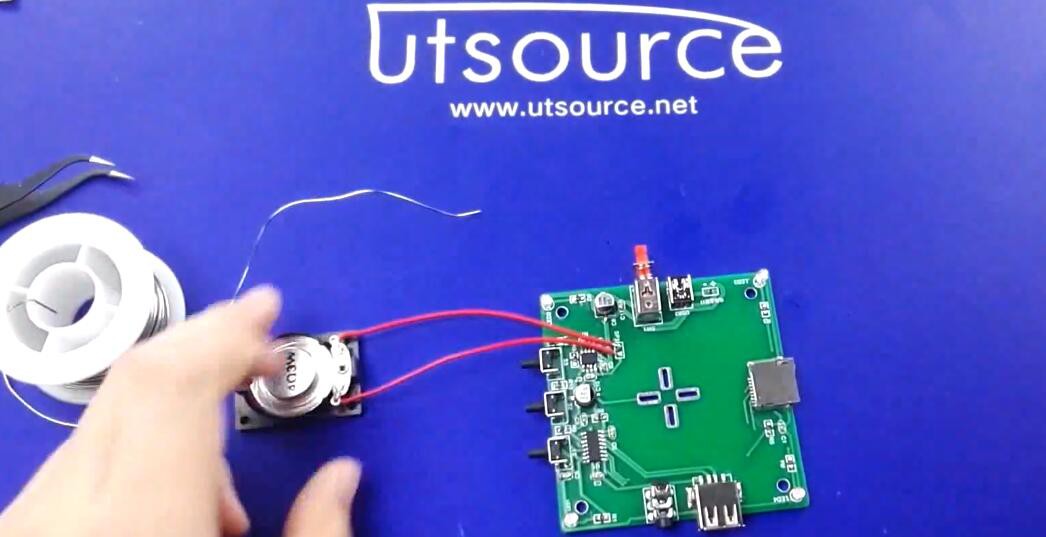
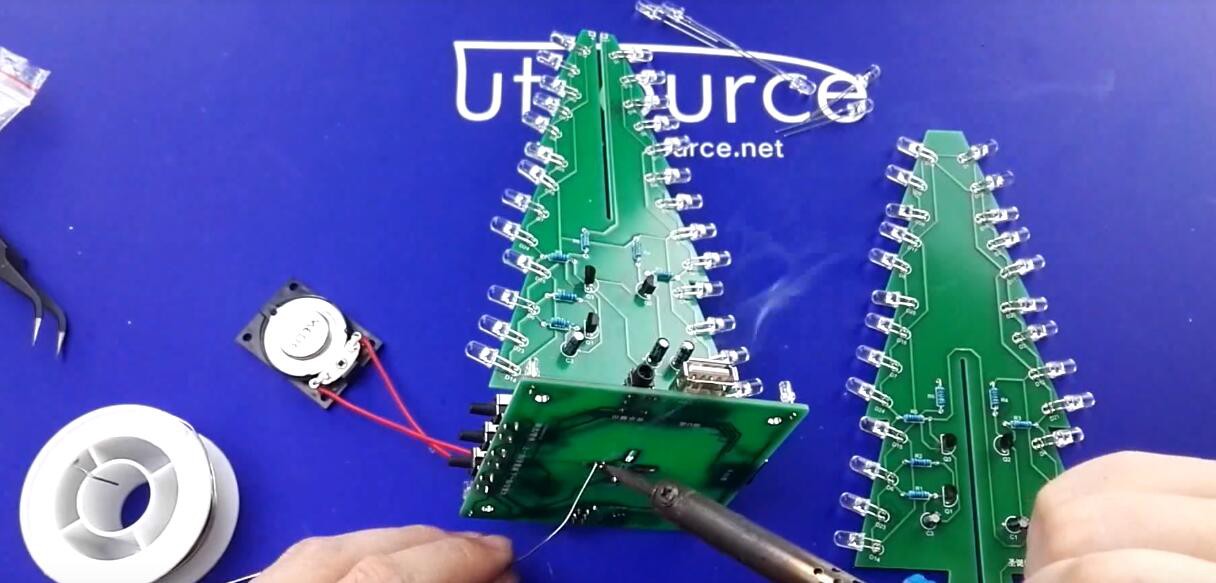
✦Step 4:-Then we will solder the USB switch, three press switches, one audio output port and one speaker.

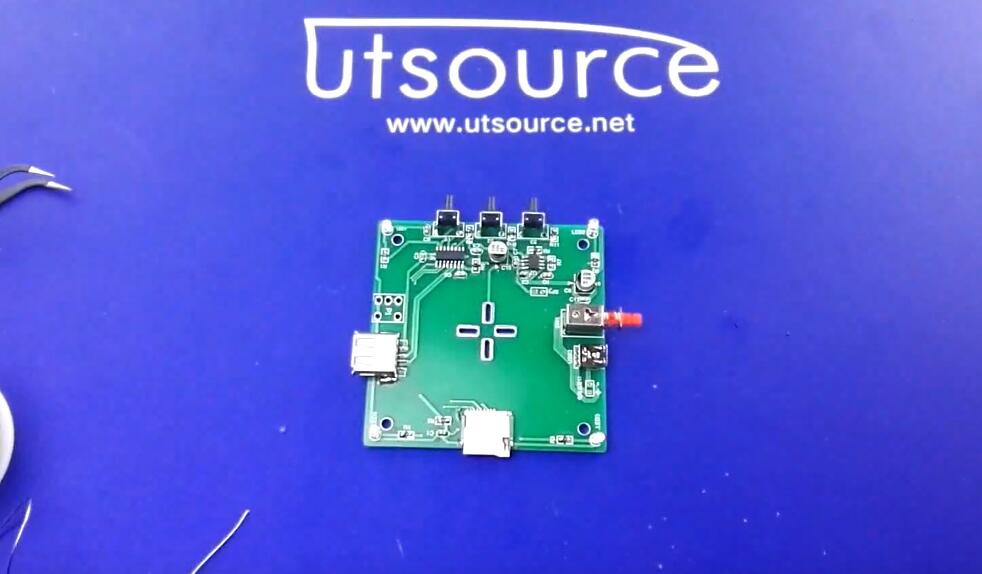
✦Step 5:-OK, the base part is almost finished.
✦Step 6:-Let's solder the part of the tree. The tree is made of two PCB boards. The circuit of the two AB boards is basically the same except that there is an LED light at the top of the A board.
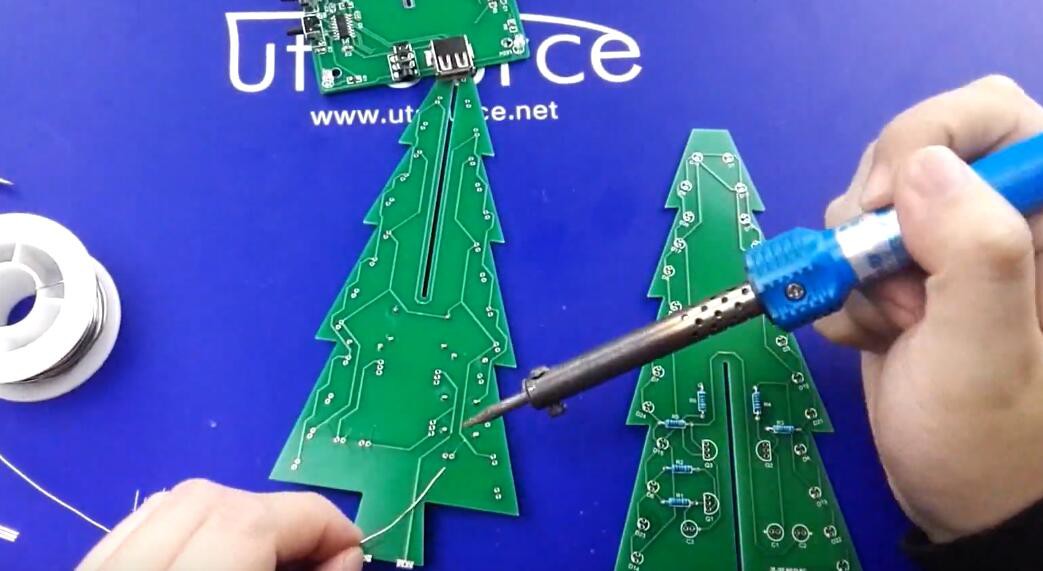
✦Step 7:-We solder the resistors at first, three on each side, and then we solder the triodes. Pay attention to the angle when soldering the triodes.
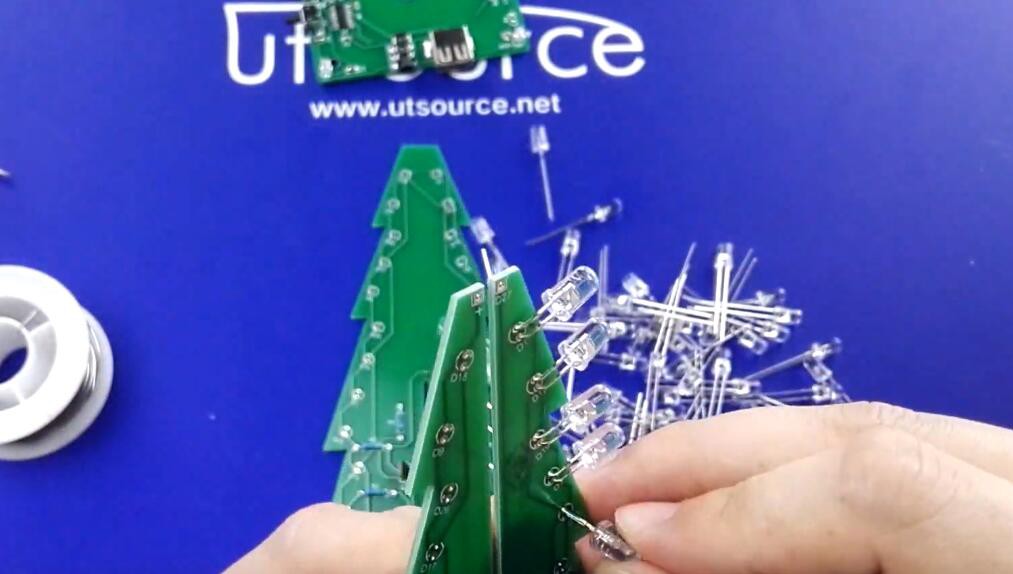
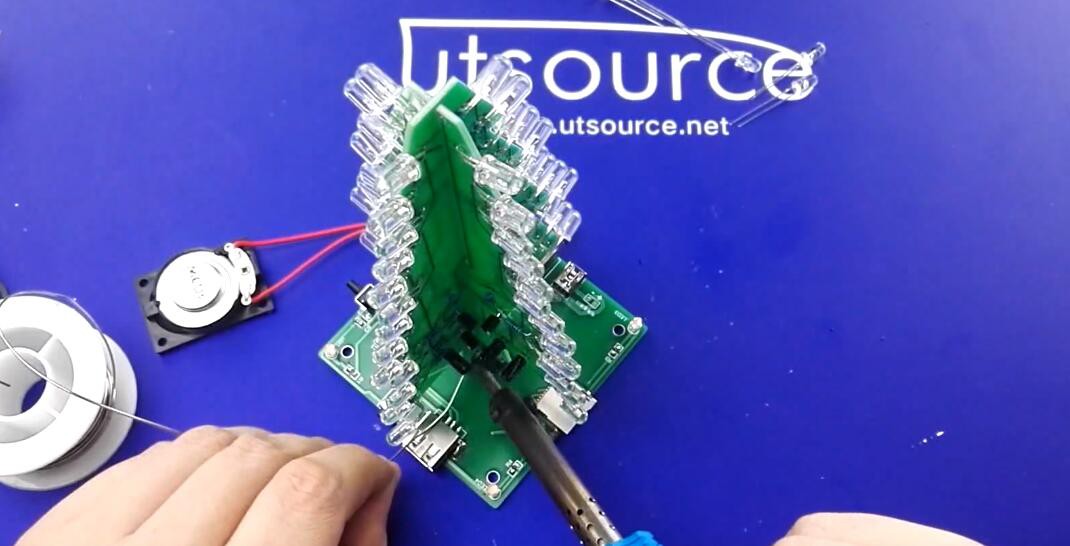
✦Step 8:-Now we connect the A board to the backplane first. The top LED of the A board is not soldered, then the B board is mounted. Finally, the LED at the top of the A board is soldered.
Product link:
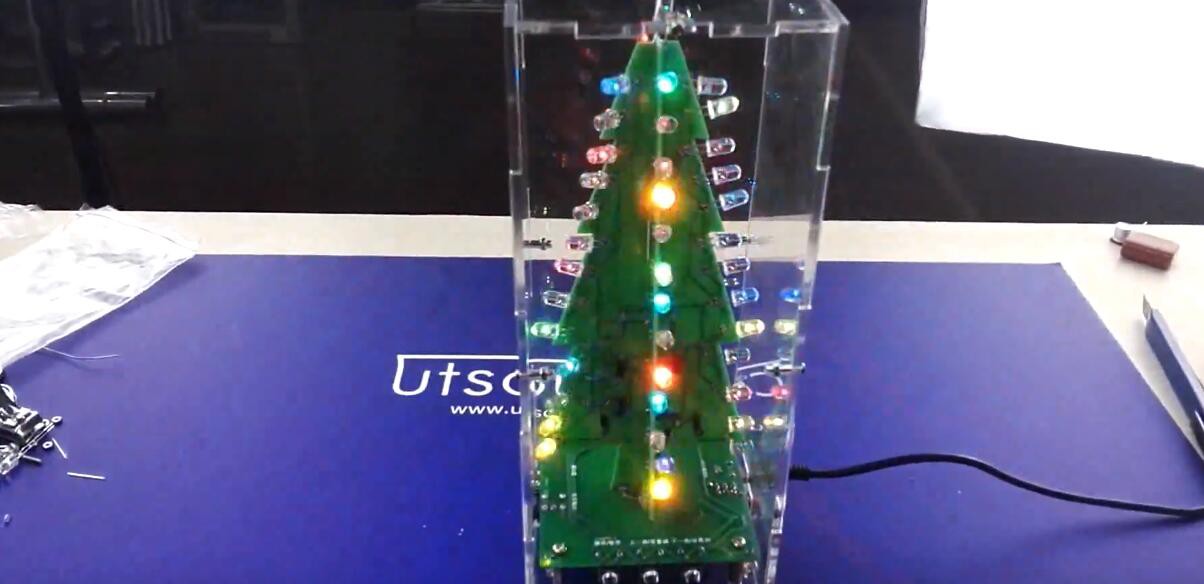
DIY Kit Shining LED Christmas Tree
https://www.utsource.net/itm/p/7420866.html
Video on Youtube:
 TwinkleTwinkie
 davedarko
 Bradley Gawthrop
 yan
yan
Wow! This is very cute! I would try to make one. Thank you so much for the idea.
https://www.banffhighcountryinn.com/