Close
0%
0%

ADAM DLP 3D Printer

DIY DLP 3D Printer based on NanoDLP Software using Raspberry Pi 3 and Trinamic Motor Controller

Similar projects worth following
I am writing this as an after-the-fact build log since there was no proper documentation done during the process.

The journey started in 2013 with the first major purchase of a € 700 projector along with aluminium extrusions and electronics.

"learning by doing"

Now the total amount spent on hardware, electronics and custom machined parts is along the lines of € 5000-6000 excluding countless weeks, weekends, sleepless nights of R&D.

Many thanks go to the guys at

3D Lab @ Berlin Insitute of Technology (TU - Berlin)
http://www.math.tu-berlin.de/iuk/3dlabor/3d_labor/

Shahin @ NanoDLP for providing that awesome piece of software
https://www.nanodlp.com/

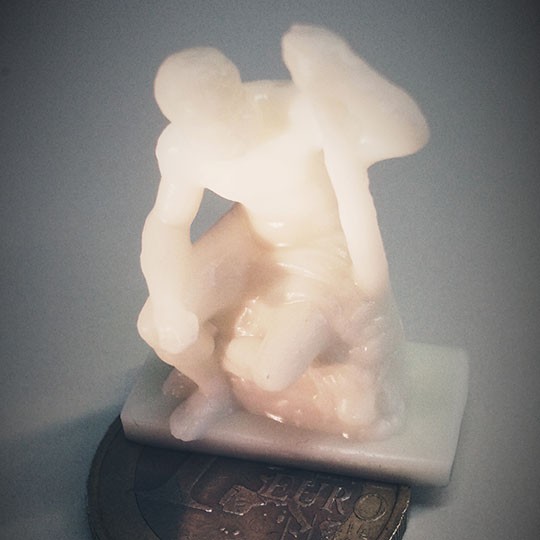
There are lots of cheap SLA printers out there but in this project I was trying to go primarily for quality of the resulting prints. Of course the budget was not unlimited but since some people pay thousands of dollars for other hobbies I figured it's worth a shot.

So here we go.

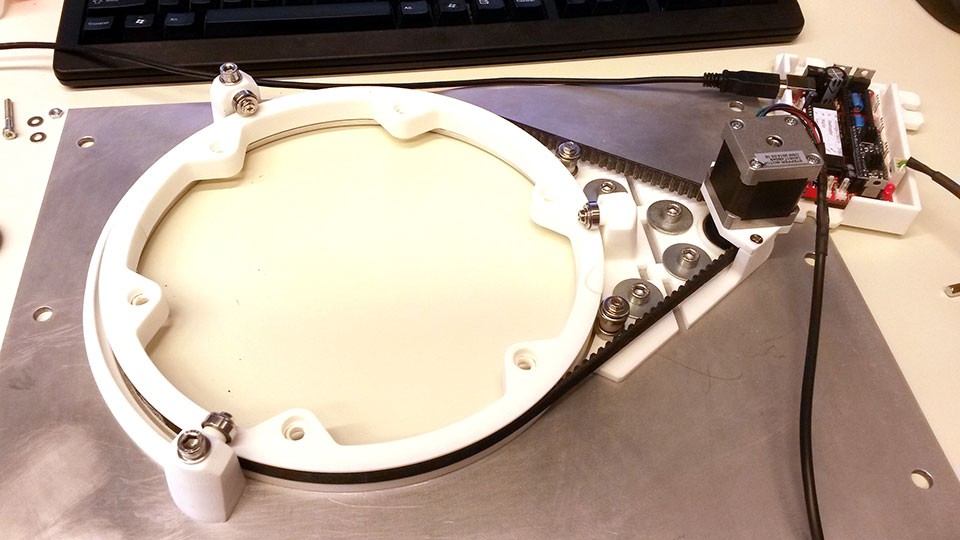
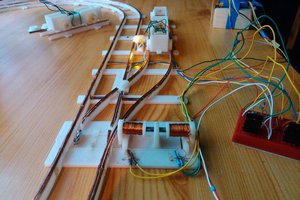
I've been going through several iterations over the last few Years. I first started with an ACER H6510BD Home Cinema Projector and Windows based Creation Workshop as the control software. Also the first iteration used a Sanguinololu as Motor controller.

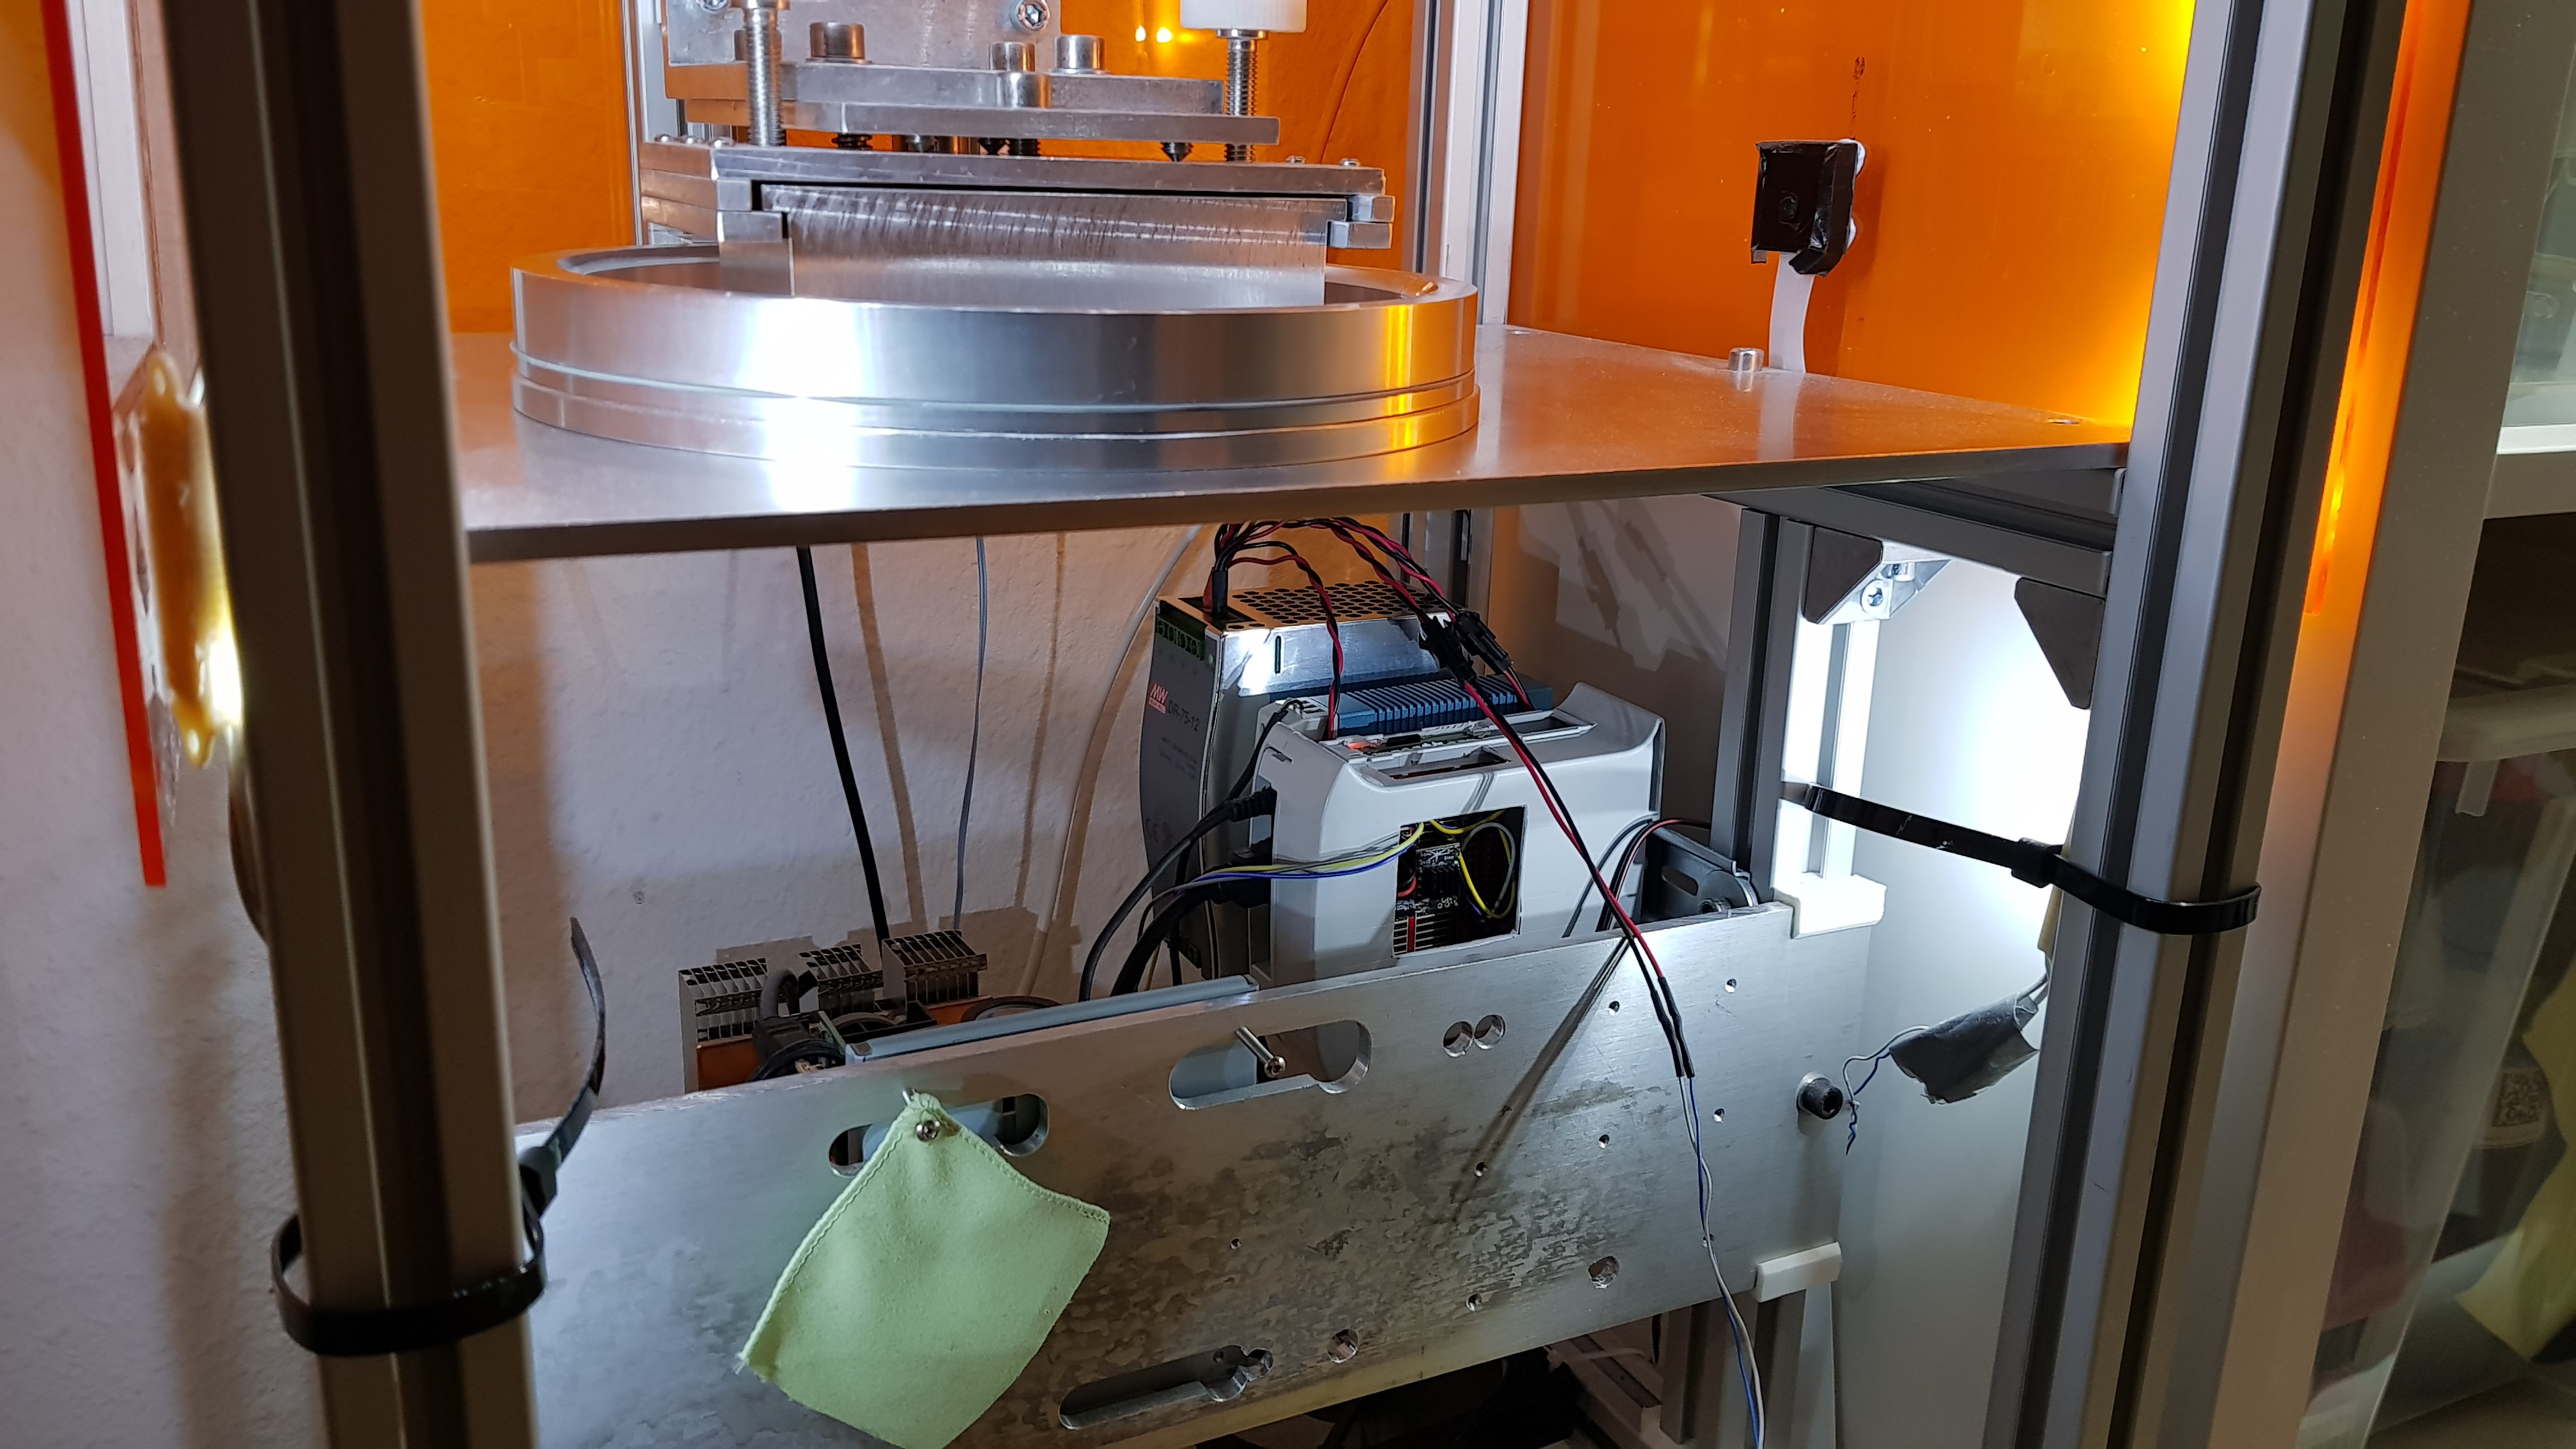
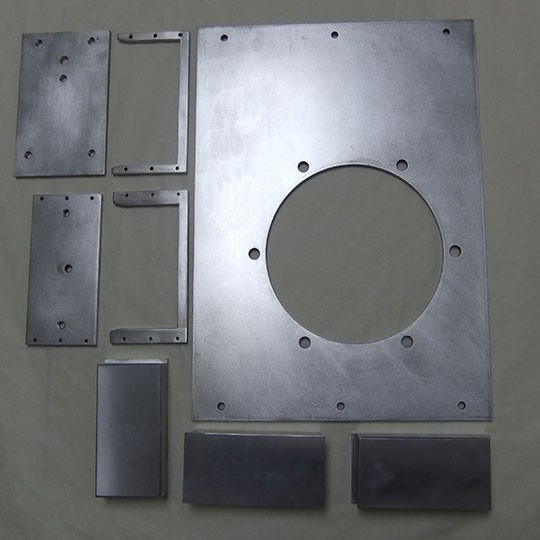
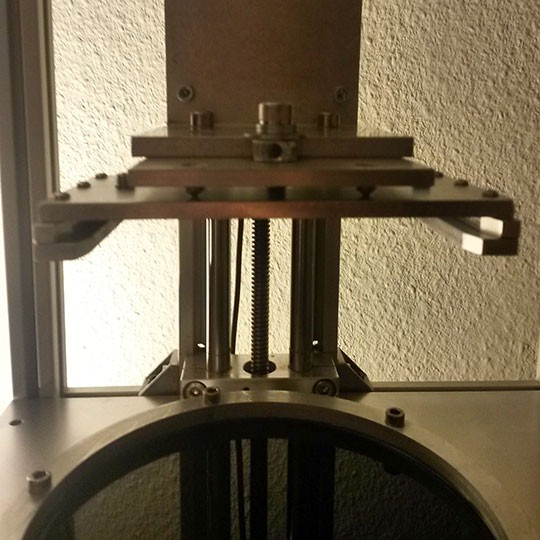
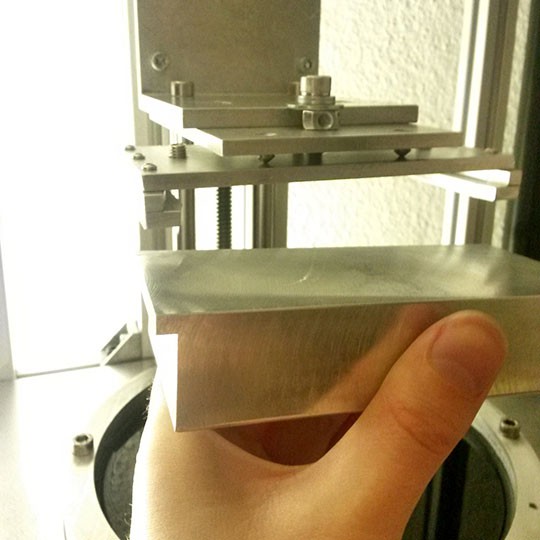
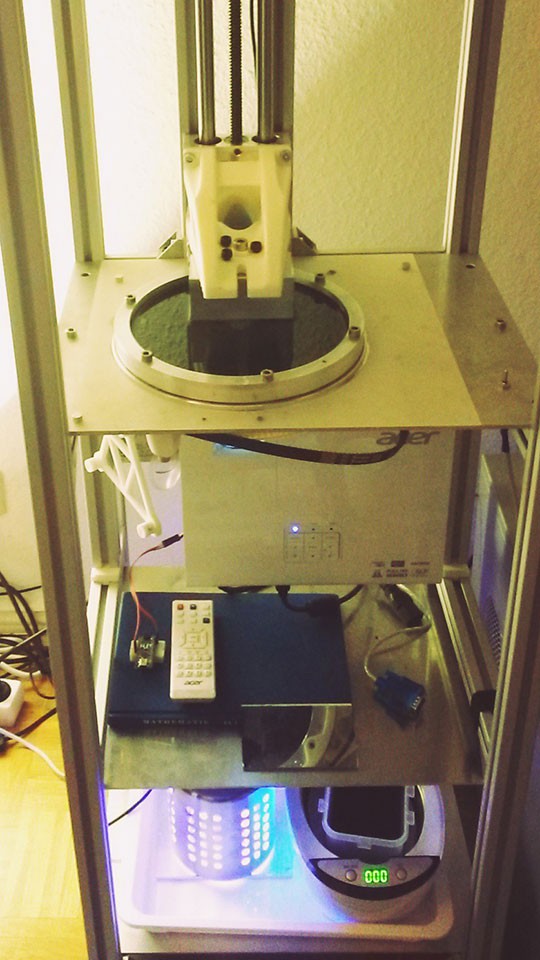
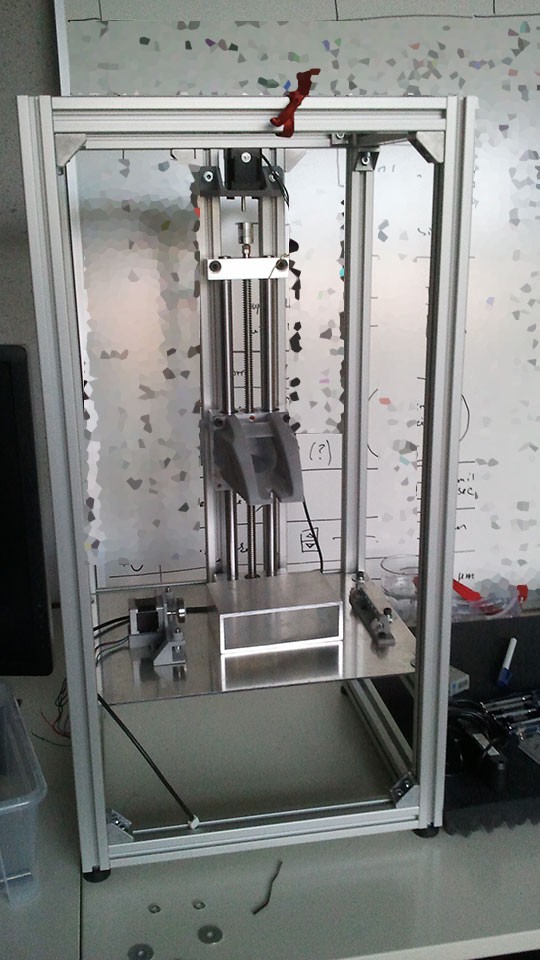
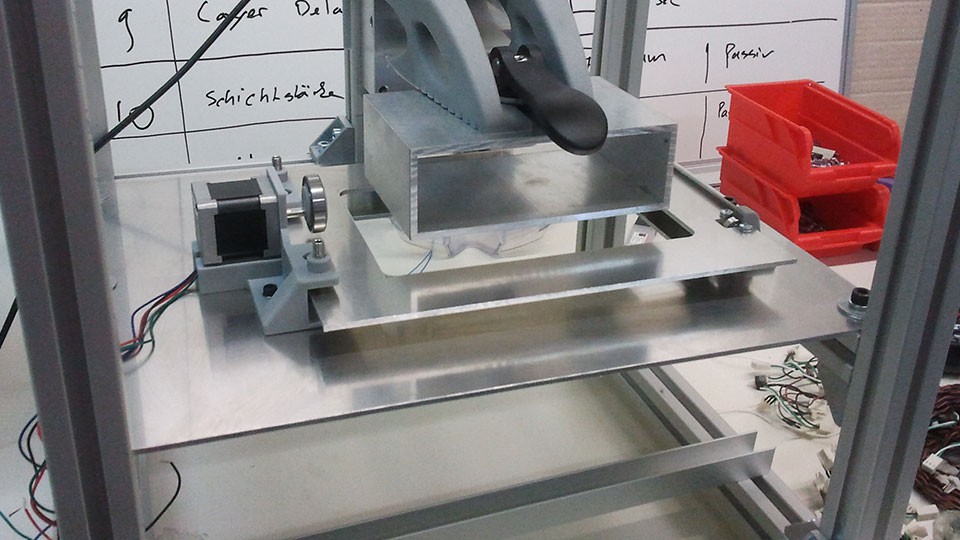
At this step all electronics have been replaced by better performing/optimized stuff and most 3D printed parts by machined parts:

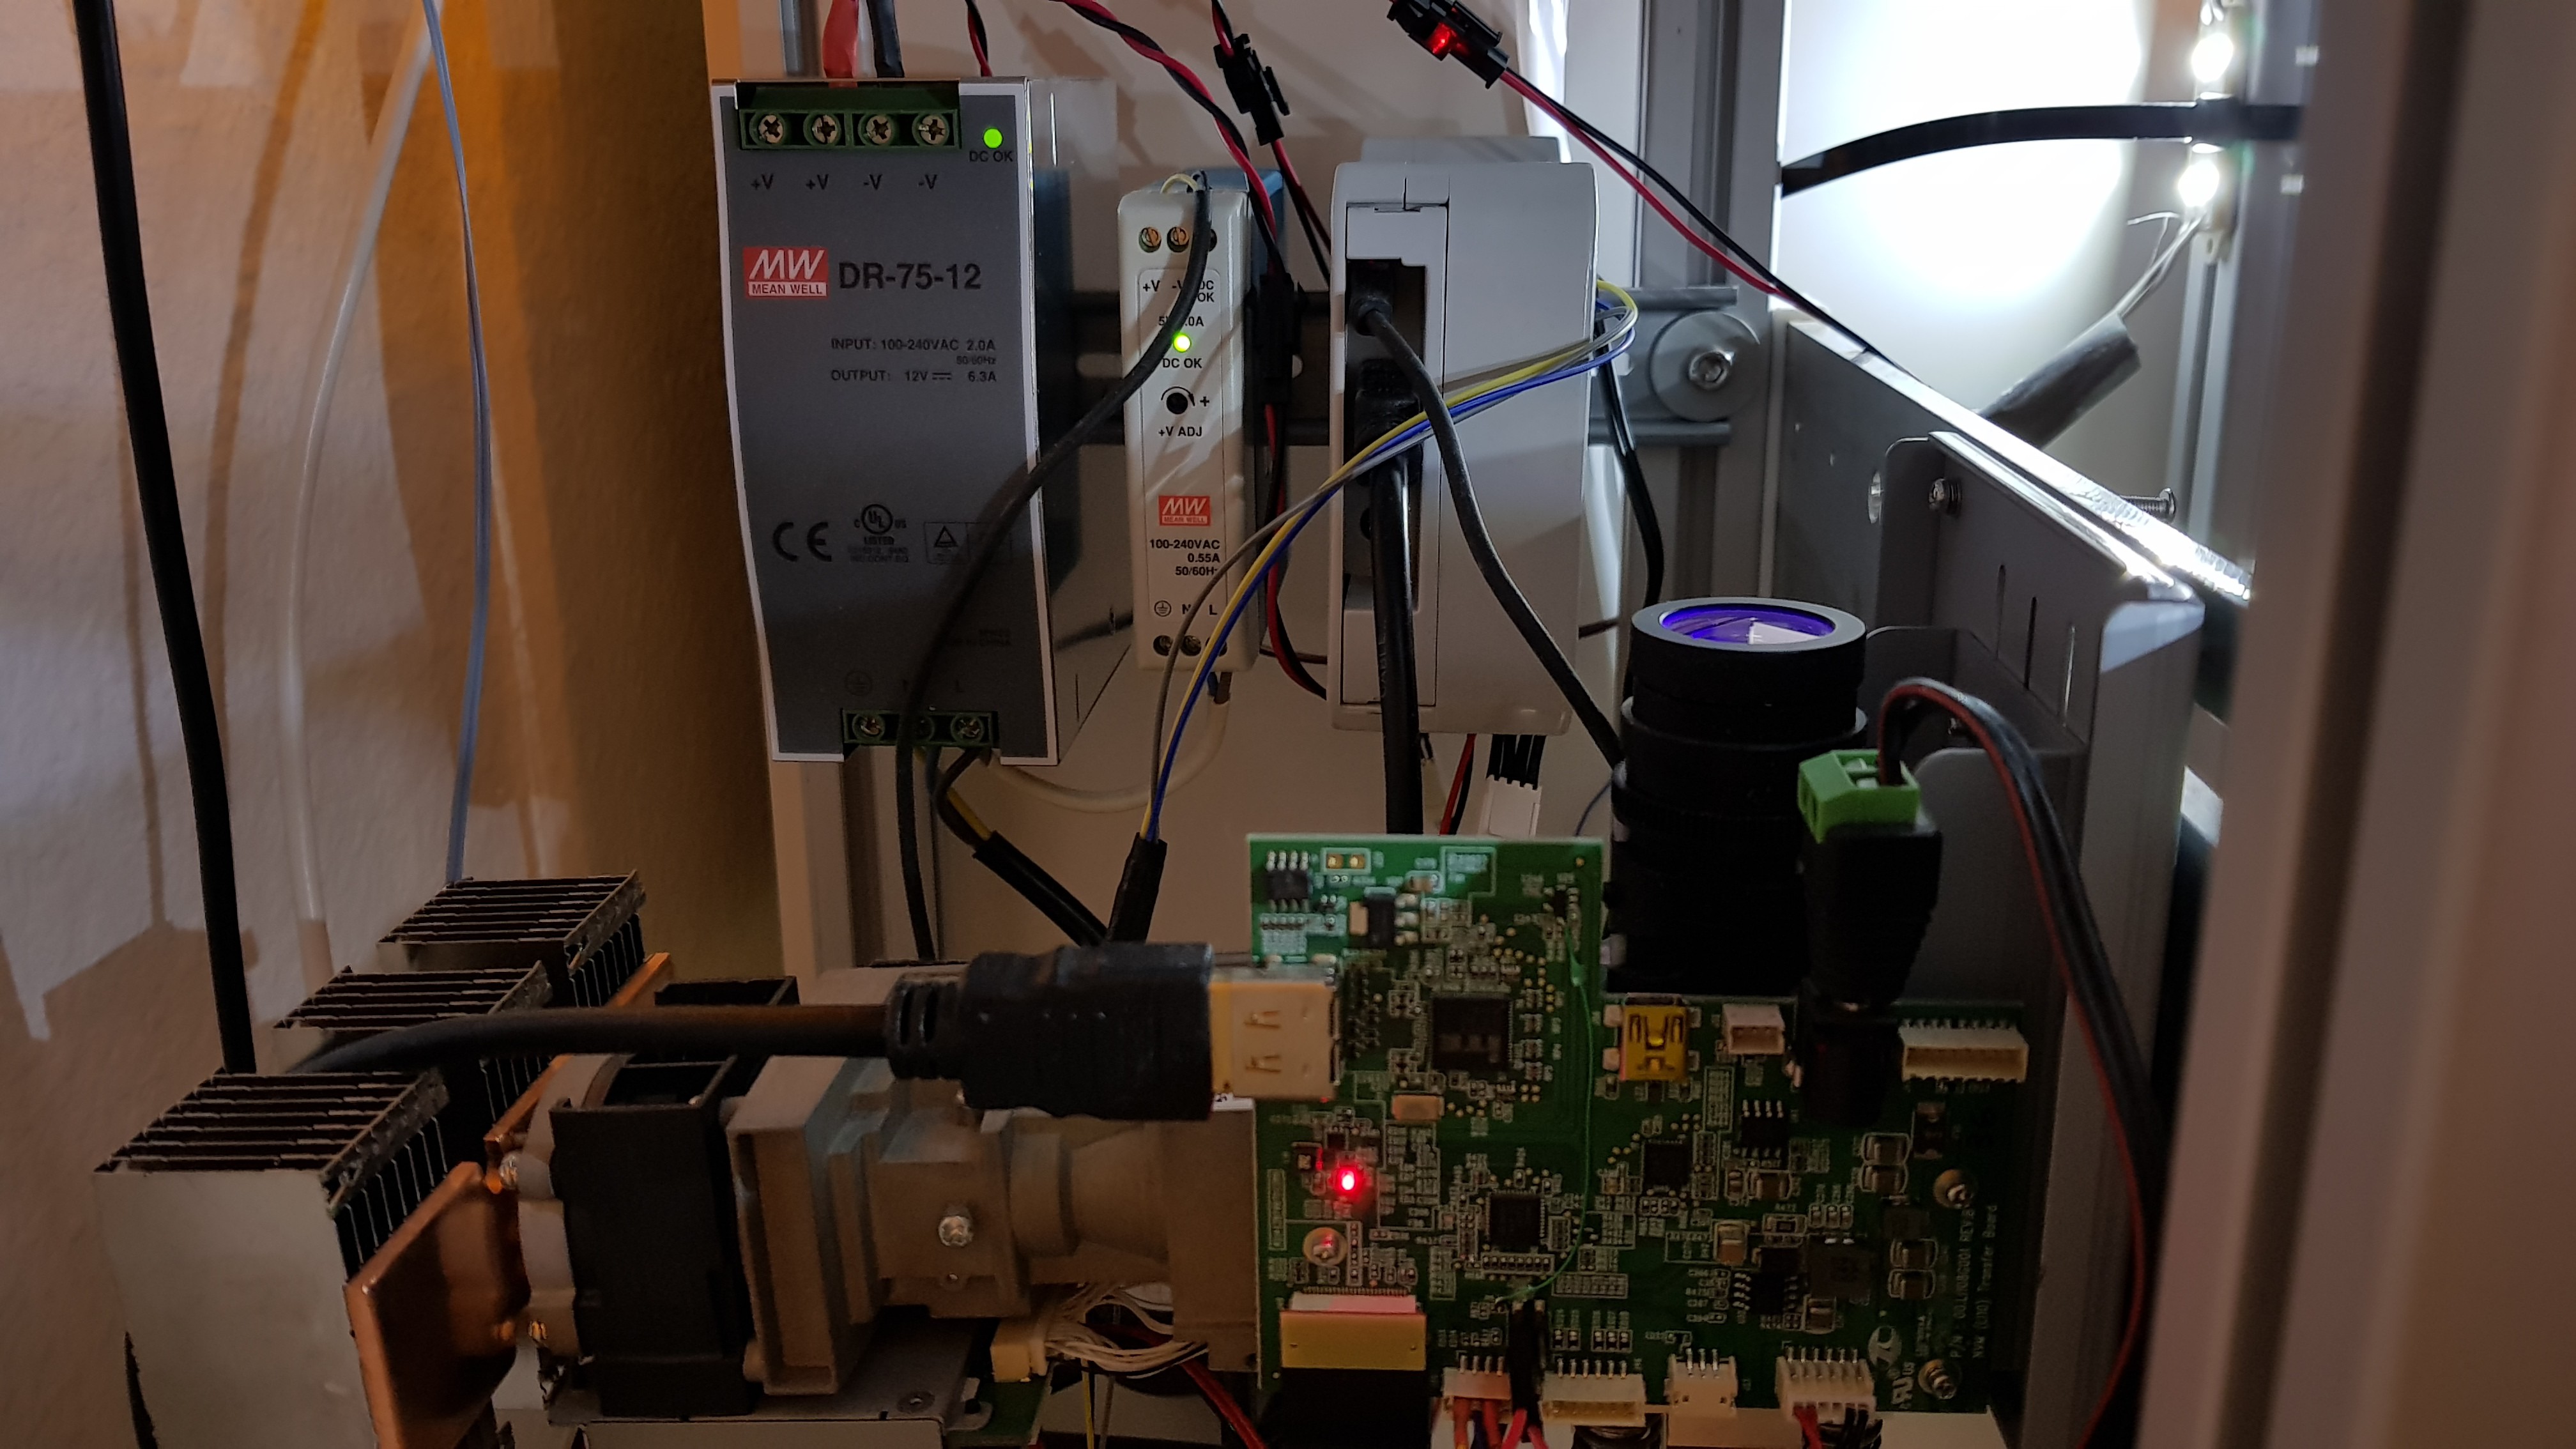
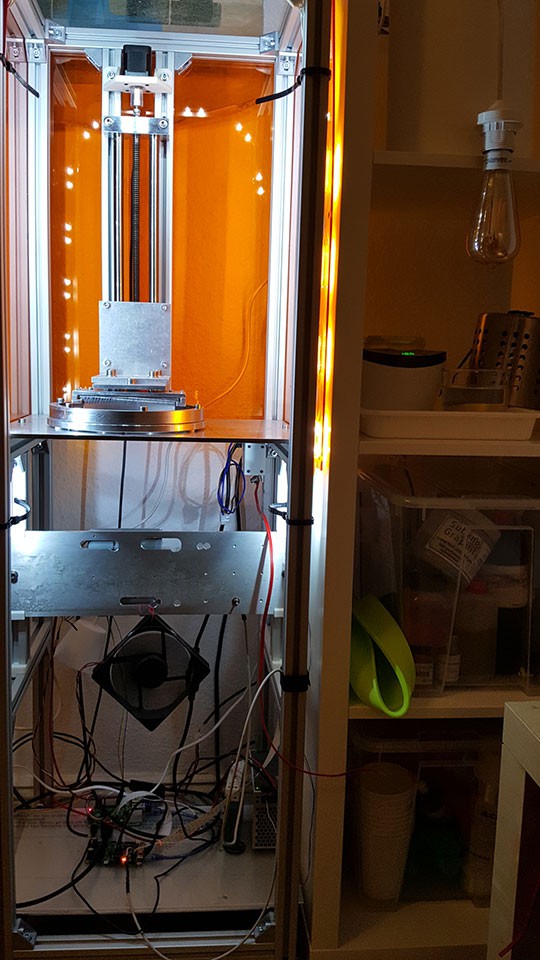
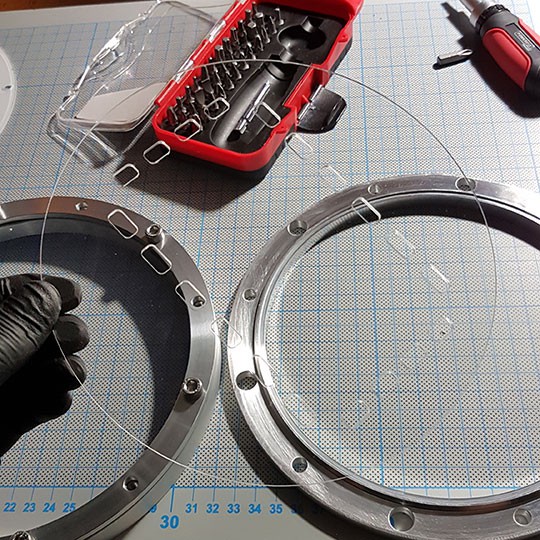
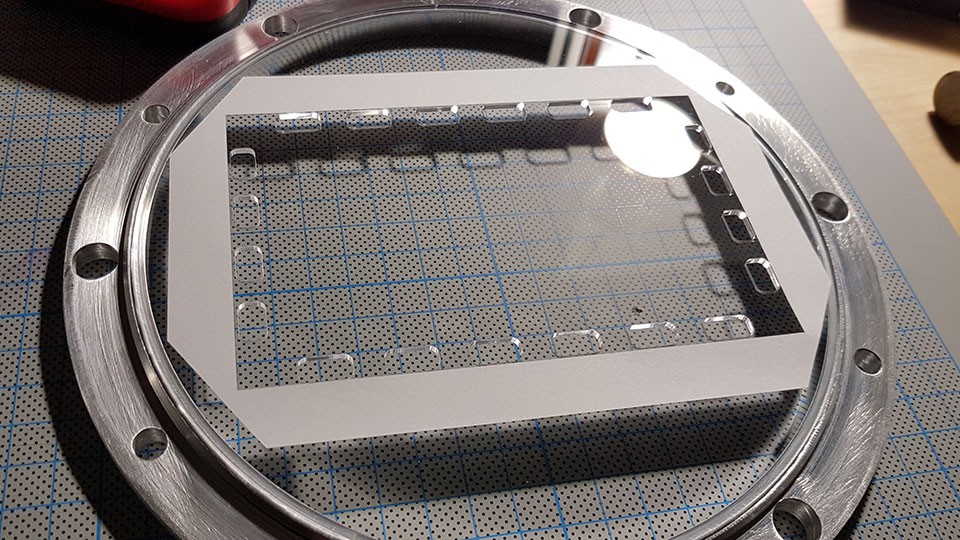
- Professional UV DLP Light Engine (1080p)

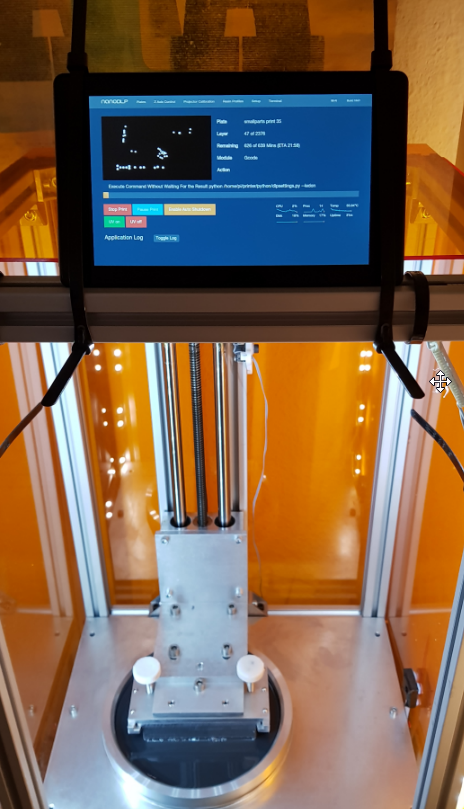
- Raspberry Pi 3 with NanoDLP

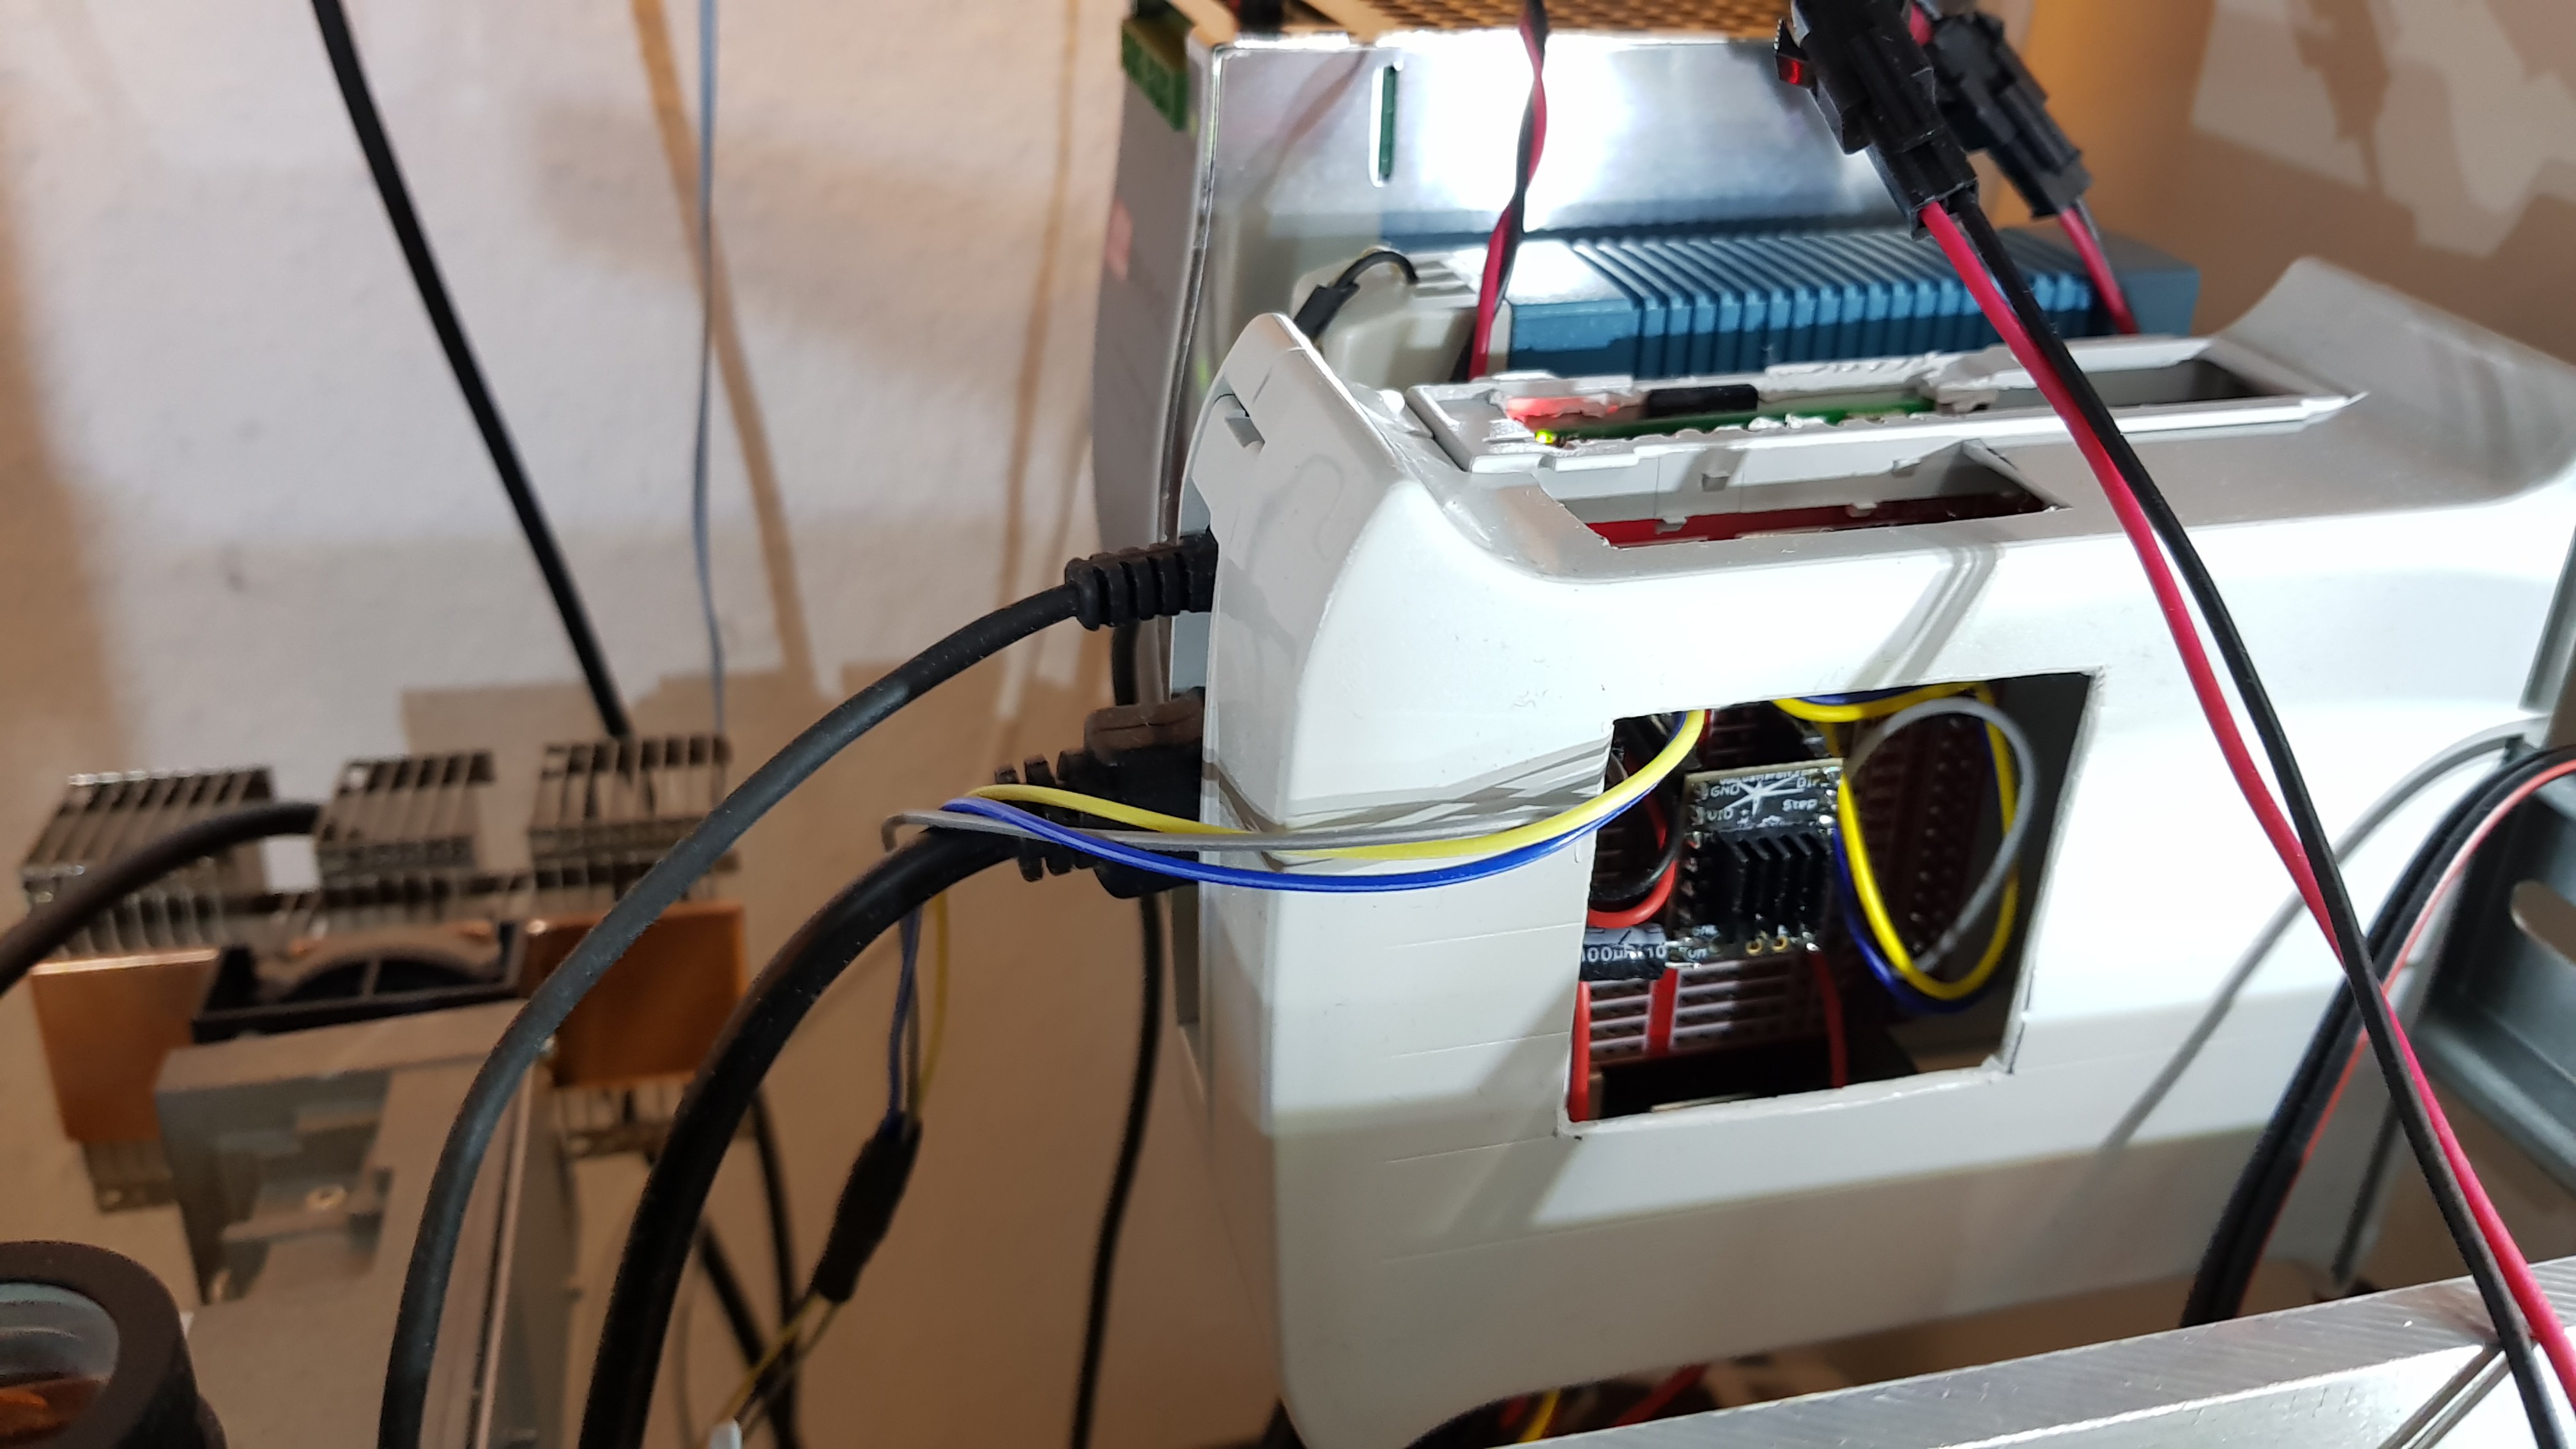
- Trinamic stepper controller

  • New Addidtion!

    adambrx09/16/2017 at 22:49 0 comments

    I recently bought an Amazon FIre Tablet for 35 bucks to use as a status monitor for the printer. A little decadent if you realise that it's a full blown tablet, abused for the sole purpose of being a screen. Yes, it's cable-tied to the frame! 

    Nevertheless it looks a little more professional now.

    Btw. tried out new resin made by Valent Resin from Lithuania. Check it out here:

    https://www.tindie.com/products/ValentResin/3d-printing-resin-for-dlp-printers/

  • Electronics cleanup!

    adambrx05/11/2017 at 17:48 0 comments

    Hey all, finally I decided to clean up the mess that was power supplies laying on the floor and cables all spaghettied up into a bunch.

    Got a small section if DIN Rail and mounted it on the side of the insides. It now holds the power supplies and a ghetto customized Mount for the Pi3 + motor controller.

    Now the floor is spacy again and ready to house a box of supplies.

    Light green cloth: ergonomic lens wiper.

    Bonus: First image ever of the UV DLP Projector

    Raspi case customized with some speed holes. The Grey/Blue/Yellow wires are I2C-ing into the brains of the projector.

    In the top right you can see some fancy chinesium connectors keeping the power outputs modular.

  • Motor Controller Update!

    adambrx03/29/2017 at 16:05 0 comments

    Hello my fellow resin inhalers,

    I've recently updated my motor controller. As described earlier, I was using TMCM 1110 up to this point.
    There were a couple of problems with this solution:

    - driver board is kind of expensive (about 100 Eur), since it's 3 axis and a bit overkill for this project.
    - I had to write custom firmware, since it doesn't support G-Code.
    - it had to be wired up with a USB-Serial adapter, another possible point of failure.
    - i couldn't use nanodlp's Z Calibration features.

    Now, I present to you, the best of all worlds: Silent Step Stick!

    It's an absolutely noiseless Trinamic driver in a stepstick compatible format. Now i can natively drive the motor in nanodlp.
    There are a couple of things to read to configure the correct microstepping but the pins for voltage and enable etc. are compatible with other modules, so this whould work with shahin's schematics too.

    https://github.com/watterott/SilentStepStick

    http://www.watterott.com/index.php?page … &info=4107

    SilentStepSticks.jpg

    just to hear the difference (not my Youtube channel, just a nice comparison):

    disclaimer: I am in no way affiliated with watterott shop or Trinamic. I just like the product ^^

  • Some more prints!

    adambrx03/29/2017 at 16:00 0 comments

    Unfortunately i can't share a lot of more technical prints to protect the IP of clients, but here is a small sample of what's been done :)

    even smaller!

  • Vacuum UV Curing!

    adambrx03/29/2017 at 15:46 1 comment

    One of my first attempts of a curing chamber can be seen here. The Model was placed in a diffusion container and submerged in water. The container was placed in a makeshift UV exposure chamber.

    The newest build features a custom UV LED fitted vacuum chamber for best results. 10 minutes in the 'oven' and the prints are rock hard.

  • Iteration 4 (current) - FEP Flexvat, 1080p UV DLP Light Engine

    adambrx03/29/2017 at 14:53 0 comments

    After being frustrated with the old build platform holder which was not very maintenance friendly, I decided to rebuild the construction using milled parts and more flexibility for adjusting angles.

    This is the result. All Aluminium construction, platform holder orientation is adjustable with screws and can be fixed, as to keep the platform removable while keeping calibration.

    milled parts:

    assembled holder:

    detachable platform:

    unfortunately there are no in progress pictures of mounting the new projector but here is a shot of a fairly recent state, where the projector is hidden behind the mounting plate.

  • Iteration 3 - FEP Flexvat, Acer Projector

    adambrx03/29/2017 at 14:53 0 comments

    In the third Iteration i replaces the rotating VAT with a FEP flexvat, which worked perfectly. The biggest problem is sagging of the FEP film, so I developed a n acrylic bed system which would keep the film straight, while letting air flow through the bottom, so the FEP was flexible enough to peel as the parts are pulled up.

    Details on VAT construction will follow.

    Clear Acrylic bottom with air holes to prevent the FEP from sticking.

    Paper spacer for tiny gap of approx 80micron to bottom. This does not noticeably change part geometry, while preventing sticking of FEP to acrylic.

    fully assembled VAT

    Photo showing new VAT prototype in action

  • Iteration 2 - Rotating VAT, Acer Projector

    adambrx03/29/2017 at 14:52 0 comments

    In the second iteration I experimented with a rotating VAT to mitigate separation forces. It was successful but turned out to be way to slow. The rotation would need a lot of optimization. There is not a lot of footage available but i guess you get the idea:

    Read more »

  • Iteration 1 - Tilting VAT, Acer Projector

    adambrx03/21/2017 at 15:42 0 comments

    Jan 2013 - First parts arrive, ready to assemble.

    First prototype - frame assembly

    Further assembly with milled base plate. spring loaded tilting VAT:

    First Print!


View all 9 project logs

  • 1
    Step 1

    Installing my version of NanoDLP:

    (wget http://www.nanodlp.com/nanodlp.beta.tar.gz? -O - | tar -C /home/pi -xz);cd /home/pi/printer;sudo ./setup.sh
    sudo apt-get install python-smbus
    sudo pip install flufl.enum

    copy python files to printer/python

View all instructions

Enjoy this project?

Share

Discussions

Similar Projects

Does this project spark your interest?

Become a member to follow this project and never miss any updates