 Sven Dahlstrand
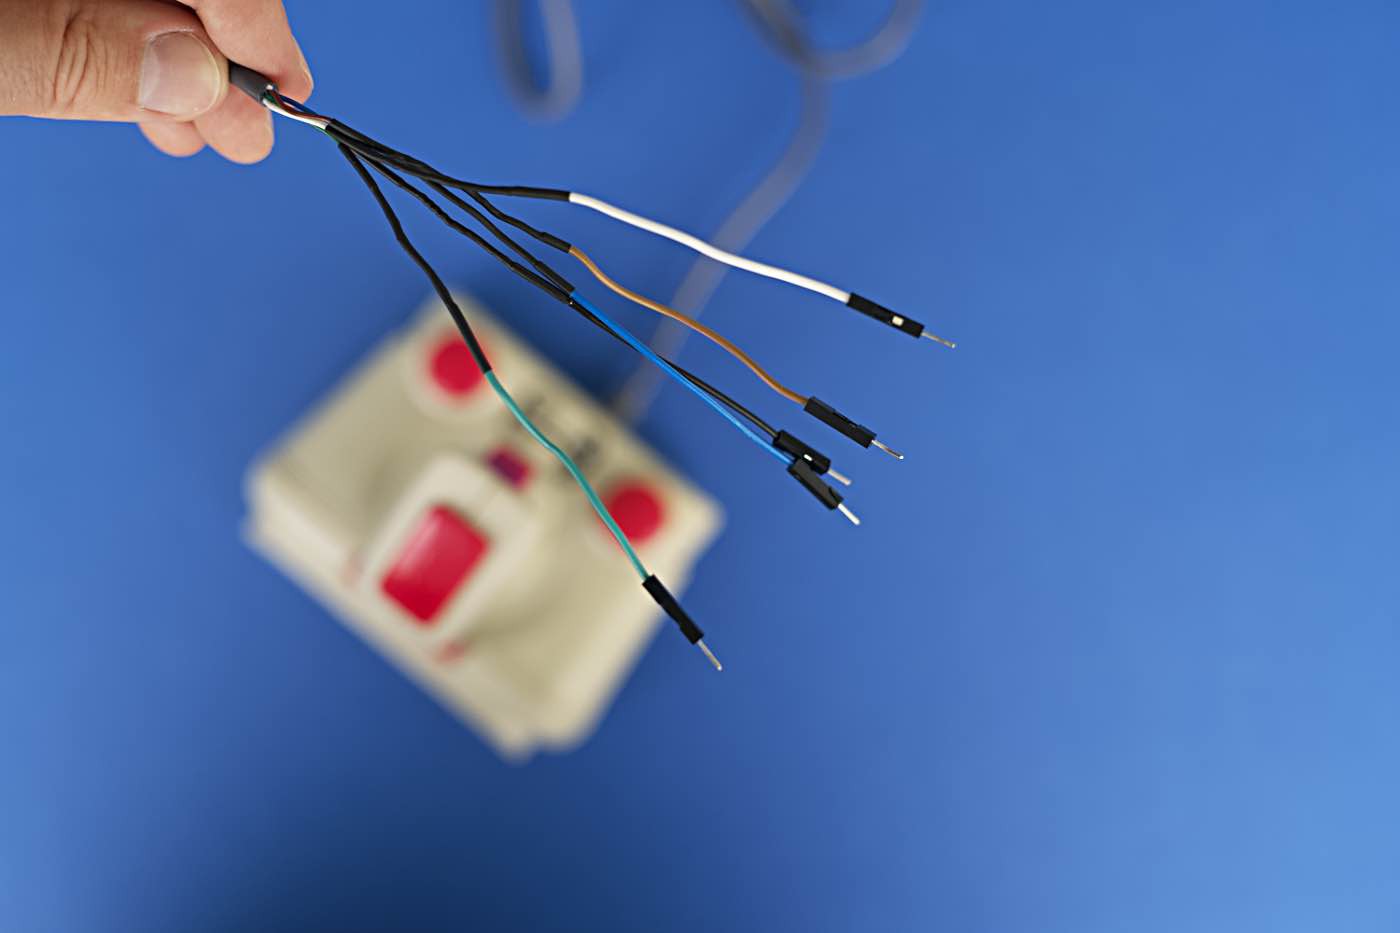
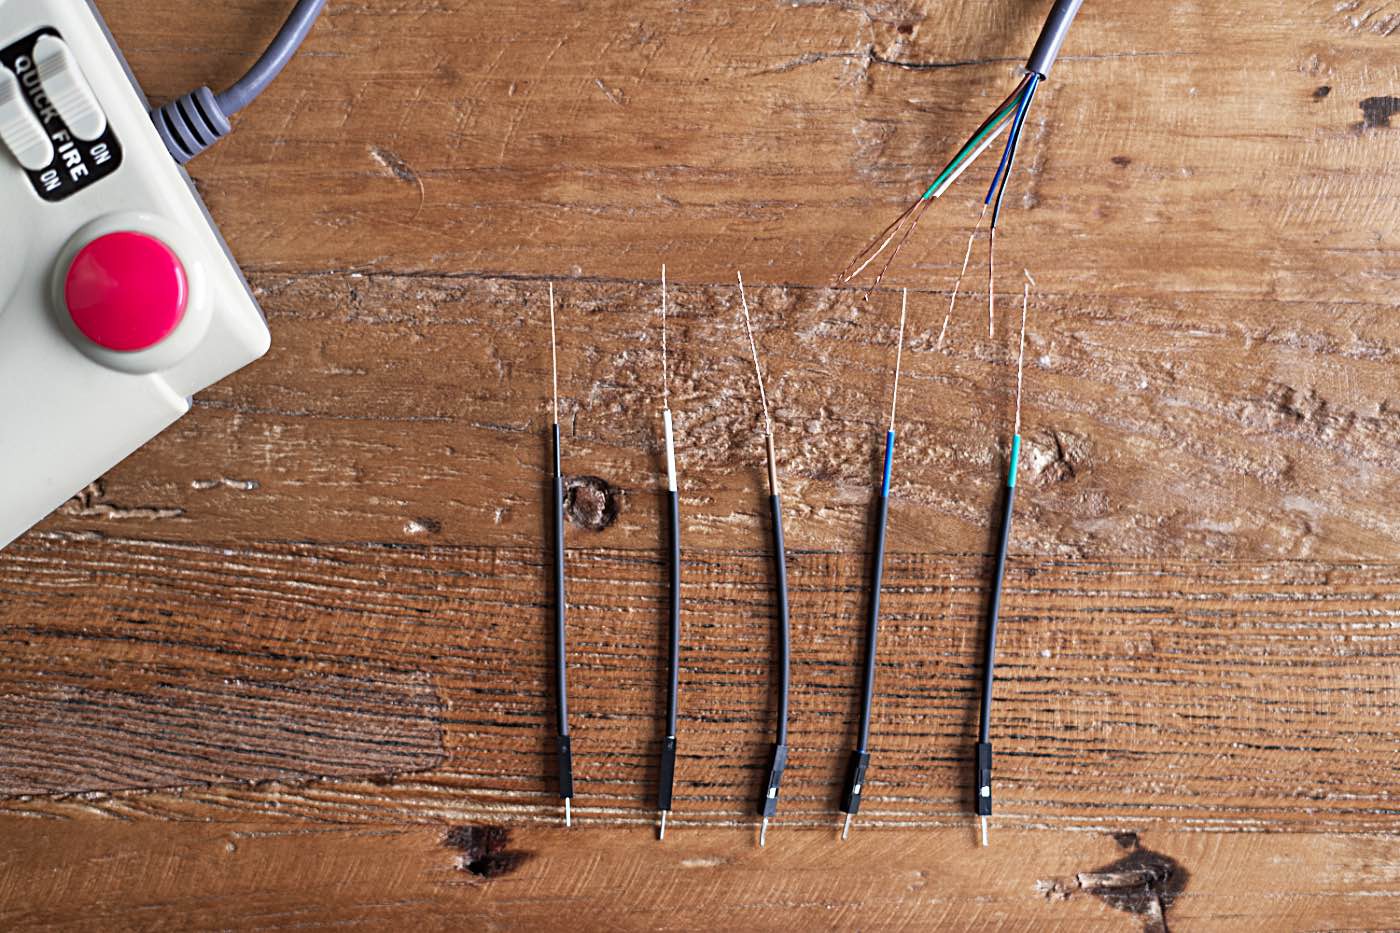
I want to start interfacing the joystick already. However, I'm not quite there yet. I need an easy way to connect the joystick to an Arduino, maybe a logic analyzer, and, of course, an actual Game Boy. In my previous log entry, I described the decapitation of the joystick cable – the removal of its NES connector. After that treatment, it's hard to use the joystick even as intended, connected to a Nintendo Entertainment System.
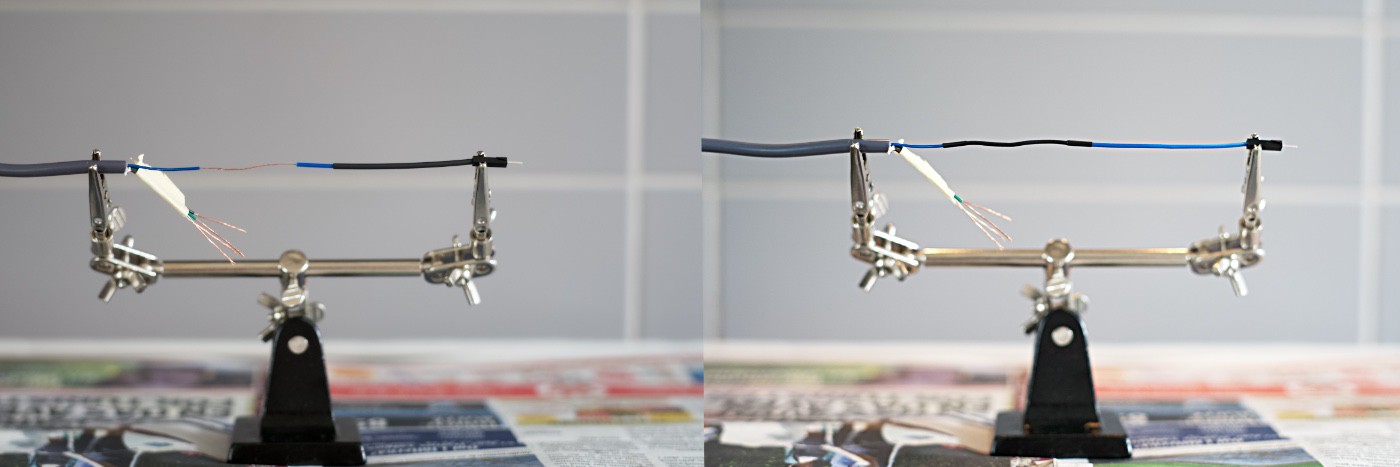
In cases like this, I tend to strip the wires inside the cable and attach jumper wires to them. The result is the breadboard friendly cable shown in the header image.
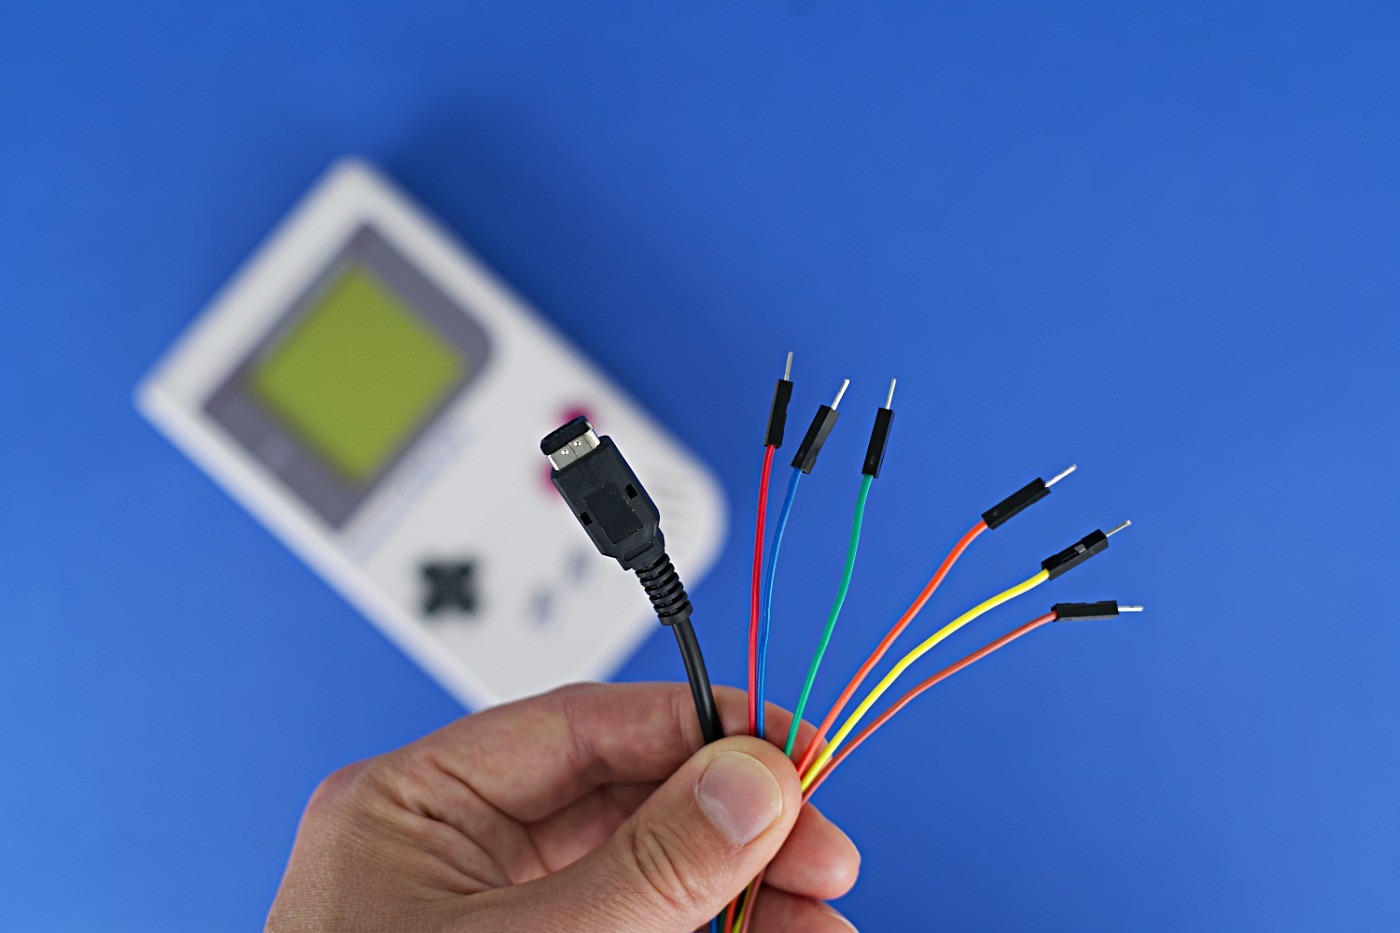
That's it! Later on, I will need something similar at the Game Boy end: a breadboard friendly Game Link Cable. Luckily that's something I already made for myself a couple of years ago using the same method described above.
Discussions
Become a Hackaday.io Member
Create an account to leave a comment. Already have an account? Log In.