 Jonathan Bumstead
I decided to build the device with two separate panels. In the rear are the jacks and switches for power and uploading programs to the device. In the front are all the controls related to controlling the instrument and audio of the device.
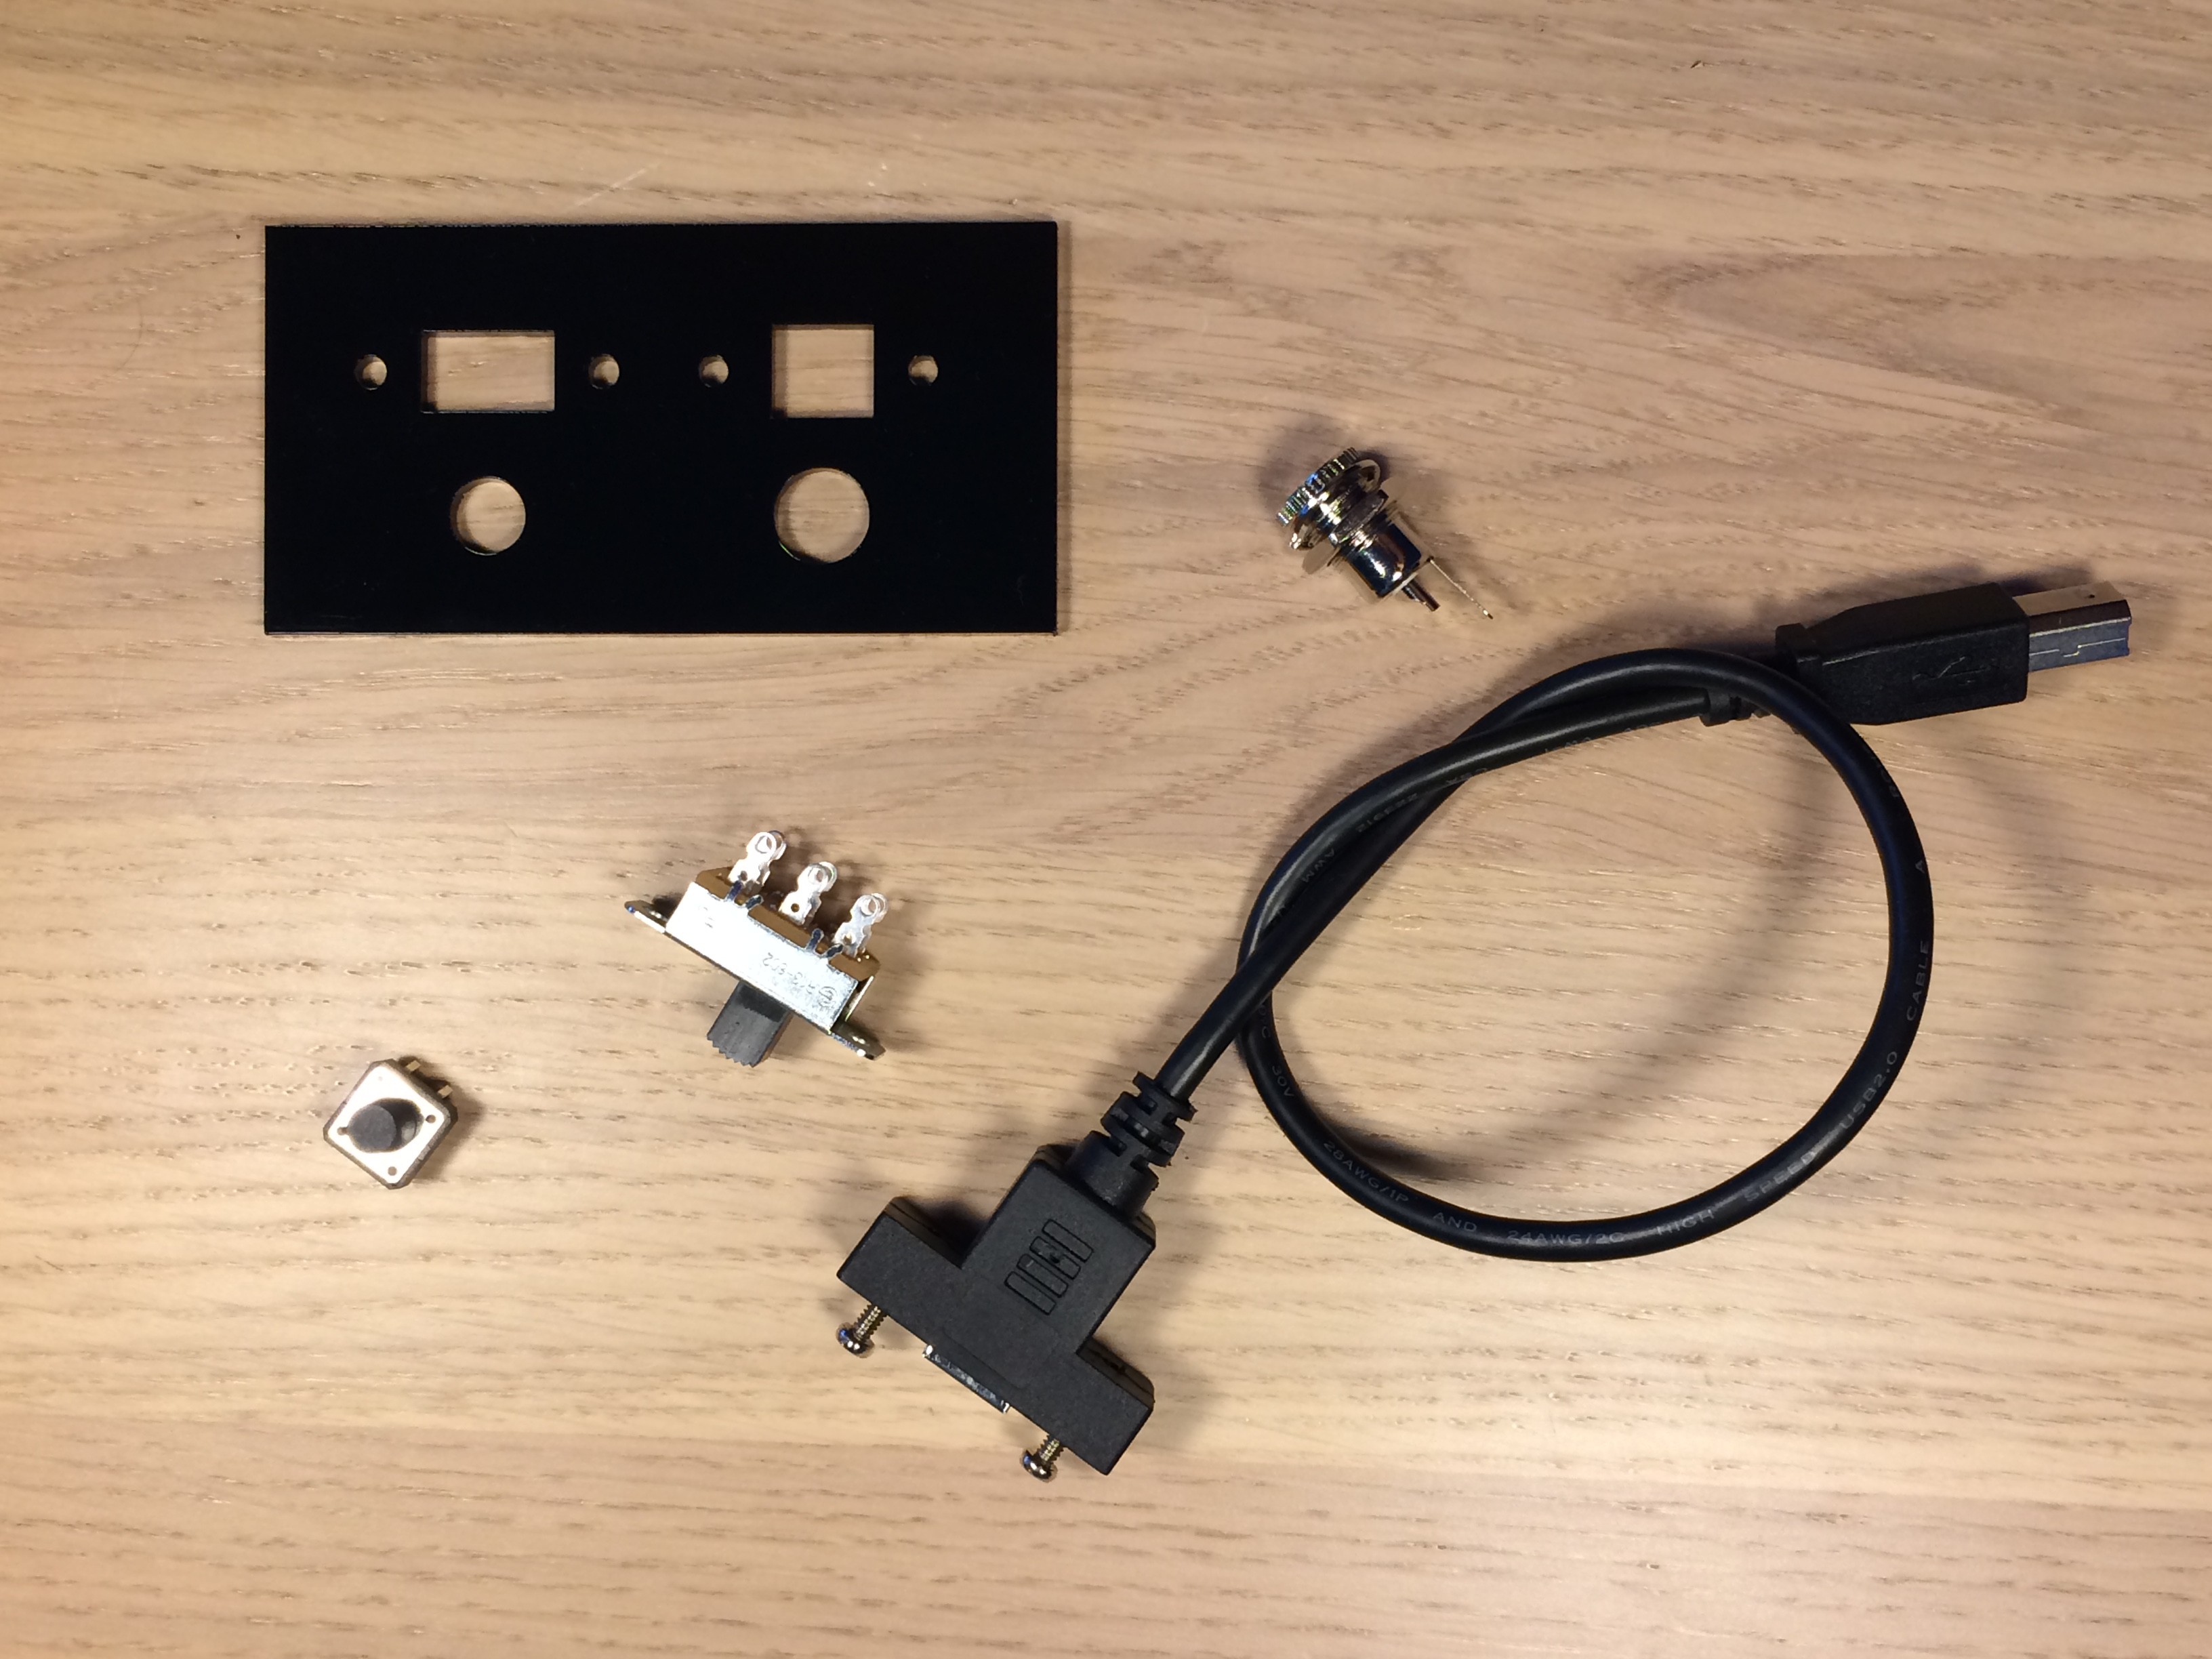
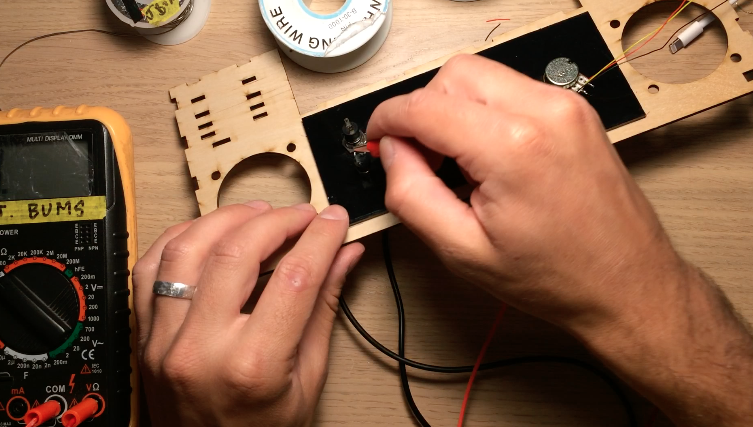
Black acrylic pieces hold the components on the rear and front panel. Both acrylic panels are glued onto the wooden front and rear walls of the electronics box. After gluing the acrylic, I mounted the potentiometer, rotary encoder, on/off speaker switch, and headphone jack. On the rear, I attached a reset pushbutton, on/off power switch, power jack, and USB jack for uploading programs to the Arduino.
The front and rear walls were then hammered into Layers 10-15, just like the side panels. At this point, I also connected the corner joints at the bottom of the device. A nut is glued into these joints so that bolts can hold on the bottom panel.
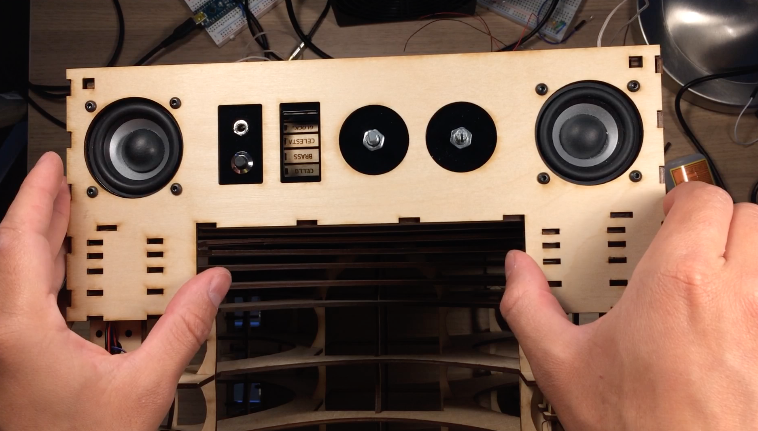
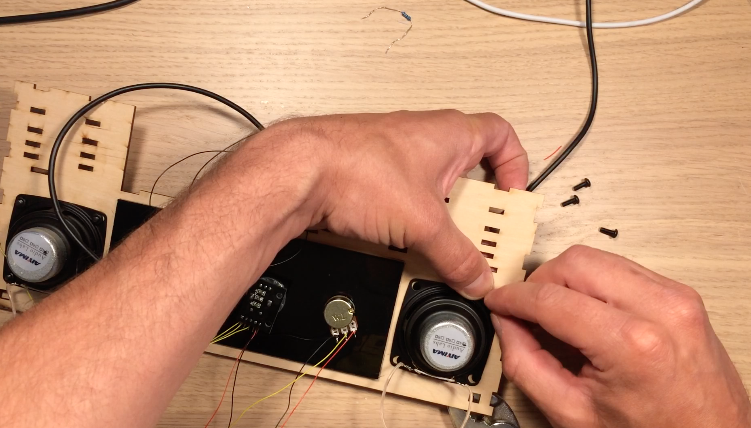
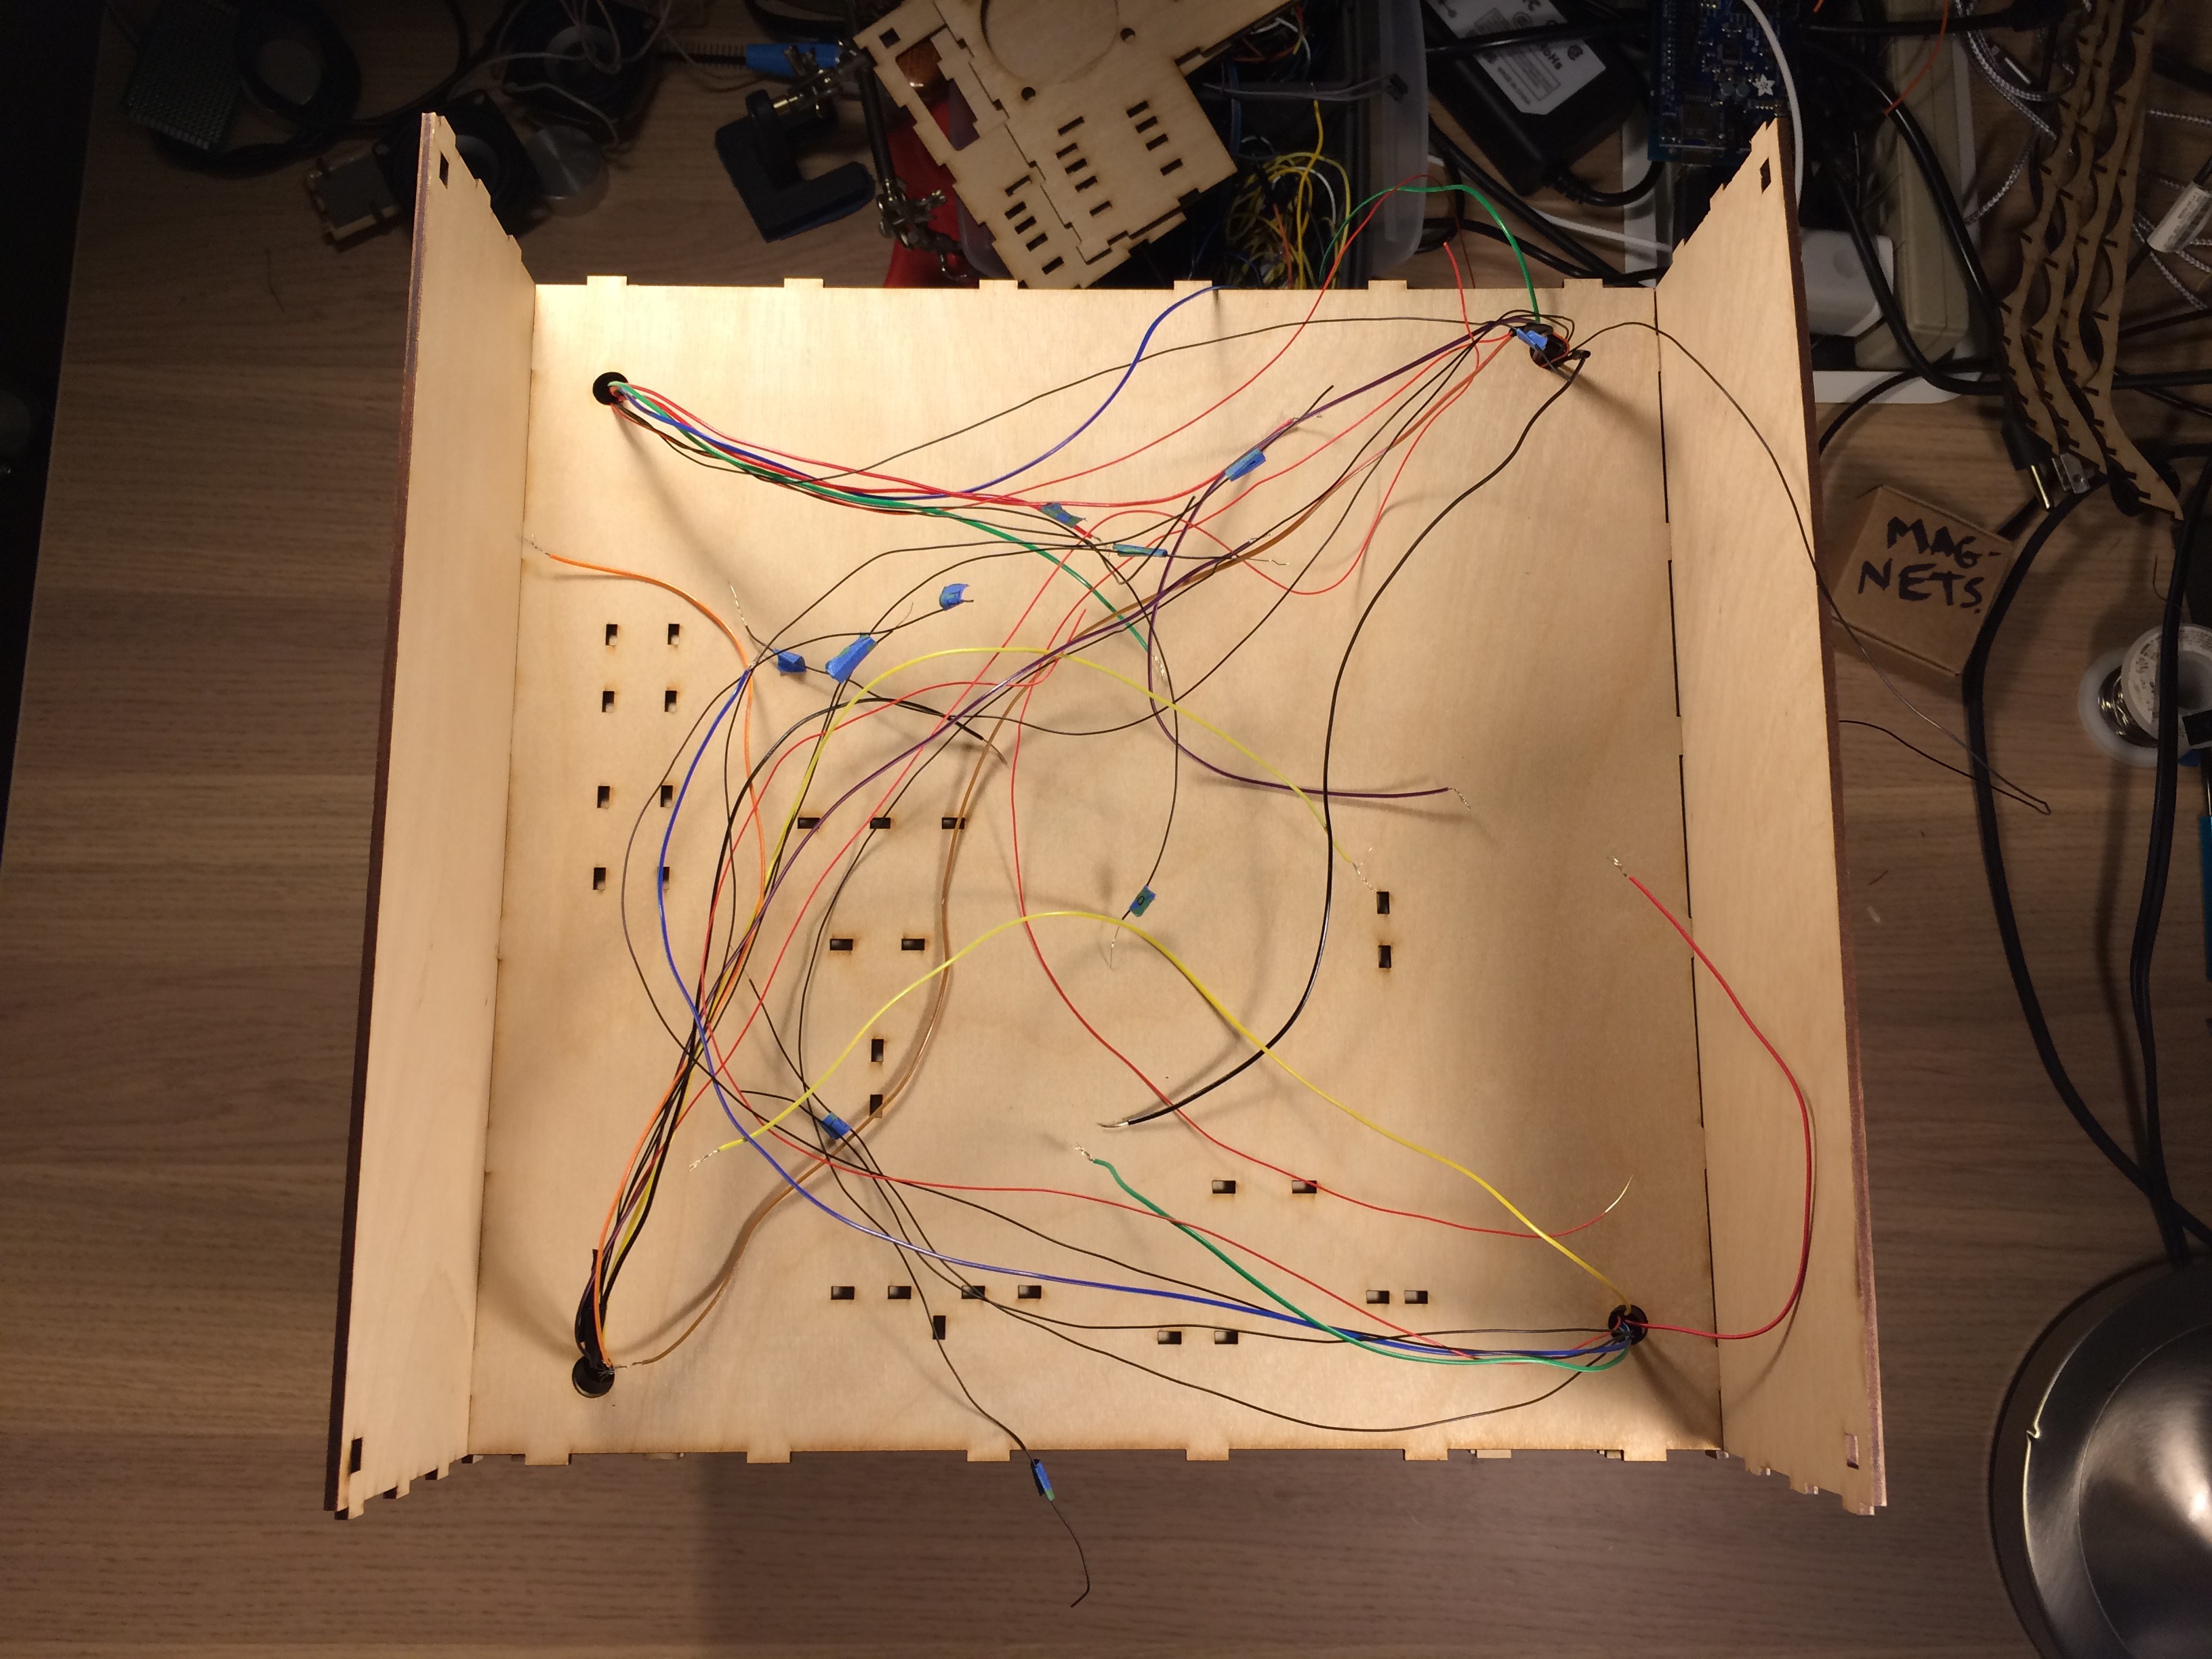
I did a lot of soldering and wire wrapping to connect all the components as shown in the schematic. The power supply is 12V, so I made sure the Buck converter was adjusted for 4.5V output before connecting lasers and the motor. Finally, the outer wall for the electronics box were glued on to cover the Layer 10-15 tabs.
Discussions
Become a Hackaday.io Member
Create an account to leave a comment. Already have an account? Log In.