HARDWARE
- ESP-32: The ESP32 makes it easy to use the Arduino IDE and the Arduino Wire Language for IoT applications. This ESp32 IoT Module combines Wi-Fi, Bluetooth, and Bluetooth BLE for a variety of diverse applications. This module comes fully-equipped with 2 CPU cores that can be controlled and powered individually, and with an adjustable clock frequency of 80 MHz to 240 MHz. This ESP32 IoT WiFi BLE Module with Integrated USB is designed to fit in all ncd.io IoT products. Monitor sensors and control relays, FETs, PWM controllers, solenoids, valves, motors and much more from anywhere in the world using a web page or a dedicated server. We manufactured our own version of the ESP32 to fit into NCD IoT devices, offering more expansion options than any other device in the world! An integrated USB port allows easy programming of the ESP32. The ESP32 IoT WiFi BLE Module is an incredible platform for IoT application development. This ESP32 IoT WiFi BLE Module can be programmed using the Arduino IDE.
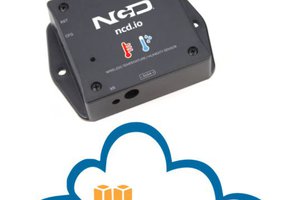
- IoT Long Range Wireless Temperature And Humidity Sensor: Industrial Long Range Wireless Temperature Humidity Sensor. Grade with a Sensor Resolution of ±1.7%RH ±0.5° C.Up to 500,000 Transmissions from 2 AA Batteries.Measures -40°C to 125°C with Batteries that Survive these Ratings.Superior 2-Mile LOS Range & 28 miles with High-Gain Antennas.Interface to Raspberry Pi, Microsoft Azure, Arduino and More
- Long-Range Wireless Mesh Modem with USB Interface
Software Used:
- Arduino IDE
- AWS
Library Used:
- PubSubClient Library
- Wire.h
- AWS_IOT.h
Uploading the code to ESP32 using Arduino IDE:
- Download and include the PubSubClient Library and Wire.h Library.
- Download the Zip file of AWS_IoT, from the given link and after extracting, paste the library in your Arduino library folder.
- You must assign your unique AWS MQTT_TOPIC, AWS_HOST, SSID (WiFi Name) and Password of the available network.
- MQTT topic and AWS HOST can get inside Things-Interact at AWS-IoT console.
- Compile and upload the ESP32_AWS.ino code.
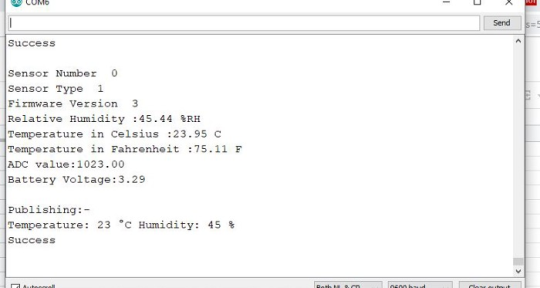
- To verify the connectivity of the device and the data sent, open the serial monitor. If no response is seen, try unplugging your ESP32 and then plugging it again. Make sure the baud rate of the Serial monitor is set to the same one specified in your code 115200.
Serial monitor output.
![image]()
Making the AWS work.
CREATE THING AND CERTIFICATE
- THING: It is a virtual representation od your device.
- CERTIFICATE: Authenticates the identity of a THING.
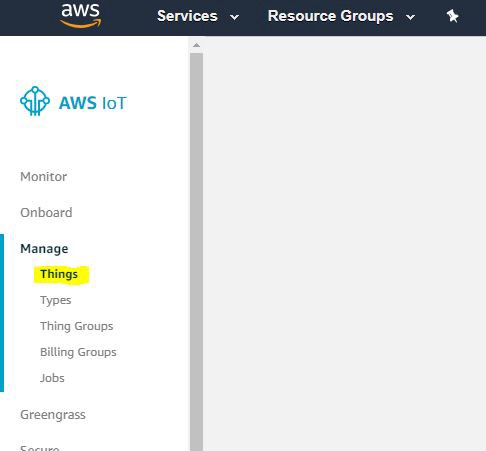
- Open AWS-IoT
![image]()
![image]()
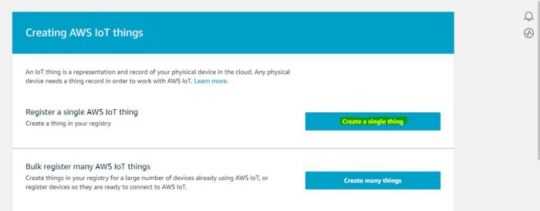
- Click on manage -THING -Register THING.
- Click on create a single thing.
![image]()
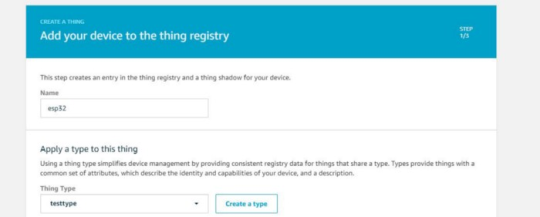
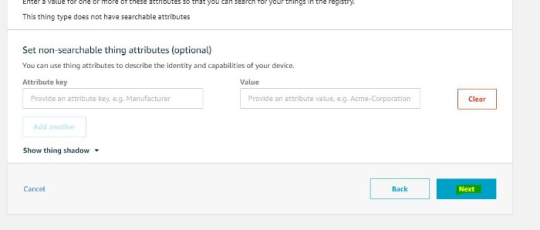
- Give the Thing name and type.
![image]()
- Click on next.
![image]()
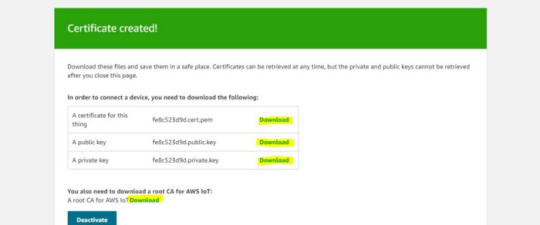
- Now your certificate page will open, Click on Create Certificate.
![image]()
- Download these Certificates, mainly private key, a certificate for this thing and root_ca and keep them in a separate folder.
![image]()
- Inside root_ca certificate click on Amazon root CA1-Copy it-Paste it to notepad and save it as a root_ca.txt file in your certificate folder.
![image]()
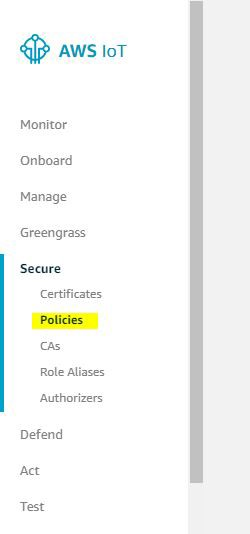
Create Policy
It defines which operation a device or user can access.
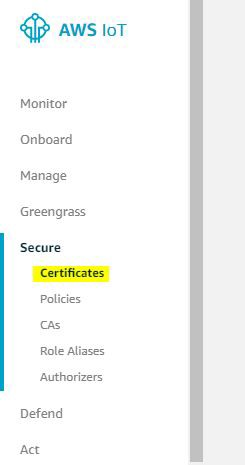
- Go to the AWS-IoT interface, Click on Secure-Policies.
![image]()
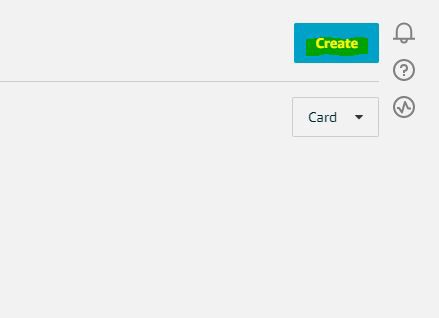
- Click on Create.
![image]()
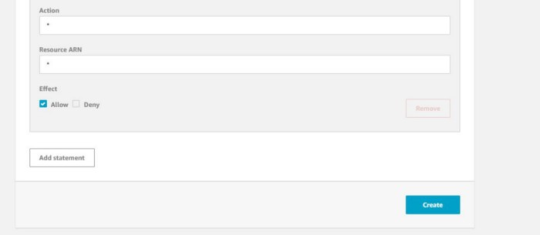
- Fill all the necessary details such as policy name, Click Create.
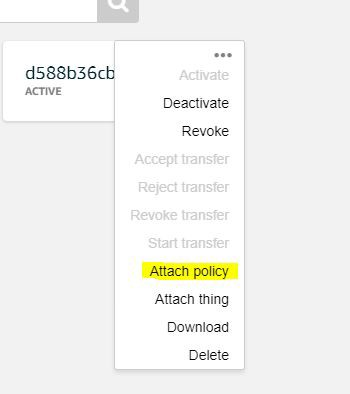
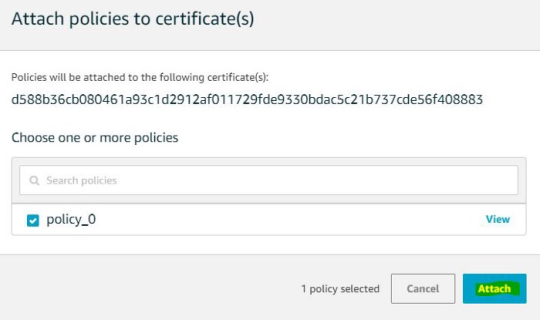
- Now go back to the AWS-IoT interface, Click on Secure-Certificates and attach the policy created just now to it.
![image]()
![image]()
![image]()
![image]()
Add Private key, Certificate and root_CA to code.
- Open your downloaded certificate in your text editor(Notepad++), mainly private key, root_CA and certificate of thing and edit them as given below.
![image]()
- Now open your AWS_IoT folder in your Arduino library -My Document. Go to C:\Users \xyz\Documents\Arduino\libraries\AWS_IOT\src, click on aws_iot_certficates.c, open it on an editor and paste all the edited certificate they’re at the required place, save it.
Getting Output-
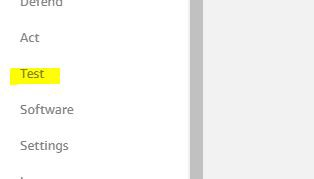
- Go to test in the AWS_IoT console.
![image]()
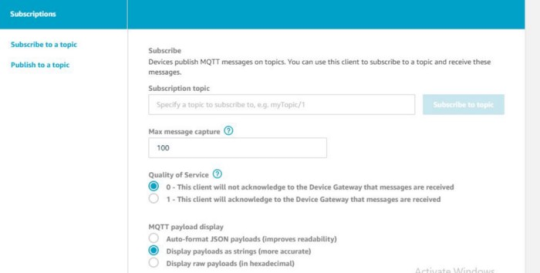
- Fill your MQTT topic to Subscription topic in your test credentials.
![image]()
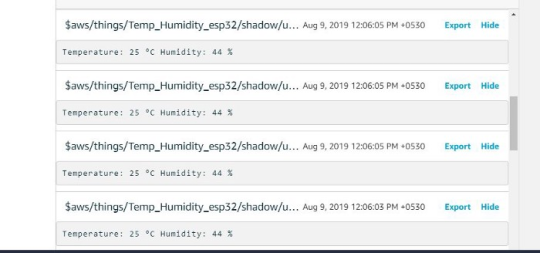
- Now you can view your temp and humidity data.
OUTPUT
![image]()