Nishant Agarwal
The problem Statement
“According to UNICEF, close to 525 million people defecate in the open in India. This results in grave health problems. The Indian Government is rallying all this resources to make India Open Defecation Free in 2019 (a target set by the current government), which is incidentally the 150th Death Anniversary of Mahatma Gandhi. According to government data, close to 60 million toilets are already built but the monumental task still needs a lot more effort to achieve the target of 100 million toilets.” (link to the article)
In many other countries too, people don't have access to proper shelters and sanitation facilities. There are some startups and companies who have successfully 3d printed such structures, but since most of these systems are huge and proprietary, their availability, transportation and affordability becomes an issue. Also most of them use a mix of concrete, plasticizers and other types of synthetic hardeners for construction which makes the implementation of this technology difficult due to sustainability and financial issues.
The probable solution
To develop an open source automation system for construction, which can aid in building structures for affordable shelters and sanitation facilities in the rural settings, by making use of the locally available resources.
How does it work?
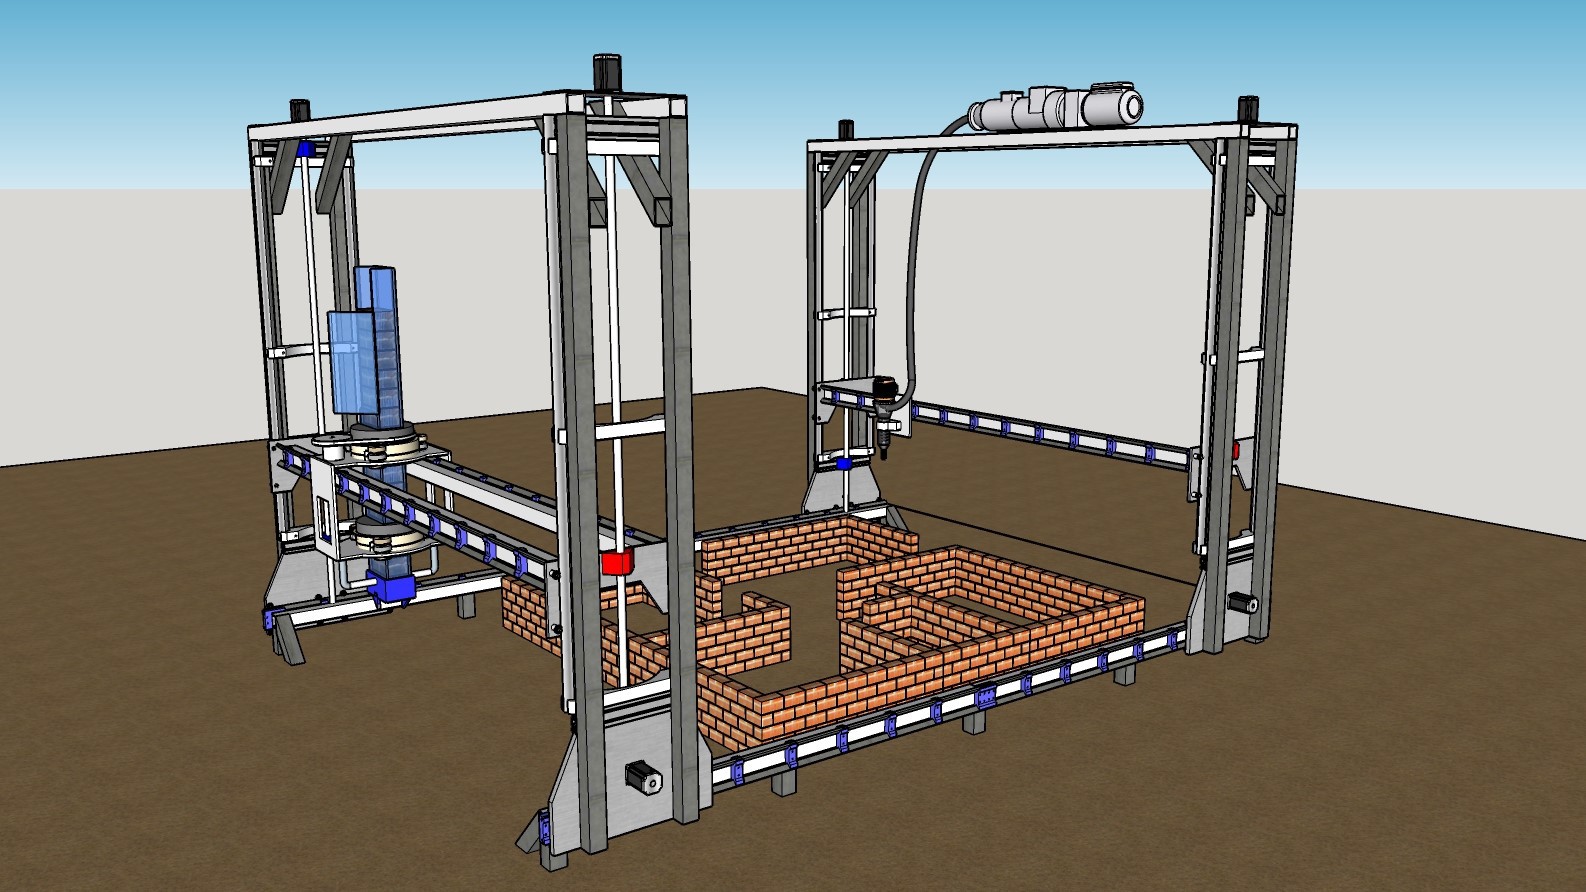
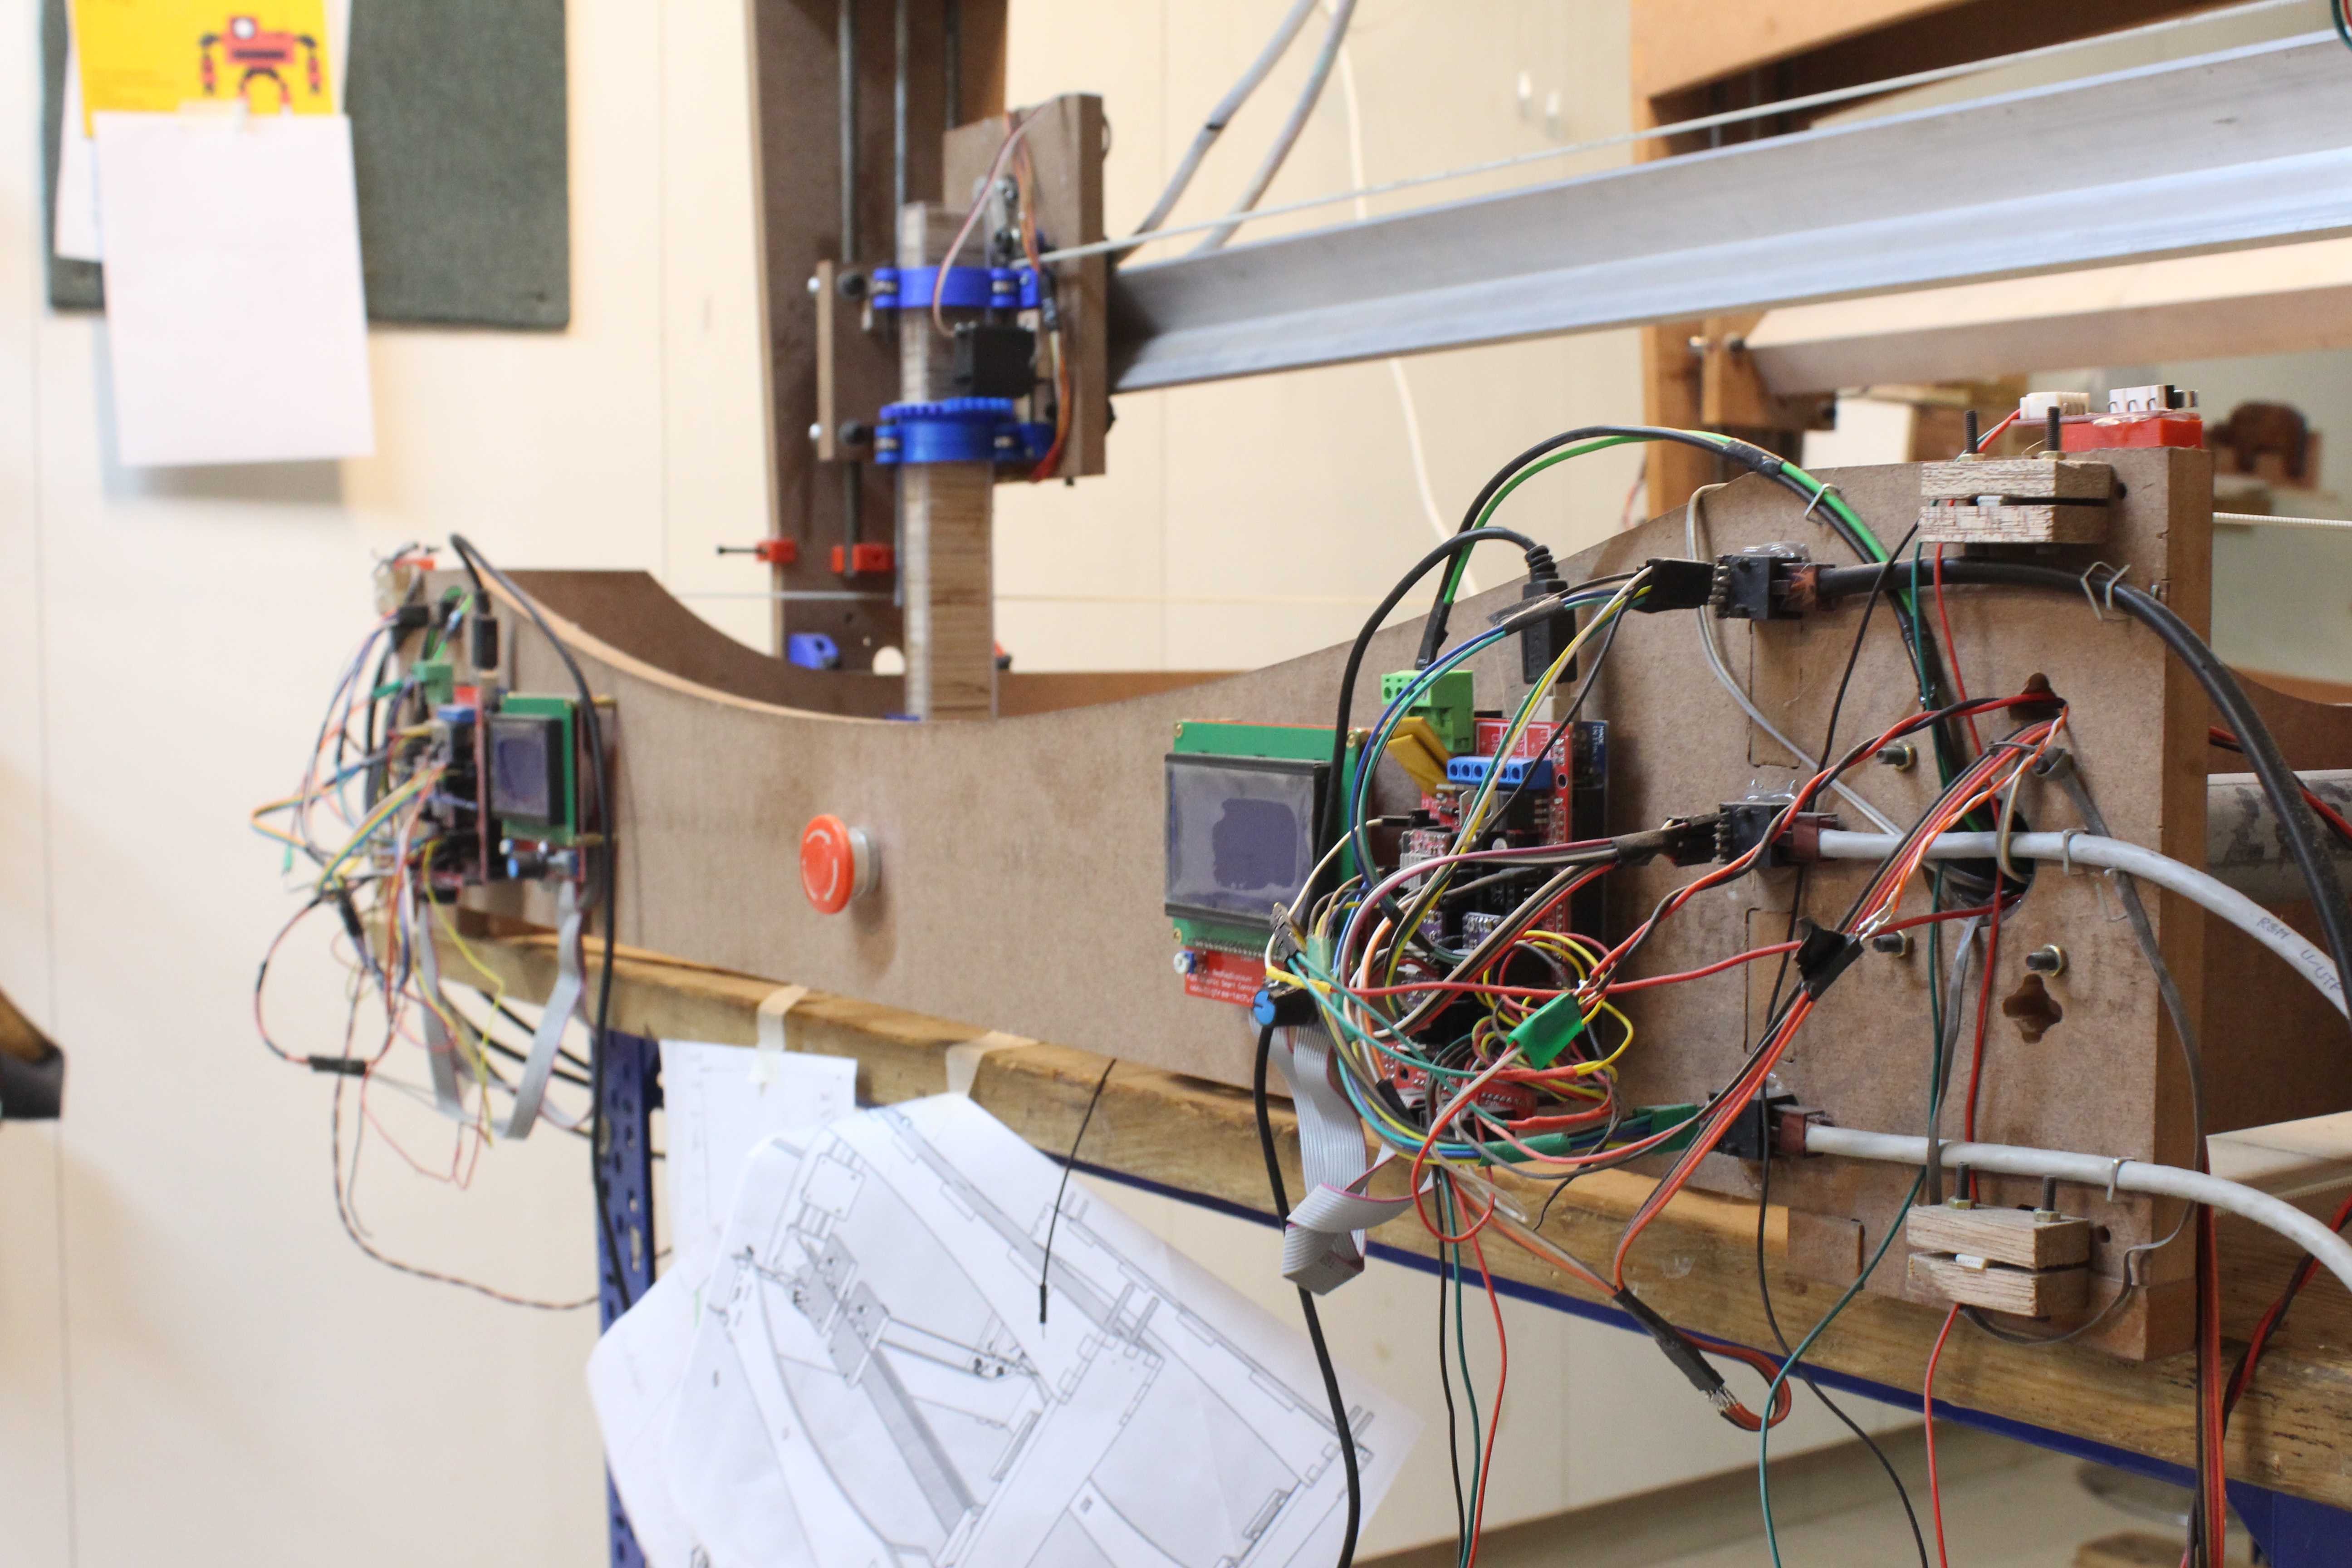
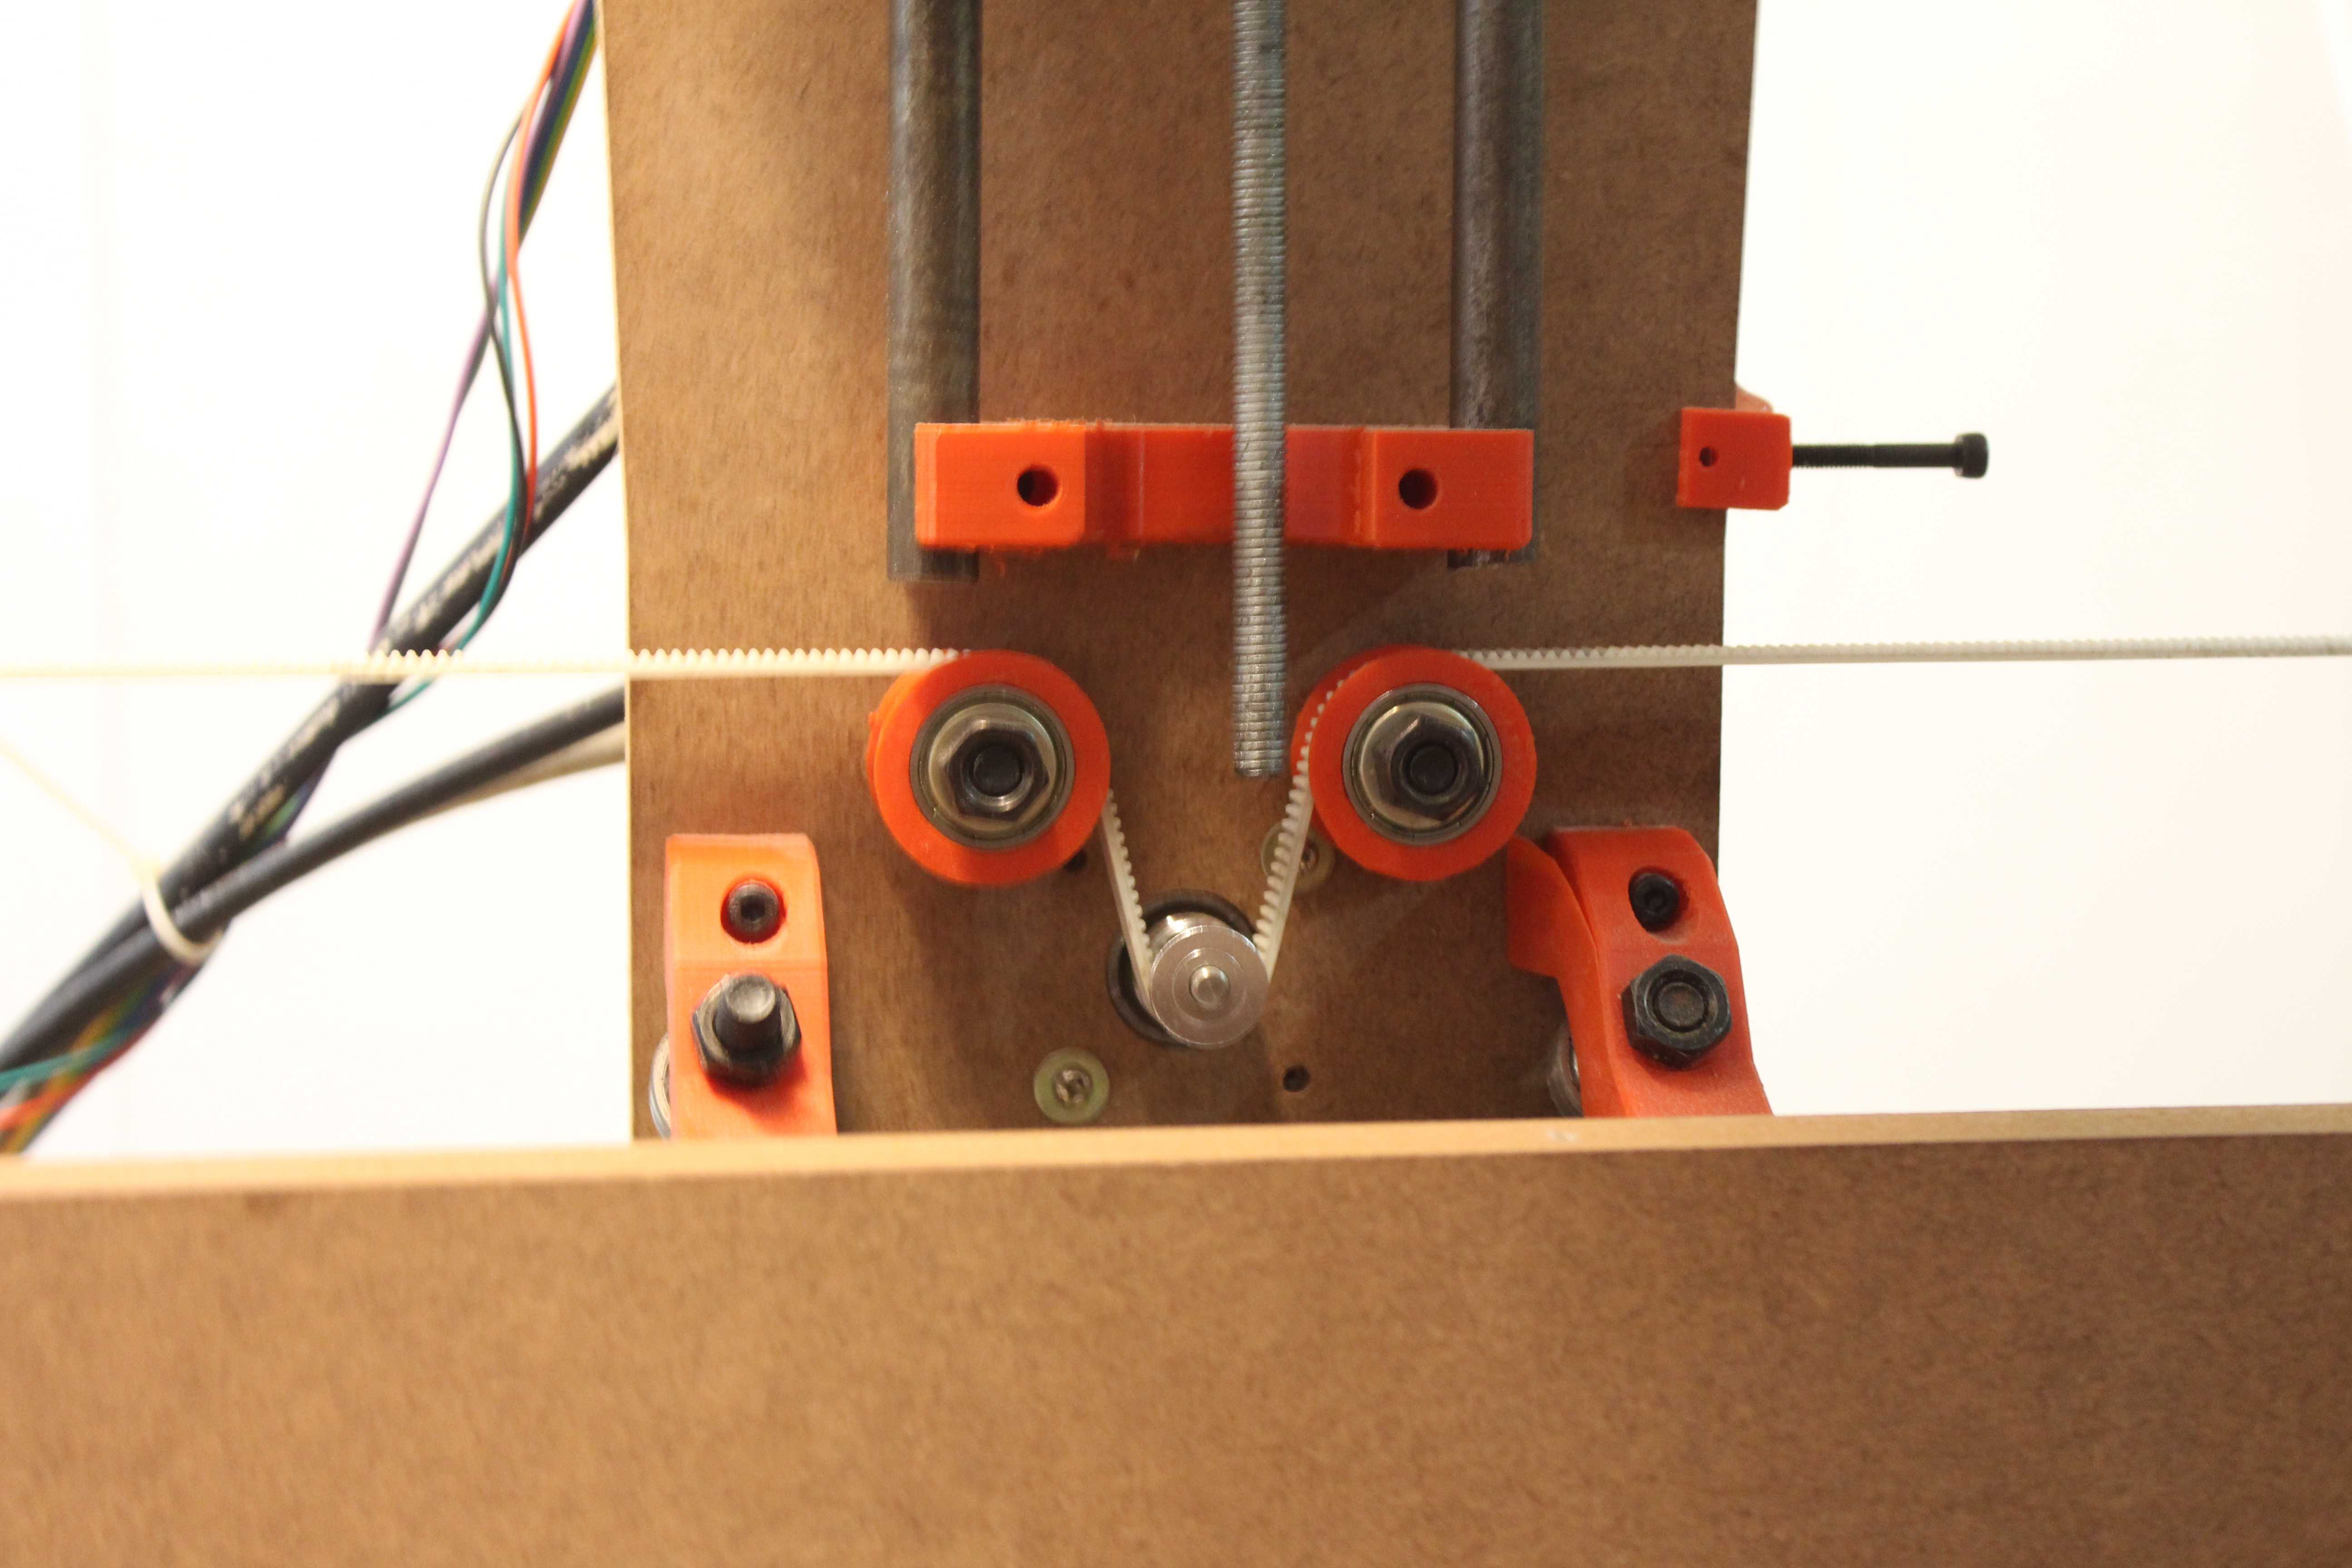
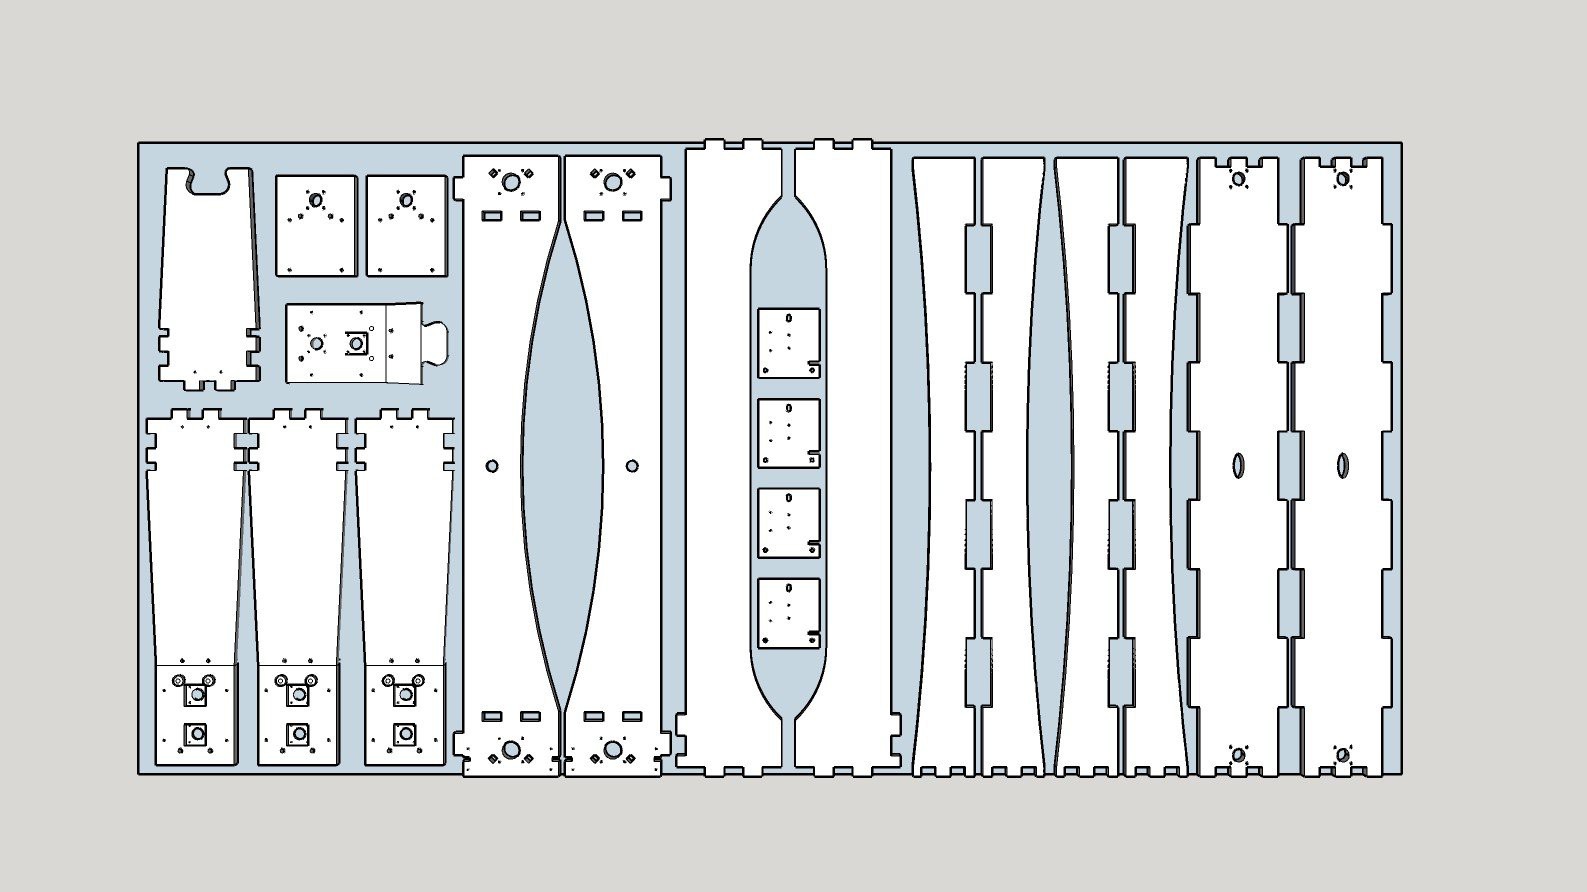
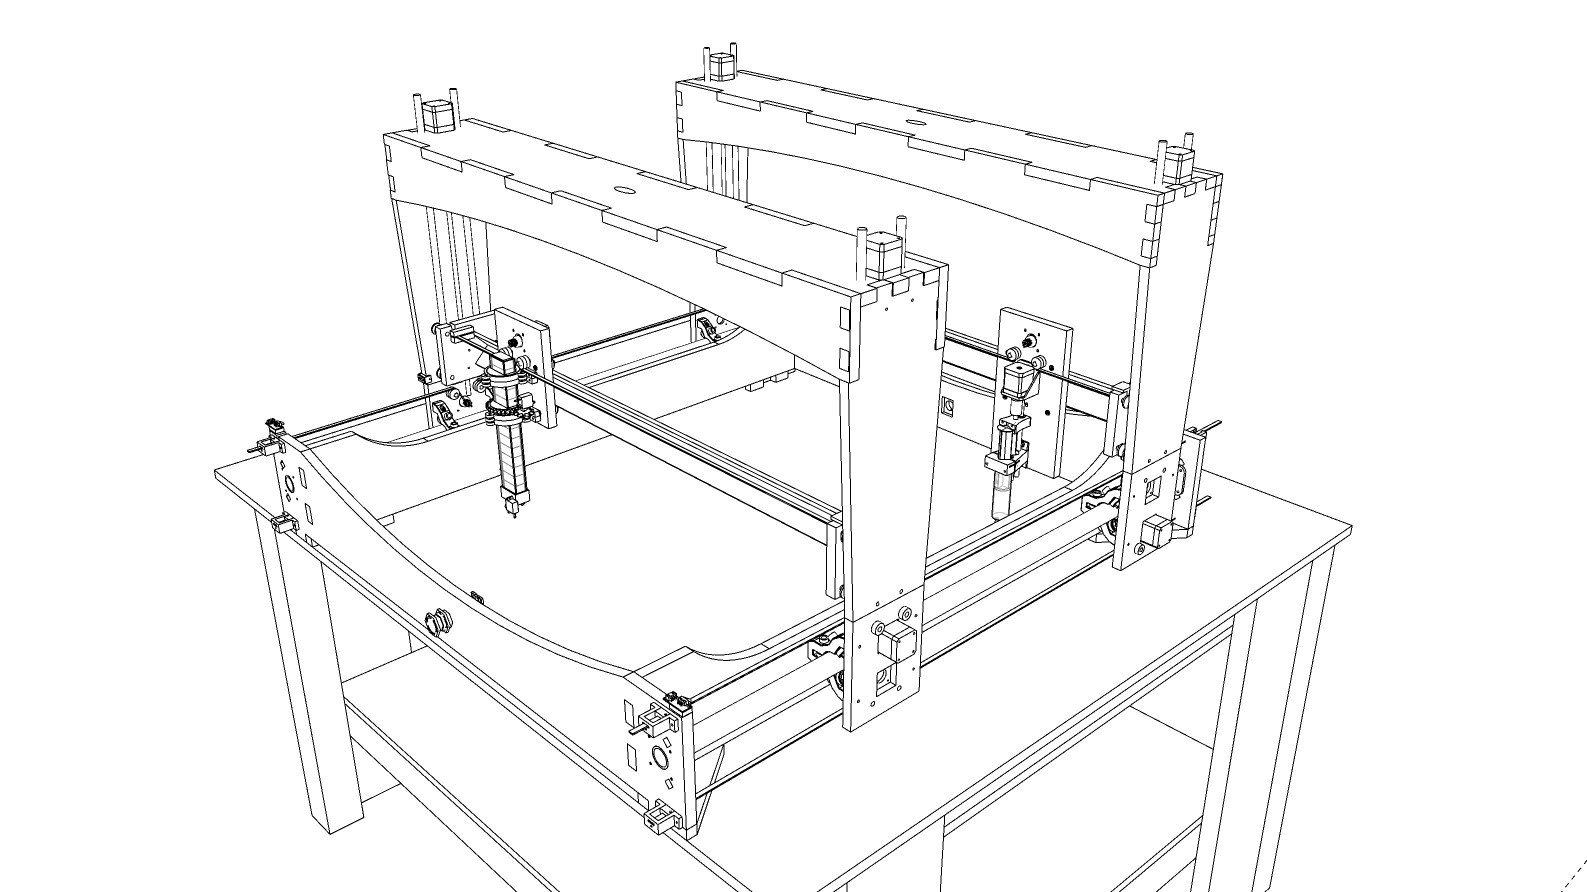
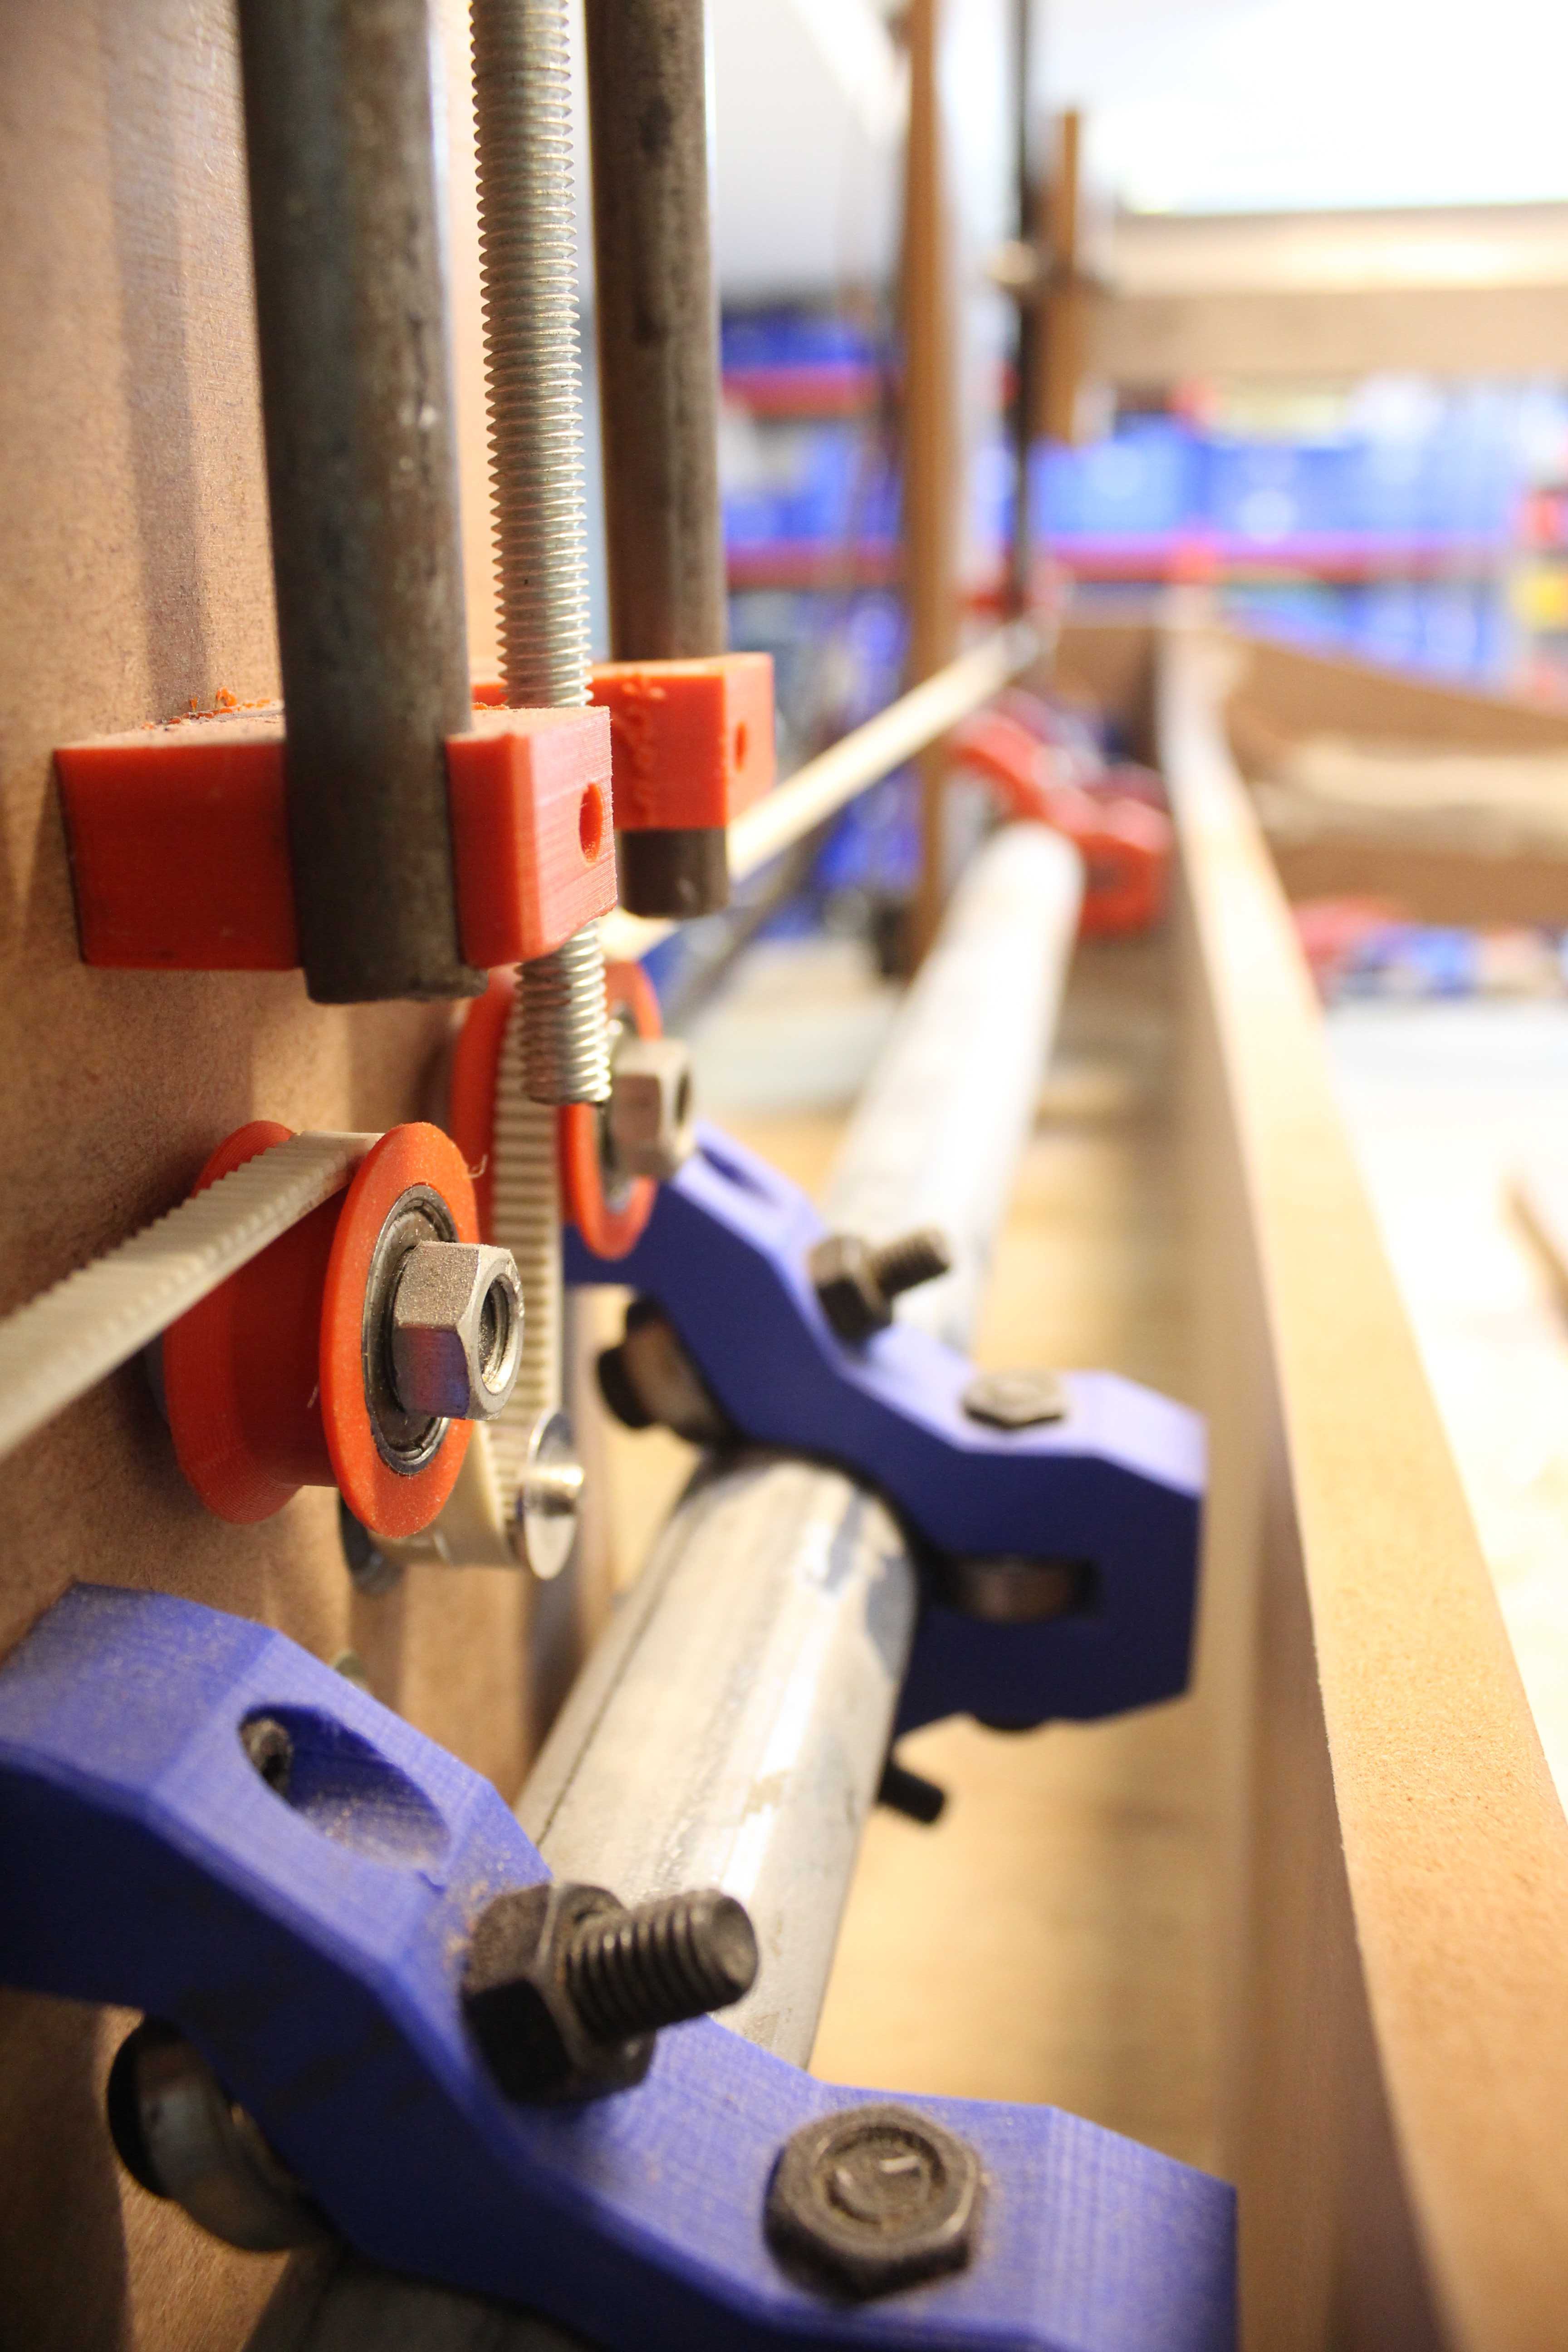
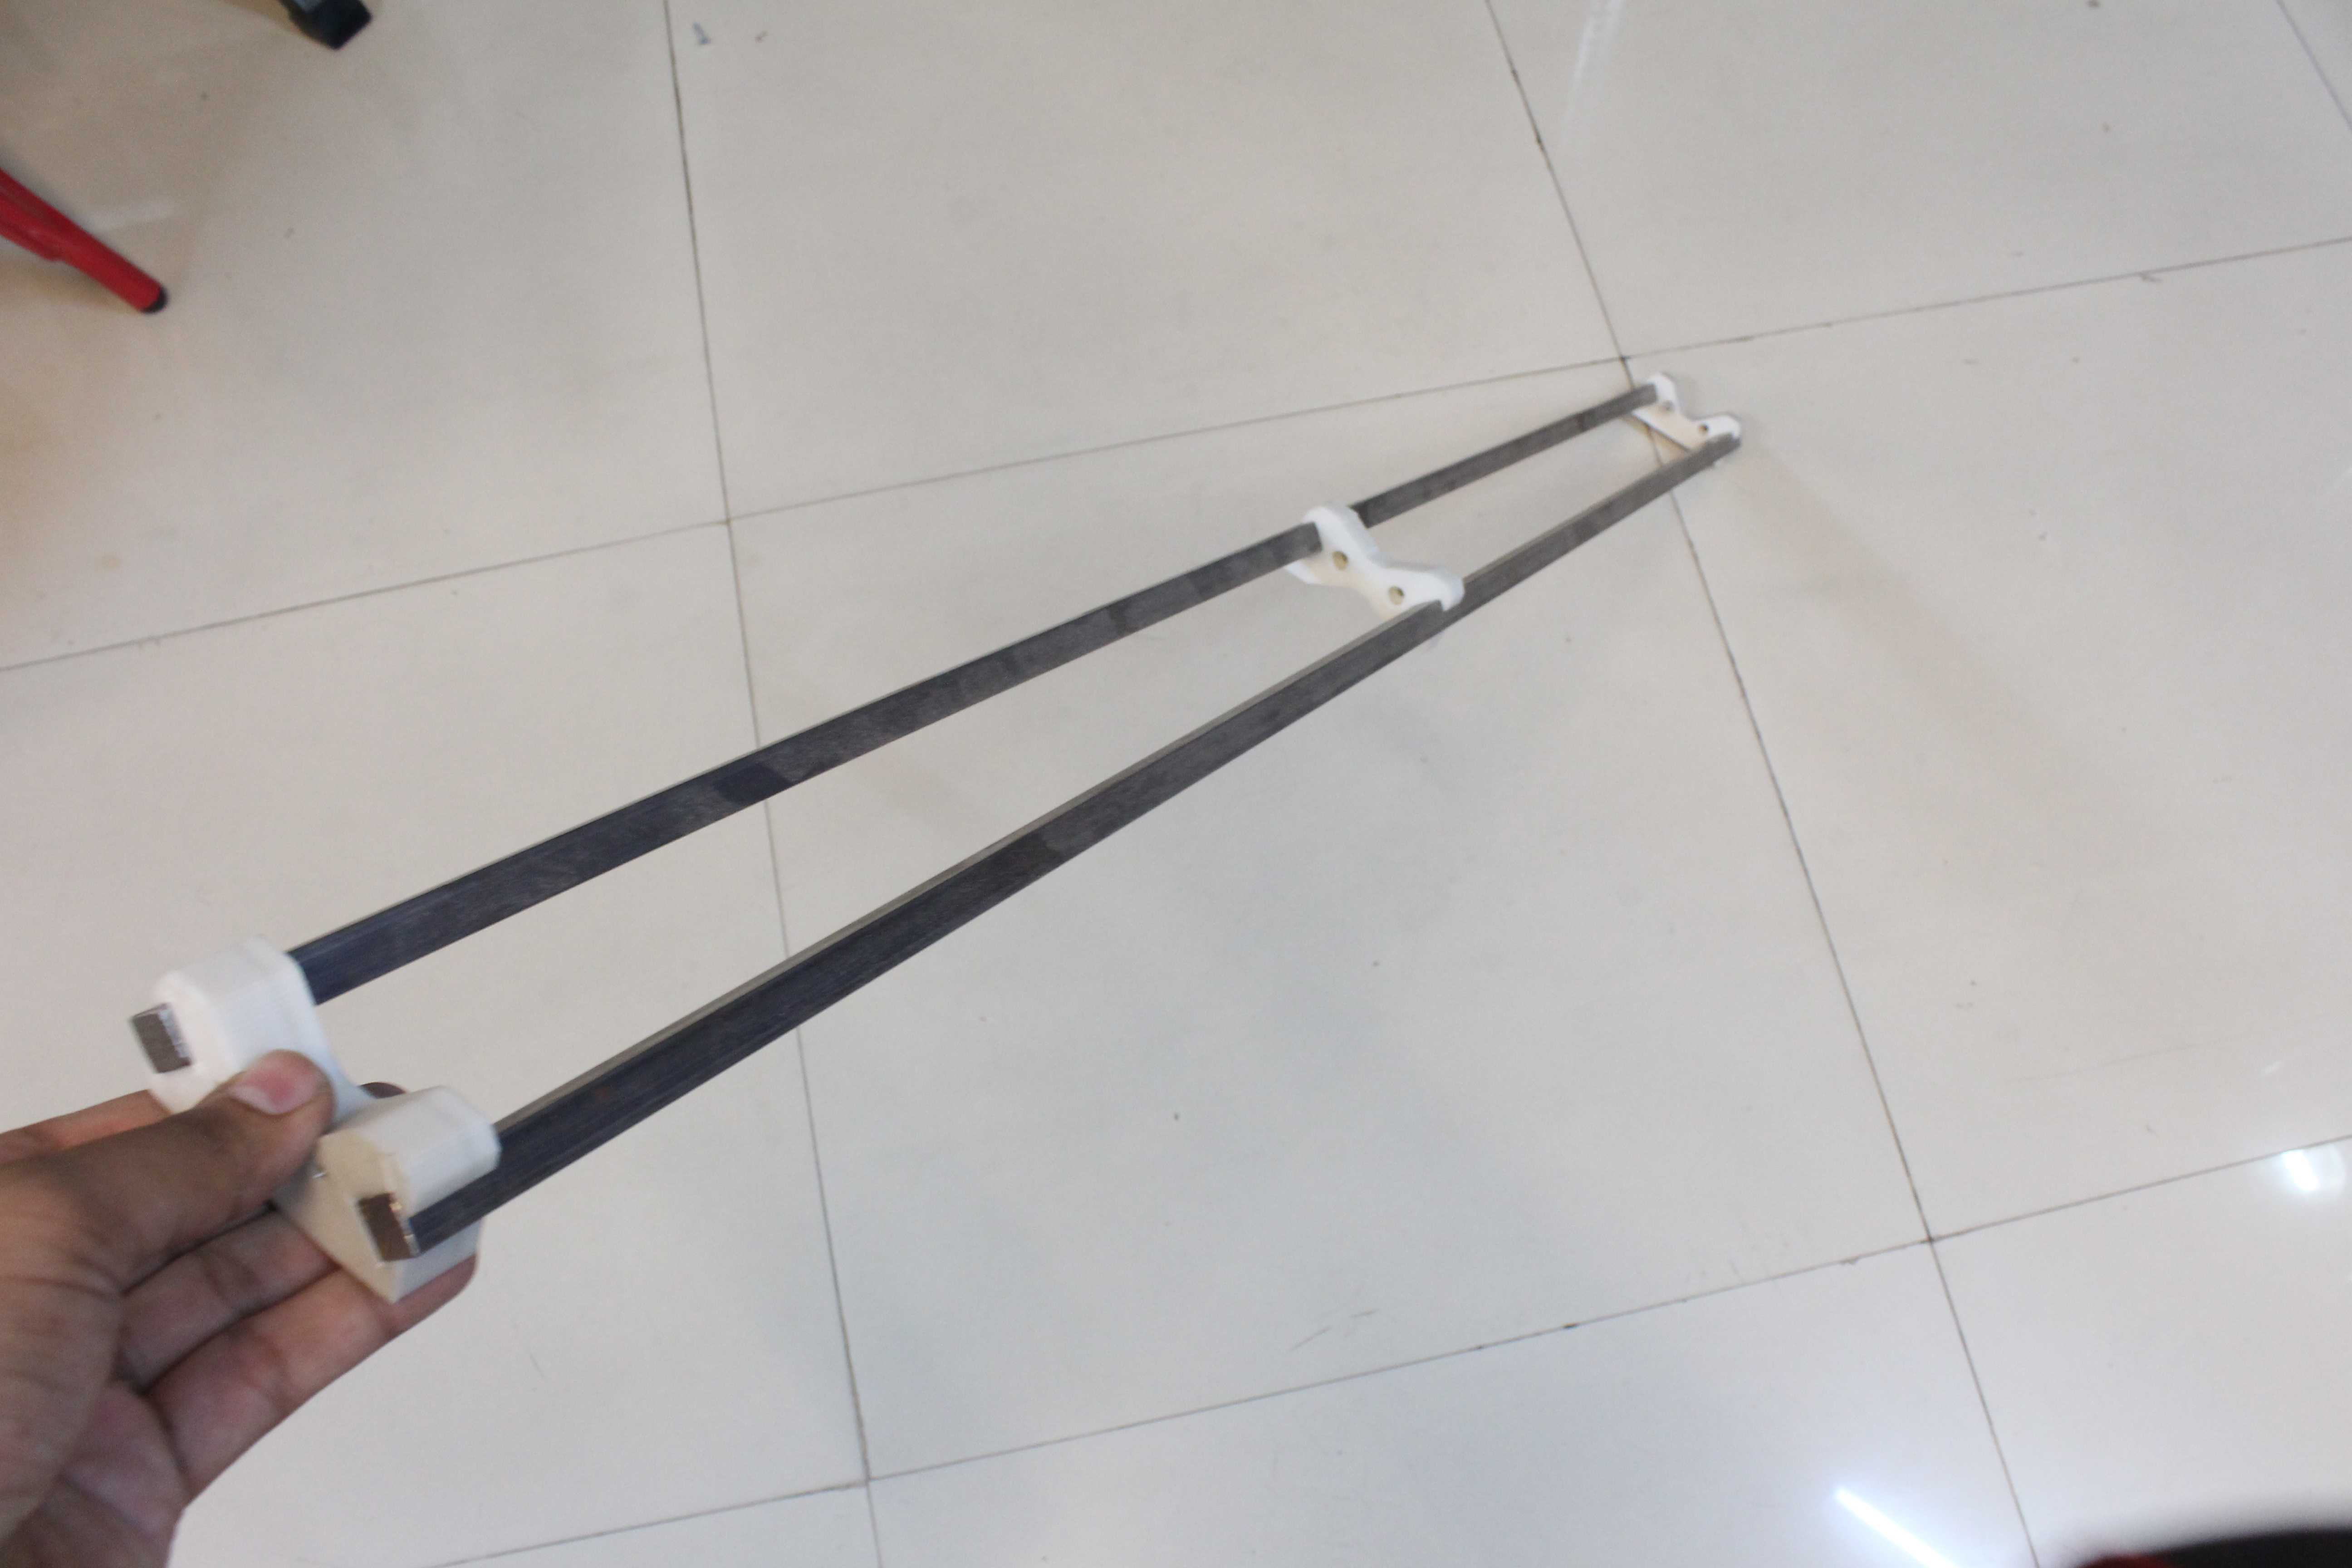
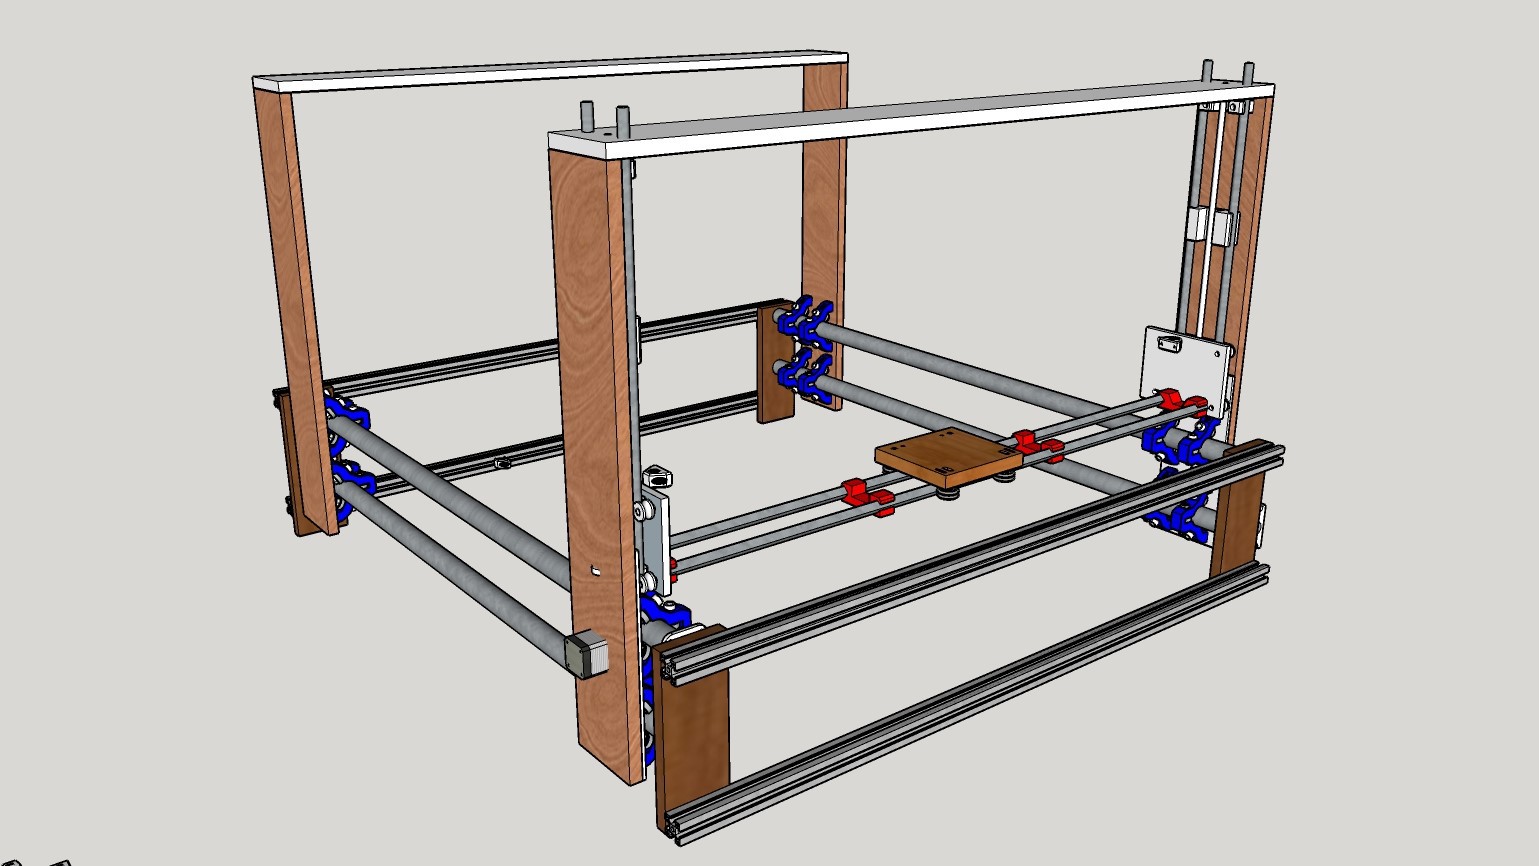
The system consists of two 3-axis numerically controlled robots but with both the gantries running on a single frame which stretches around the perimeter of the structure to be constructed. Also the mechanical system is almost completely designed using standardized, inexpensive and off the shelf hardware which can be found almost anywhere in the world, with a combination of some 3d printed and CNC milled parts. The system can be incorporated to stretch up to a base area of 20x20 feet with a height of up to 12 feet.


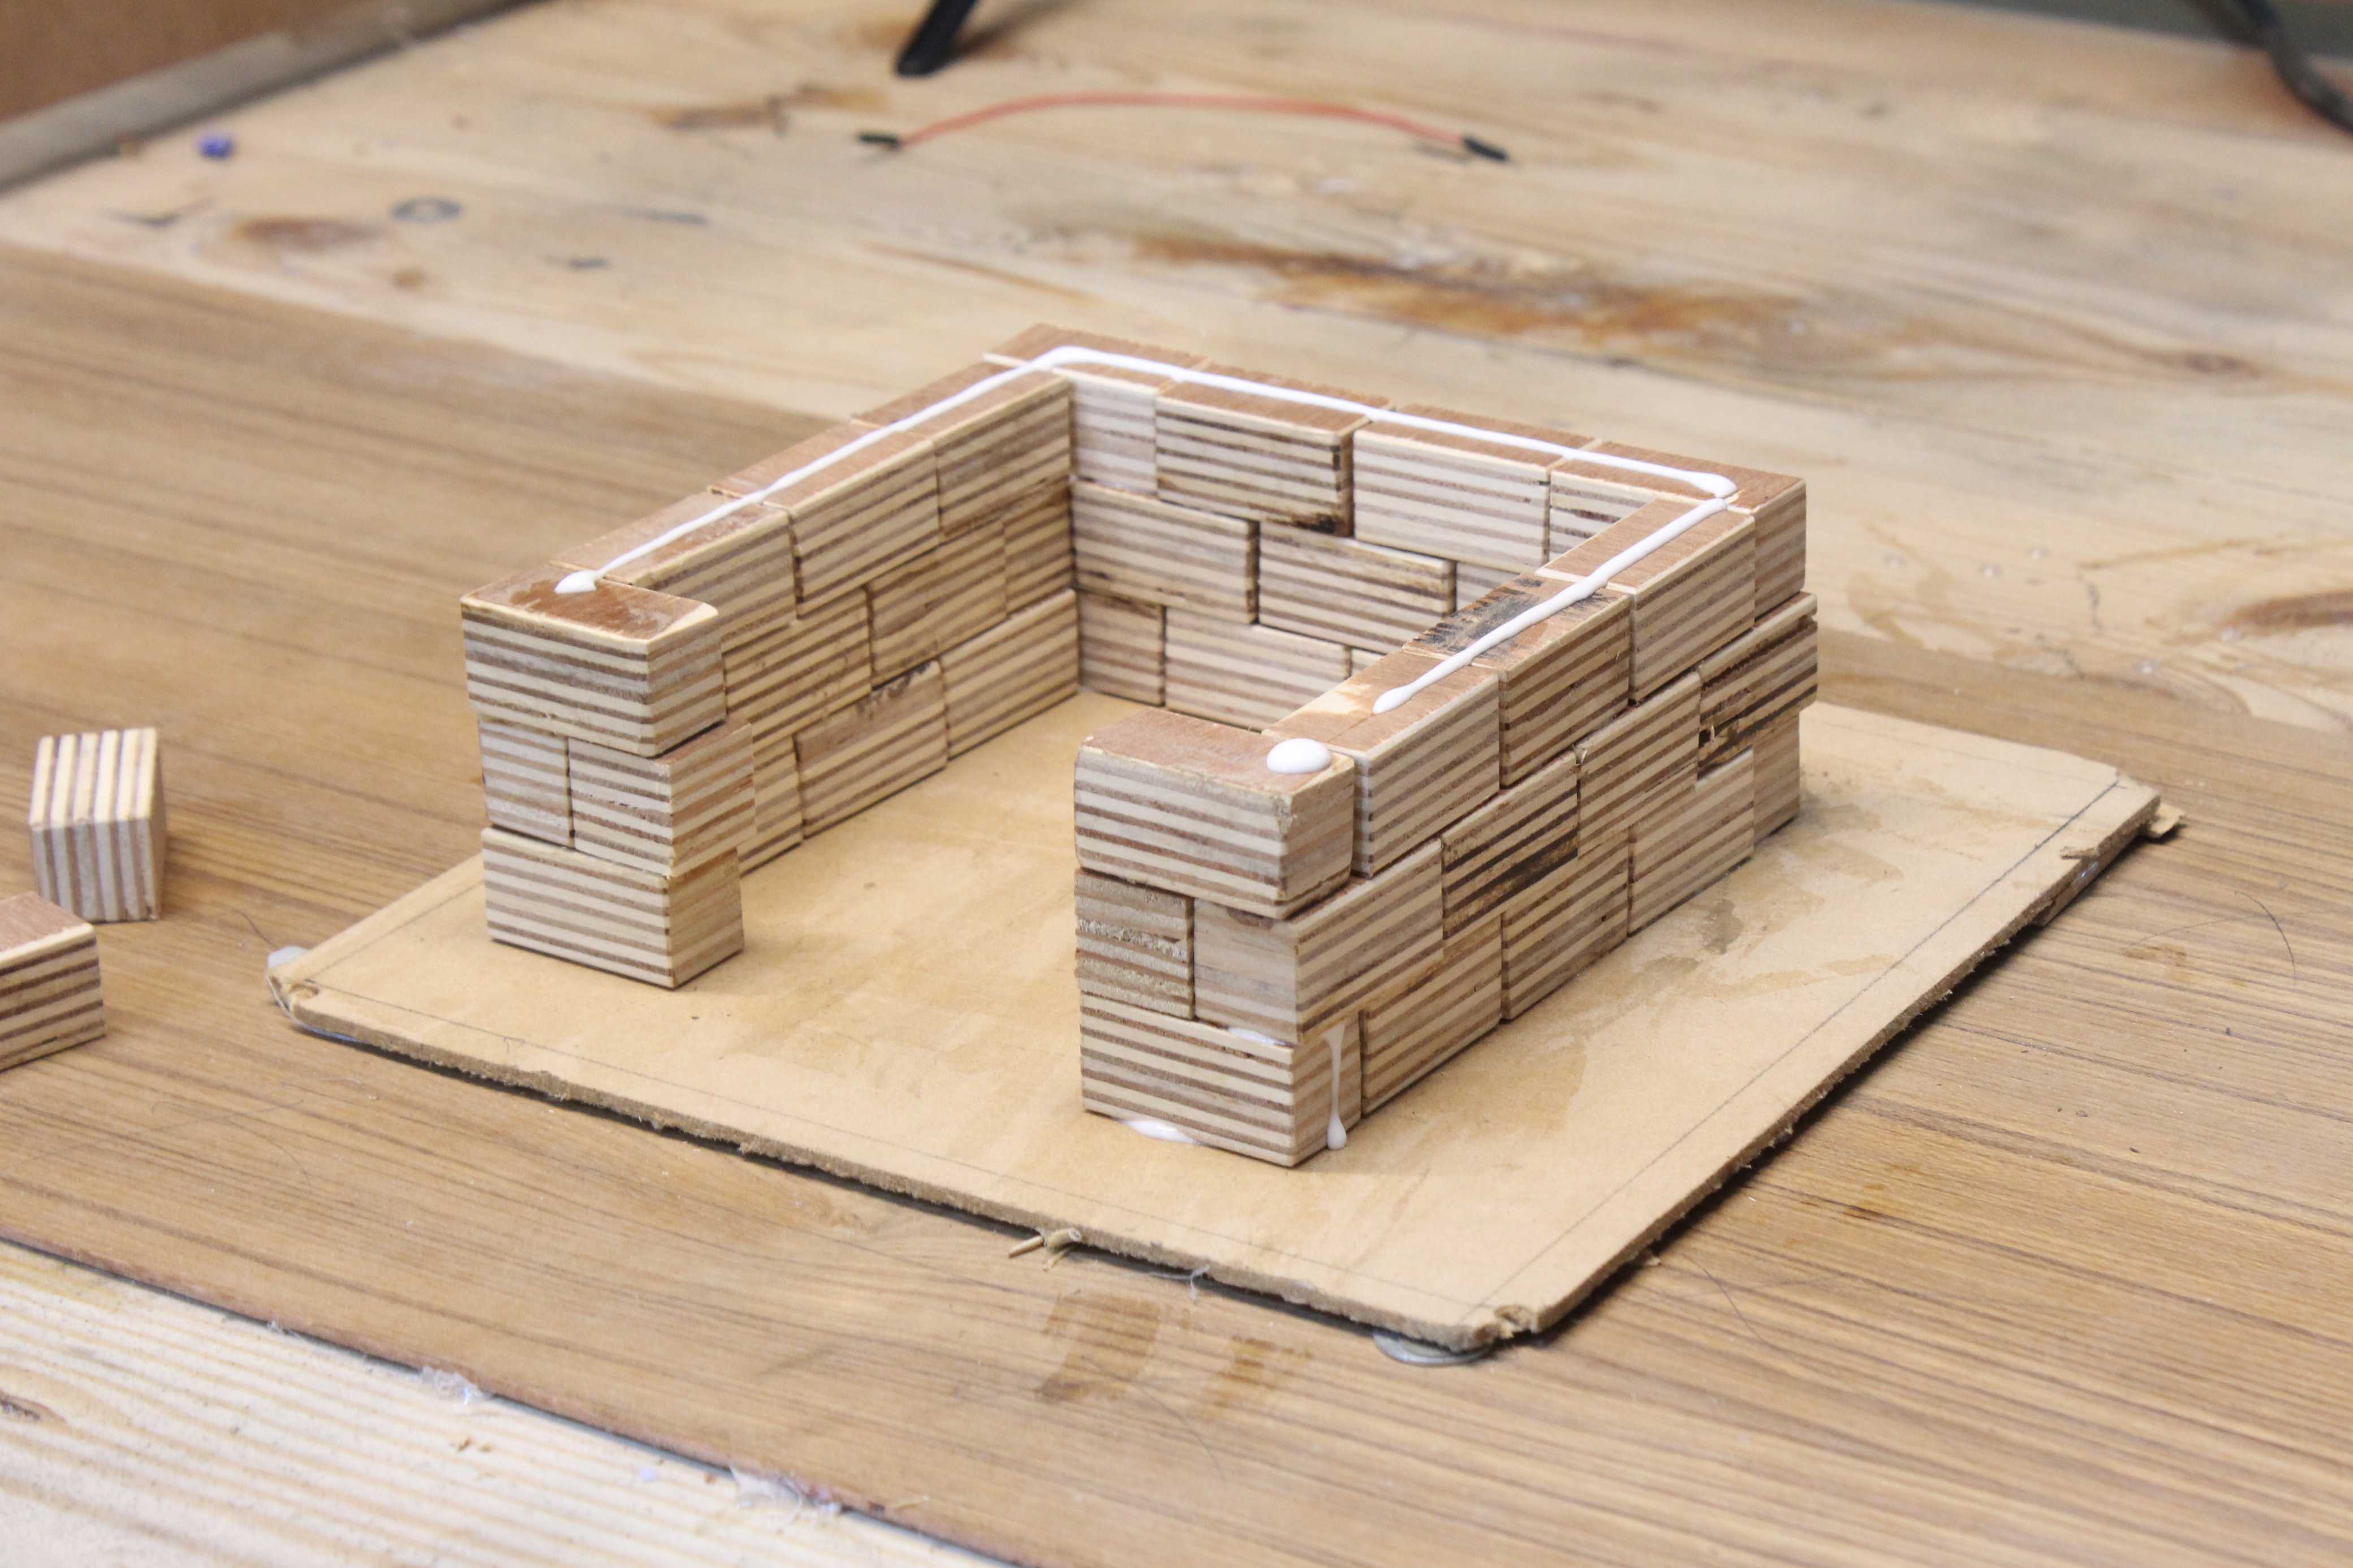
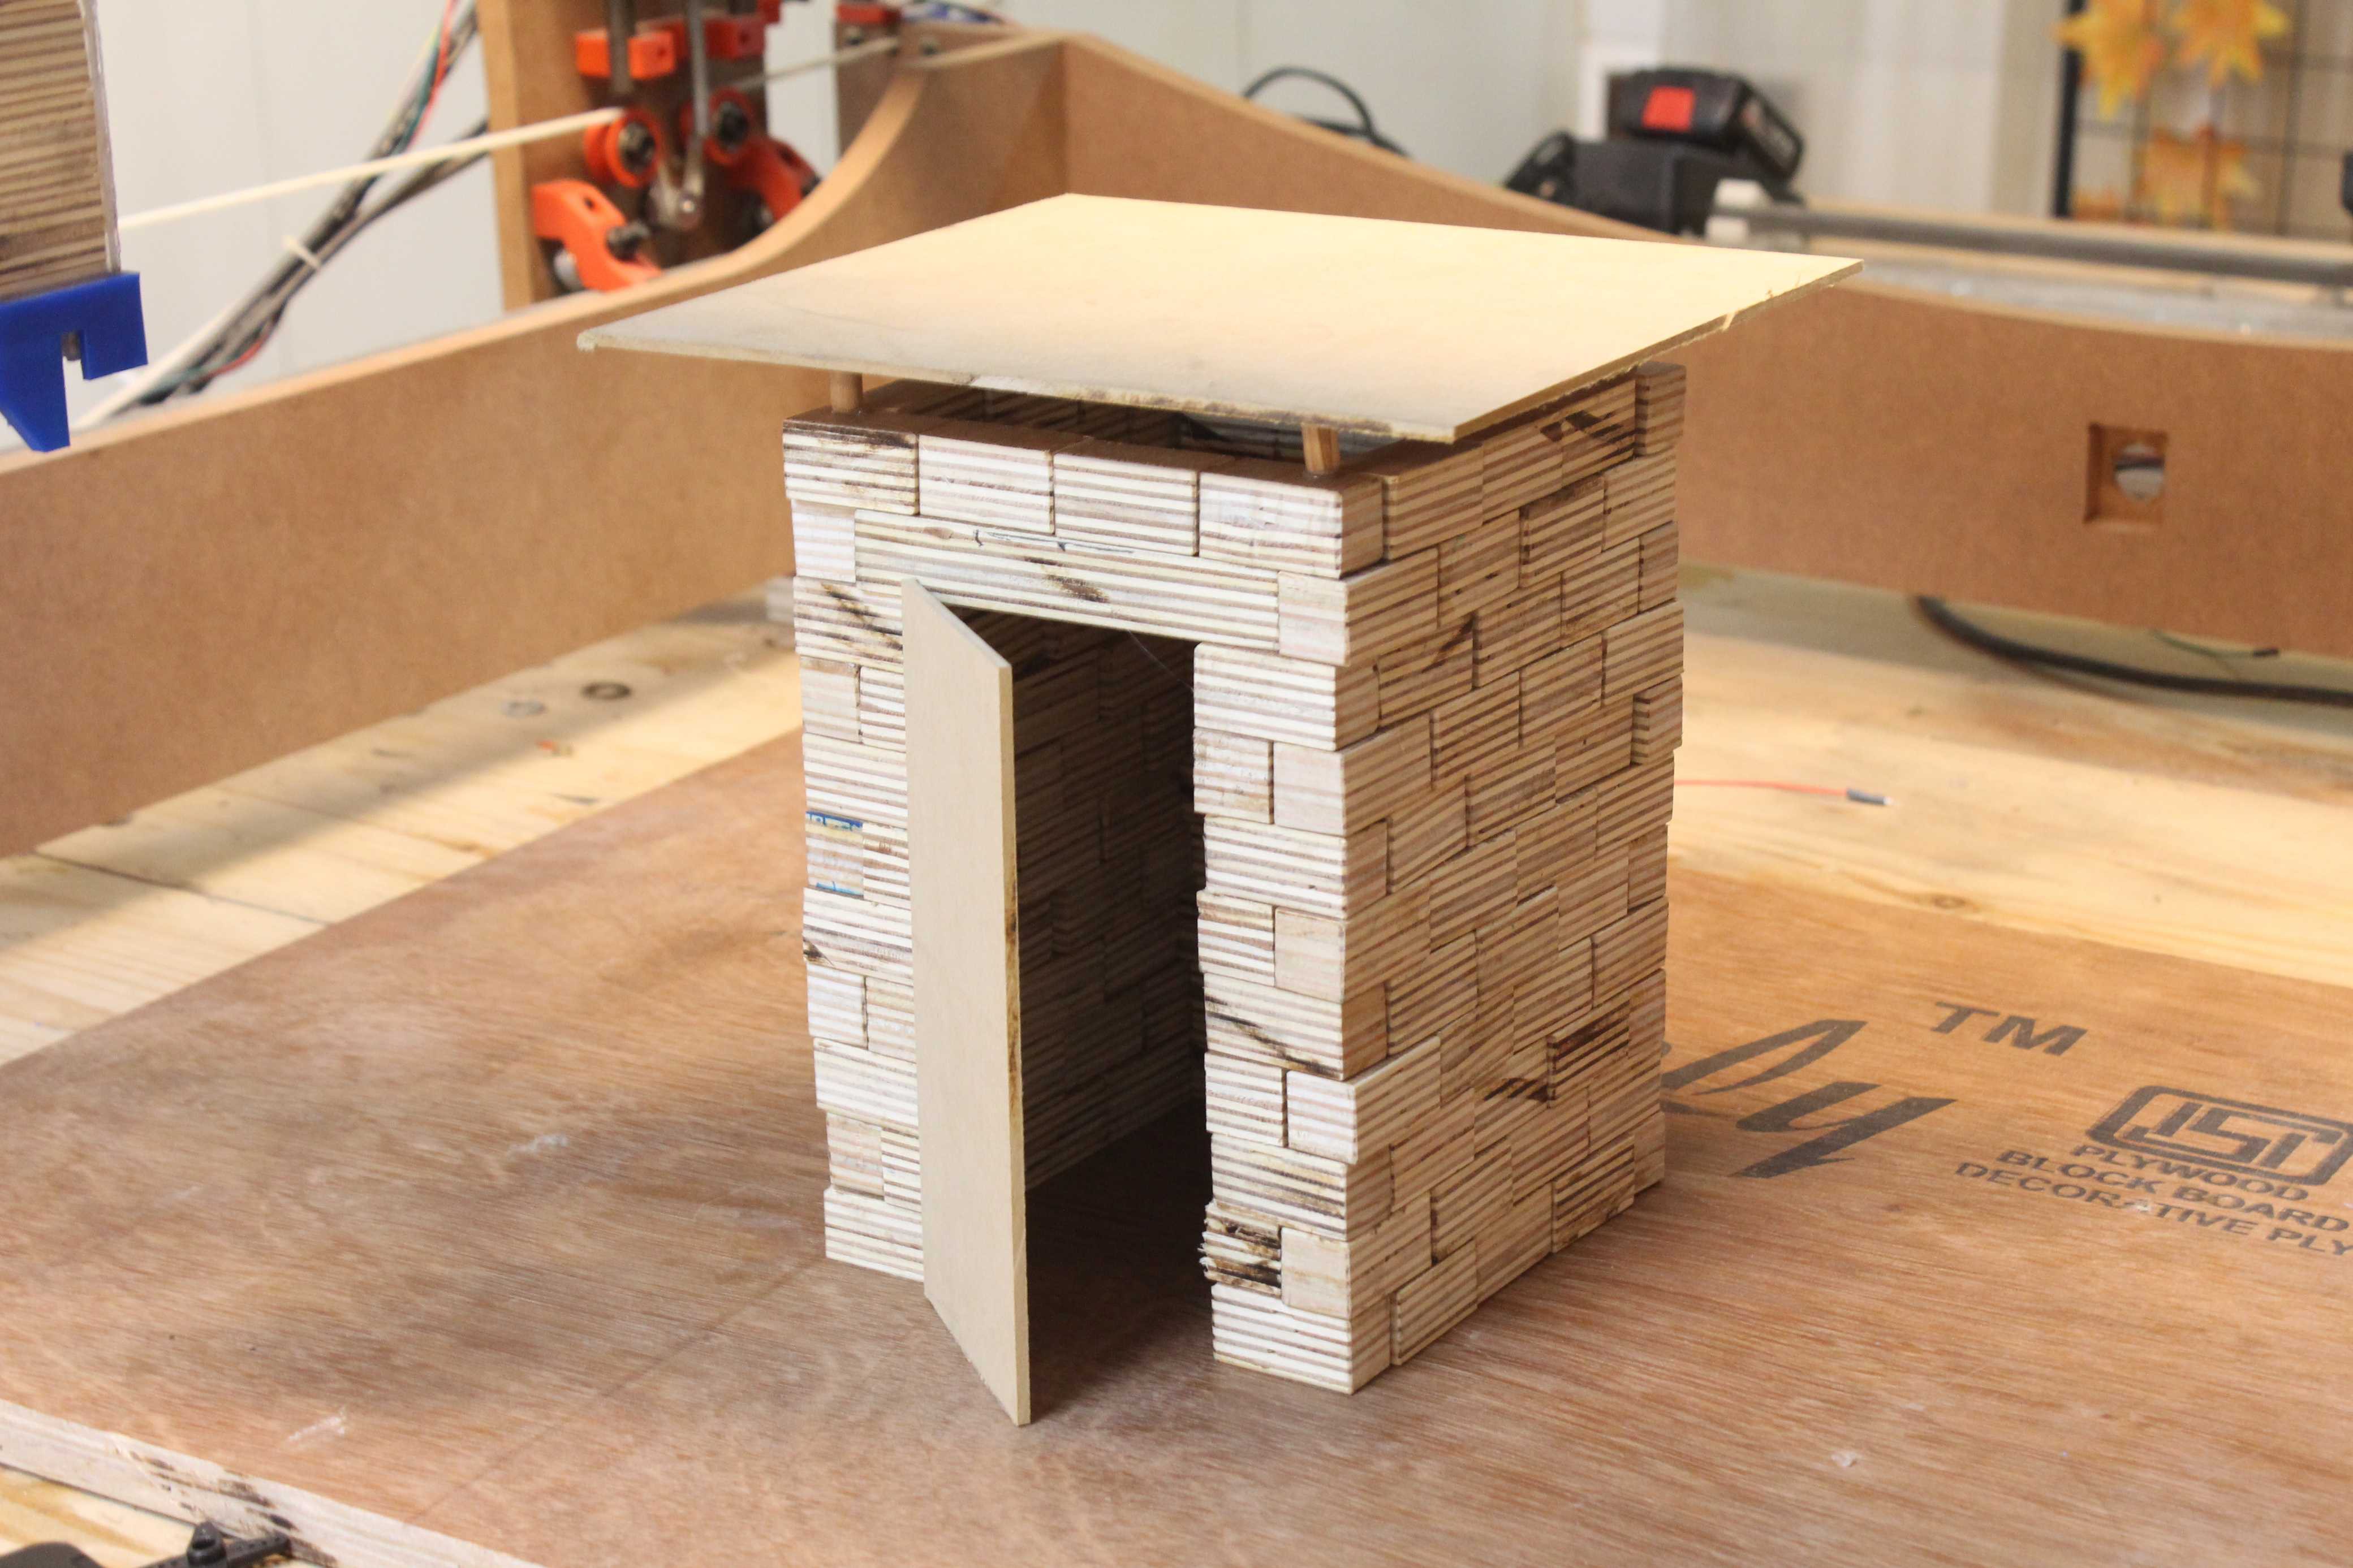
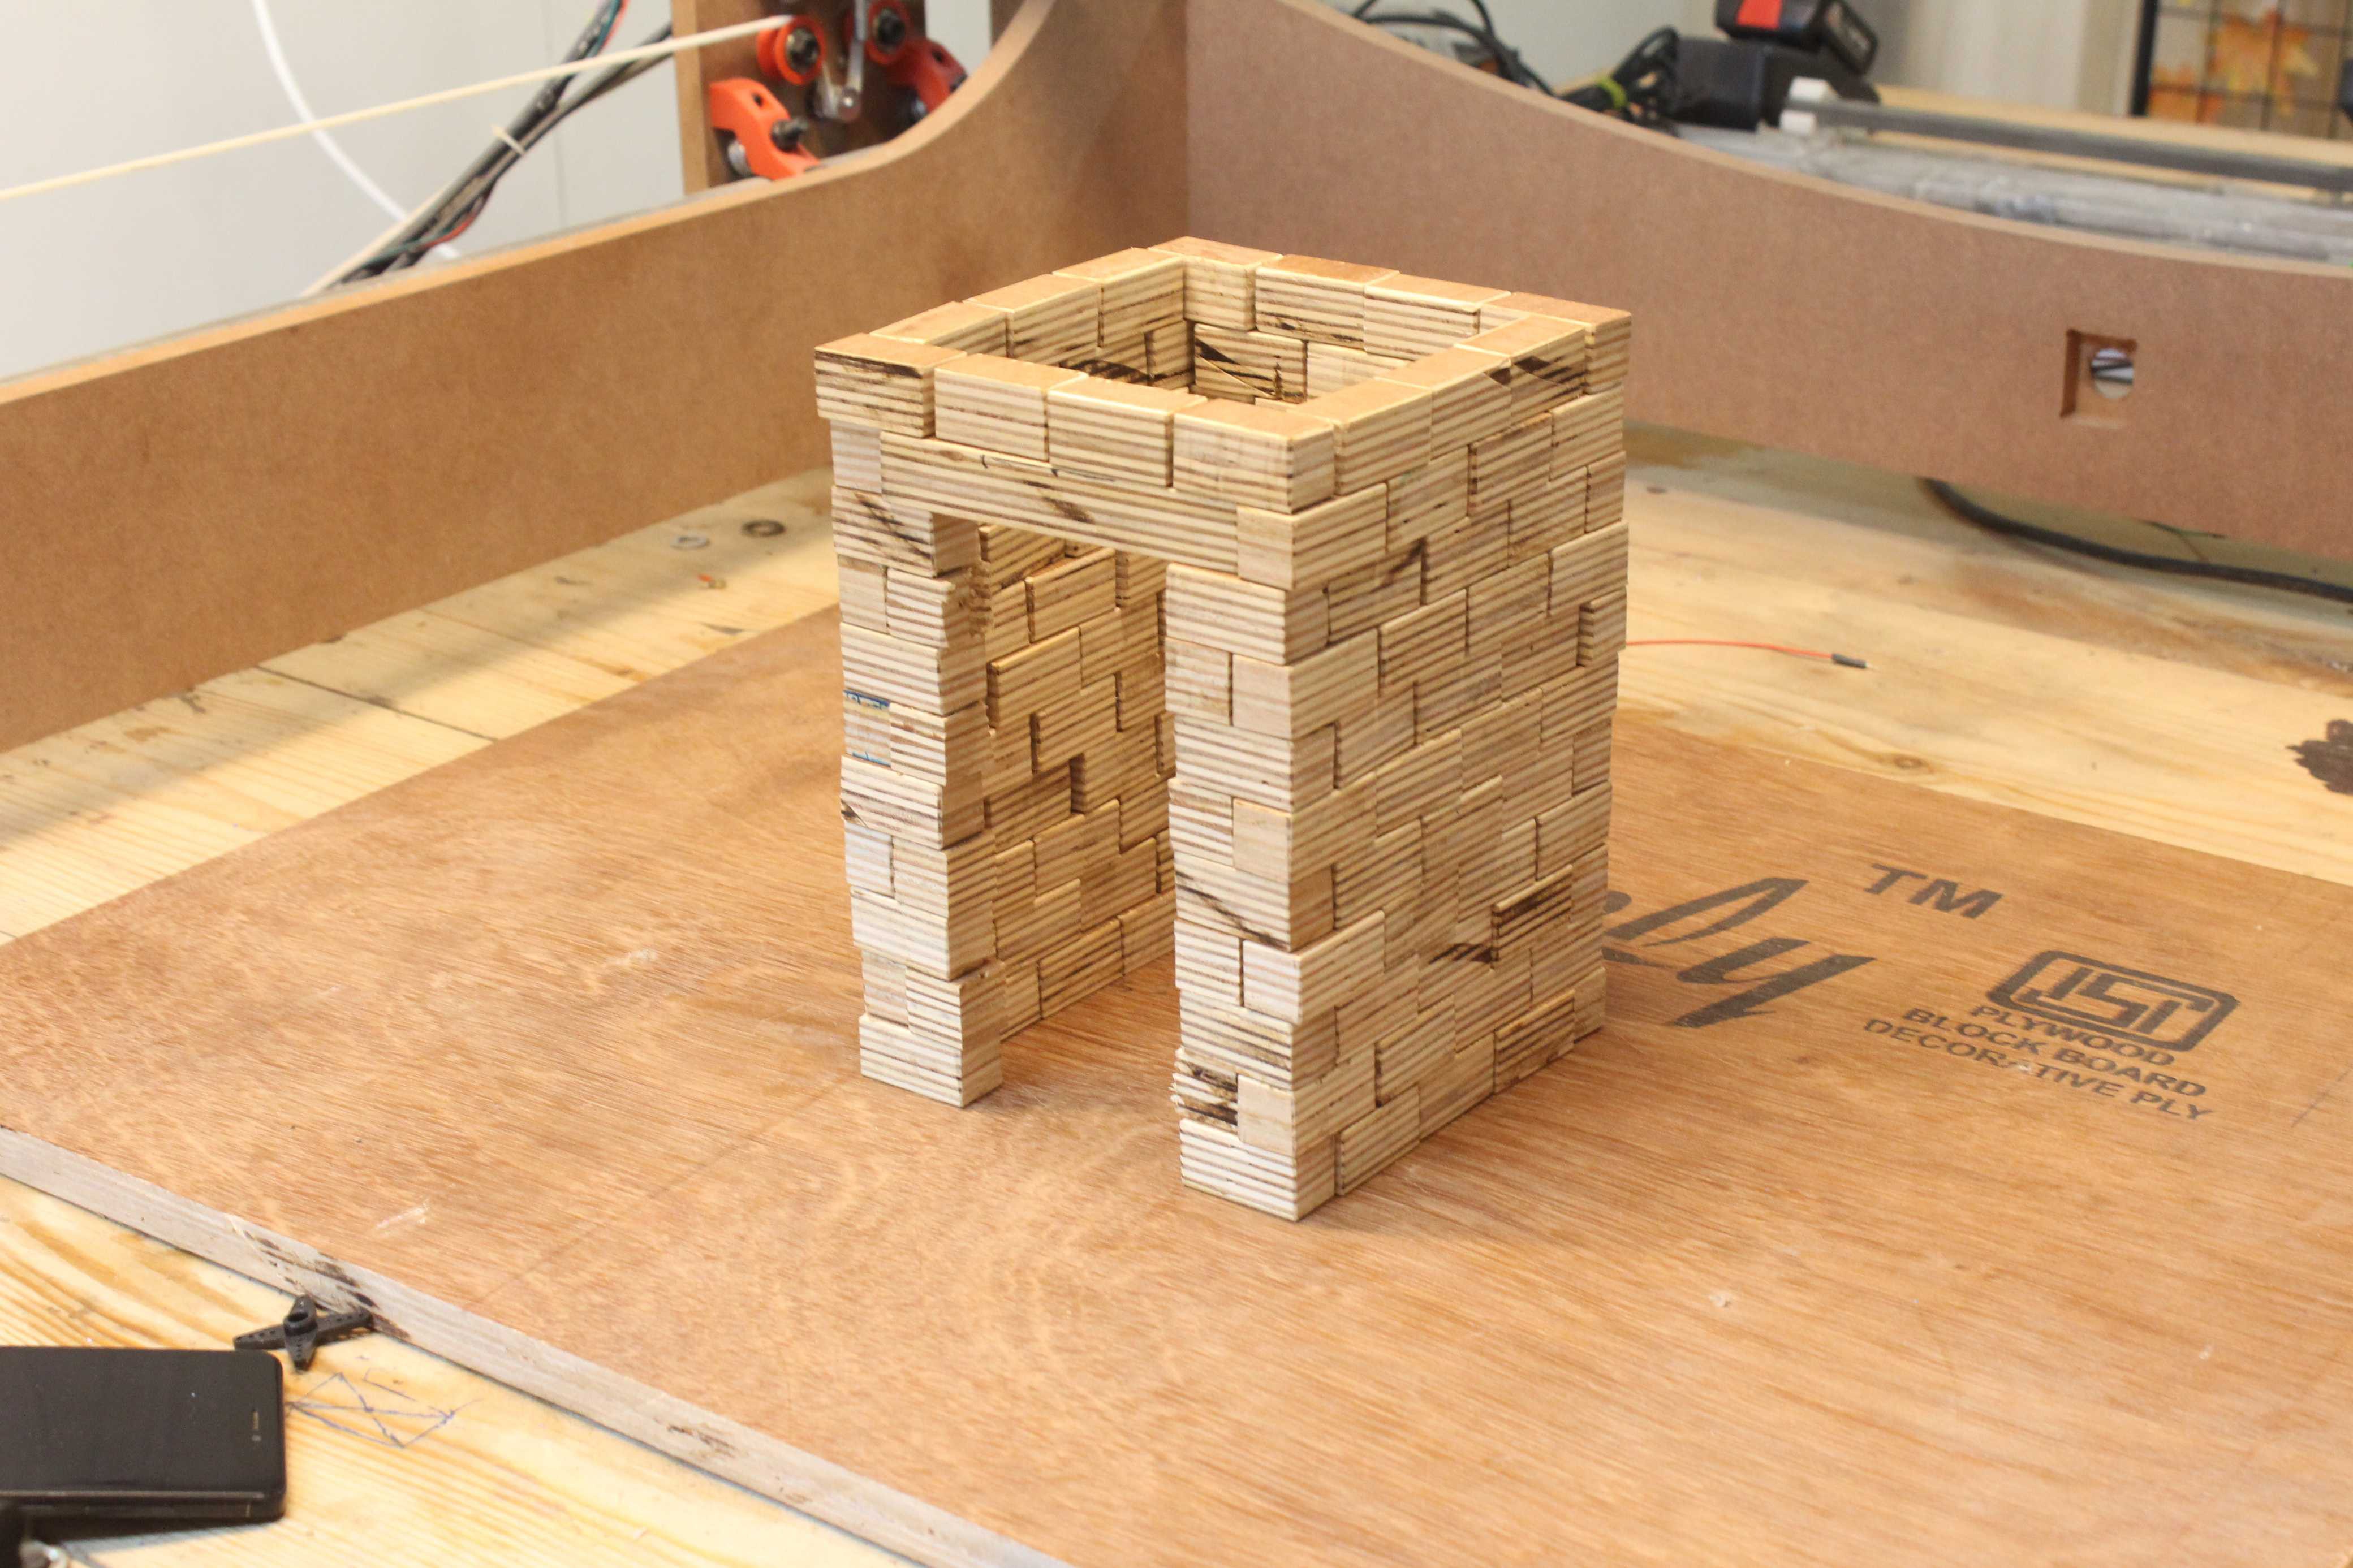
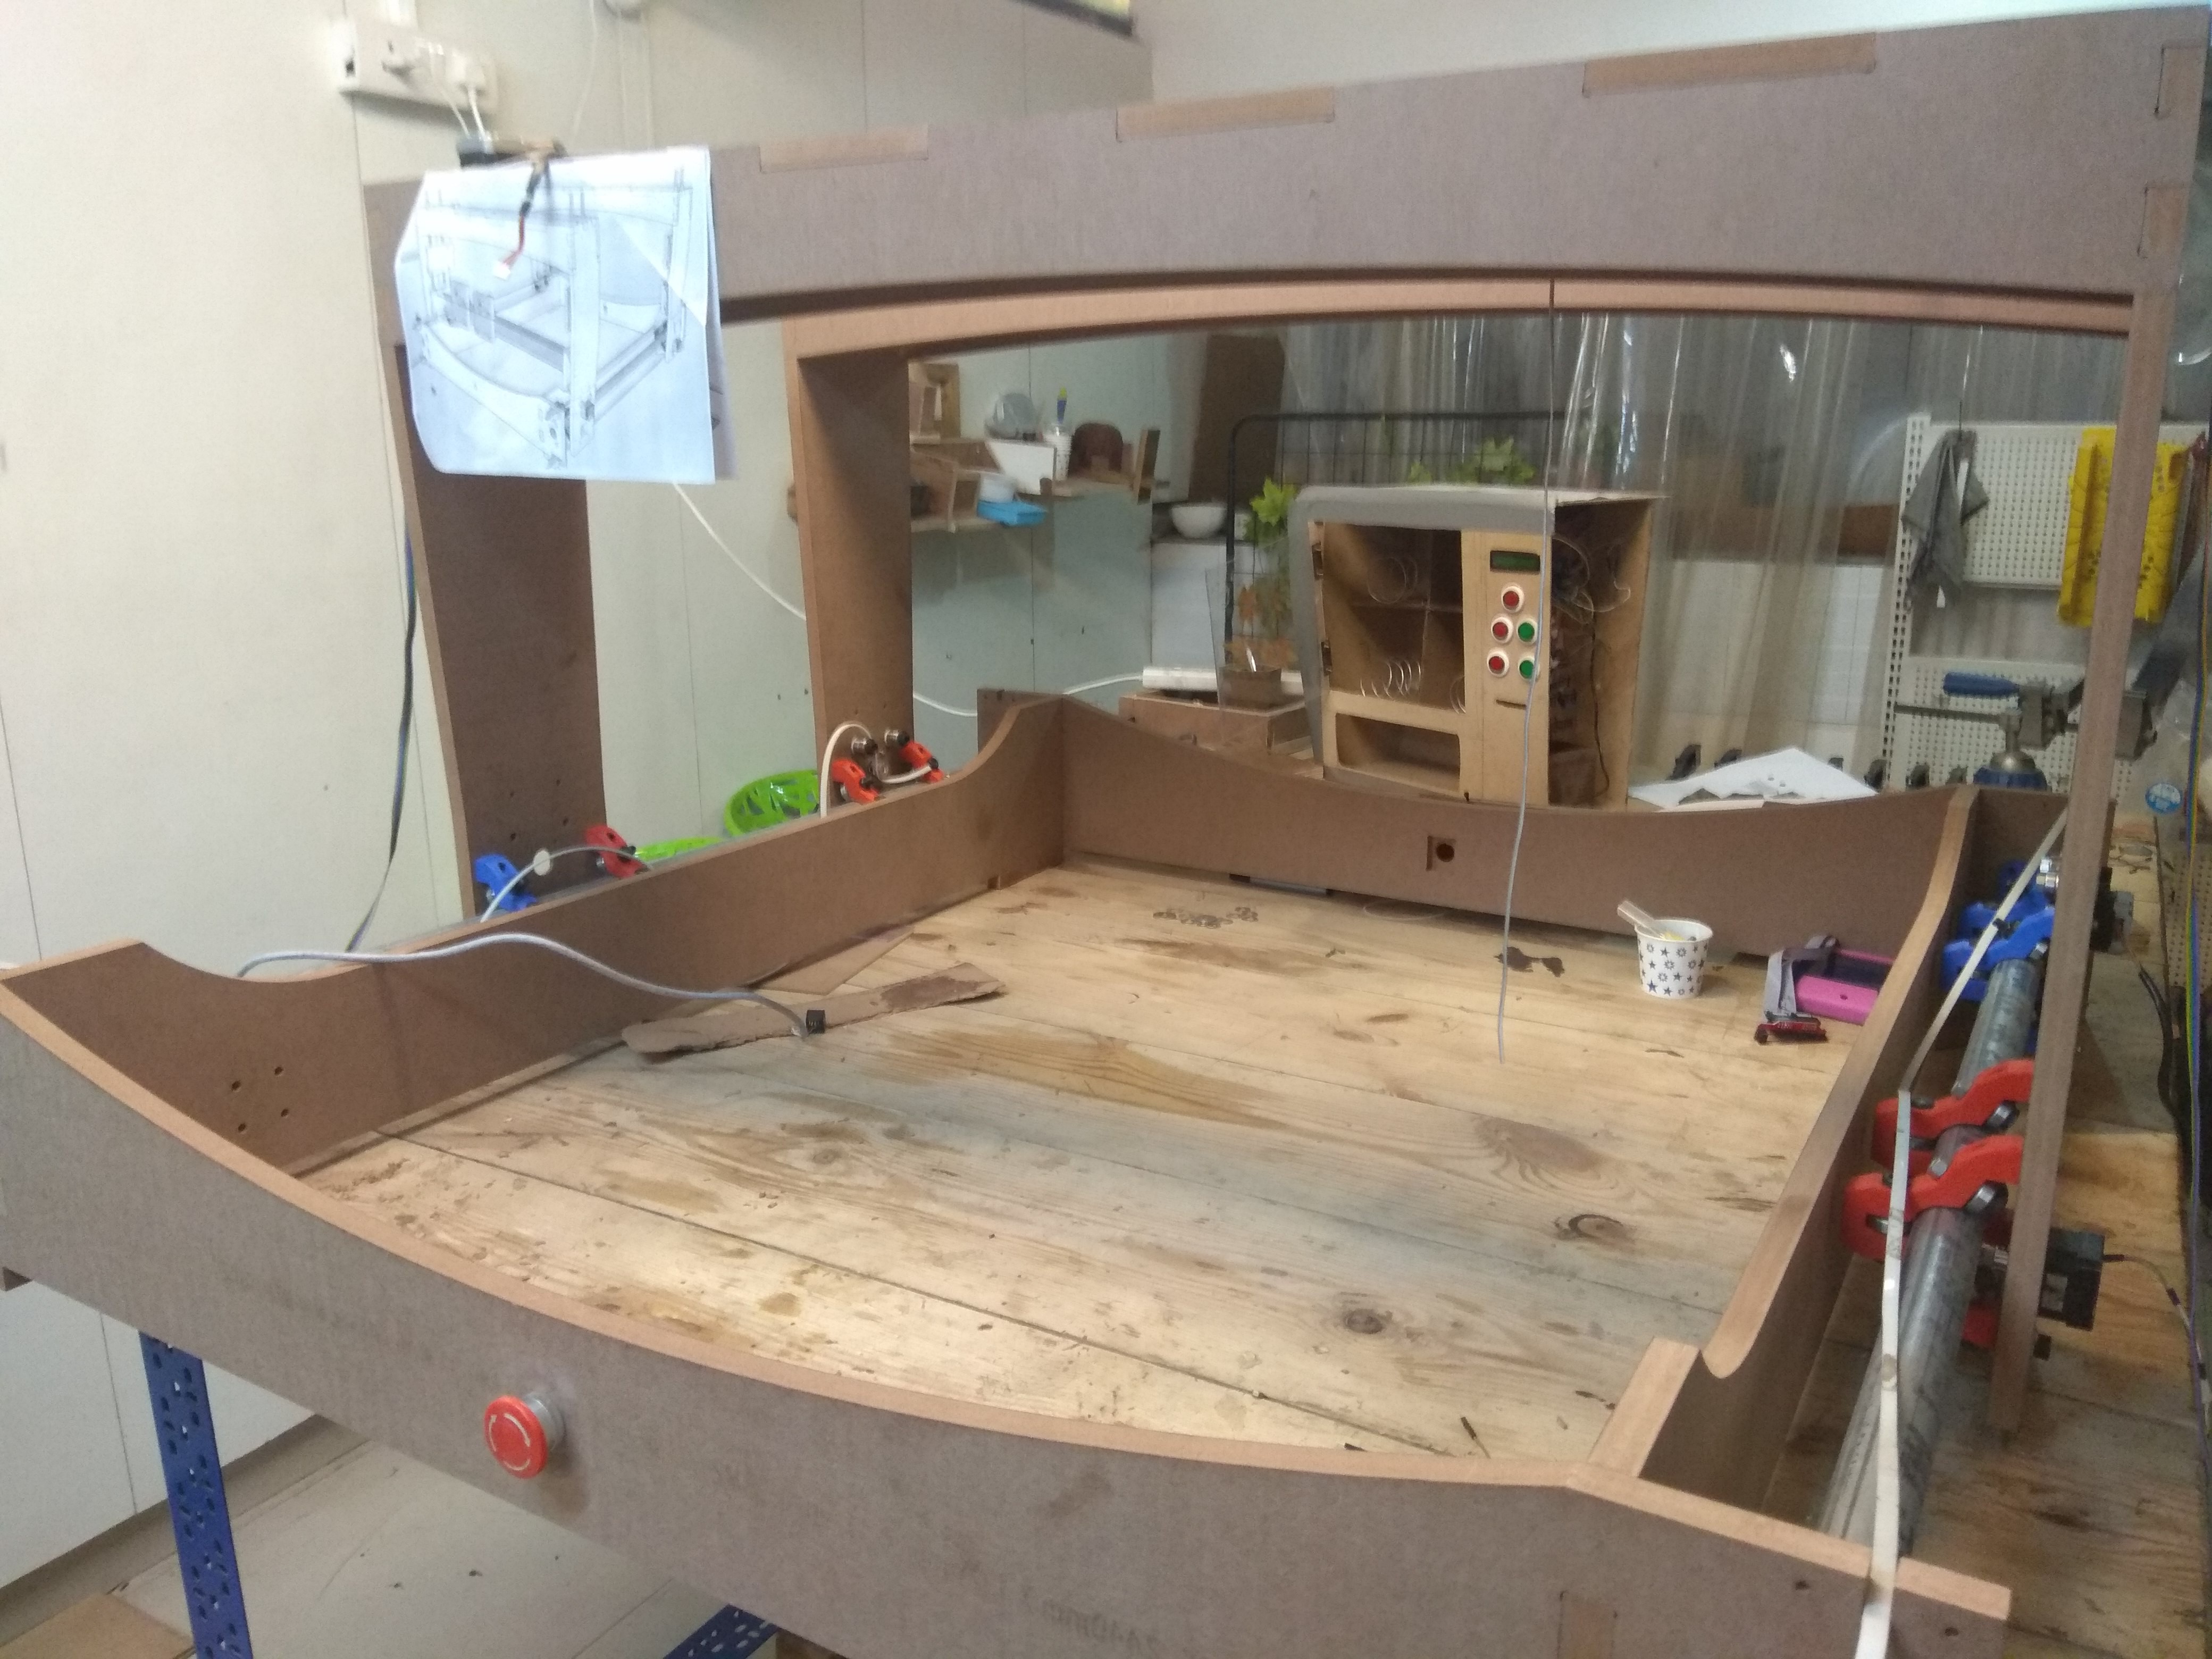
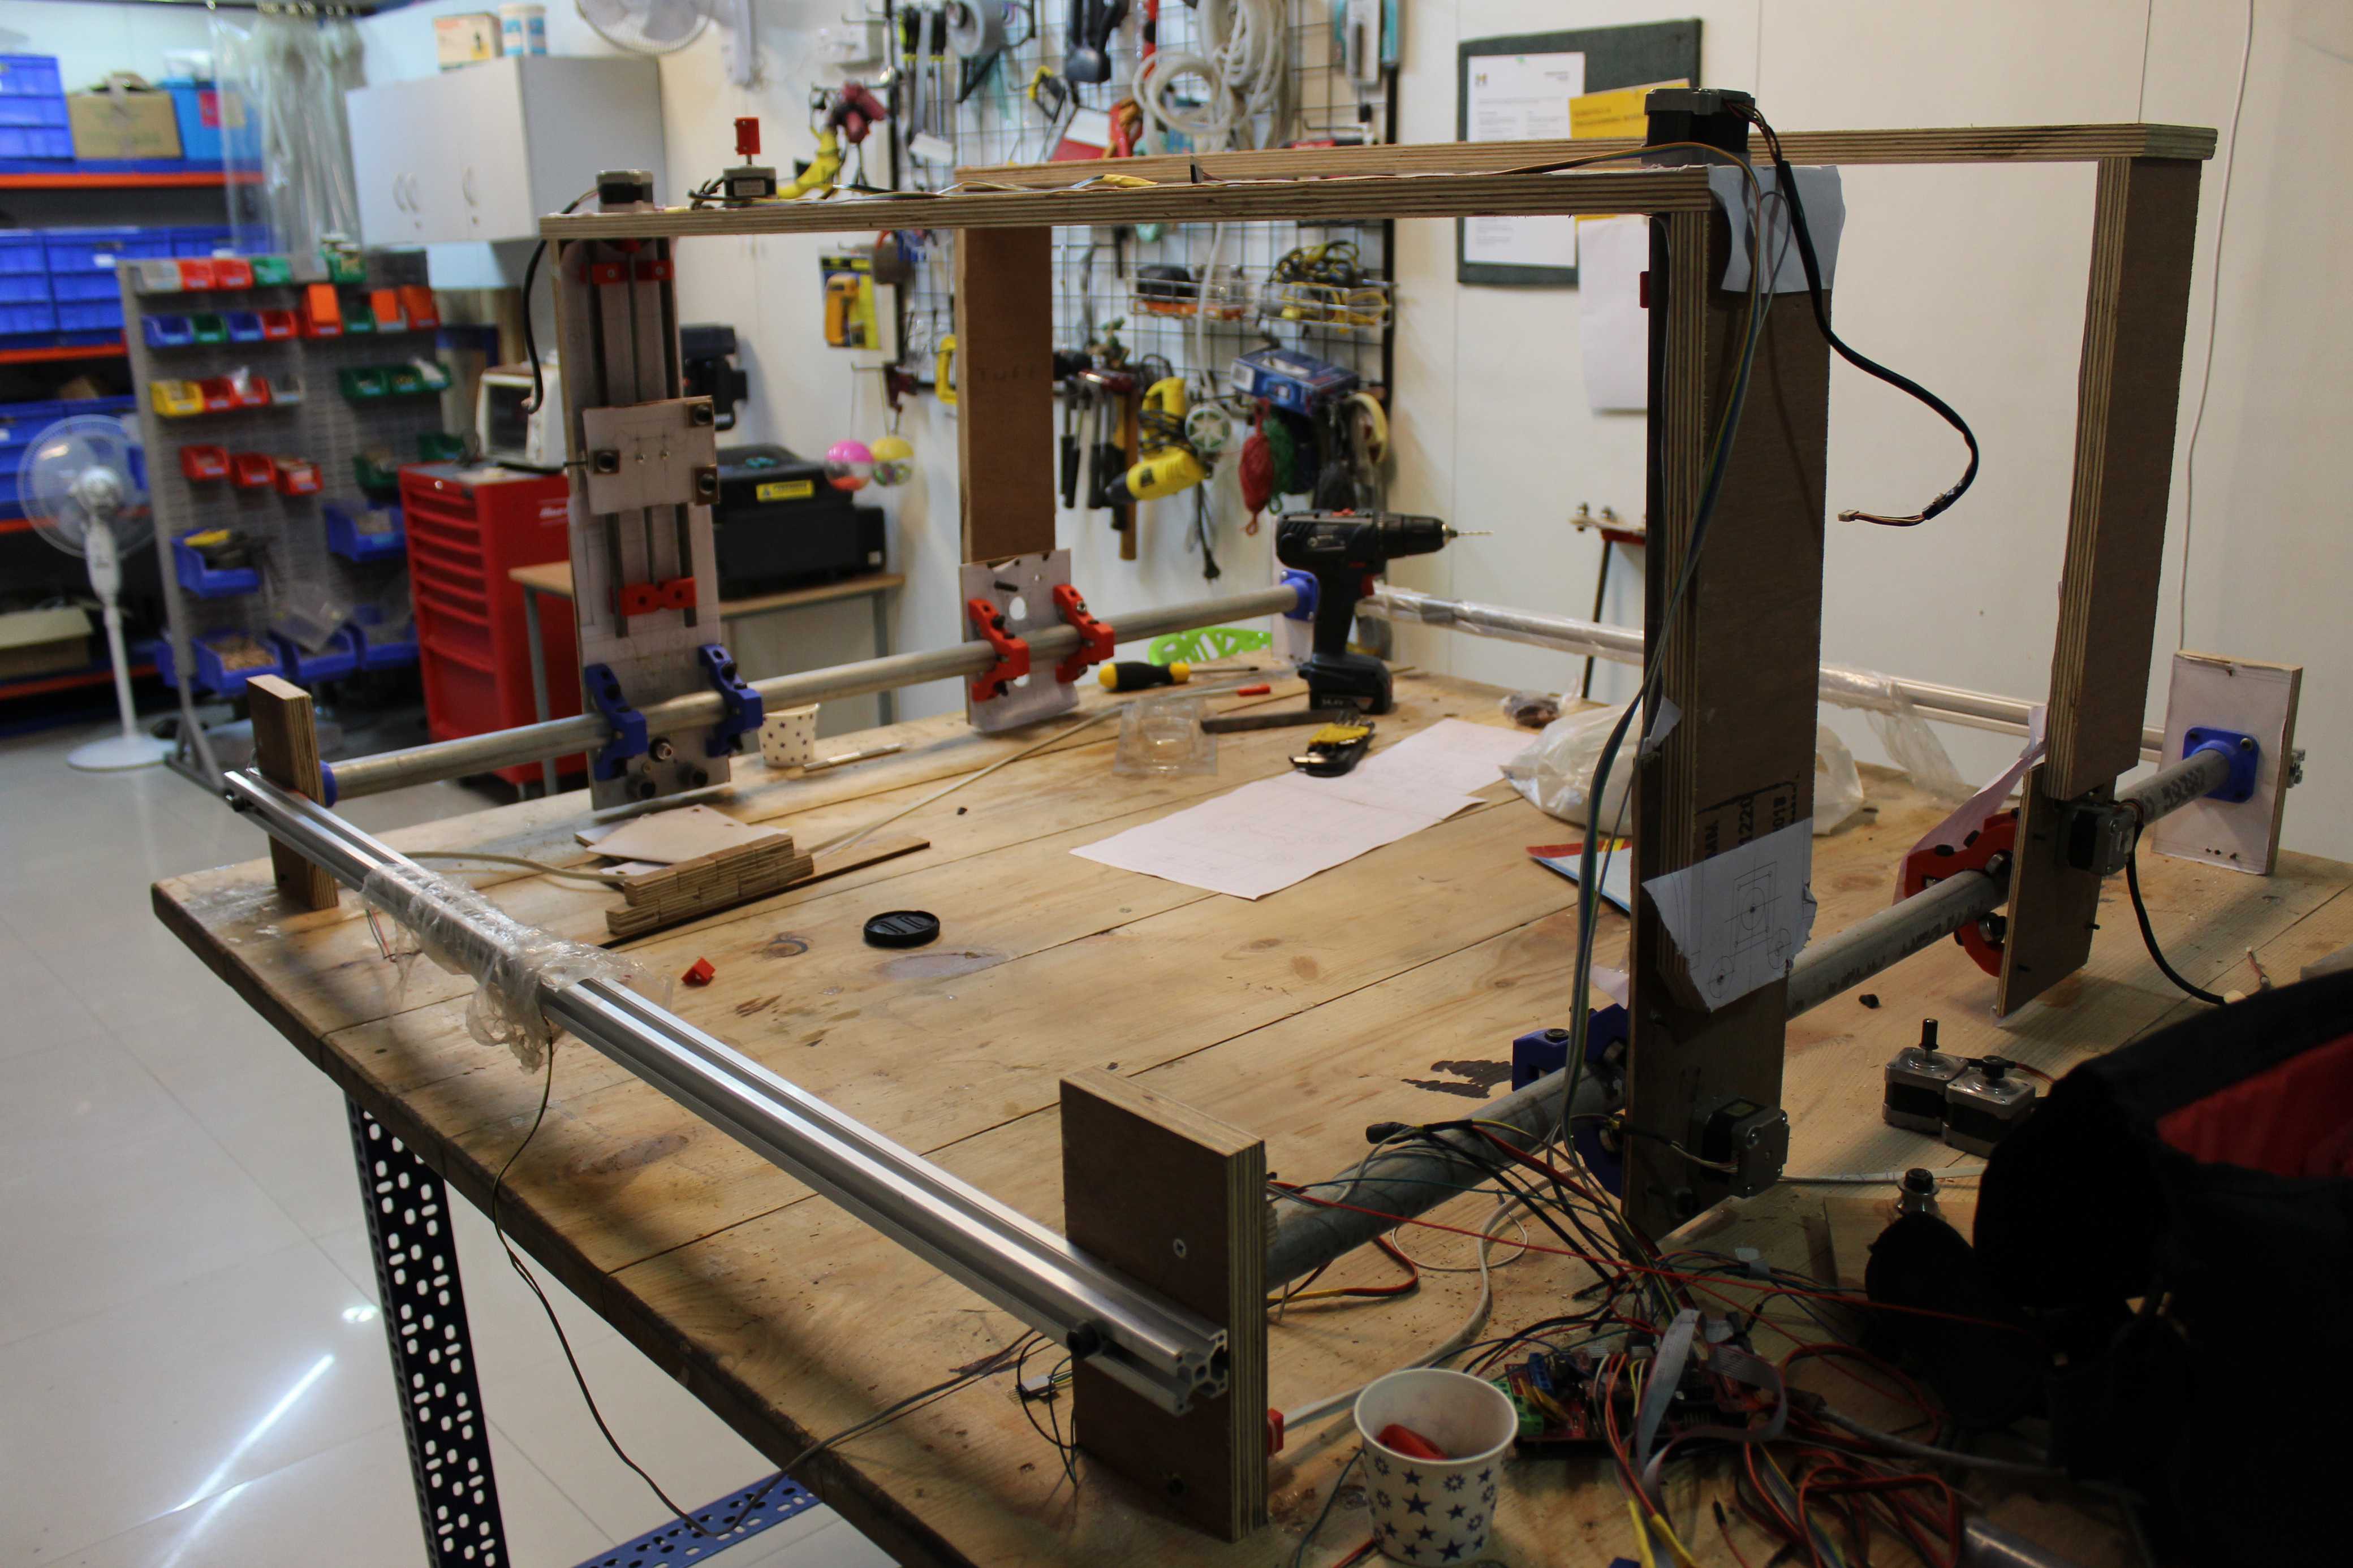
The prototype shows how the system functions as a whole.
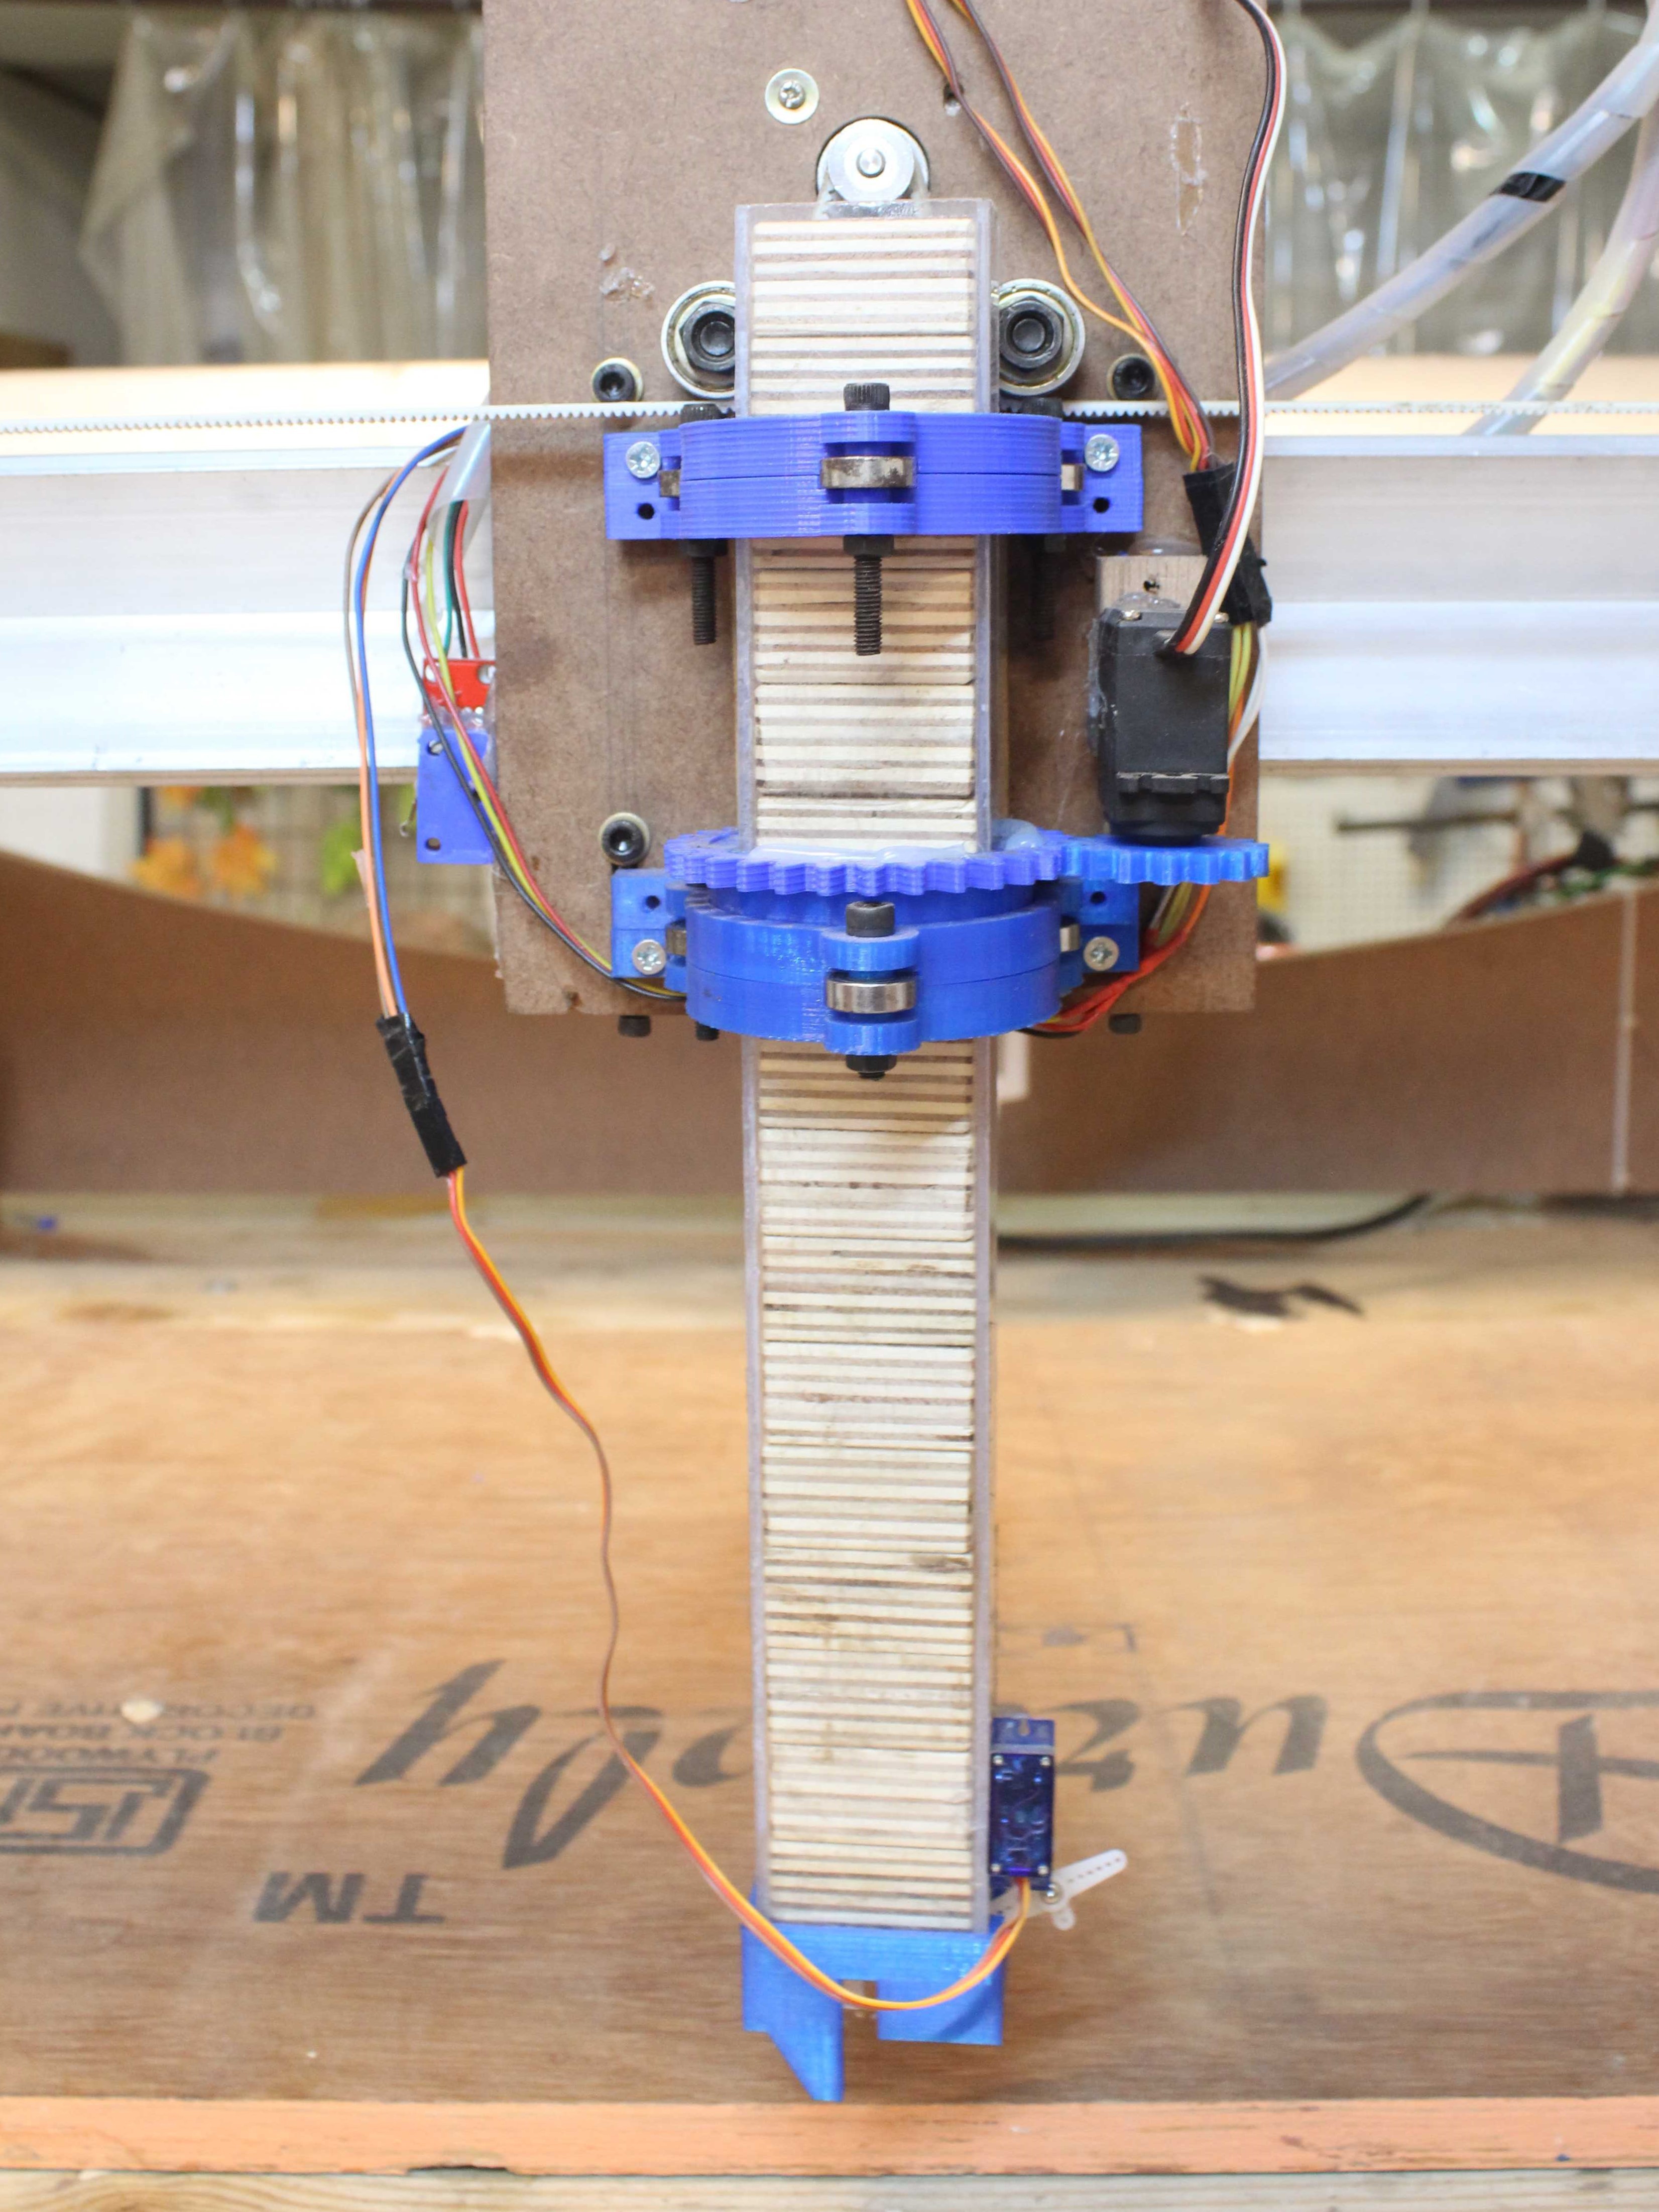
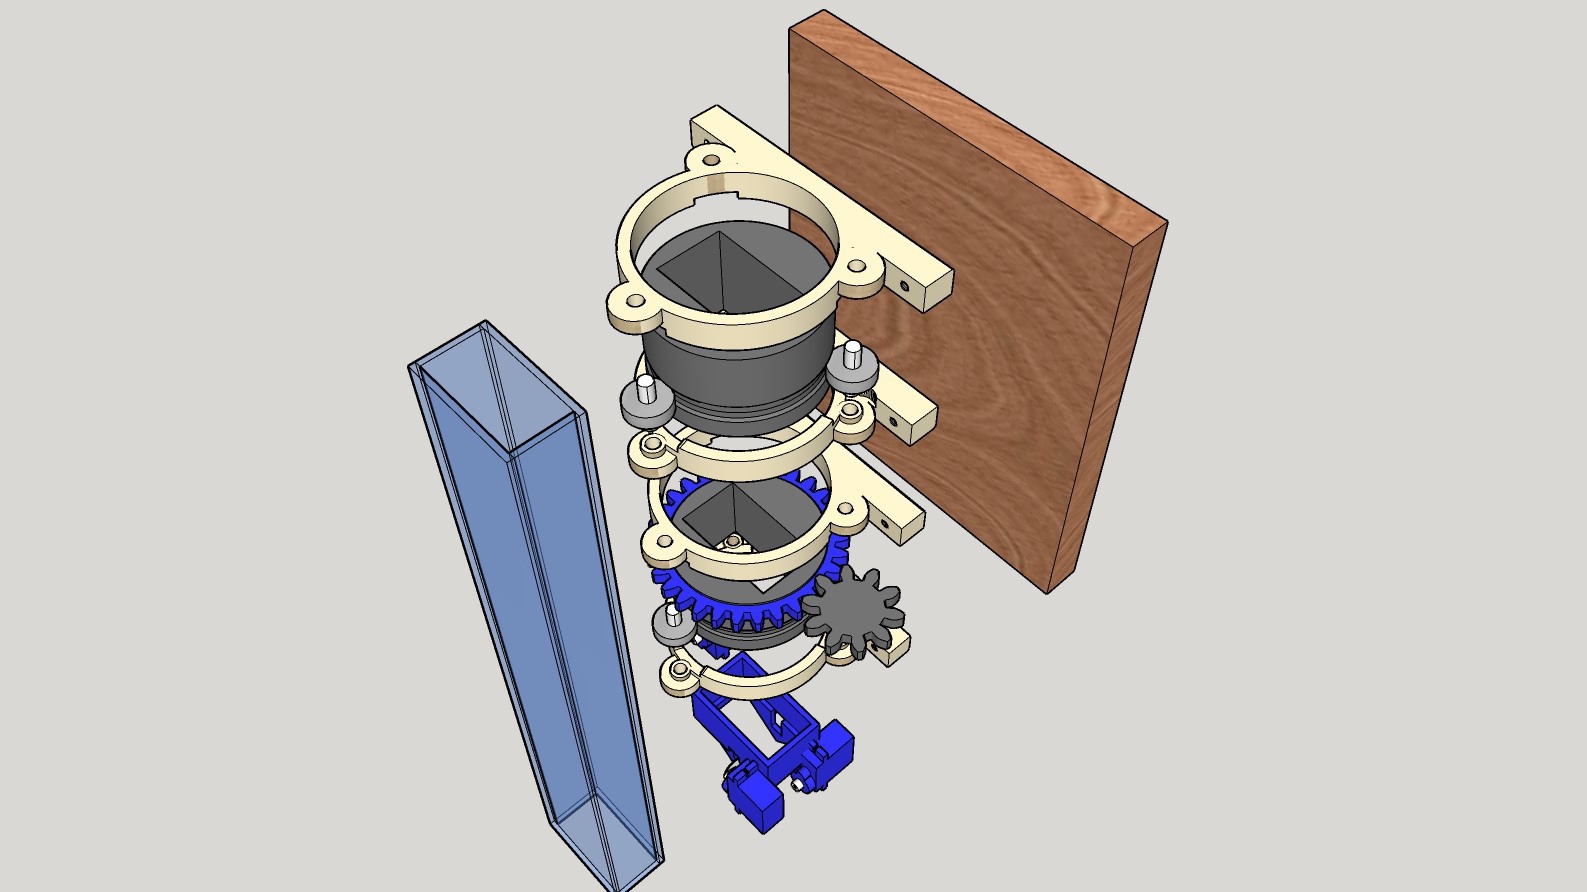
The first gantry consists of the brick dispensing system which can contain up to a certain number of bricks before it needs to be restacked. Also the dispenser is able to lay the bricks in any desired angle to enable building structures with more organic shapes and curves.
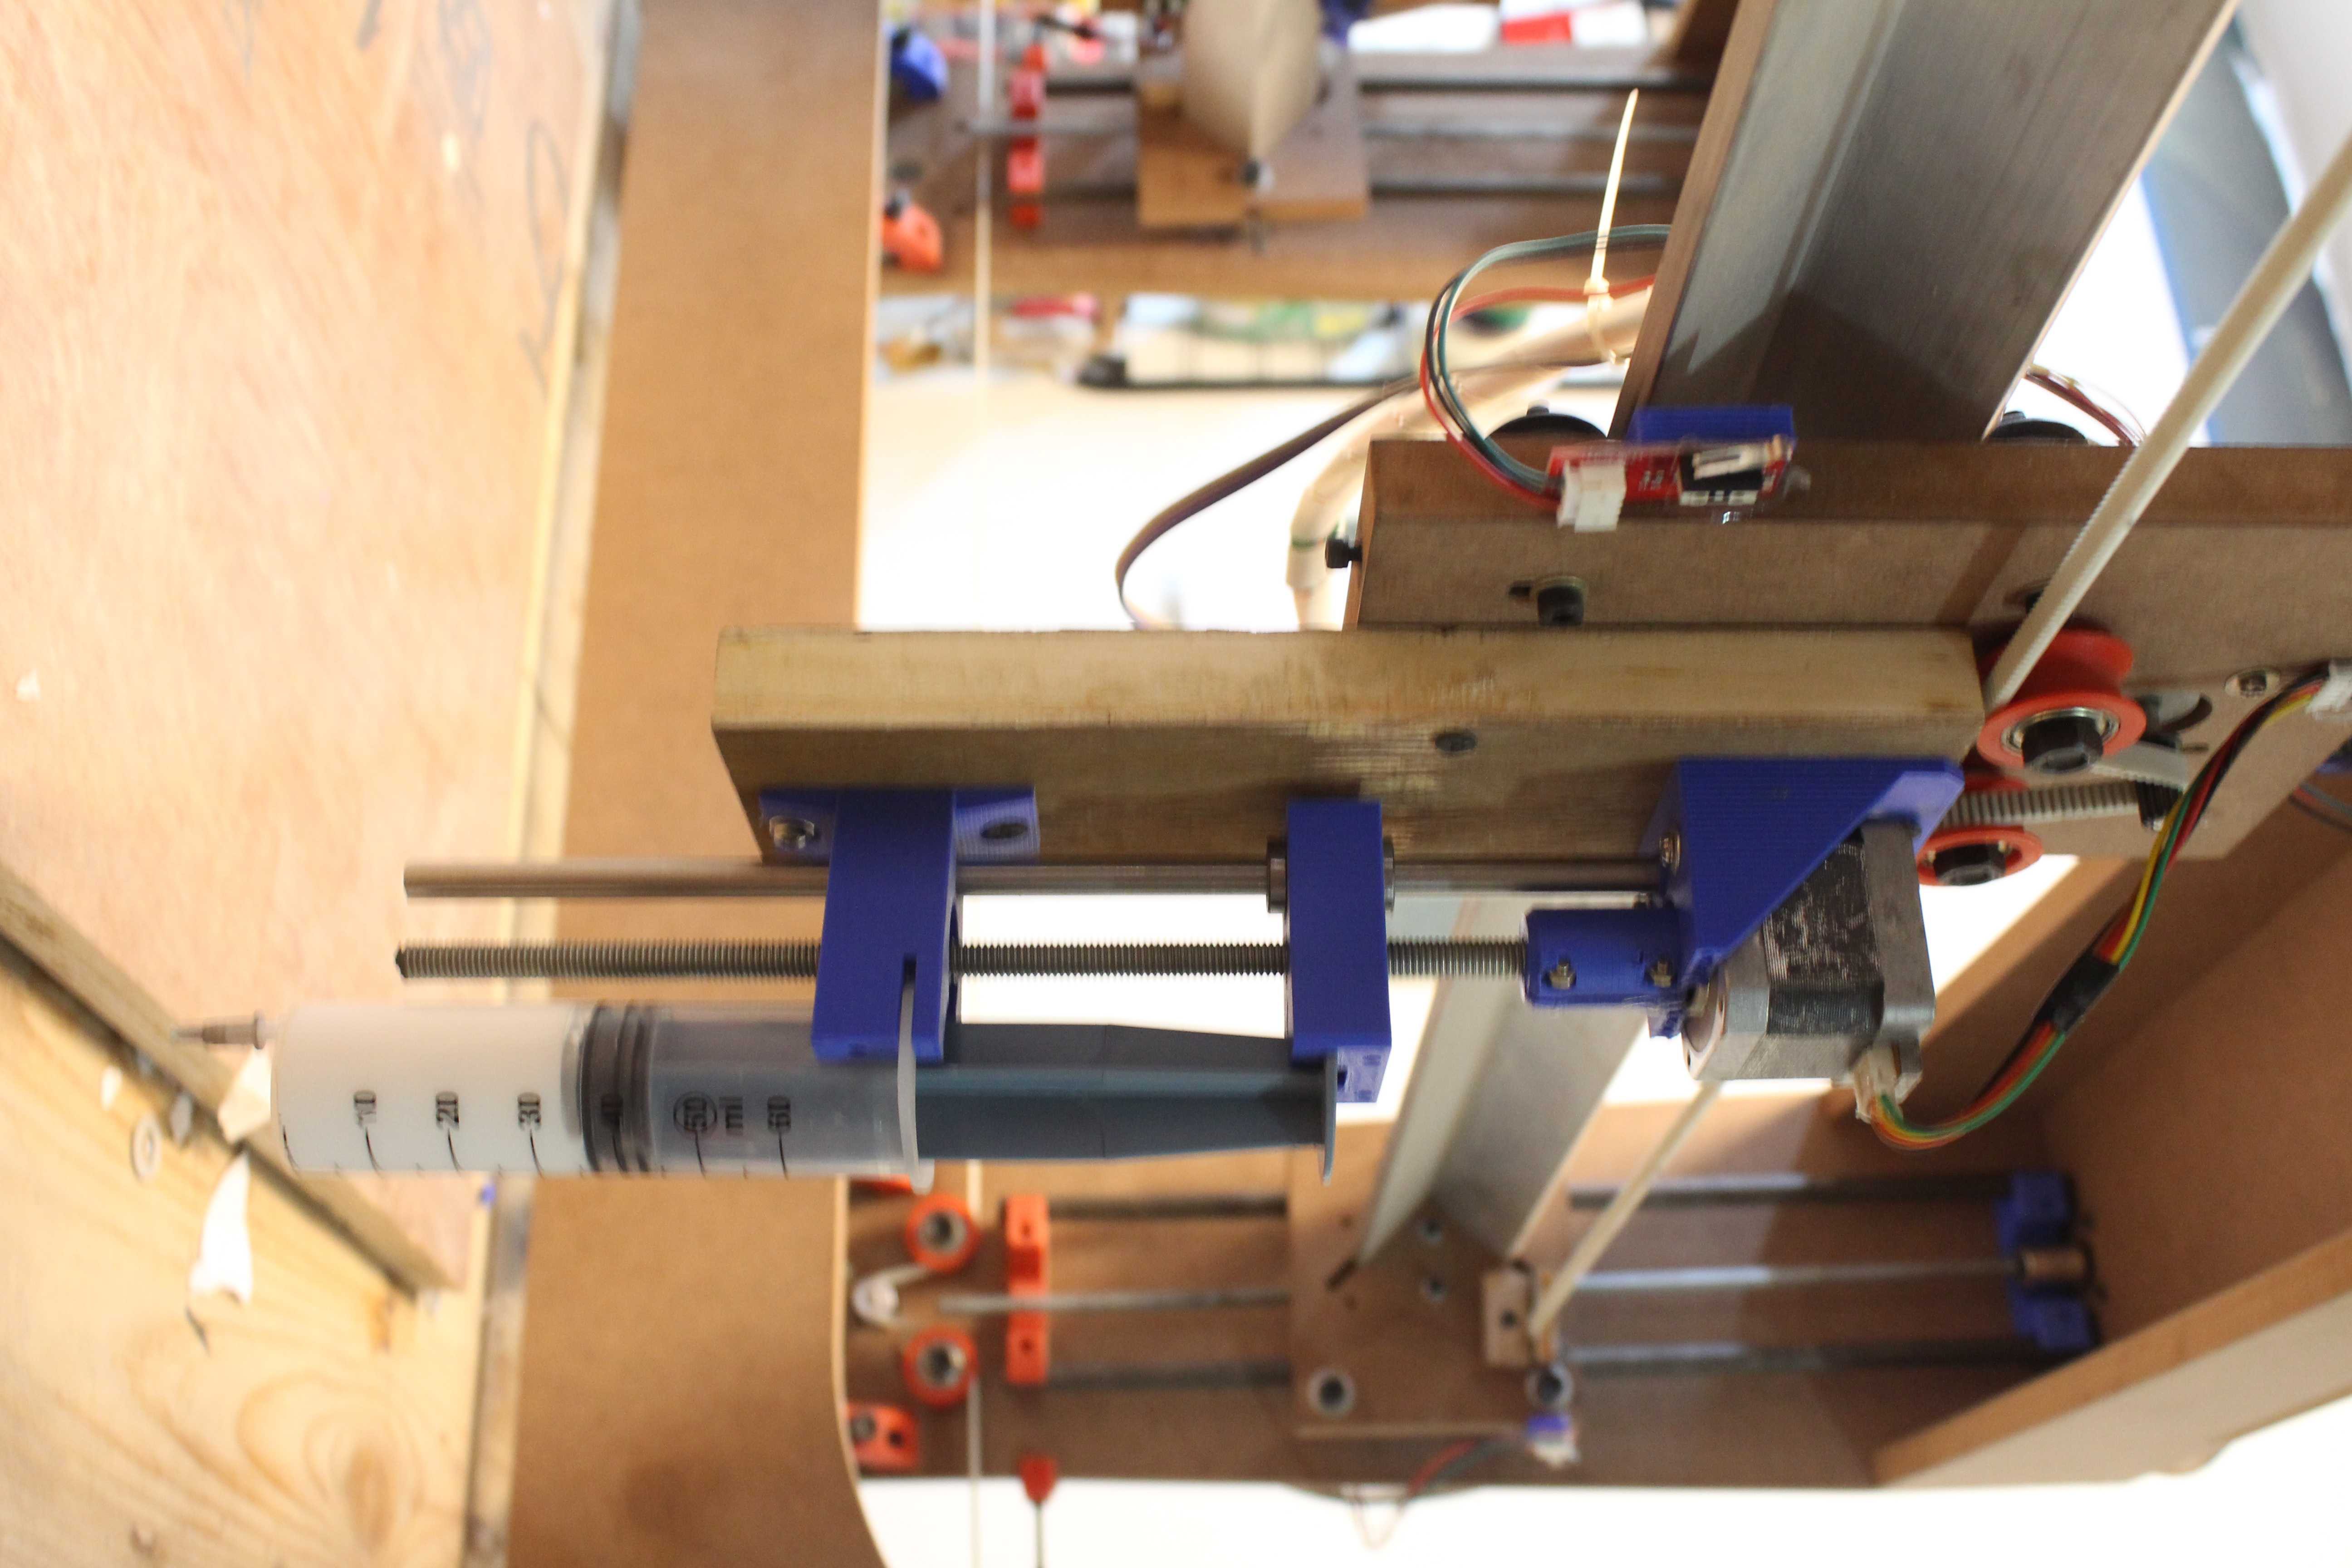
The extruder mechanism is mounted on the second gantry which mimics the dispensing of the mortar (or the adhesive) over the bricks.

The reason for using two different gantries is so that the maintenance time between job of refilling and restacking each can be done away with, and there is virtually no need to pause anywhere during the construction process. Also the intention is to make one of the gantries modular so as to mount different attachments in the future which can carry out activities like milling and painting, post the process of building the structure.
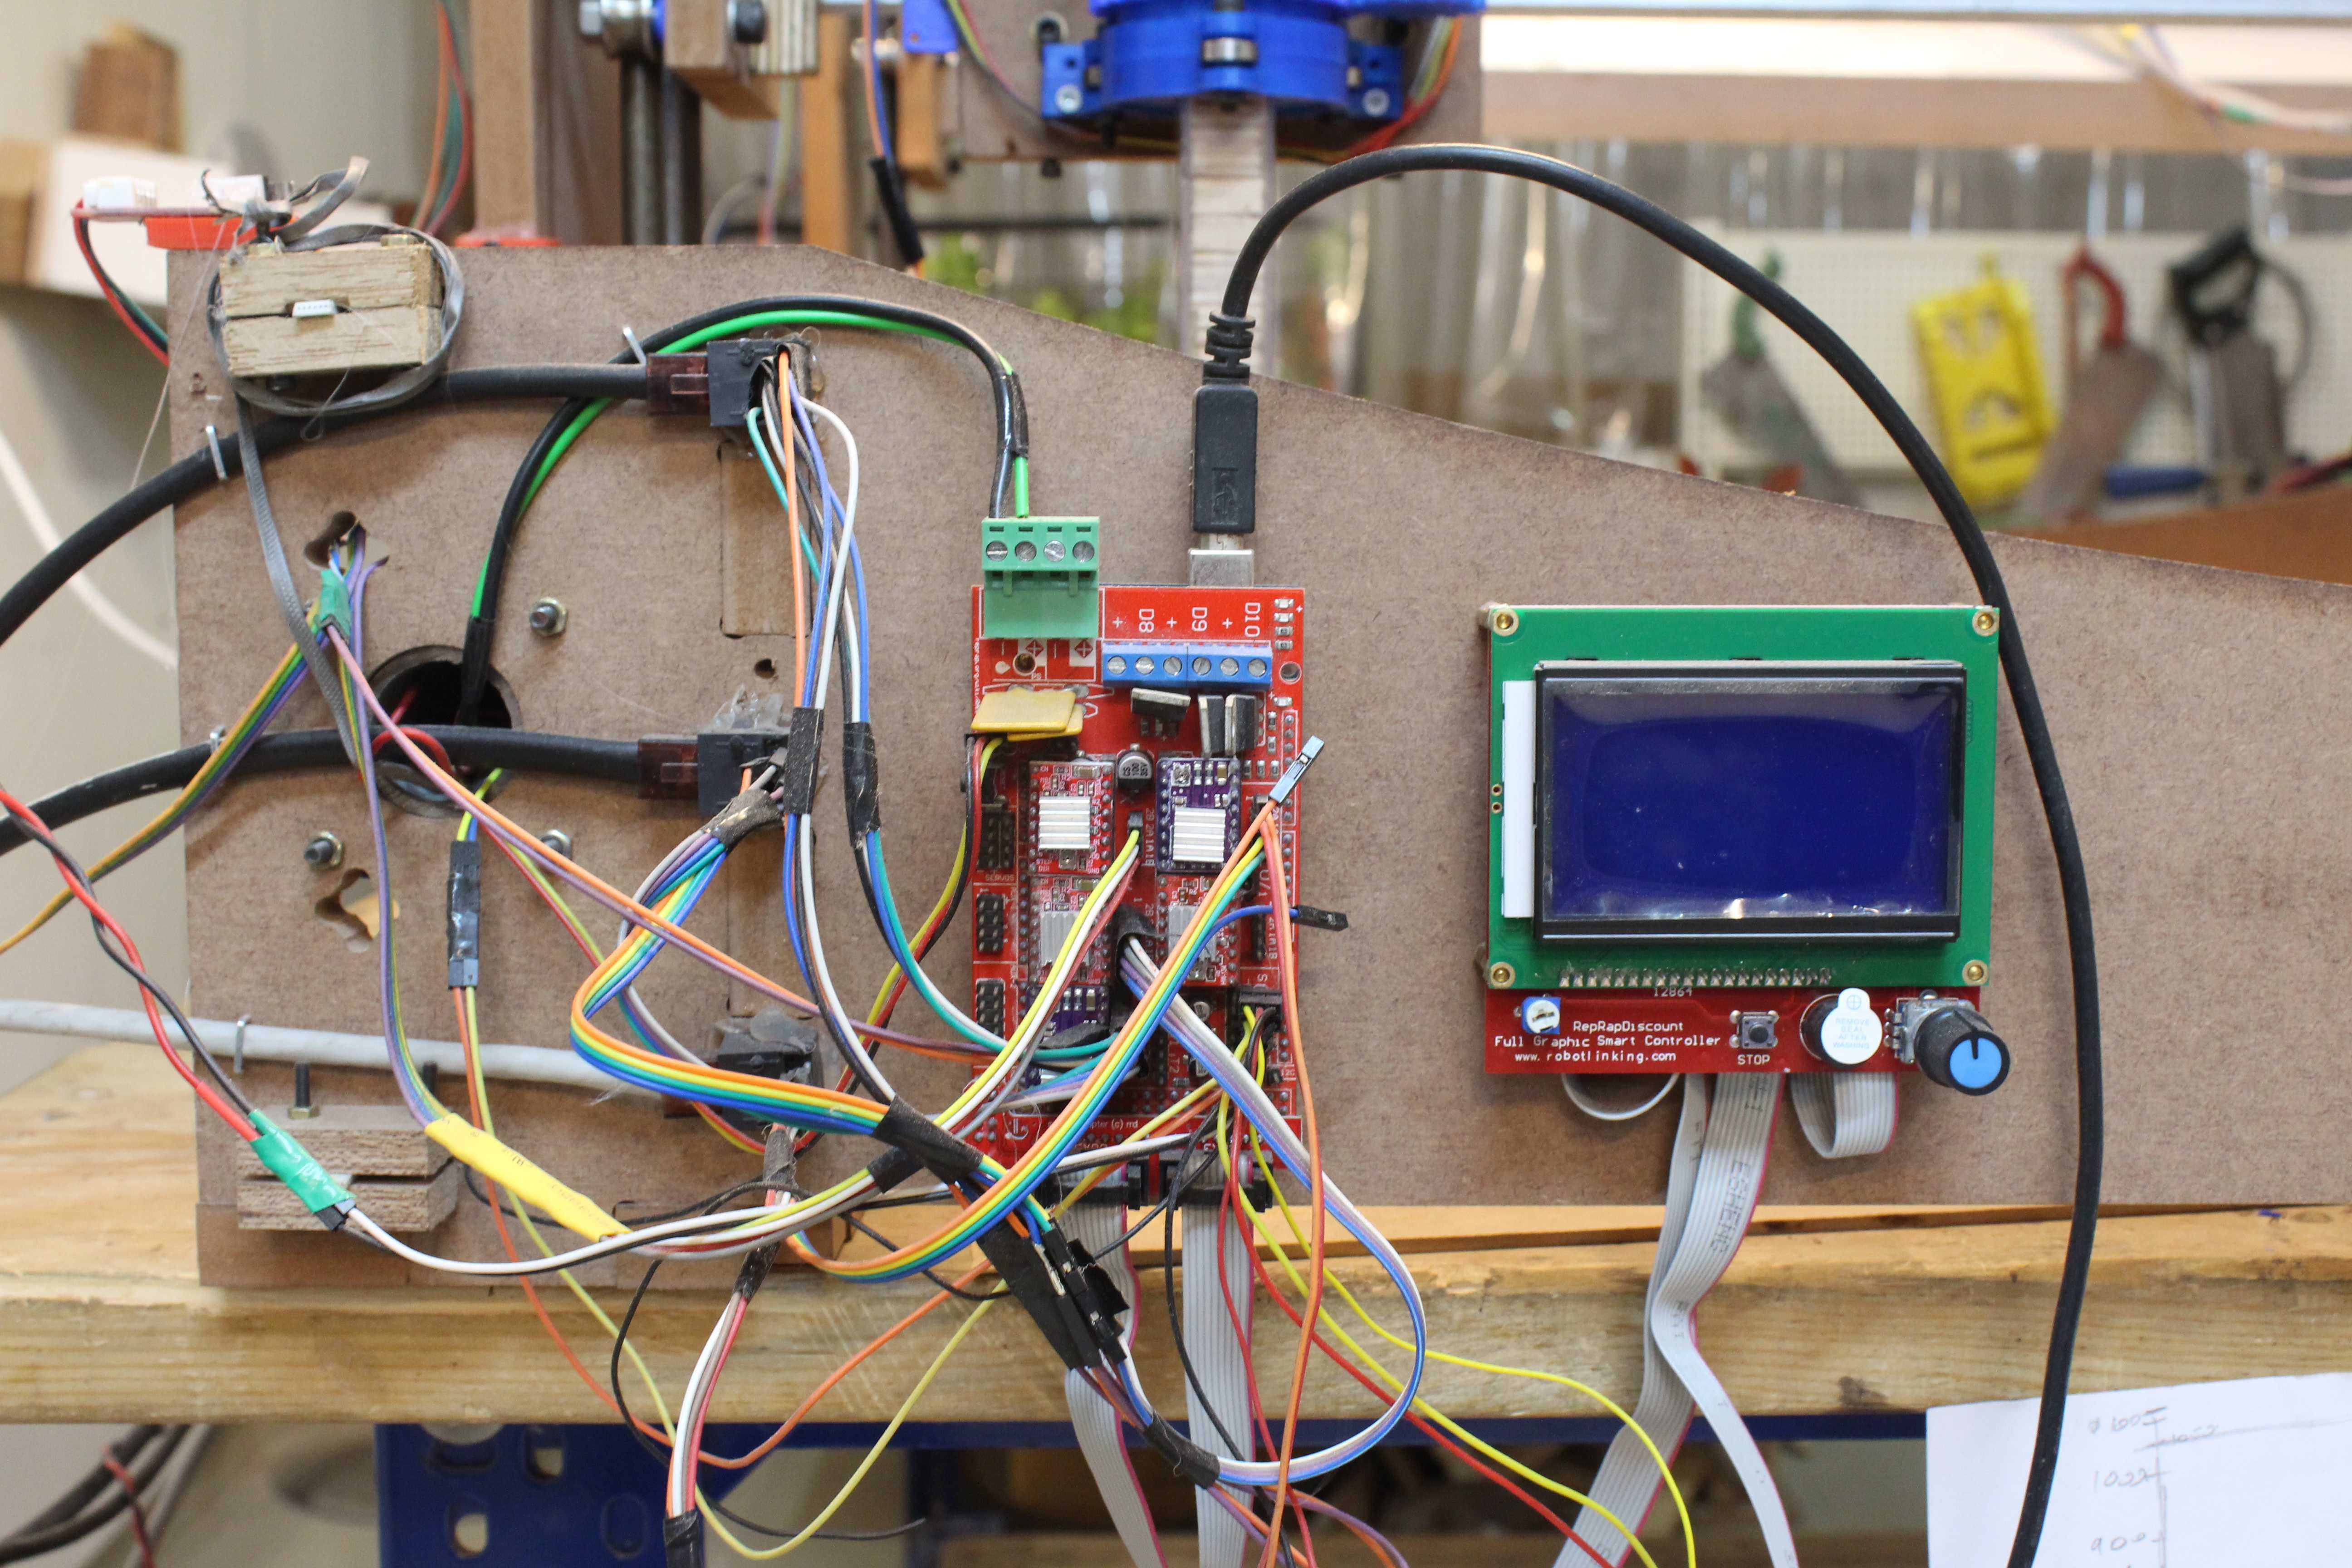
Software:
The current prototype of the machine runs the standard open source 3d printing firmware (Marlin in this case) for the movement. The movement codes presently are custom written using data from the 3d model of the structure to be constructed.
The goal here is to develop a software (or a custom script for current open source slicers) which can slice the 3d models provided by the architect or the planning authorities, and directly translate them into codes which are used to run the robot.
Key Features of Alekya-
- The FIRST open source construction robot.
- No need for specialized building materials.
- Can be easily integrated with the workflow of architects and building contractors.
- Modular and scalable design.
- Low maintenance.
- Spare parts are easy to find, repair and replace.
- Reduction in wastage of materials due to mishandling.
- More sustainable when compared to most other building processes.
- Eliminates many of the hazards and inefficiencies in the process.
The social impact of the technology-
- Can help in curb illicit activities on construction sites such as child labour which is a common occurrence in India and many other developing countries.
- Reducing...


 jupdyke
 andrewwjtoler
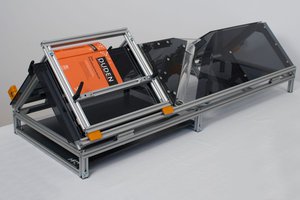
 Karsten Fuhst