Peter
PeterSimple, Scrolling, RTC clock
The other night I was puttering around, looking in my box of goodies to see what I brought to play with. I usually grab a few items and then see what inspires me along the way. Tonight it is two 8x8 led matrices, i2c, ok that looks like fun. The goal started out being able to move something across the screen. The 8x8's are from Keyestudio, are I2C, and use the HT16K33 controller. It is also found on the Adafruit panels.
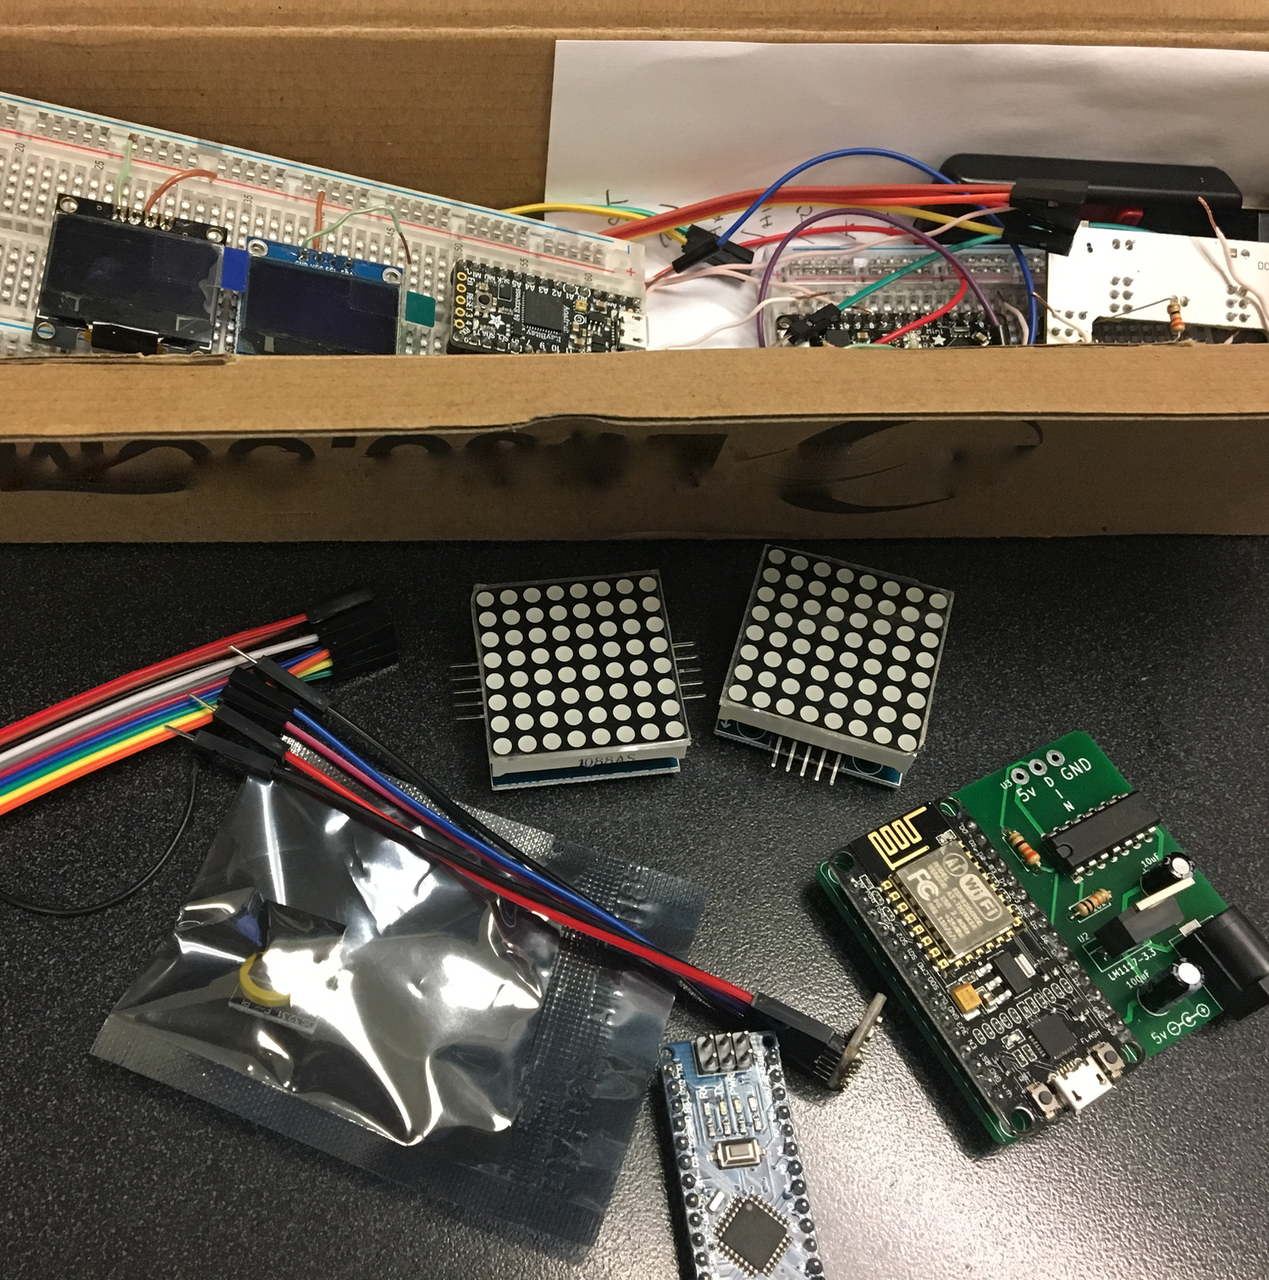
The mystery box
A little more digging around and I had the choice between:
It seems, in my general searches, that most all of the 8x8 panels use the Max7219, or another chip in the family. Information was a little scare for the HT16K33, but between some searching and wandering through some user forums I was able to get the information I needed. Adafruit provided the libraries and the function that got me started. A thank to them and their great work! Note to self: Take this project and port it over to my IstyBitsy M4 just 'cause I want to.
As I was getting started, it came to me that just moving some random text across the screen wasn't very much fun. A quick stepping stone, but it needs to do something. Shazaam! Another clock.
What board to choose?
- Arduino Uno, generic
- Adafruit ItsyBitsy M4
- Adafruit Metro 328
- Arduino Nano generic, generic
- NodeMCU ESP8266-12E, Amica
I wound up picking up the Uno. For this is was just the easiest to get to and put to work. The DS3231 RTC I have is one that I picked up for a Raspberry Pi, but hey, it will work just as well here.
Rest of the parts, the BOM
So before I go any further here is the Bill of Material (BOM) for my project
- 1x 1/2 sizeBreadboard
- 1x Arduino Uno
- 2 x KeyStudio I2C HK16K33 8x8 LED matrix
- 1 x RTC DS3213
- Jumper wires
- 1 x micro USB data cable
Putting it together
I started with the usual ritual of plugging the screens and checking on the I2C addresses. You can find a sketch in the Arduino IDE that will scan the bus and return the addresses it finds. I was short of some jumper wires, so I pulled out the creative hat; here is my tip. A short piece of ethernet cable and the project is back on track. I already have the address of the DS3231 Real Time Clock (RTC) from an earlier project. Screen A is 0x70 and screen B is 0x72, the clock is 0x68. If you look close in the picture you will see that one of the address pads is soldered. See the screen on the left hand side, and in its' upper right-hand area. They are labeled A2, A1, and A0. I solder bridged A2 so that the address will be different than the first.
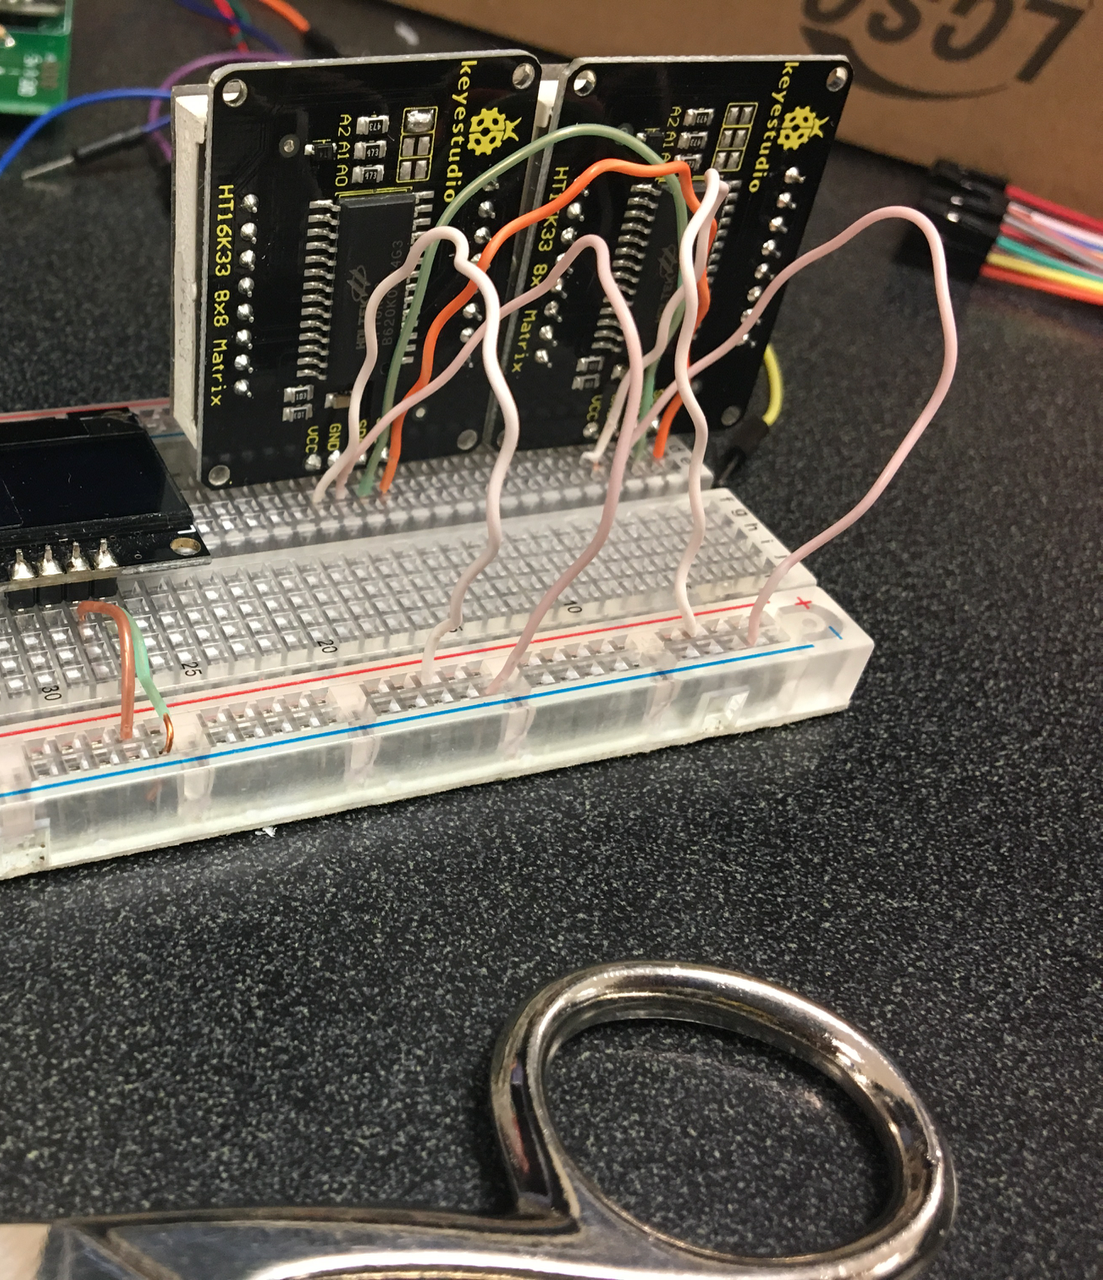
Getting all wired up with my makeshift jumpers
The wiring is simple as everything is using I2C for communication; just daisy chain them SCL to SCL, SDA to SDA. Only four Uno pins are required, 2 for I2C and 2 for power and ground. It is important to make sure that all of the addresses are different.
- SCL --> Uno Pin 5
- SDA --> Uno Pin 4
- 5v --> 5v
- Gnd --> Gnd
The base code I found on one of the Adafruit forums. It was pertaining to scrolling text. I copied it and started to play around with it. I do need a clock in the living room. Clock are few and far between in my house and not sure why. This will help change that.
I took the code from one of my earlier clocks and used it with the scrolling function. I won't go to in-depth right now. You can check out the code over on my GitHub. I have tried to comment it as to explain what is going on and why.
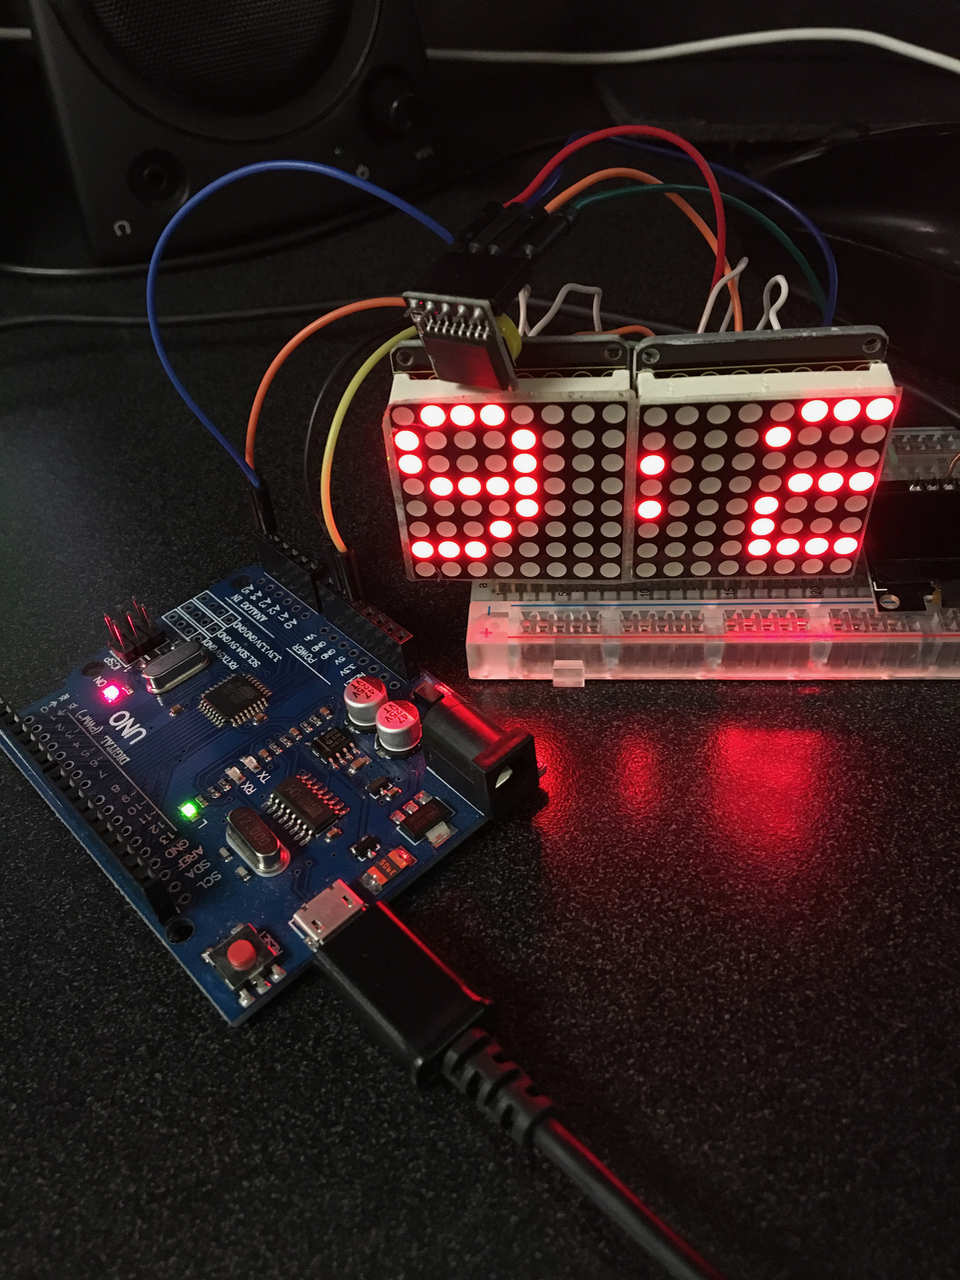
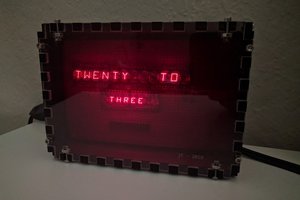
The clock is done. Not bad for a nights work. Being back home I am looking around my workshop for a project box or something to use for an enclosure. By time I had the code tweaked it was getting late and...
Read more »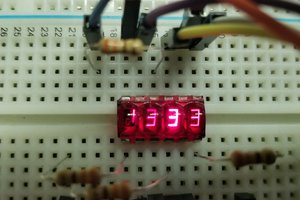
 Jeremy g.
 JF
JF