 Wei Wang
Step 1:
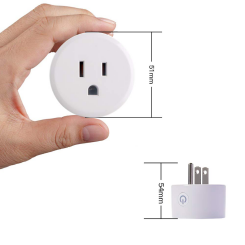
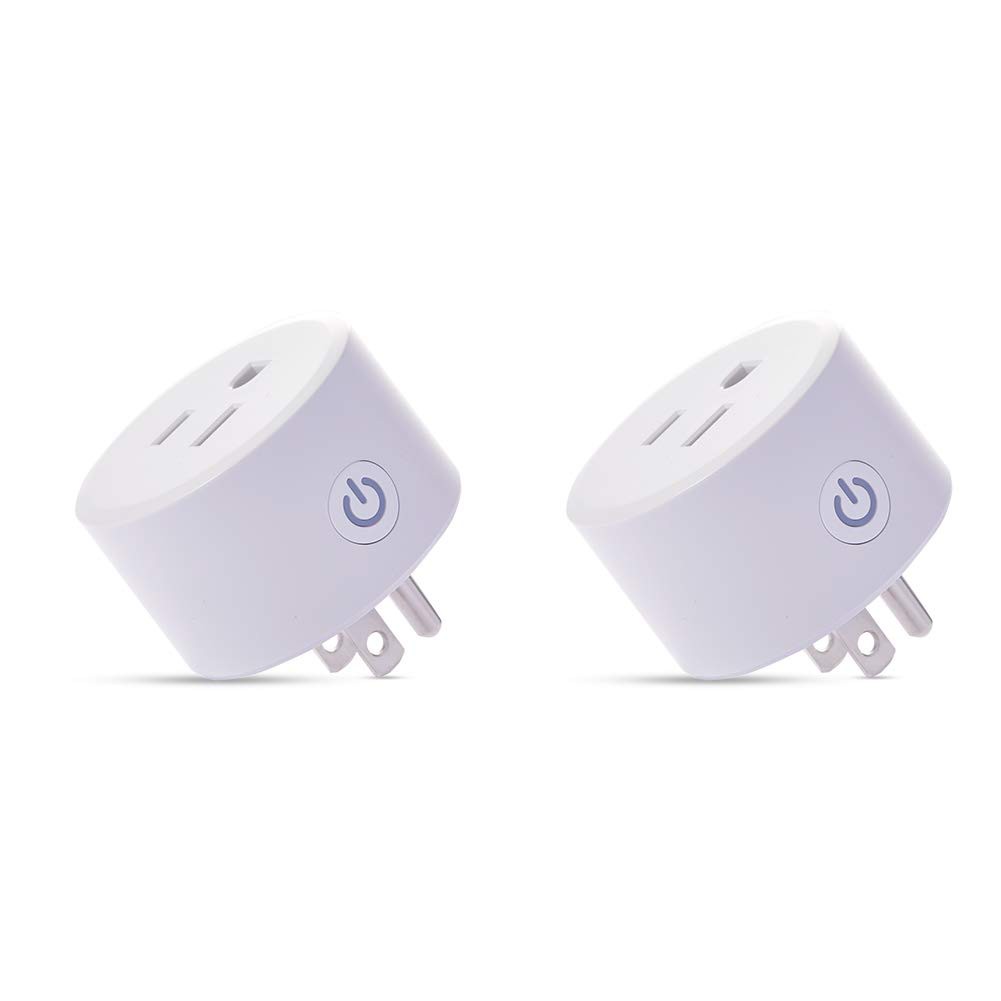
Go to Amazon or aliexpress to buy a socket
Link:
https://www.amazon.com/gp/product/B07WSYQ38T
https://www.aliexpress.com/item/4000113988602.html
Step 2:
Process:https://github.com/SmartArduino/DoHome
step 3:
Notice:
Before upgrade third-party firmware, please contact: song@doit.am
Your firmware must be no greater than 512KB
The third-party firmware should be developed with esp-open-sdk, Arduino, ESP8266_NONOS_SDK, or ESP8266_RTOS_SDK (not IDF)
Step 4:
4.1 Software
Download upgrade tool from the following link:
Link: http://support.doiting.com/DoHome.zip
Downloard DoHome_JRE_32.zip for Windows 32;Download DoHome_JRE_64.zip for Windows 64
4.2 Hardware
A computer with Wi-Fi adaptor
Step 5:Steps
5.1 Make sure that your current firmware is running on first slot
Connect your device’s WiFi (If your firmware is DoHome firmware, the WiFi is named as “DoHome_xxxx”). After WiFi connected, run the download tool and select the “Third-party upgrade” tab, shown as the following figure.
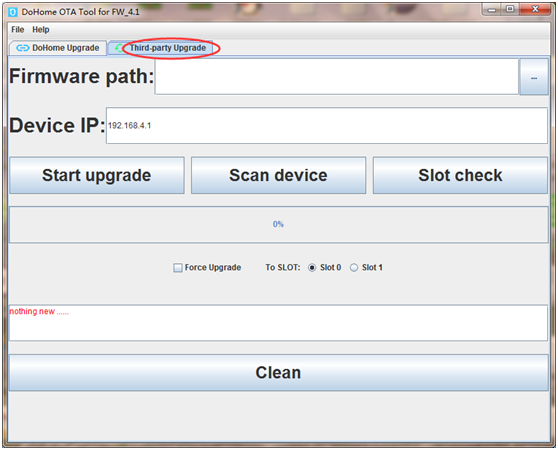
Click “Slot check” button, then the text field below the button will show some info such as “Slot=1”, it means that the current firmware runs at slot 1 (There are two slots on ESP).
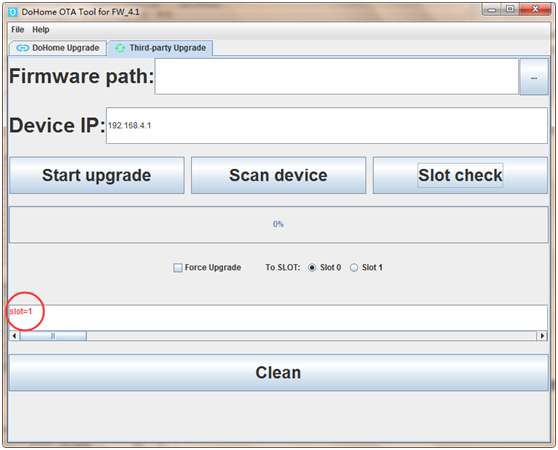
Fig. 2 check slot
To upgrade firmware to third-party firmware, the current firmware must be running on the first slot! In other word, when you press the button “Slot check” the info shown in the text field must be “Slot=1”.
If yes, go to 2.2 to do next step, otherwise, refer to subsection 3.5 to change slot.
5.2 Upgrade to a transitional firmware
A transitional firmware is utilized to upgrade to the third-party firmware. The transitional firmware is within the folder named “prepare”. There are two files named “u1.bin” and “u2.bin” respectively.
Firstly, make your device connect to a router, and then your computer connect the same router. Run the upgrade tool “DoHome_v21.exe”, and select the “DoHome upgrade” tab view. Input the transitional firmware’s path as the following figure. Secondly, input the target device IP (You can find the IP from the router console).
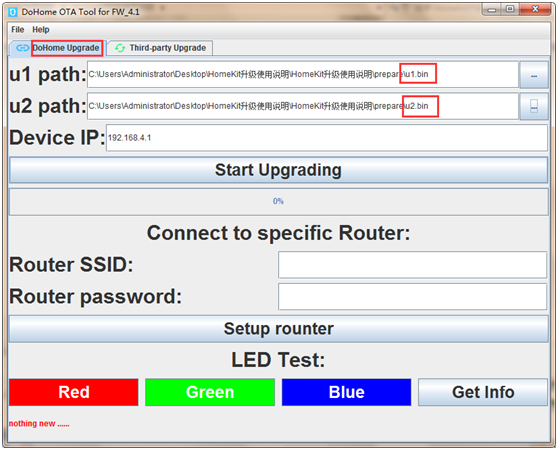
Fig. 3 Upgrade view
No need to fill in other areas。click Start upgrading Start upgrading。 Leave the other text field along, and then click “Start upgrading” button to start upgrading to transitional firmware.
5.3 Connect the device which upgrade to transitional firmware with router
If the target device is upgraded to the transitional firmware, the device will generate a WiFi named as “Upgrade-xxxxxxx”, when the device power up. Connect to the WiFi if you find it on your phone, as shown in the following figures.
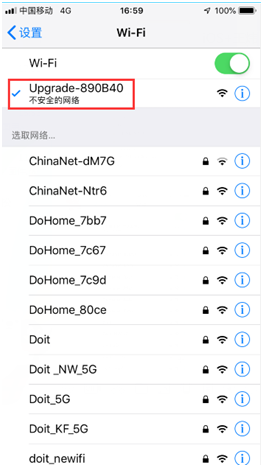
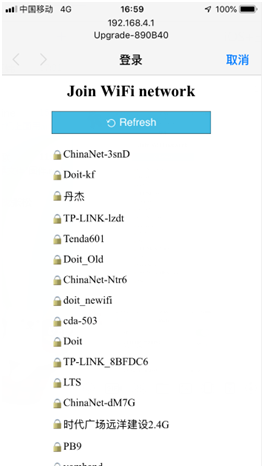
Fig. 4 Connect to the WiFi generate by transitional firmware
When your phone is connected to the WiFi “Upgrade-xxxxxxx”, a login page will be popup, as shown in Fig. 4. This is a portal to tell the device which router to connect. Select the router you want your device to connect and input the password, then click “Join”...
Read more »

 Sabas
Sabas

 Brad Spry