Close
0%
0%

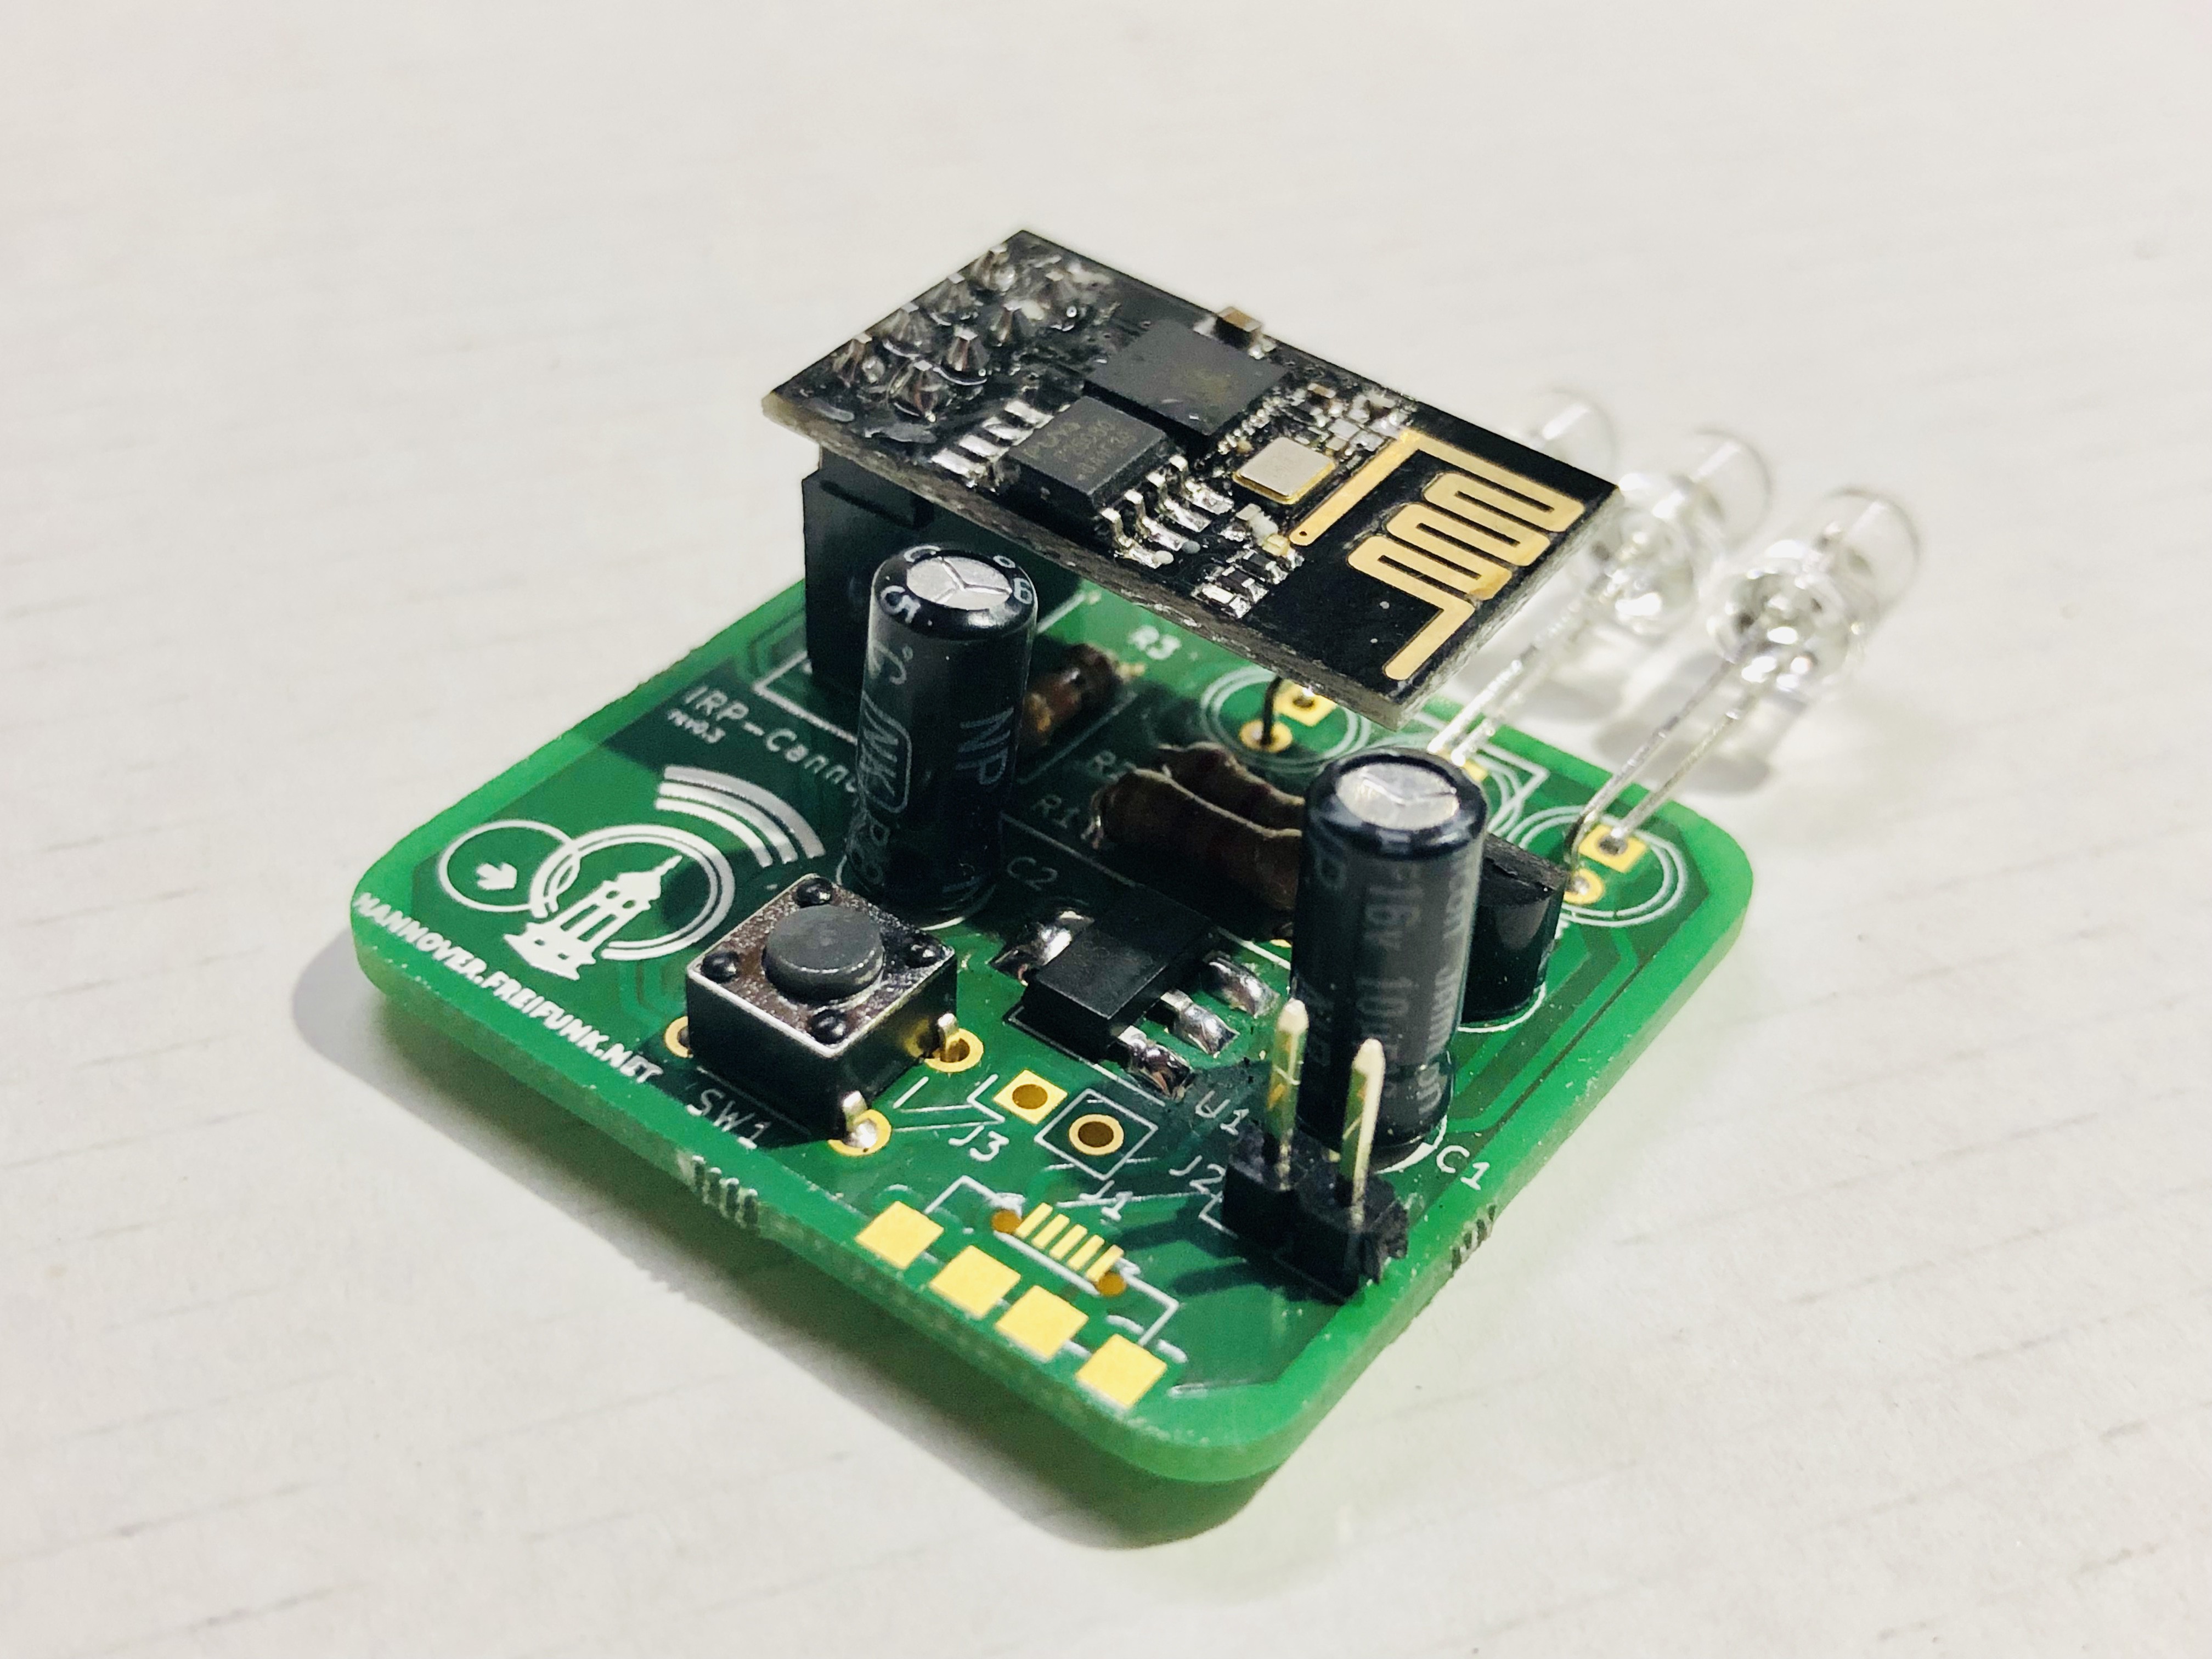
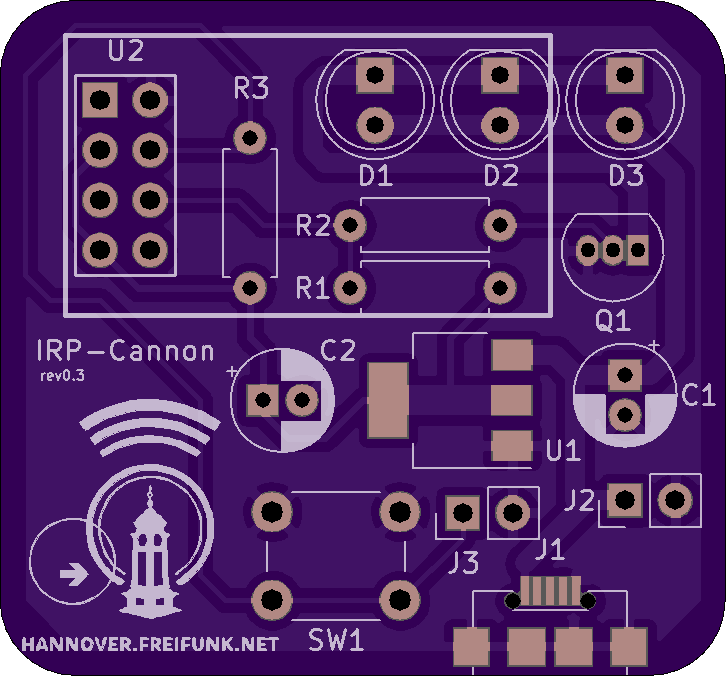
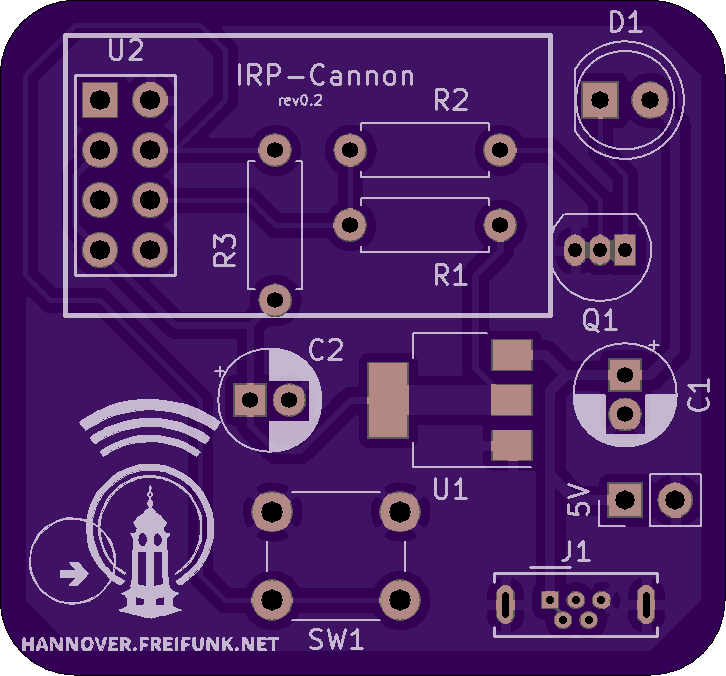
IRP-Cannon for hannover.freifunk.net

We wanted to offer a cheap entry into the construction of own wifi-based hardware. The result is our infrared-pulse-cannon.

Similar projects worth following
As part of the preparation of our Makerfaire stand, we decided to build a Freifunk-Hannover clone of the TV-B-Gone project.

This is an ESP8266-01 based approach to power your TV (or other infrared controlled device) up and down.

It comes with a webserver, which allows additional insights, as well as optionally control of the LEDs via webinterface.
  • 1 × ESP8266-01
  • 1 × AMS1117-3.3 1A Low Dropout regulator, positive, 3.3V fixed output, SOT-223
  • 1 × generic connector female 2x4
  • 2 × 100µF olarized capacitor radial
  • 1 × 2.4K axial

View all 11 components

  • first pcb prototype assembled

    aiyion09/05/2019 at 21:06 0 comments

    The parts from the prototype distributor arrived yesterday.

    We assembled the first prototype in significantly shorter time, than we did on site at the MakerFaire.
    Having a proper pcb makes a hell of a difference.

    Thanks to jue, andy, cawi and lemoer for the efforts!

  • rev0.3

    aiyion09/05/2019 at 19:57 0 comments

    And this is the next revision, after the other members of our freifunk community complained about 'one' being to few LEDs.
    Tripled the LEDs, tripled the current, by cutting the base resistors value in thirds, and reducing the corresponding pullups resistance to 4.7K.
    Still purple, still taking 5V but now from a smd micro usb port instead of a tht one.

    Side node: Reichelt does have exactly one micro usb port...
    And thats footprint is not known to KiCad...

    We aim for another usb port, in order to have it prepicked by our upcoming chinese pcb vendor. So this surely not be the last but current revision:


  • rev0.2

    aiyion09/05/2019 at 19:45 0 comments

    This is the first draft OSH Park rendered:

  • Getting started with KiCad

    aiyion09/05/2019 at 19:03 0 comments

    A few days ago we started to move our design from stripeboards to actual pcbs currently manifactured by OSH Park, as well as Aisler.
    As it turns out, KiCad is intuitive enough, as I got a working prototype in the first try.

View all 4 project logs

  • 1
    The instructions we gave to the kids assembling the stripeboards on the MakerFaire 2019 in Hannover

    The children got a drawing of the assembled stripeboard as reference.

    They were encouraged to start with the heat resistant parts of small height -> the wire bridges
    After those they got the hang of the soldering.
    And were ready to go on with the resistors.

  • 2
    cut paths

    The 2x4 ESP holder required the four conducting paths to be separated with e.g. a boxcutter.
    This was ideally done by their parents, but never by themselves.

  • 3
    polarized parts

    Before they kept going  with the LEDs, the transistor or the capacitors, they were told about the polarization of these parts, and how they could tell the difference between the legs.

    They furthermore got the hint to bend their LEDs in a 90° angle, in order to have them shine towards the front of the device, just like a real TV-remote would.

View all 6 instructions

Enjoy this project?

Share

Discussions

mcj wrote 06/14/2022 at 16:05 point

is there any code for this?

  Are you sure? yes | no

Similar Projects

Does this project spark your interest?

Become a member to follow this project and never miss any updates