 Andrew Cooney
For the first time in over 10 years I took a crack at some 3D CAD. The FreeCAD startup picture is now my spirit object (since it's not an animal). I very much enjoyed the dive back into 3D CAD, and I chose FreeCAD because of its cost and feature set. The user interface also felt very familiar as I first trained on SolidWorks. Below is a picture of the final assembly:

Things I learned from doing this and building some of the earlier prototypes:
- You have to make wiring allotment, especially on the horizontal segments where the wires would end up hitting the other LED strips.
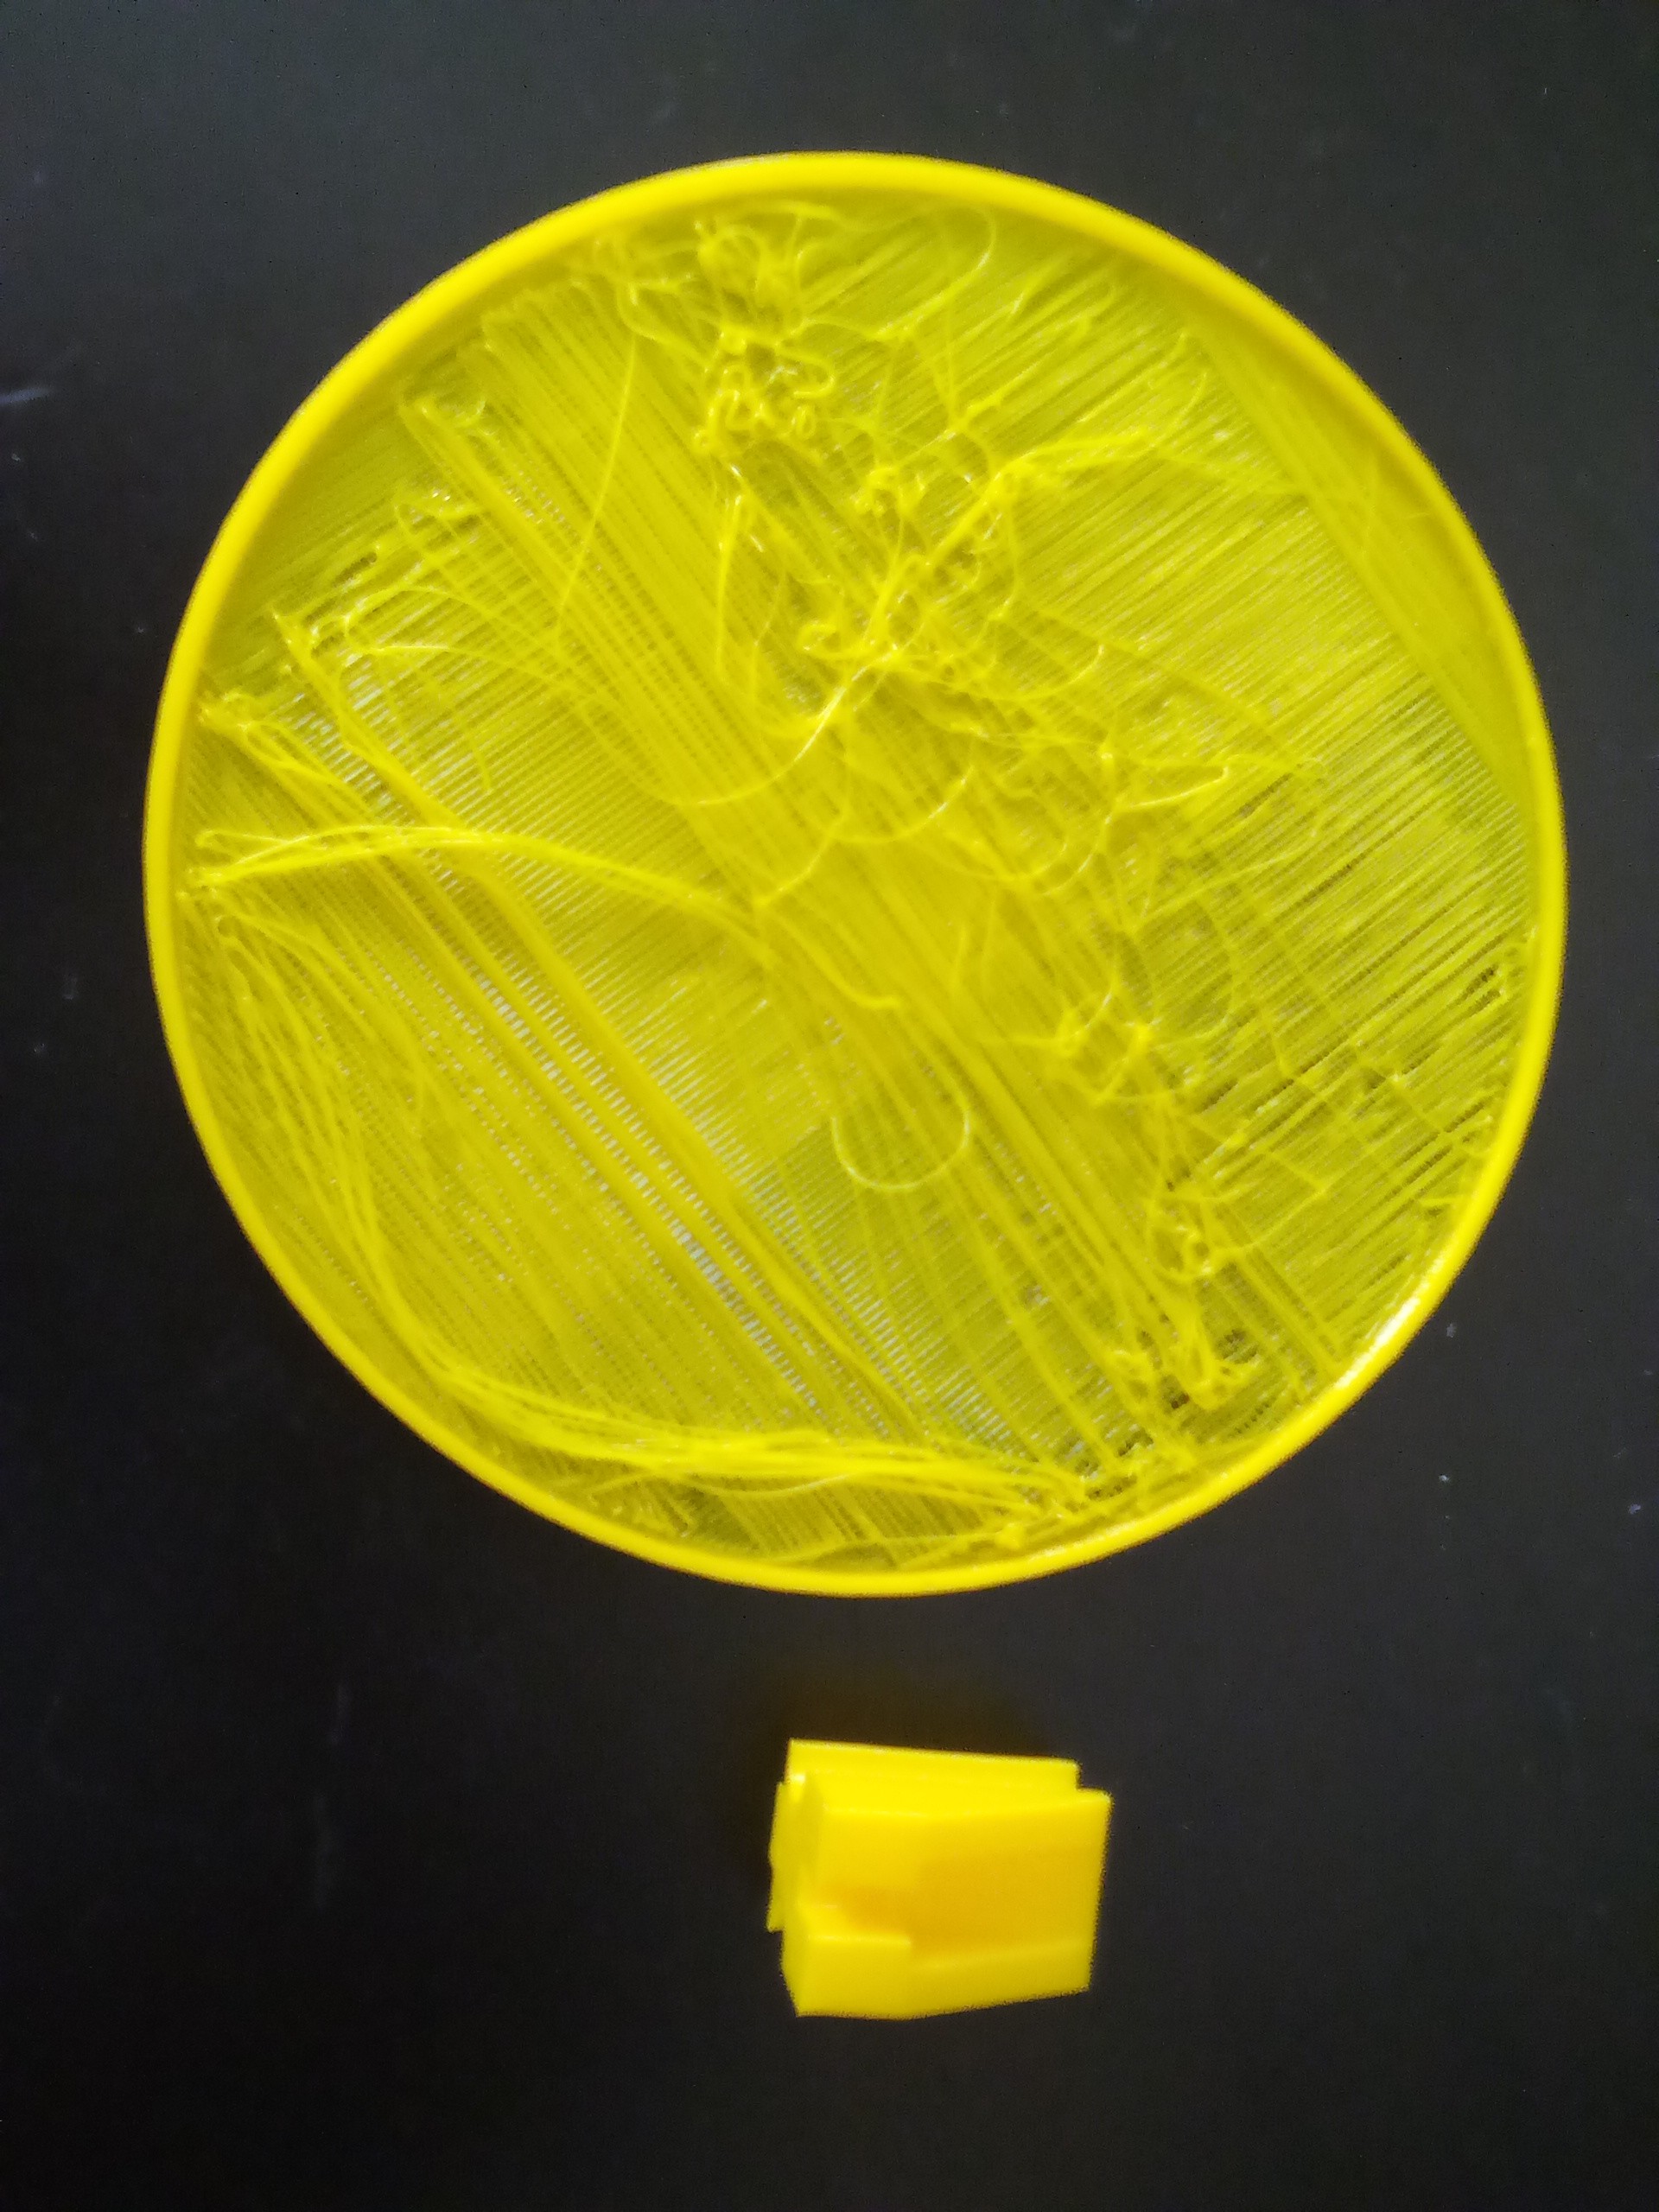
- Measure twice print once. I had a failed print (shown below) where if I had measured again I would have realized I made a huge error.
- FreeCAD assembly options aren't great, but A2plus was good enough for my objectives.
- If you're printing a clearance fit, actually put some clearance in there. I made a few parts line to line and it made assembly difficult. A nice side effect: the fits ended up being press-fit like and they stayed together with minimal tape or adhesive.
I've also never 3D printed anything before, so that was fun. I had two failed prints, and the reasons were quite funny.
- I build a part that needed a lot of support and then I didn't load the support extruder (oops).
- I should have double checked some measurements as I failed big time there.
Also since I had some success, here are the pieces I'm ready to use as is, and I'm super excited to do some assembly.
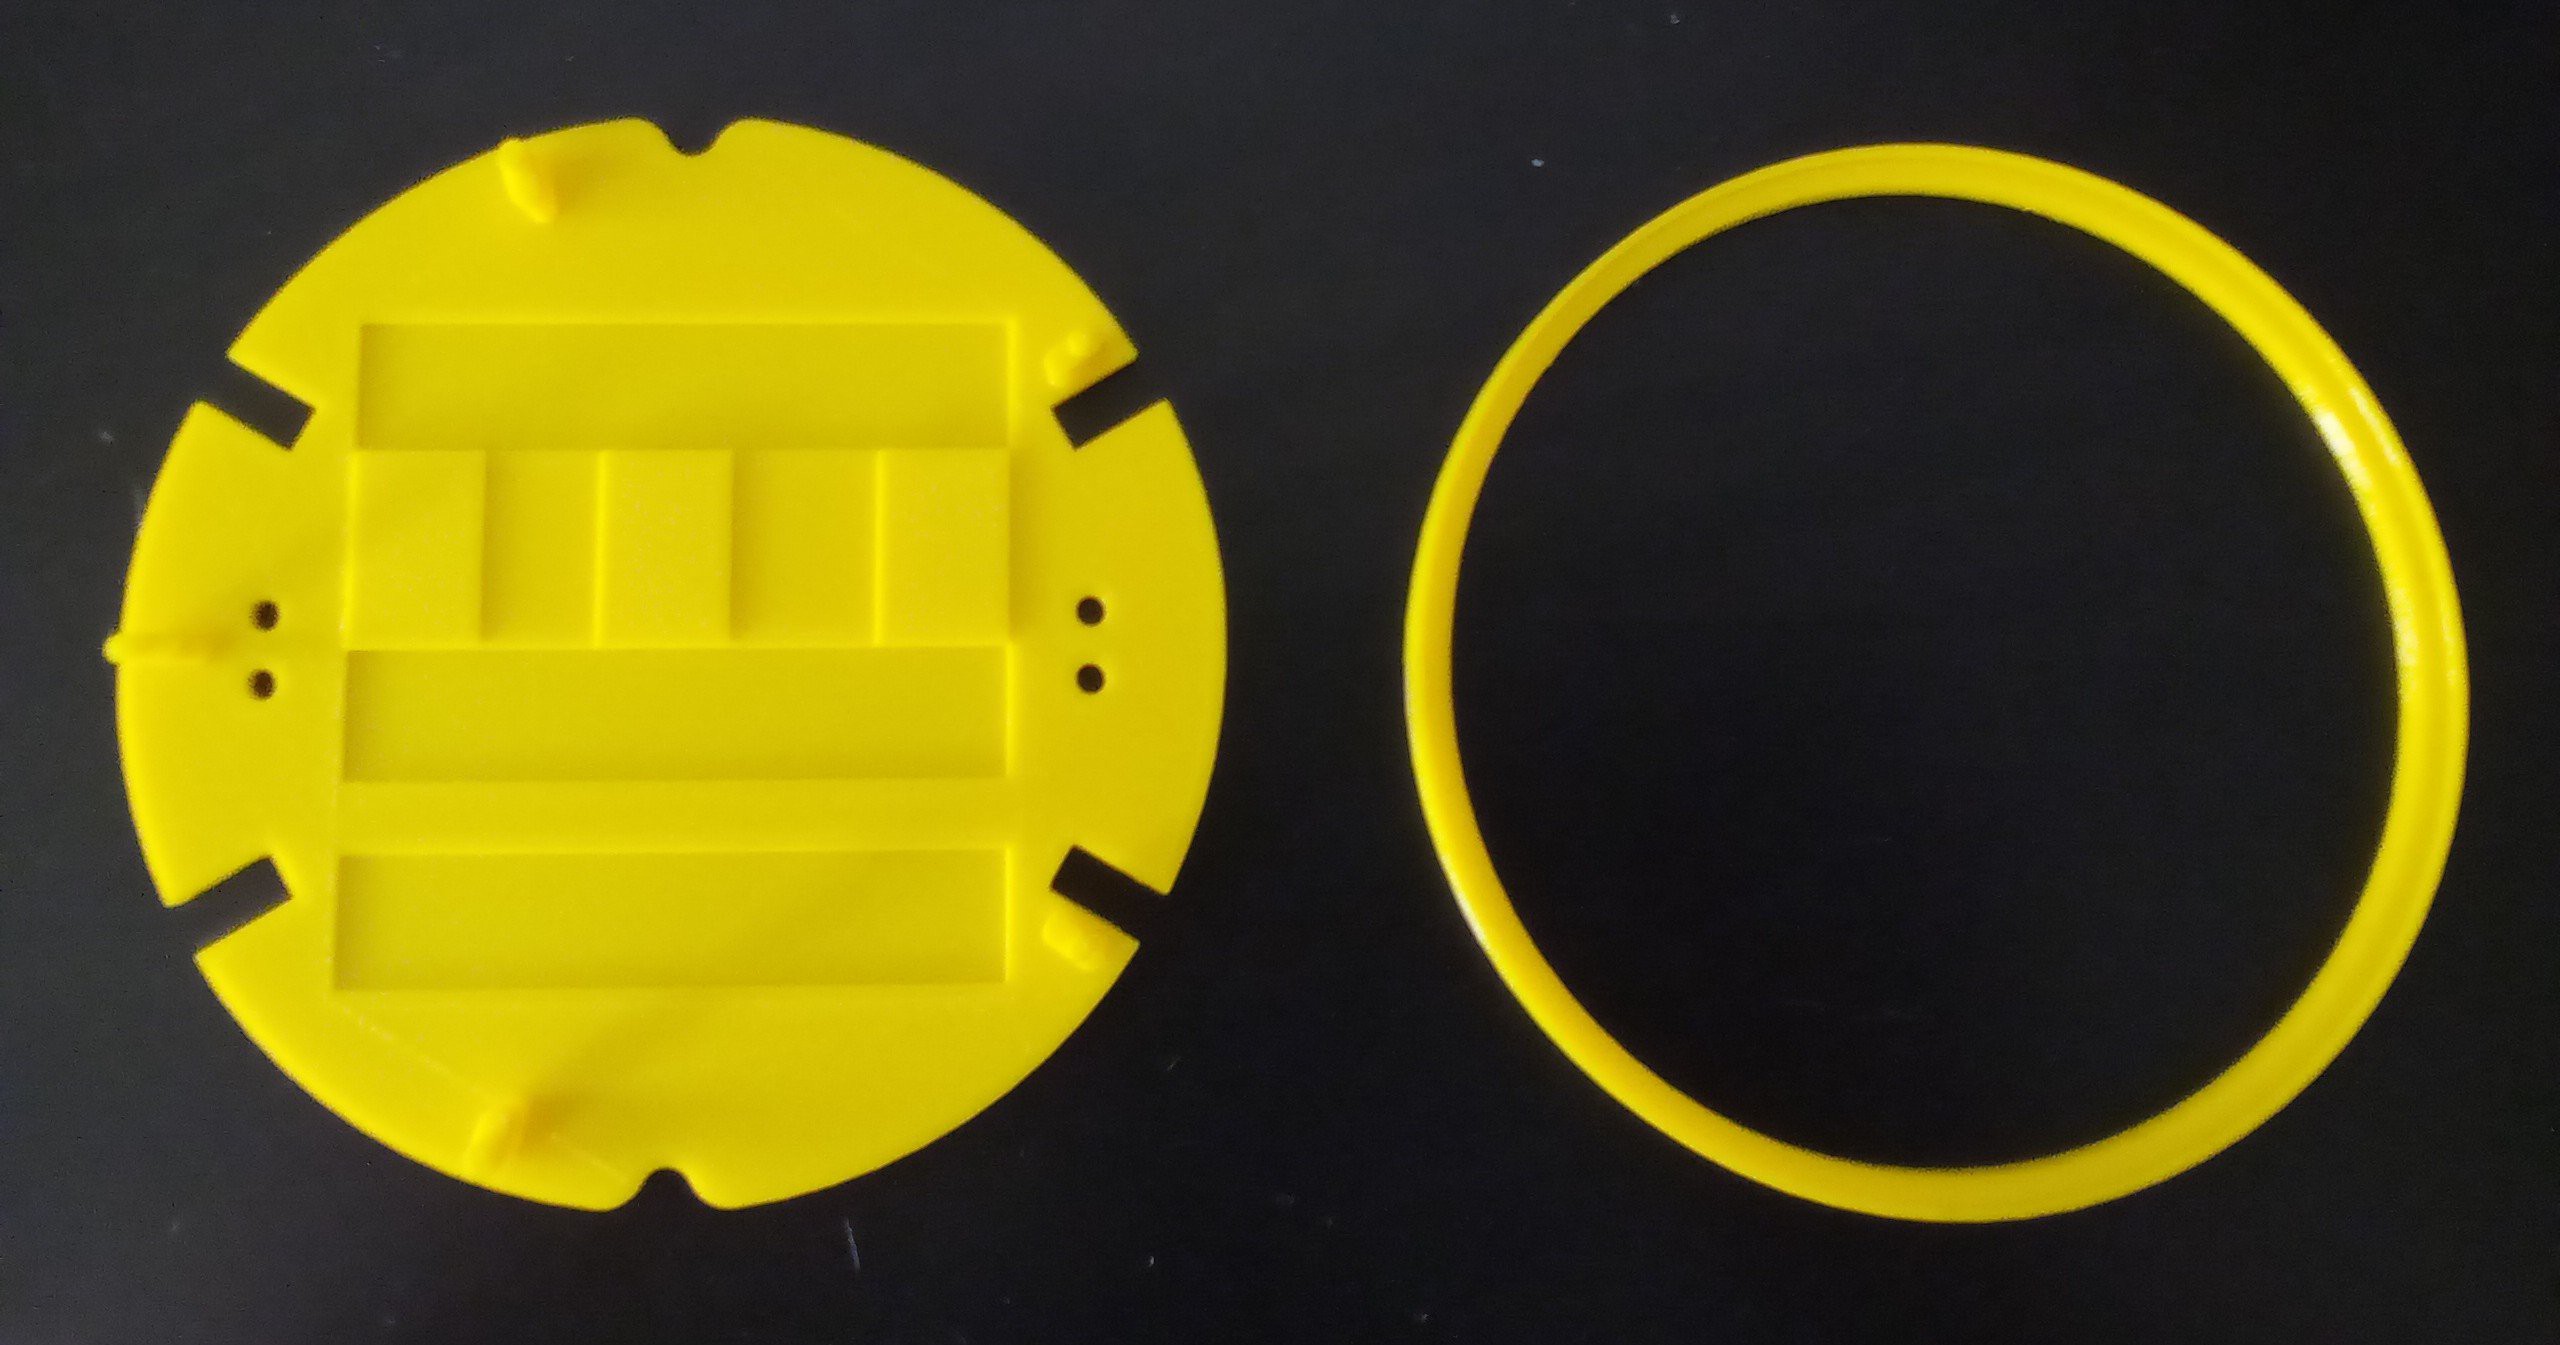
Anyway I now have all this posted on the Github page. I still need to print the support pieces that lock it into the housing, but after that it's wire, reprogram, and enjoy.
Discussions
Become a Hackaday.io Member
Create an account to leave a comment. Already have an account? Log In.