 Cirmall
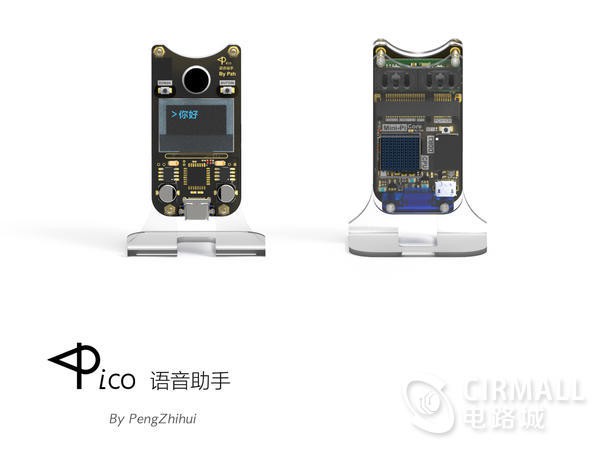
A small mini voice assistant robot to solve the troubles in individual use of intelligent speaker.
As I want to have a voice assistant that can be customized started from the hardware and need to access to the voice assistant and control my own devices (self-defined protocol), it should have good expandability and be convenient for subsequent upgrades (whether hardware or software), and it should be as mini as possible...
Therefore I spent five months on design it,and Pico was born!
The features of Pico are as follows:
- The self-designed circuit hardware which can be added or deleted necessary hardware module conveniently, such as adding multi-microphone module and gesture recognition module, or deleting the unnecessary bluetooth speaker function etc.
- The voice function can be realized from the bottom layer, all codes are able to be opened as SDK.
- It uses Mqtt protocol which is the most popular used protocol in IoT to realize the access of customized hardware, and uses the result of voice recognition to control anything. (the performance will be better if adding NLP fuctions)
- It has an OLED display screen.
- It has a small and exquisite size, just a little bigger than a gum.
Description of the Structural Design:
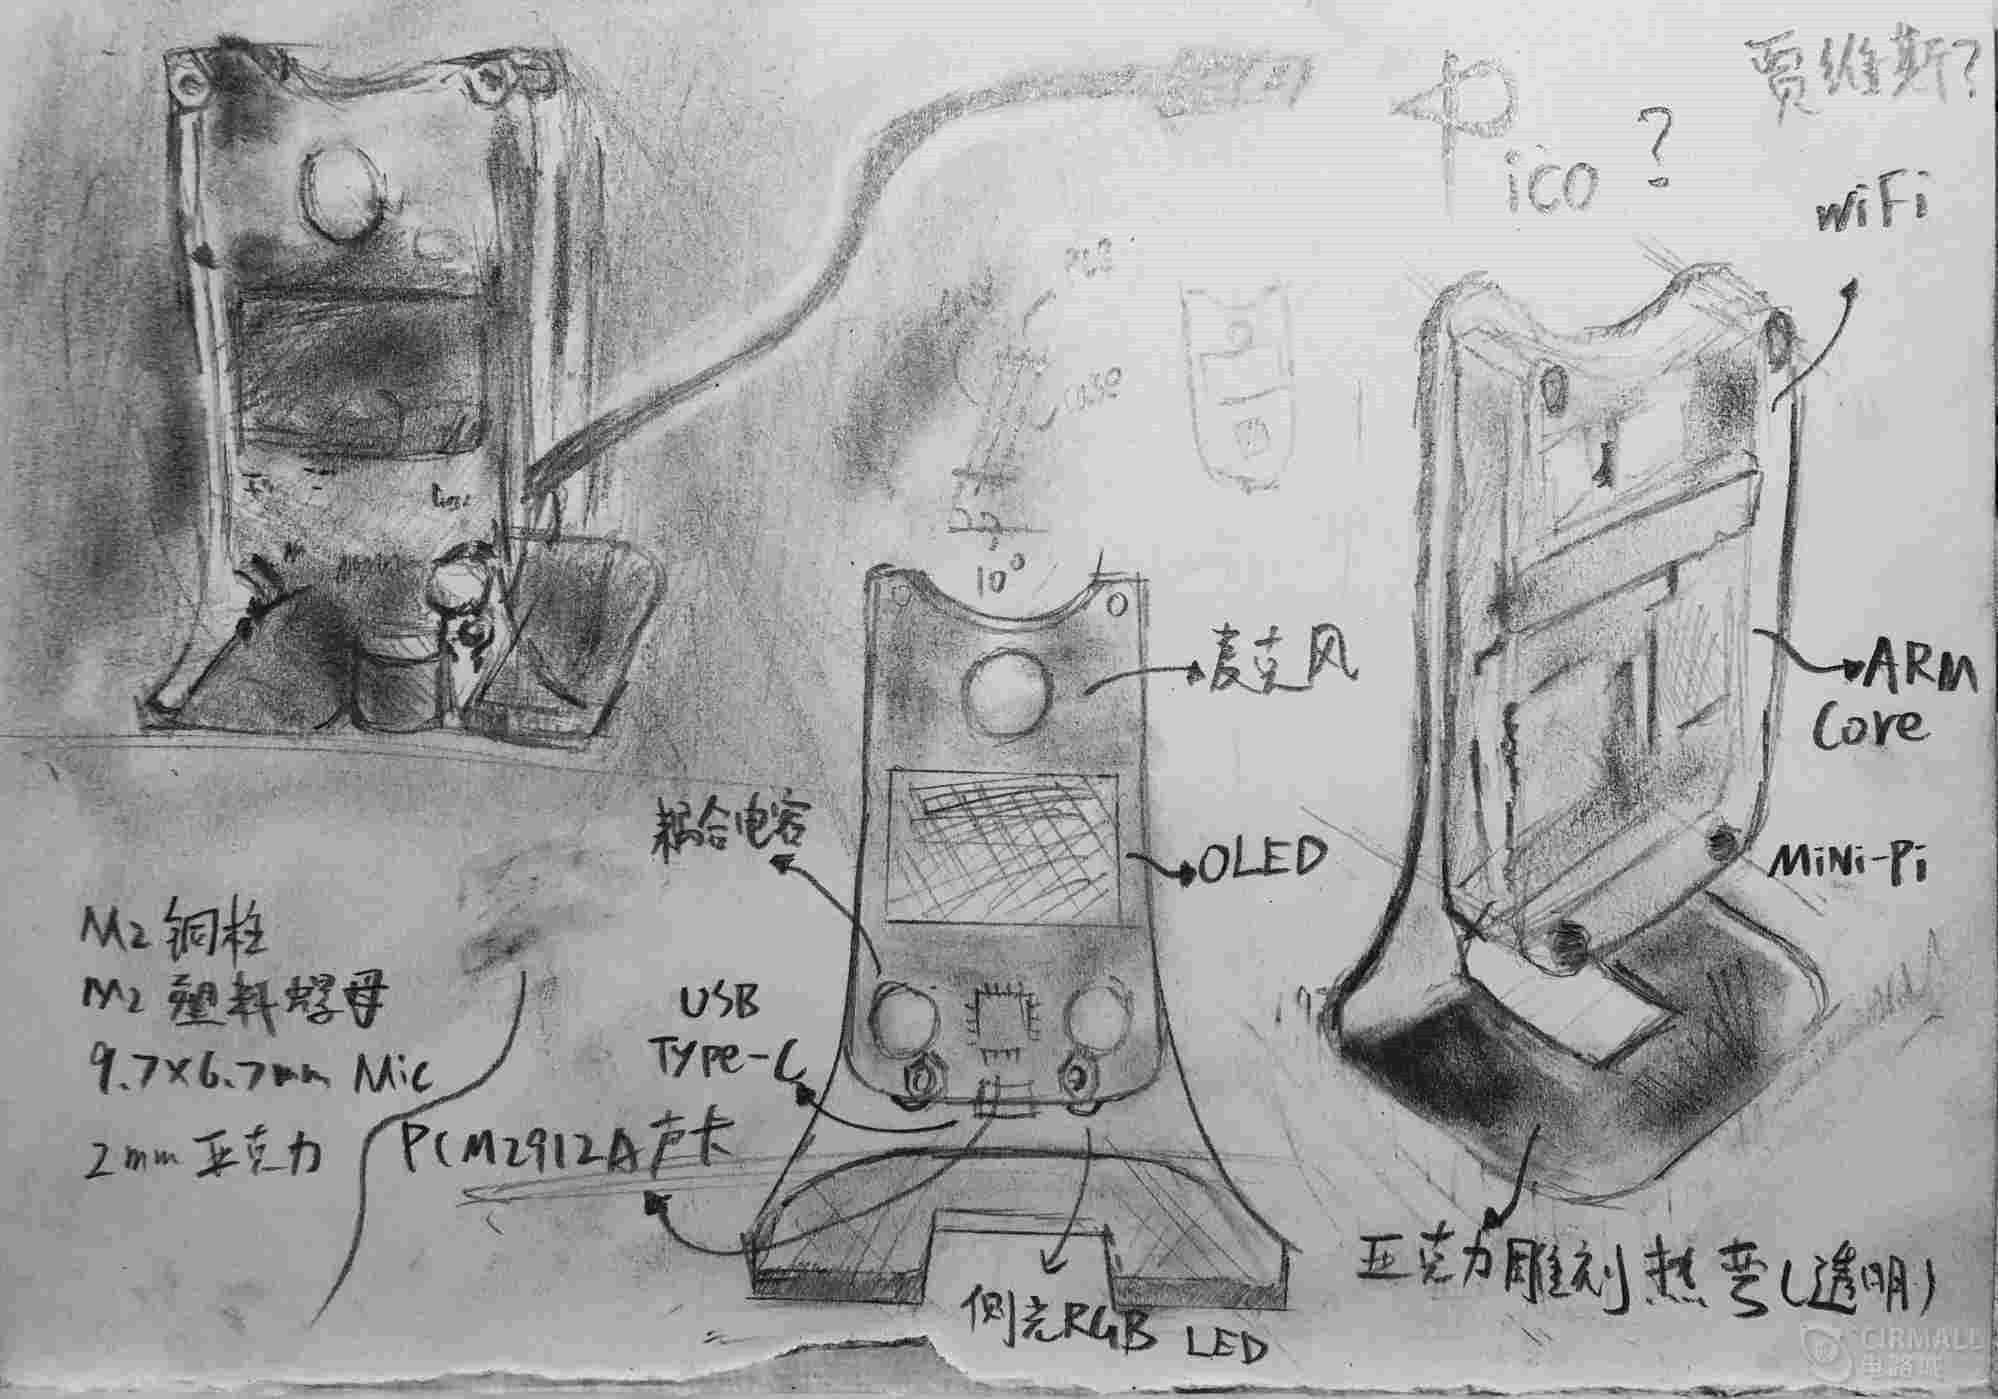
Sketch of Pico’s structural design↑
I have devised several plans to the ID design of Pico:
- It can be processed by using alloy CNC to form a cube shell model similar to a rubik's cube.
- It can be designed as a mini cylindrical shell similar to the Tmall Genie by using DLP resin and 3D printing, as the precision of SLA printing can also produce good texture.
- It can be designed as a sandwich-typed stack design by using the transparent acrylic to cut into desired shape, this is also the final plan I adopted.
There are some reasons that I finally determined to choose acryl as the shell structure:
- First, this plan has the strongest “fashionable visual impression“ as it directly uses a transparent cover plate to display PCB circuit, from my own perspective, such appearance is simplified and consilient with my personally aesthetic philosophy.
- Second, as CNC processing and 3D printing have been adopted in my previous projects, while the acryl design model is a new one, a try of unknown techniques is an important consideration factor.
- Third, the whole volume is compact, small and exquisite, so if using a closed design, heat dissipation will be taken into consideration, but no need to worry about if the sandwich-typed open design is used.
- The last reason lies in that acryl is cheap.
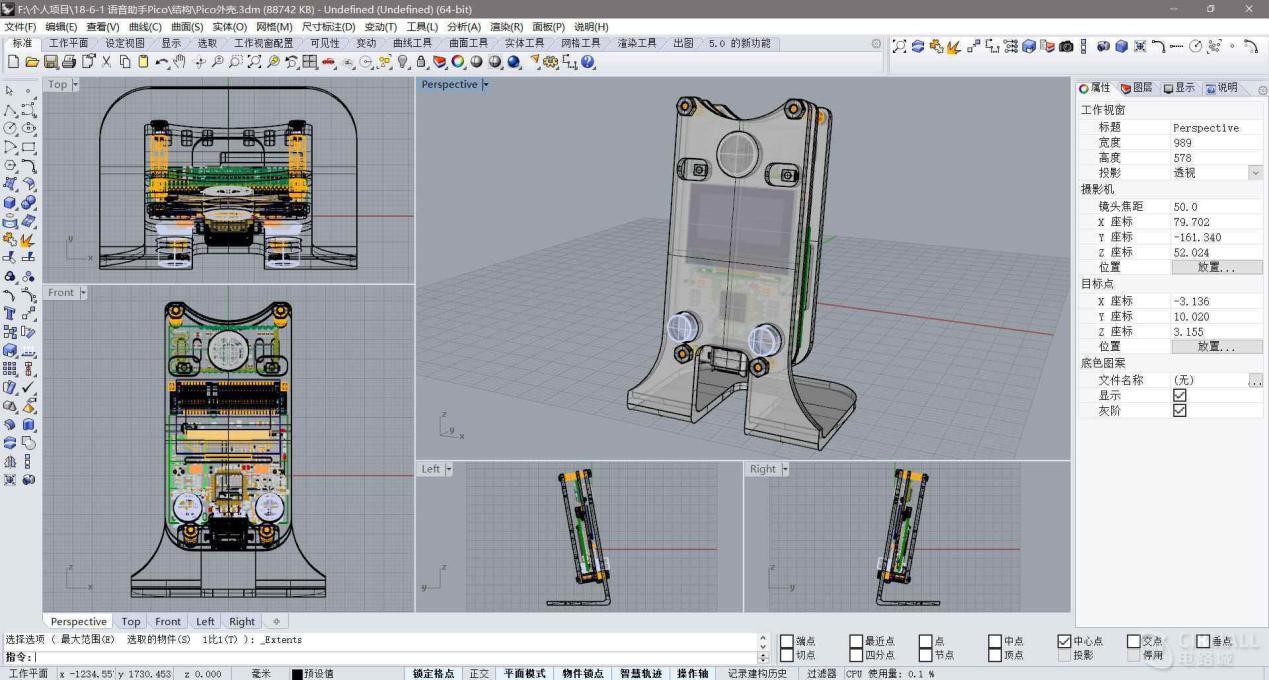
As shown in the above Sketch, there are three components: Acrylic front cover, PCB circuit board and acrylic back cover, it uses M2 roll rachis copper cylinder to make a combination connection, the front cover is curved about 10° through heating to form a pedestal, and the rear is connected by USB-Type C cable. The design of mechanical structure is completed by using Rhinoceros software ↓
The thickness of the acryl is 2mm, I invited a partner to operate machine tools to carve it into the desired shape, then heating and bending it by electric soldering iron. It is noted that the melting point of acryl is about 300 ℃, but when the temperature reaches around 100 ℃ , it will soften, so the temperature of the soldering iron is set as 100 ℃ as the soldering iron without the function of adjusting temperature cannot be directly operated.
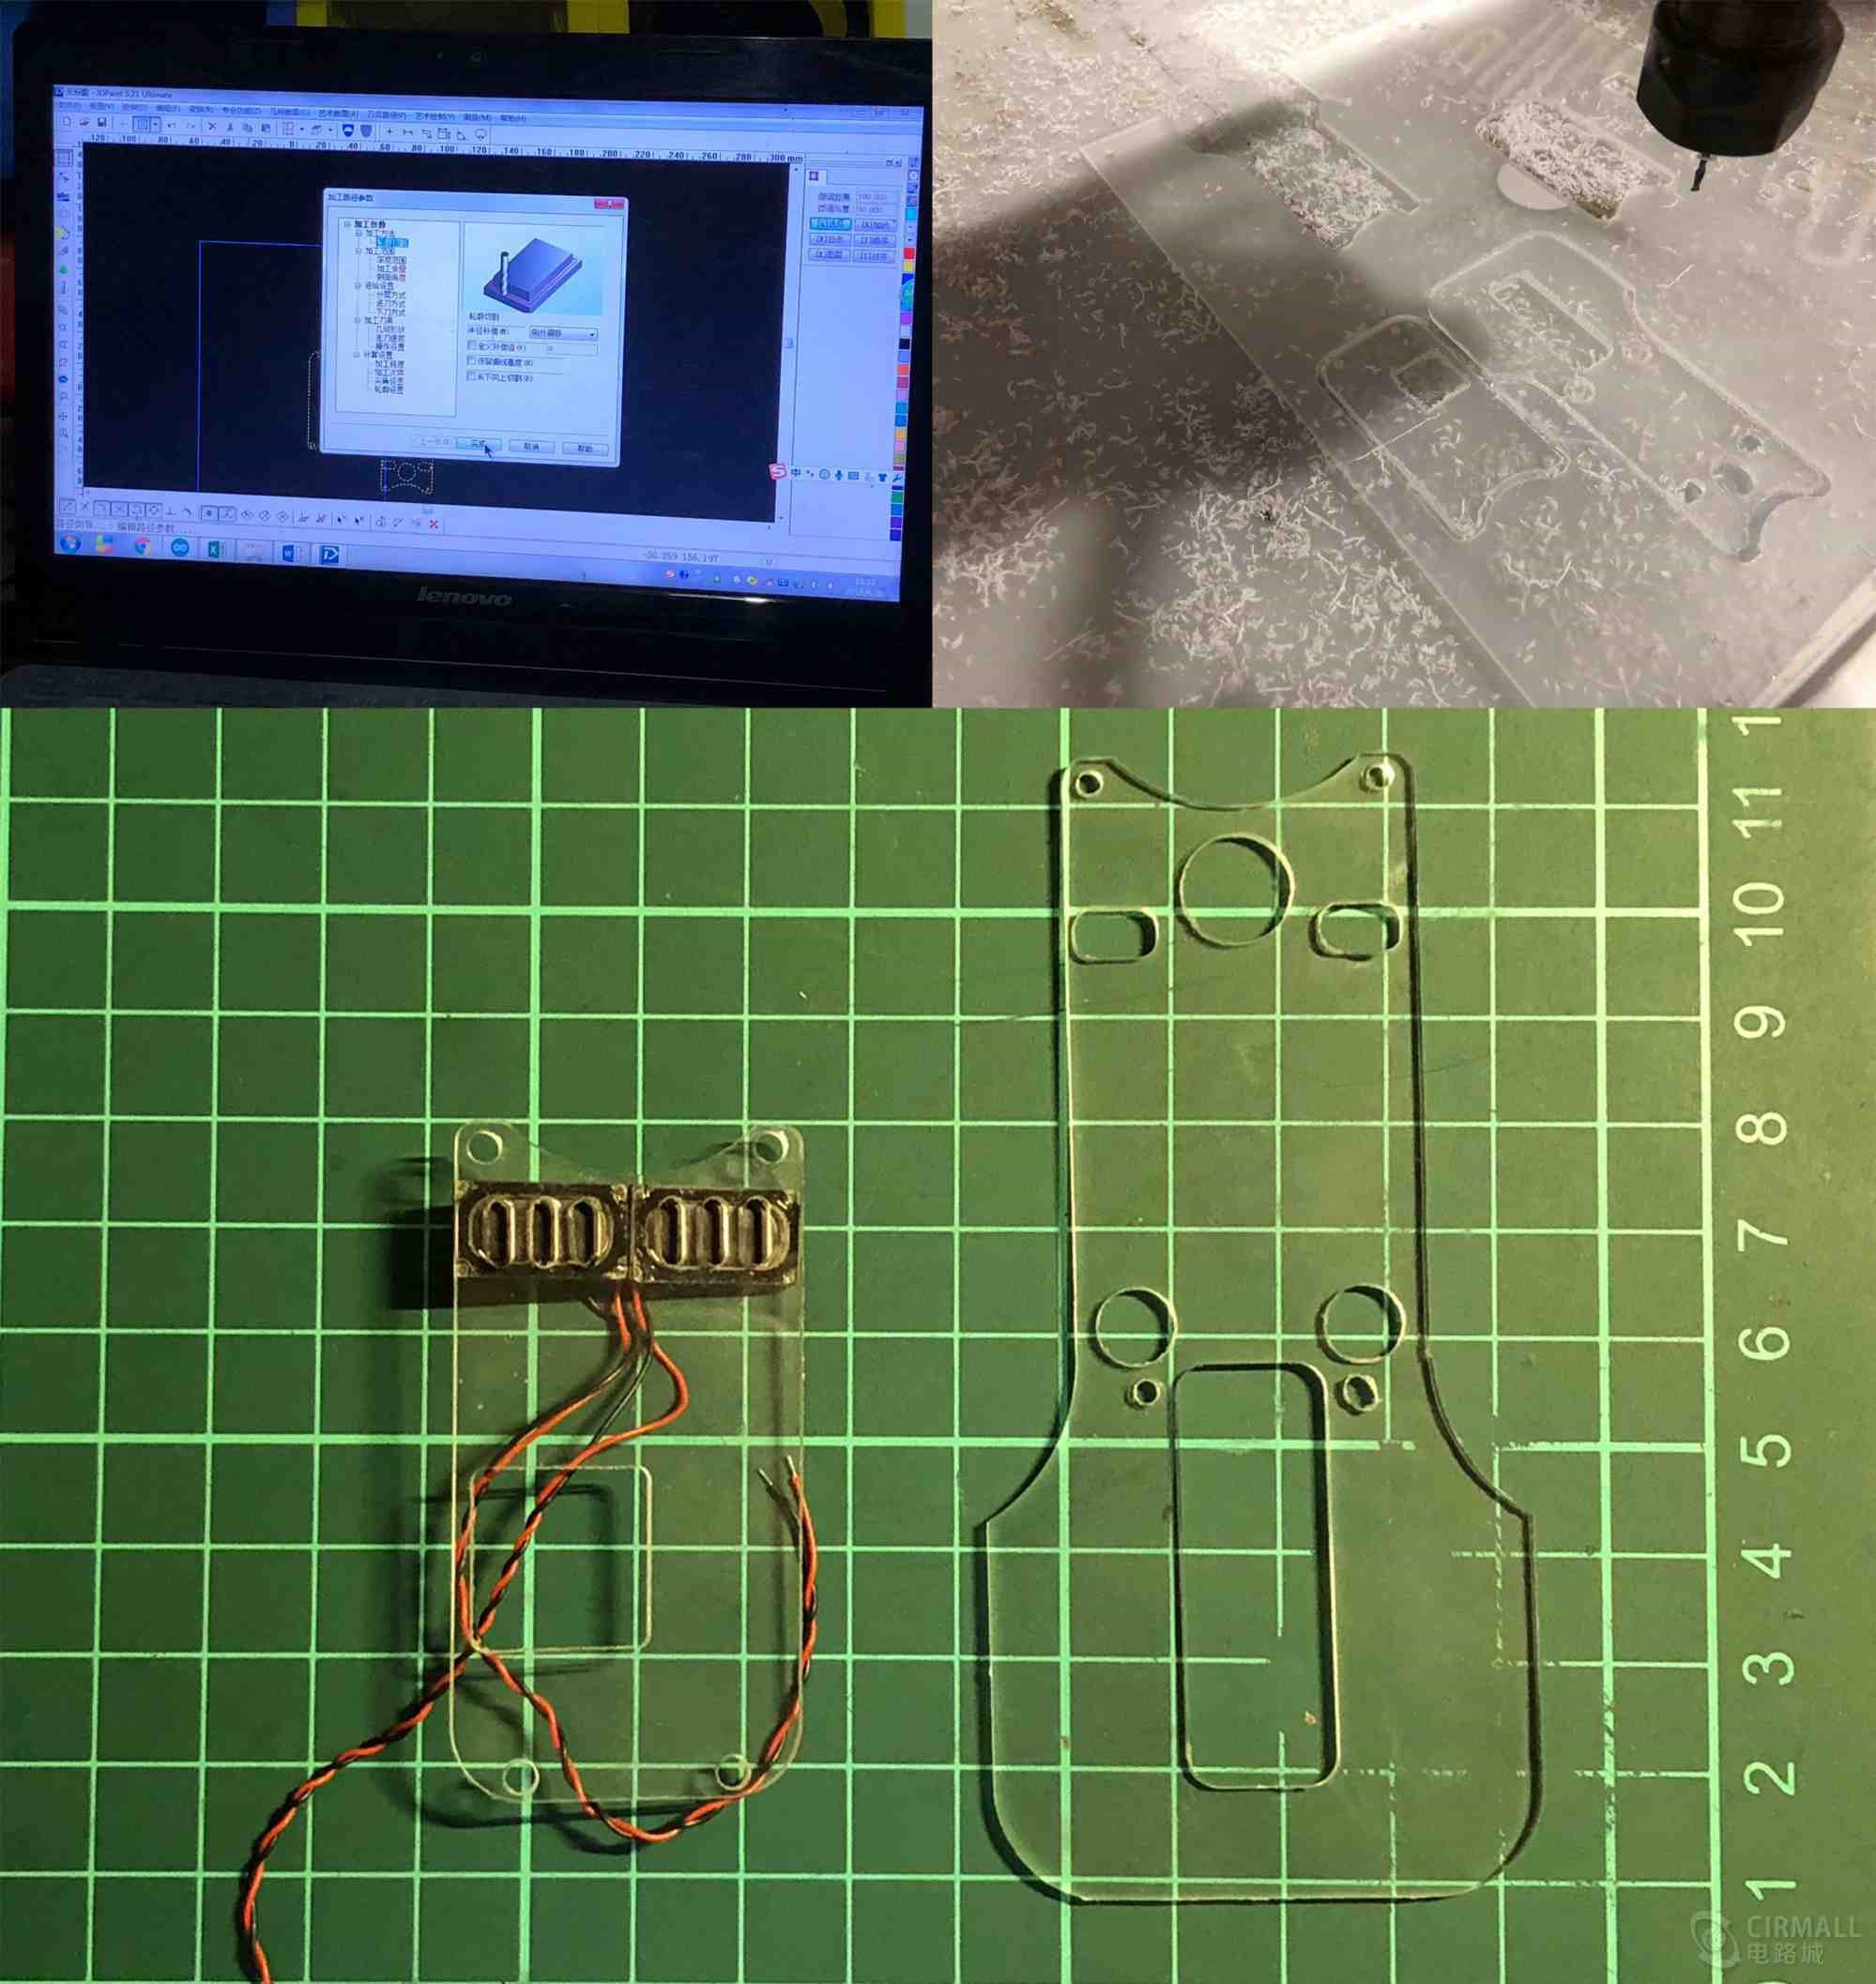
The acrylic shell carved by a machine tool

It was bent through heating by using an electric soldering iron↑
Description of Circuit Design:
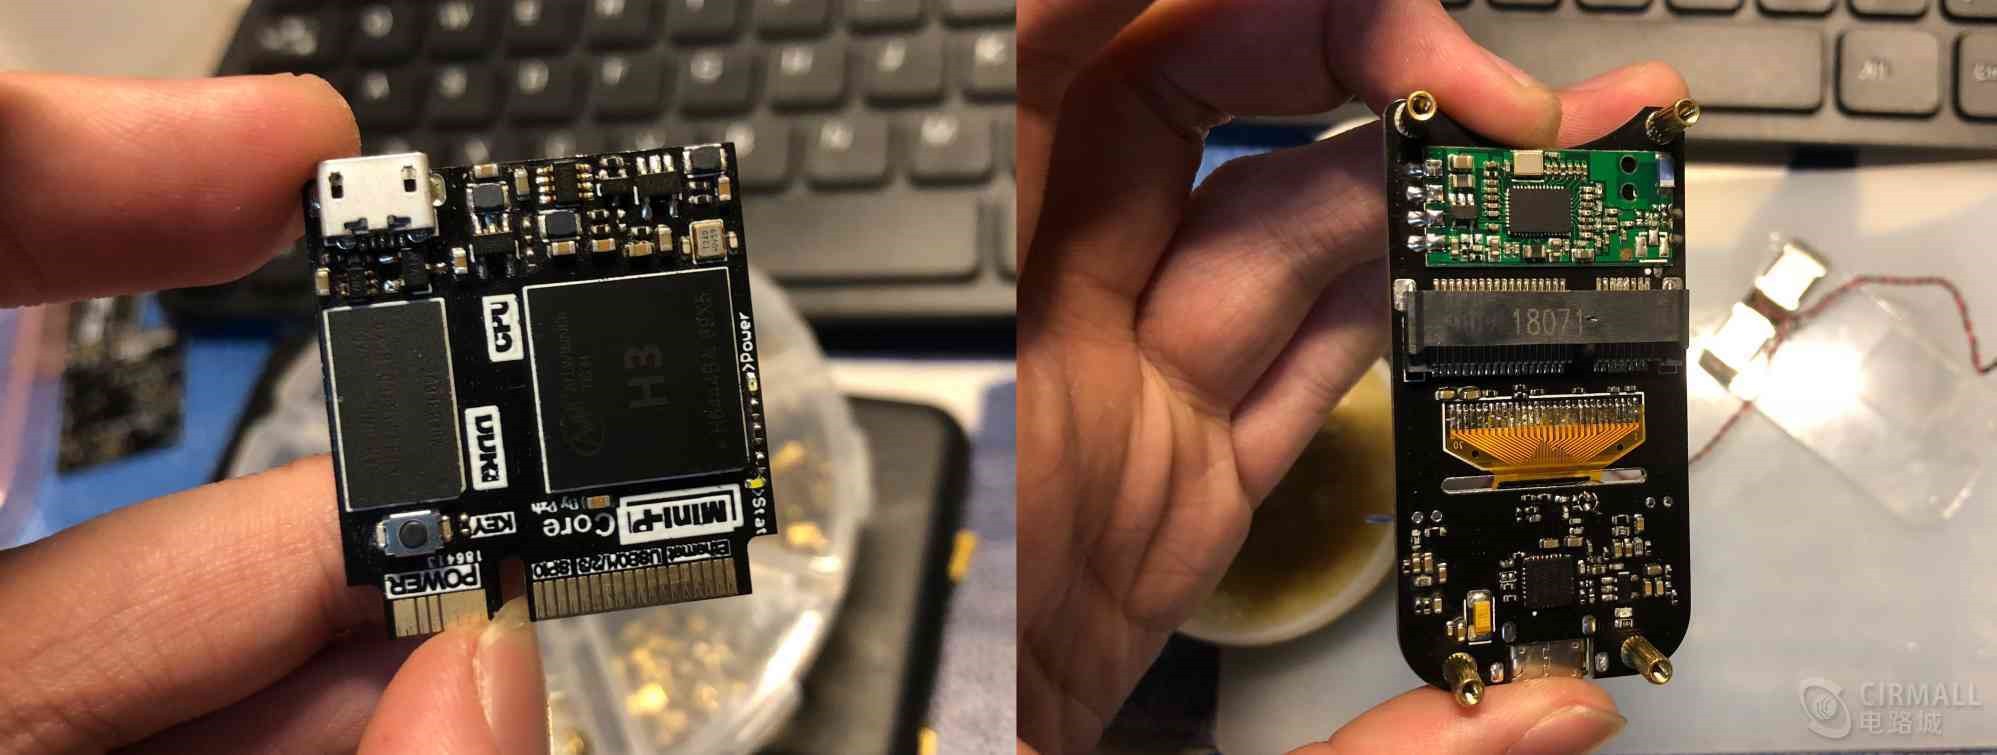
As for the hardware circuit, a super-mini ARM-Linux core board MiniPi designed by myself is used.↓
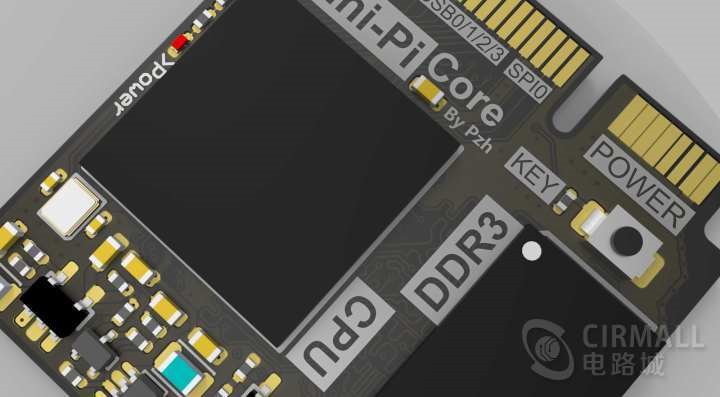
Minipi as a core board, runs Linux system and leads out the needed IO by encapsulation using the golden finger of mini-PCIE.
The Pico mainly uses two USB interfaces (one to connect USB sound card, the other for WIFI), a serial port (for debugging and serial console), several GPIO (for driving buttons and LED), an I2C interface (remain, it may be used for communication with onboard Arduino, which is used to drive some peripheral interaction modules such as infrared sensing and gesture recognition etc.), in addition, OLED is also driven by using I2C interface.
As the shield is simple in function, mainly for expanding interface, the PCB of the shield adopts two layers of PCB-Layout. The onboard IC mainly includes:
- OLED12864, the driver IC is SSD1306, which is widely used.
- PCM2912A, USB interface sound card produced by TI (it is very expensive, more than 30 Yuan for one piece, even close to the price of CPU), but the tone quality is good.
- CP2102, a commonly used chip for USB to serial port, after the Pico is connected to a computer through USB cable, the serial port console can be directly used to interact with Linux.
- LM4871, an amplifier IC, which is used to amplify audio and output through a loudspeaker.
USB-Type C microusb, the USB interface decidedly uses my favorite Type C.
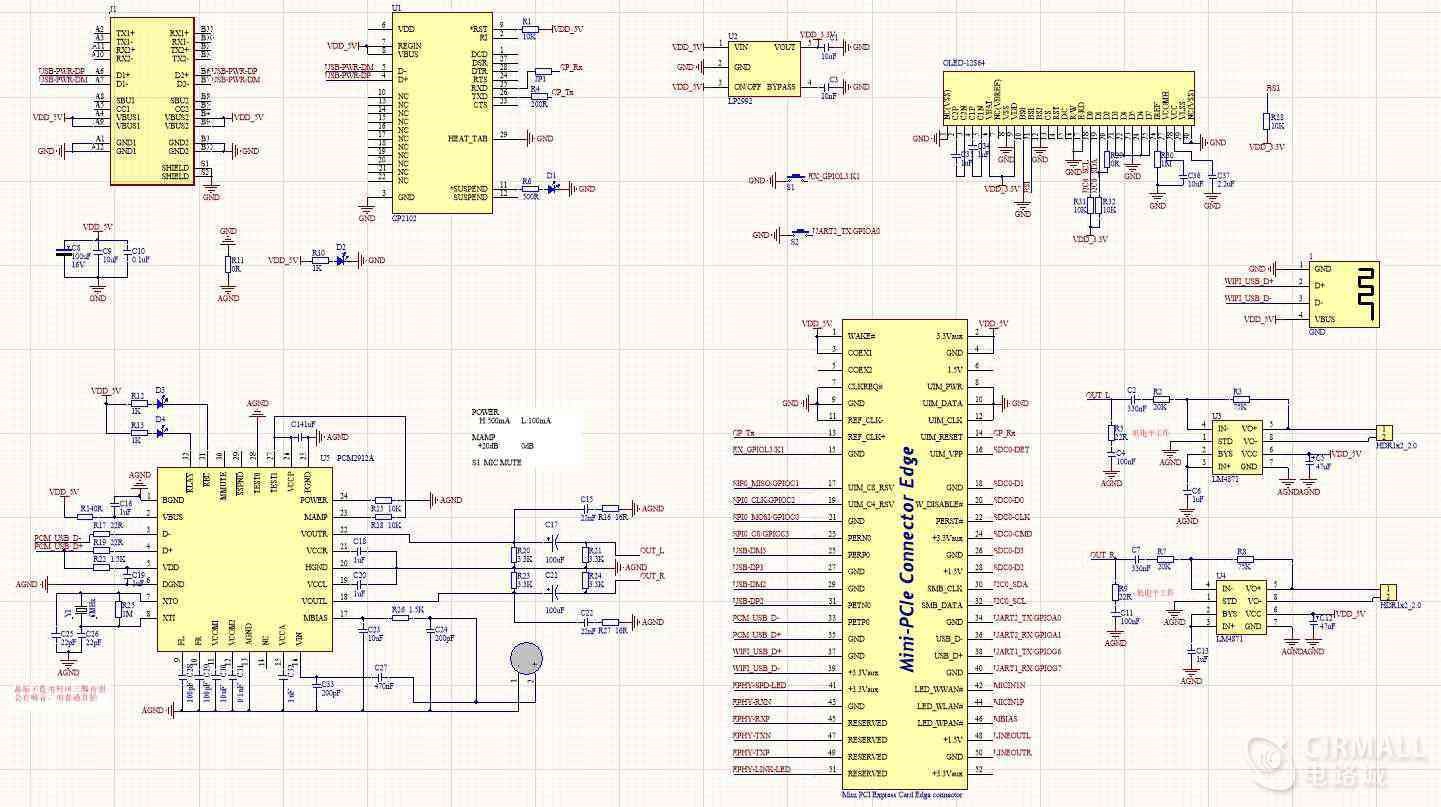
The schematic diagram of Pico shiled↑
Altium Designer is used for the design of PCB↓
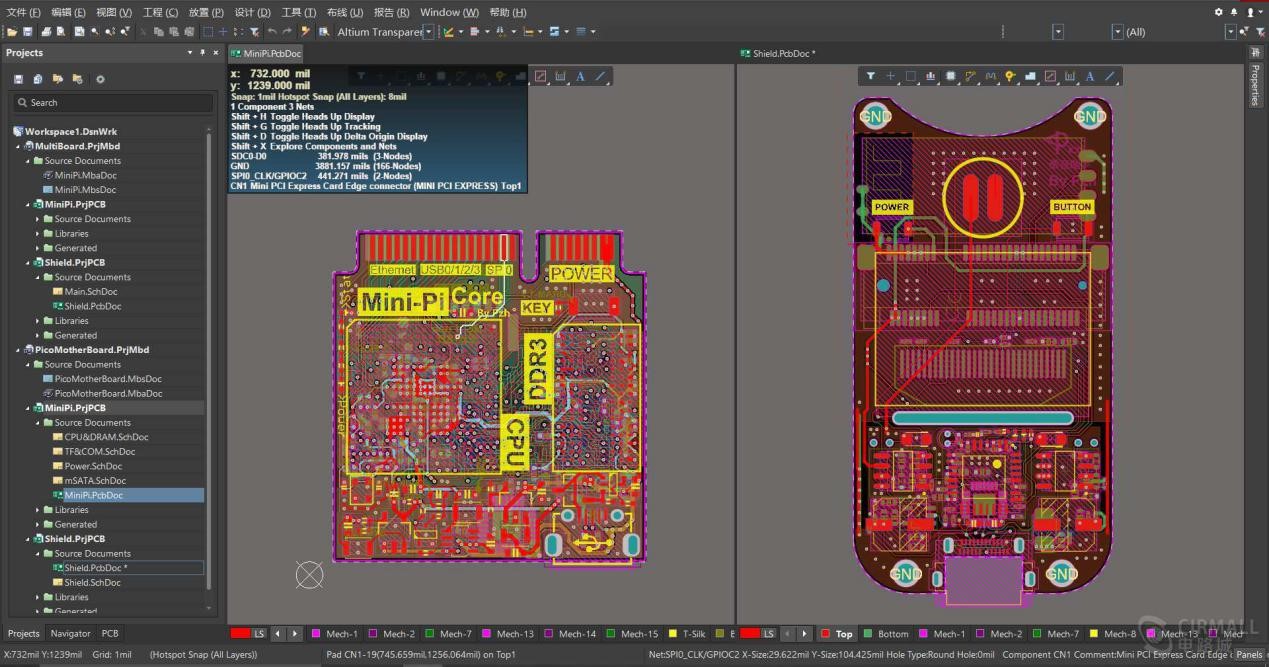
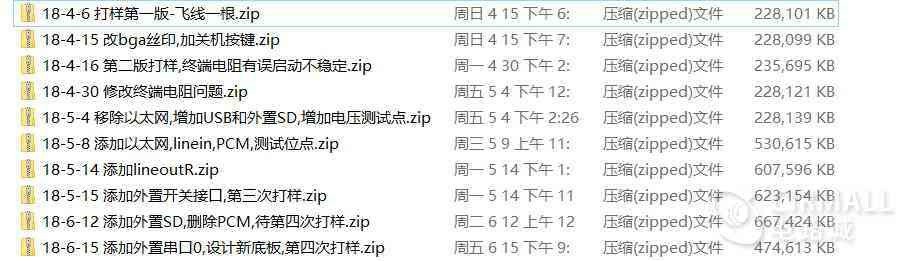
There is no need to talk too much about the design of the shiled, the routing of two plates is casual without a high-speed device, though differential pairs should be devised well in USB, it is better to add ESD (this version did not add ESD as it belongs to functional verification attribute). The experiment in the sound card indicates that the choice of coupling capacitance still has some impact on the sound effect. The Minipi core board used in the Pico has been slightly adjusted, which has been devised three versions: as the first version is an initial design of high speed multilayer, the function is all right with many small defectives, such as the BUG in power circuit, no onboard shutdown button added, a separation of digital and analog circuits was not designed etc.; The second version has made some IO adjustments; The third version is a relatively stable one, but if the SD card was designed on the core board, it may not be convenient to change in some scenarios (as it was between the core board and floor board), therefore an external SD card port was added on the gold finger.
The CPU of Minipi core board and the circuit of DDR part are as follows, as you can see threre are many filter capacitors, because CPU ,as such a device with extremely high frequency needs a very high purity of power supply, it should be guaranteed that each Vcc has a filter capacitor.↓
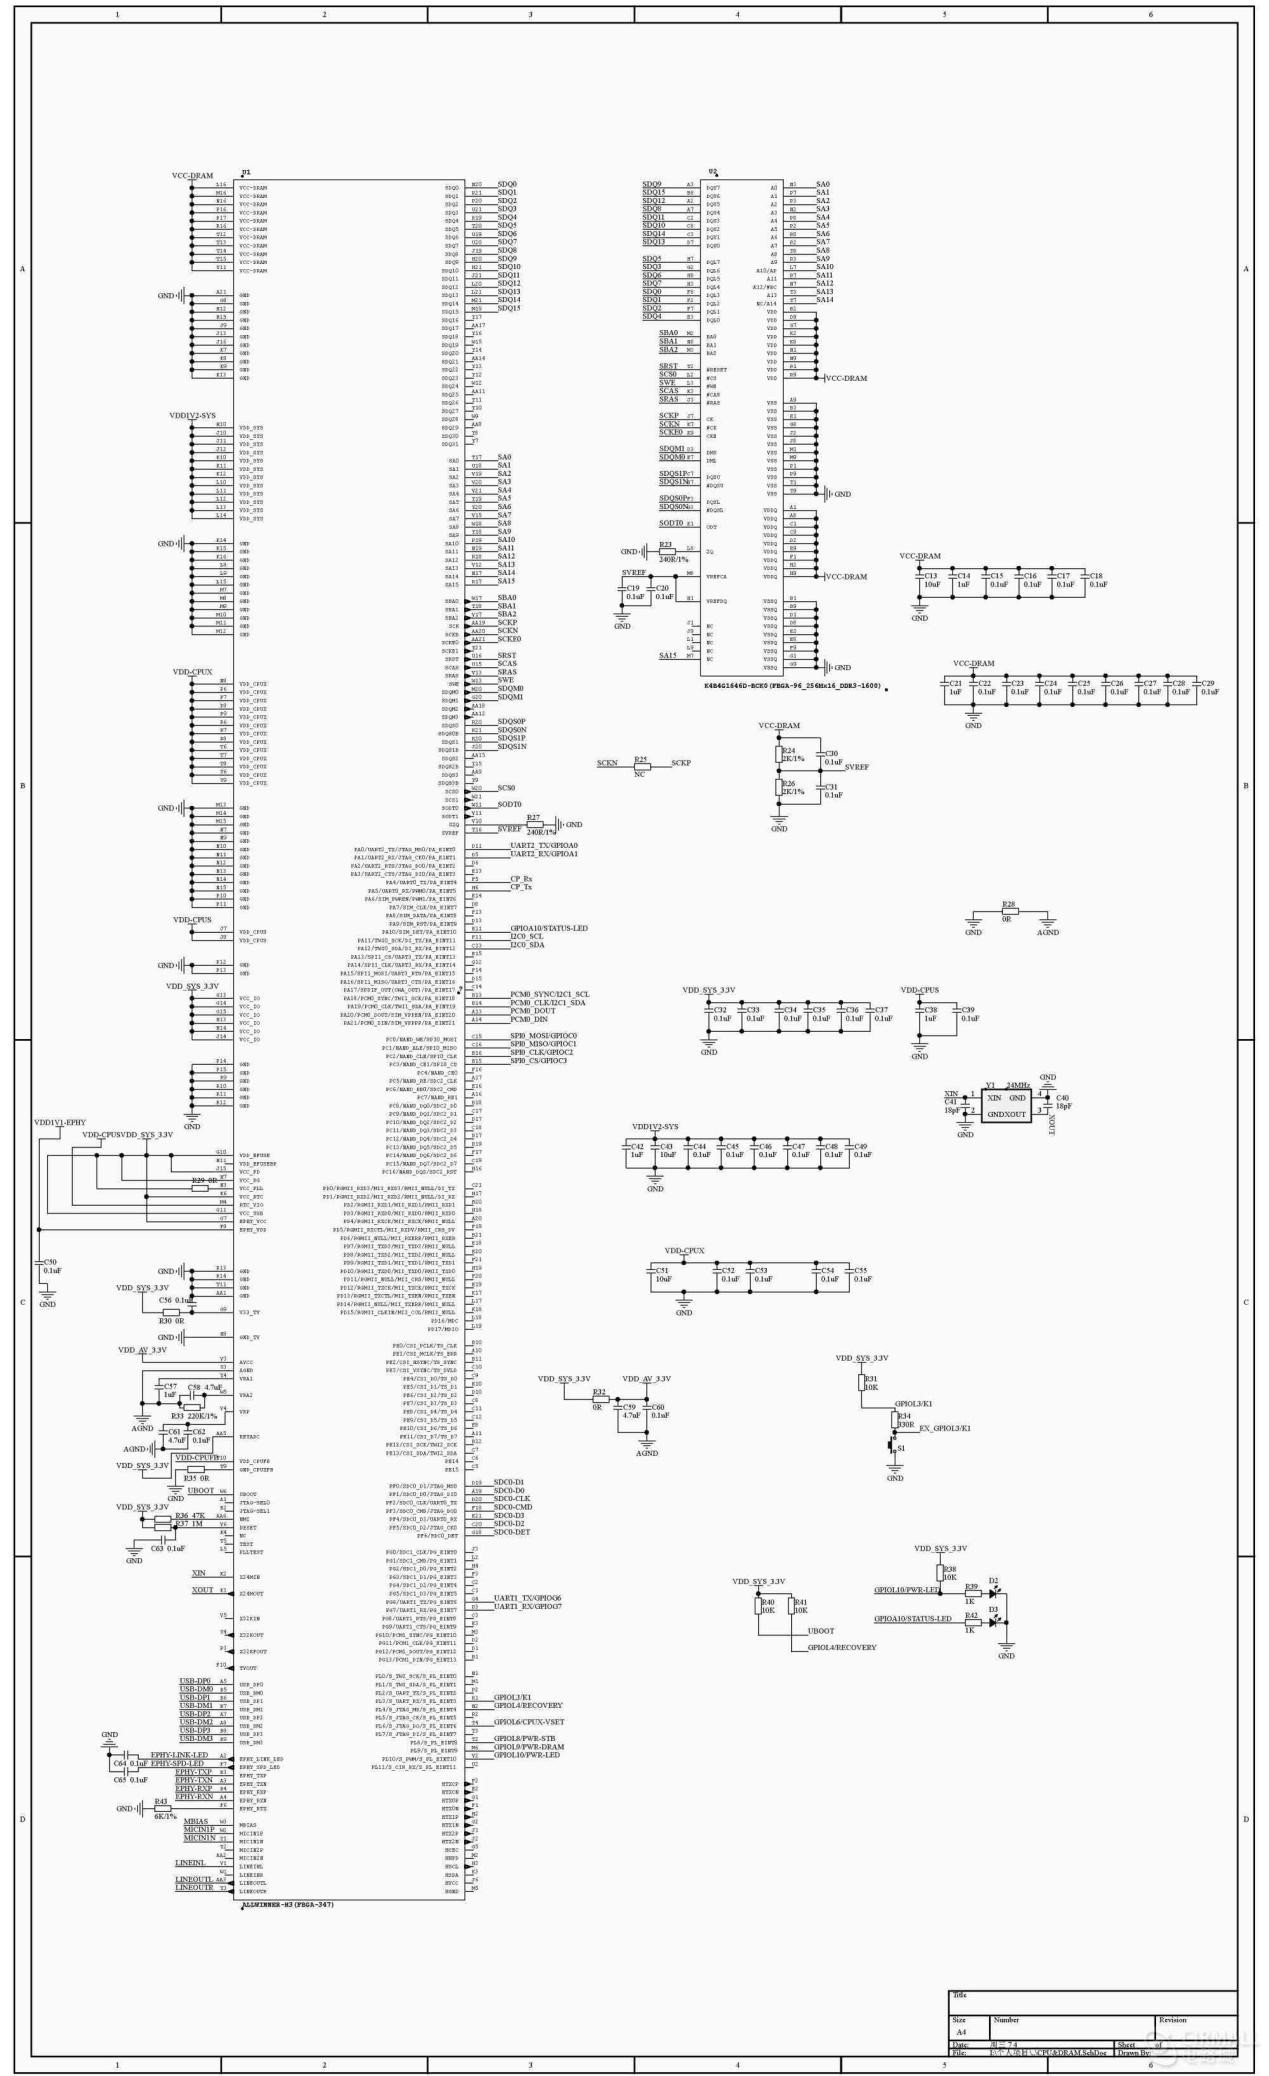
The peripheral circuit around CPU↑
After gaining the Printed Circuit Board, it will be operated with Lanxiang skills, the tools mainly used include: a hot air gun, soldering iron, tweezers, tin paste, solder strip, flux etc. Here I will describe the welding method for SMD parts: different from DIP, as the device of SMD parts is too small (I used 0402 resistance-capacitance), and densely scattered, it is basically impossible to weld them one by one by using the soldering iron, manual welding mainly adopts reflow soldering. The above mentioned reflow soldering makes the melted liquid tin to pull the device to the center of the pad to complete the welding by leveraging the tension of liquid, you can search “reflow soldering” in Google to know more about it. The first step of reflow soldering is to make a steel mask of device pad, which can be laser cut by manufacturers upon the receipt of relevant processing documents after PCB is designed, the price is not expensive, which is just about 50 Yuan.
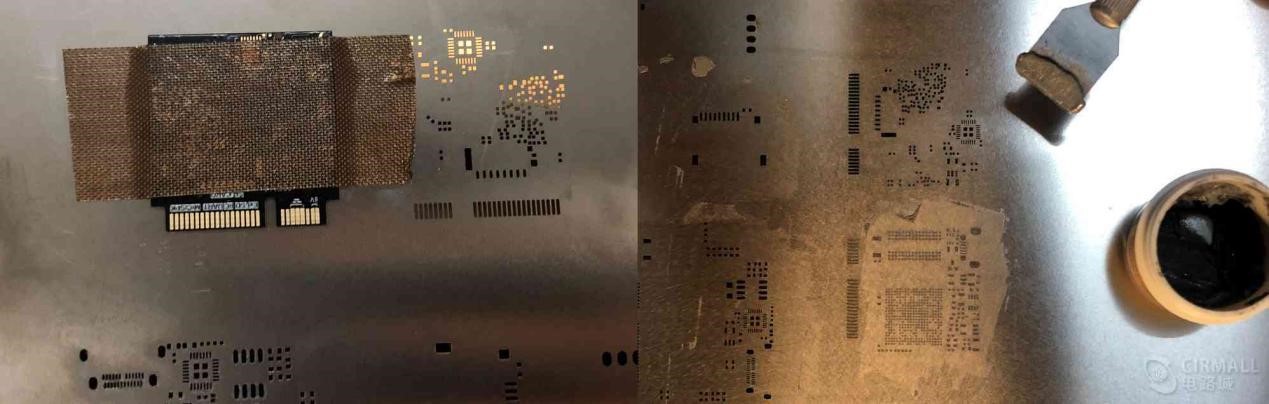
PCB steel mask↑
After aligning the empty PCB with the steel mesh mask, the tin paste can be scraped, and all tin paste scraping will be finished one time. Then put components on PCB according to design, the position is unnecessary to be very accurate as devises will automatically return to its original position due to the tension of the liquid tin at the time of next reflux.

The PCB board that has been smeared with tin paste↑ After the last step of the patch is completed, it needs to use the air gun to carry out the blow welding reflux, BGA is much more difficult to blow welding than ordinary devices, so it is put in the last for welding. The temperature of blow welding should be controlled between 250 - 300 ℃, and the nozzle of the air gun should be removed to increase the tuyere for uniform heating, this step needs abundant welding experience, so more practice and trial should be conducted to master skills.

There is no much to say about the welding of shiled as it is relatively simple, after the welding is finished, firstly, a multimeter is used to test the power supply to see if there is a short circuit, if there is no problem, then test the voltage after connecting electricity, if there is no BUG, then a functional test can be carried out.
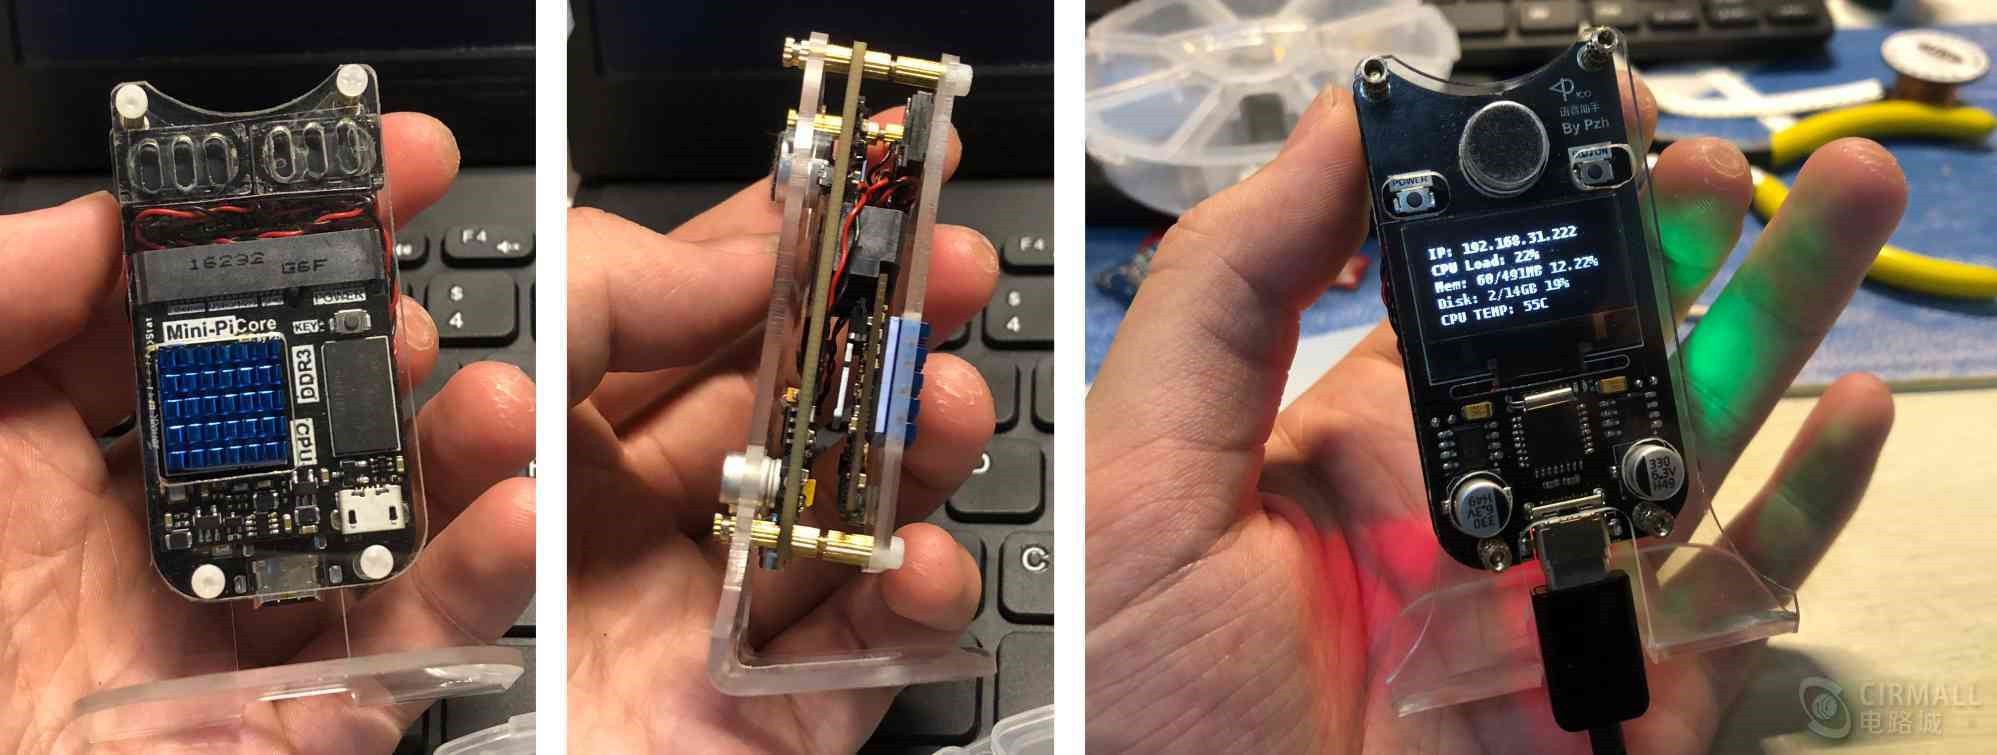
The finished product that has been welded↑
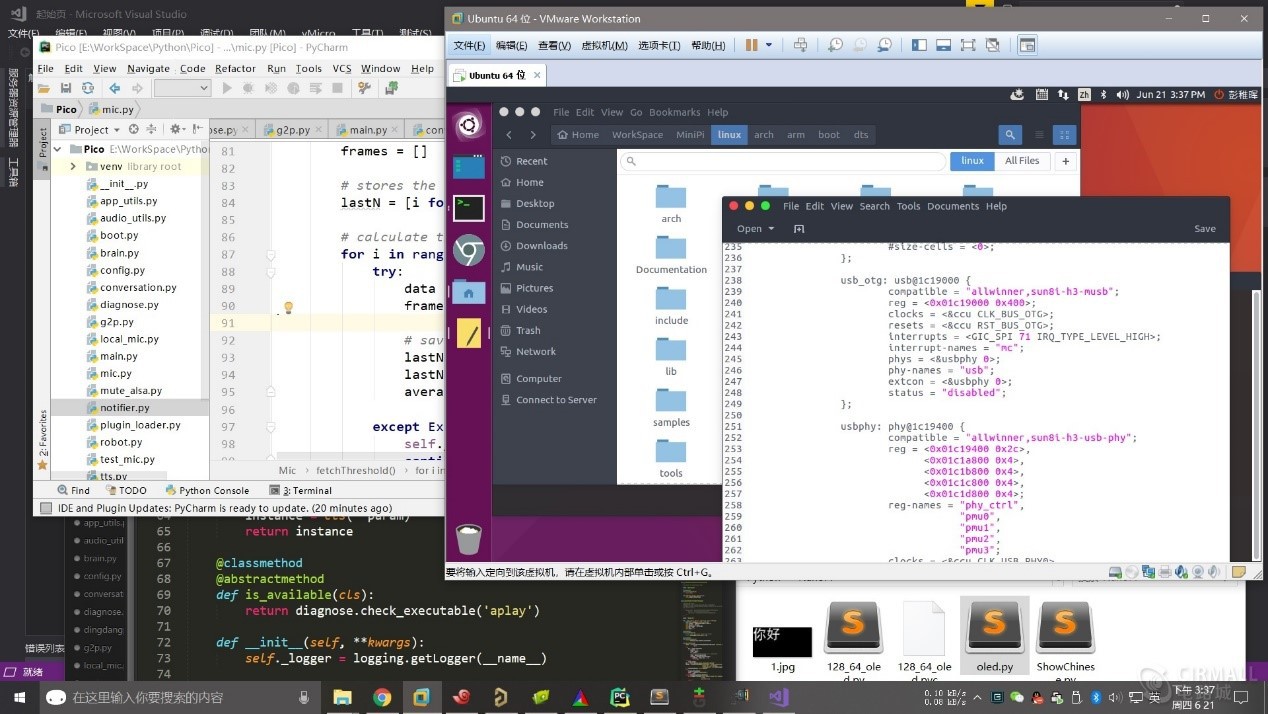
Description of Software Development:
Once the hardware is in place, the software can be transferred, the Minipi core board operates Ubuntu system of Debian series, which is fully compatible with all kinds of software of (Raspberry Pi), so many excellent open source resources can be adopted.
The realization of the software also refers to another intelligent speaker project based on Raspberry Pi called Dingdang, here is the web address : Dingdang Homepage
The whole software framework refers to Jasper project.
The software mainly includes the following modules:
- ASR module (Automatic Speech Recognition, voice recognition), is used to acquire user's instructions, including the function of voice wake up.
- TTS module (Text-To-Speech, voice synthesis), is used to give voice response.
- NLP module (Natural Language Processing), is used to understand semantics of instructions so as to take responding actions, including communication function.
- MQTT module, is used to realize (Smart Home) networking control function.
The first problem needs to be solved for the normal operation of the intelligent speaker is how to receive instructions, which mainly involves two problems:
- Passive Listening means “when you start listening“. In this stage it only listens to wake-up words. When it hears wake-up words, it will enter into Active Listening.
- Active Listening means “when you end listening“. In this stage it actively listens to any voice instructions from users, then analyzes and processes what it has listened.
The basic strategy of Passive Listening stage: to capture voice through a microphone in 1 s time window, then calculate the waveform intensity of each frame, and send the voice to the ASR model if it exceeds the set threshold value to determine whether it is a wake-up word (“Hello Pico”), if it is determined as a wake-up word, move on to the next stage for Active Listening.
The basic strategy of Active Listening is similar to Passive Listening, to capture voice through a microphone in 1 s time window, then calculate the waveform intensity of each frame, if it exceeds the set threshold value, it would judge that the user has finished saying instructions.
An open source engine called snowboy (in addition, another engine called PocketSphinx also works well) is used to recognize the wake-up words, these two engines work offline and do not need to connect to the cloud. The recognition rate is relatively high through test, of course, the actual effect is related to the selection of keywords.
Individual use of snowboy is free↓

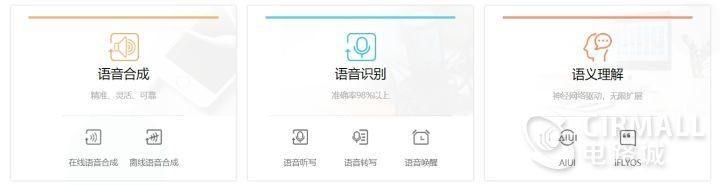
After the front-end wake-up and instruction acquisition works are completed, the remaining functions are all realized by iFlytek SDK, the specific API introduction and usage instructions can refer to the official Reference document:
Online voice synthesis for Linux SDK documentation
Of course, as the leader of Chinese voice technology, iFlytek SDK is very rich in open functions, as long as it is not used commercially, many functions are basically free:
For the control functions of smart home, it is very interesting, because I used the Android platform to finish a robot project, and also achieved almost the same requirements, therefore most of smart home functions can be directly transferred to use, including the homemade Internet of things gateway hardware. However, different from the above mobile robot for entertainment, what I need to do this time is a real voice assistant device, if it just can only control a few LED in the end, it obviously cannot meet my unreasonable requirements.
So I made a interesting decision to ask Pico to communicate with [Student Xiaoai] (a MIUI AI speaker) for “voice interface docking”, the specific effect can be seen in the demonstration video later.
Demonstration video:(https://www.cirmall.com/circuit/13133)