 Marius Taciuc
General info
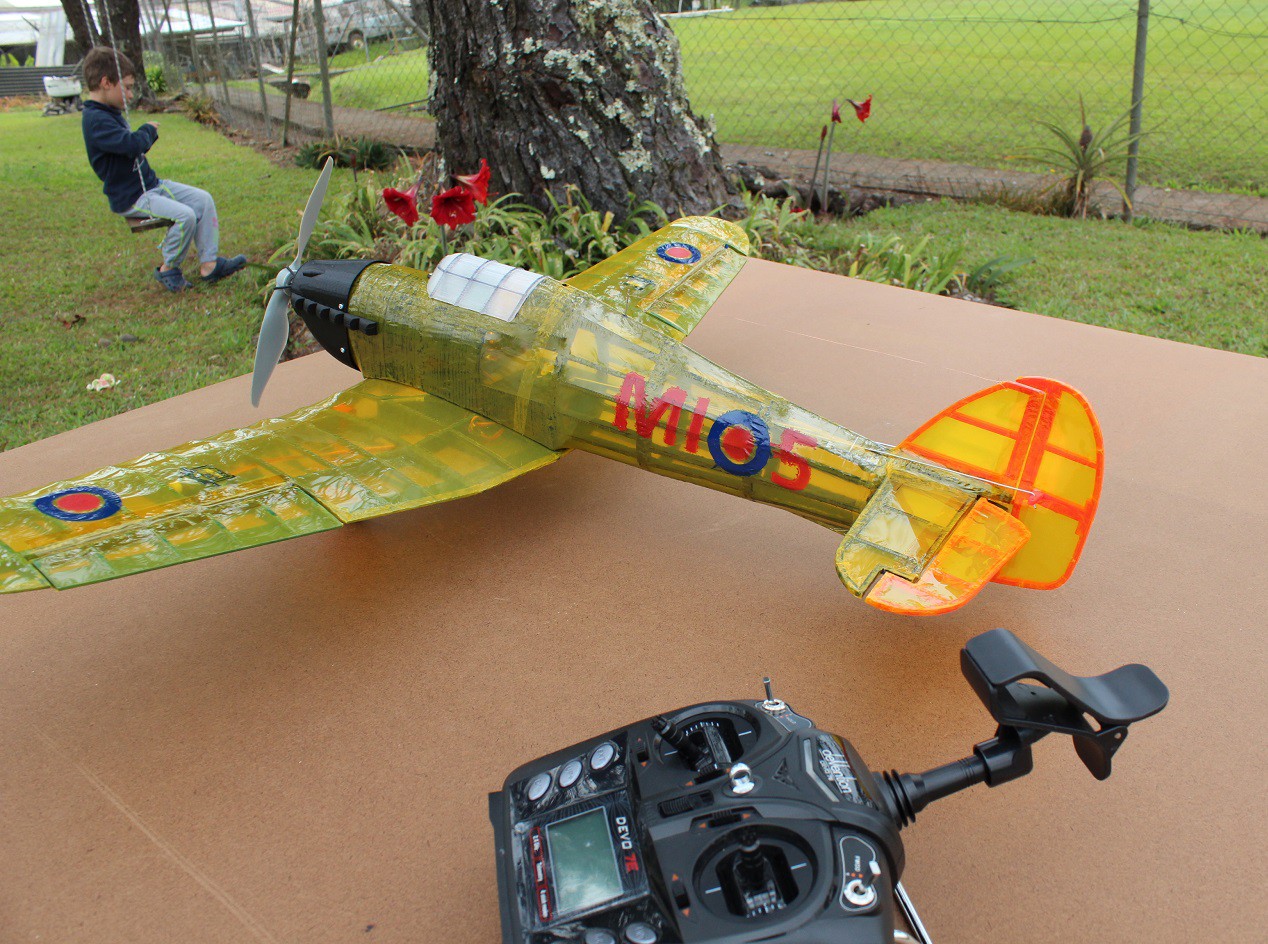
- Wingspan: ~820mm
- Length: ~600mm cowl edge to rudder edge (these dimensions depend on how you glue the plane together, calibration of your printer and your choice in the printed pieces)
- Overall weight: ~1200g (balanced and ready to fly with 4700mA 4S battery, heat shrink film on it and everything else)
- Servo choice: 9g (SG90) X5.
- Battery choice: 4S (mandatory at this weight/ portance ratio). I would keep it smaller than 4000mA to save on weight, although I tested mine with a 4700 one.
- Propeller: 8x4’’ ÷ 8x6’’ (depending on your altitude) I tested mine at 1600m above the sea level with 8x5’’.
- Brushless motor: ~300W/1000KV with 40A ESC or anything else that would result in ~1Kg of thrust with your propeller choice.
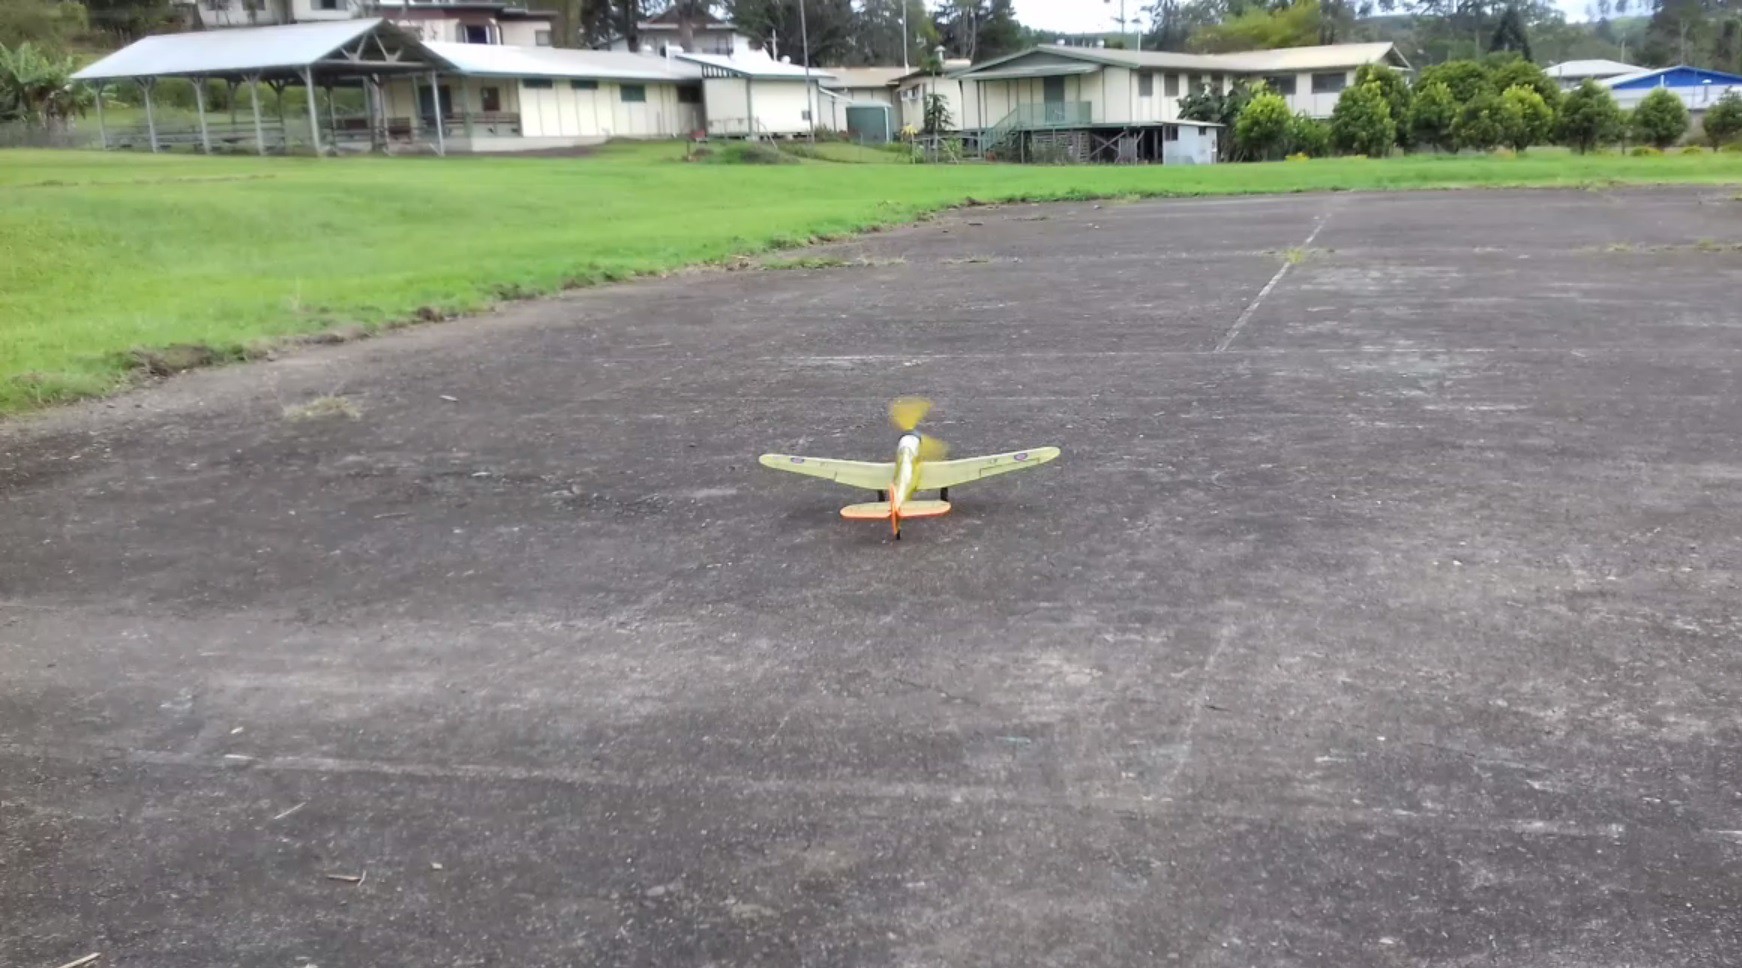
- Tip and propeller attachment: The standard bullet propeller adapter would look more towards the original shape of the plane. I tested it with Prop savers as you can see in the pictures and video. The choice is yours.
- Wing incidence angle: 1.5 degree (adjustable)
- Nose additional weight: I had to add 142g on mine
- GC ~65mm as you measure from the front edge of the middle wing section towards the tail of the plane. Or suspend the plane by the tips of the wings. See picture.
- Material: I used PLA. Feel free to use whatever and post pictures if it flies.
STL Files
All the files can be downloaded from here:
https://cults3d.com/en/3d-model/game/full-rc-hawker-hurricane-3d-printed-project


 Johannes Hassler
 Mitja Breznik
 DrYerzinia
What's the film? It almost looks like Kapton.