 ServError
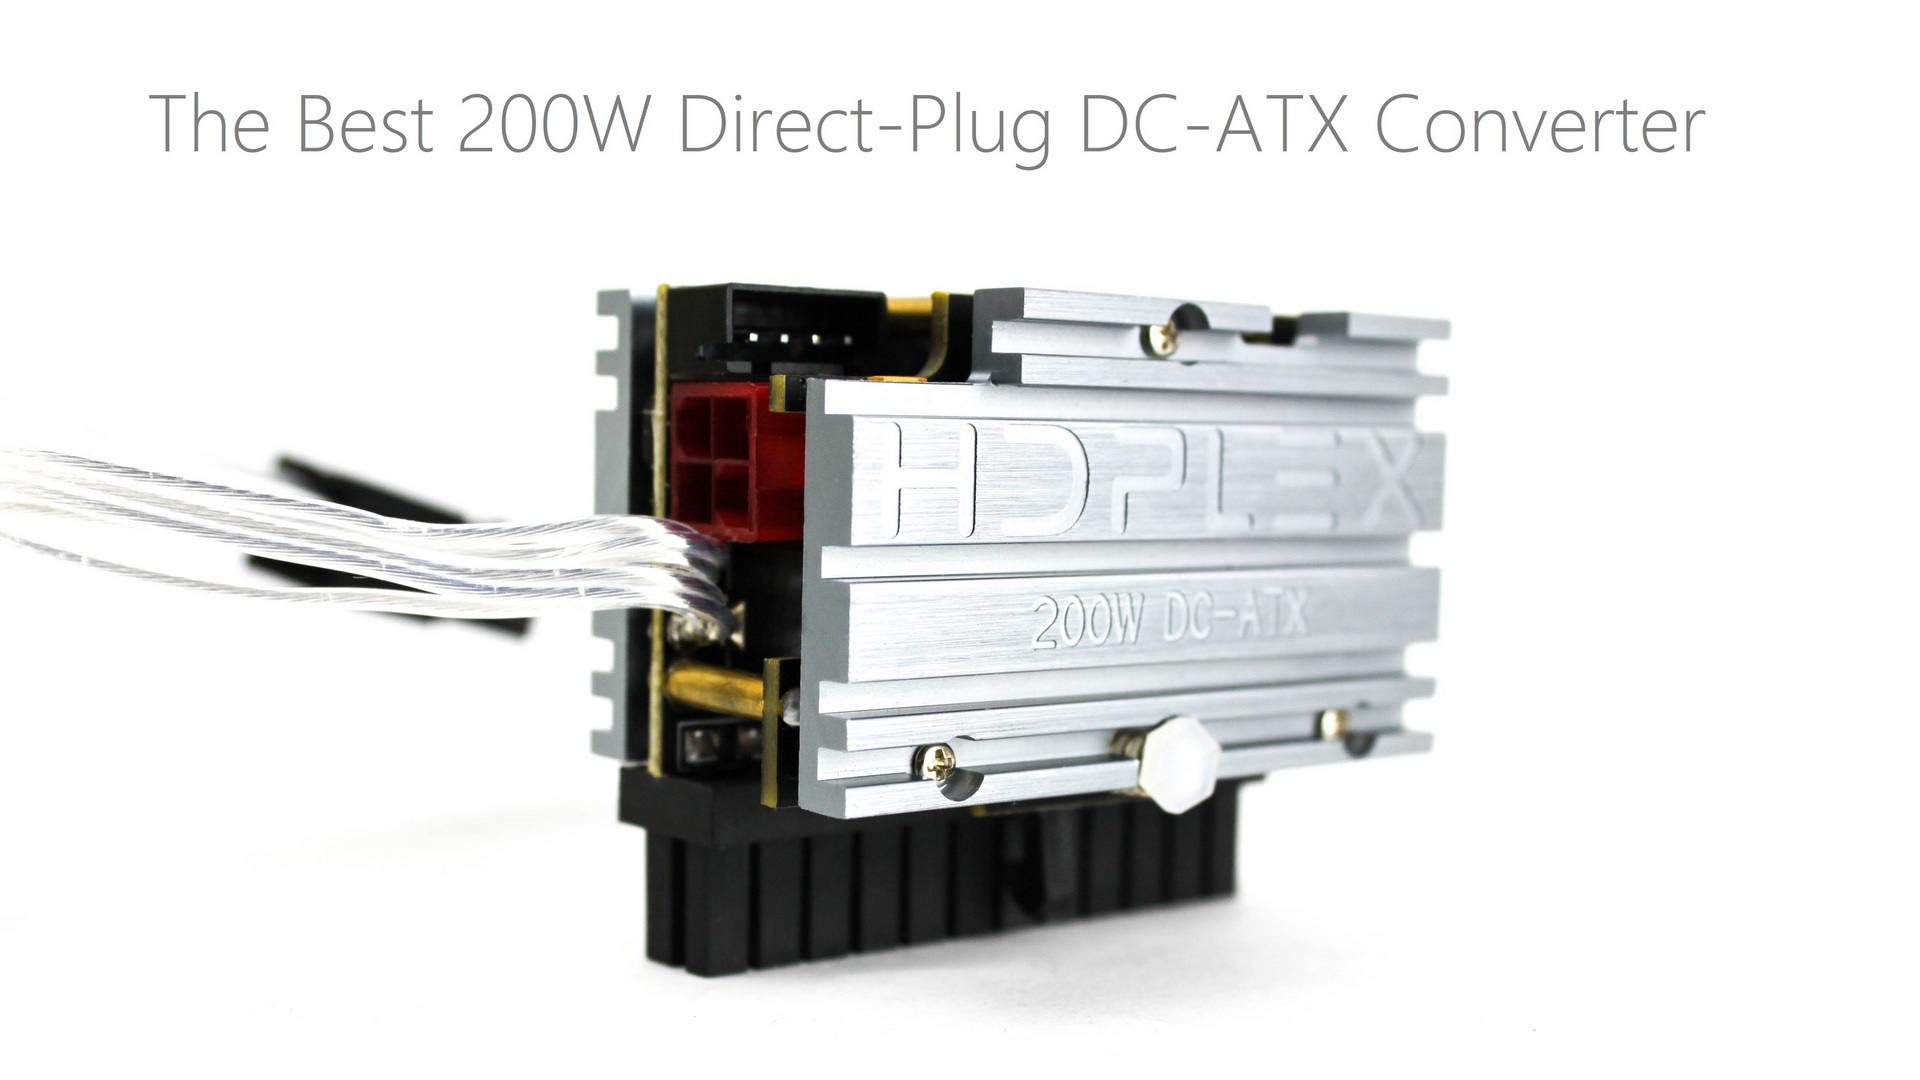
As time went on and I used my bulky backpack, I kept in touch with a company I've mentioned once before in this build log; HDPlex. They were working on releasing a new "direct plug" power supply and after many delays, they finally started taking orders. Direct plug supplies are ones that sit directly on top of the 24 pin ATX power connector, meaning that this thing is insanely tiny for a unit that includes an 8 pin GPU connector. The downside though is that it's only rated for 200 watts continuously, and 220 watts peak. This means that if my custom CPU/GPU frequency voltage curves somehow get wiped out, I start coming very close to the limit. I trust their power ratings though based on previous user feedback, and decide that I'll add a power meter at a later stage to safeguard against any unusual scenarios.
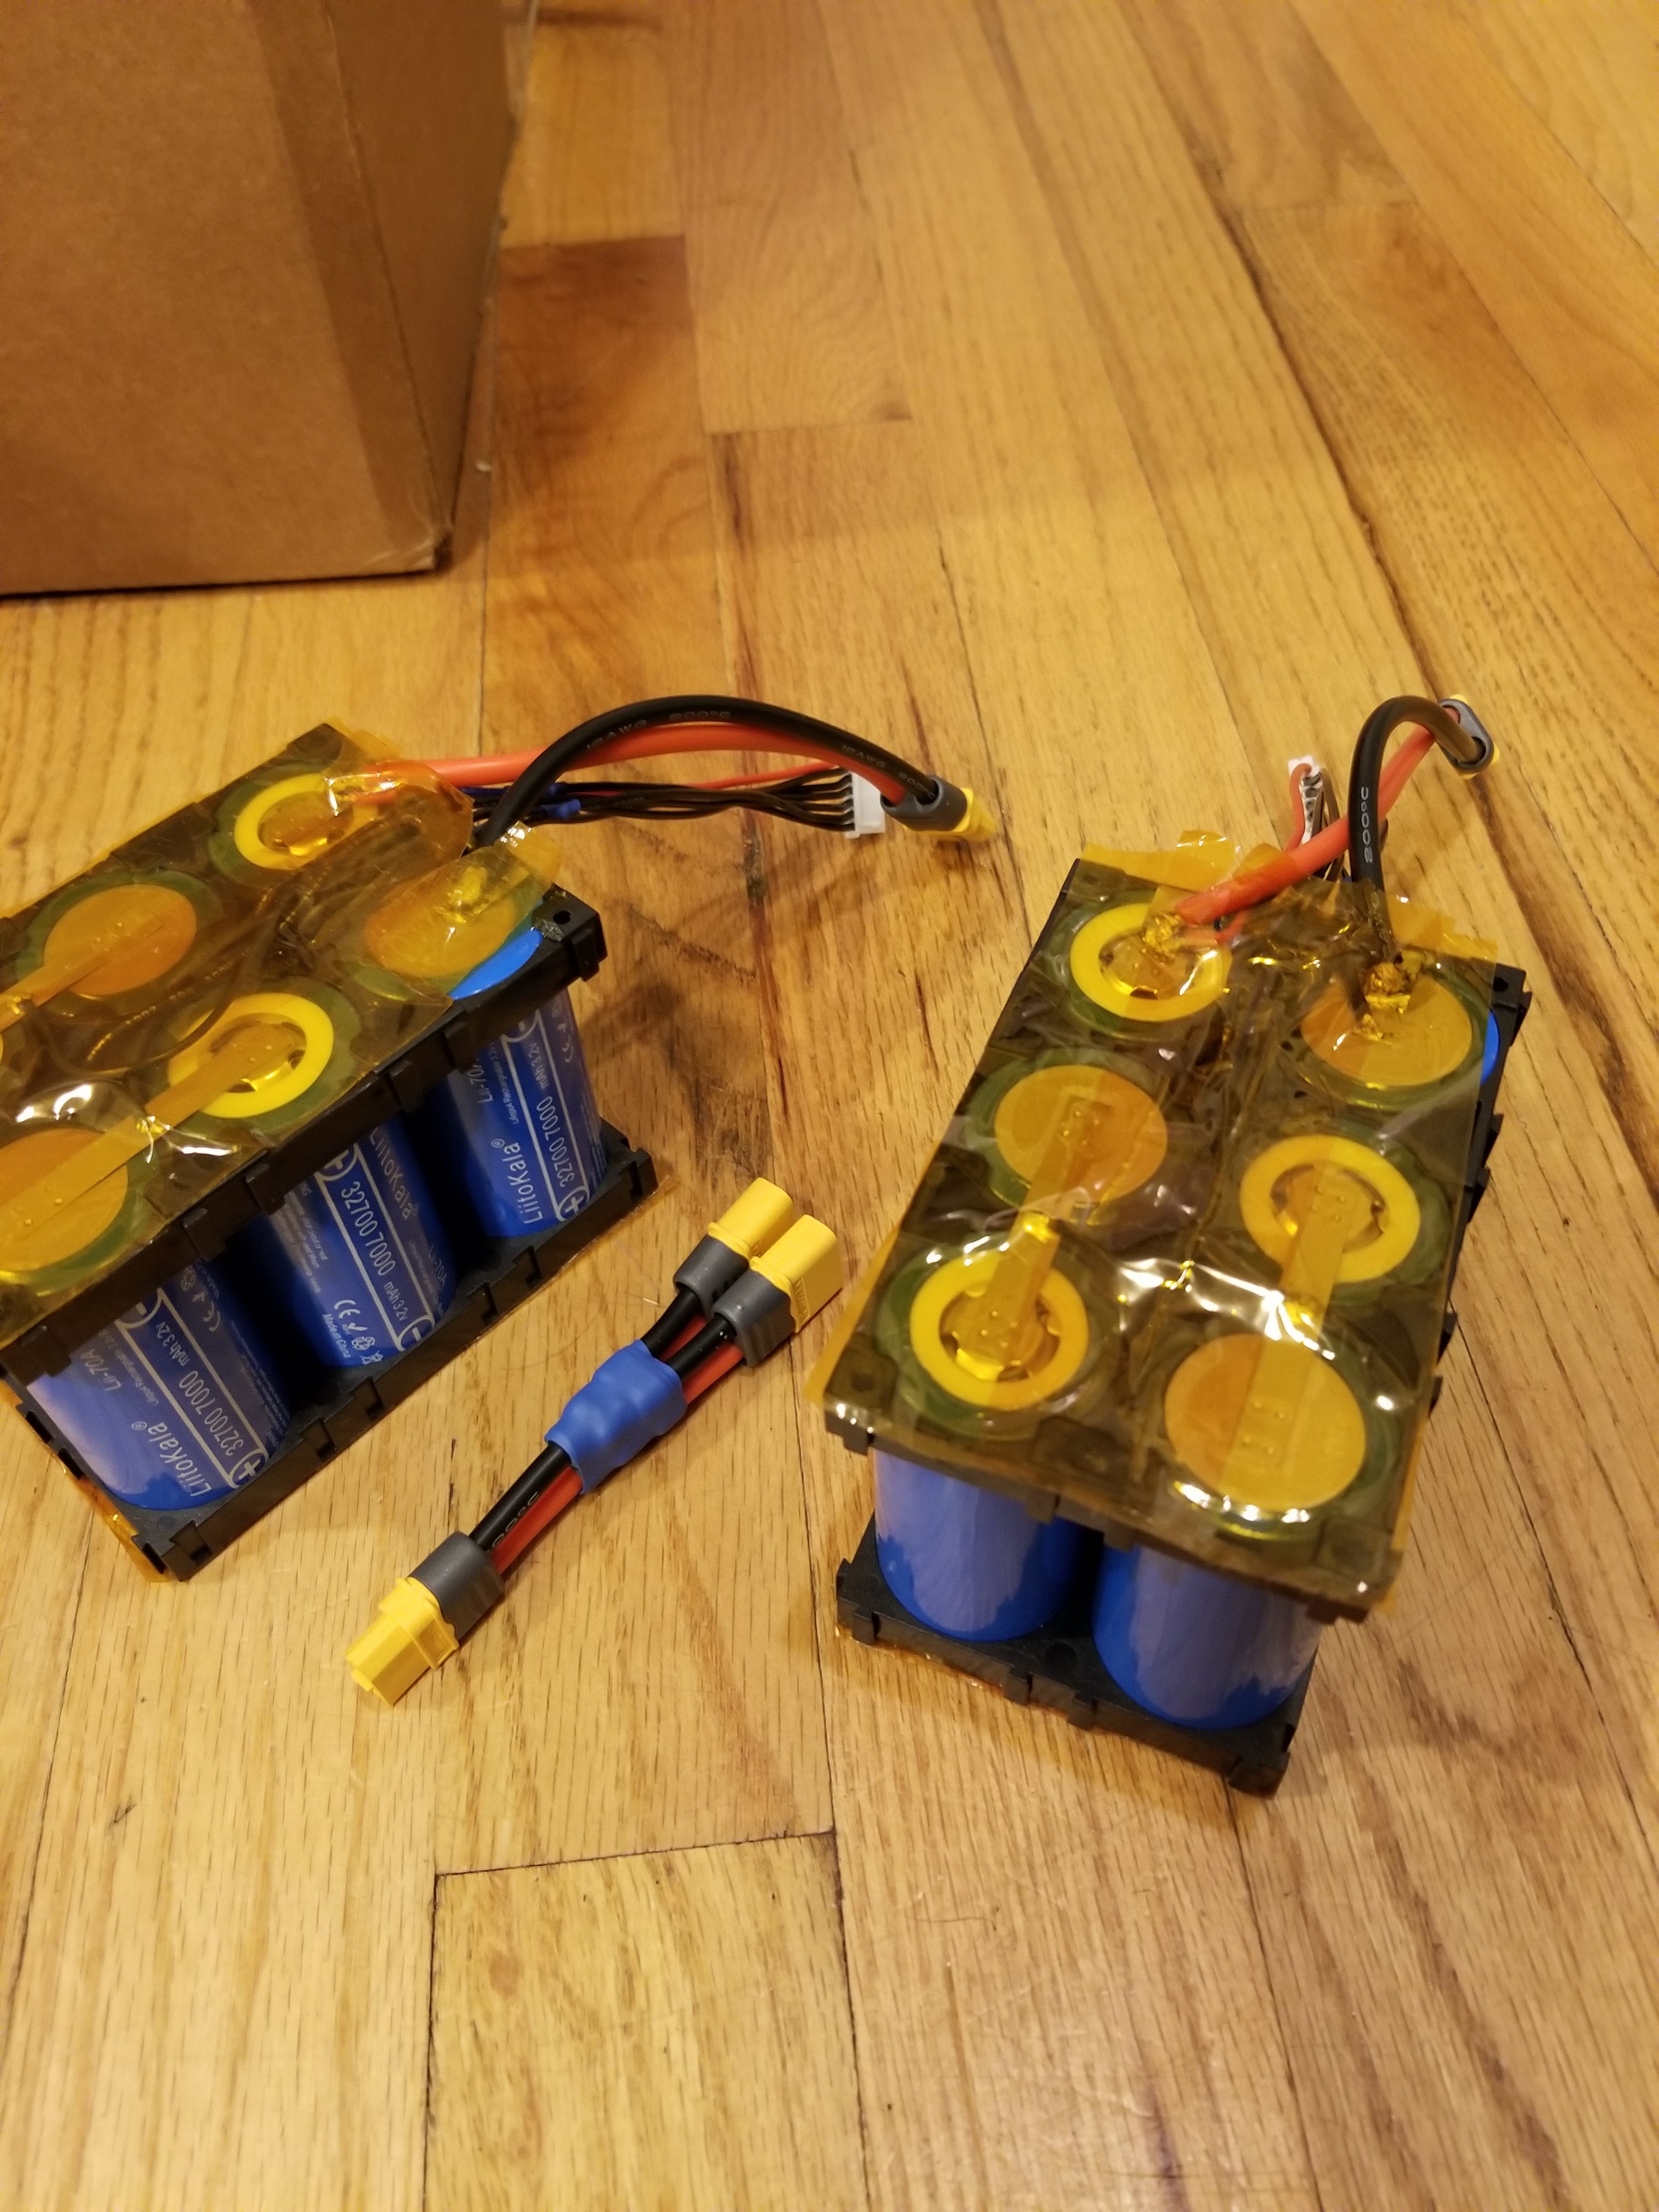
I quickly made a parallel adapter for my batteries, as its been on the back burner for too long.
And now for the interesting bit... Around this time IMAX decided to shut down their VR business and clear out their VR backpacks. This gave me an opportunity to pick up a zotac VR Go for pretty cheap, though it lacked batteries and a charger. I played with the backpack for a bit, mocked its inferior specs (laptop 1070 and i7 6700T), and parted it out, keeping only one part.
The backpack frame.
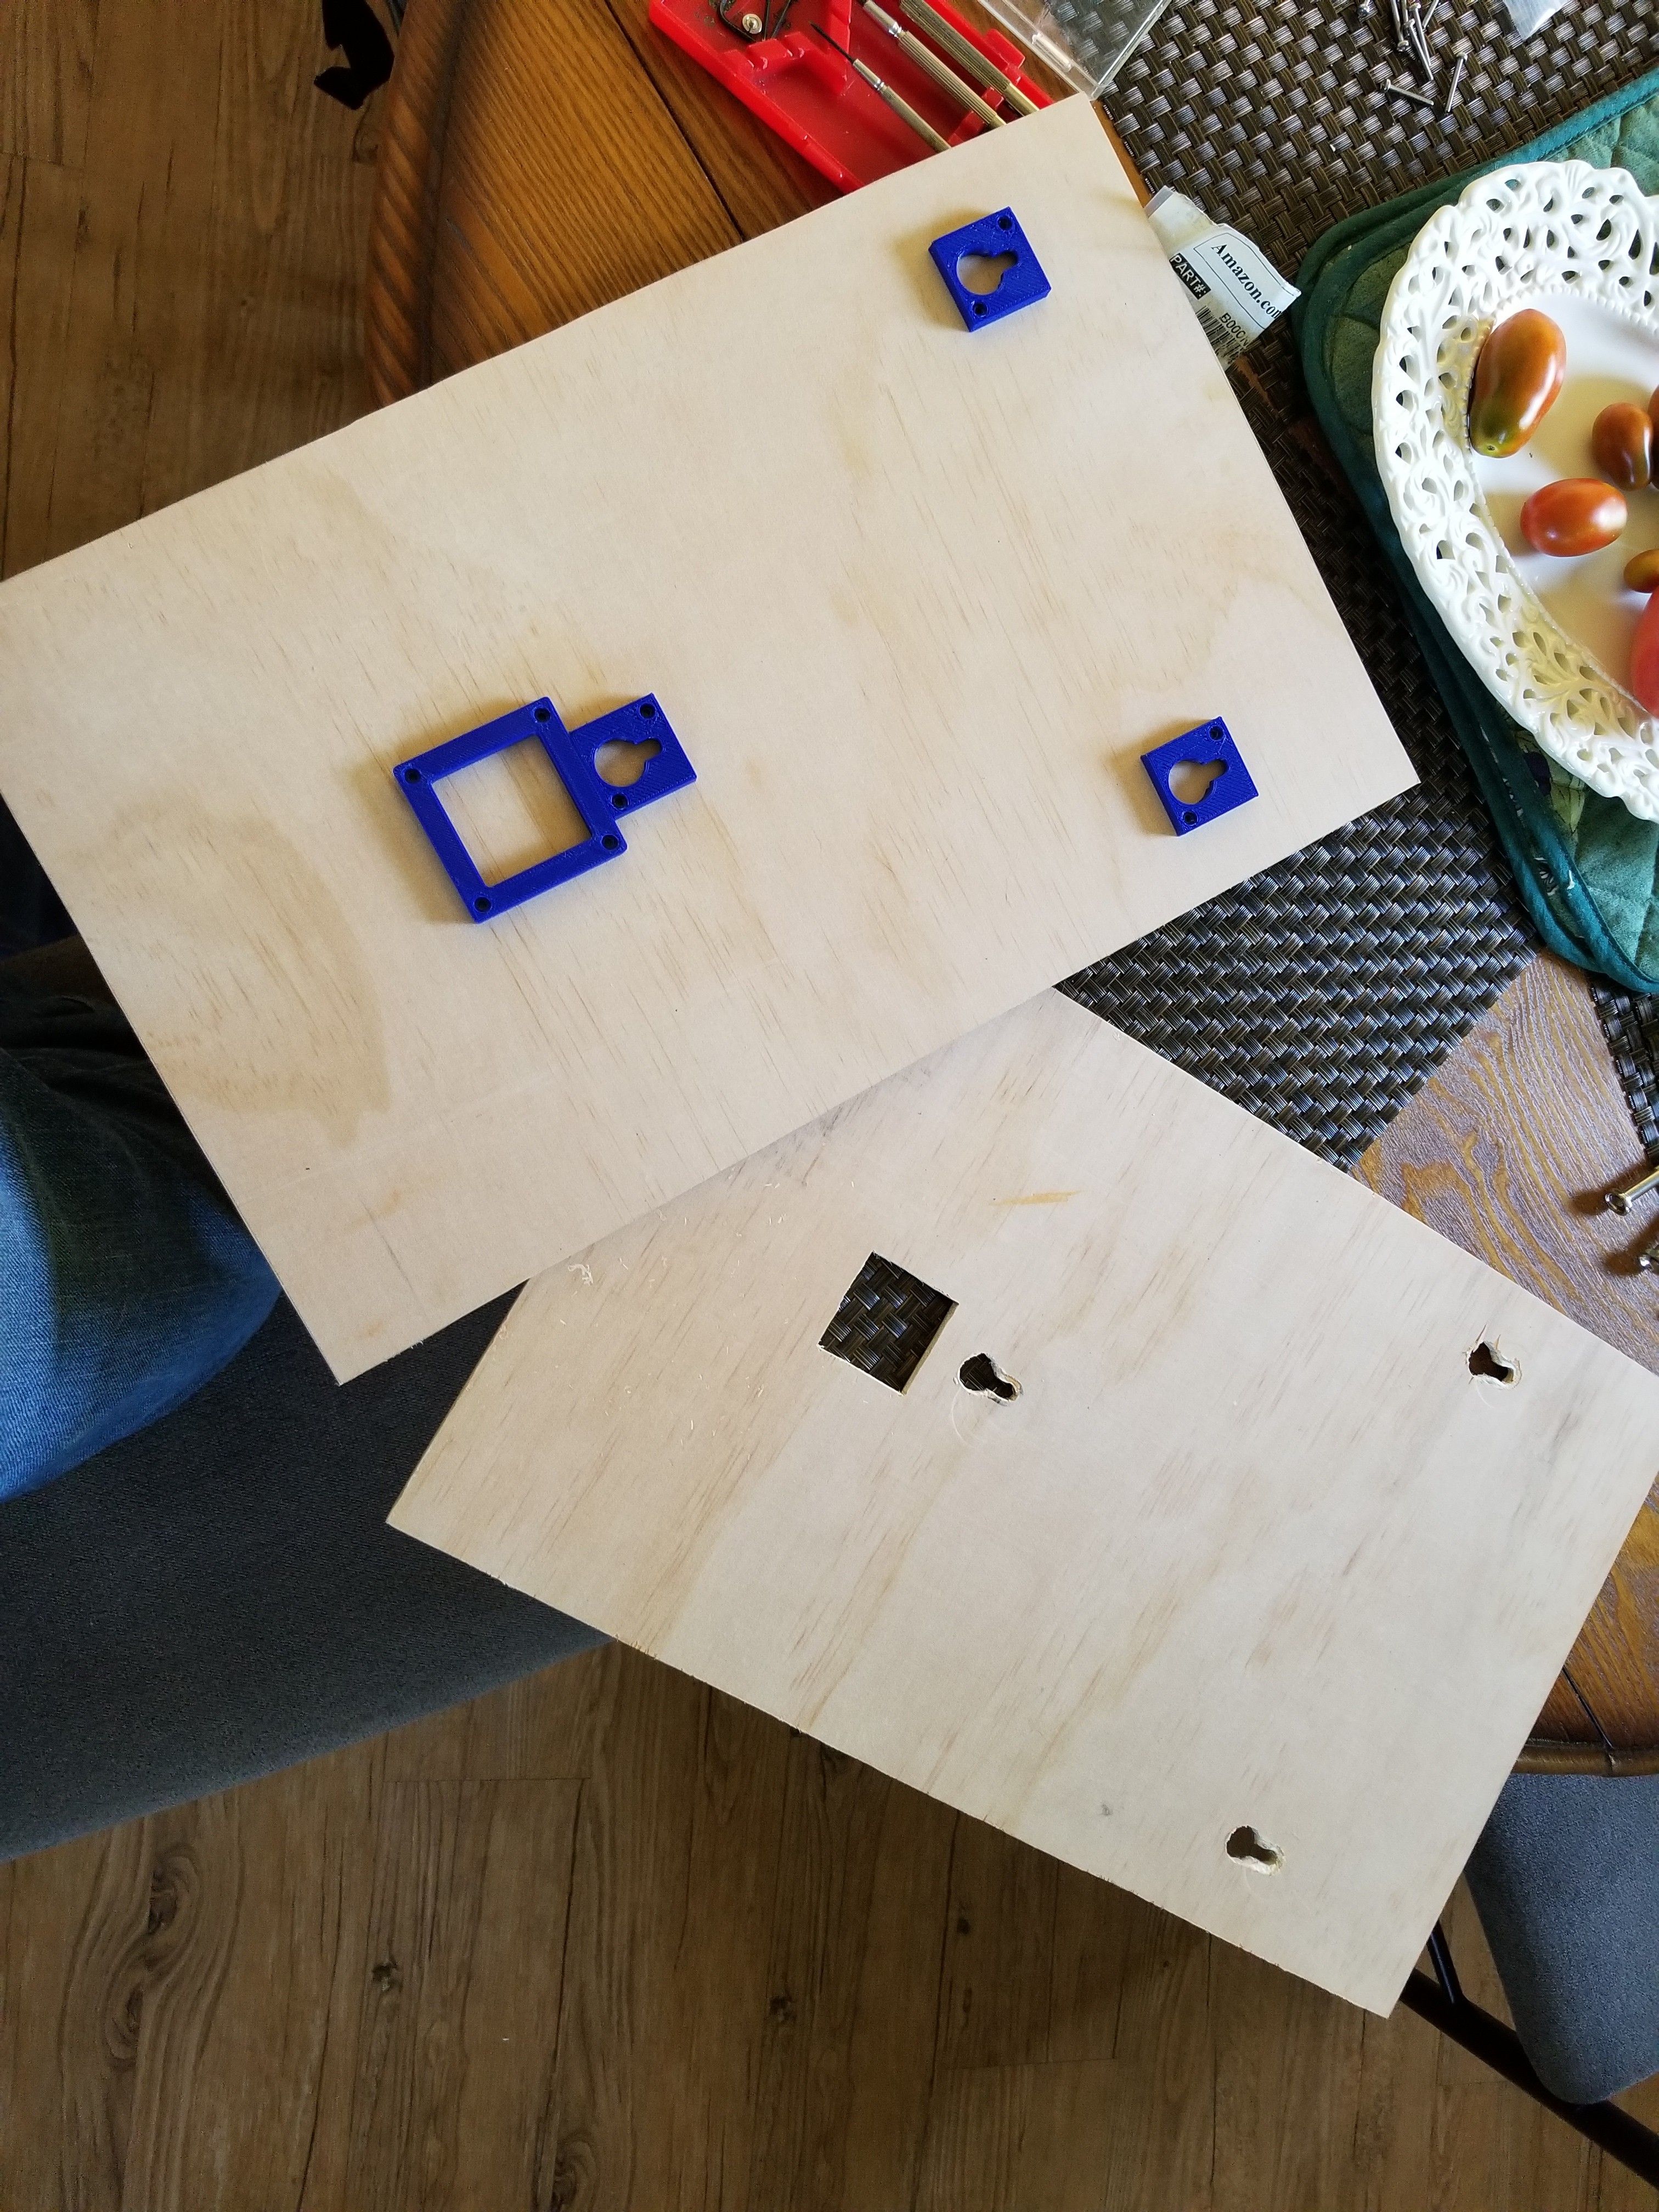
So the time came to start over on the plywood base and make a setup compatible with the zotac's mounting system. I made two versions, one that allowed the mounting studs to slip directly into the plywood, and one that used some 3D printed mounts I mocked up that would screw into the plywood. Because of the hardware that would be attached through the plywood, the 3D printed route made more sense.
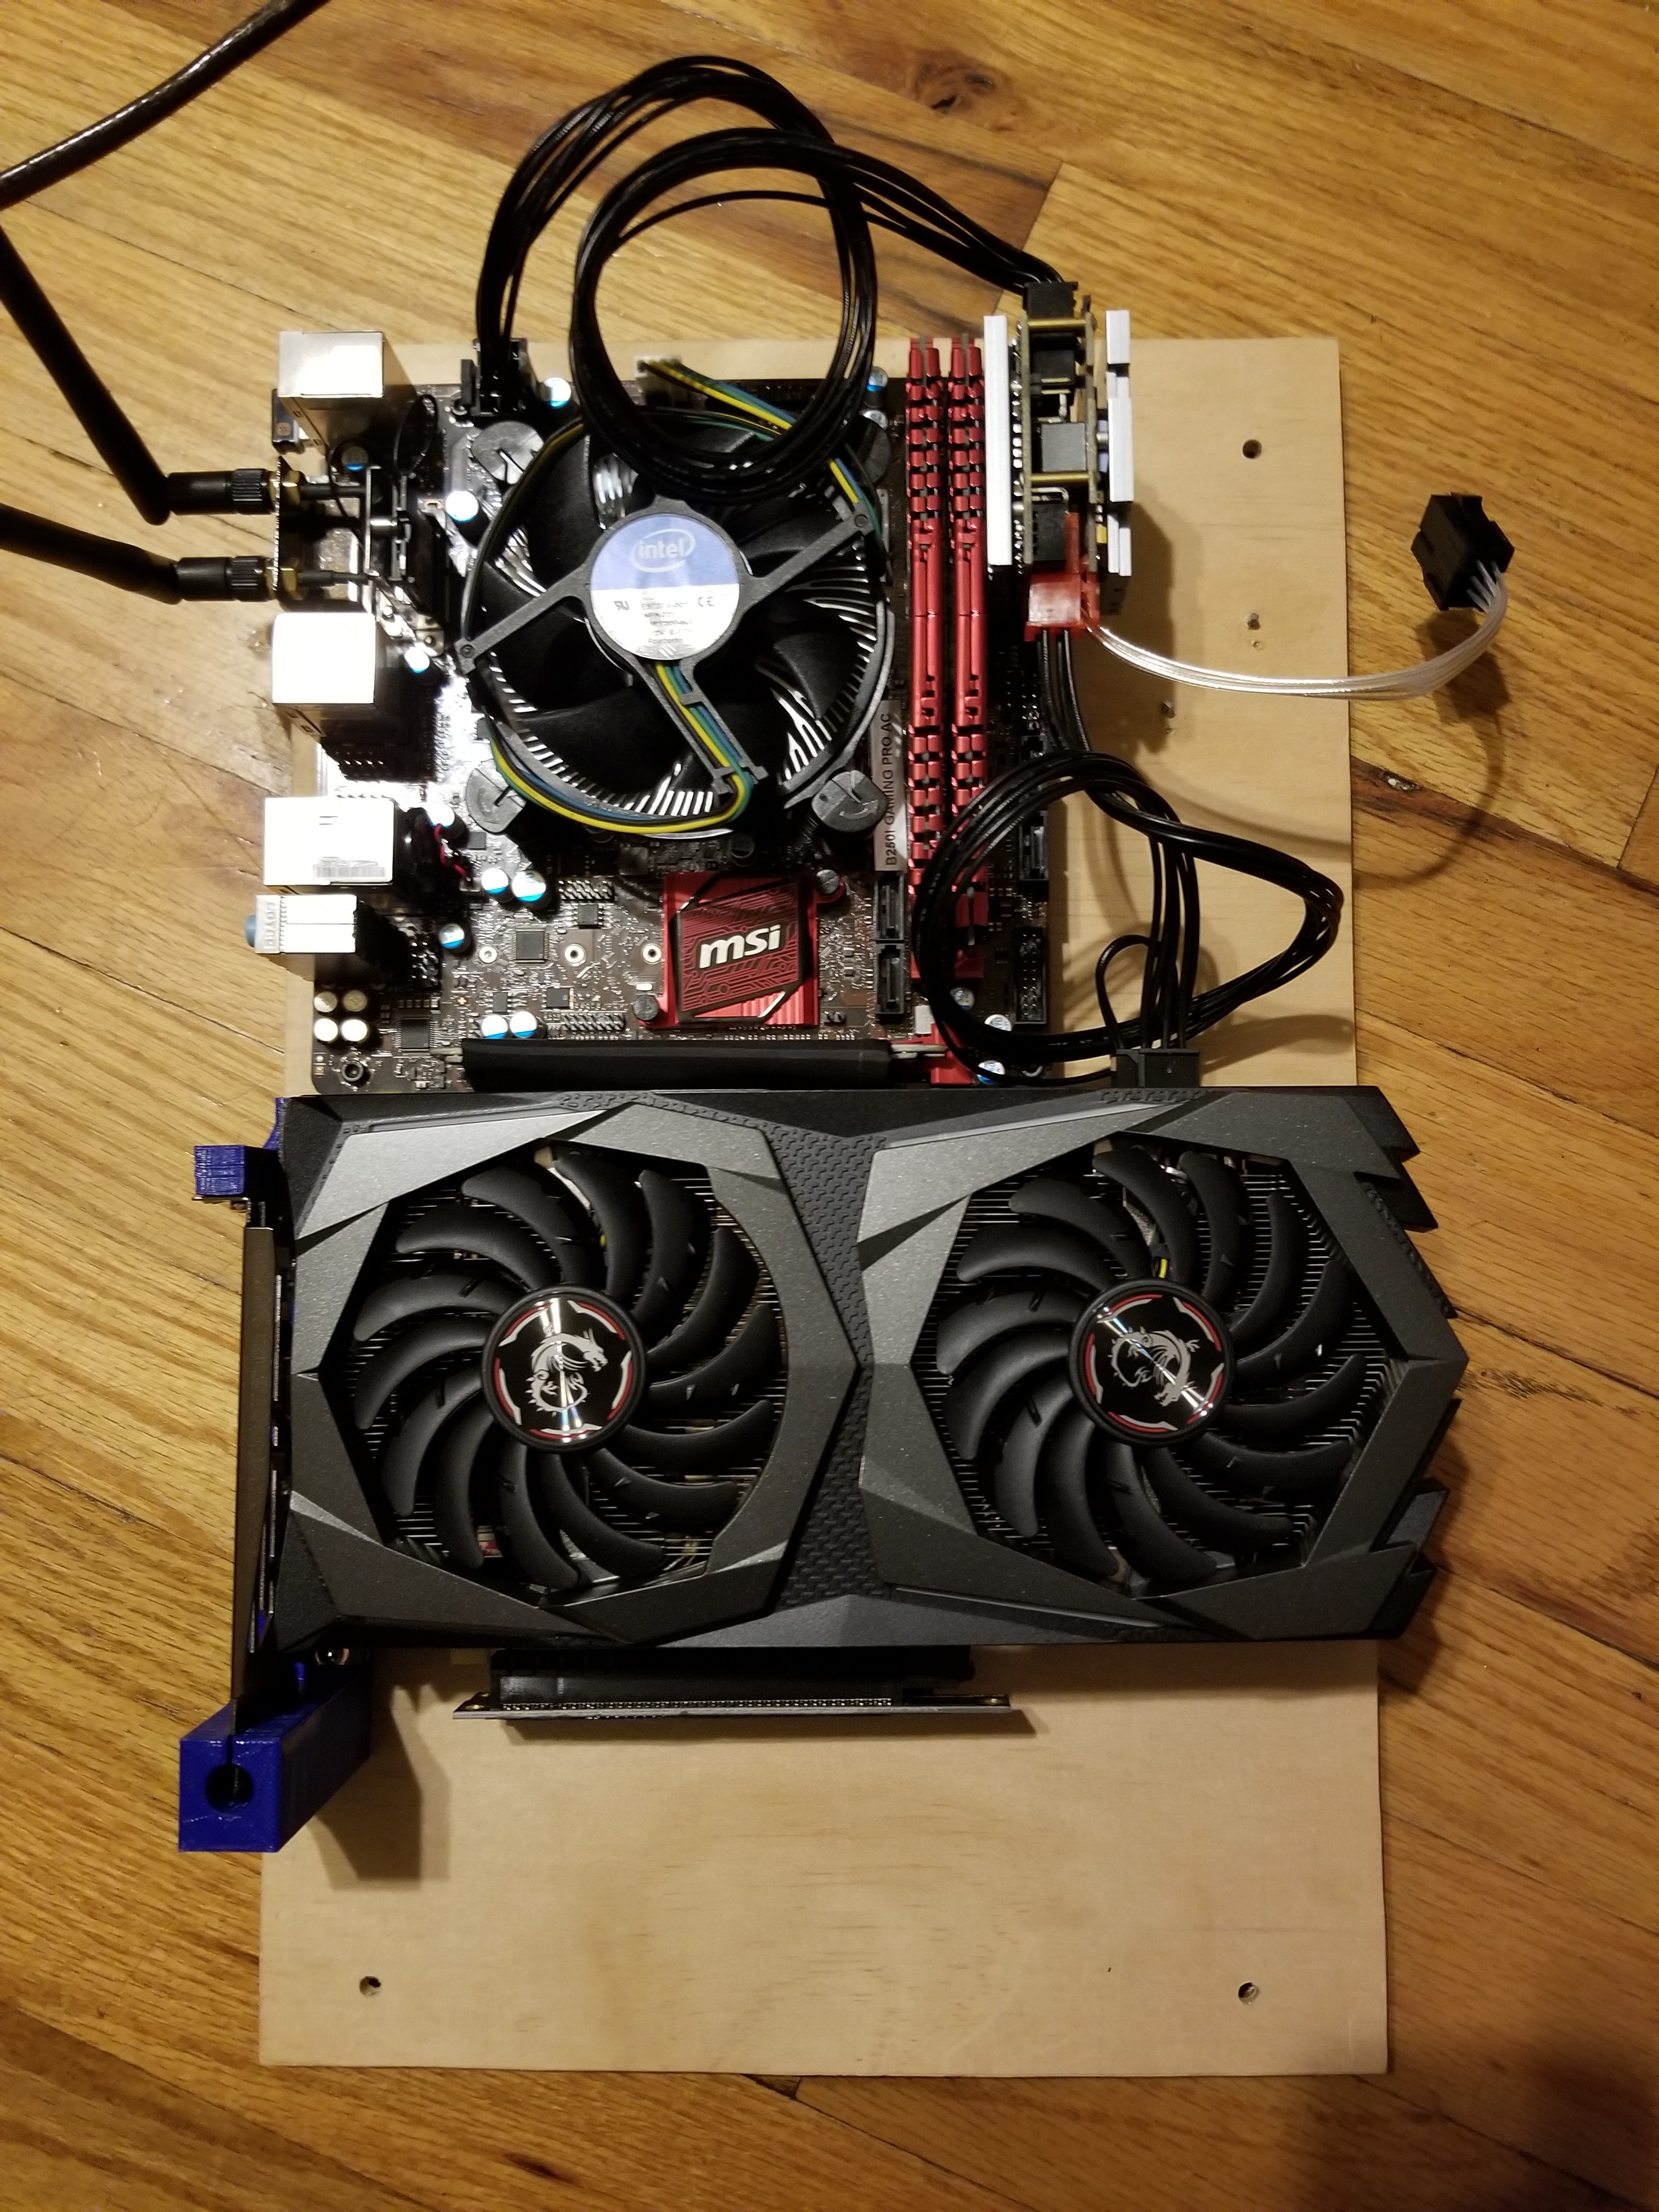
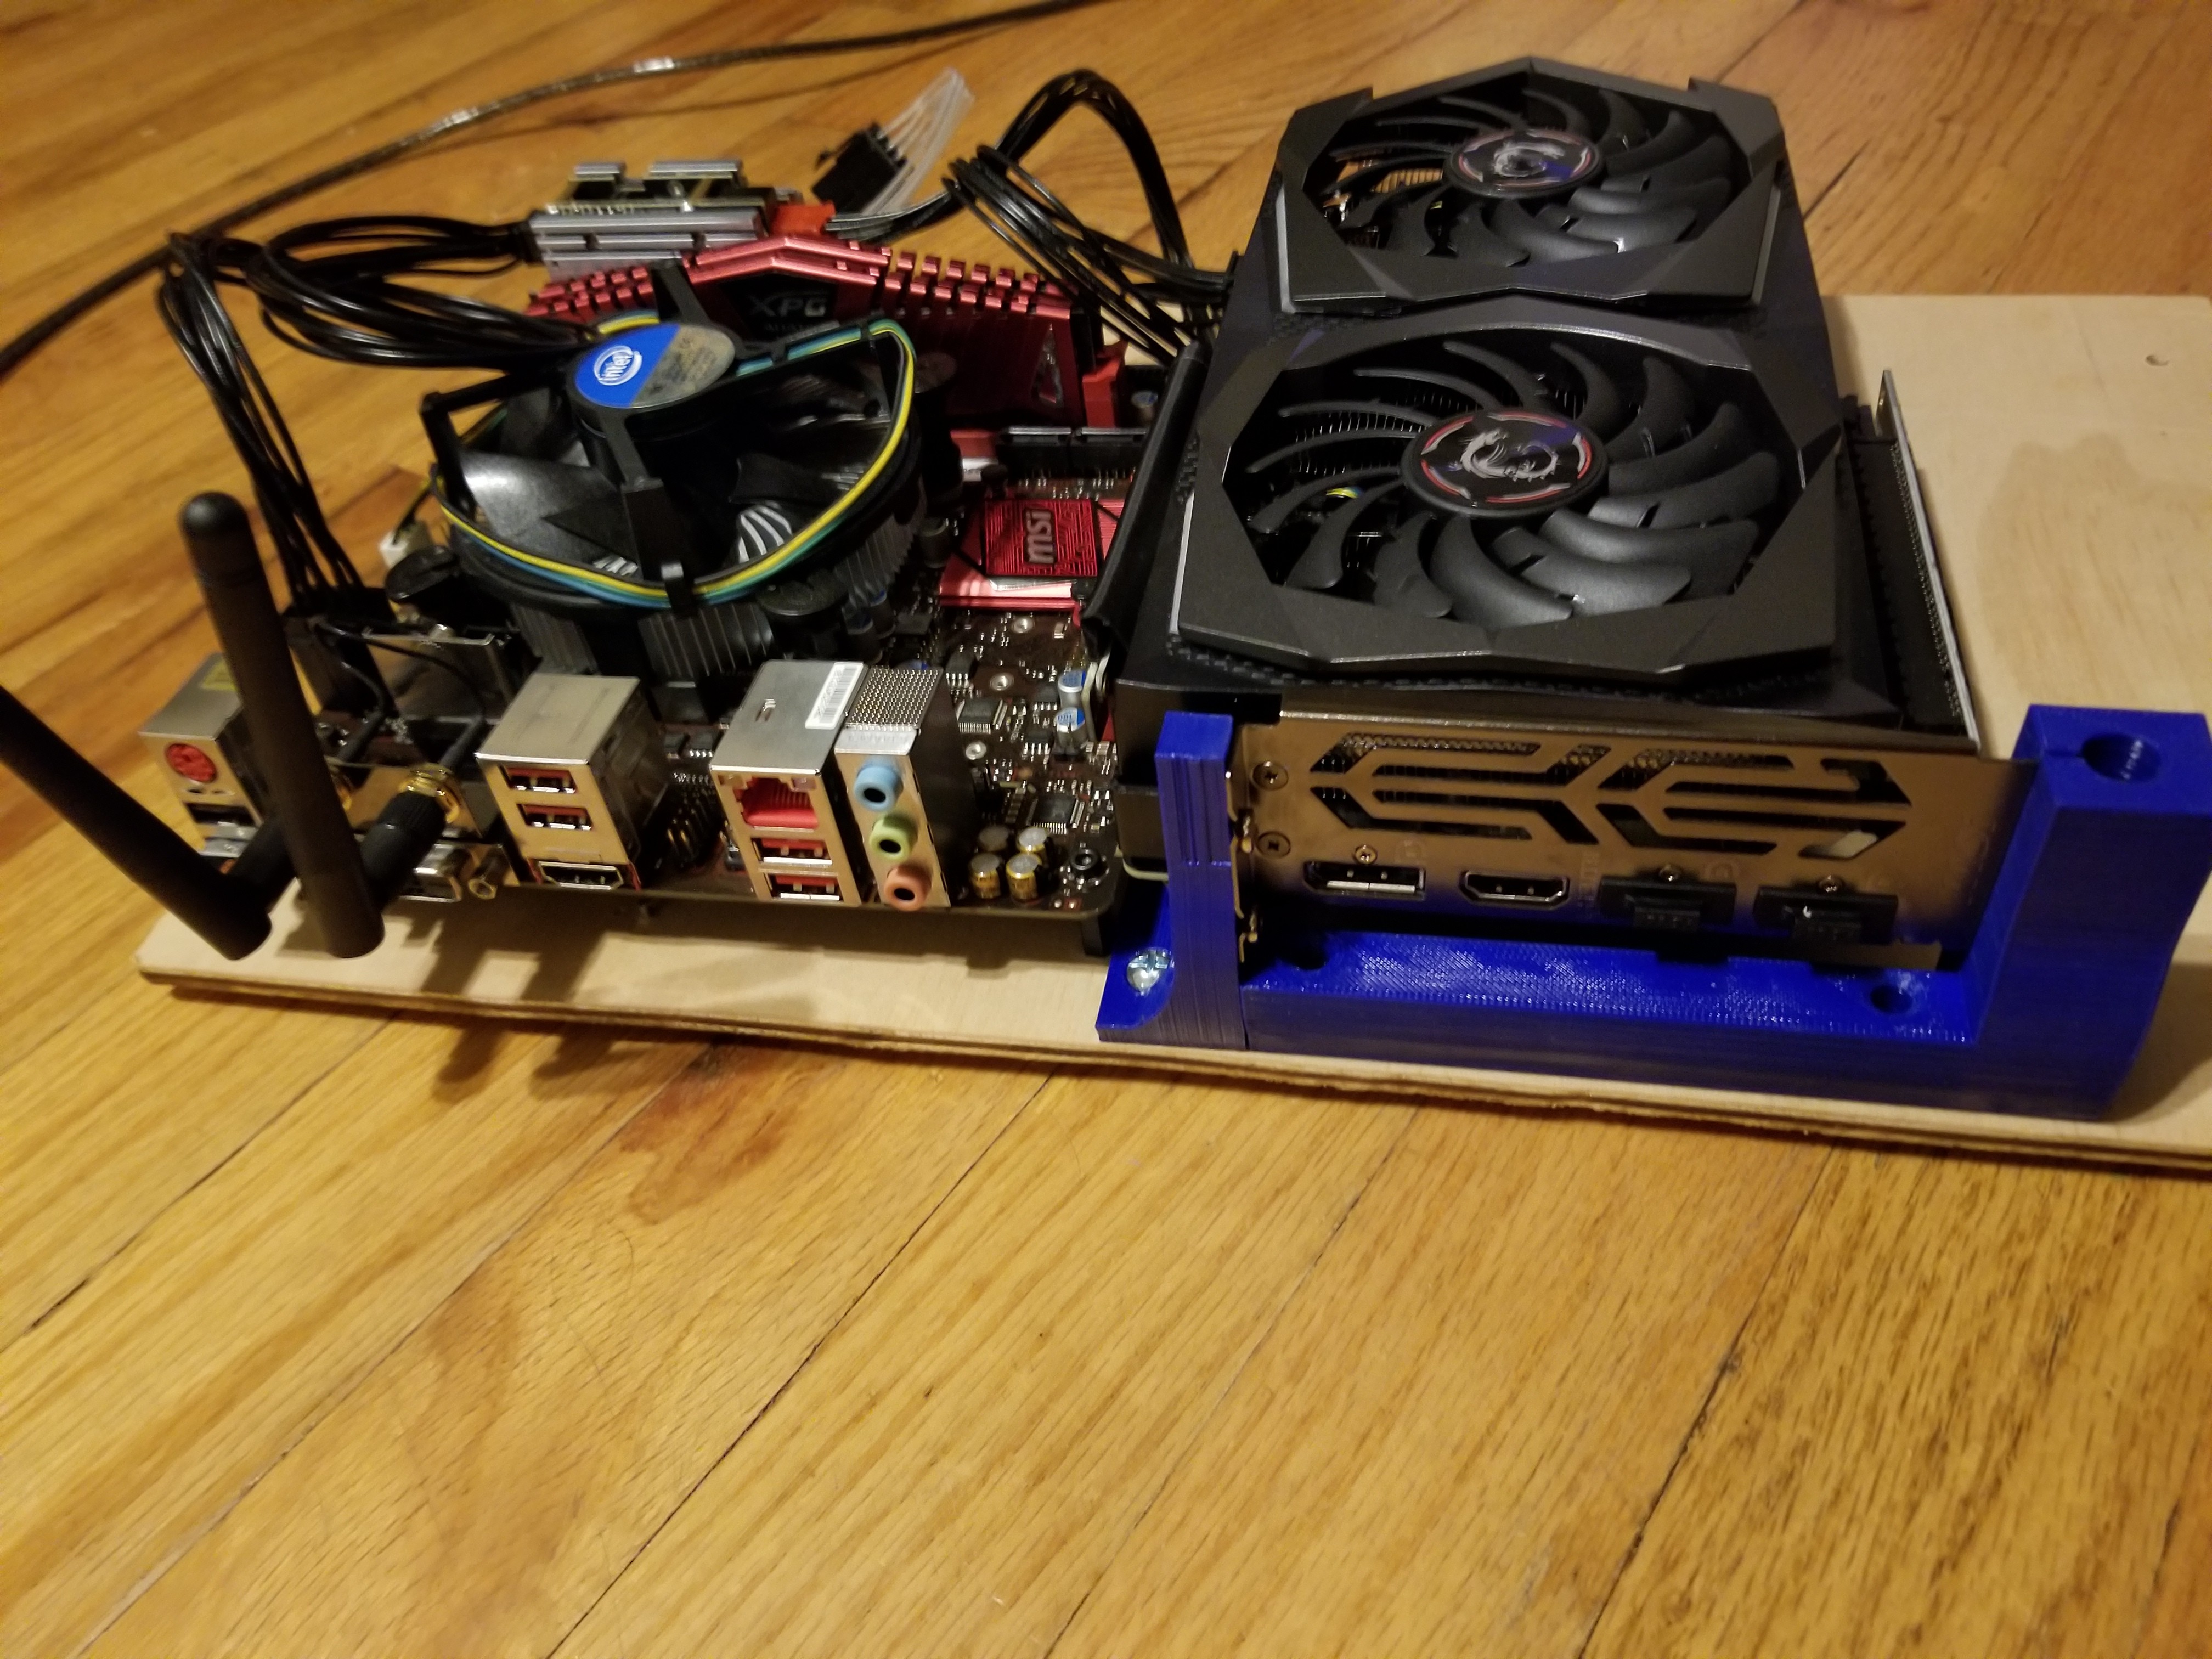
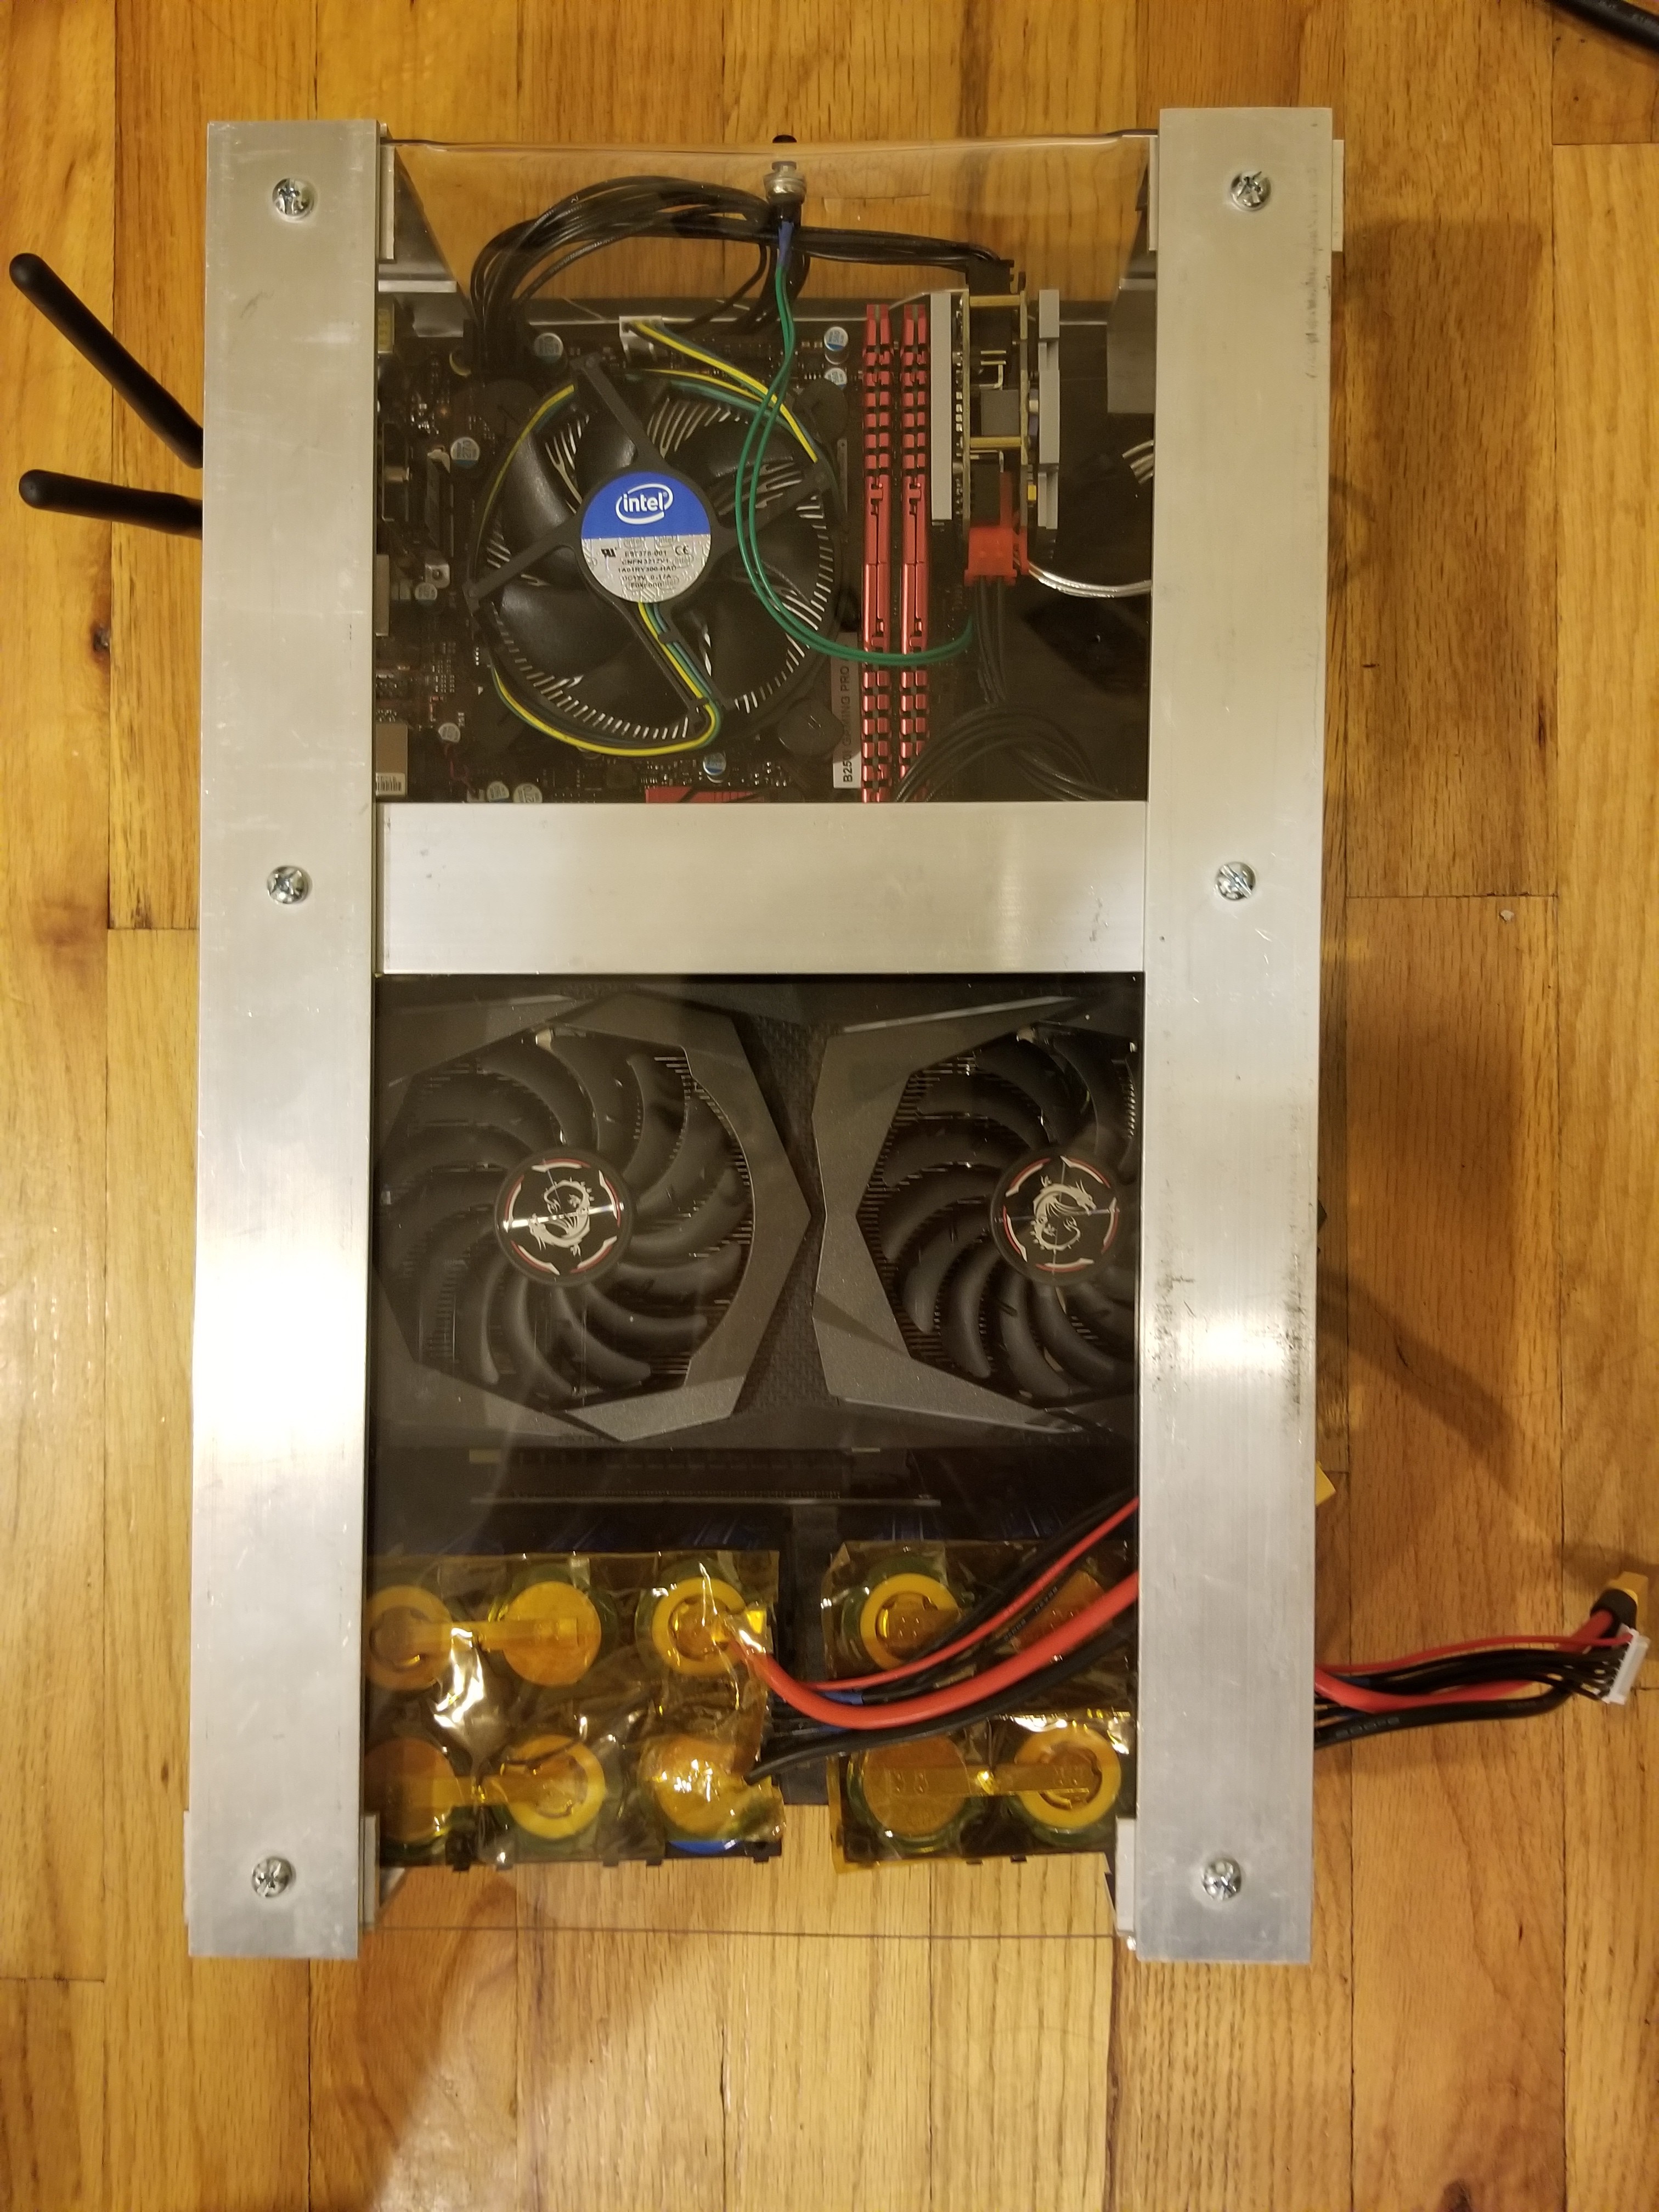
I laid out the components on this new base for a test fit. The idea in this build was to put the GPU vertically to shave off a huge amount of the original width. One PCIe extension later and...
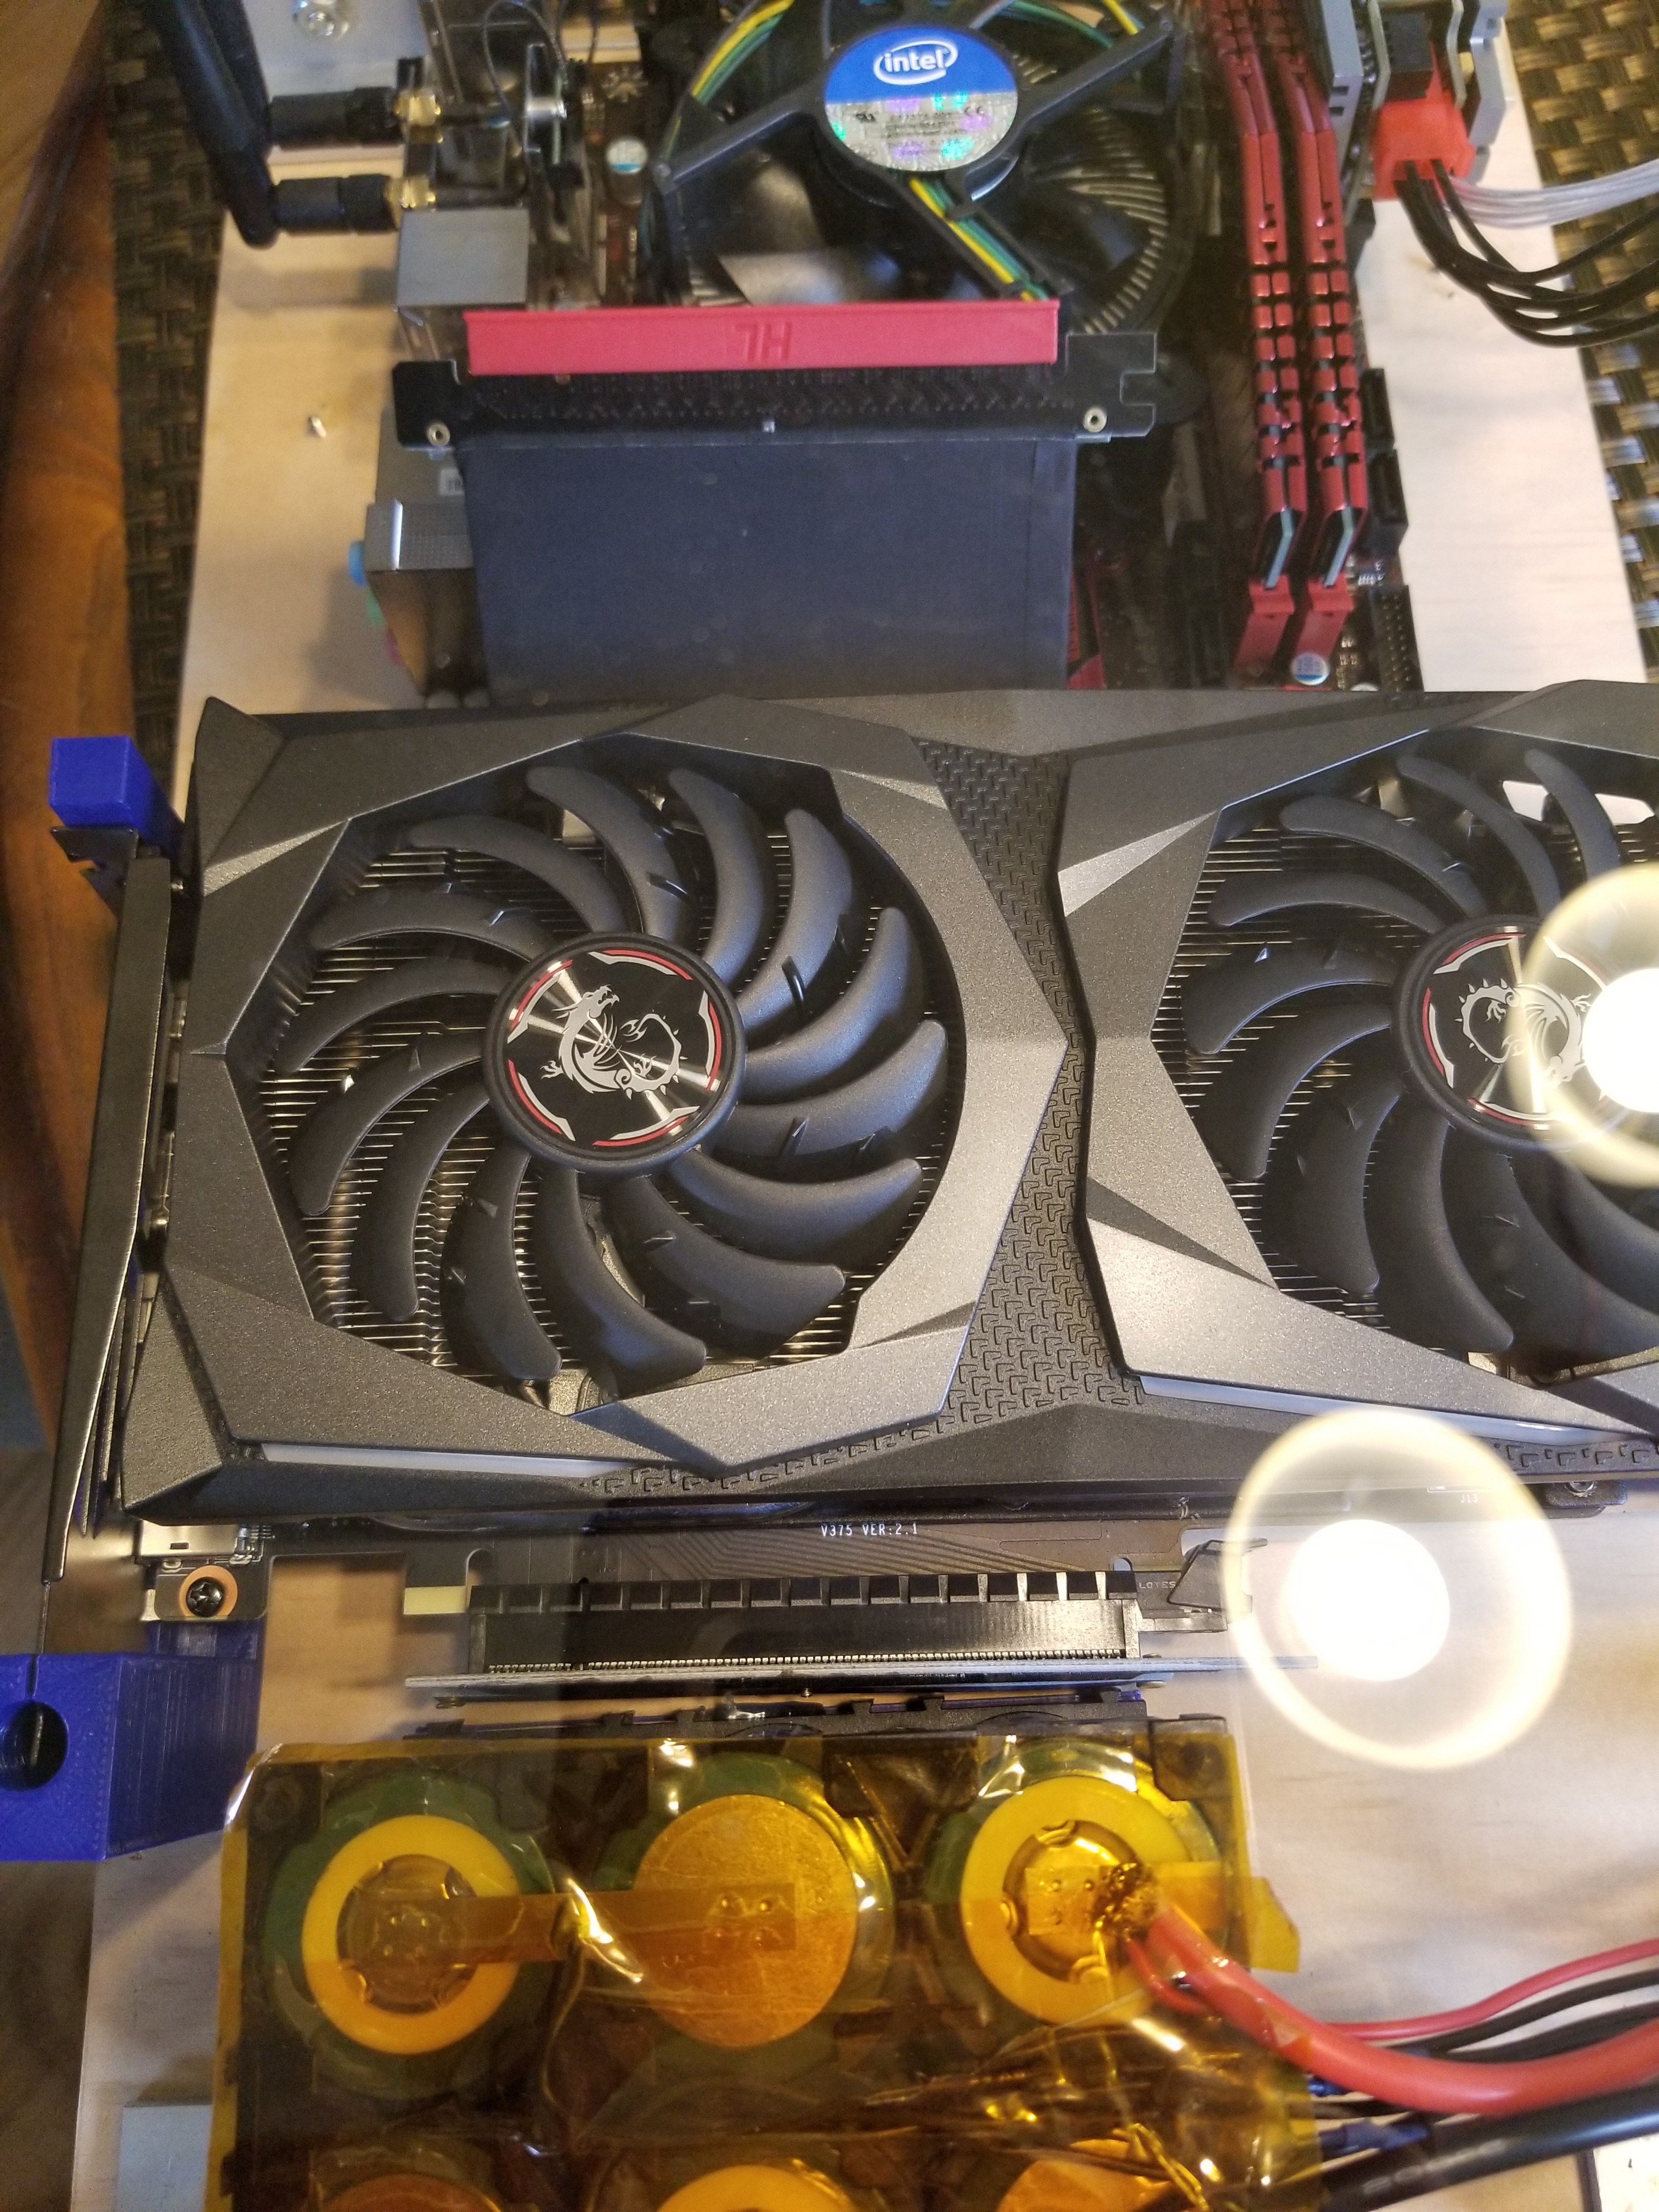
It's tight, but it works. I'm using a GPU wall mount adapter from Thingiverse (link pending), but needed to make a brace for the rear of the card to prevent movement. I used the metal backplate as a wedge for the brace I eventually modeled.
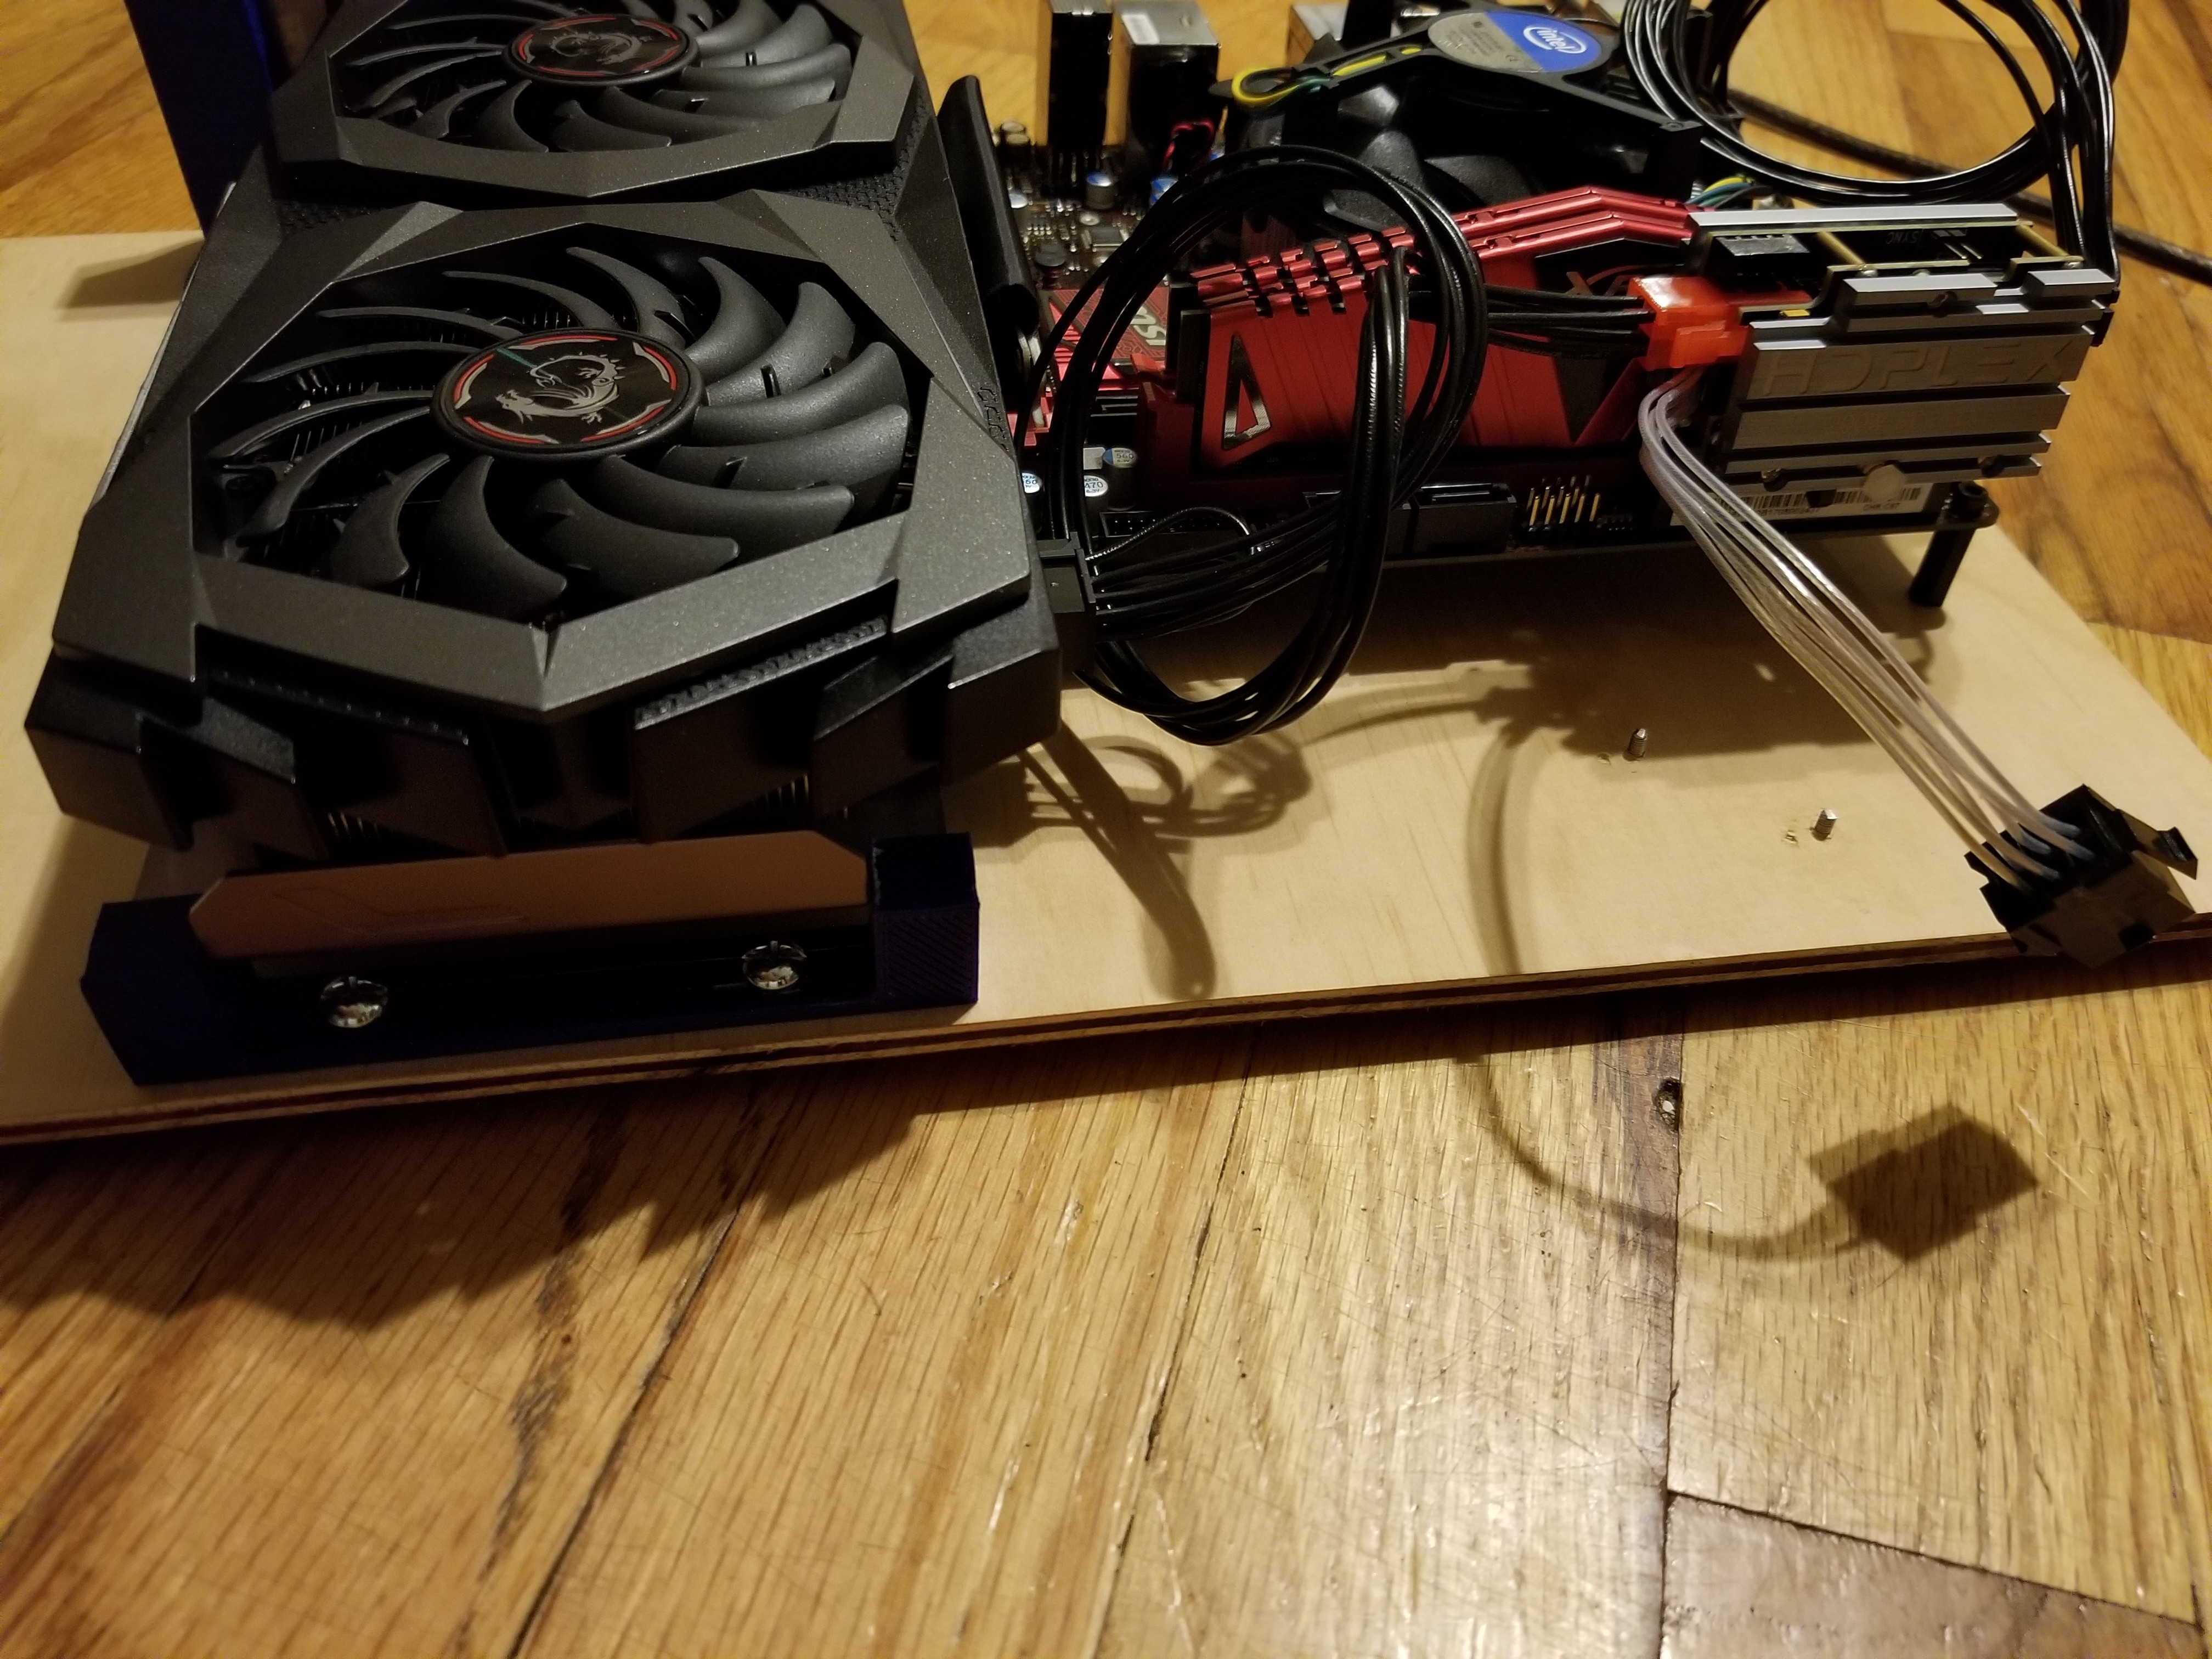
Time for a quick power on test with the new power supply.
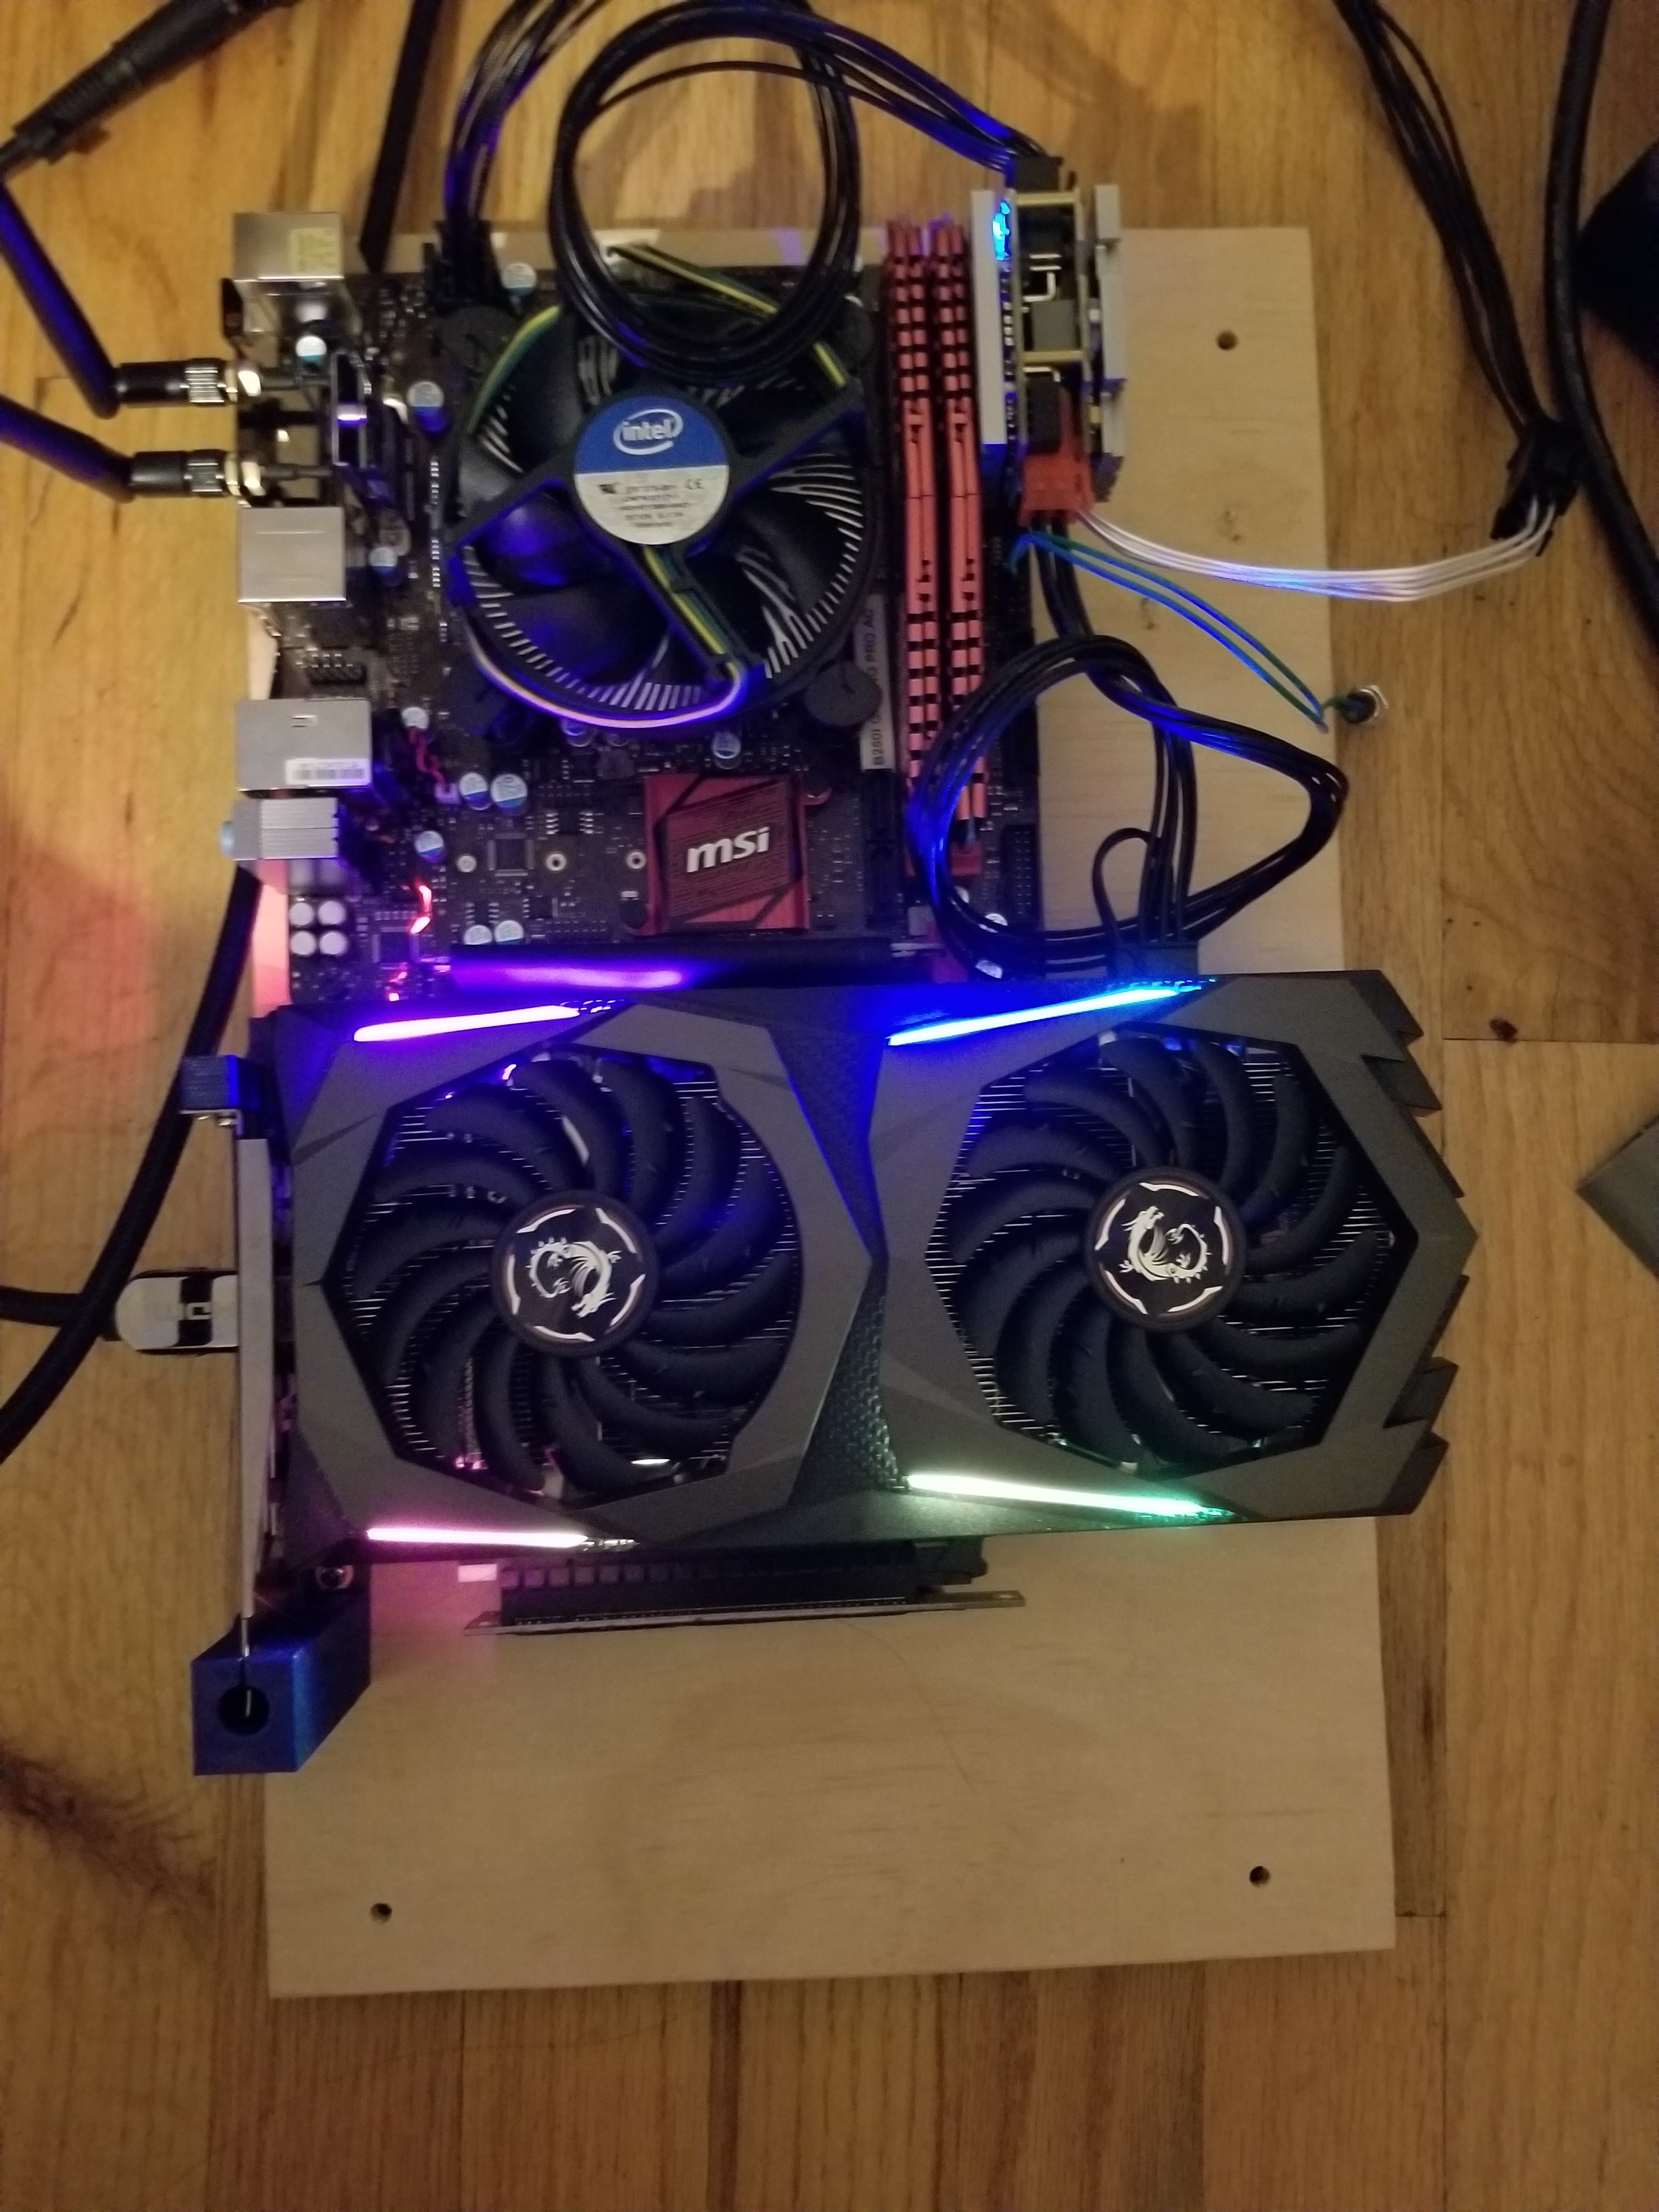
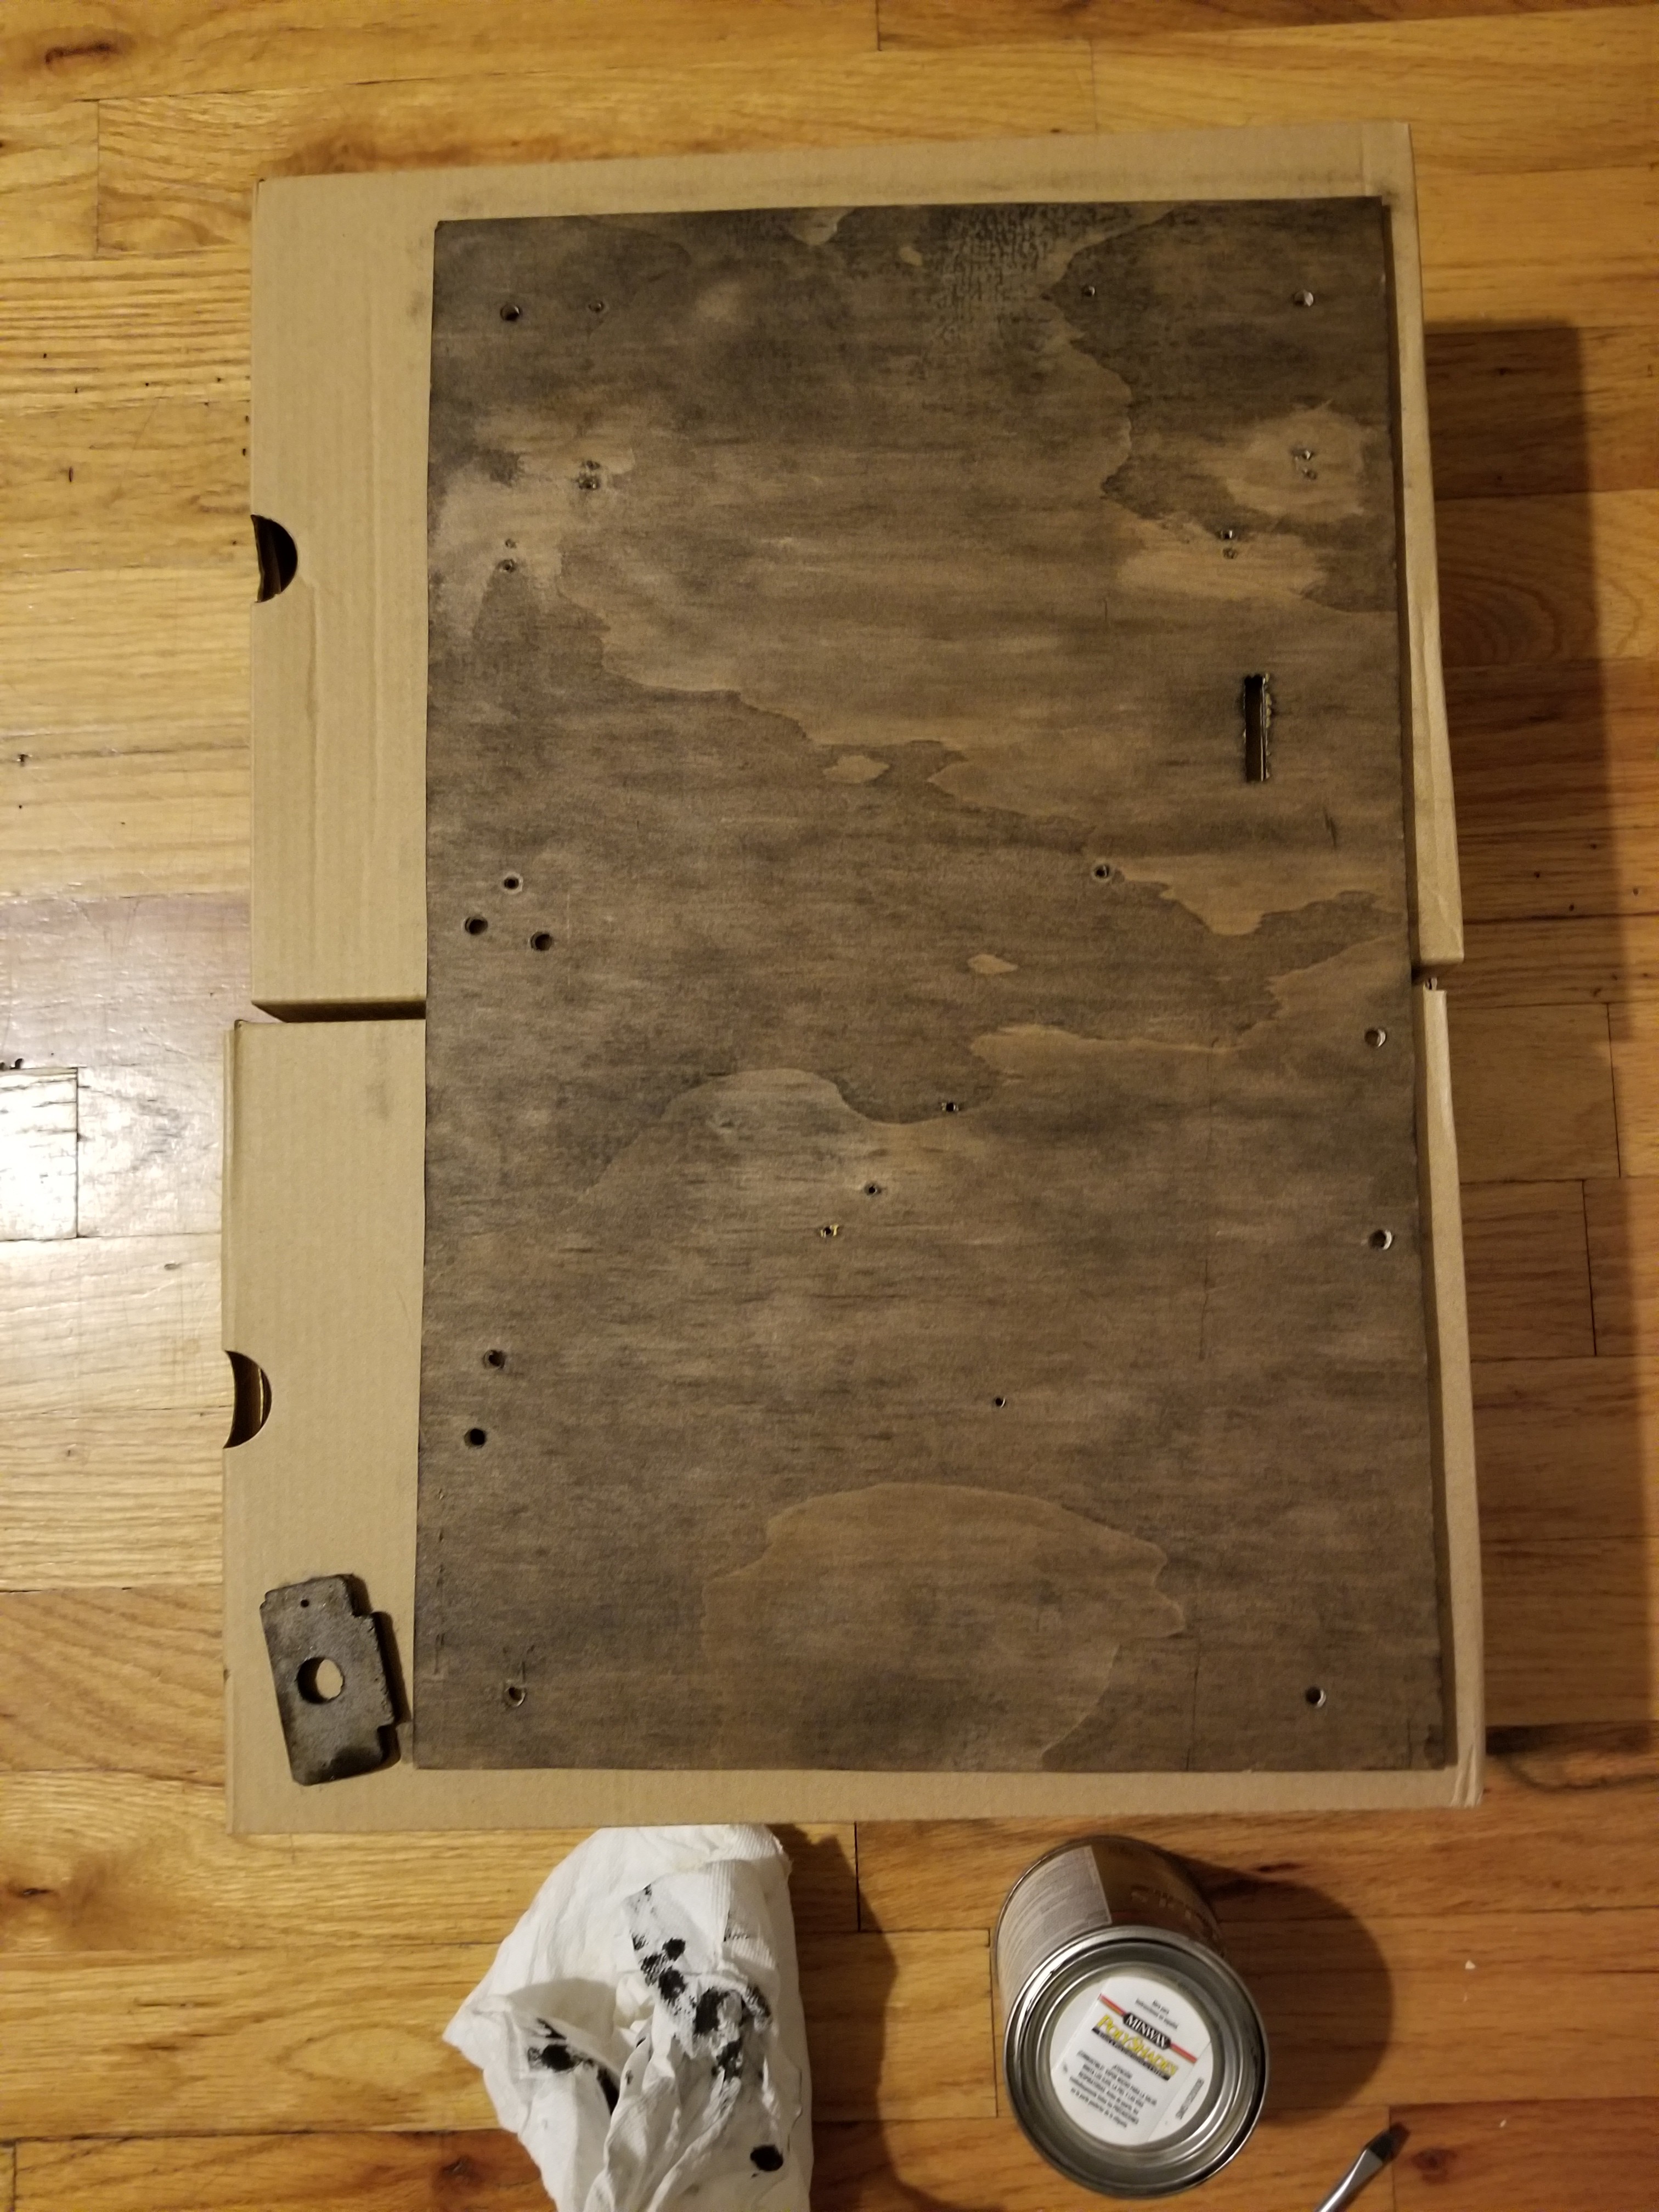
More Success! Time to take it all apart and start staining. The extra piece off to the left is a small riser for the DC barrel jack.
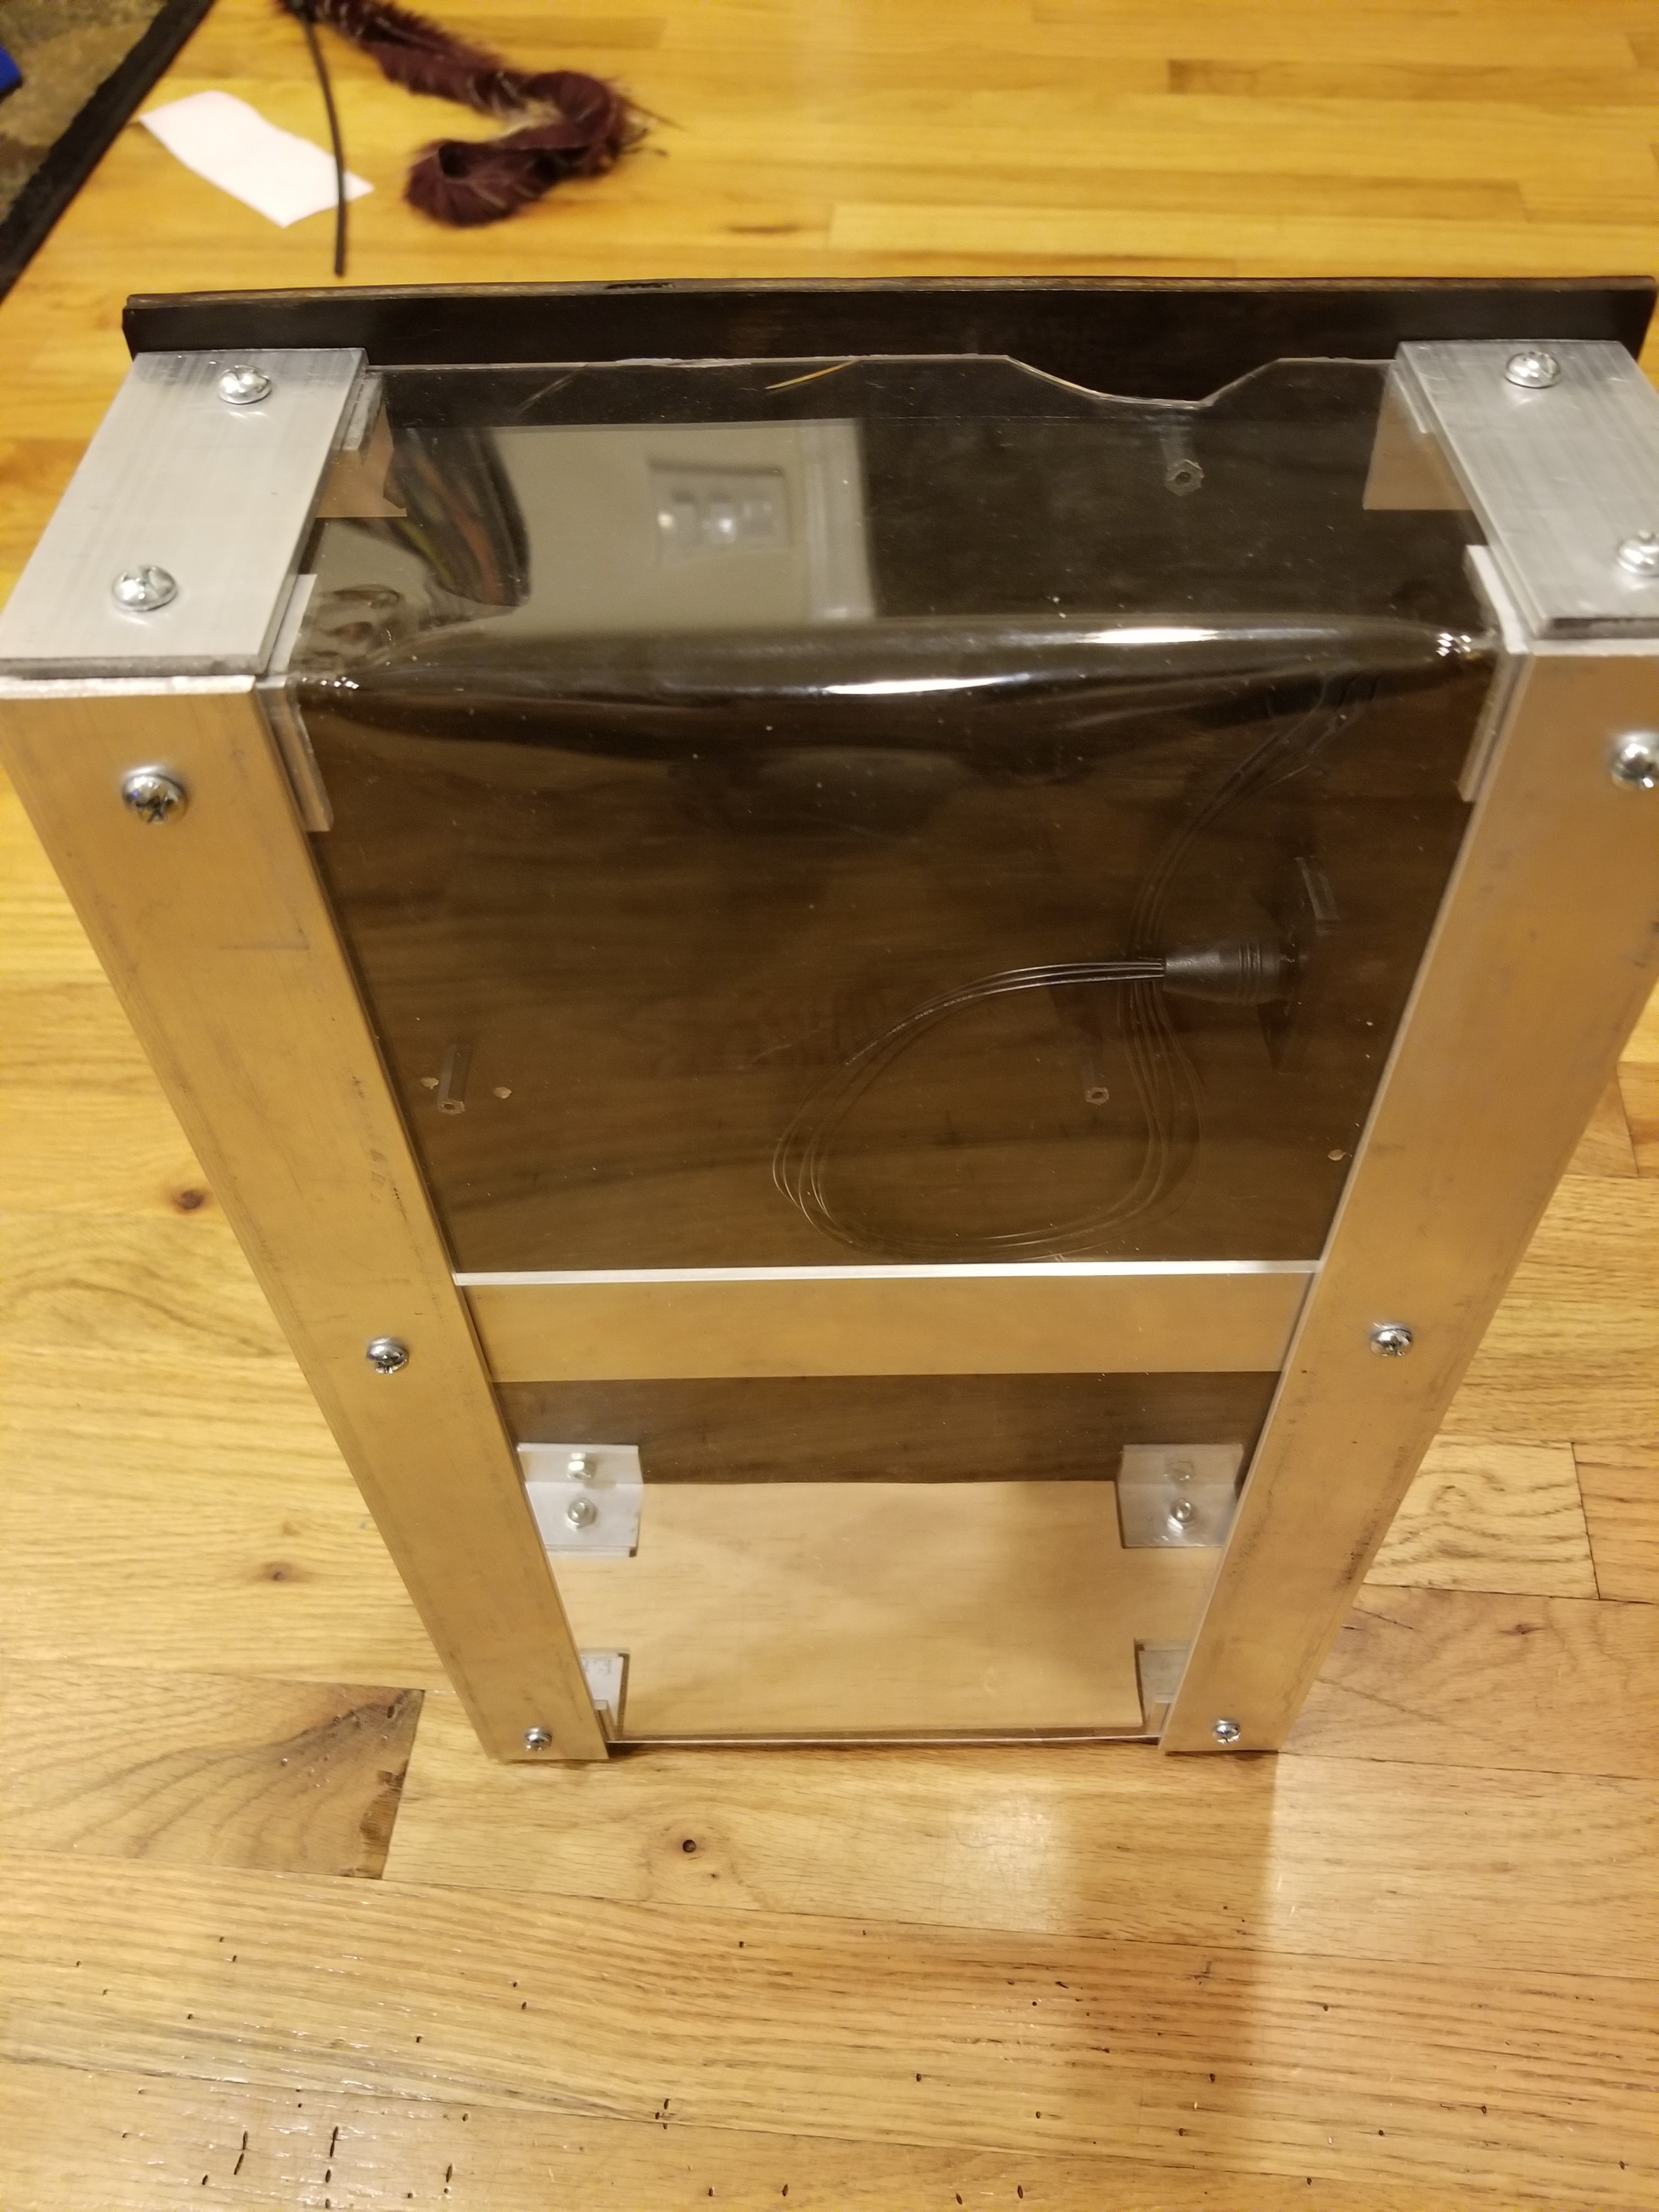
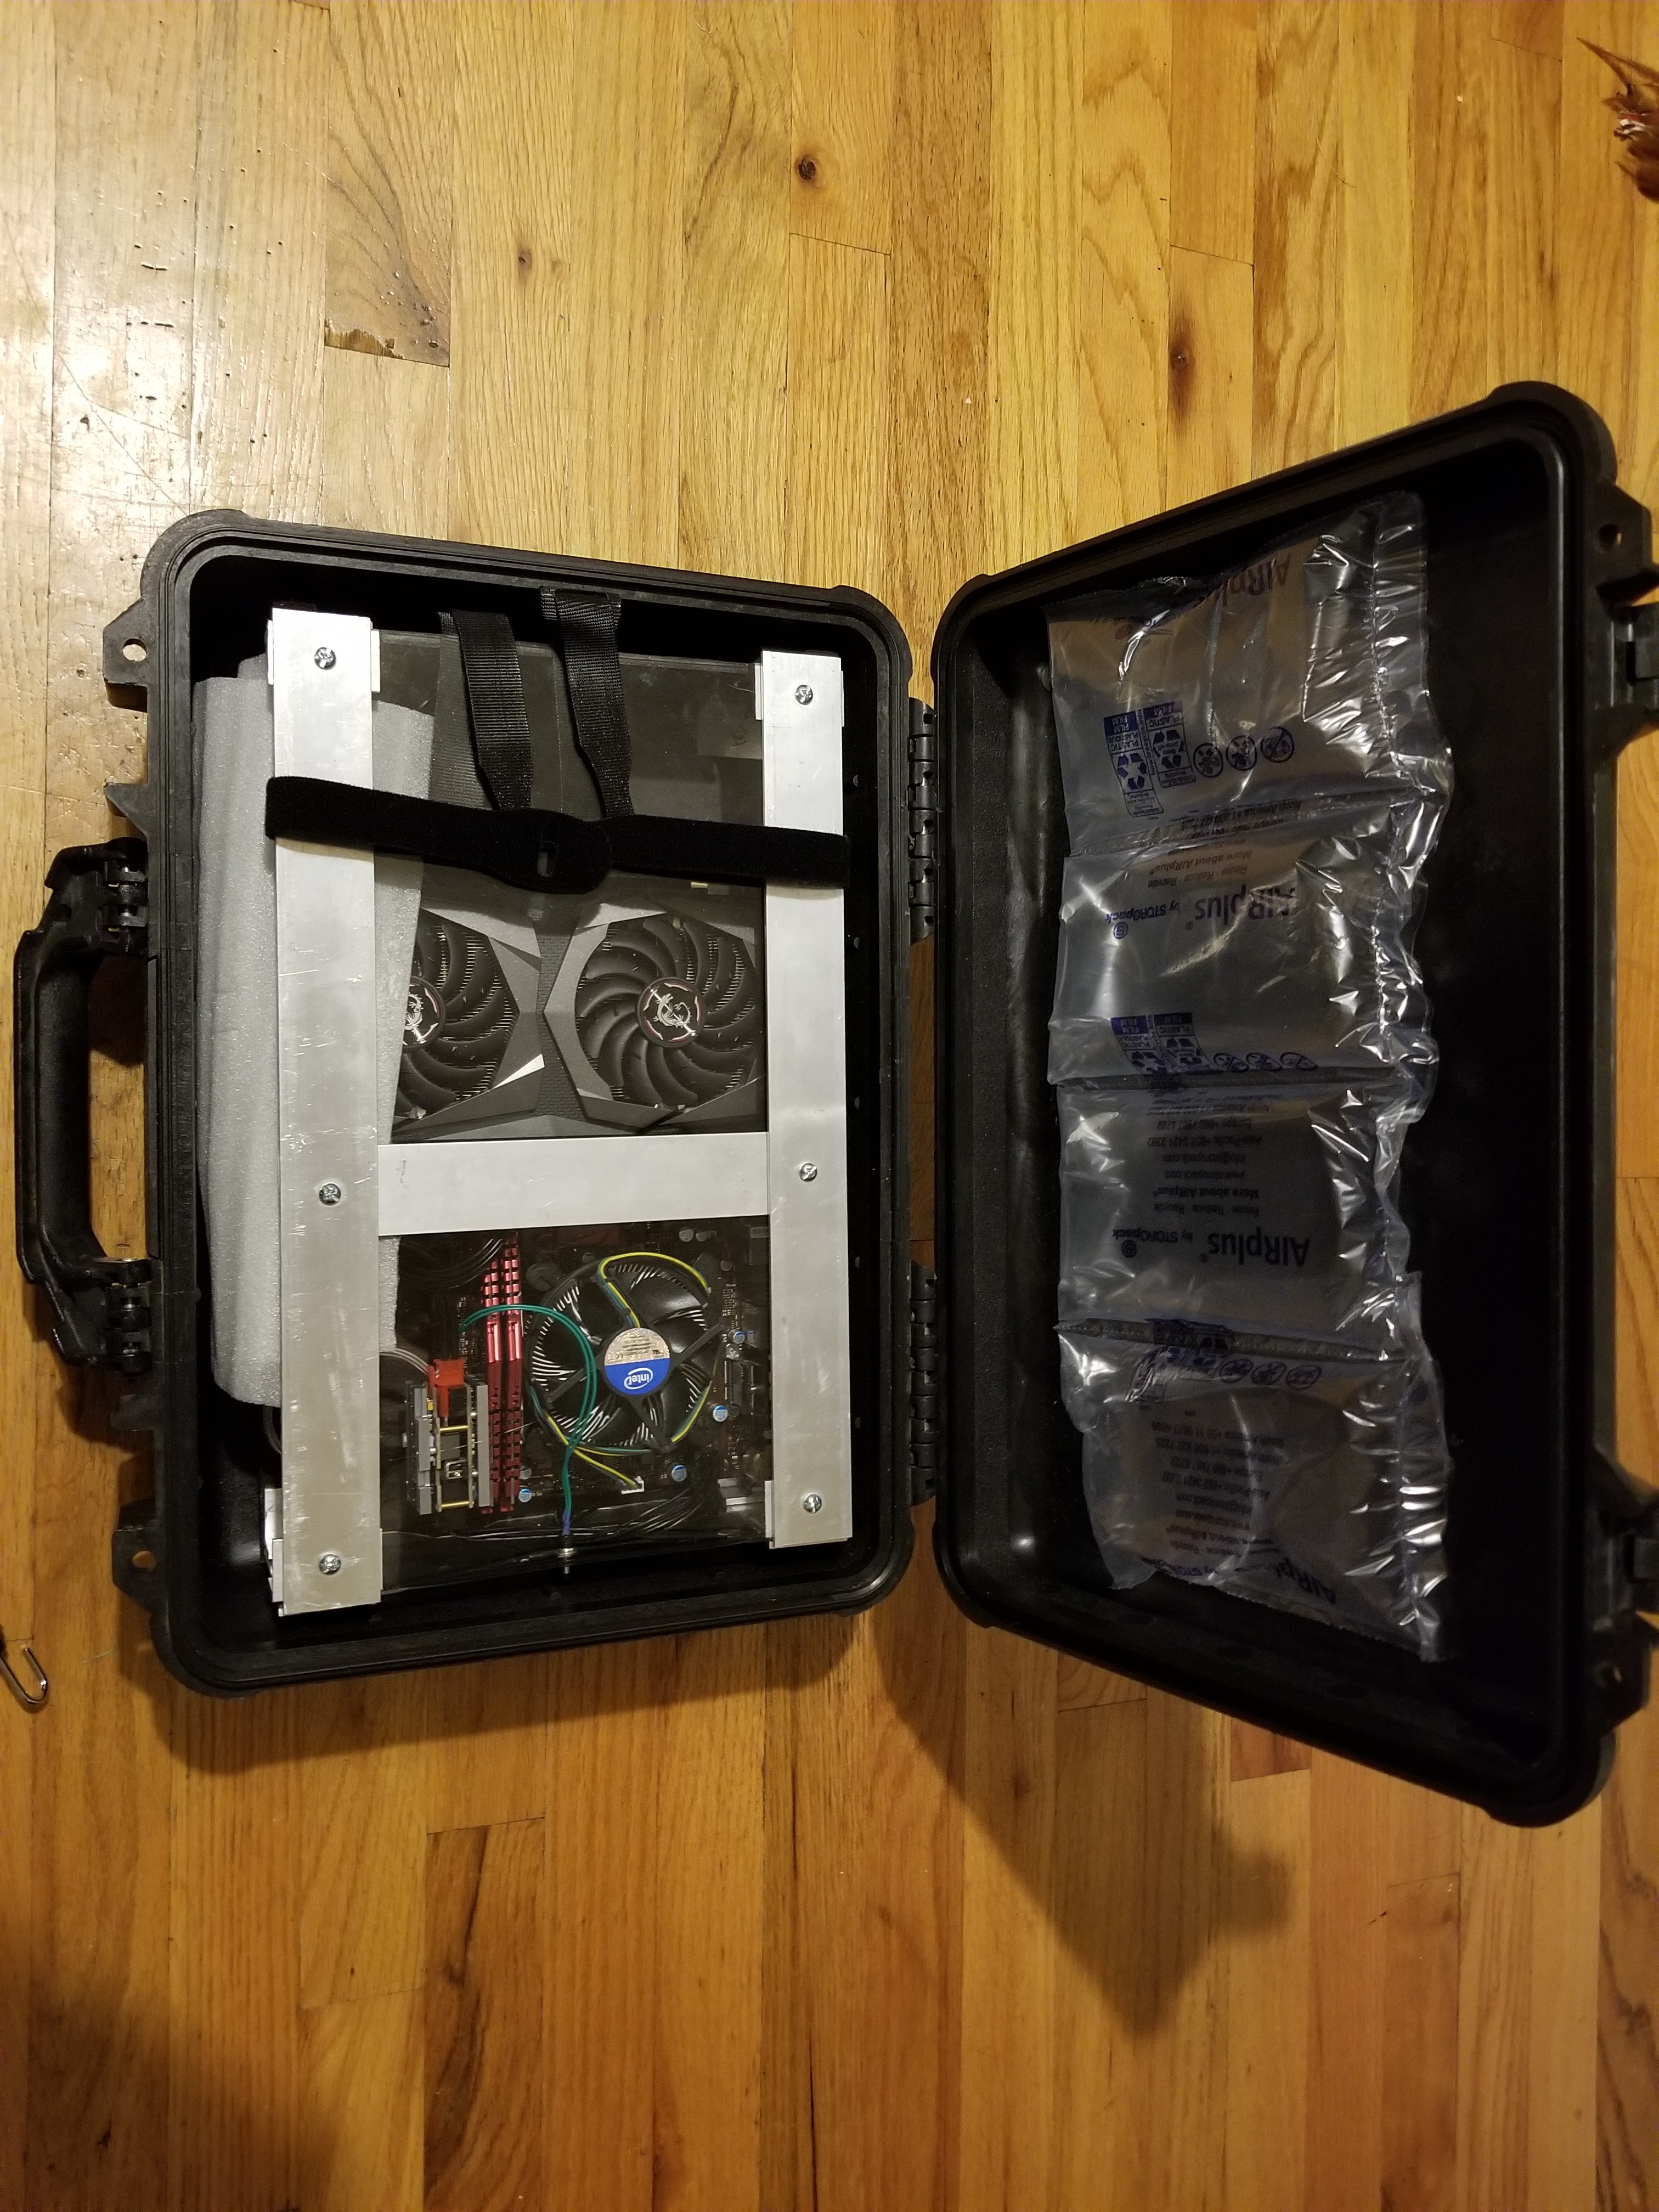
I took the existing aluminum frame and reduced its width to accommodate the new form factor. Sadly the project was 5ish months old at this point, and I wasn't being as careful with my cuts as I should have been. The acrylic was damaged in a couple of spots, and the bracket holes needed to be redone as things weren't aligning as they should have. I also added a "floor" to the frame for the batteries to sit on.
And a battery test fit.
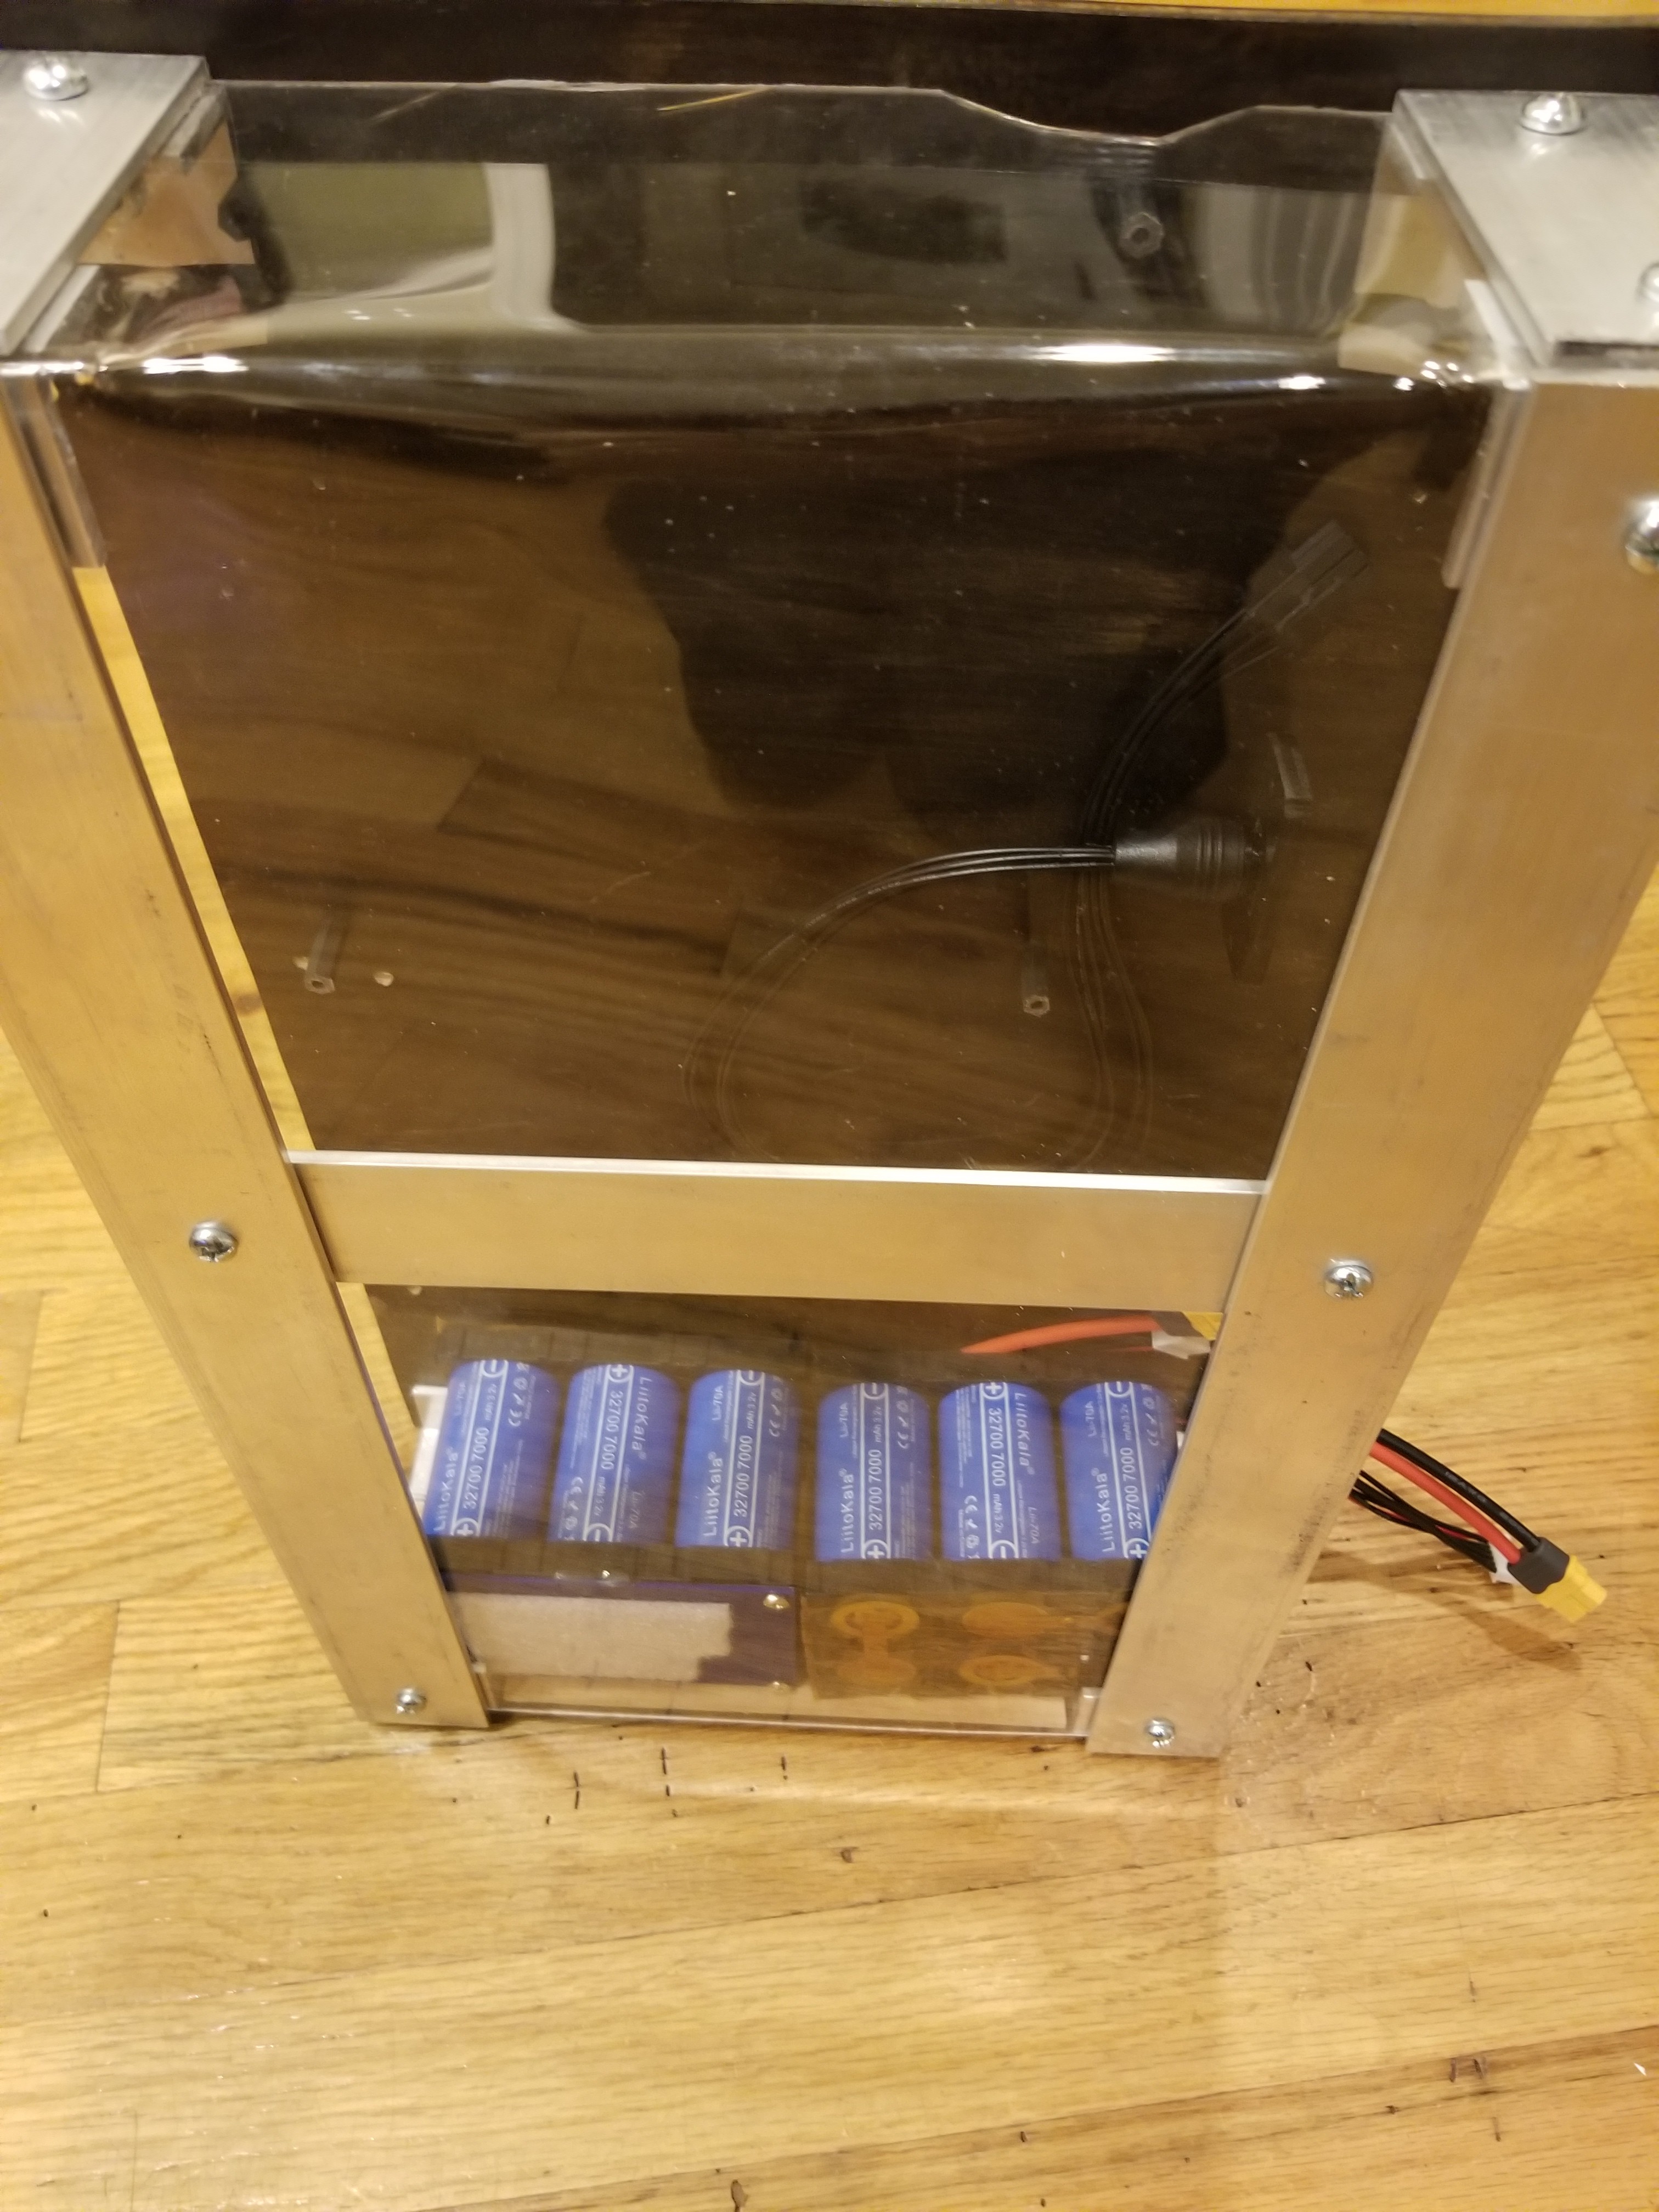
It's tight, but it makes it. Time to secure the "floor".
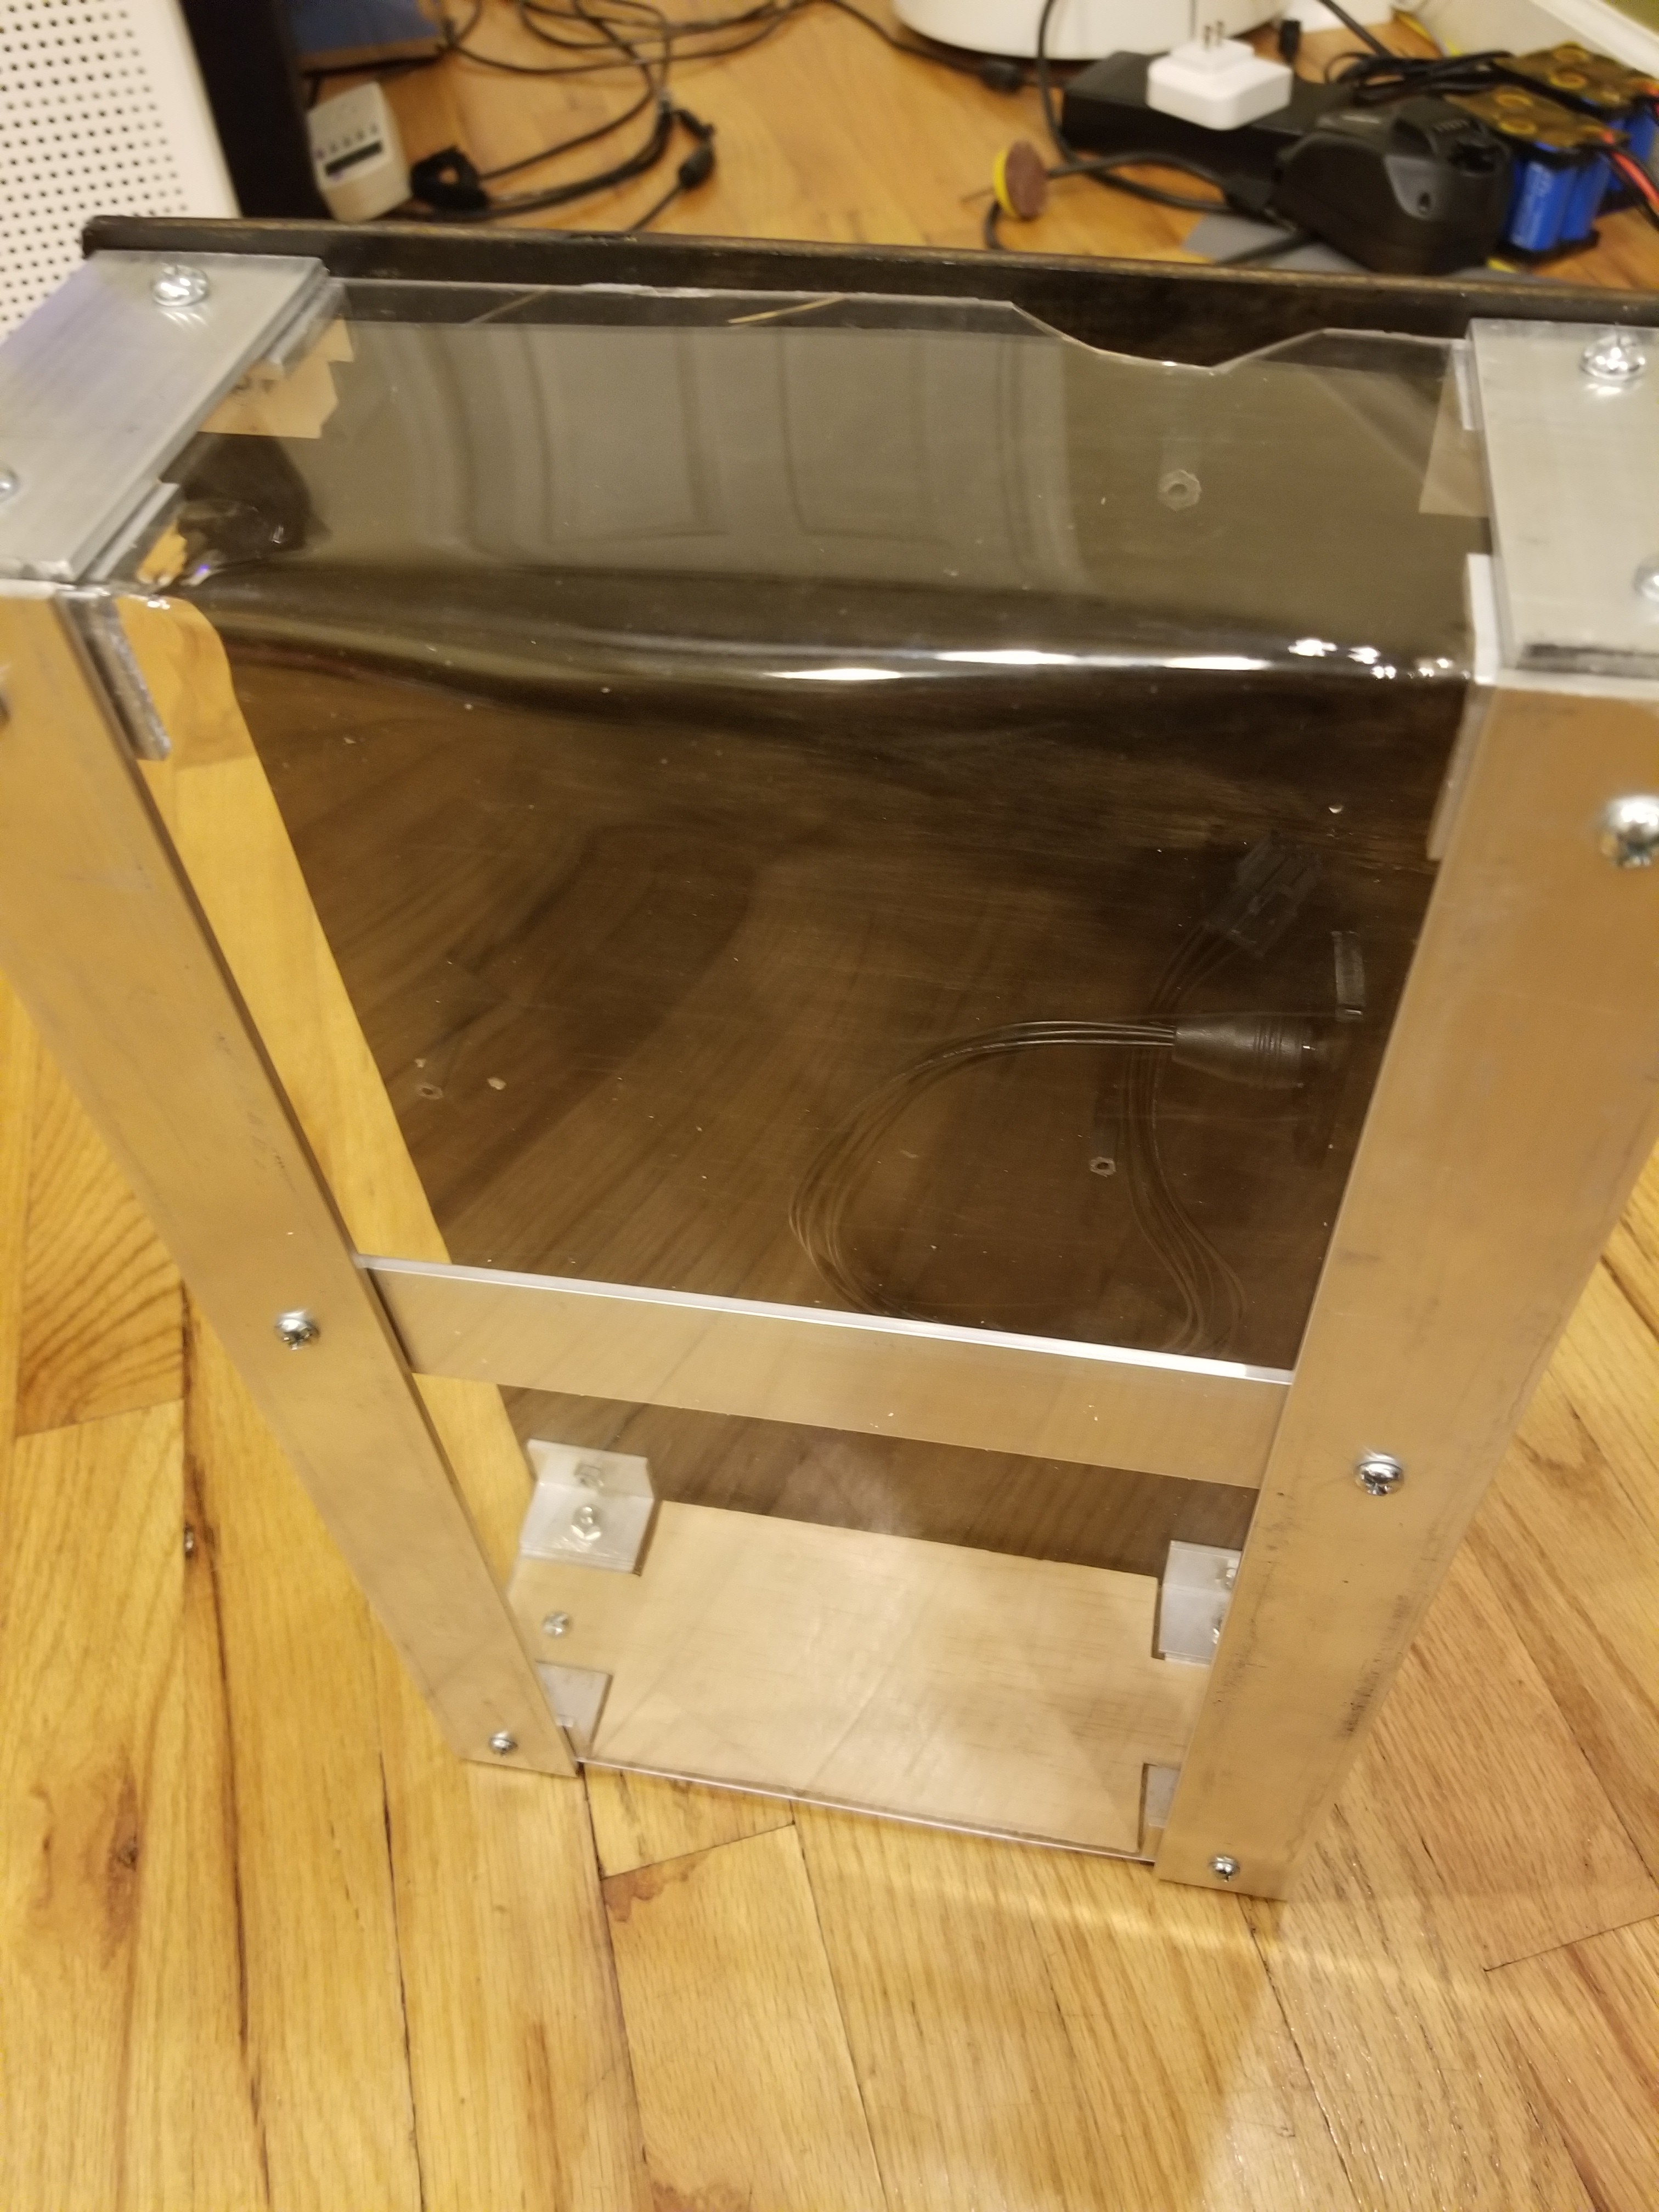
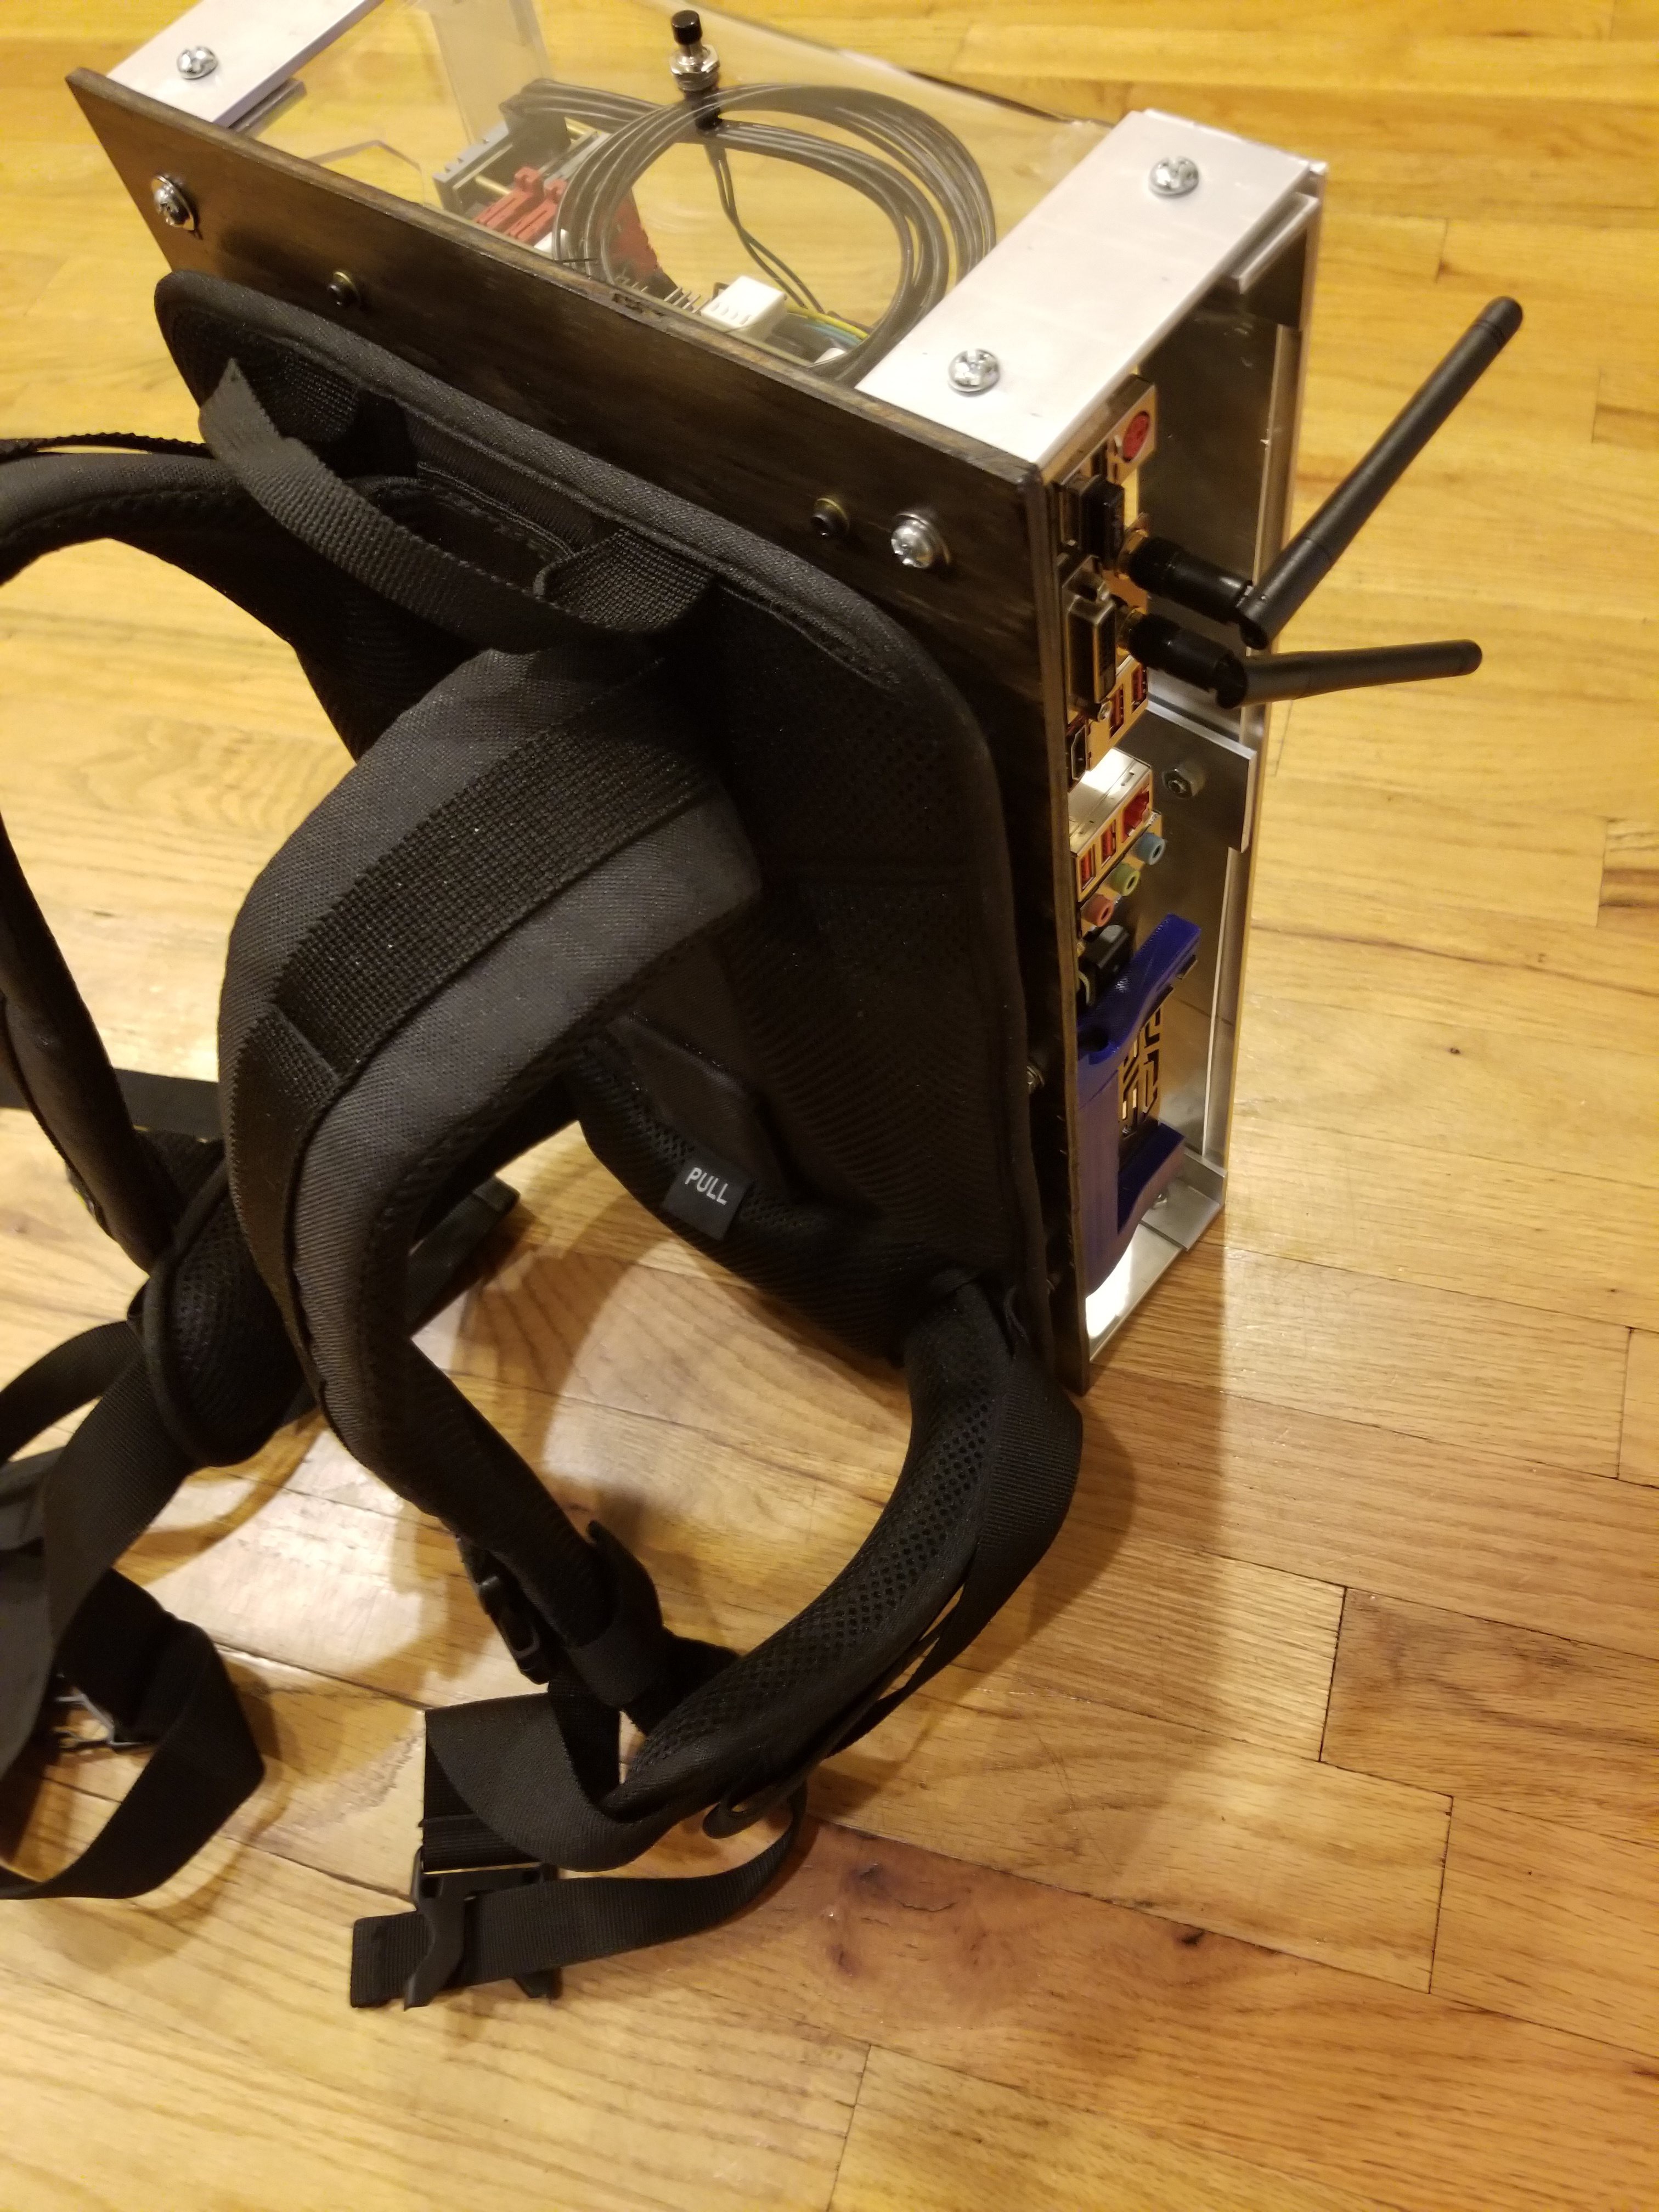
And the final assembly with a new mount hole for the power switch.
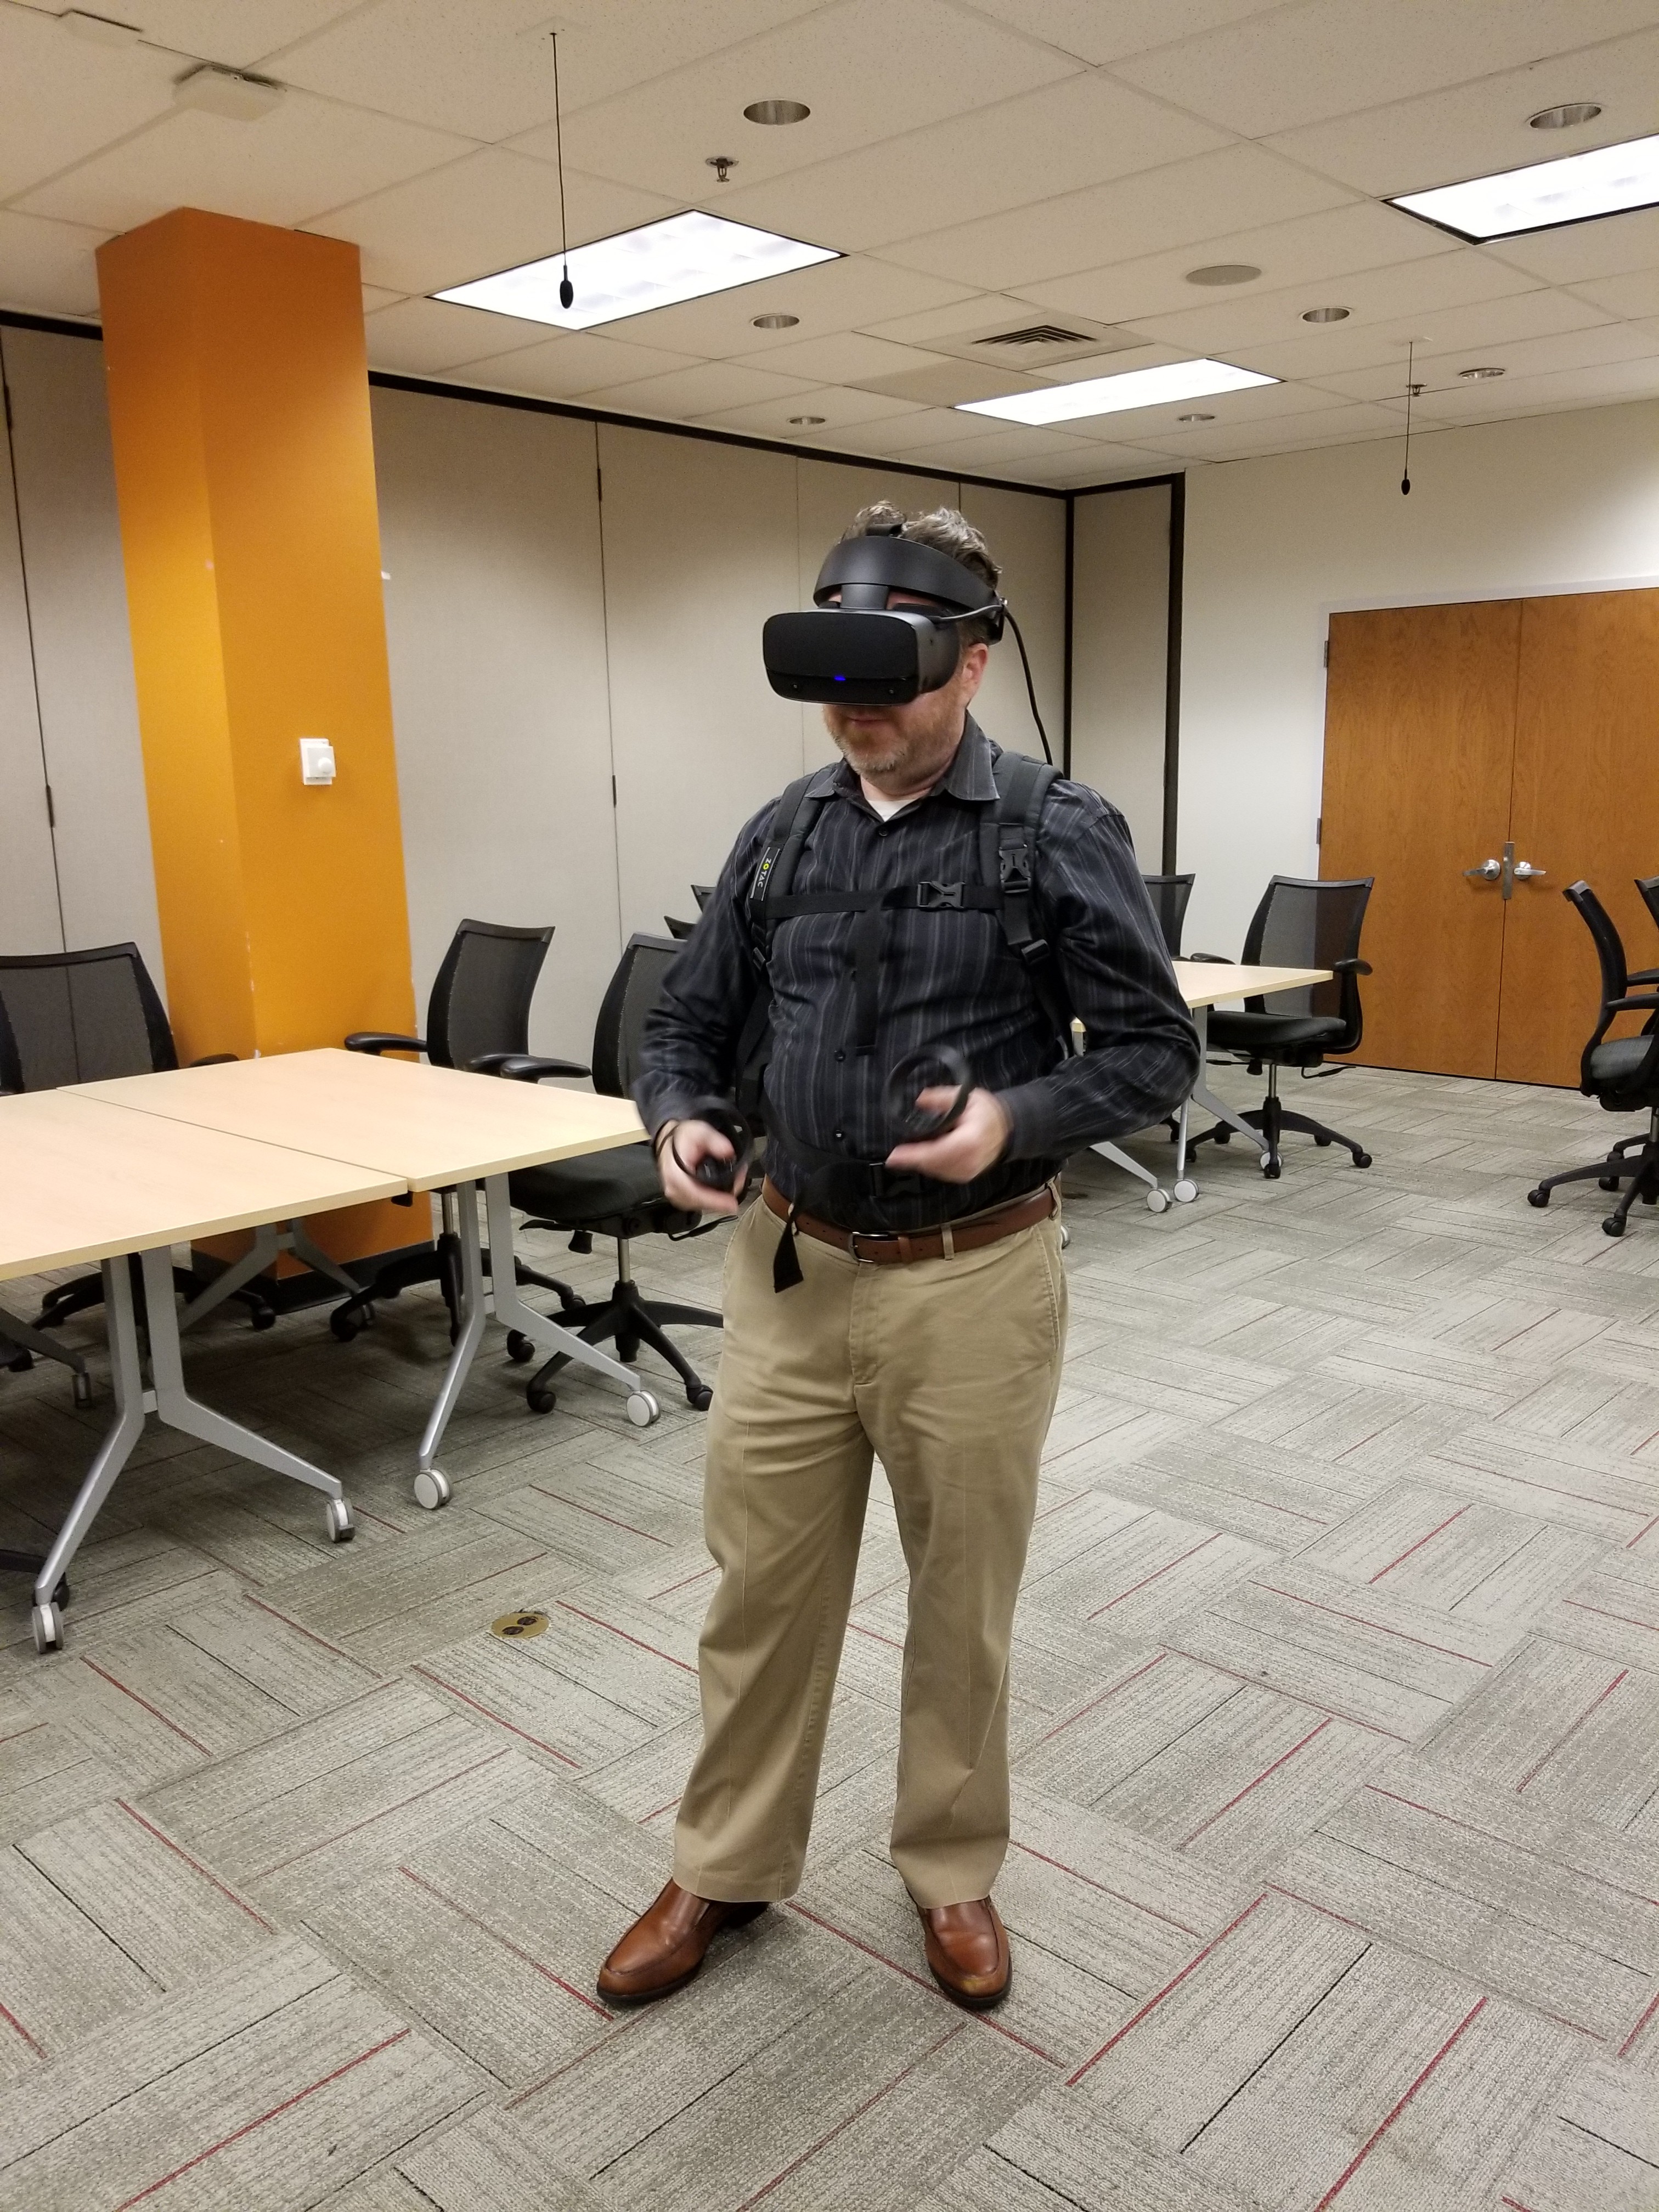
The Zotac backpack frame snaps in and then locks. It feels very secure and has shoulder straps, a chest strap, and waist strap. Big upgrade.
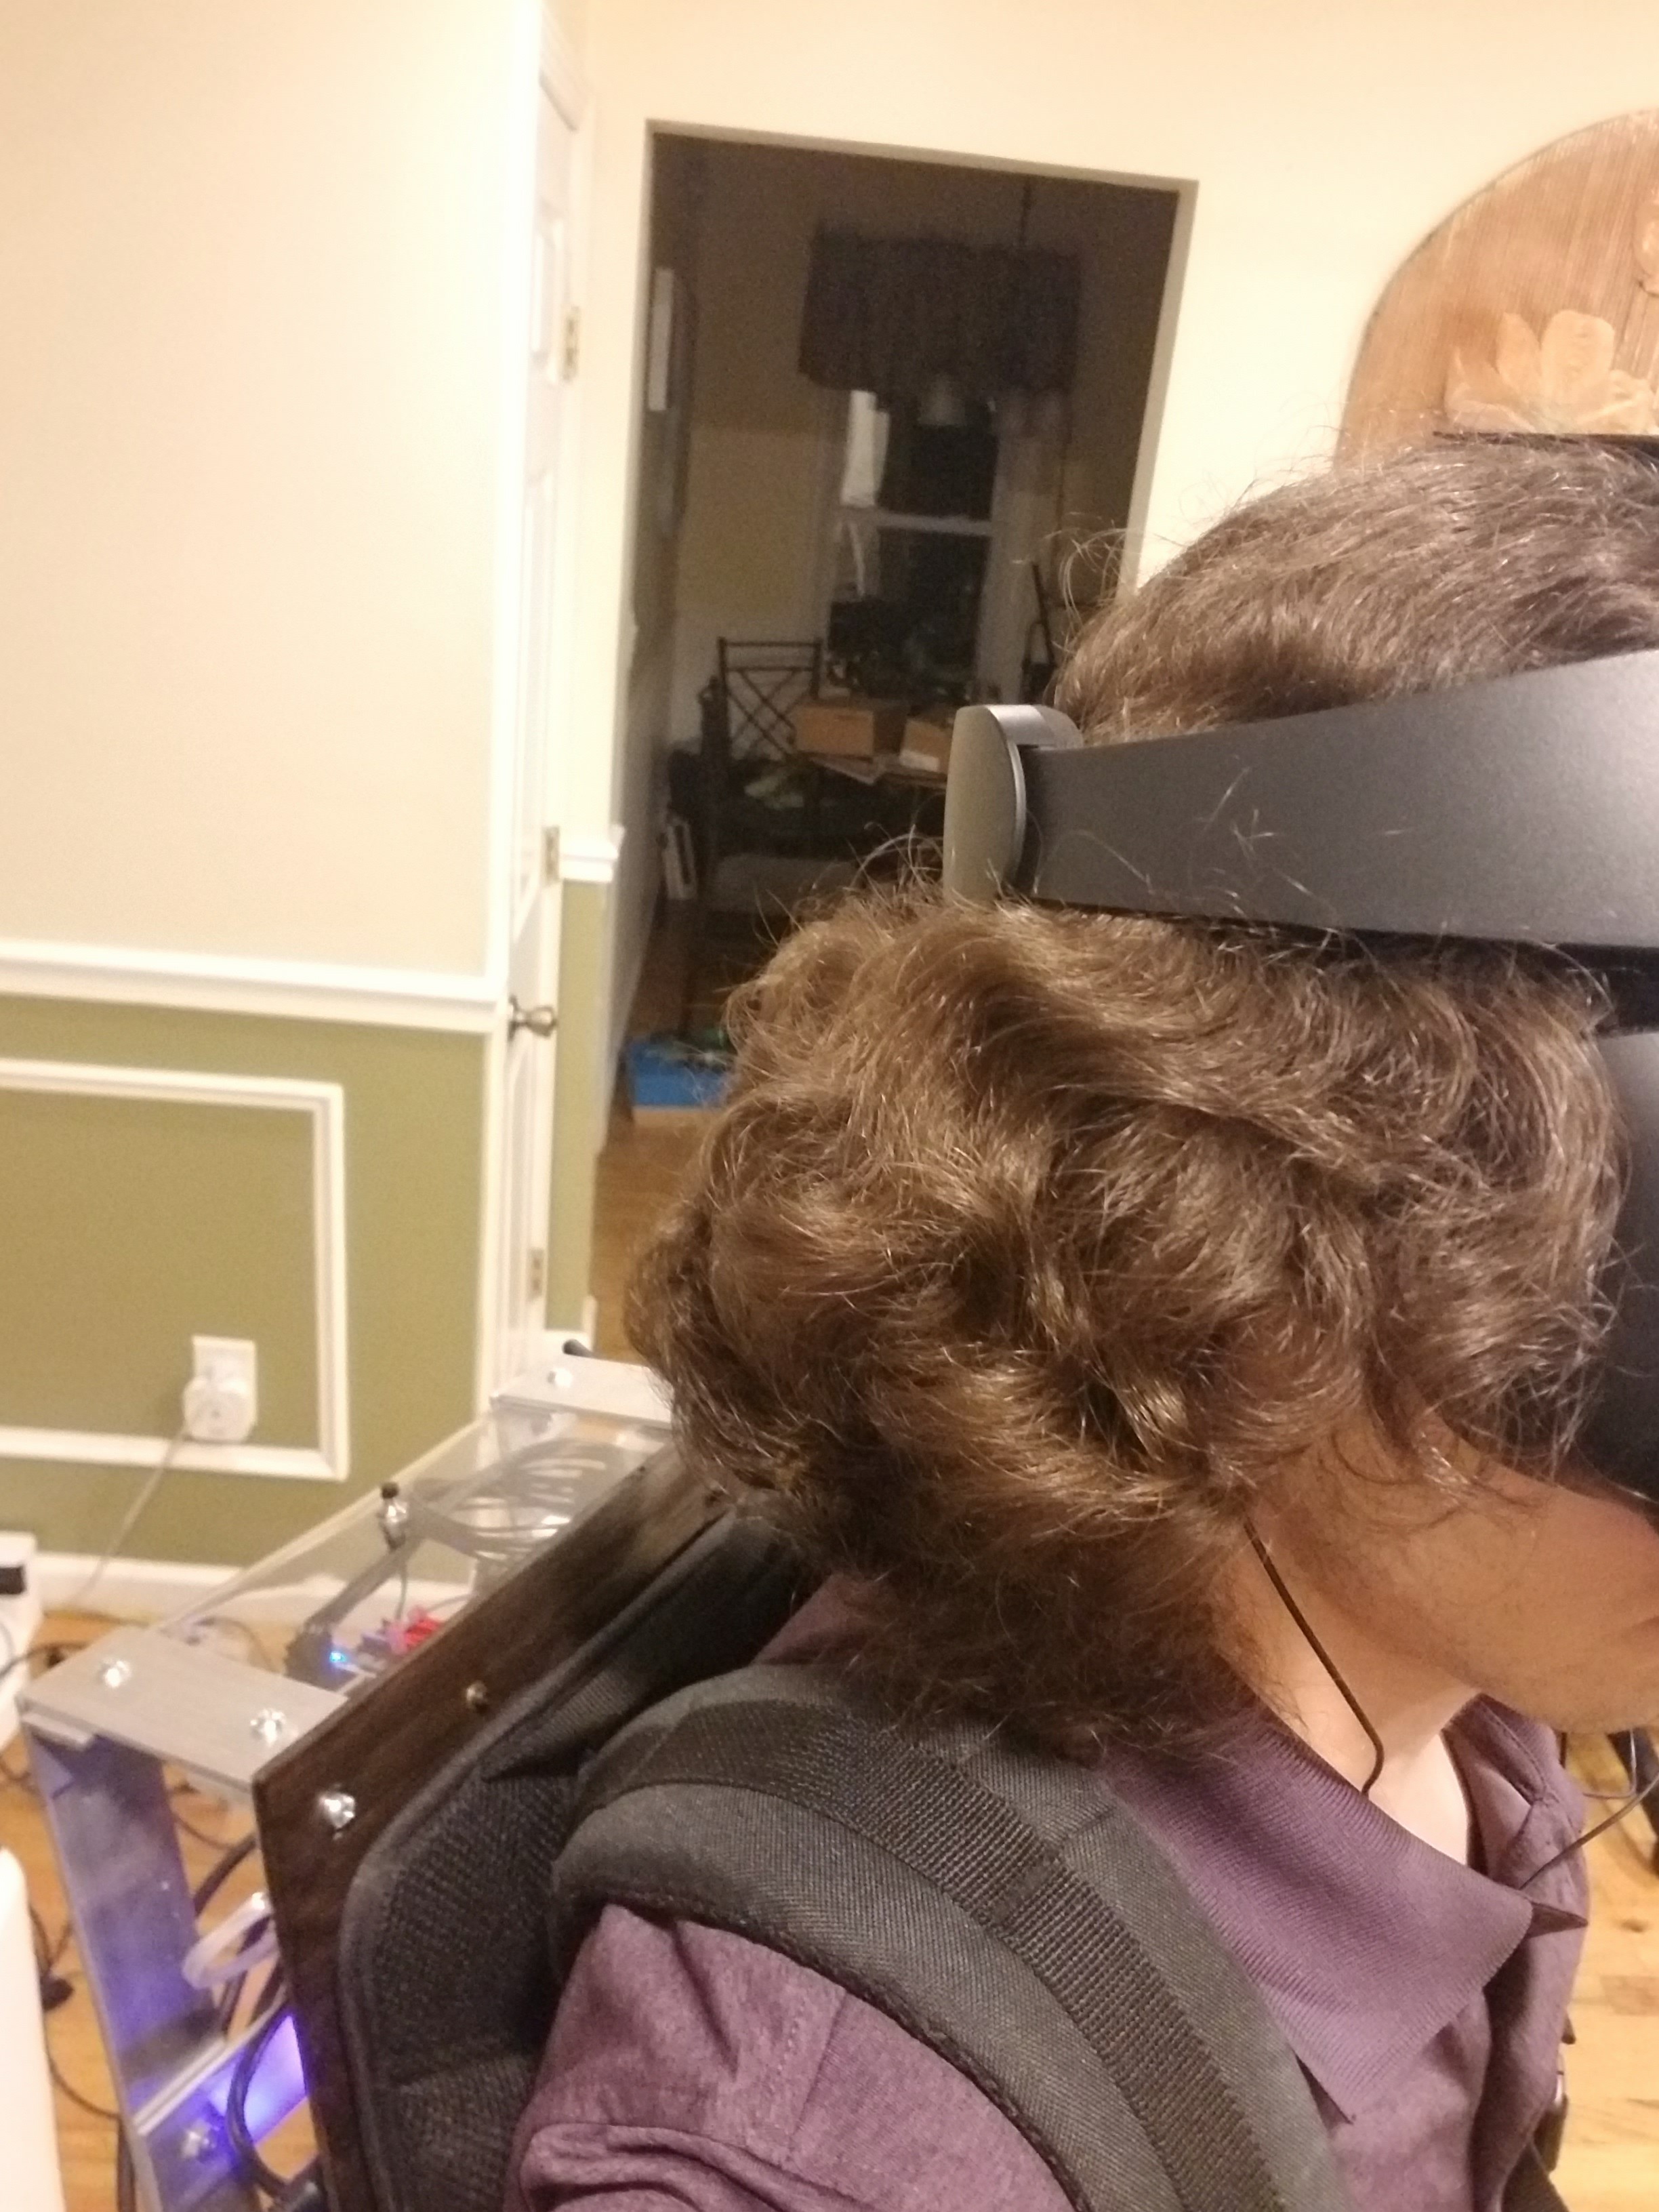
With headset.

There's plenty of clearance from the person's head, and comfort is greatly improved from the original backpack.
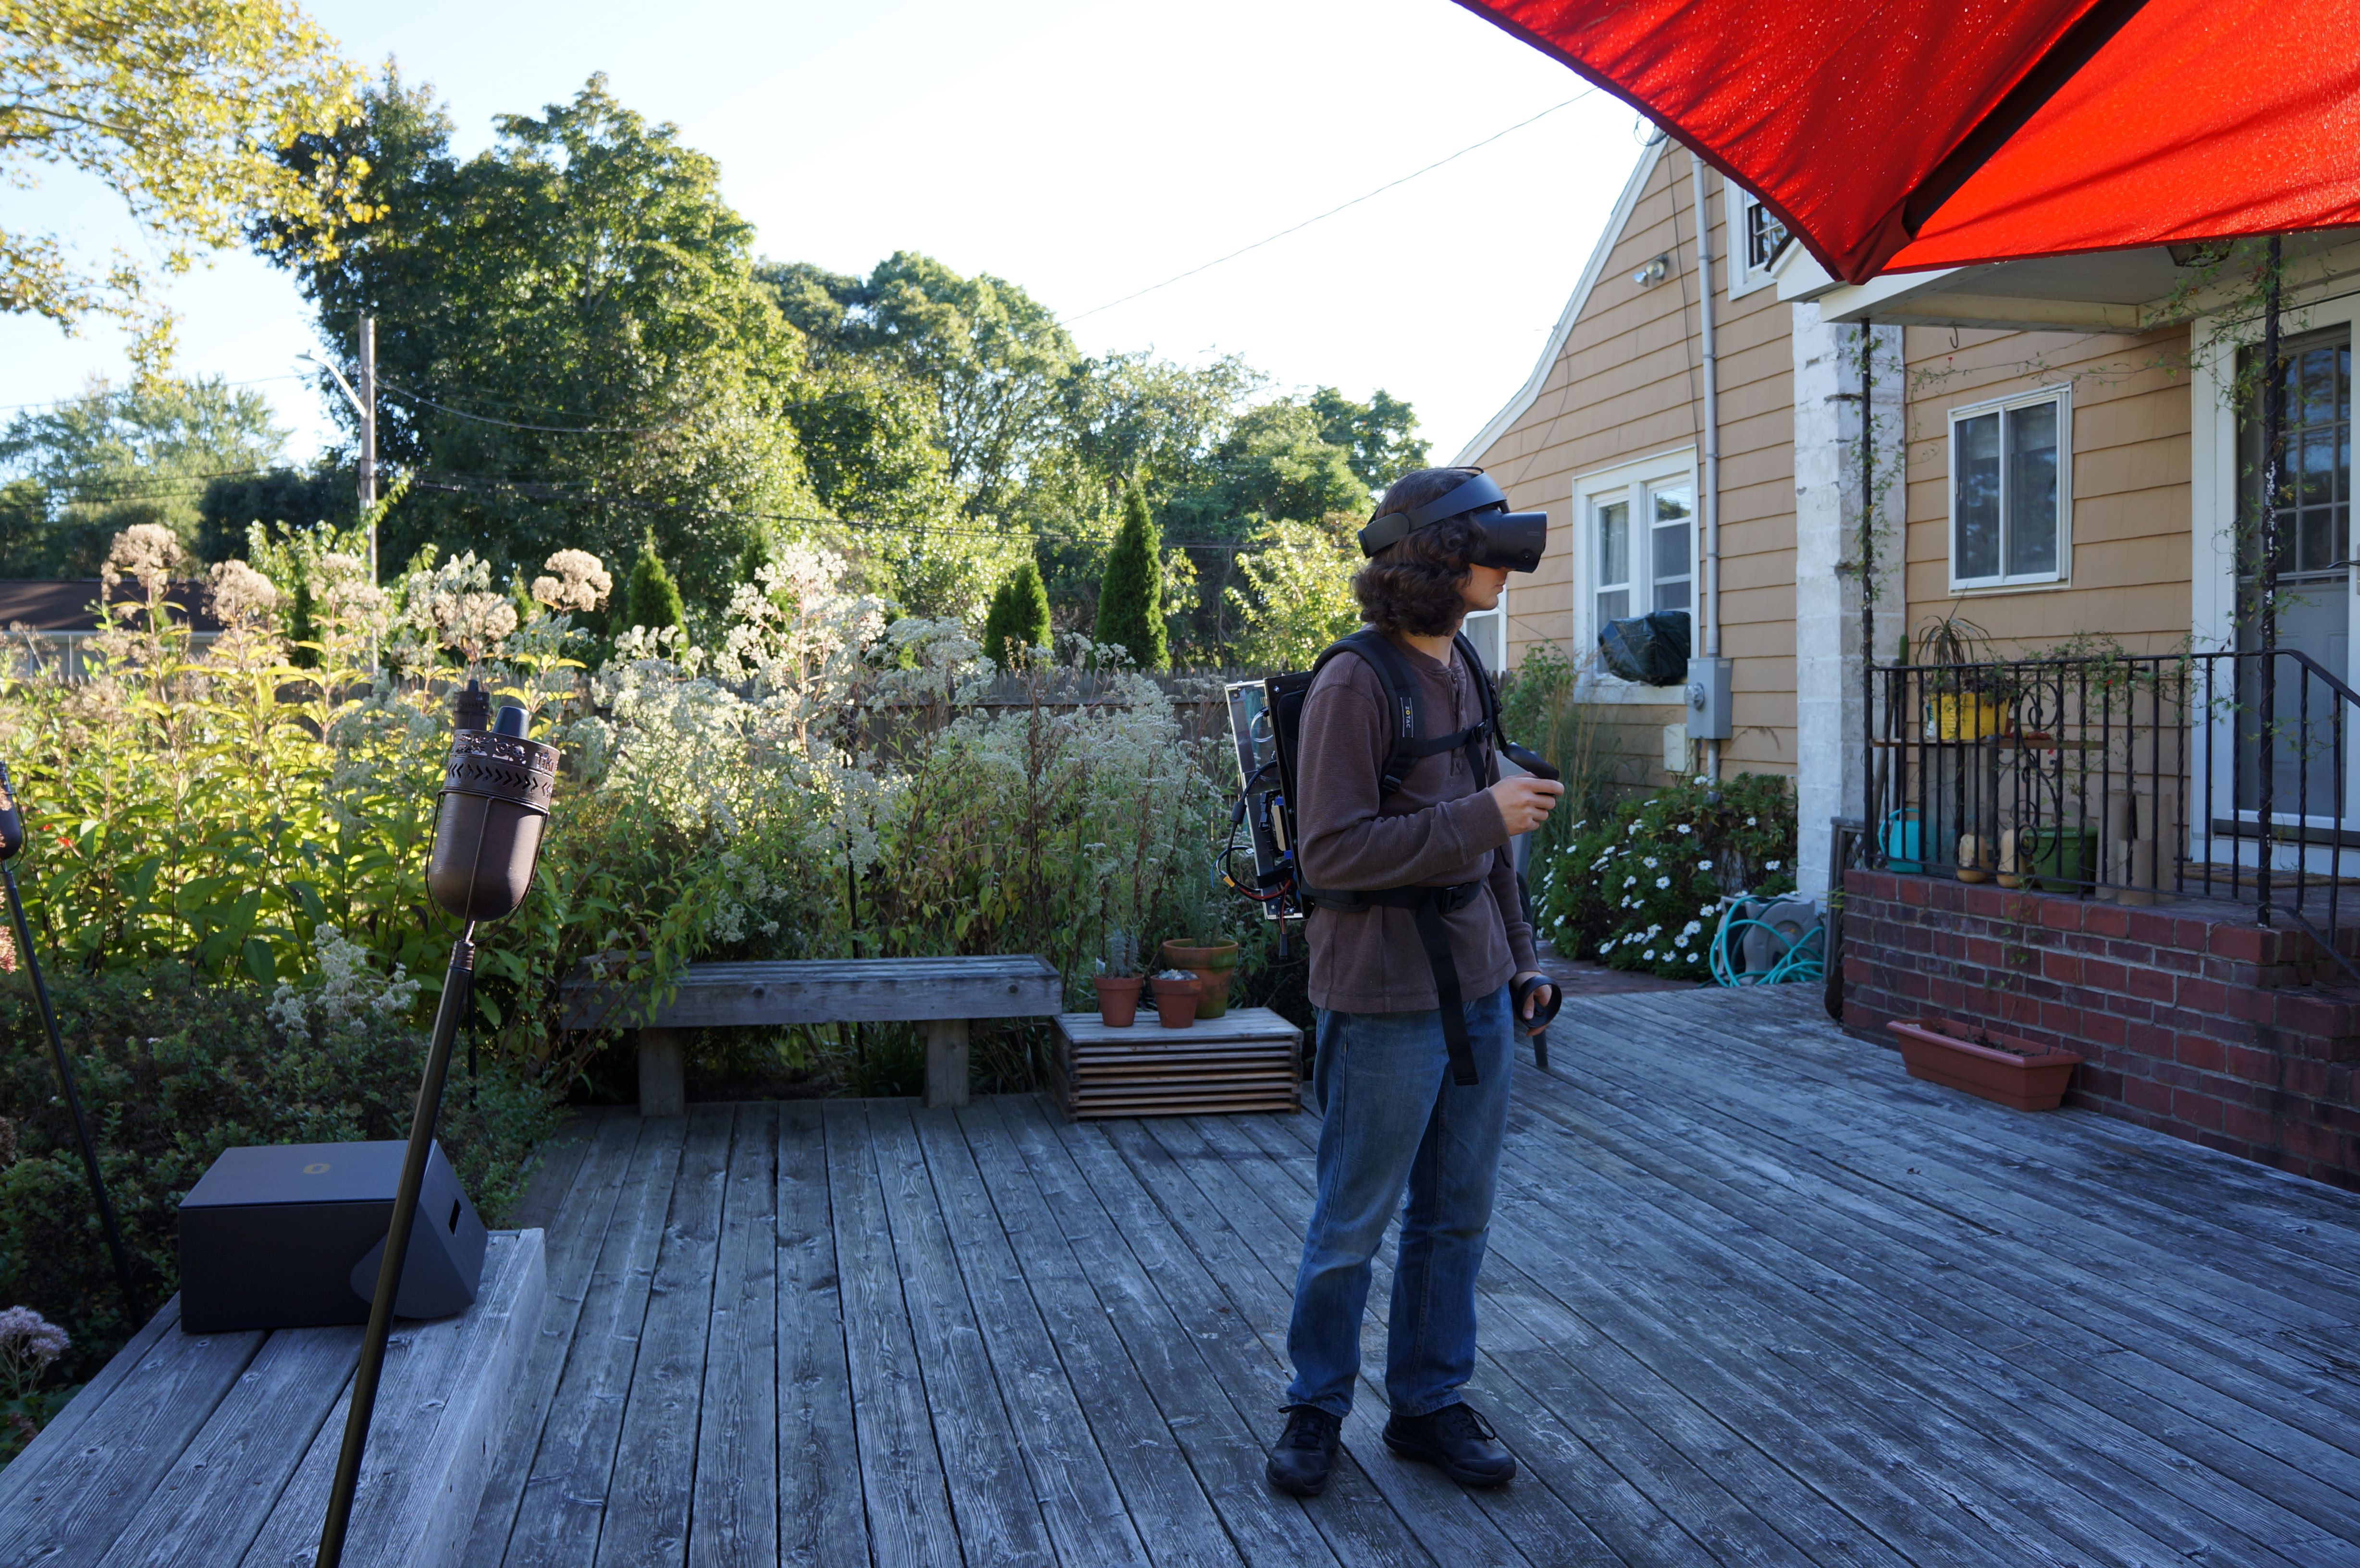
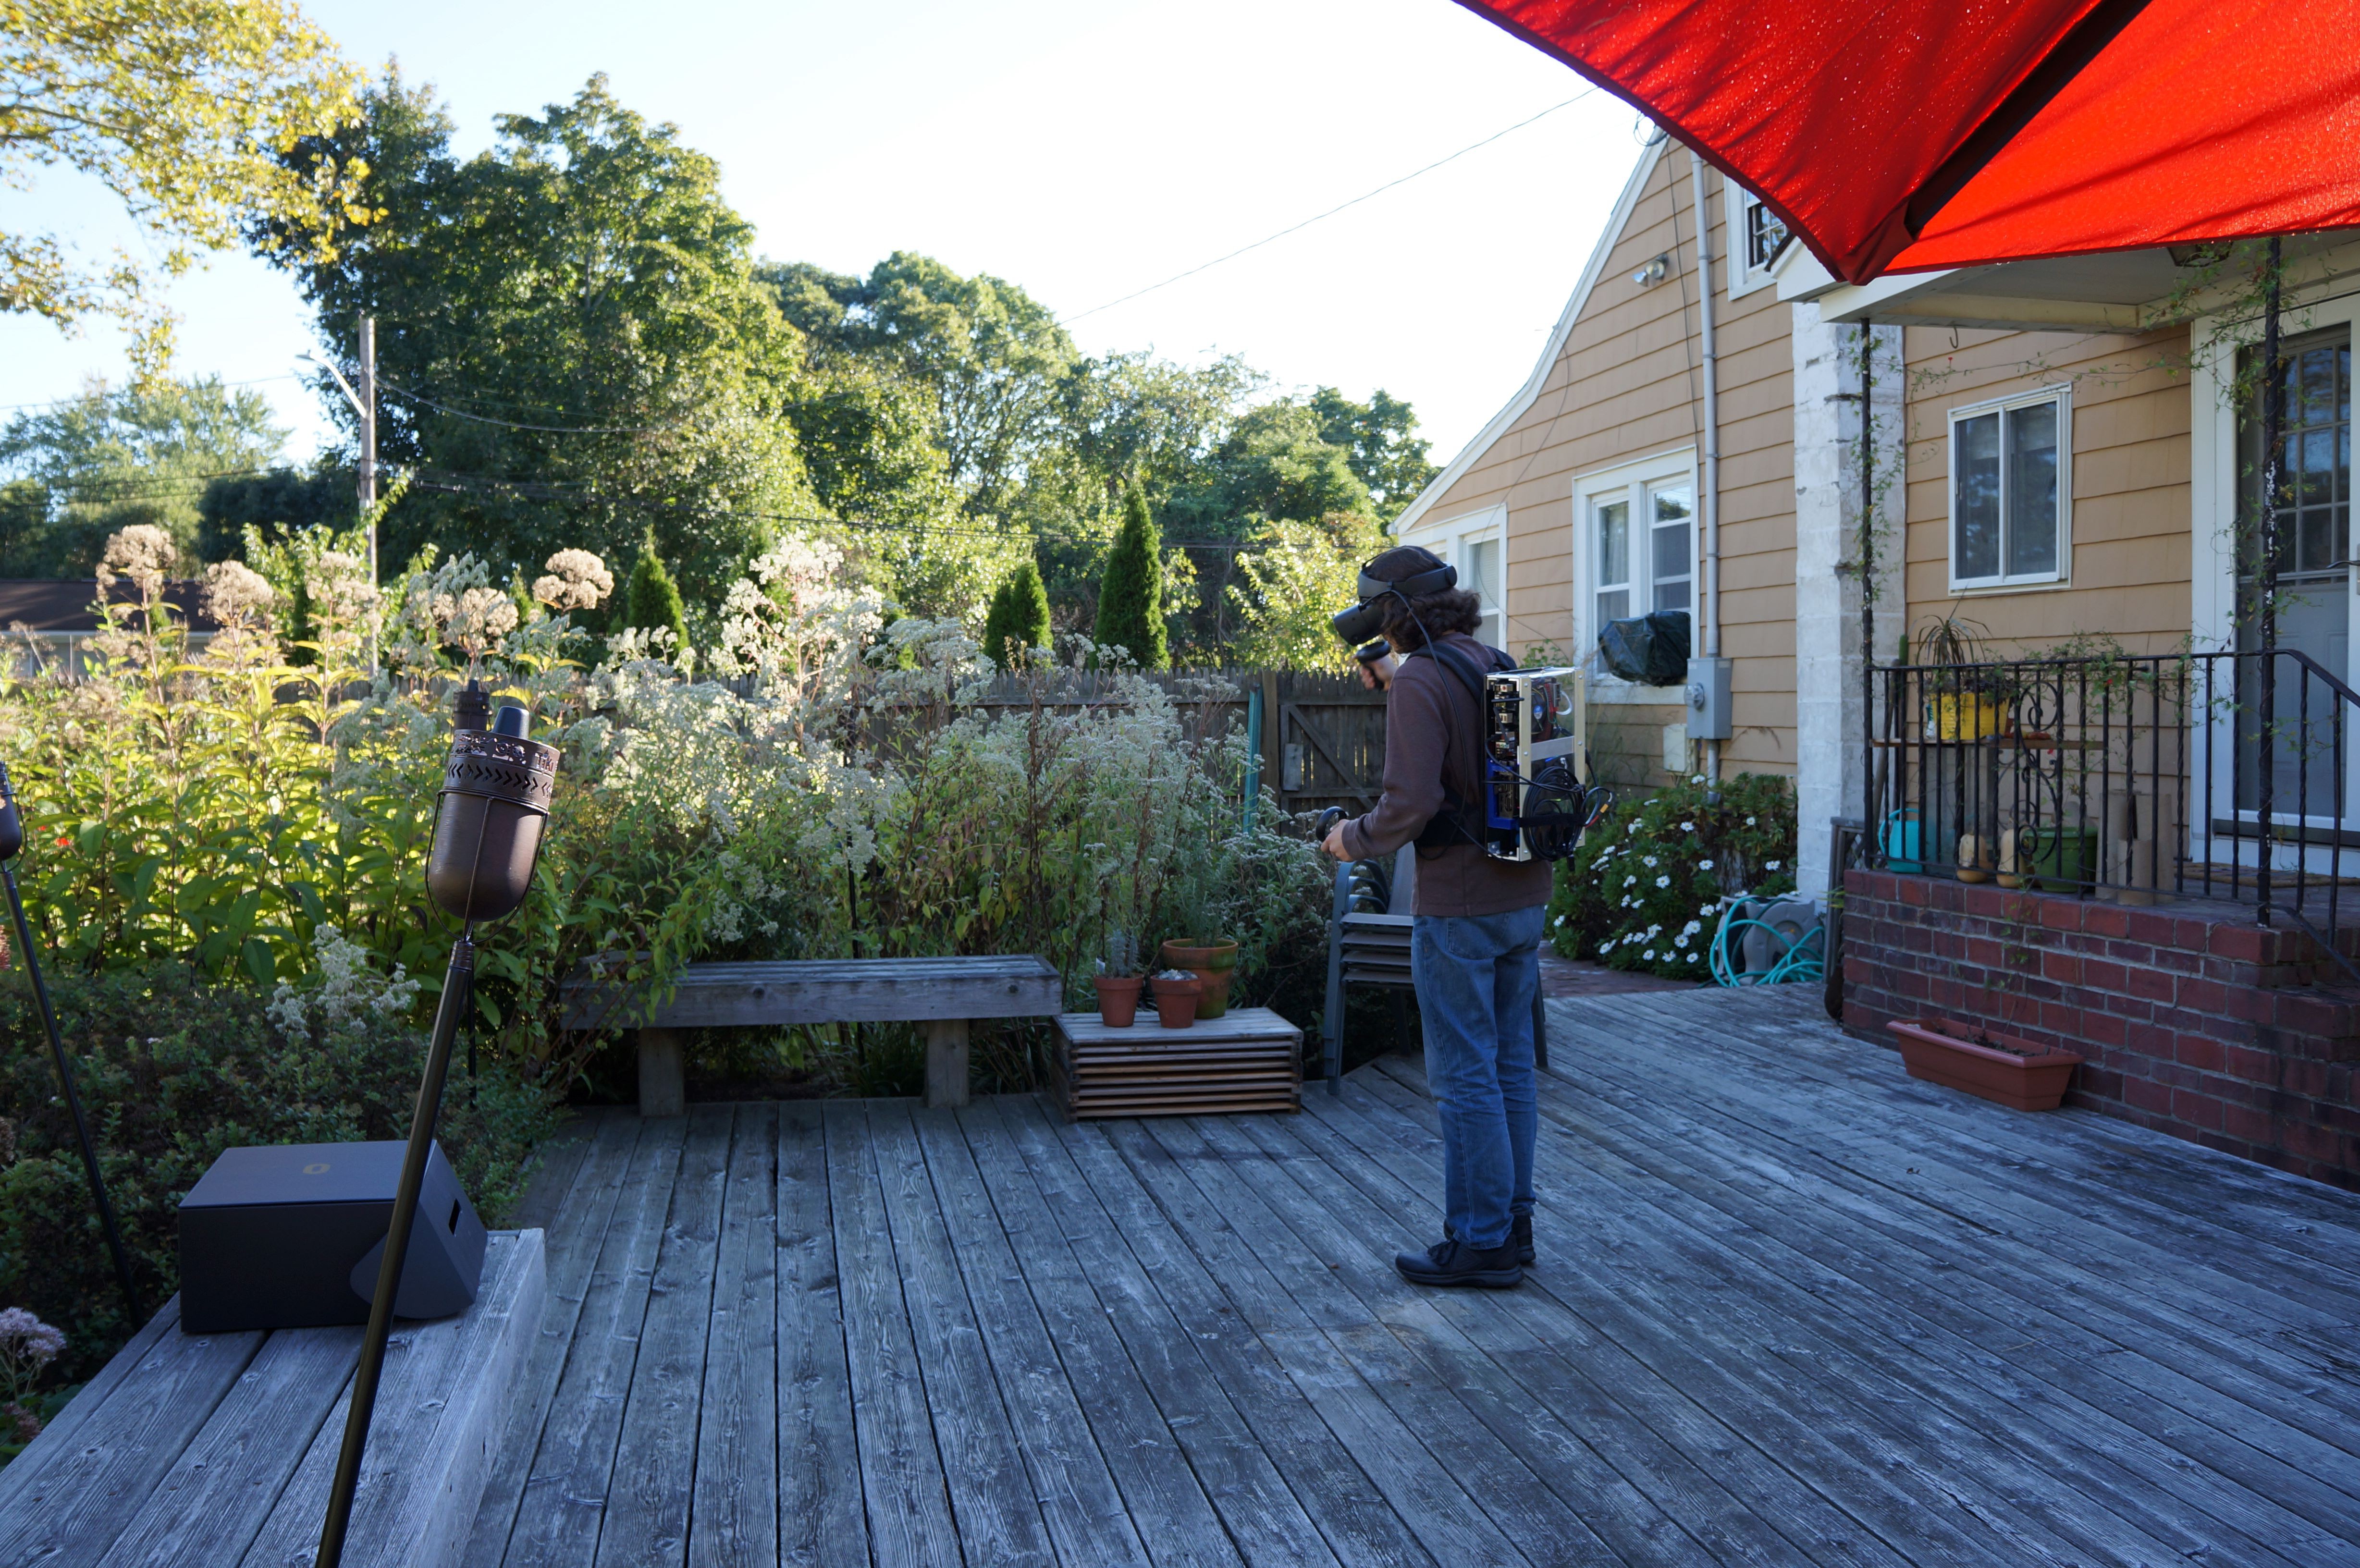
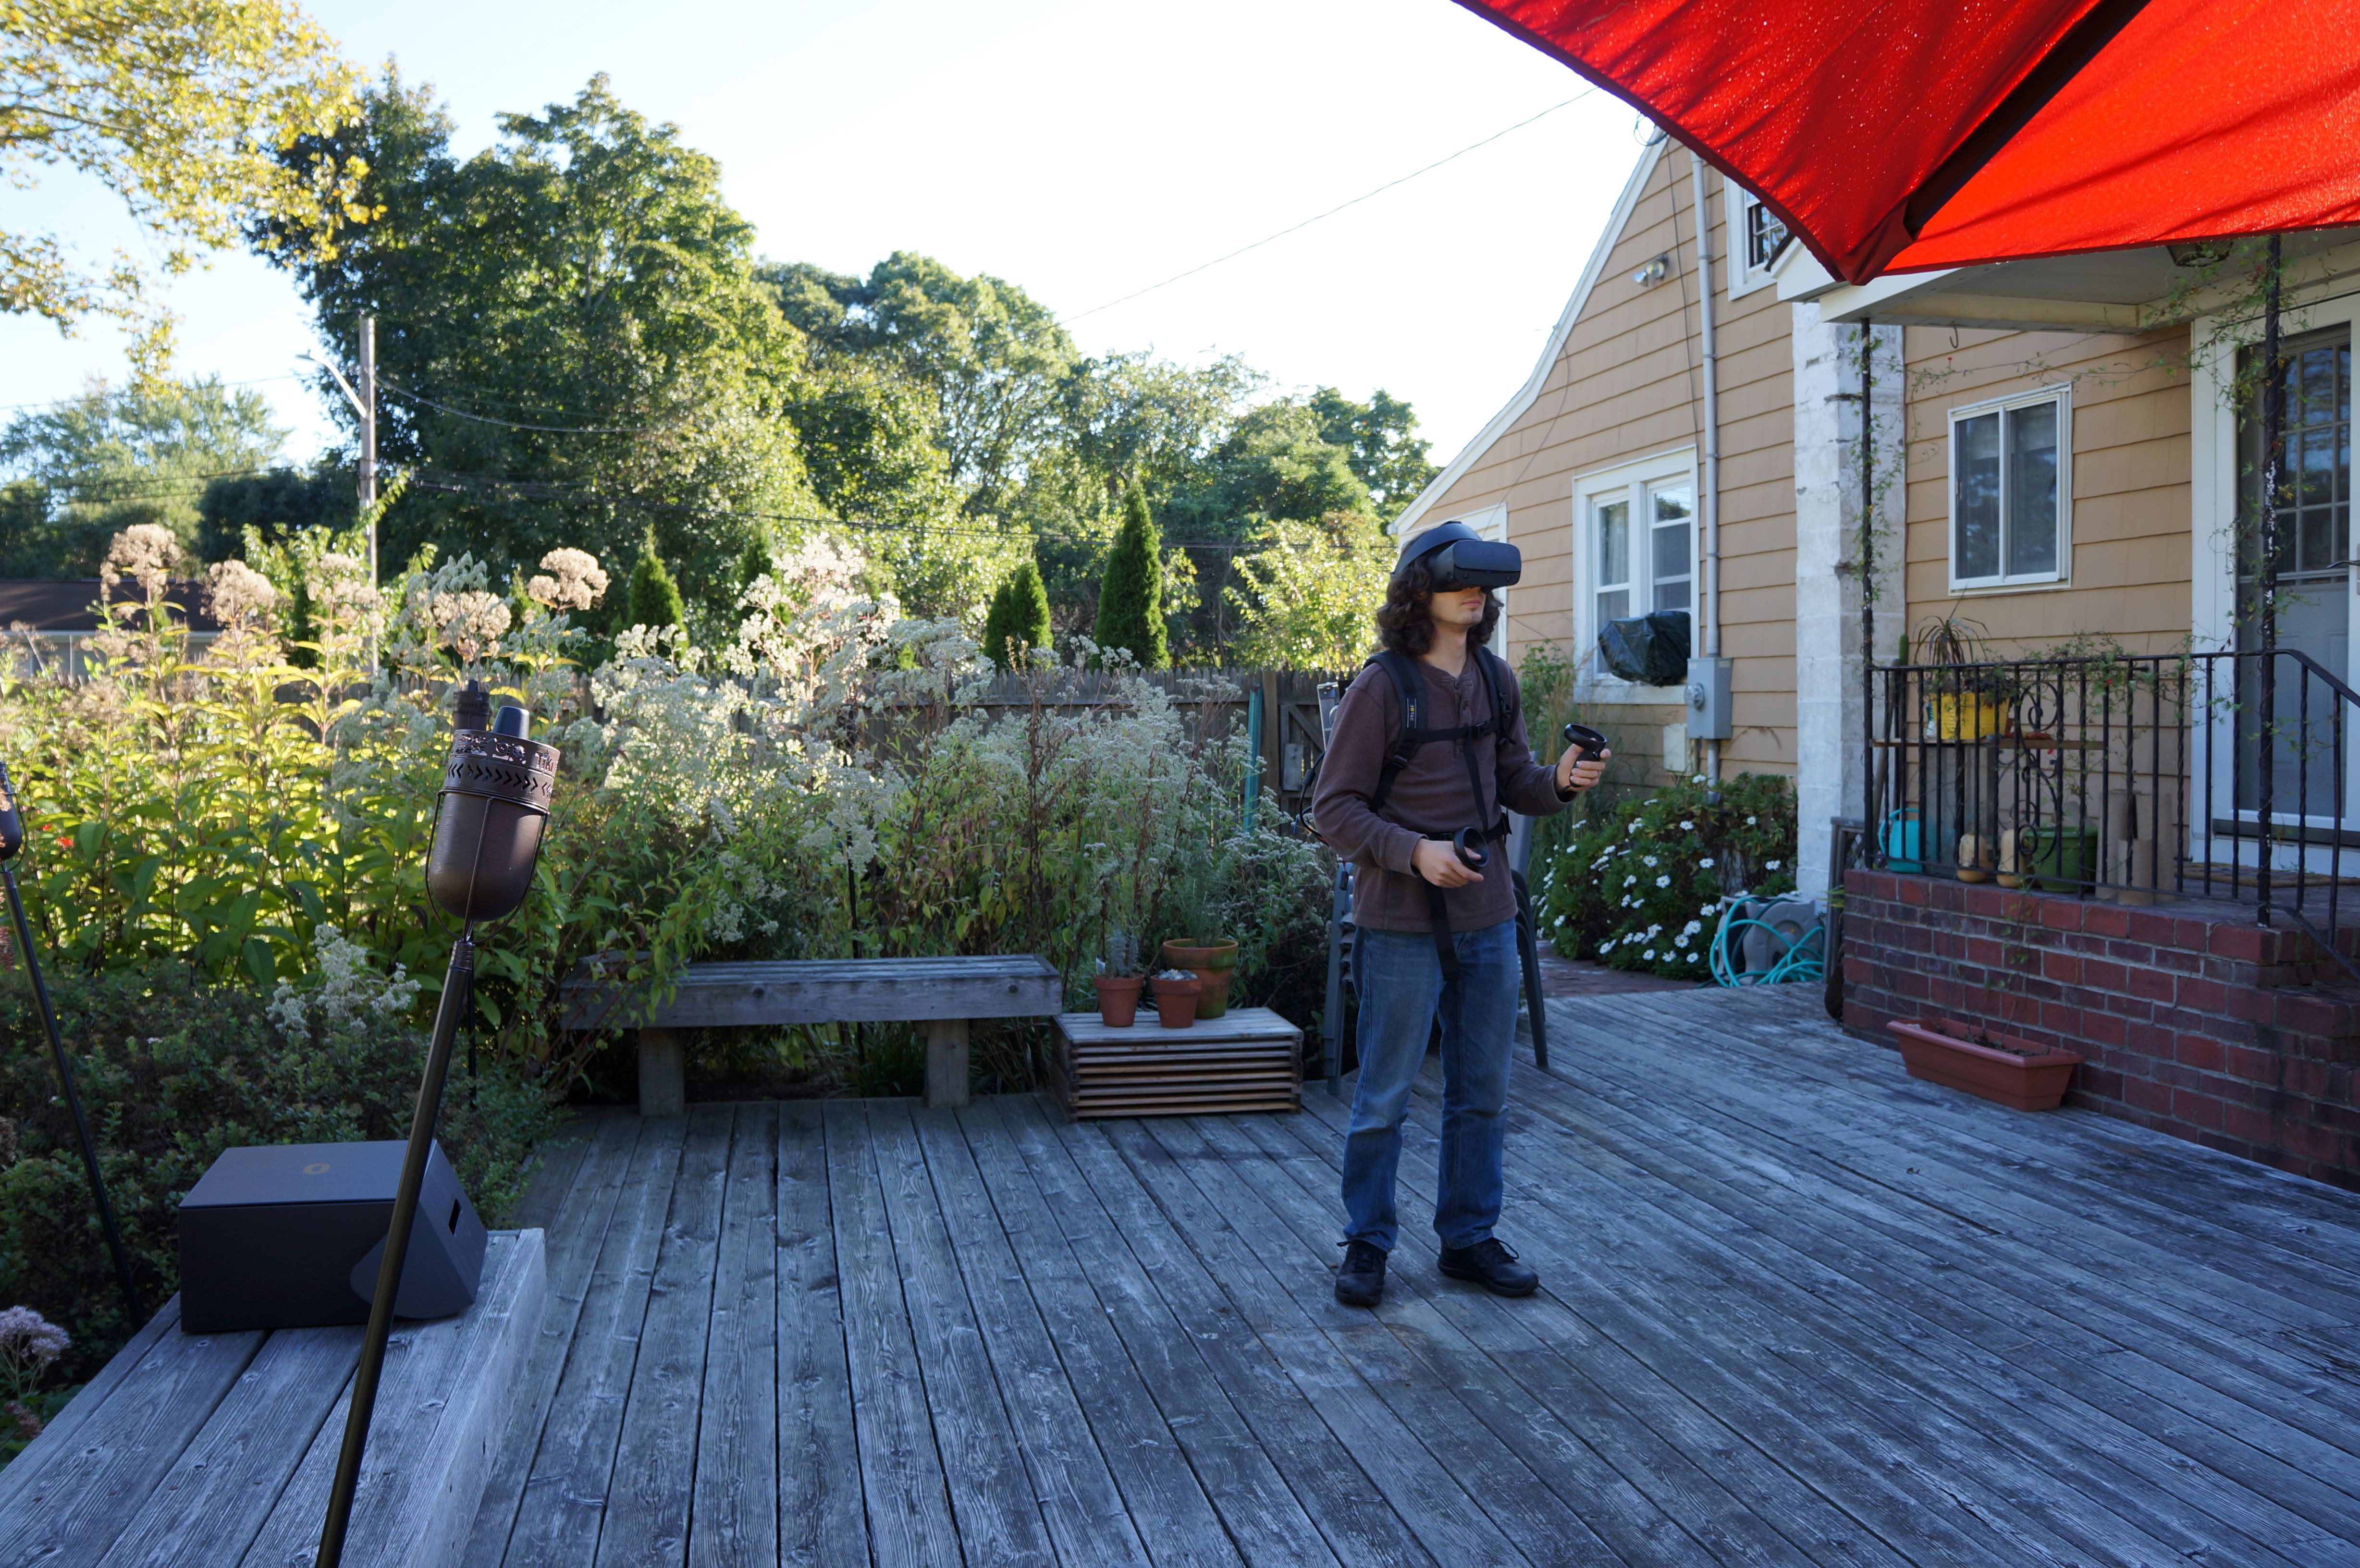
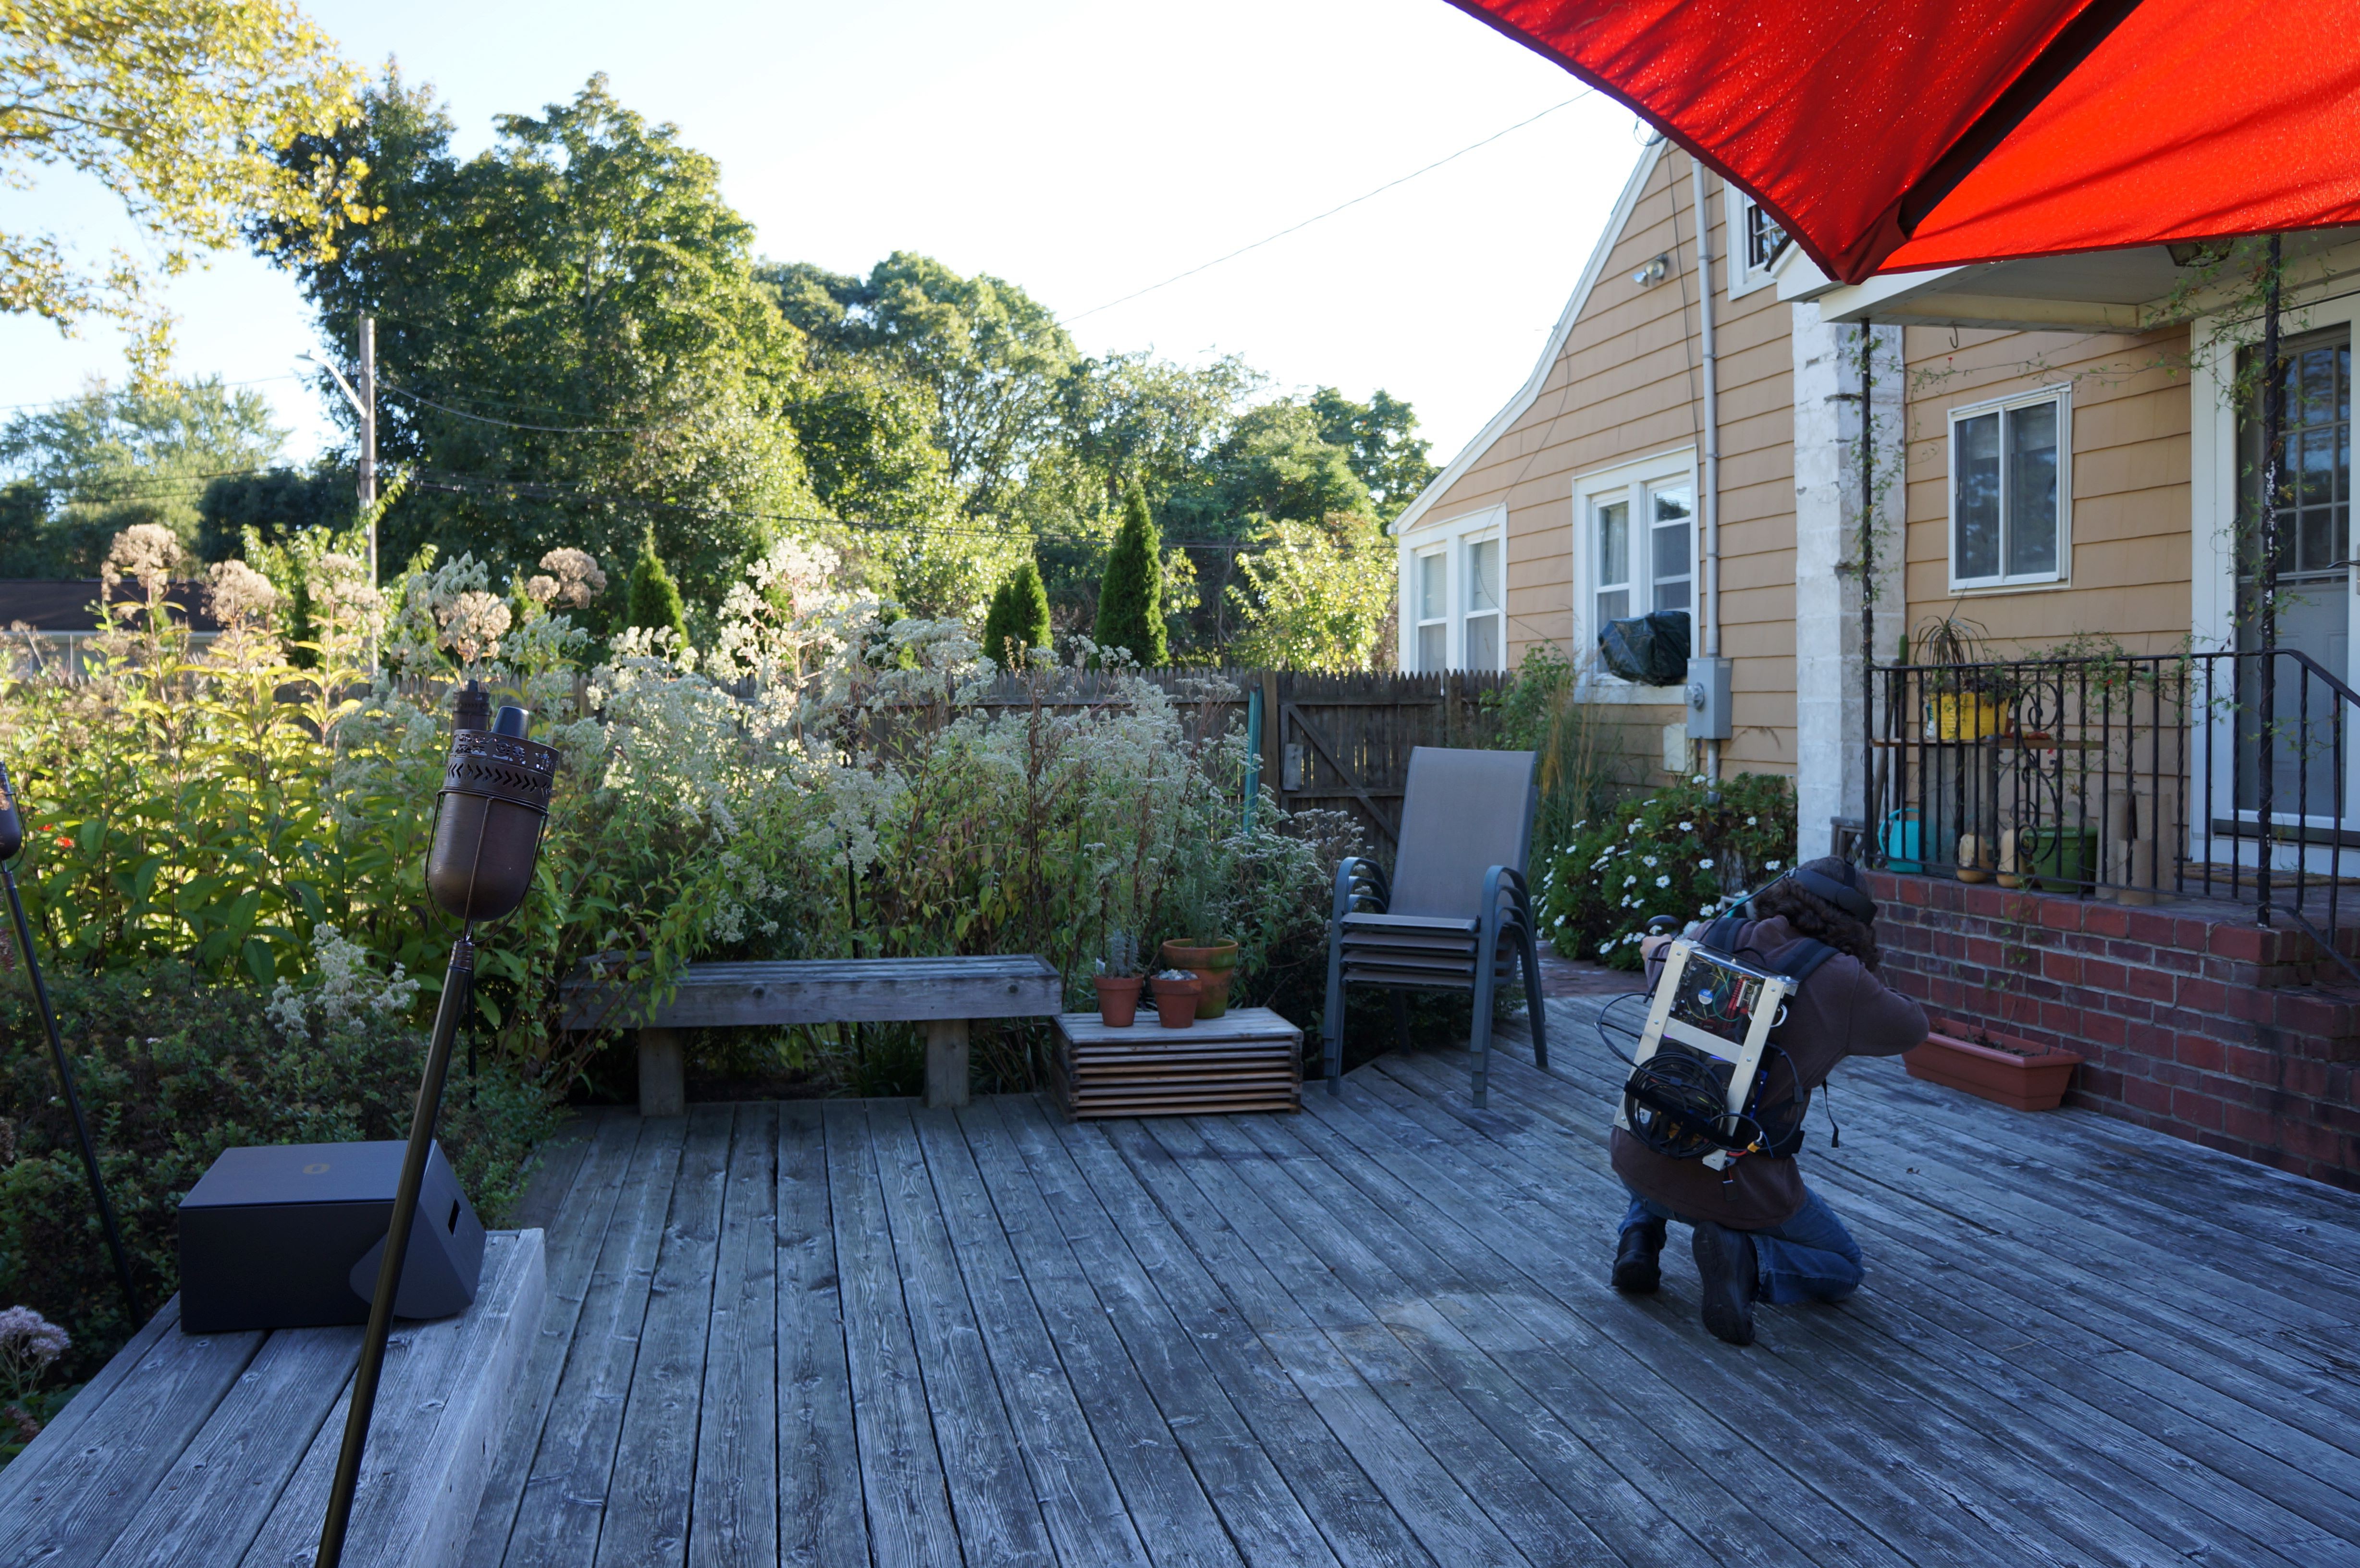
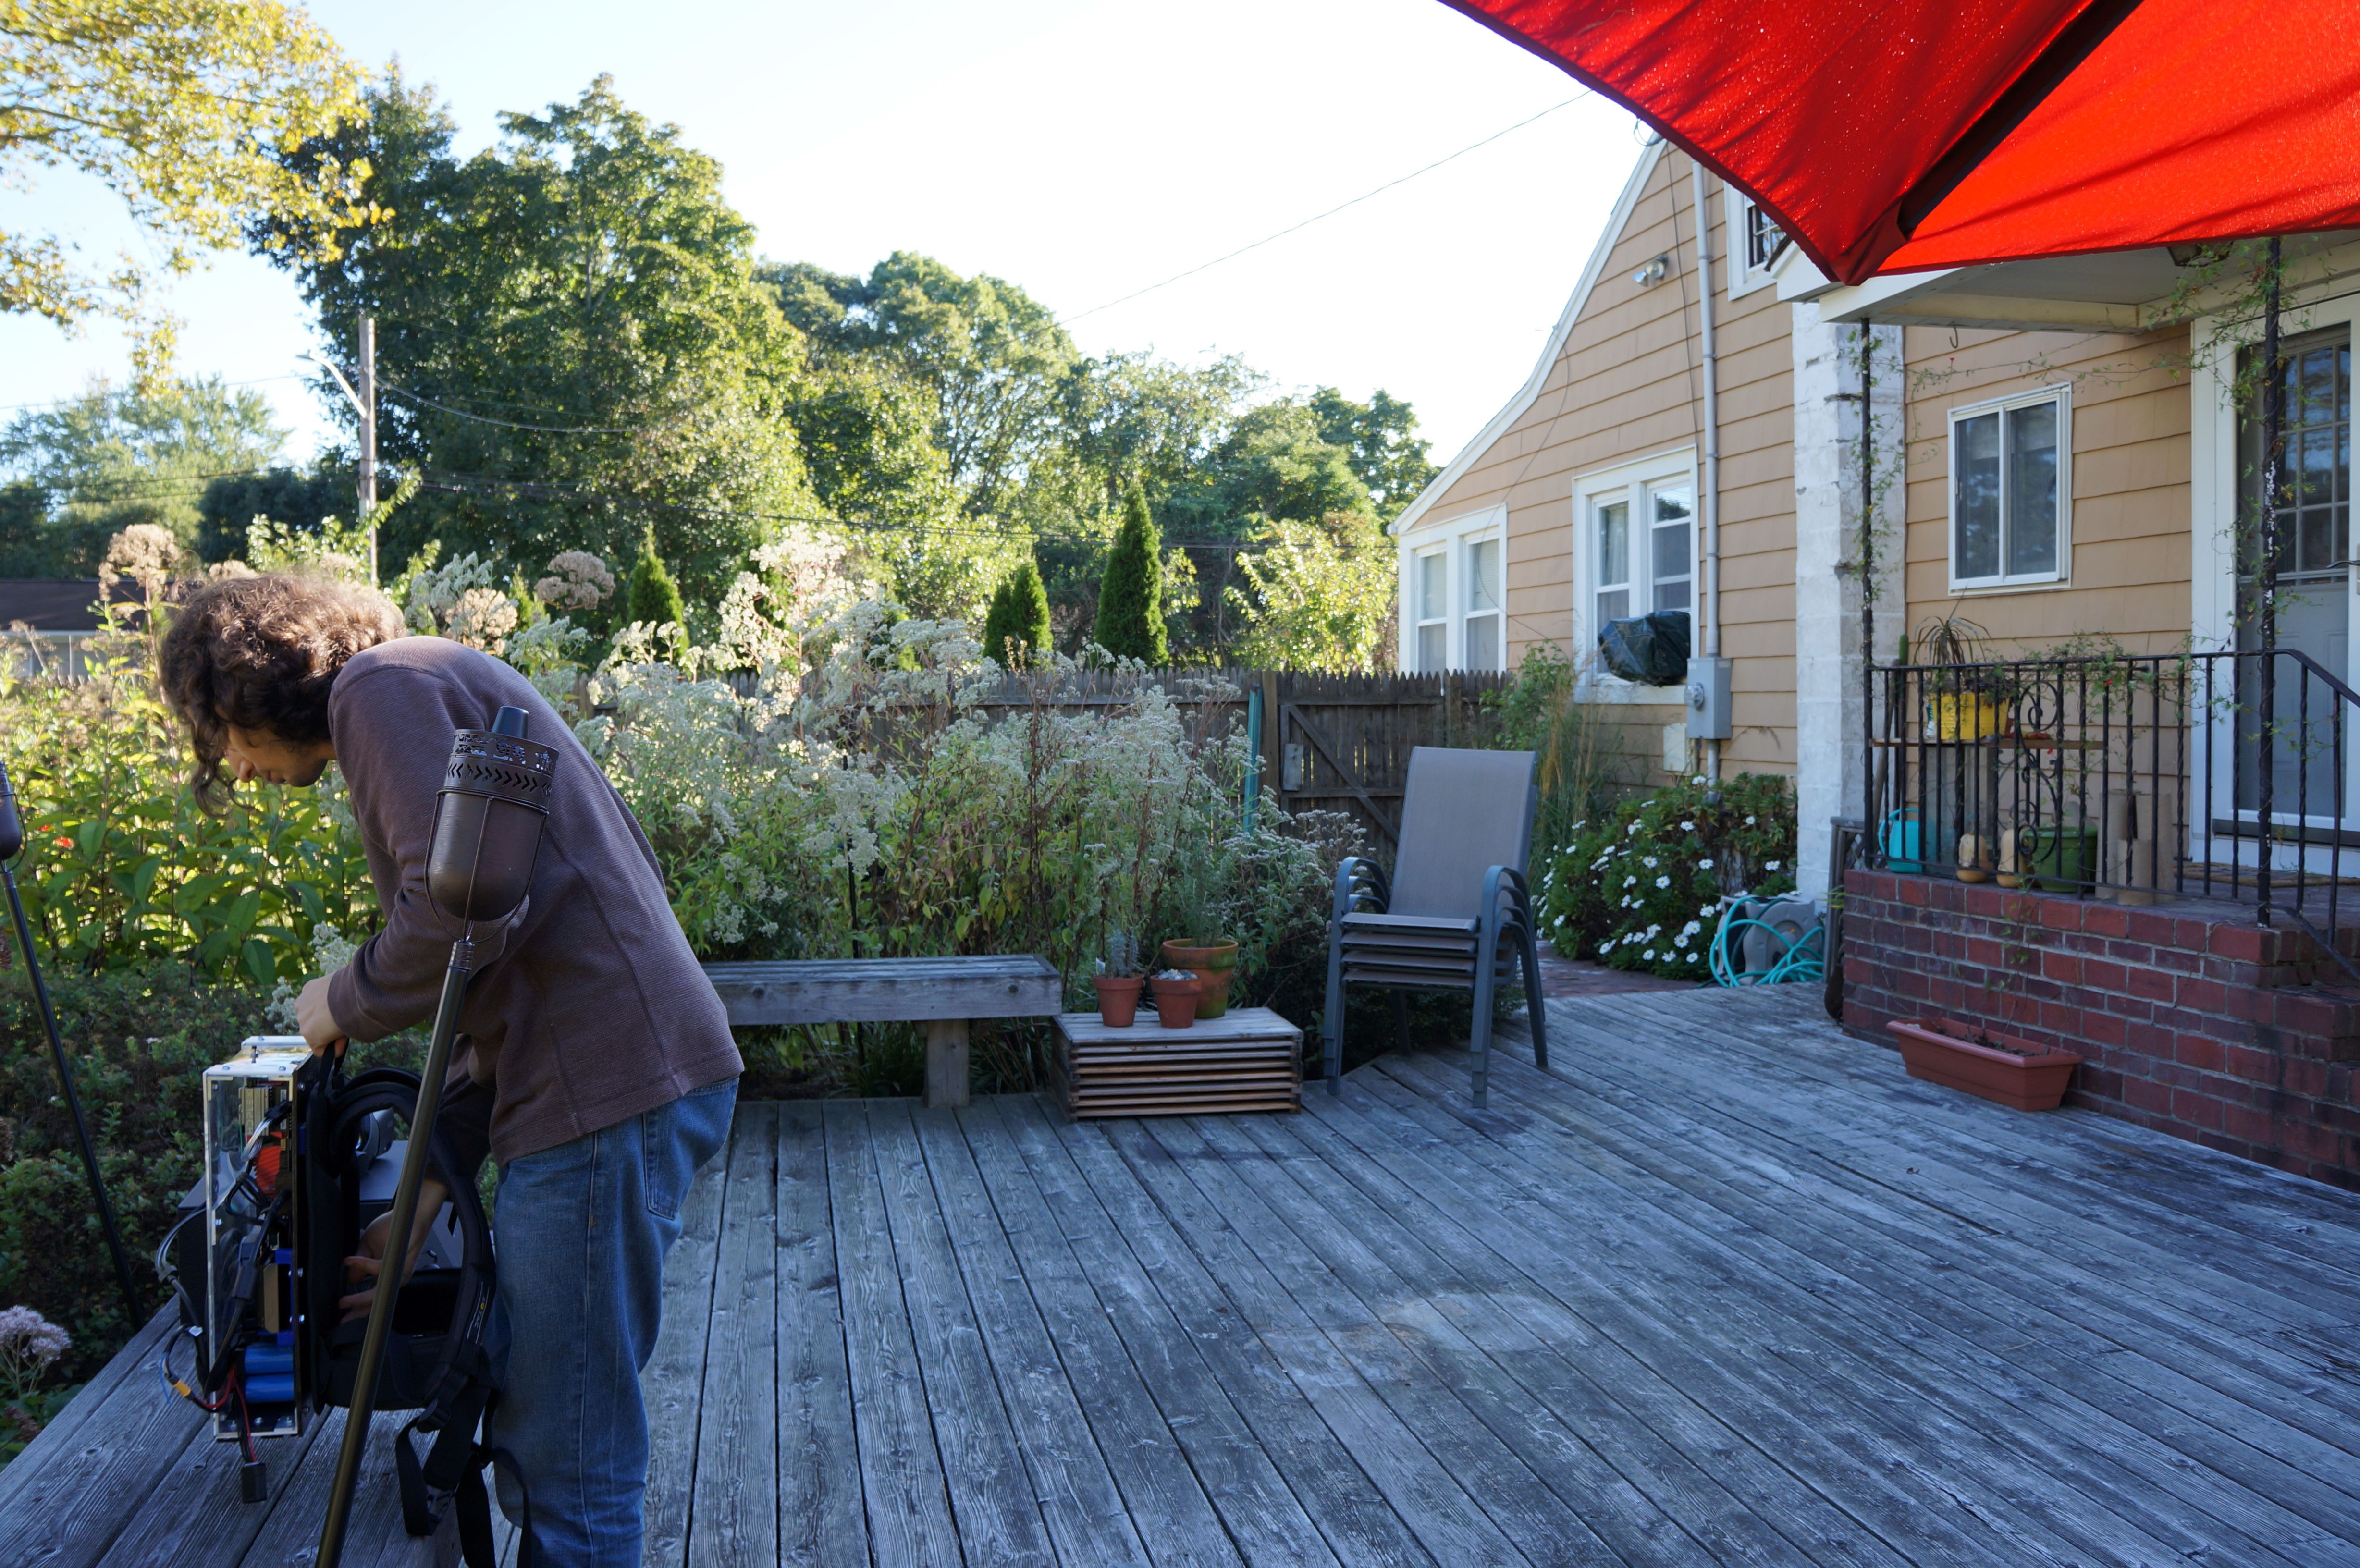
Time for a real test. I clear the deck, set up a new playspace in the headset, and set up a camera to take some action shots.
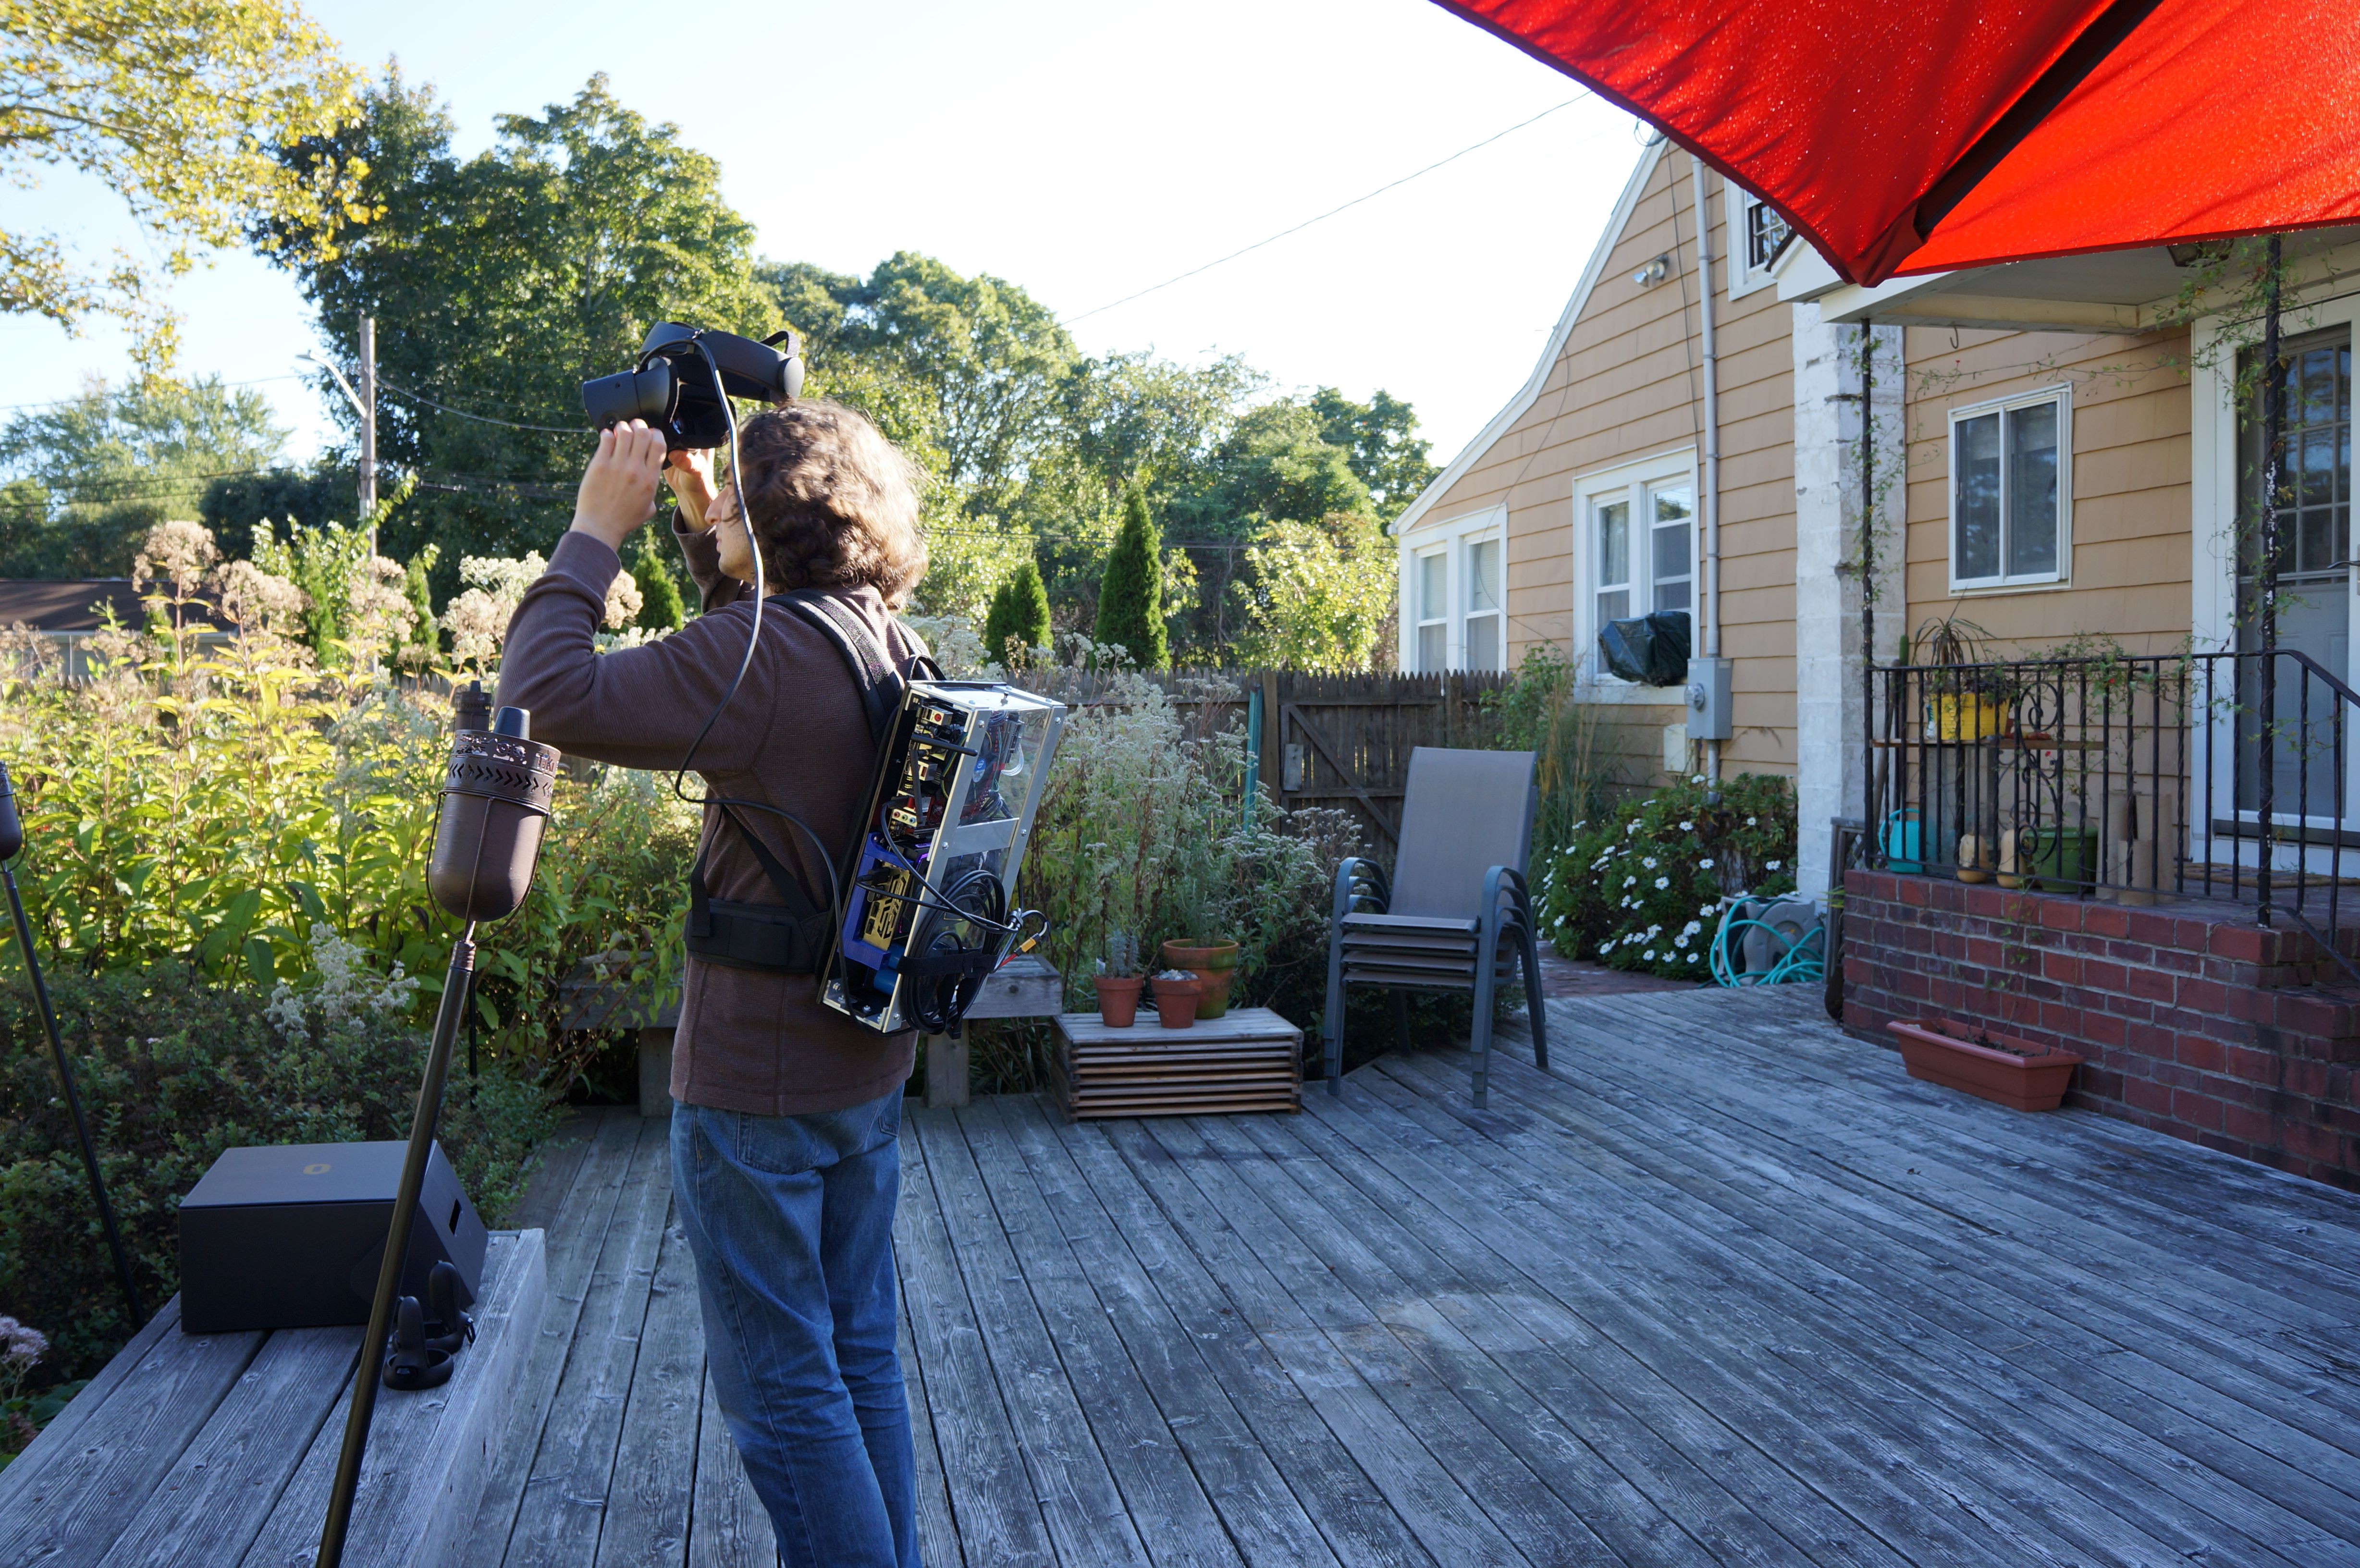
Now the only thing left to do was to box it up and find some willing test subjects.
Time to make good use of office space. Coworkers make great testers.
All in all a great success. Thanks for joining me on this build and tune in for future projects.
Discussions
Become a Hackaday.io Member
Create an account to leave a comment. Already have an account? Log In.