 Ali
AliConstruction:
1. First, I 3D printed the casing and rotors as intended. However the bottom rotor's extrusions were not successfully printed and as such I had to make some final minute adjustments to the design.
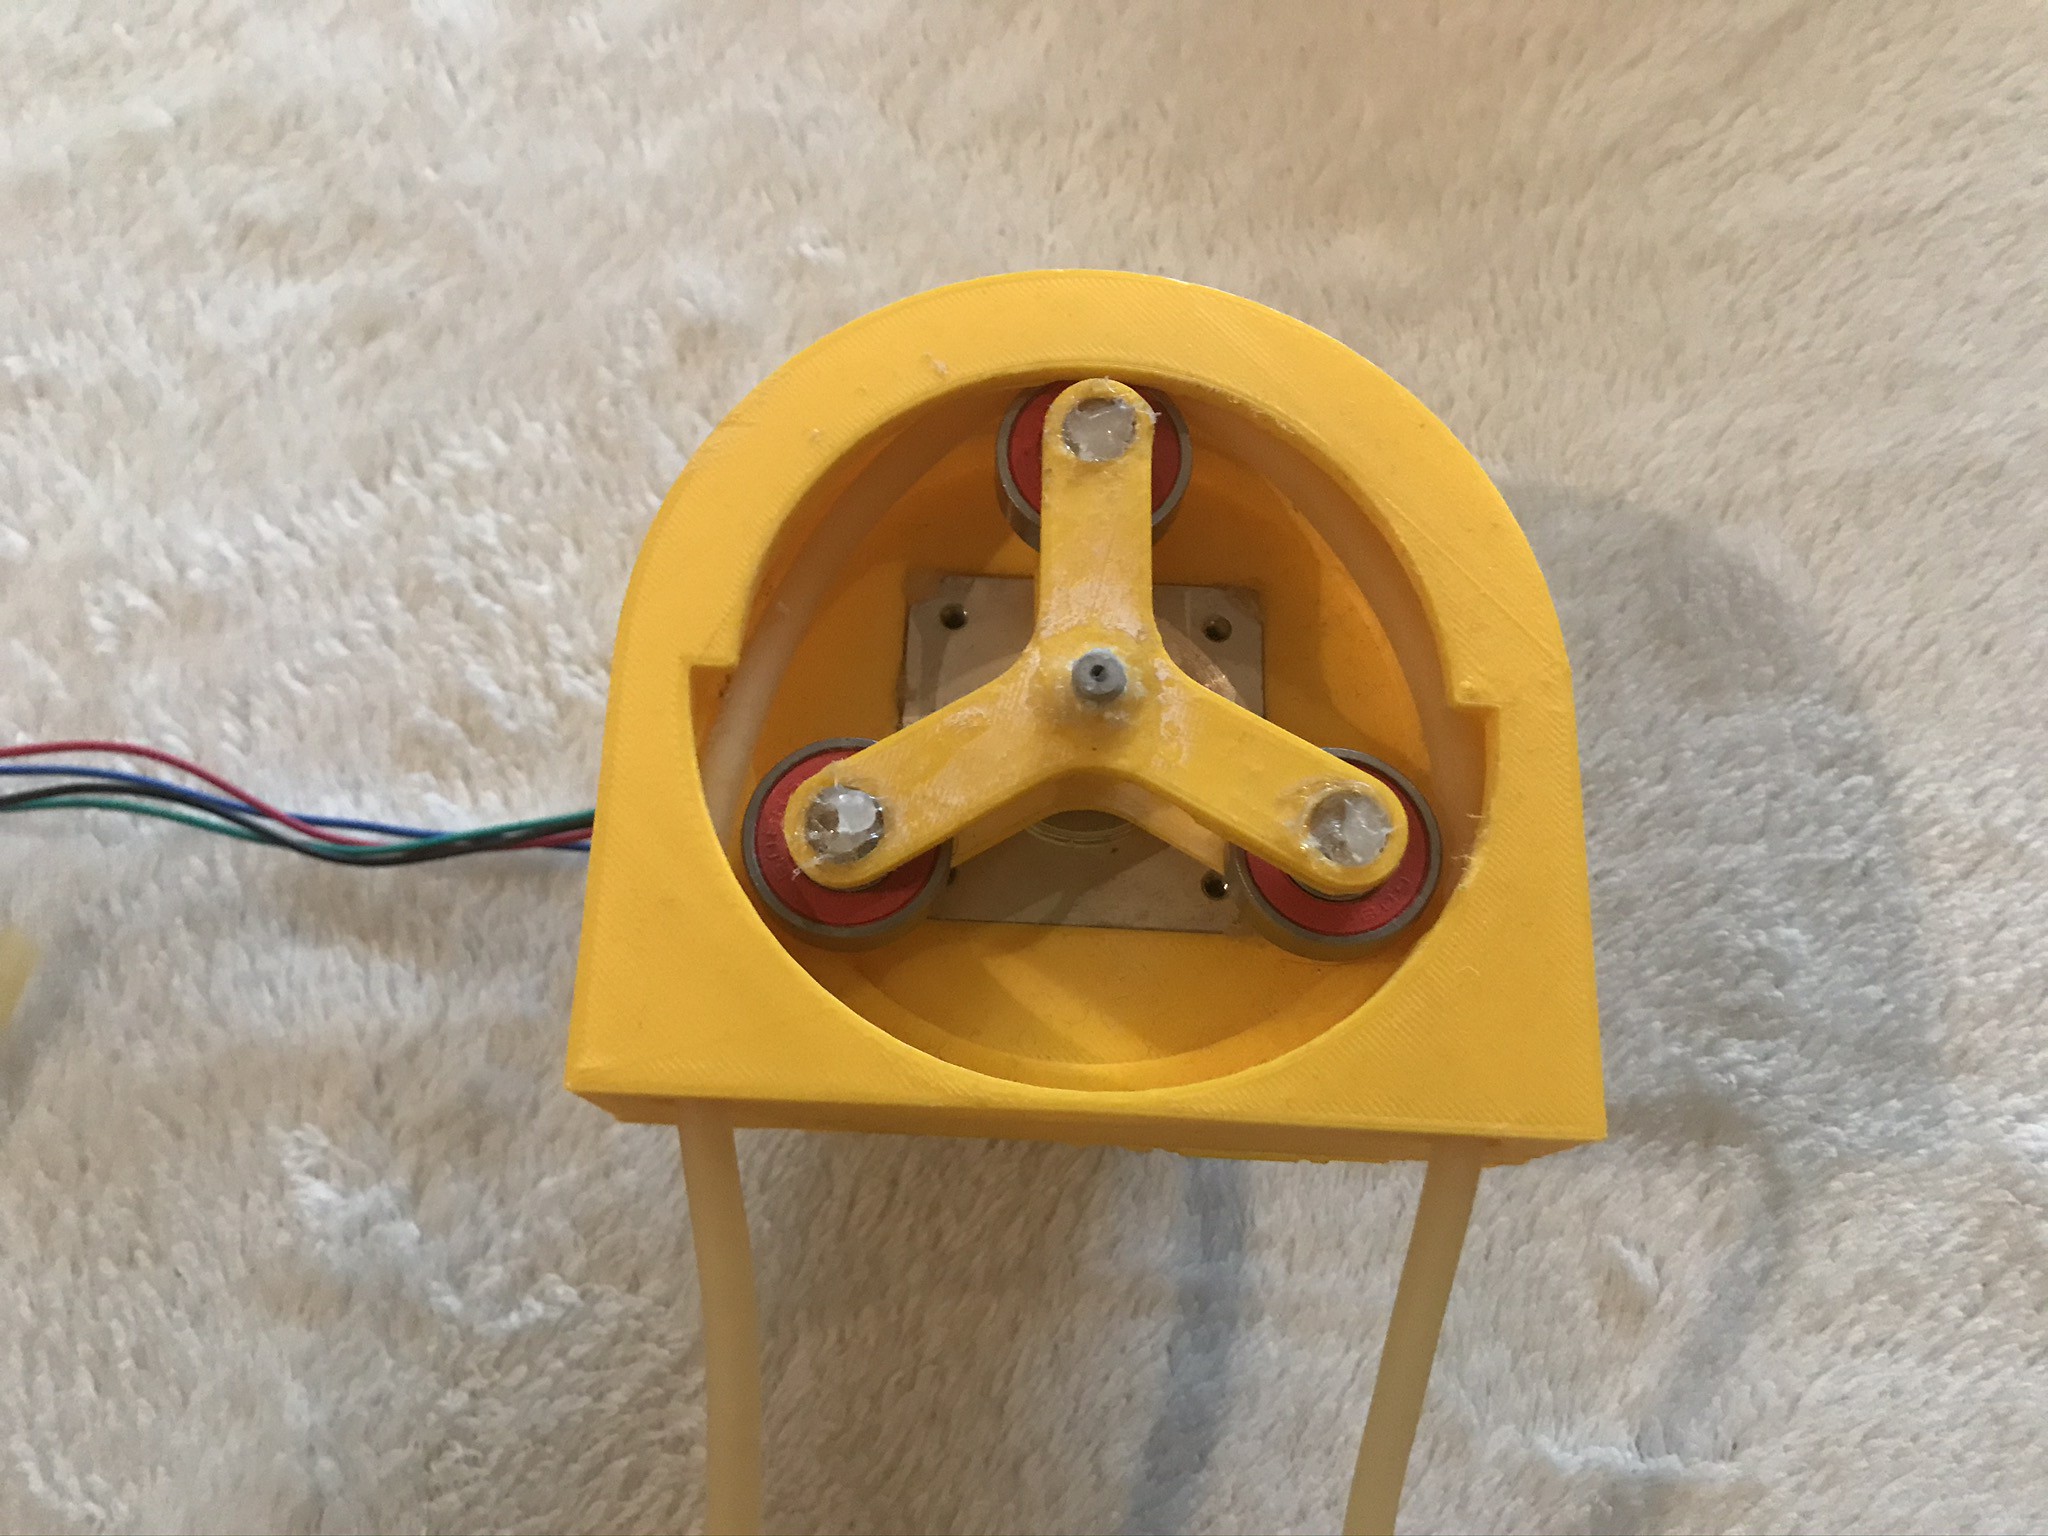
2. I attached the motor to the casing using adhesive ( glue gun) as shown below.

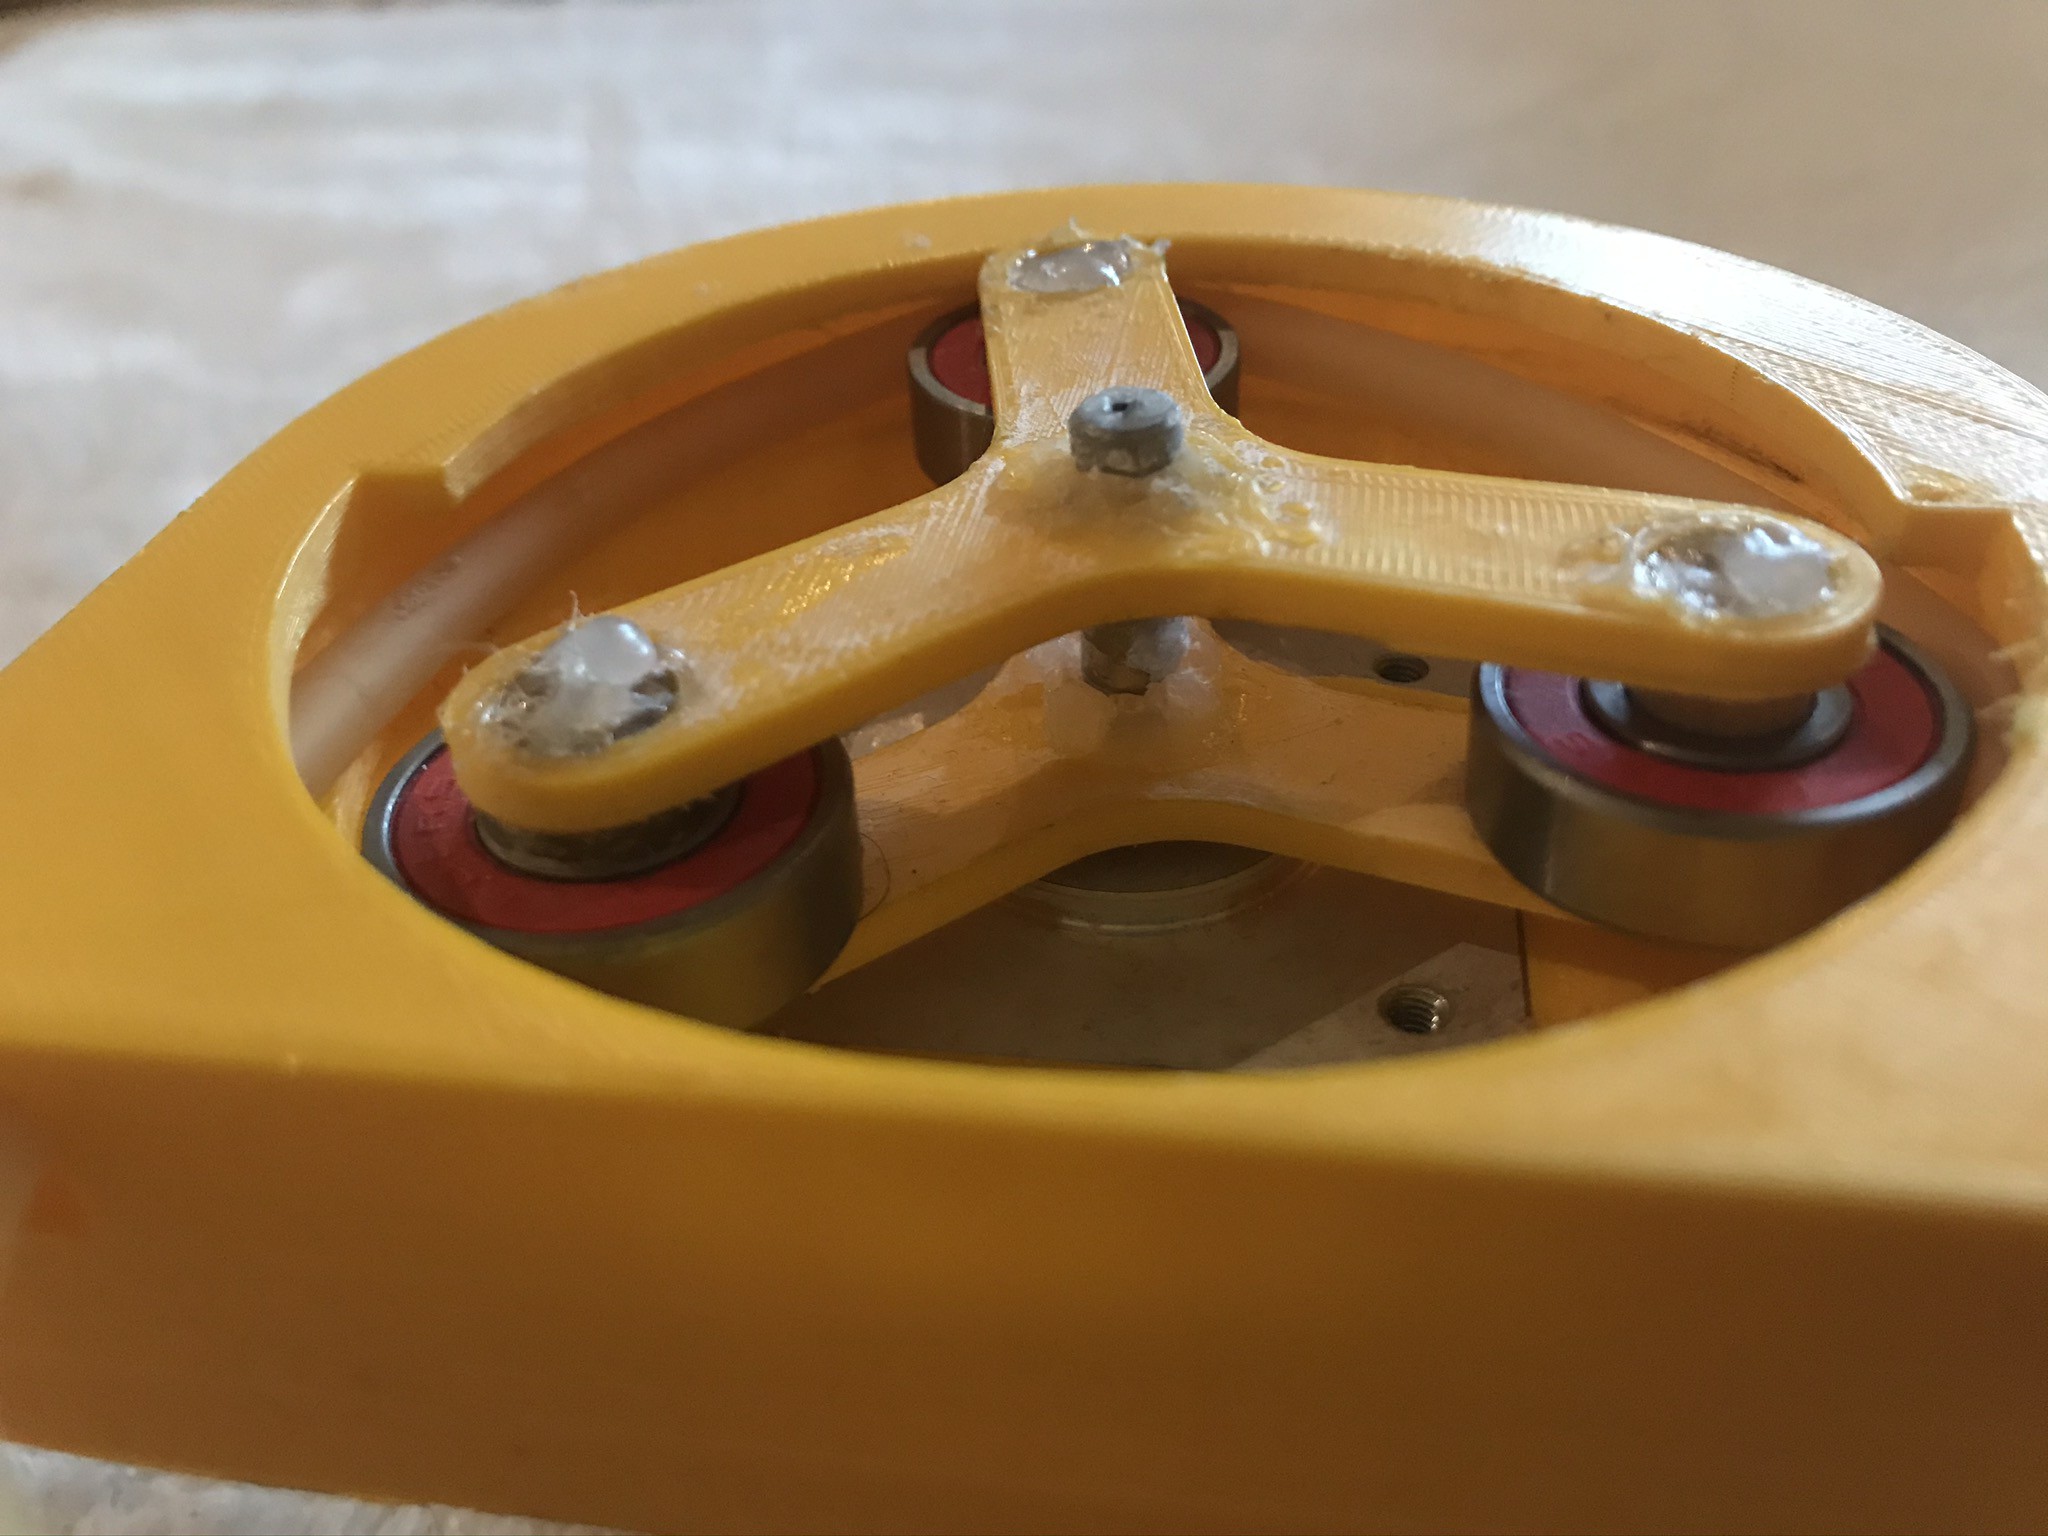
3. Then I carefully glued 8mm plywood rod in the bottom rotor and then inserted the rotor into the motor's shaft. The rotor's hole was tight enough to hold it in place on the shaft.
4. Then I carefully slotted the bearings into the rods.
5. lastly I aligned the top rotor with the rods and glued them together
6. Finally I glued the rotors with the shaft.
Conclusion:
- Using Adhesive to attach motor reduces the ease of disassembly in case a motor replacement is needed. It also reduces reduces the accuracy when horizontally aligning the motor.
- Using Plywood as supporting rods for the bearing increases time and difficulty of assembly.
- Was difficult to align the rotors at the correct height as designed.
Discussions
Become a Hackaday.io Member
Create an account to leave a comment. Already have an account? Log In.