 Patrick Van Oosterwijck
Makers are never satisfied. (That tends to be why they make! :))
No sooner had I integrated PoE and Ethernet on a tiny FeatherWing and someone expressed dissatisfaction that they had to use it in combination with a Feather to provide the microcontroller! They wanted PoE + Ethernet + microcontroller all in one unit.
To be honest, I can understand the desire myself. I love cramming tons of functionality into a tiny footprint. The Feather is a tiny form factor, but once you start stacking various boards together to make something functional, the total size quickly stops being tiny. One of the things that bug me about the PoE-FeatherWing is that there is the giant Ethernet jack, and the giant flyback transformer, with so much unused empty space in between. So I wondered whether I could do something useful with that empty space. Thus the concept of the M4-Shim was born.
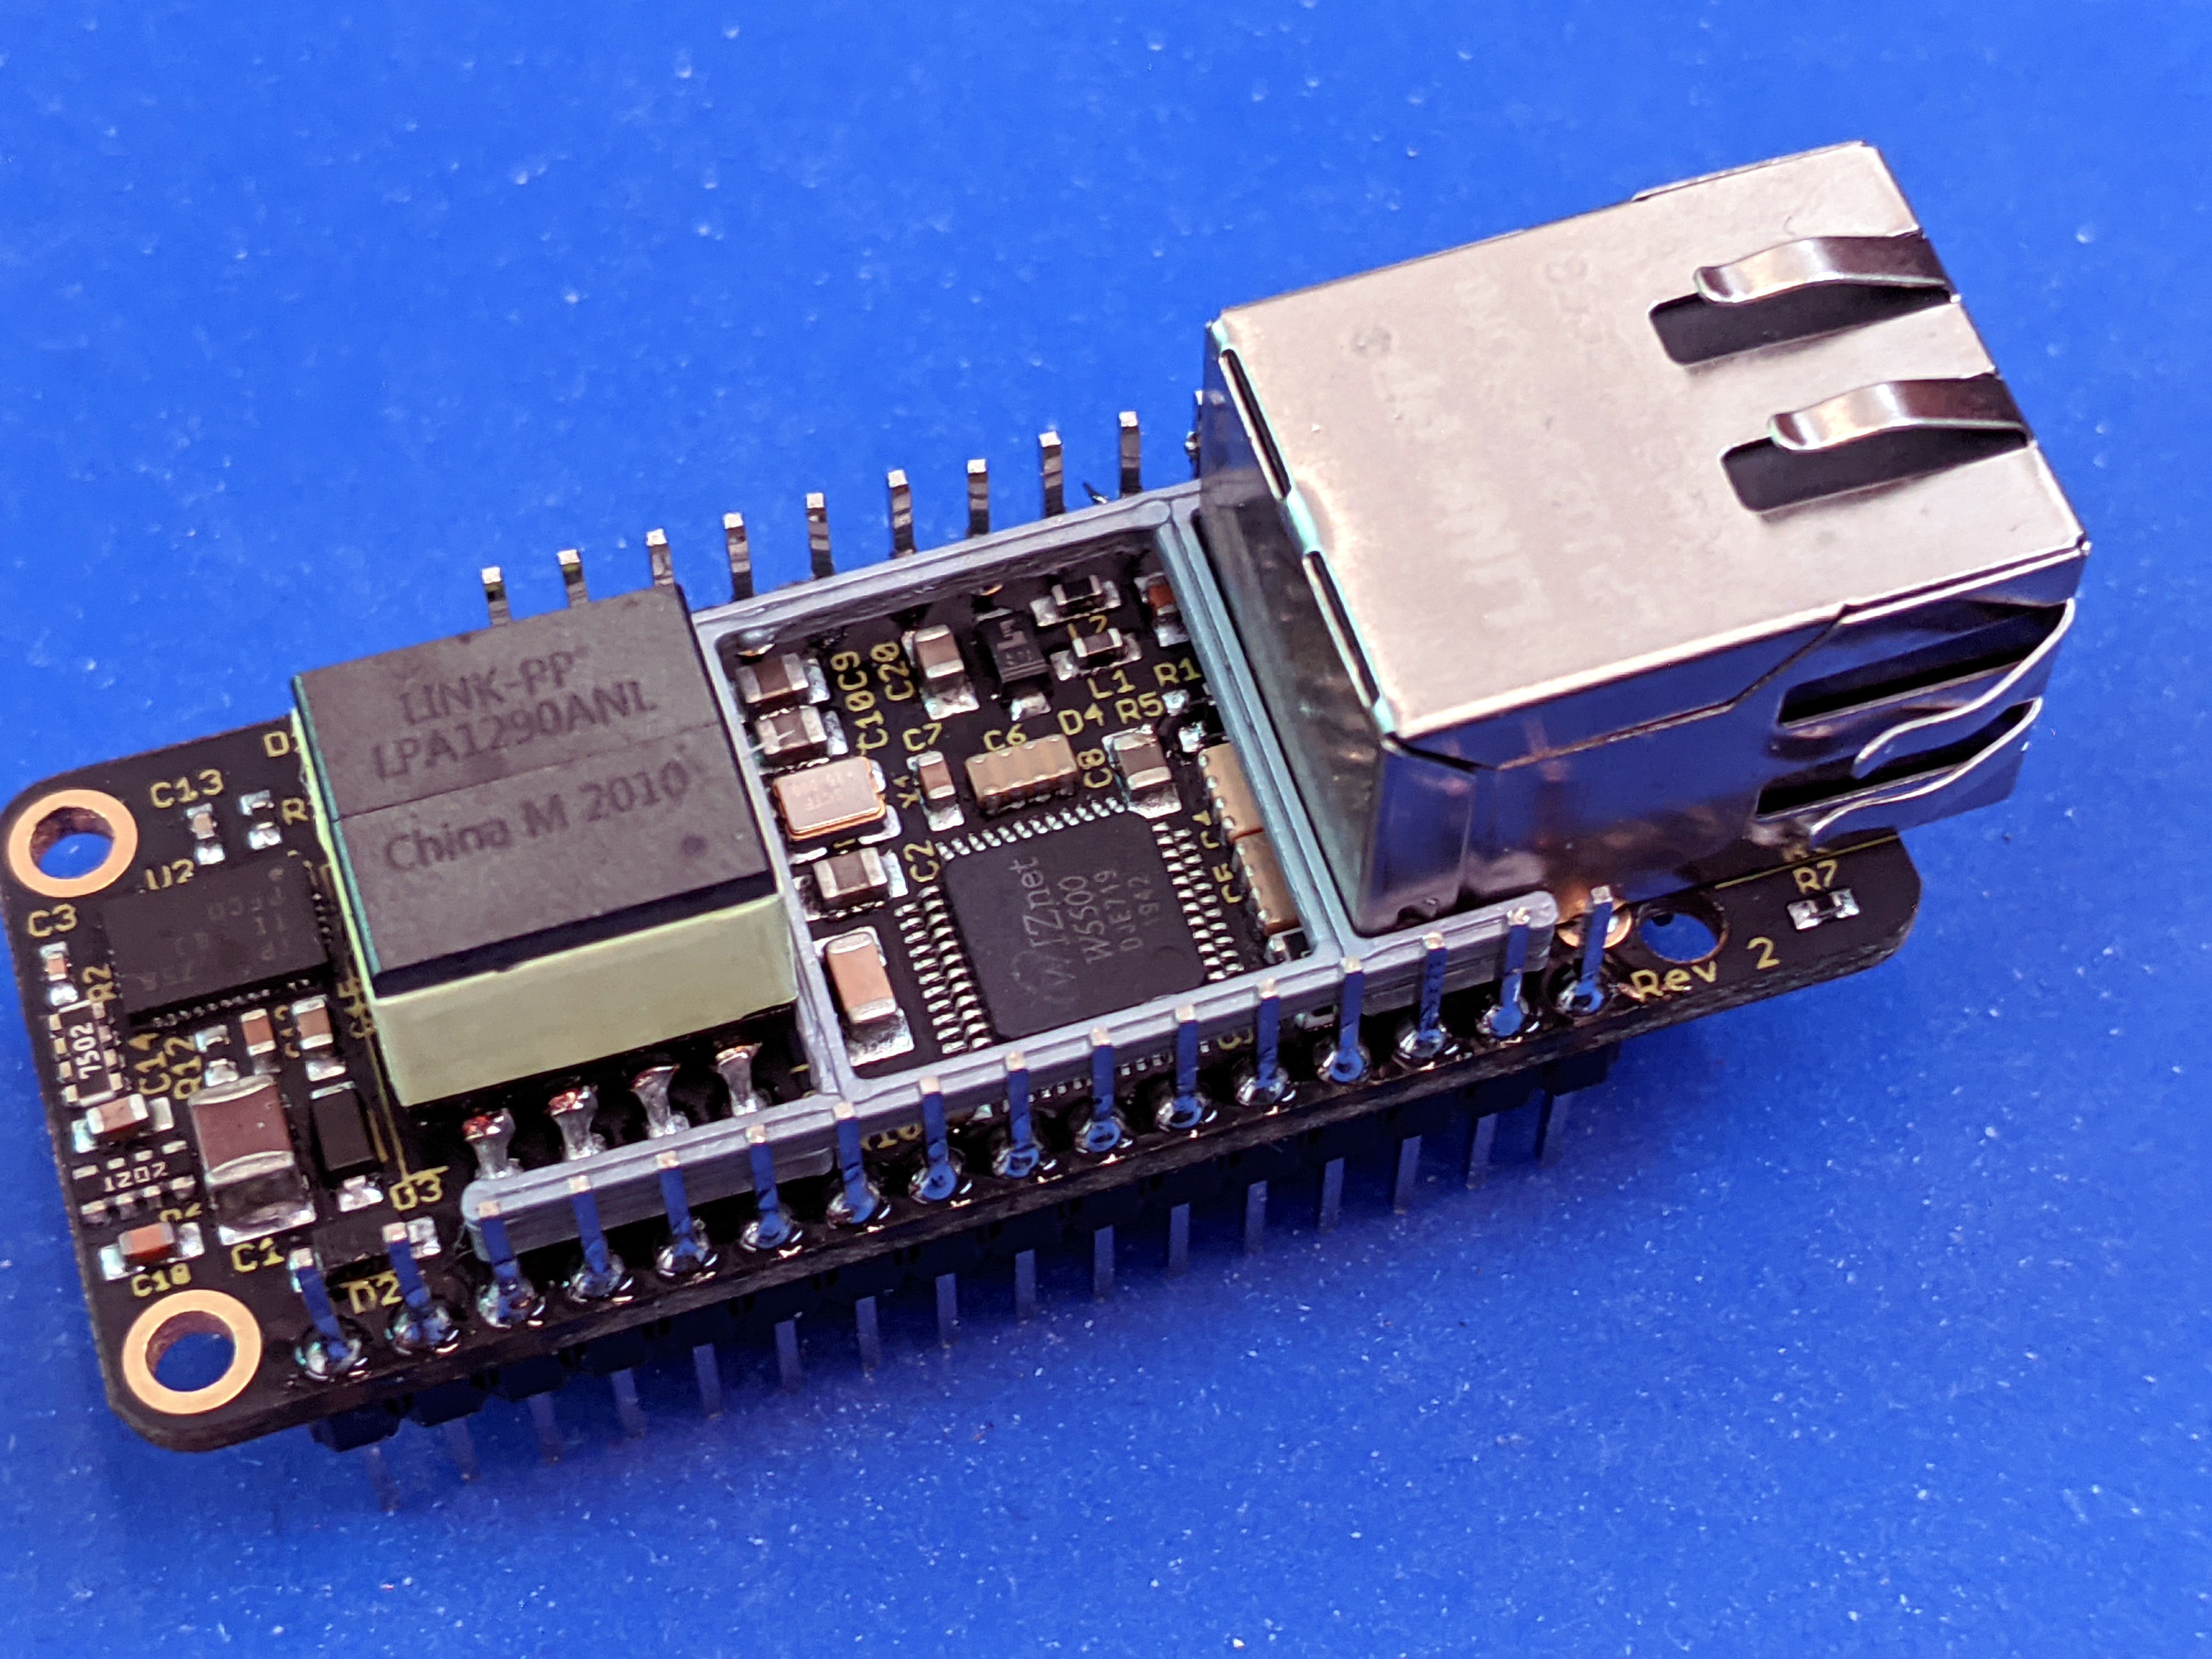
The idea is to take all the relevant pieces of the Feather M4 Express and fit them into the empty gaps of the PoE-FeatherWing. This results in a pretty funny shaped board:
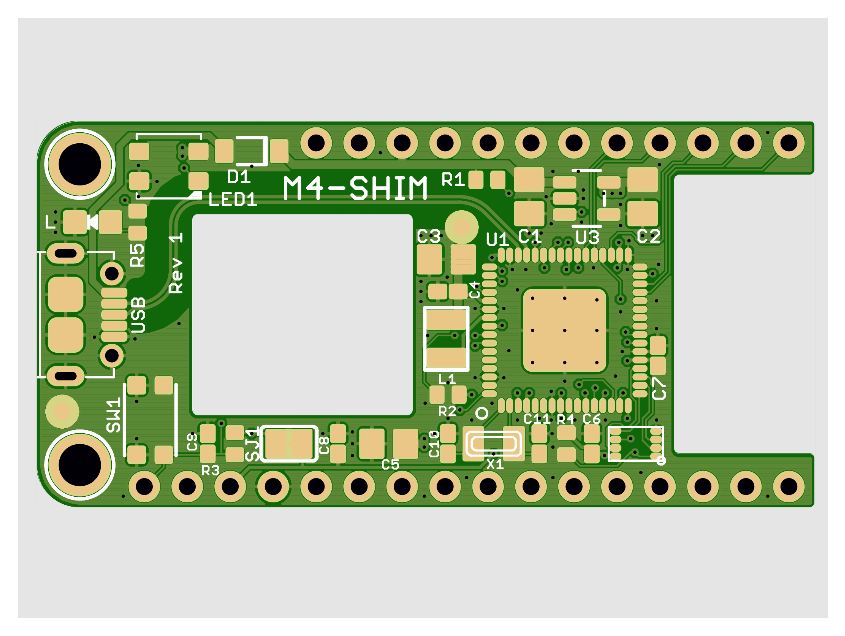
The only thing that's missing compared to the Feather M4 Express is the LiPo battery charge circuitry. Considering that this is intended to be used with Power over Ethernet, it seems like something that could be dropped to make it fit. :)
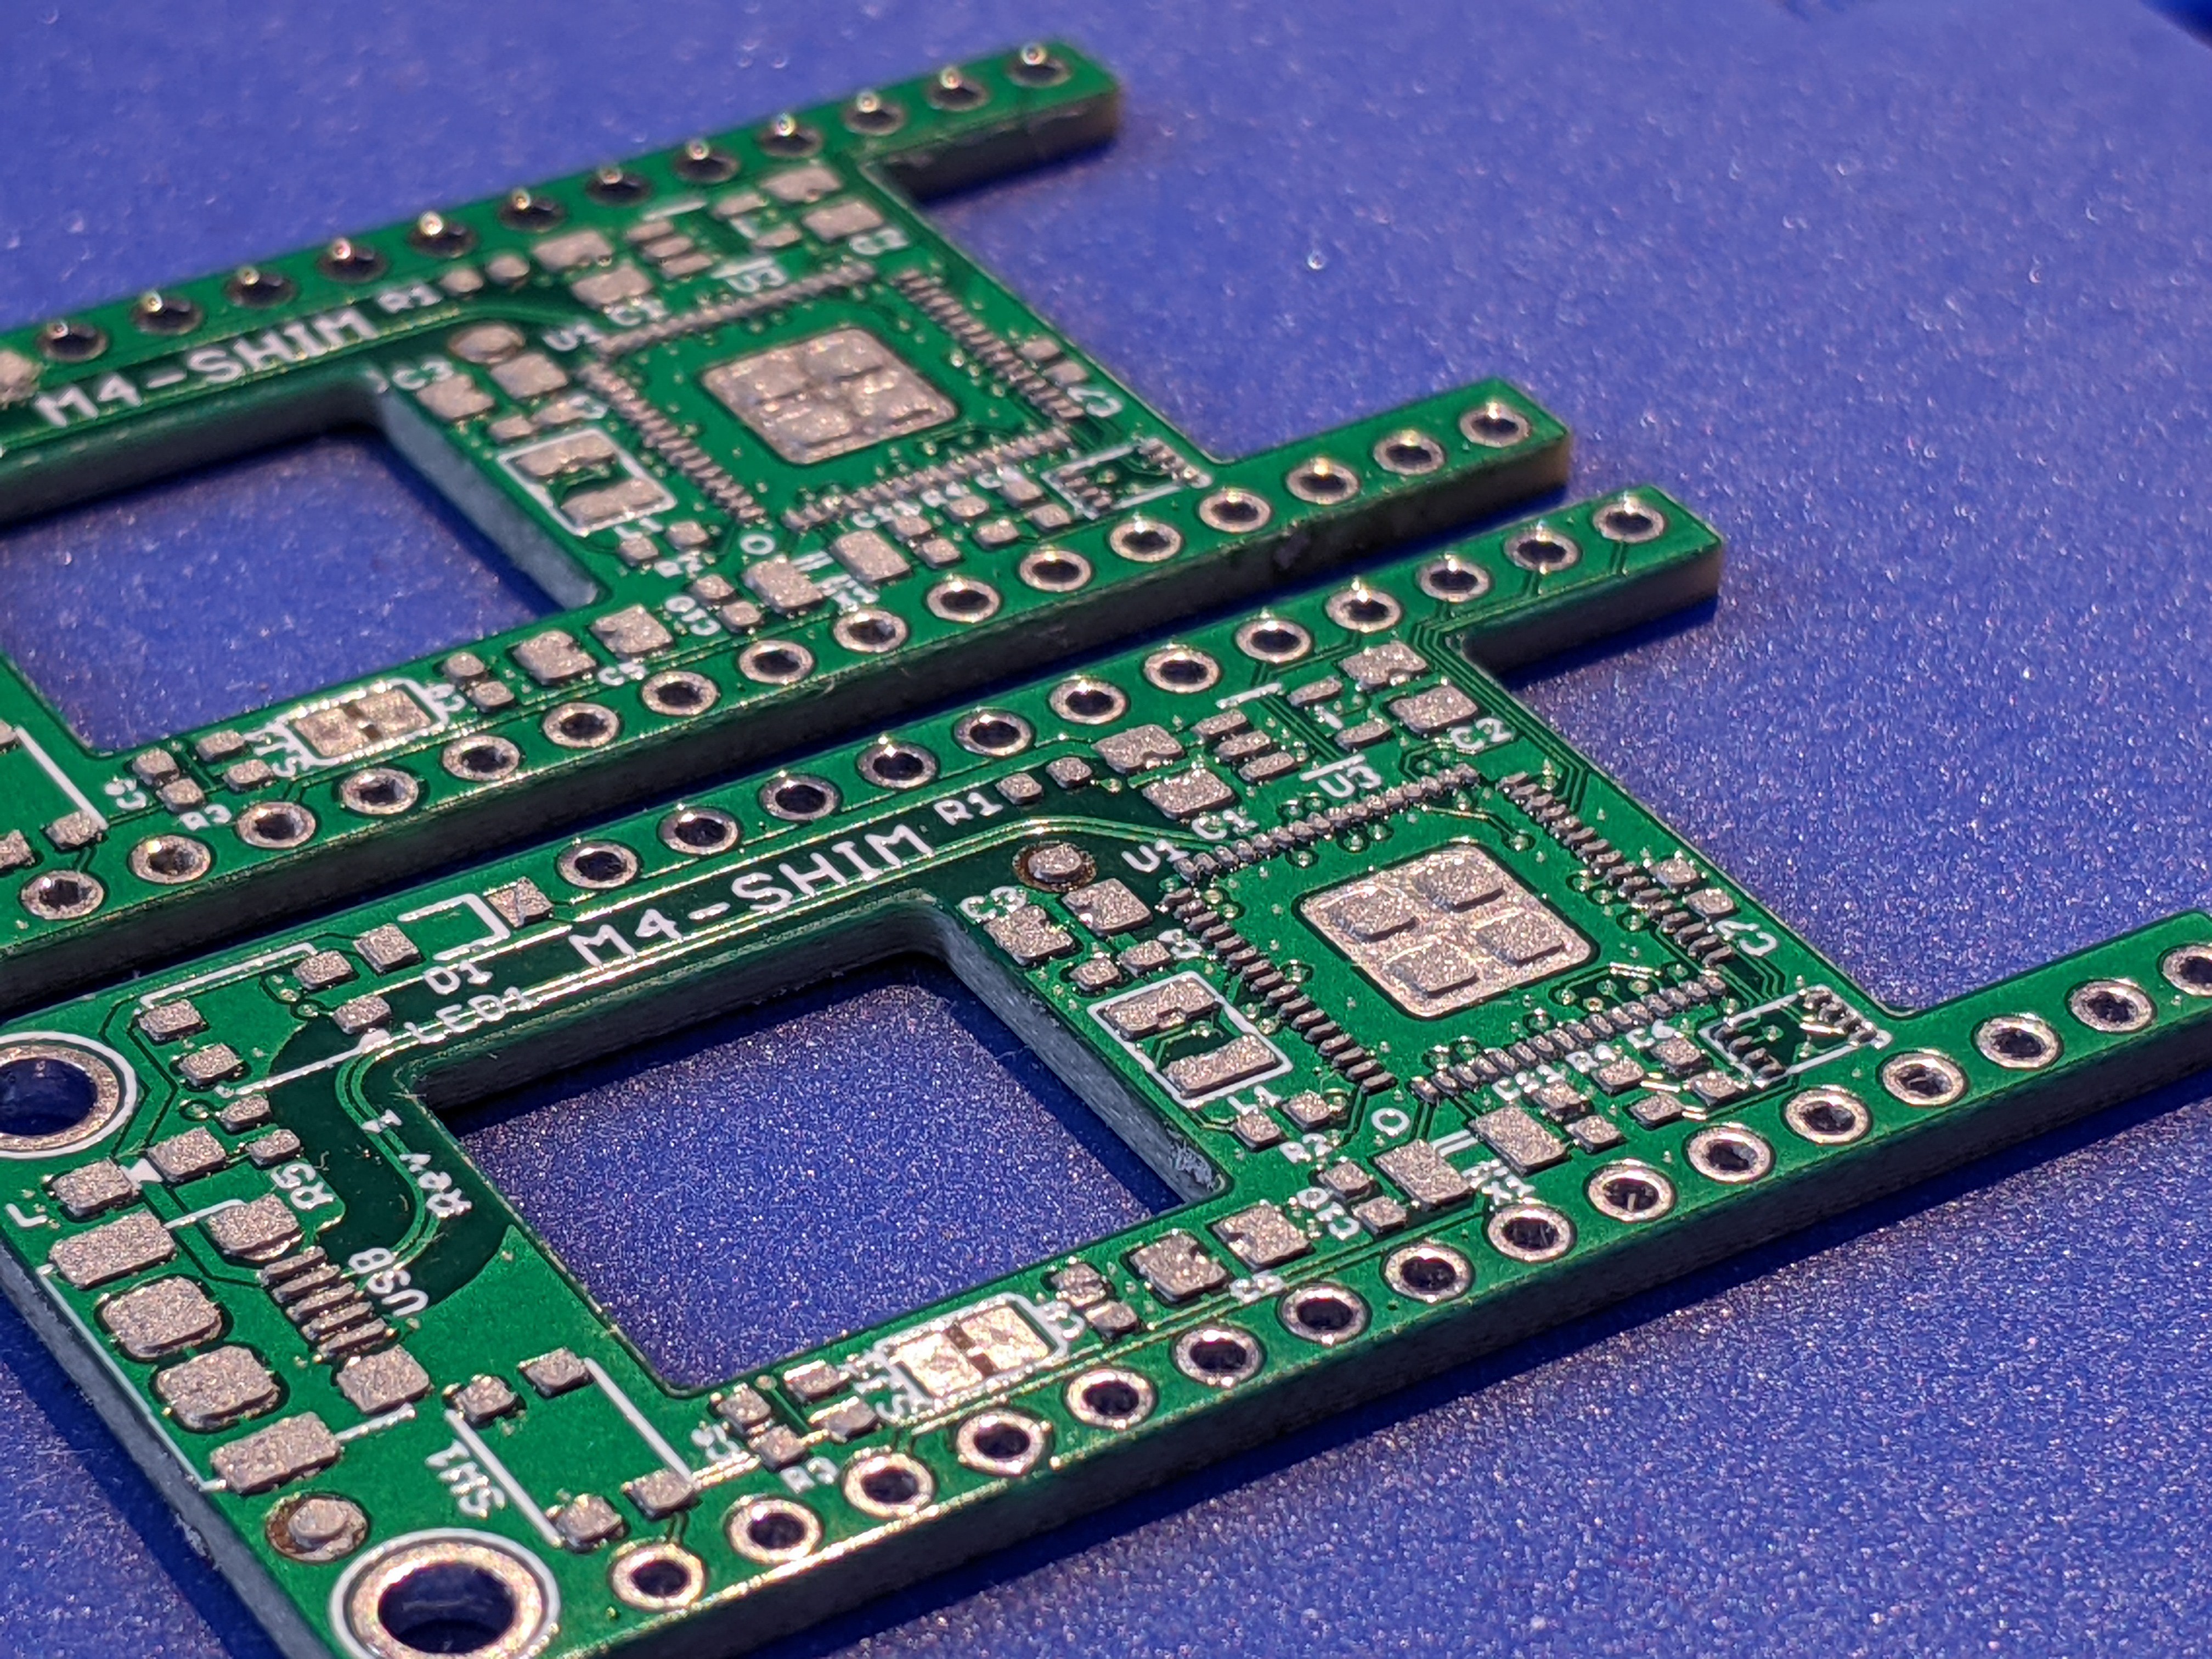
I ordered prototype PCBs and stencil from JLCPCB and got to work:
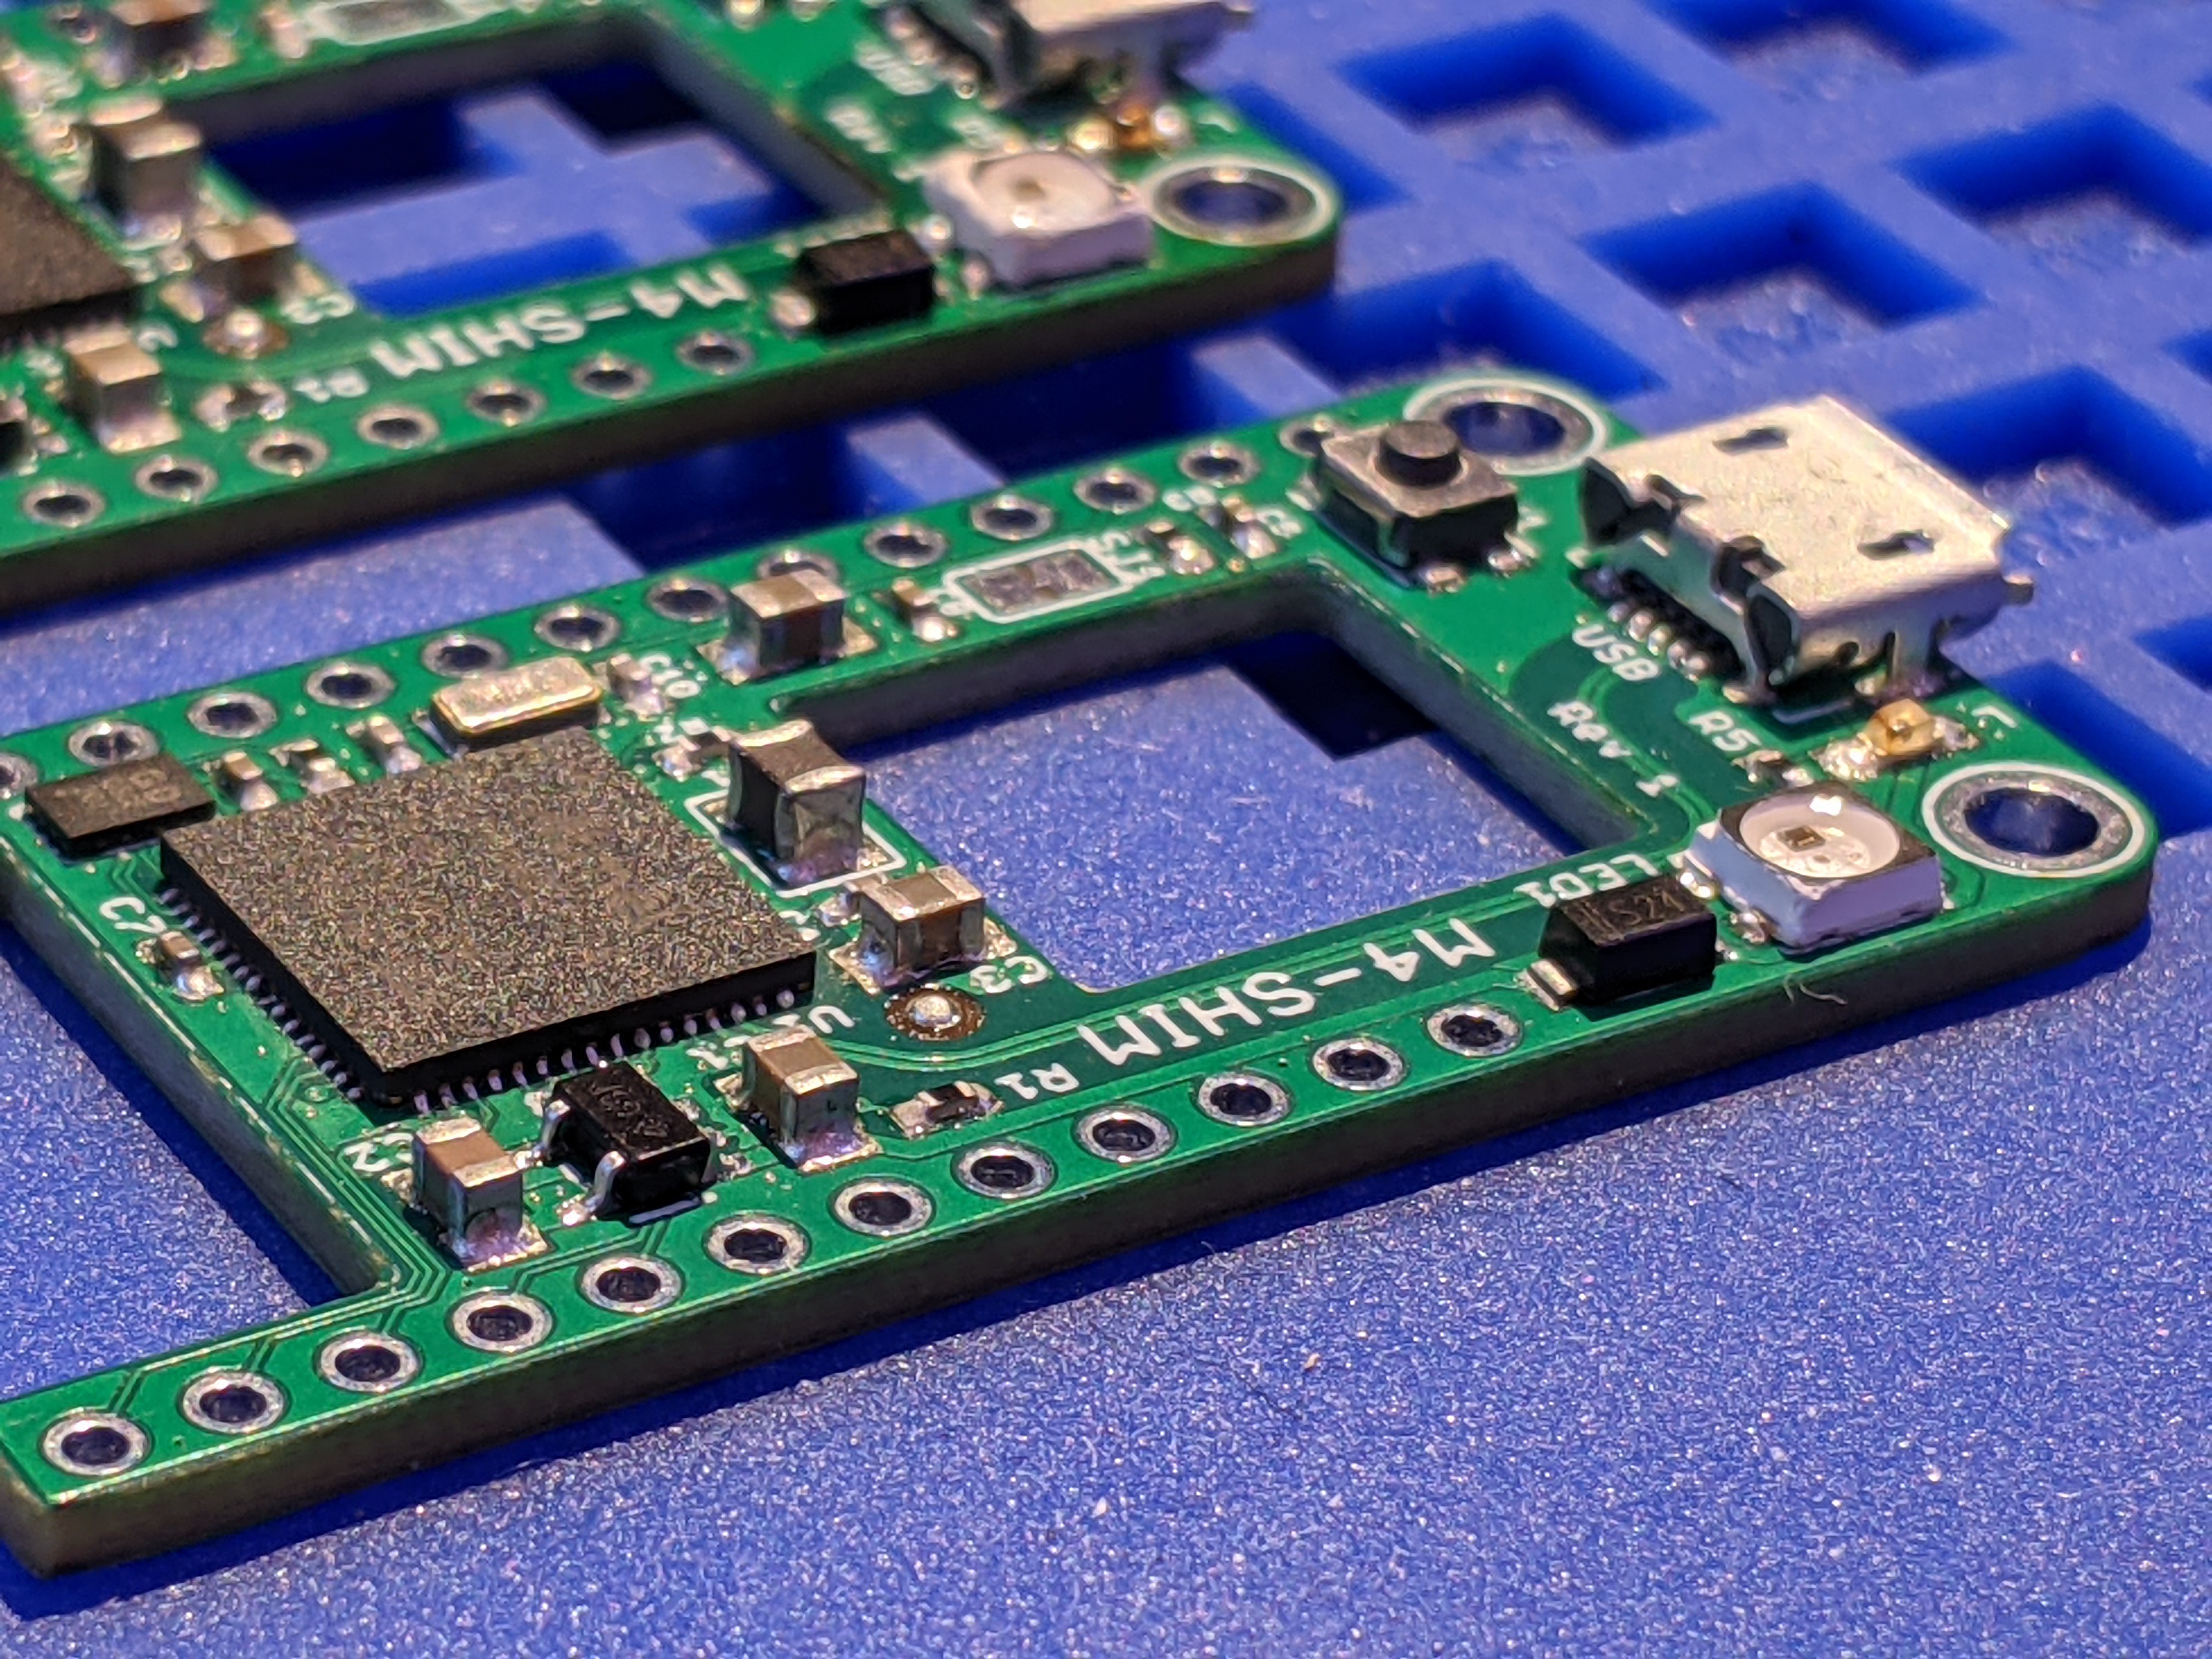
After the shims were built, I first tested them by themselves. I used my J-Link to program Adafruit's fork of the UF2 bootloader onto the micros. After that the FEATHERBOOT USB drive came up when connected to my computer, and I could load the latest CircuitPython for the Feather M4 Express successfully!
Then it was time to check integration with the PoE-FeatherWing. First I installed some long-on-both-sides headers to the PoE-FeatherWing:
Then I put on a 3D-printed spacer to keep the two boards at the correct separation:
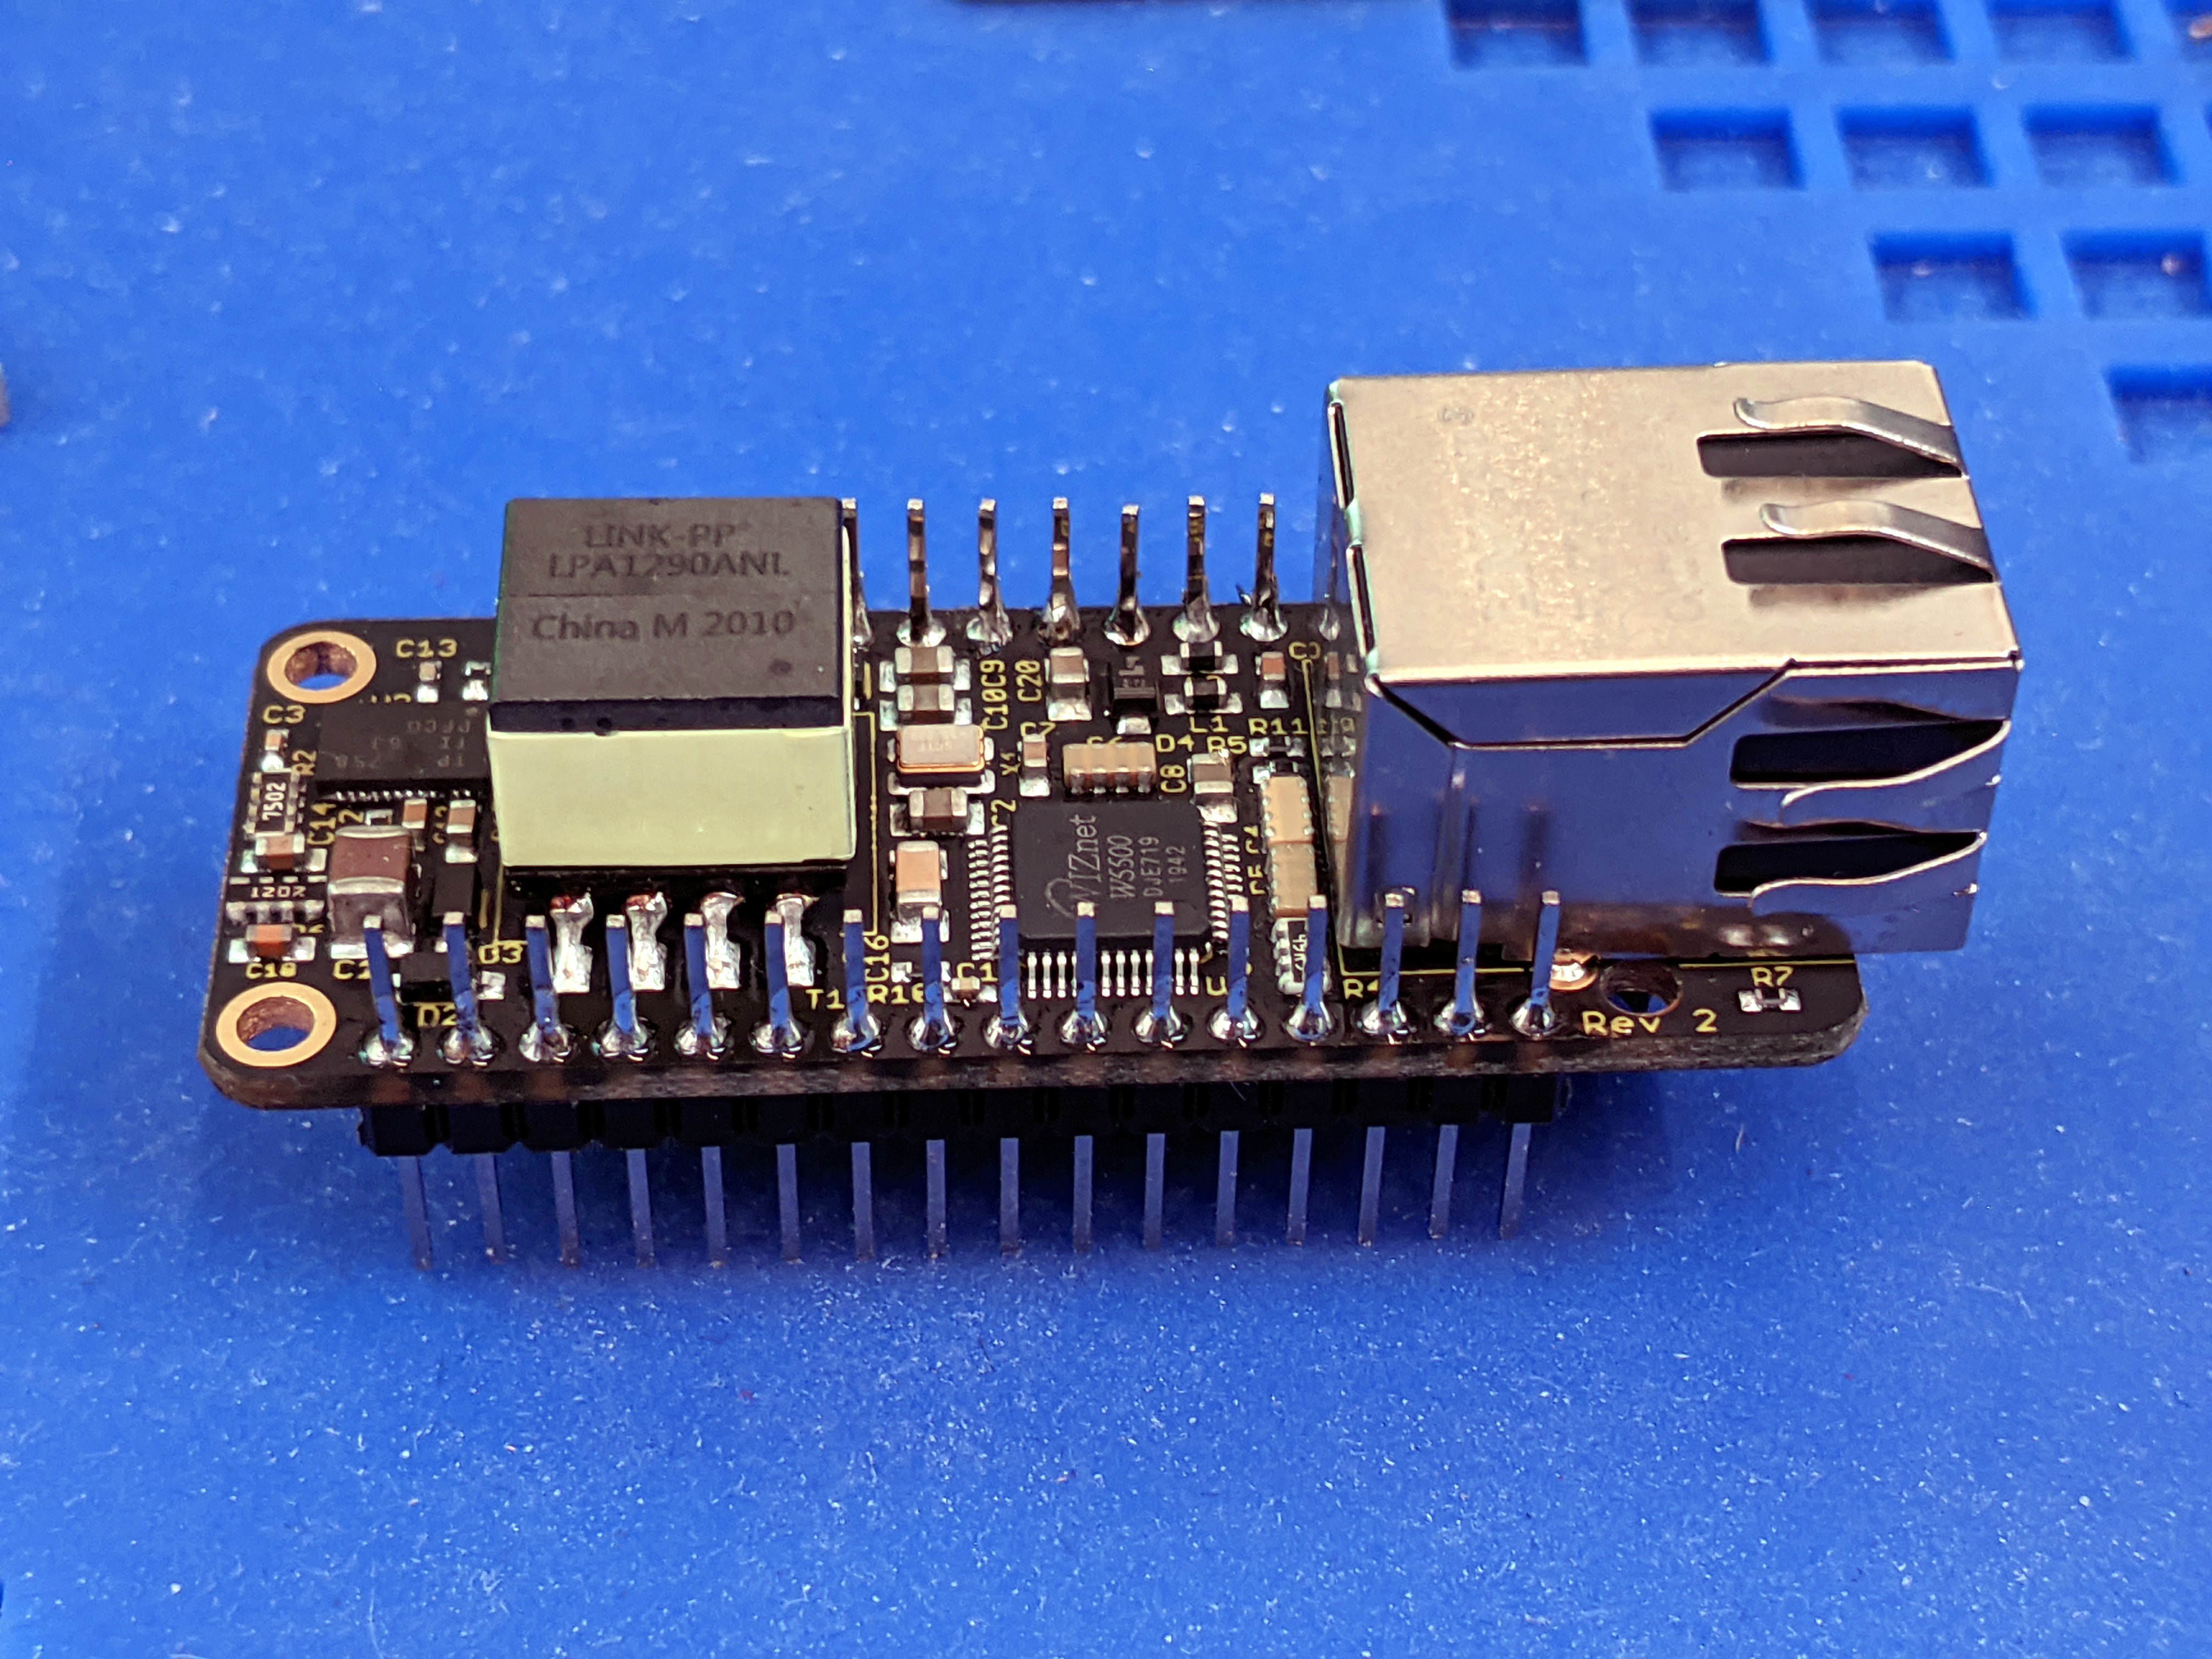
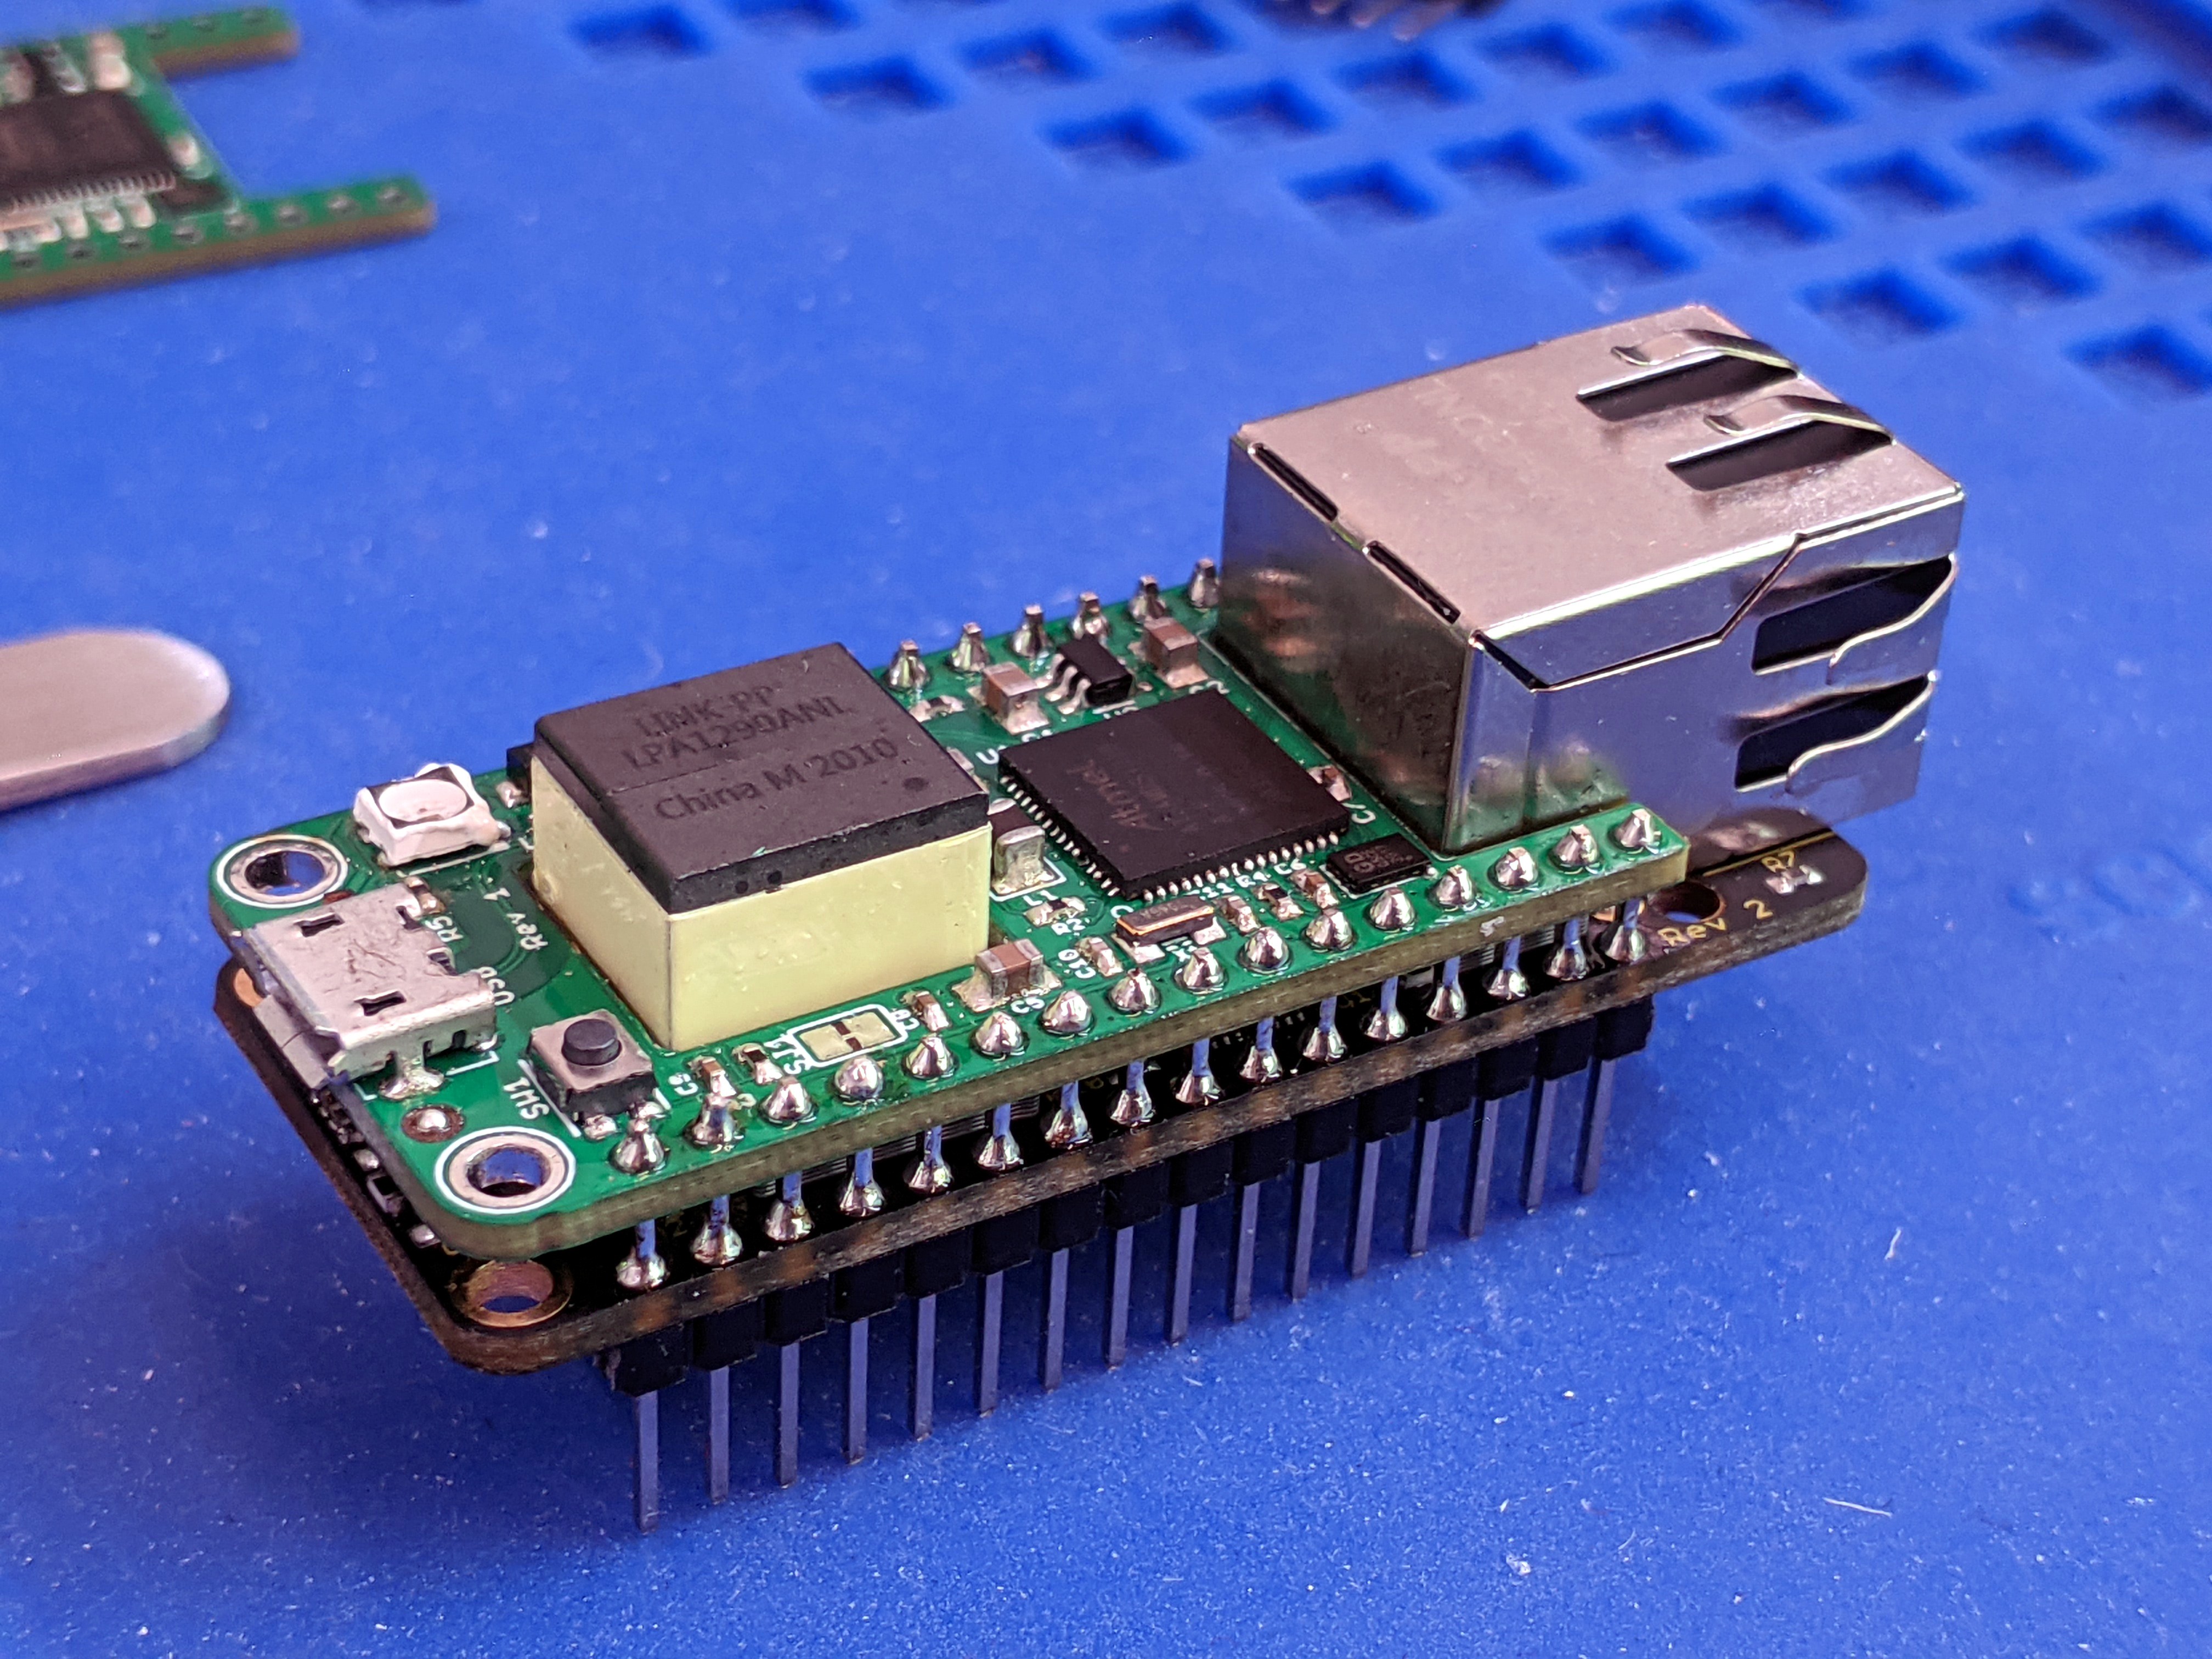
Next I put on the M4-Shim and made sure the sandwich looked correct:
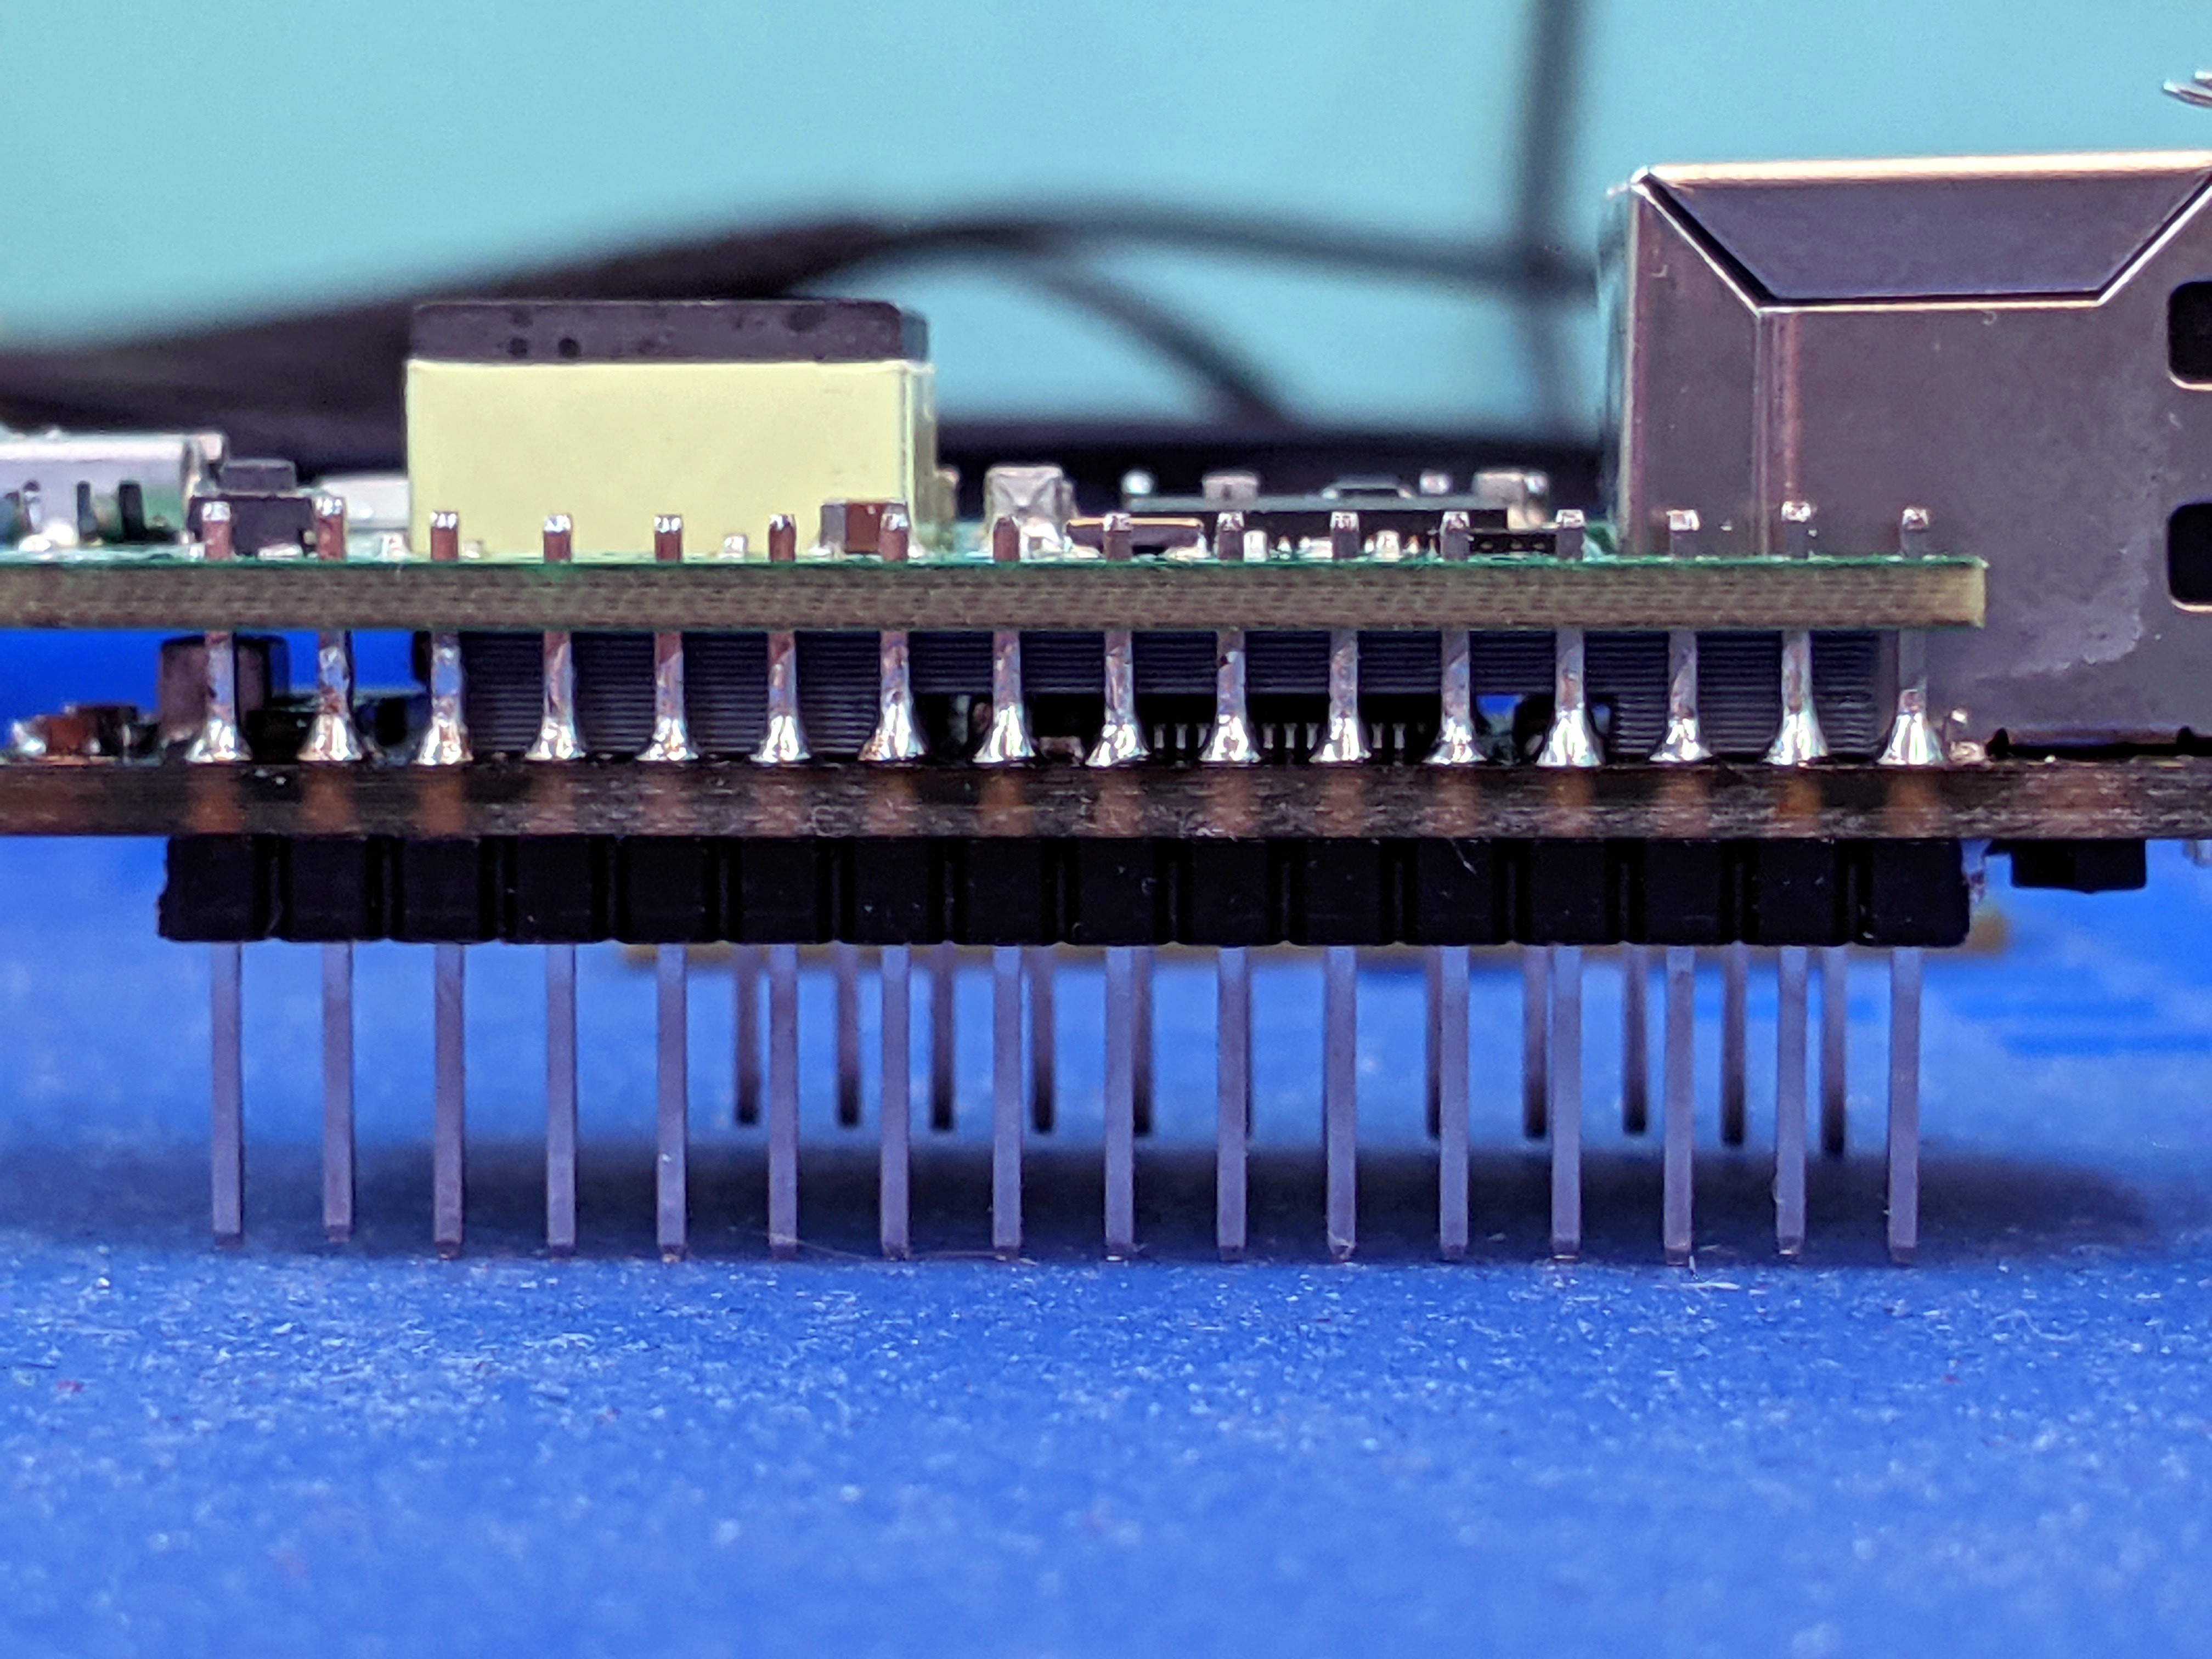
Last I soldered the M4-Shim to the pins to finish things up:
Please ignore the melted-looking RGB LED, it didn't deal well with the rework I needed to do on it but it still works. :)
Alright, time to test if it all works:
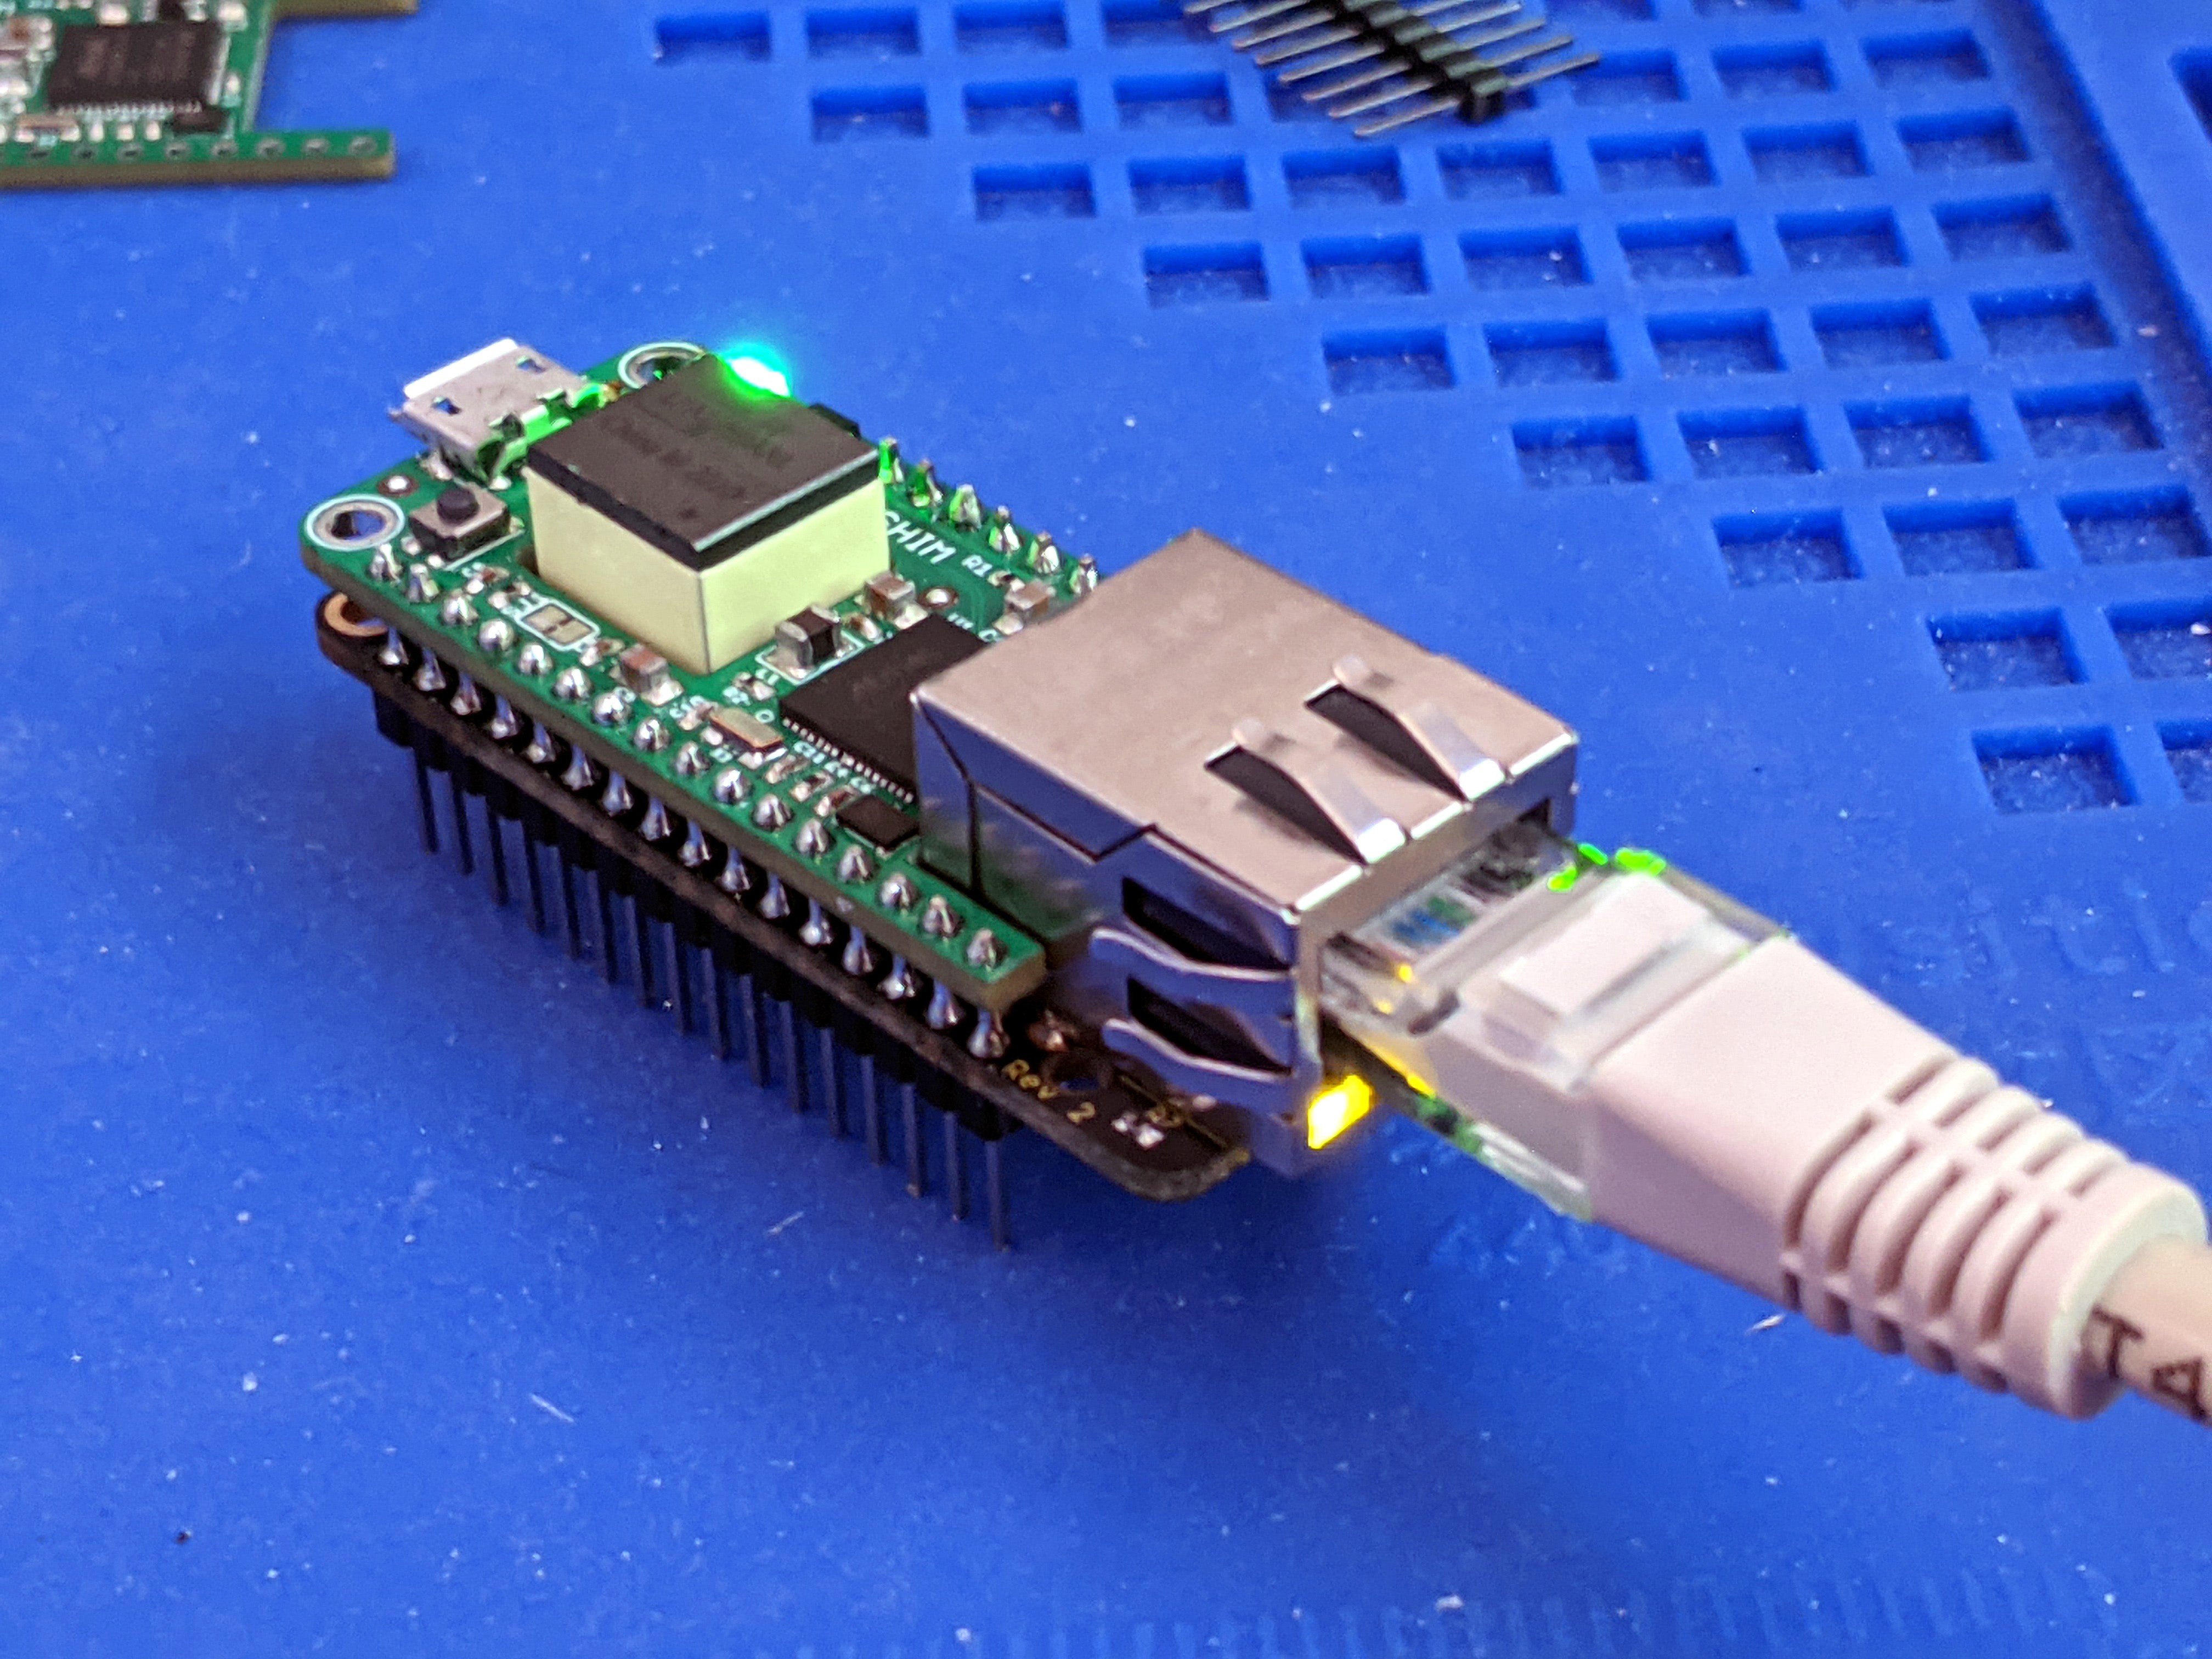
I loaded the CircuitPython example code and after updating it for version 6.x compatibility, it worked fine! :)
I think I'm going to produce these as an add-on kit for the PoE-FeatherWing. It definitely helps to keep the whole thing super compact, and now has fully isolated power, network connectivity AND brains. There's even more space left on top if one wanted to make a third shim, and the whole thing could be kept extremely compact if the connecting pins are installed differently so they don't stick out on the bottom.
Discussions
Become a Hackaday.io Member
Create an account to leave a comment. Already have an account? Log In.
Looks a bit permanent once soldered up. If a long pin socket is used they can be stackable and maintainable, choose appropriate length and no spacer shim needed
https://uk.farnell.com/harwin/d01-9953242/socket-sil-w-wrap-32way/dp/1023033
Can use a short pin version on the bottom if no further stacking needed there
Are you sure? yes | no
Agreed, that's another option!
Are you sure? yes | no