 Patrick
Cleaning up a few details on the Z stages
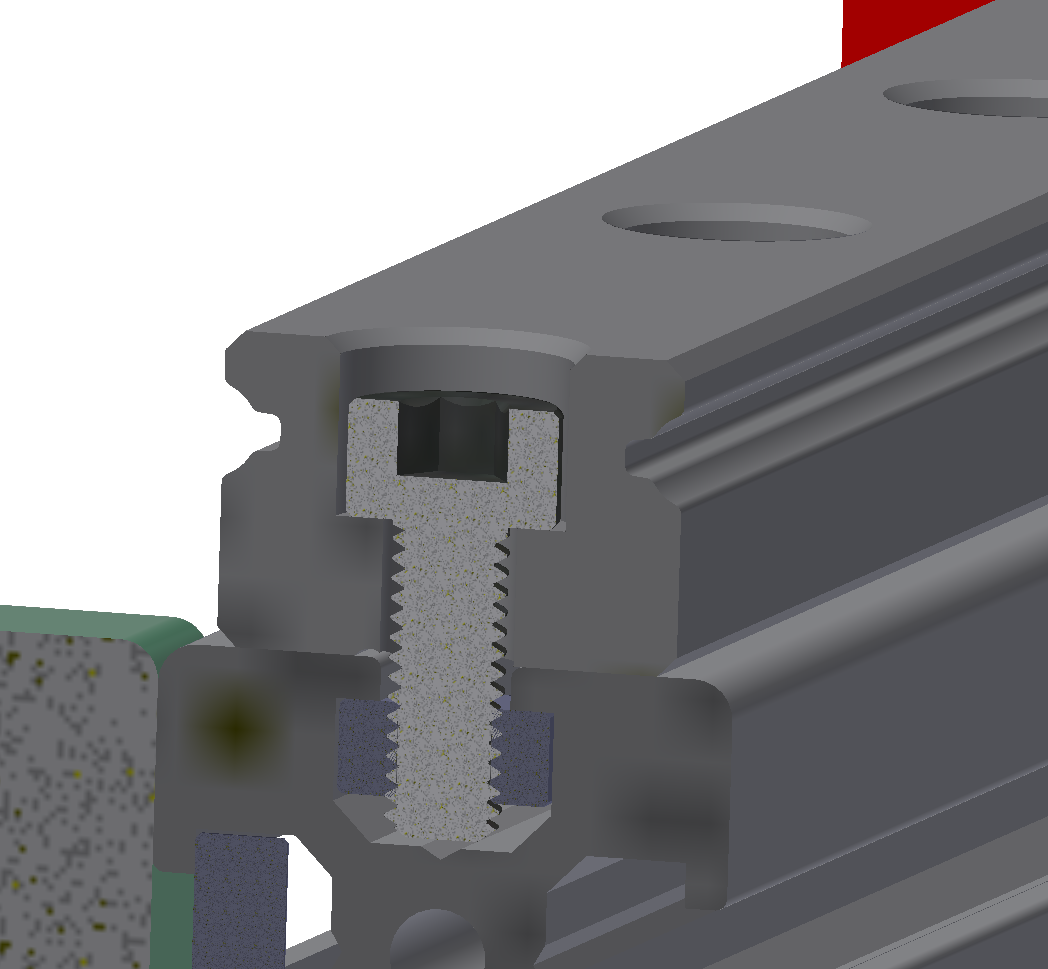
Attaching the linear rail to the Mitsumi 1515 is done with M3x8 SHCS and square nut. The problem is these screws are the only thing constraining the parallelism of the linear rail to the extrusion. The M3 screw (2.95mm OD) in a linear rail hole (3.5mm ID) and a slot in the rail (3.4mm) means the screw can be off center up to 0.5mm. Over a distance of the 2 end holes of 675mm, that equates to a .08° per rail.
Being that the rails should be as parallel as possible, the Z yokes will allow for some misalignment.
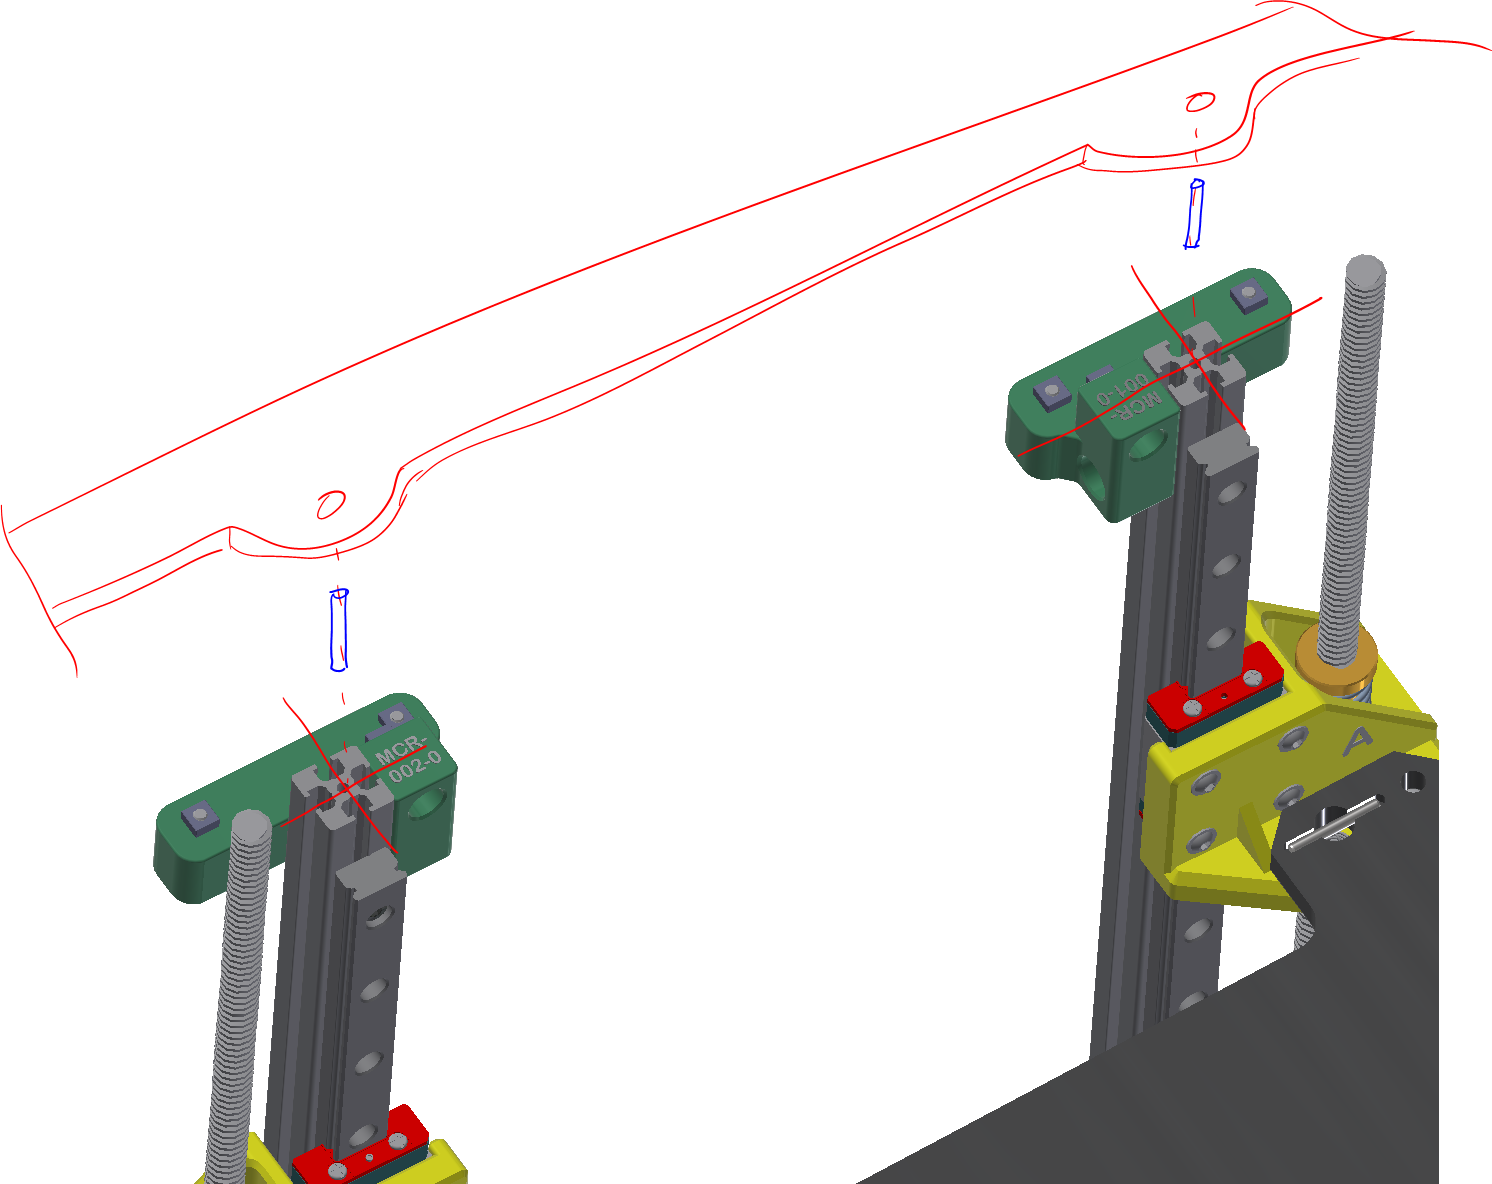
My plan is to pin the rail in the top (halo) and bottom (plate) using 2.5mm pins, or I could tap ends and use m3 screws. This will ensure the 3 vertical extrusions are where they need to be, and knowing the linear rail will be paralled to the extrusion, within .08, we should be tightly aligned.

Speaking of the bottom plate, here it is, with a few changes.
- Tighter bore to better align the NEMA17 motor.
- Added holes for the pins on the vertical z-stage extrusions
- Added a set of horizontal bars on the bottom
One thing I noticed is the internal mechanism, and therefore the heated build plate, is not centered in the frame. It's shifted 12.25mm toward the front. I'm sure this will become obvious when I start looking at the XY stage.
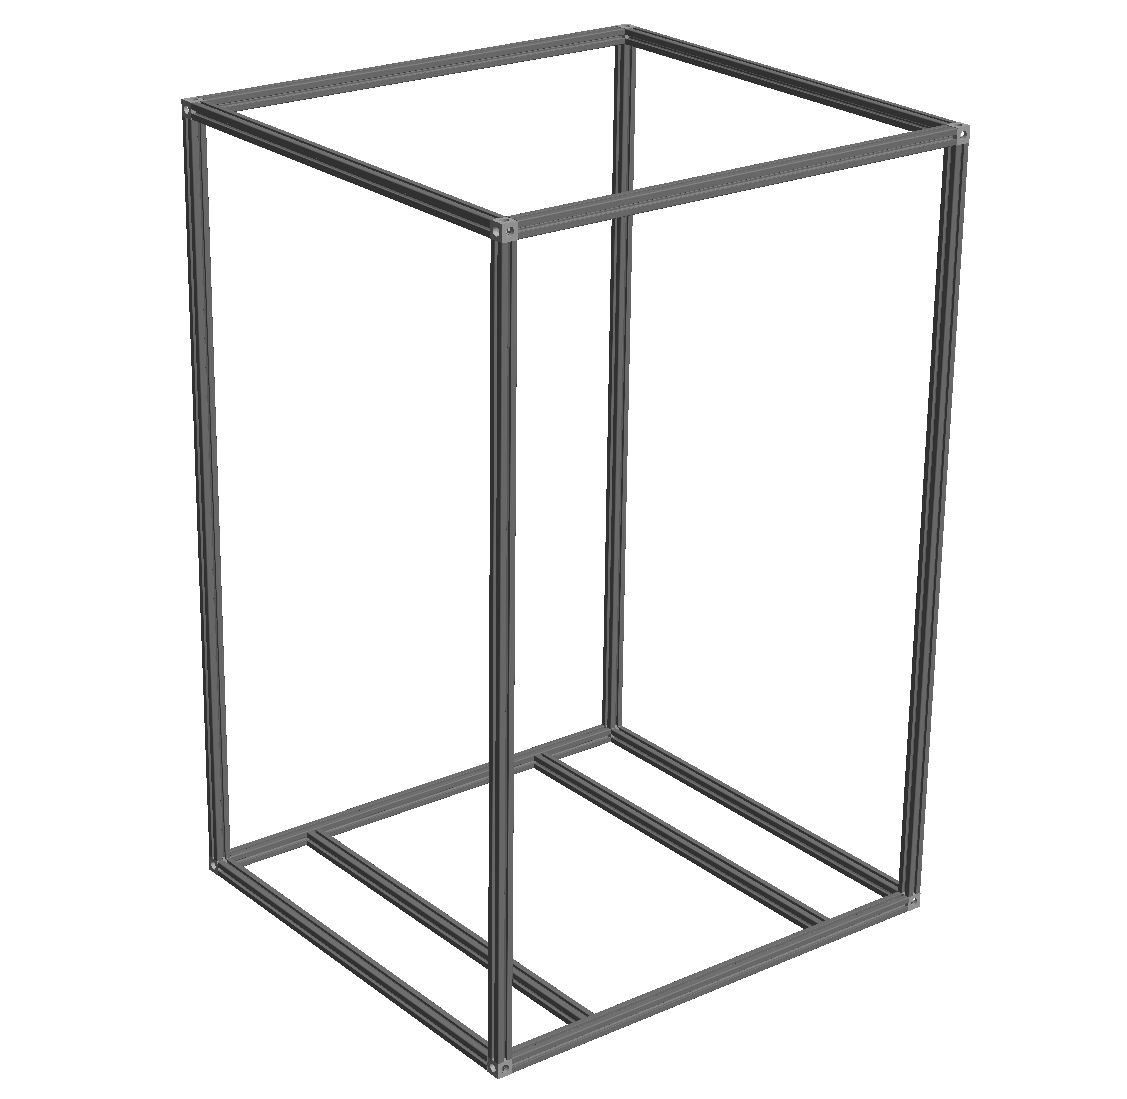
Here's the new internal frame, with the extra 2 extrusions on the bottom.
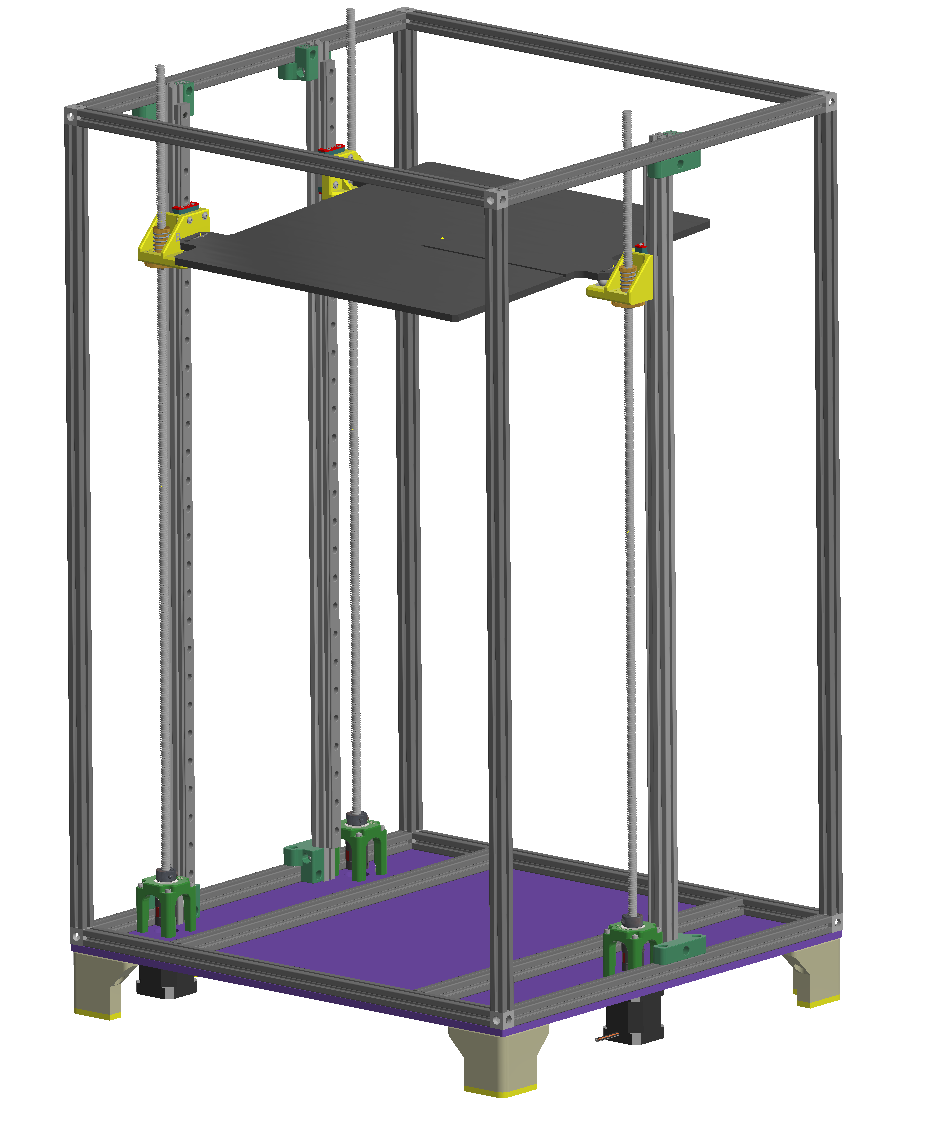
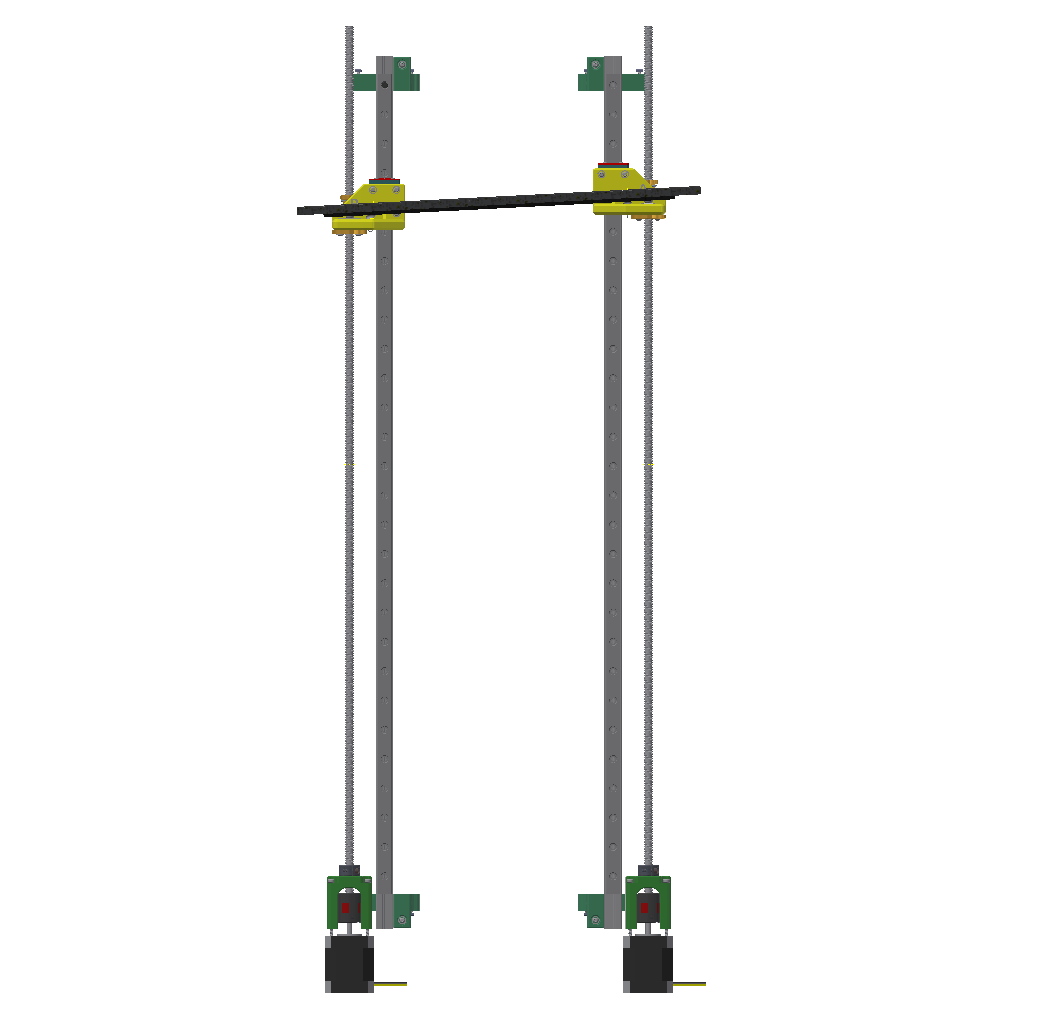
Here's where I am at present. I prefer using leveling when it comes to a 4 point base. You are rarely on flat ground or desk, and the 4 points create a rocking situation.
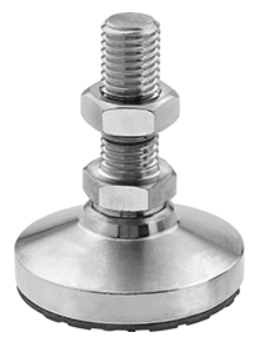
I'll be looking at something like this, probably M6. I'll defer to that once I get to the outer panels.
Discussions
Become a Hackaday.io Member
Create an account to leave a comment. Already have an account? Log In.