 Maciej Witkowiak
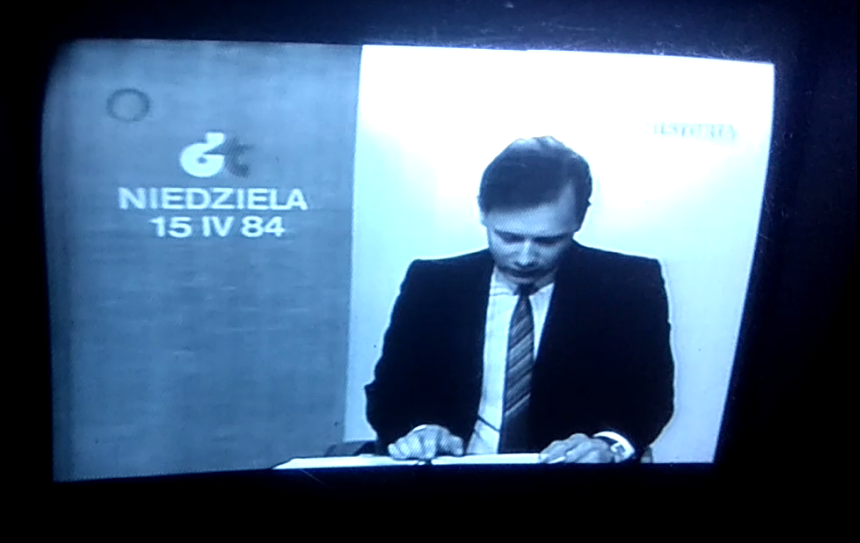
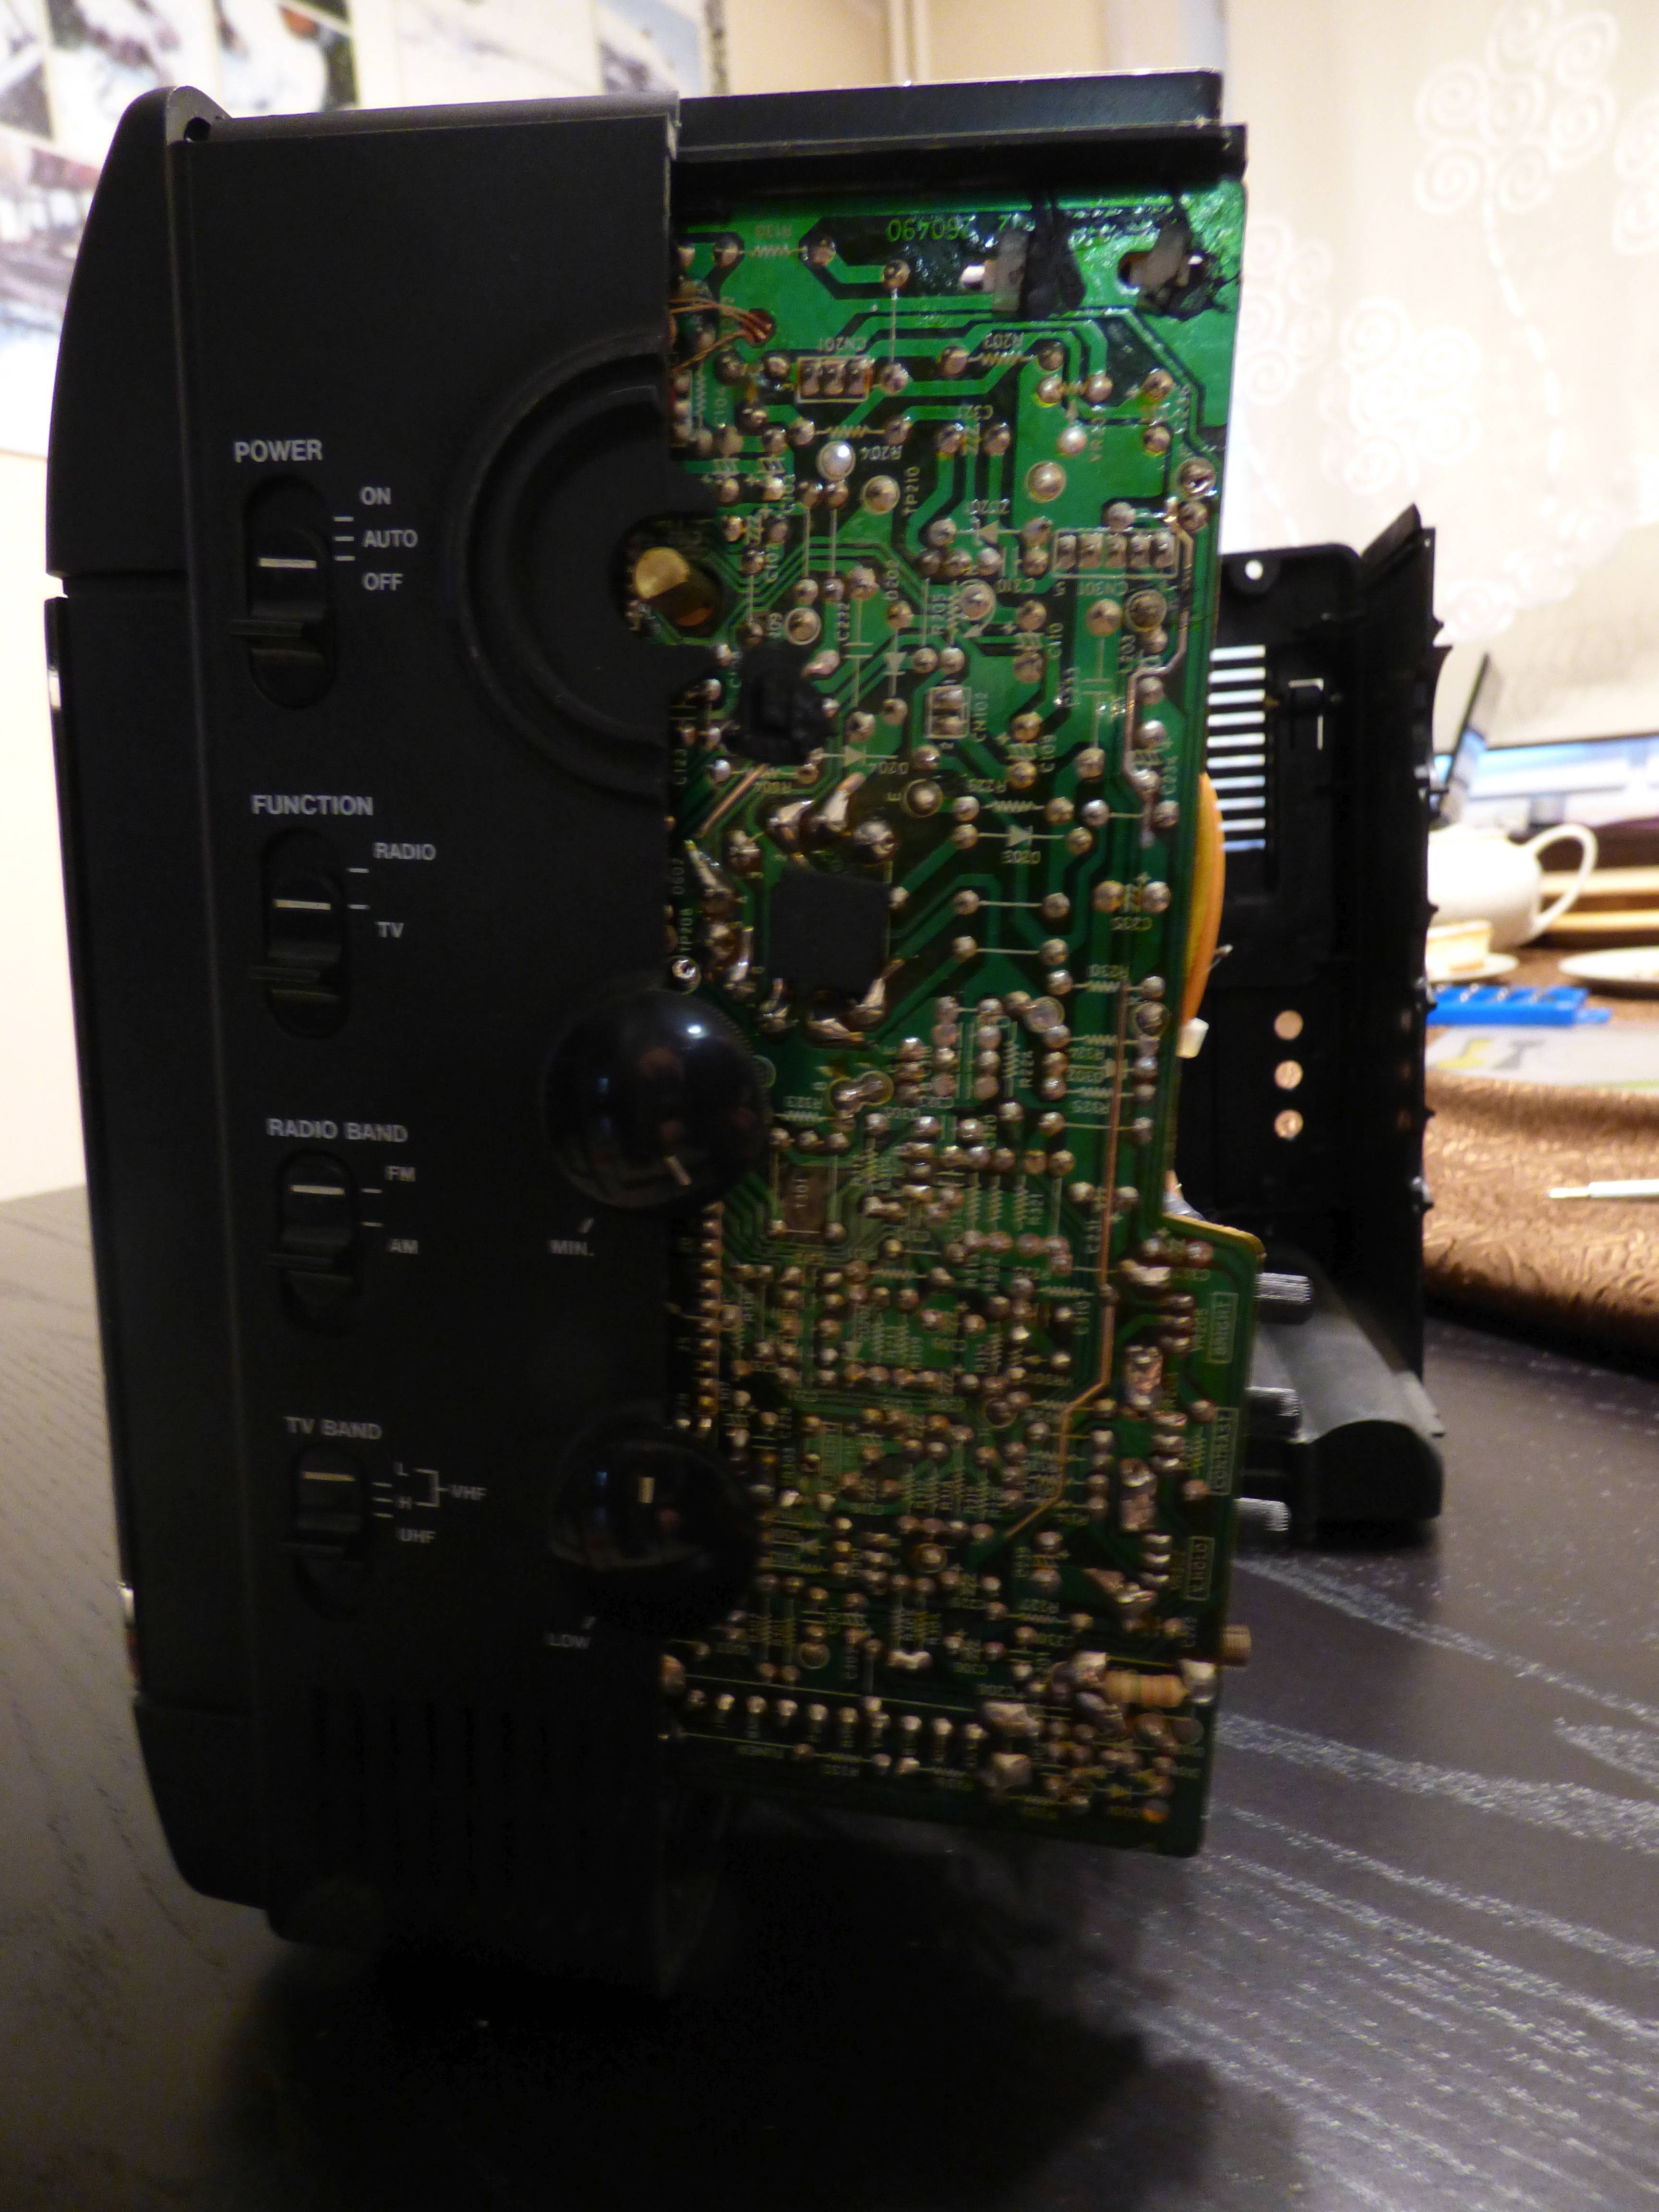
I bought a miniature portable black and white analogue TV+radio from some guy over the internet. I did it because it was small (15x15x24 cm) and light (about 2kg) and seller was able to prove that it actually works. It cost me about 20€.
I bought it first and then started thinking what am I going to use it for. Obviously not for watching TV because analogue stations stopped broadcasting a long time ago.
This could be a tiny display for my 8-bit computers (C64, C128, Atari 2600 and Atari 65XE) or a display for RetroPie/Kodi.
Right now the idea is to actually put Raspberry Pi 3 inside the case and make it self-contained media/entertainment/general computing device. Just like C64 was in the old days.


 Aaron
Aaron
 Xabi Z
 James Fossey
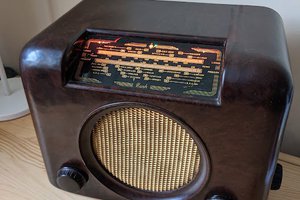
 Saul Cozens
Following to see what you come up with. I have one, maybe two similar units put away, been thinking of using them with one of the arduino/AVR game systems or Tiny Basic projects to give you real cathode rays to bathe in and relive 8 bit feels. Also think I still have a 10" set. Only step I've taken with mine so far is to grab a roll of green cellophane so I can sort of green screenify them. I've def got a black 5" one similar to bottom half of yours, a red one of similar size was in the household 15 years ago, but not sure it was working, may be stored.