 Cloud4RPi
Our Equipment
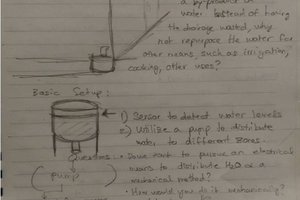
We have a SAECO Aulika Focus coffee machine. Up to this day, we used a hand pump to fill the machine’s water tank from a standard 5 Gallon (19L) water bottle.
Our Goals
- Use an electric pump driven by some kind of a controller or a microcomputer through a relay.
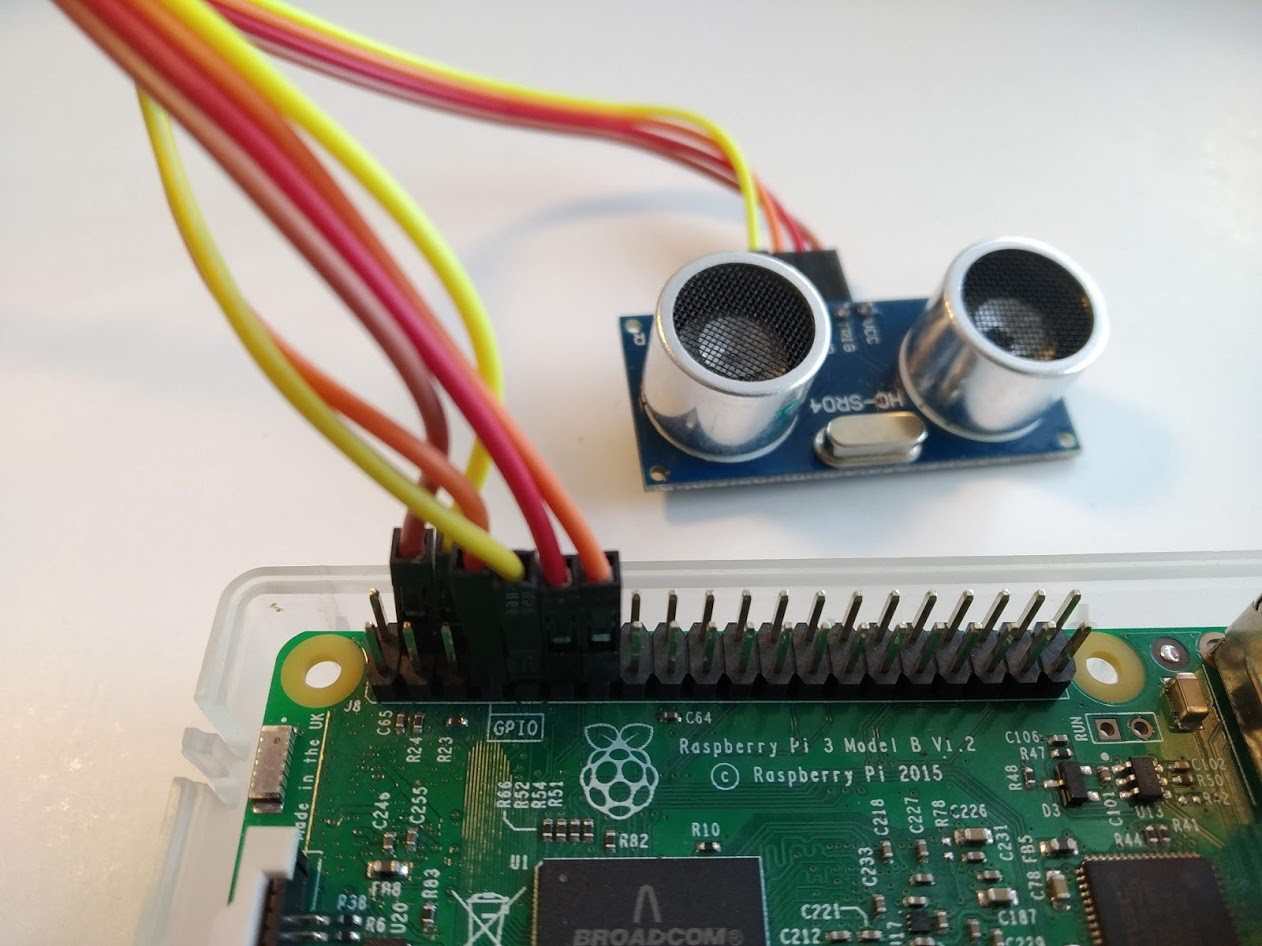
- Have a way to measure the water level in the coffee machine’s tank so our system knows when to refill it.
- Have means to control the system, preferably in real-time from a mobile device.
- Receive notifications (through Slack or a similar service) if anything goes wrong with the system.
The Assembled Coffee Machine Pump System:


 Kyle Gabriel
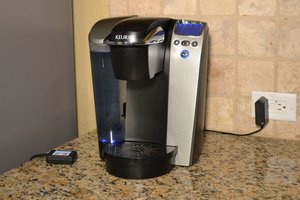
 Michael Hamilton
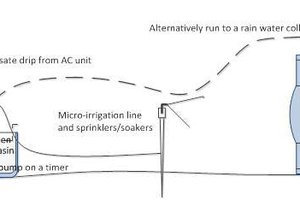
 ump
ump
Now you can download any Caterpillar Repair Manuals from our website https://caterpillarworkshopmanuals.com including excavators, Backhoe loaders, Engines...