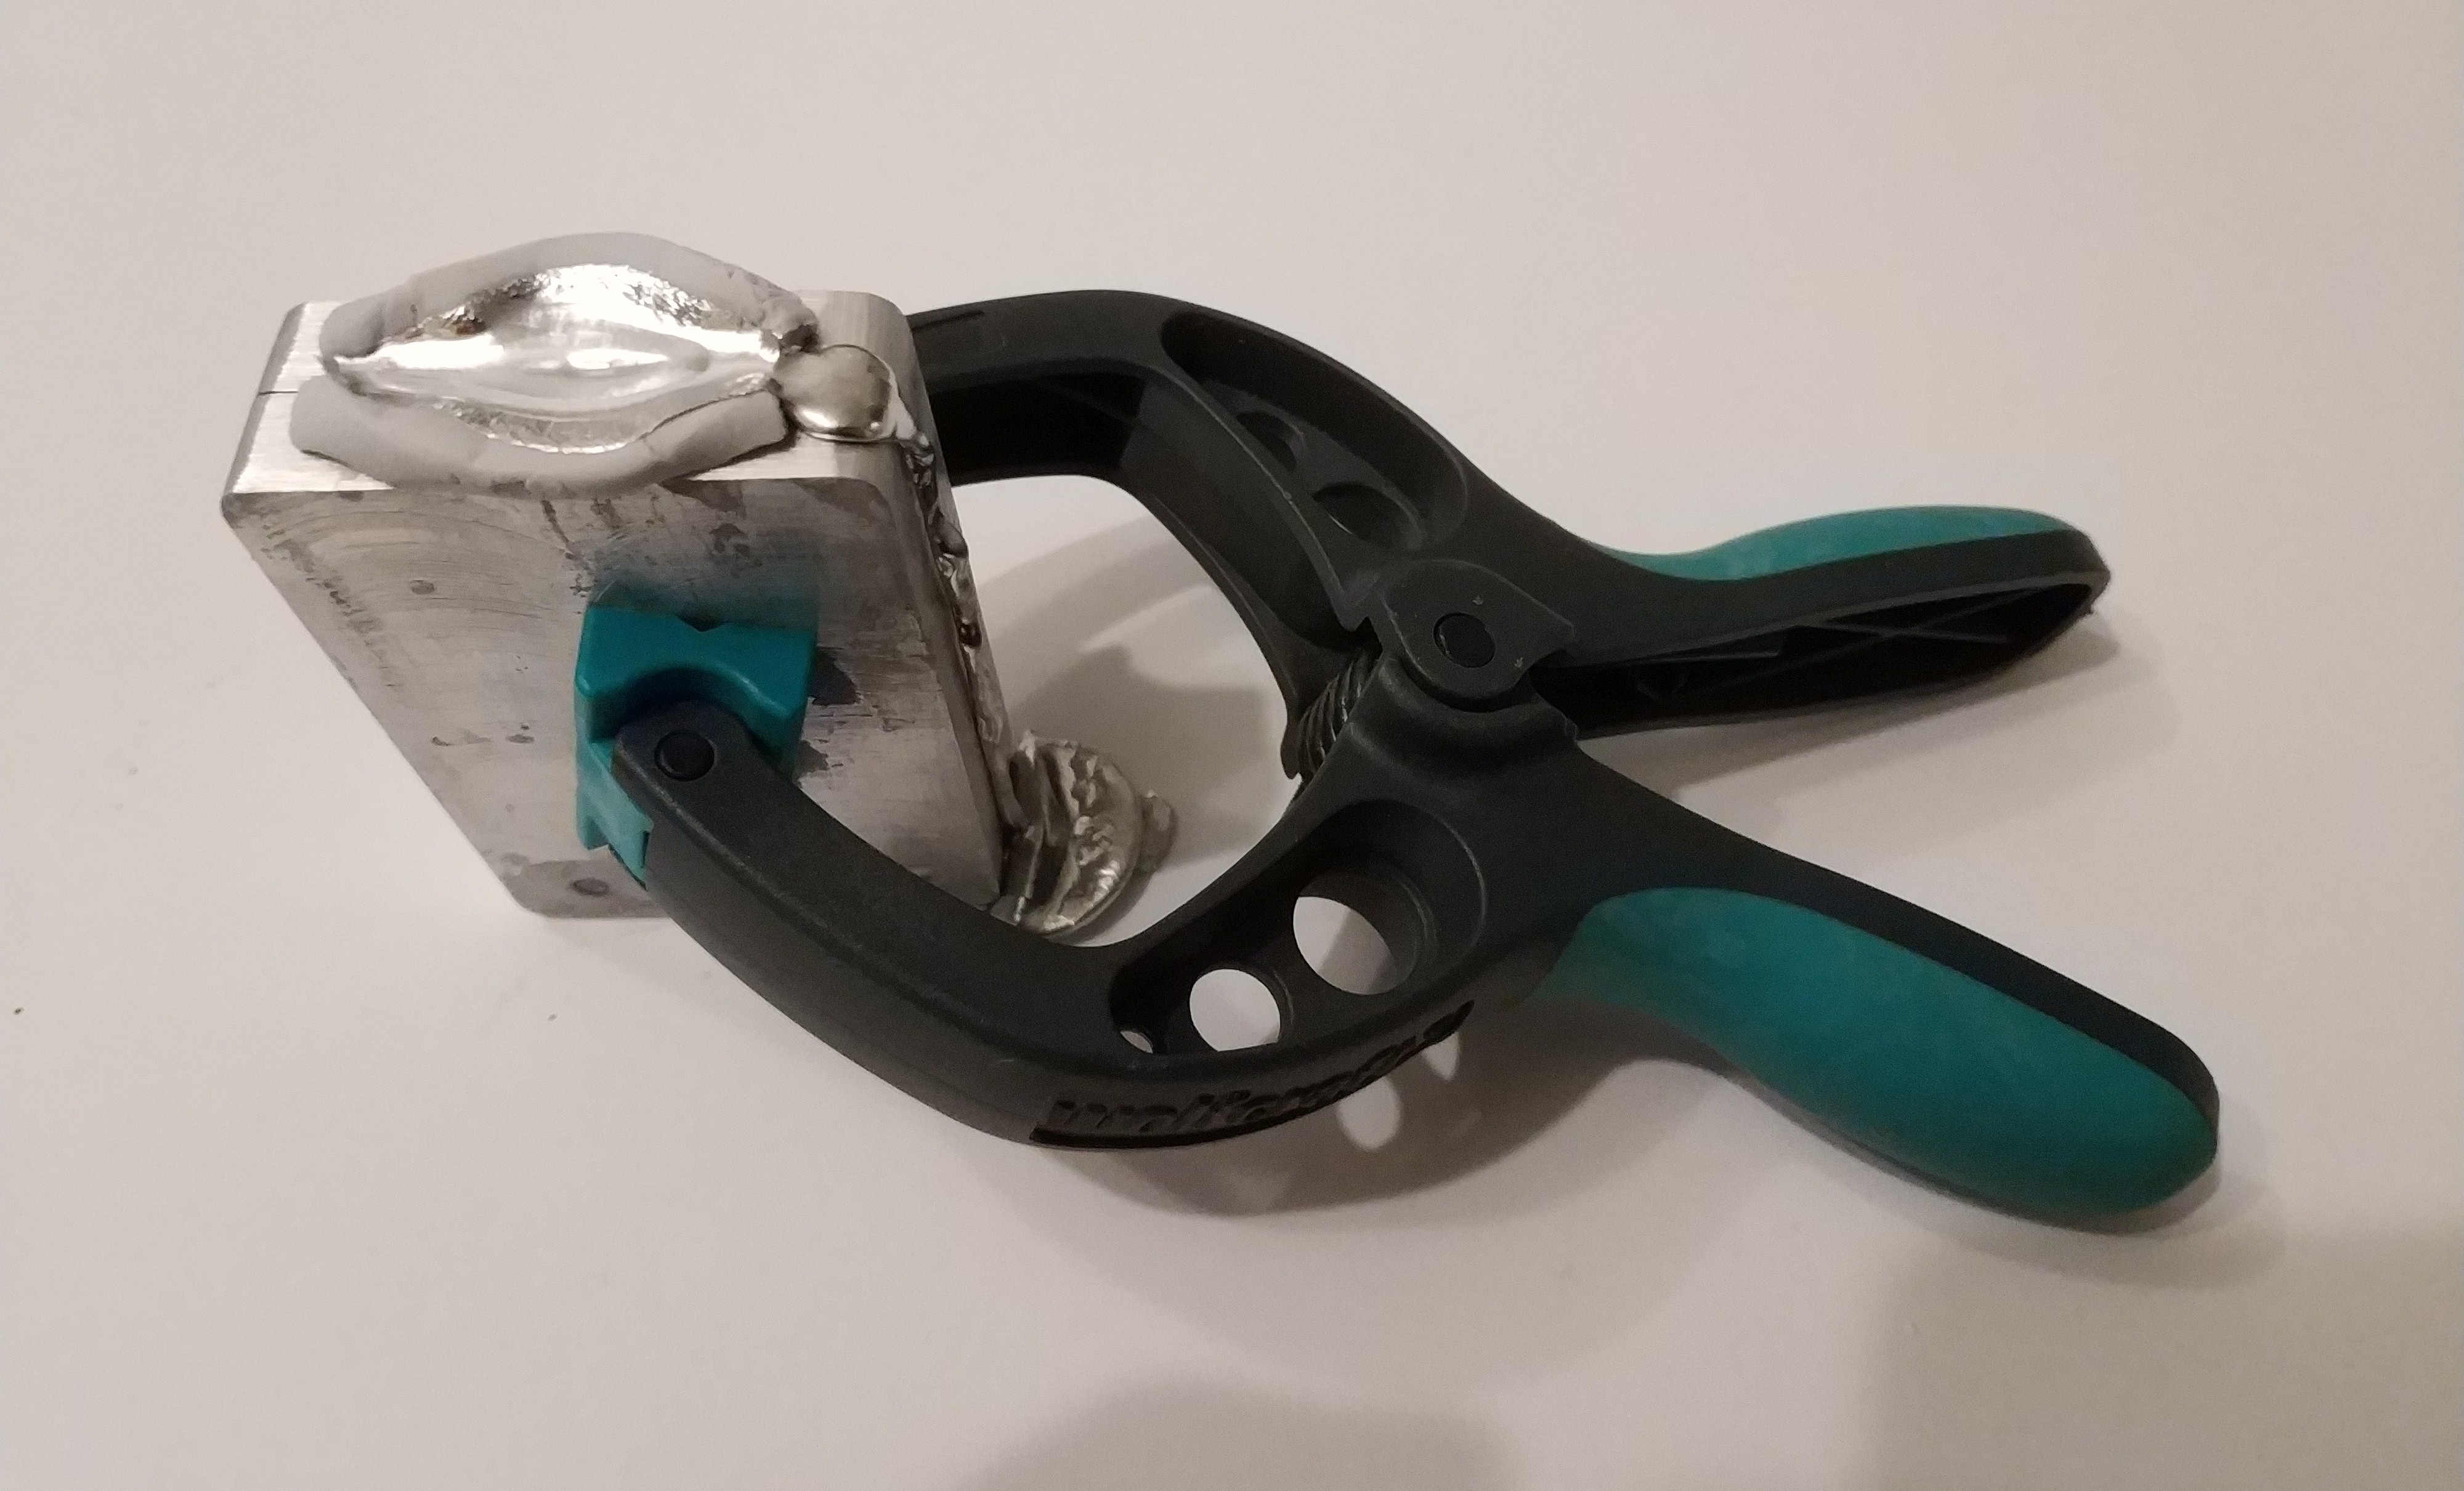
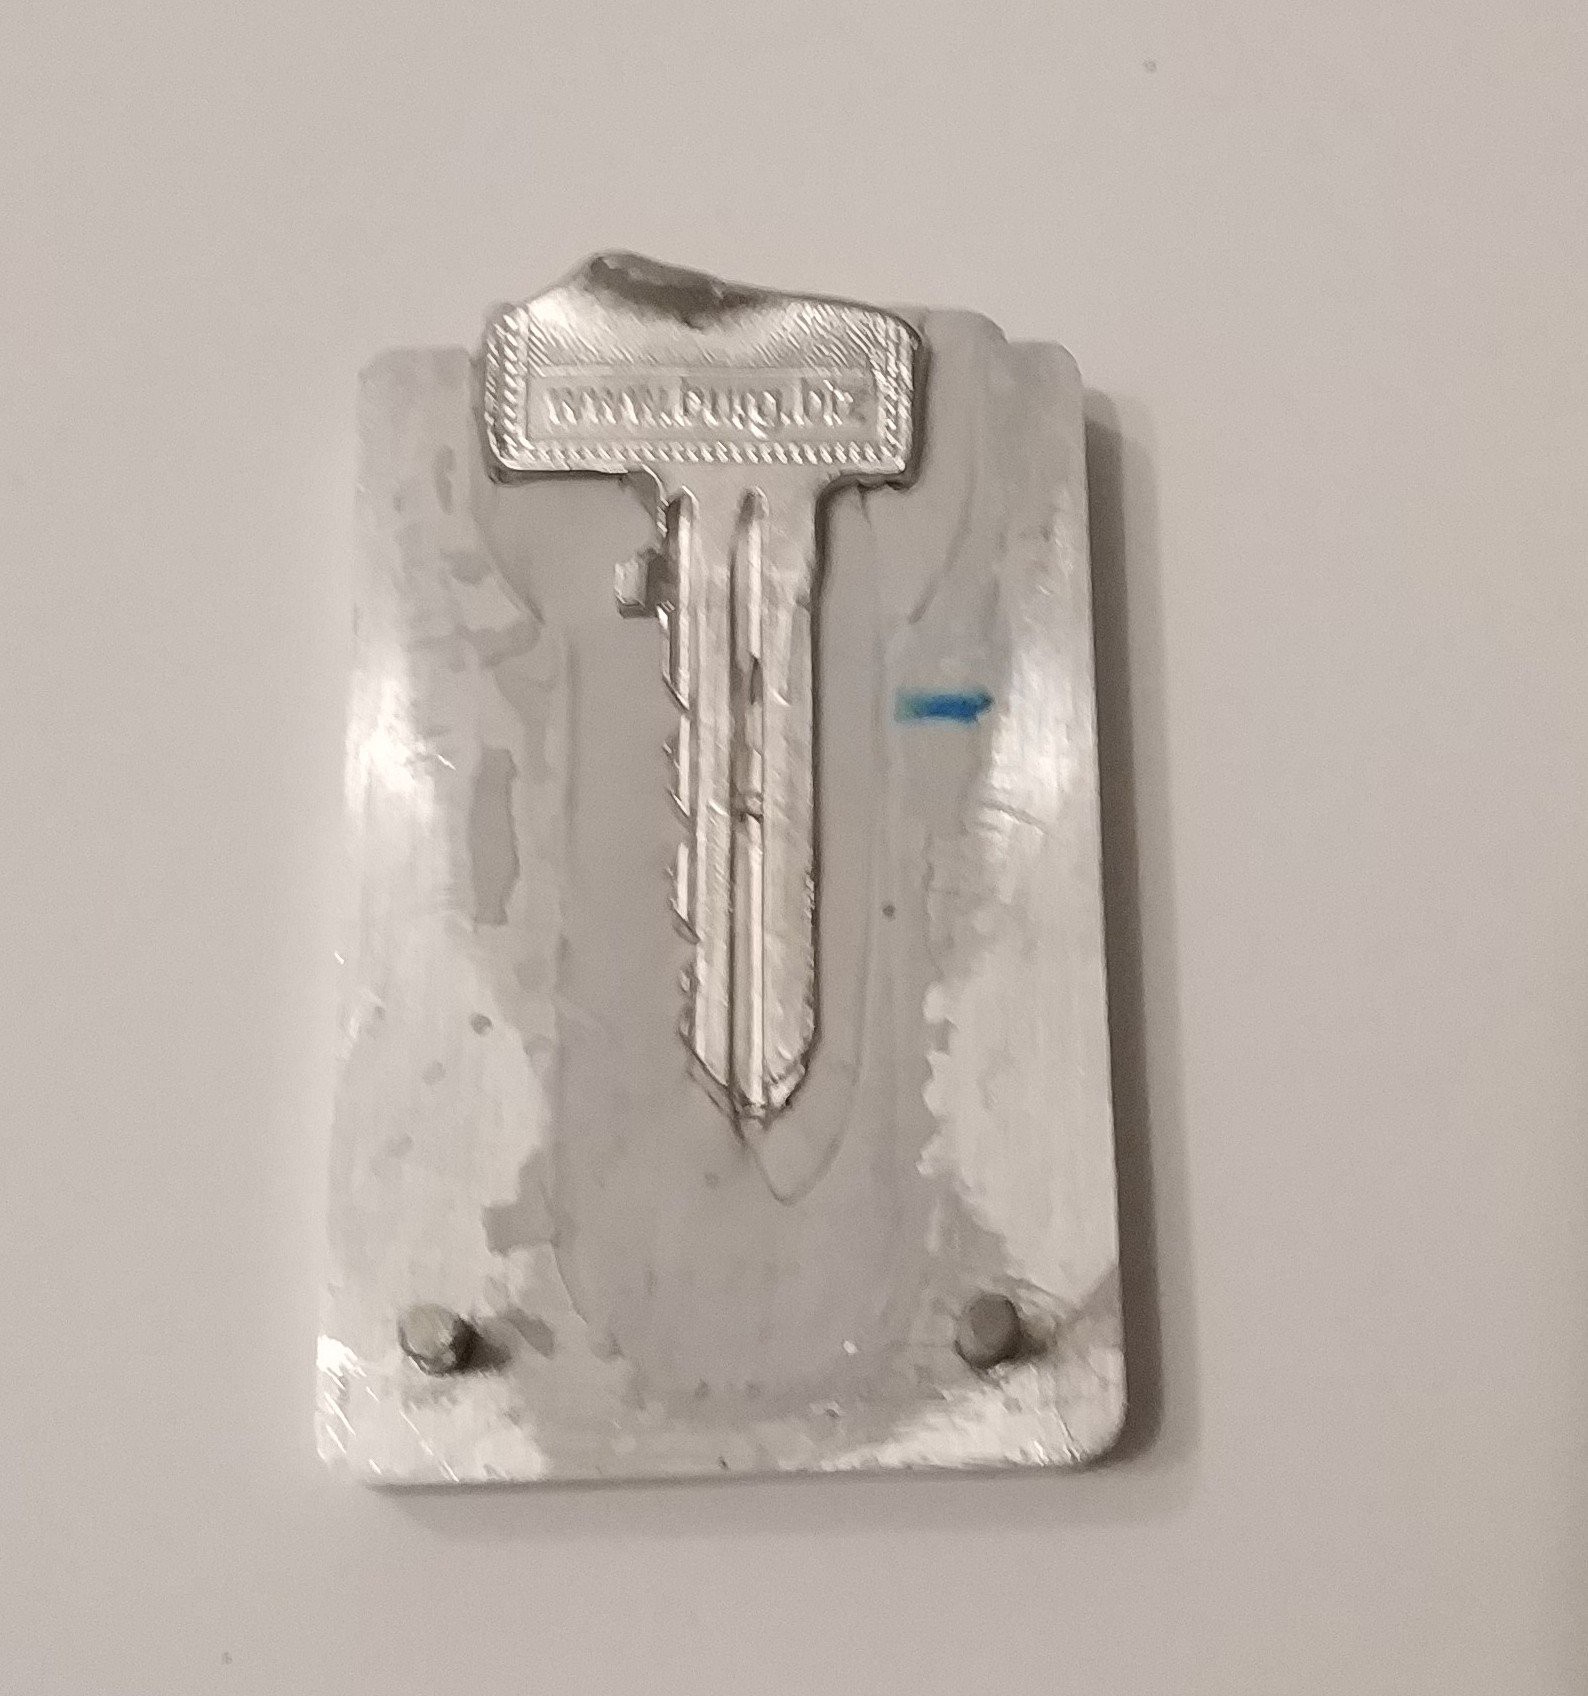
About the metal alloy
I used Rose's metal for three main resons over Wood's metal.
First I has a higher melding point and is therefore mechanically stronger at the same temperature than the lower melting alloy. Mechanical strengh is an important factor for copyed key since the turn of the core puts a lot of torsion on the key. Softer metals break or bend easier.
Roses metal: 94 °C
Woods metal: 70 °C
The second reason is the chemical compostion of the alloys. Roses metal does not contain cadmium. Both of them are composed of Bismuth, Lead and Tin (and Cadmium for Wood's metal). The lead makes both them not the most healthy alloys but at least Roeses metal does not contain lead.
The third reason is especially important for casing: Roses metal does not contract on cooling.
 deʃhipu
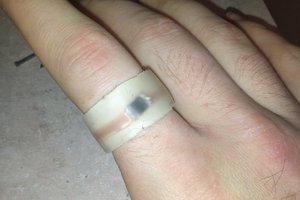
 Brandon
 Drix
Drix
 Timescale