 J_Ray
J_RayThis project is built to be a simple introduction to battery systems and a great way to learn or practice your soldering techniques. In the end you also get a wonderfully thin battery brick to keep you phone or other small devices from dying while on the run. Enjoy the project and come back for more that will be posted soon.
0%
0%
Cell Phone Battery Brick
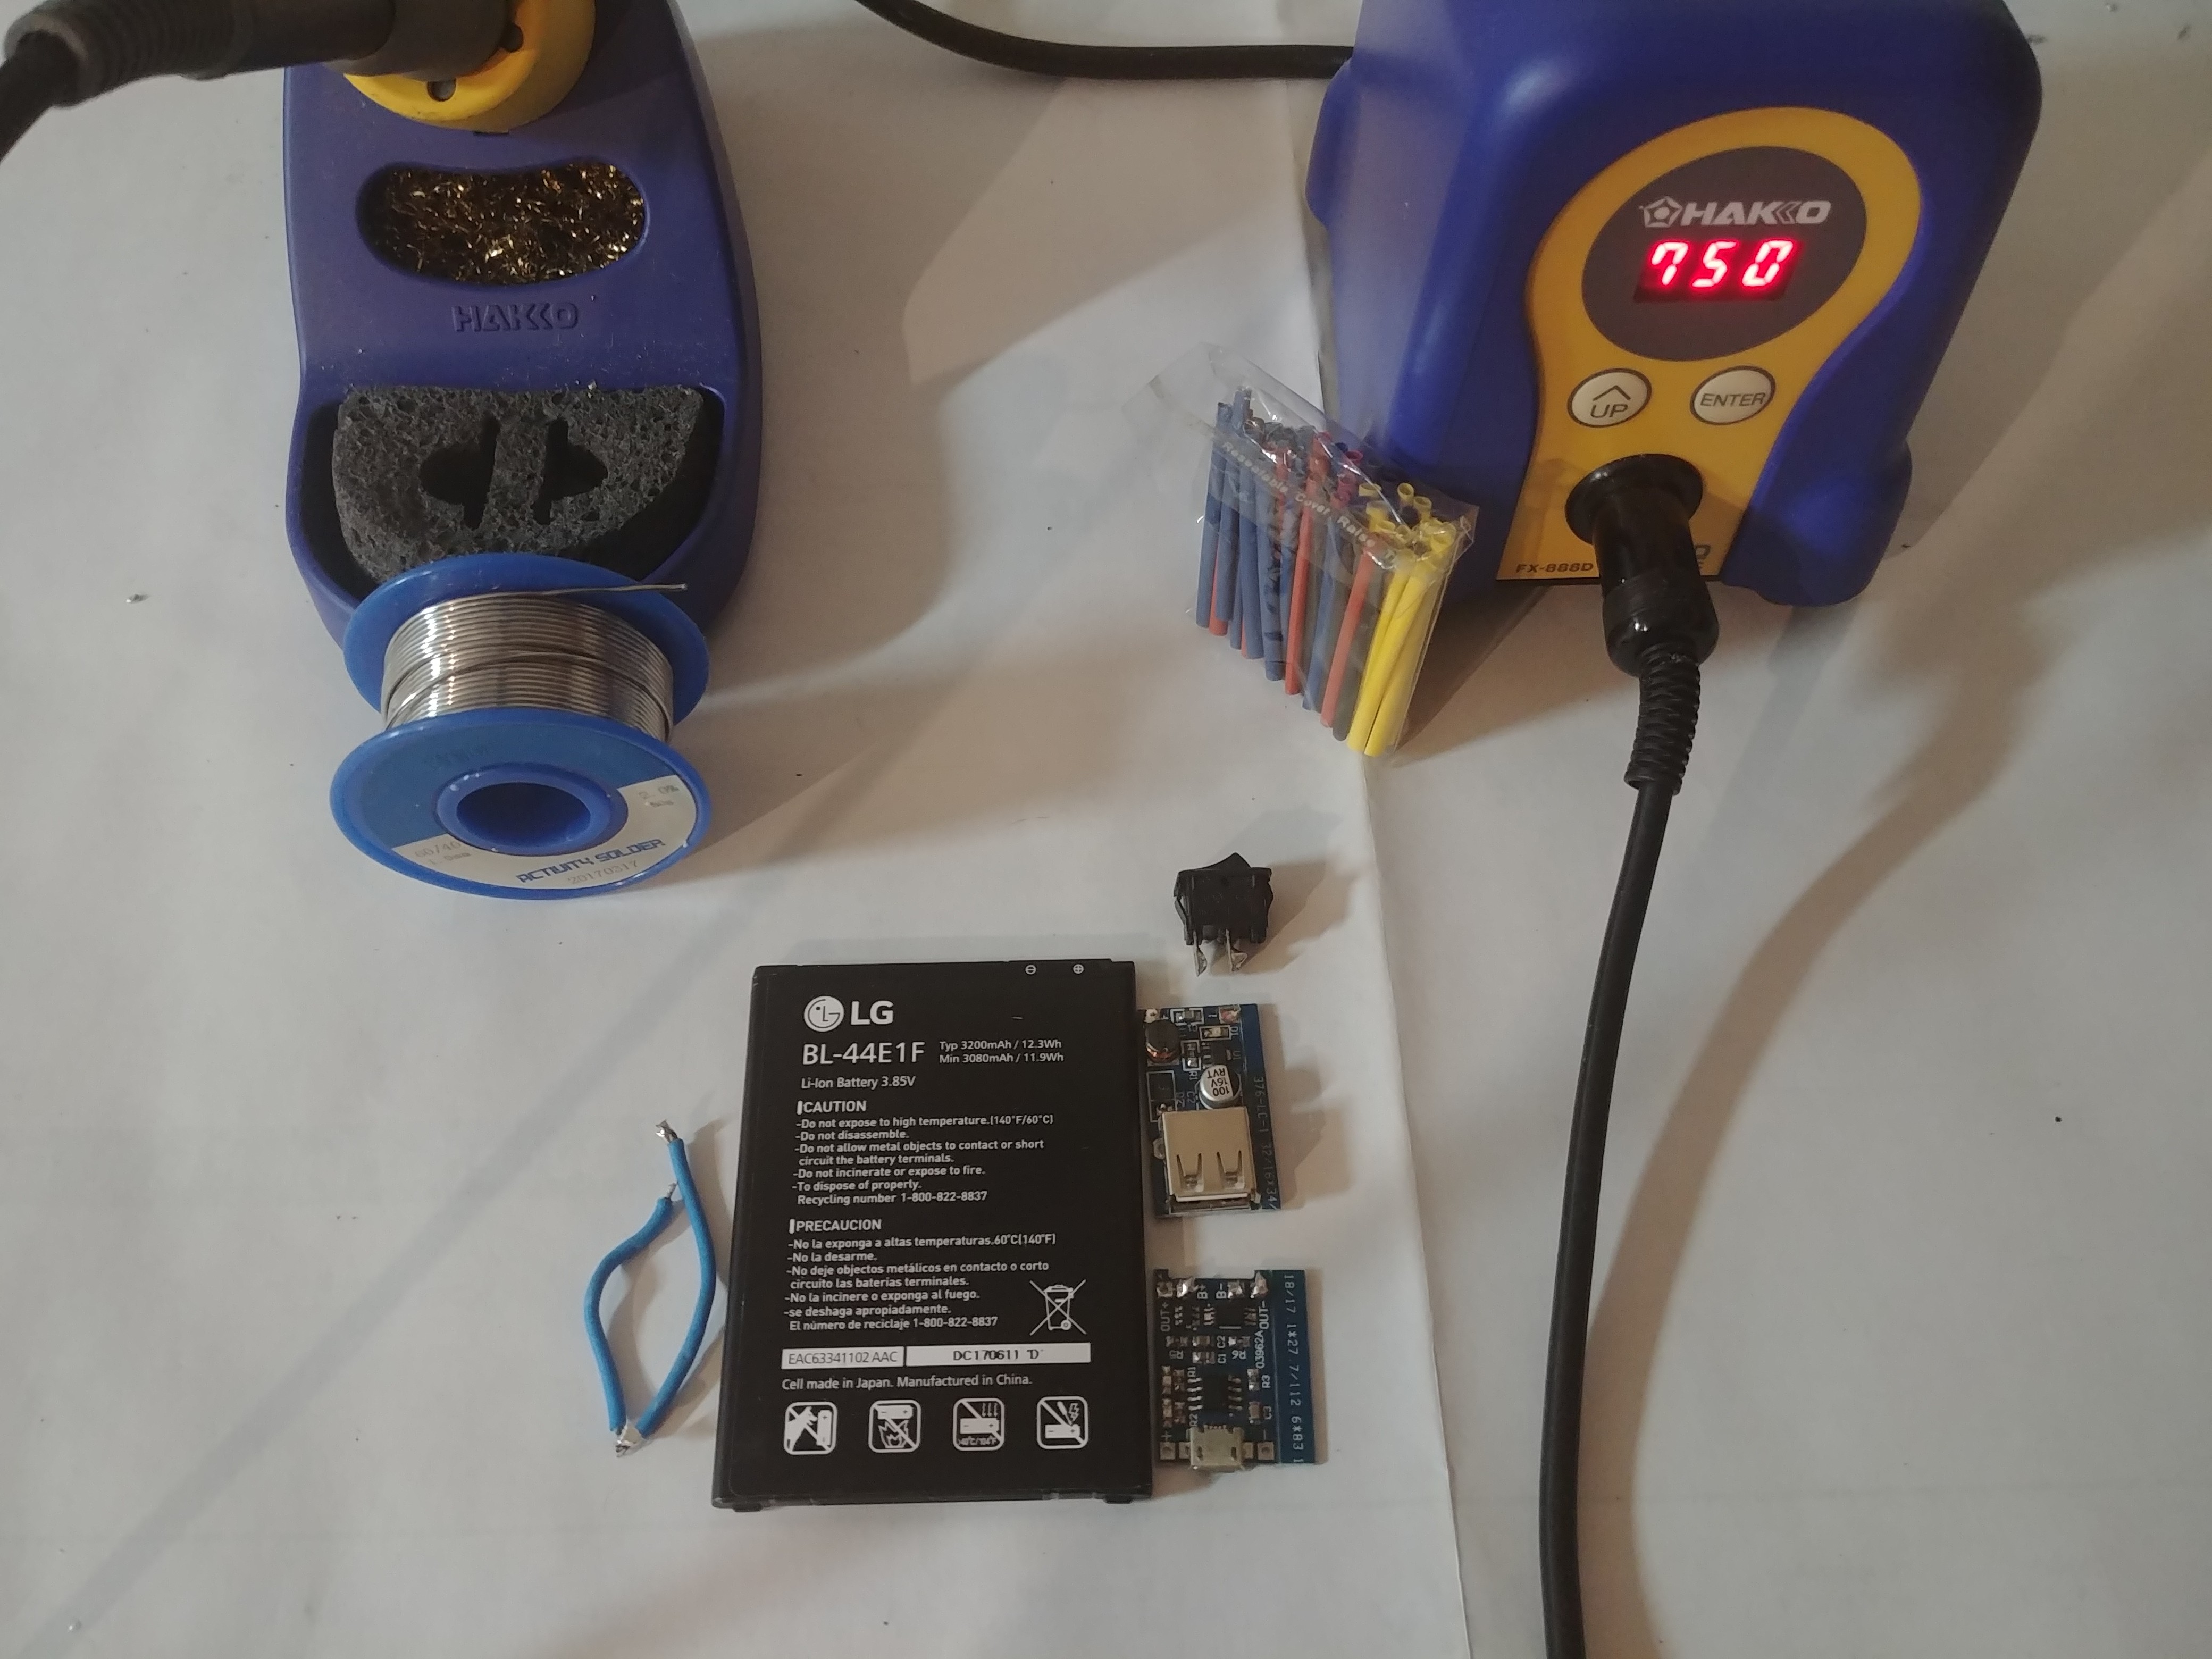
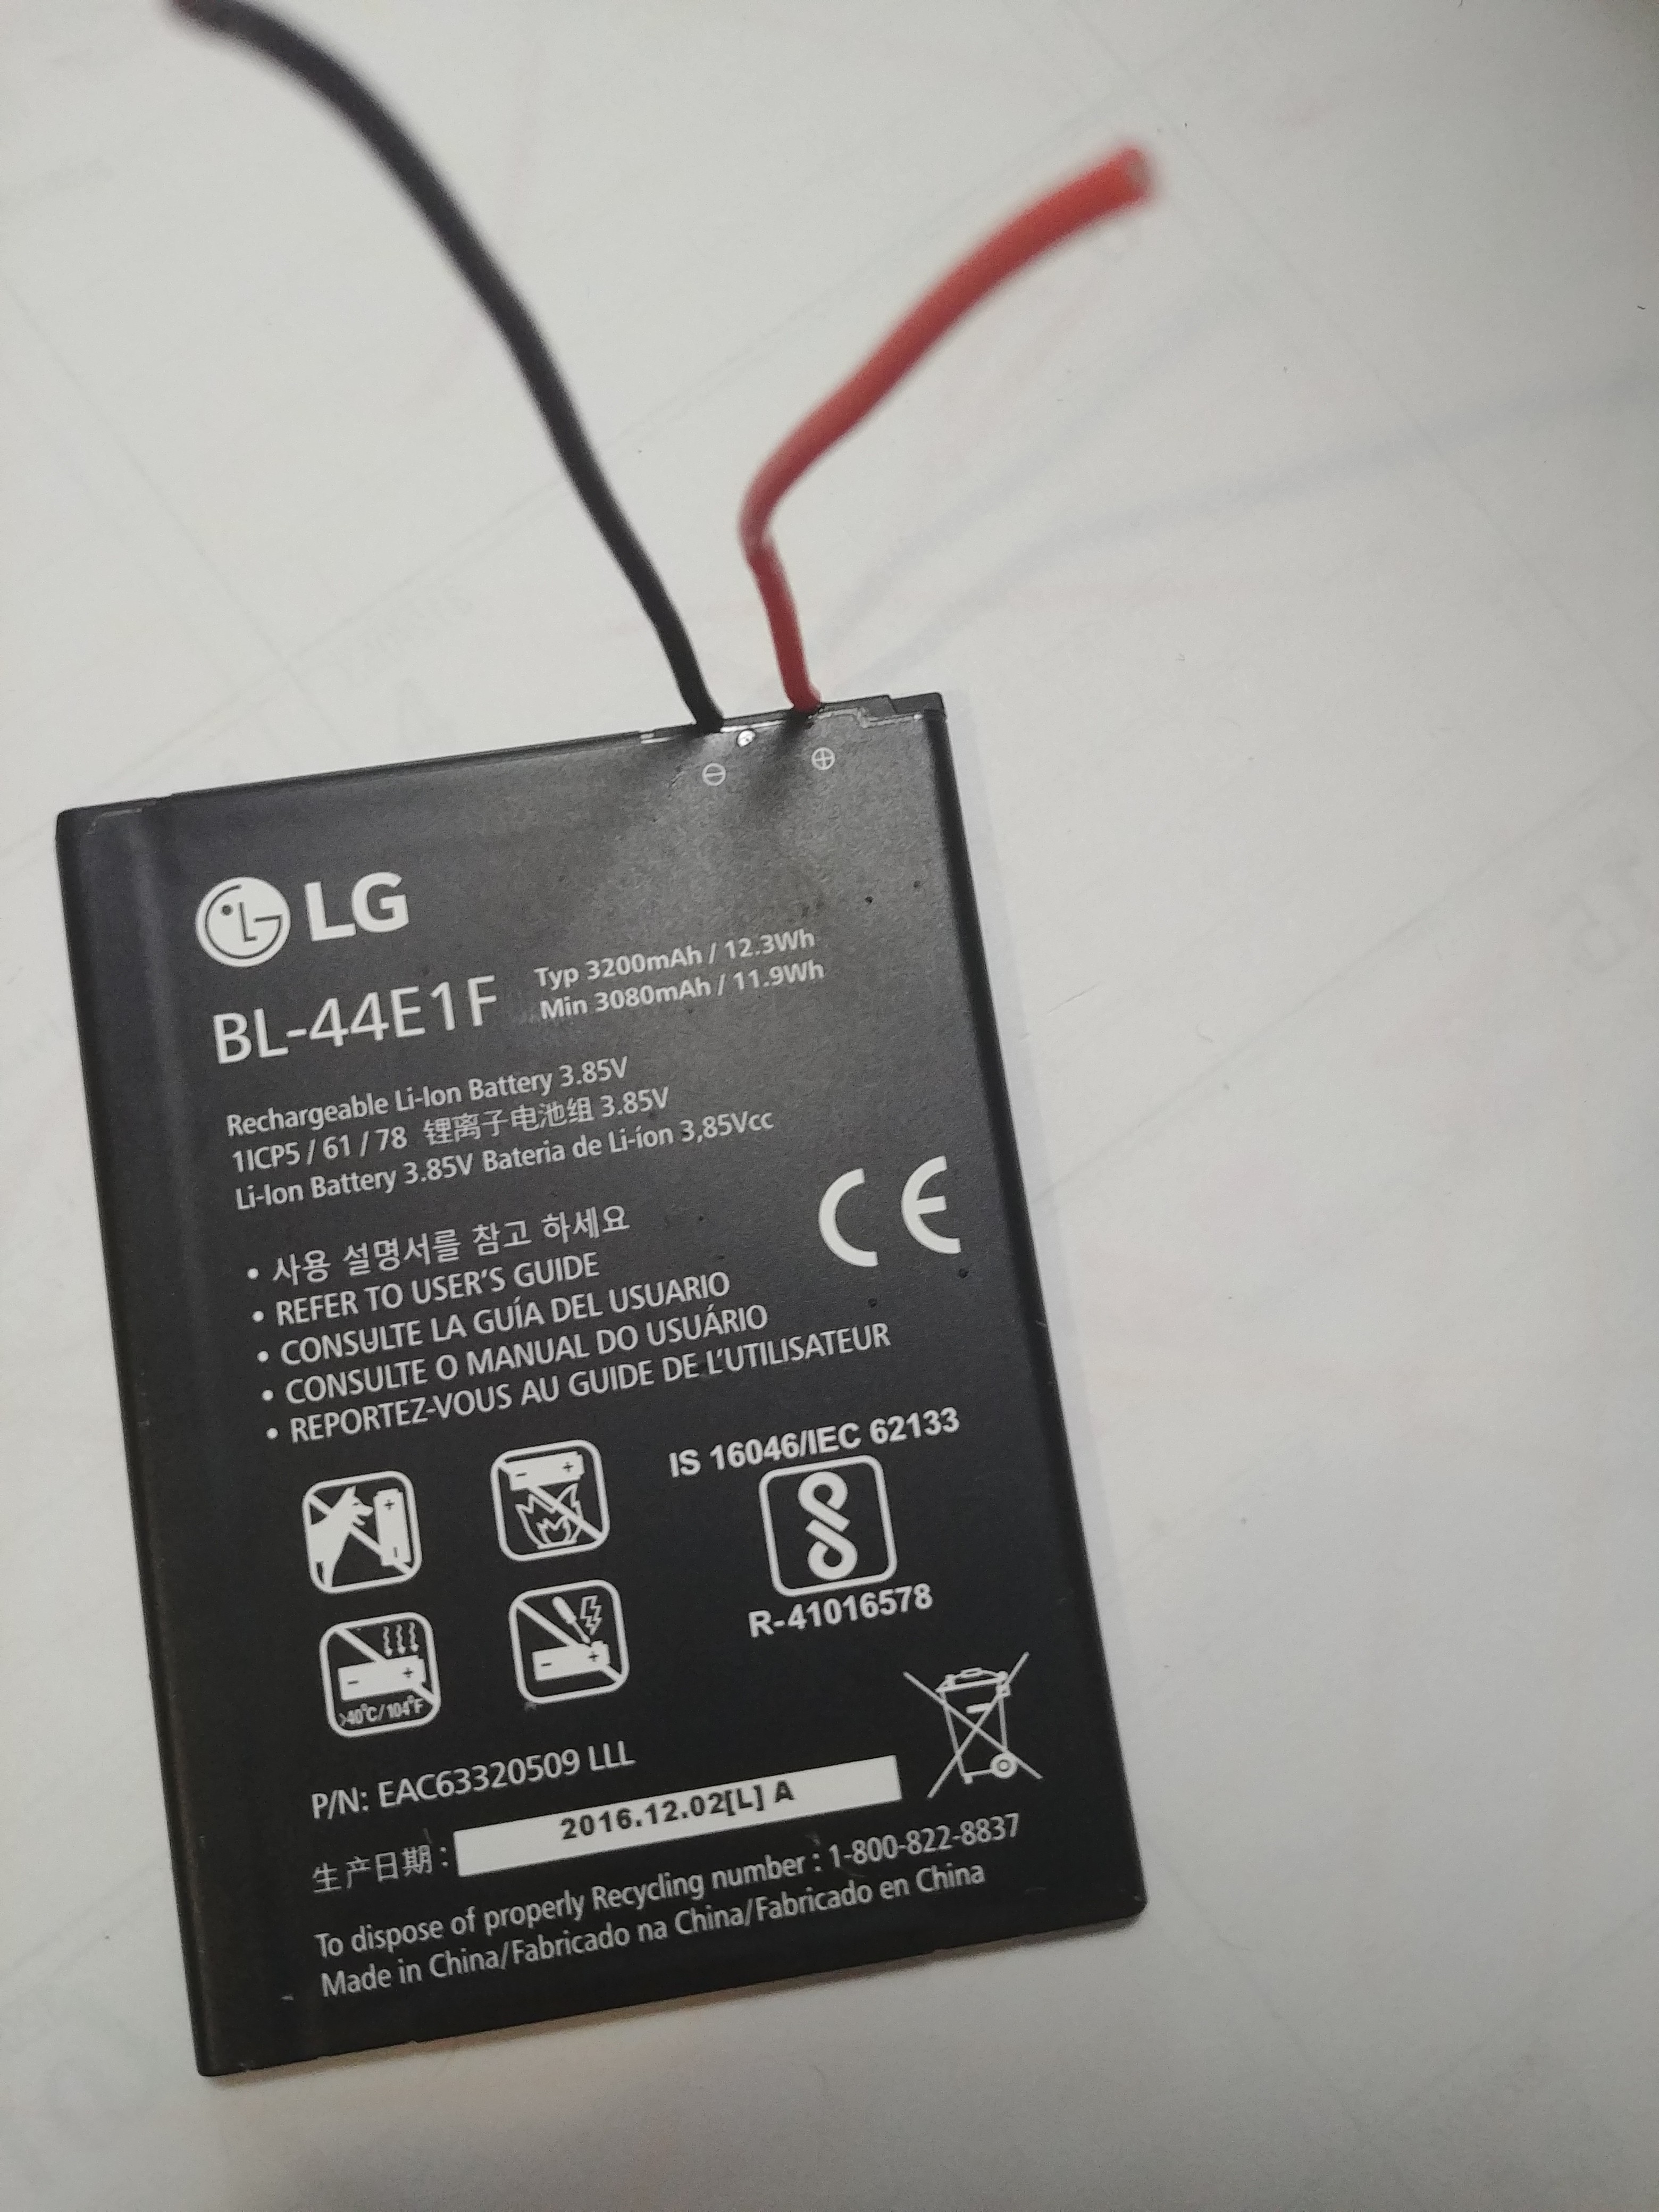
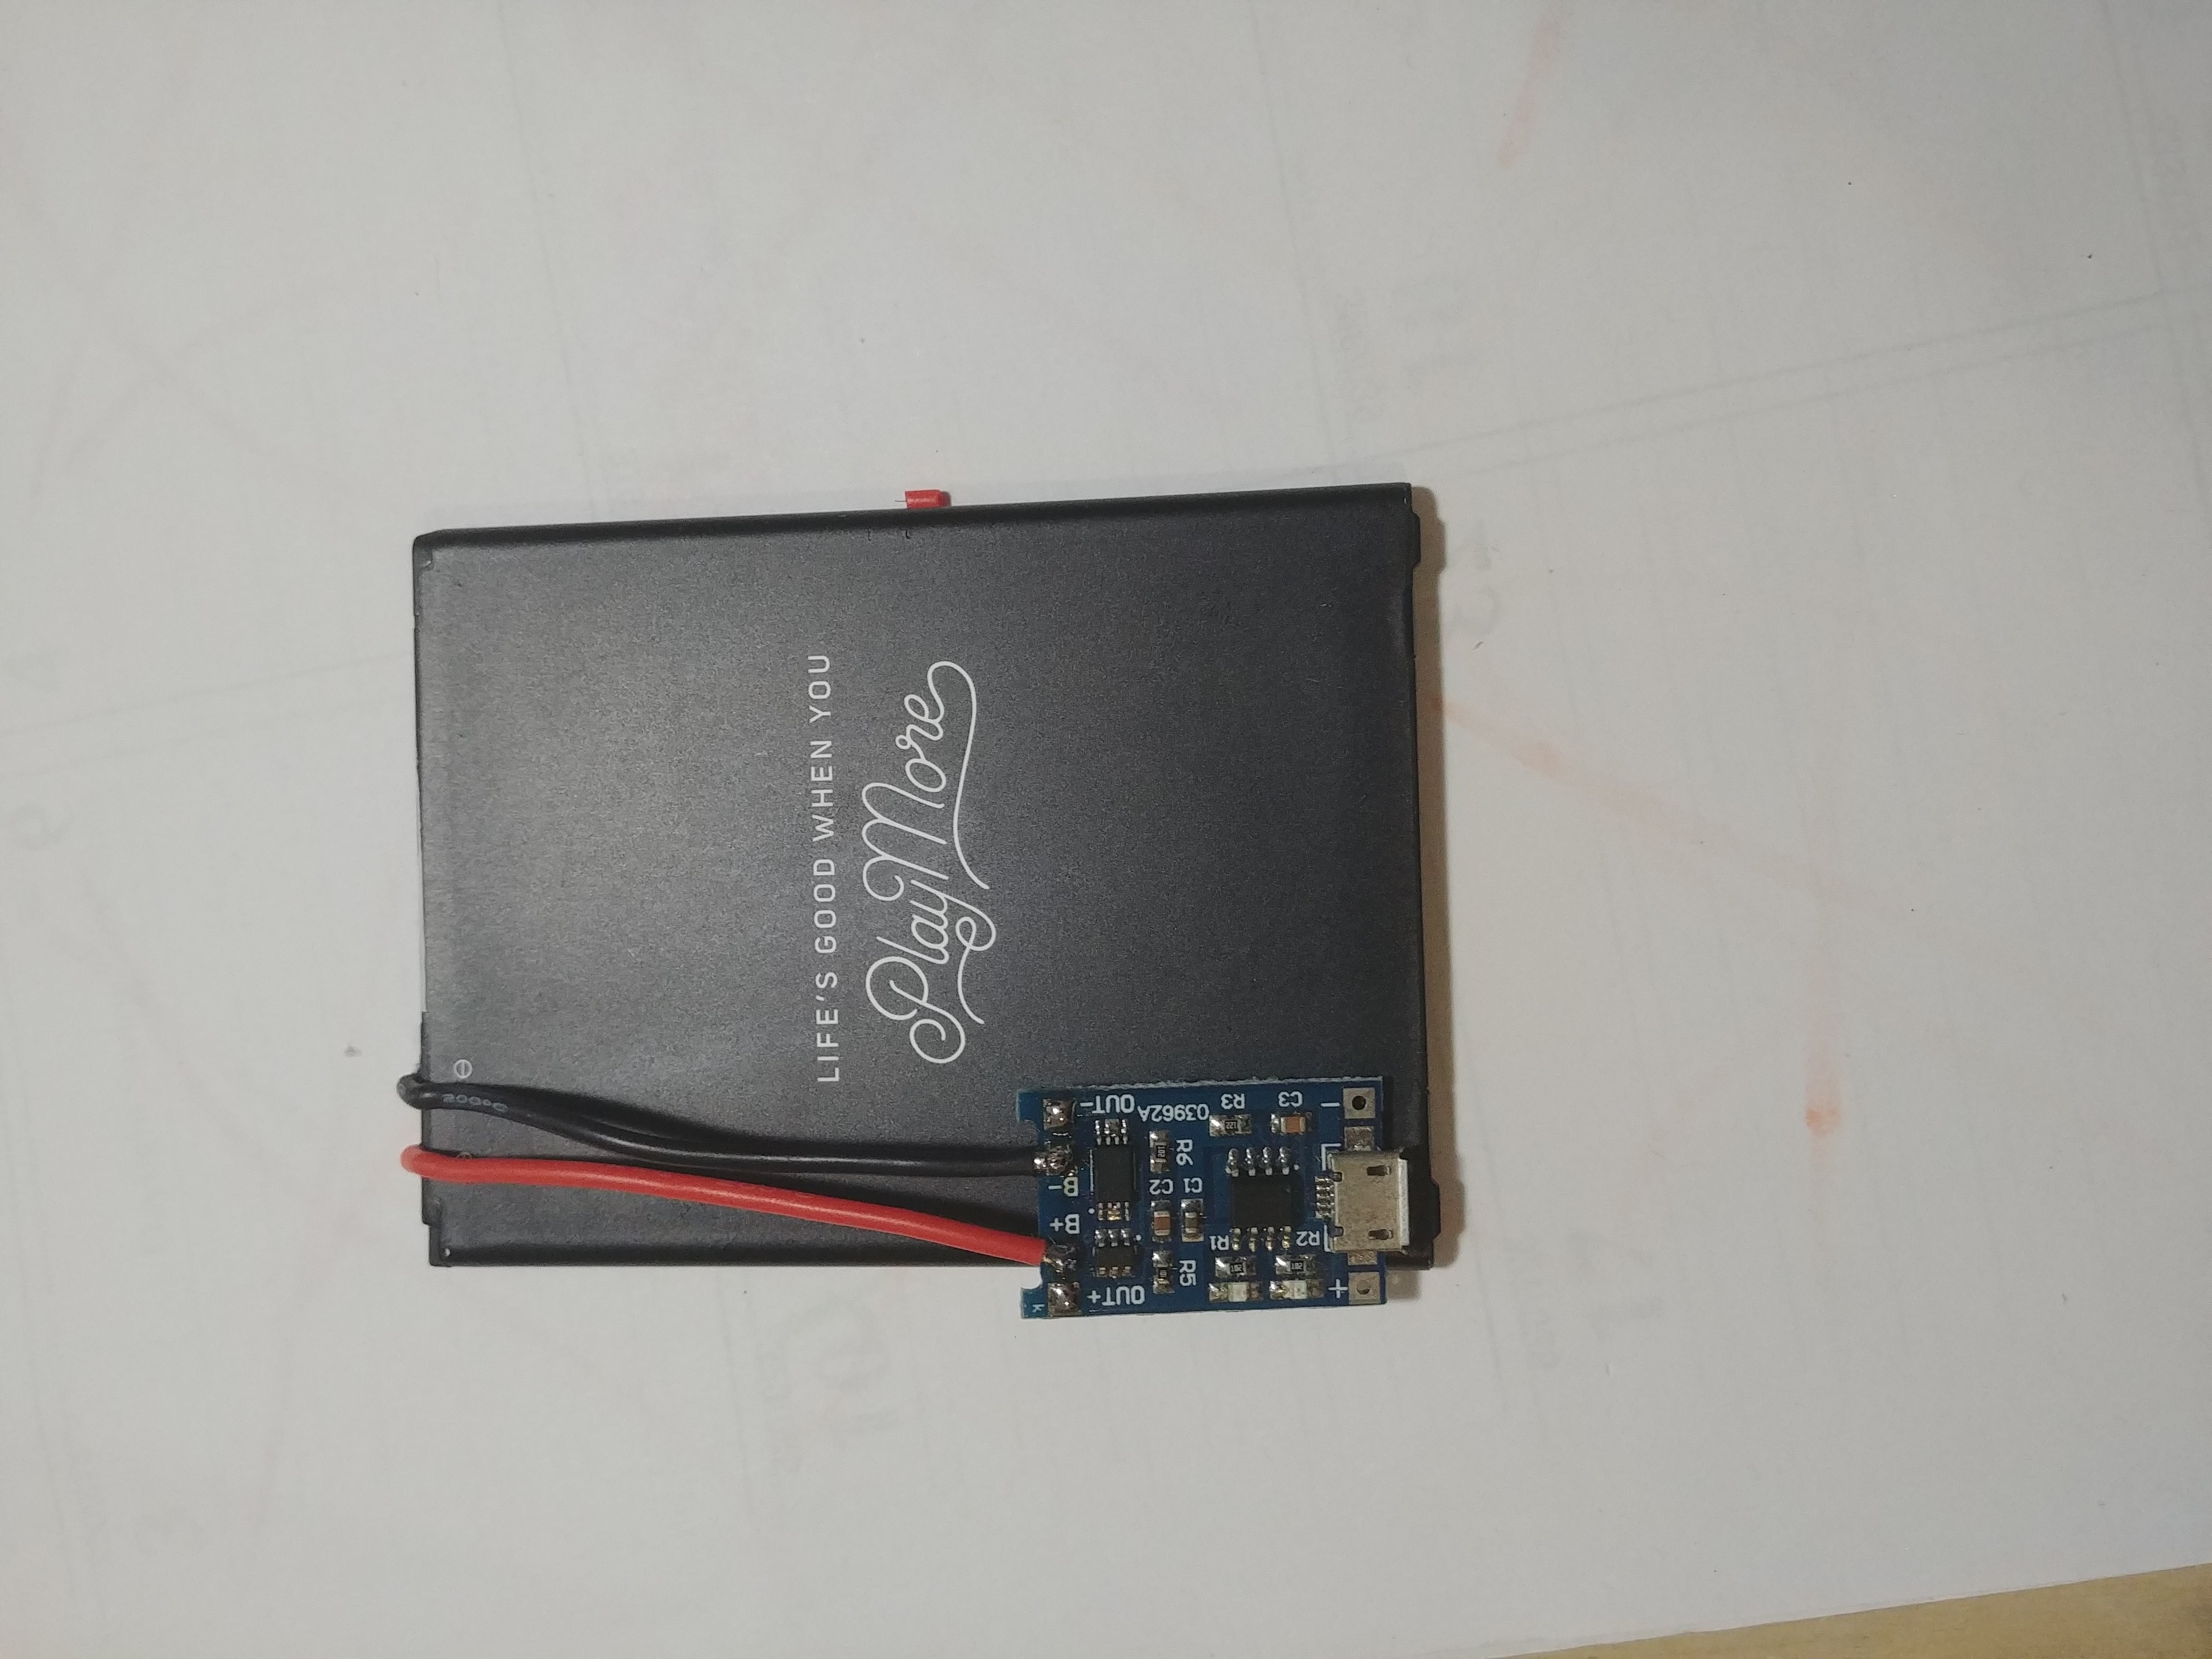
A thin battery brick made from just a cell phone battery, on/off switch, charging module, and power supply module.
Become a Hackaday.io member
Already have an account? Log in.
Just one more thing
To make the experience fit your profile, pick a username and tell us what interests you.
Pick an awesome username
hackaday.io/
Your profile's URL: hackaday.io/username. Max 25 alphanumeric characters.
Pick a few interests
Projects that share your interests
People that share your interests
 Avamander
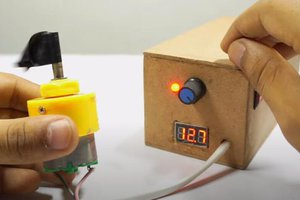
 UTSOURCE
 Daniel Öster
 Neal
Neal